Cashew Sour Cream (Easy Vegan Recipe)

Jump to Recipe

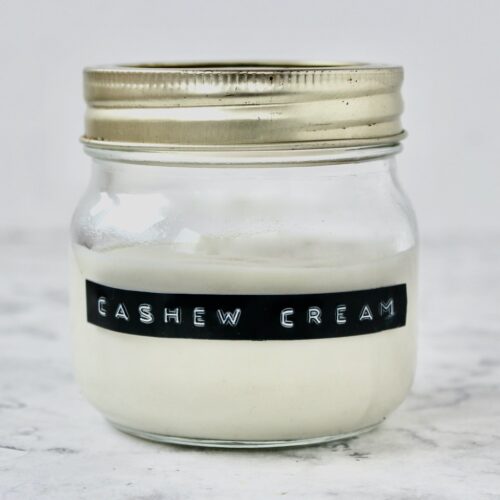
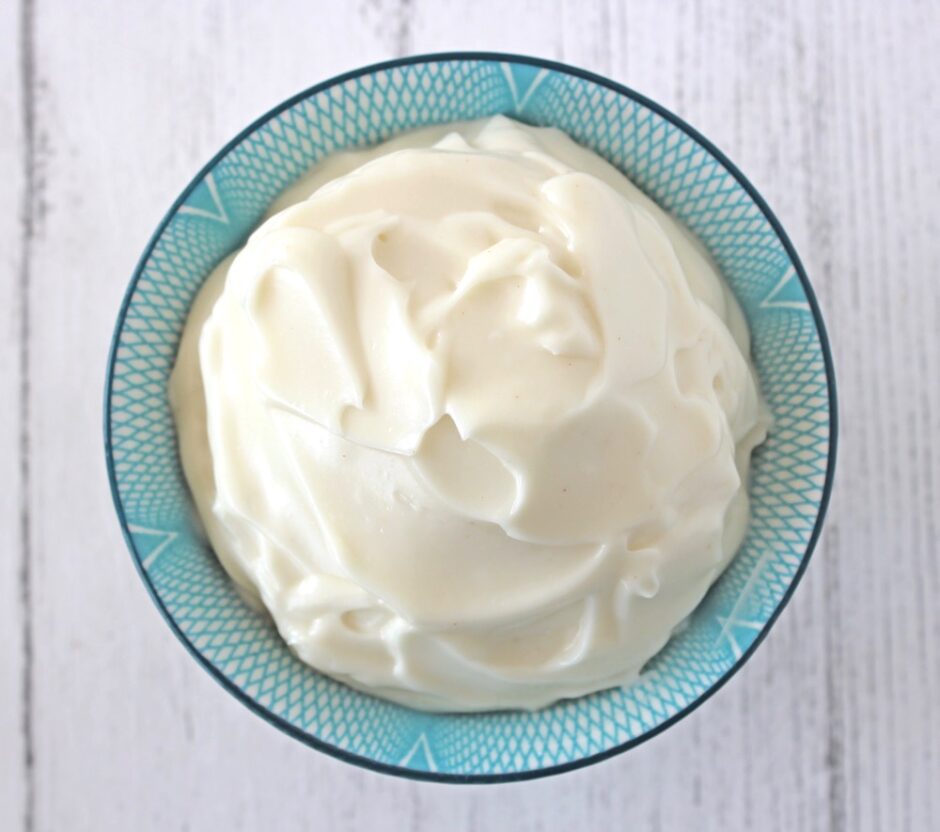
Creamy, tangy and silky smooth, this Cashew Sour Cream is a delicious plant-based alternative to dairy sour cream. Made with just a handful of simple ingredients, it’s perfect for topping soups, chilli, tacos and more!

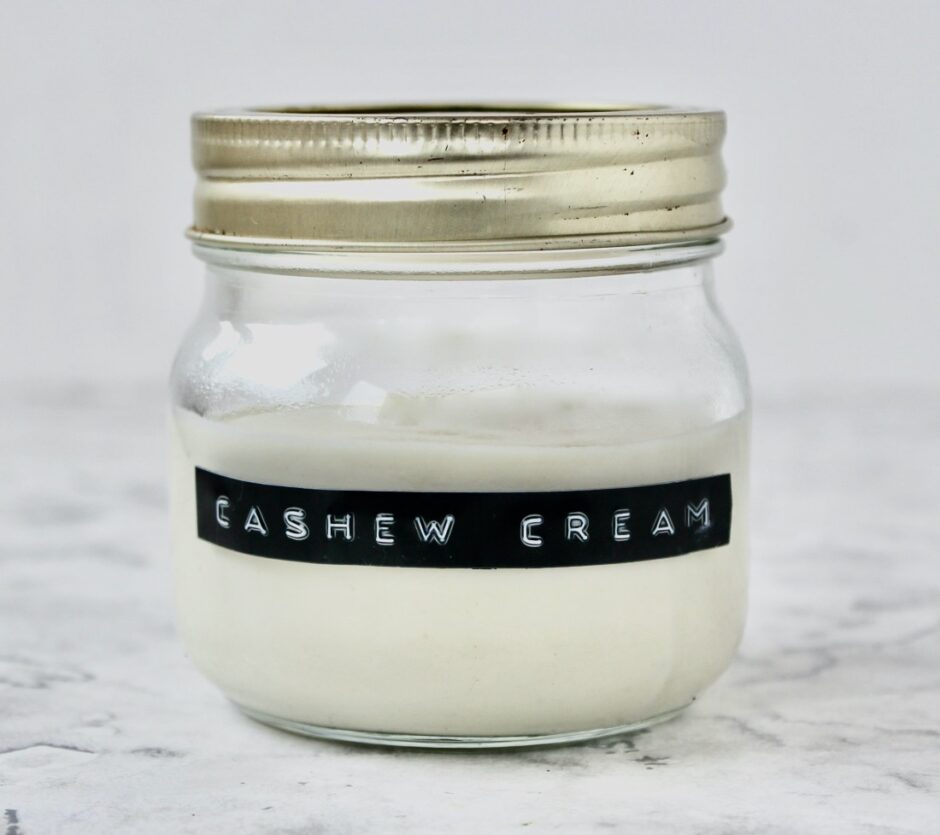
It’s so easy to make your own dairy-free sour cream! I love using cashews and water as the base, as they blend together to create a beautifully creamy, silky-smooth texture. Apple cider vinegar brings a lovely tang, fresh lemon juice adds brightness, and a little Dijon mustard gives it an extra zing.

One of my favourite ways to use this cashew sour cream is as a topping for thick, warming soups, like my Moroccan Spiced Red Lentil Soup. It’s so quick to prepare that I often make it while the soup is simmering away. It’s also delicious spooned over Mexican-inspired dishes, including chilli, tacos and burritos. And because you’re making it yourself, you can easily adjust the flavour and consistency to suit your tastes.
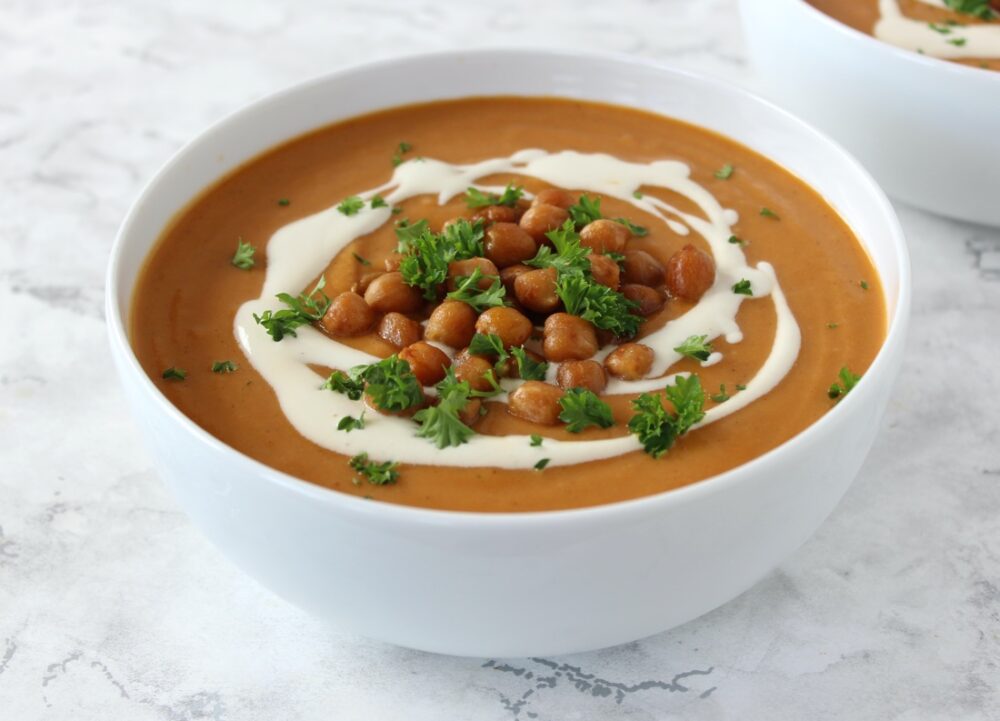
Moroccan Spiced Red Lentil Soup


How to Make Cashew Sour Cream

Just 2 simple steps and ready in 15 minutes!

Step 1: Soak the cashews. Pour freshly boiled water over the cashews and leave them to soak for at least 10 minutes. This softens them, helping them blend into a smoother cream.

Step 2: Blend until silky smooth. Drain the cashews, then blend with the remaining ingredients until completely smooth and creamy. That’s it!
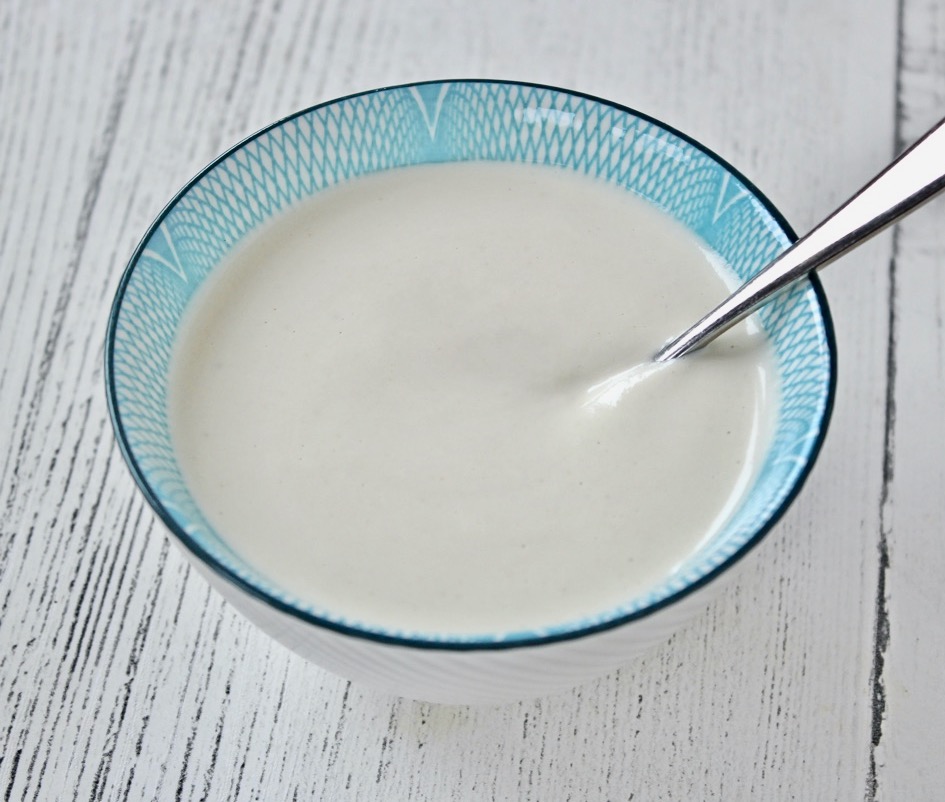
Cashew Sour Cream


Tips for the Perfect Cashew Sour Cream

Adjust the consistency to suit your needs. This recipe makes a lovely sour cream that’s perfect for spooning and swirling over soups. If you’d prefer a thicker cream for dolloping onto tacos or chilli, simply use a little less water. Bear in mind that it will thicken further as it chills in the fridge.

Taste and tweak. Everyone has their own idea of the perfect sour cream! Add a little extra lemon juice or apple cider vinegar for more tang, a touch more Dijon mustard for extra zing, or a pinch more salt to bring out the flavours.

Use a small blender cup if you have one. This is a relatively small batch, so a smaller blending cup can make it easier to achieve that lovely, silky-smooth texture.

FAQs

Do I need a high-speed blender?
A high-speed blender is highly recommended for the smoothest, creamiest result. However, you may still be able to make this recipe in a regular blender, provided the cashews are well softened. Try soaking them in freshly boiled water for 30–60 minutes, or in cold water in the fridge overnight. You may also need to blend for longer, stopping to scrape down the sides as needed.

Can I leave out the Dijon mustard?
Absolutely! The Dijon mustard adds an extra layer of tang, but the sour cream is still delicious without it. Feel free to adjust the ingredients to suit your taste.

Can I freeze the cashew sour cream?
Yes! I’ve tested freezing this recipe and found it works well. Transfer it to a freezer-safe, airtight container, leaving a little room for expansion, and freeze for up to 3 months. Thaw in the fridge, then stir well before using or give it a quick whizz in a blender.
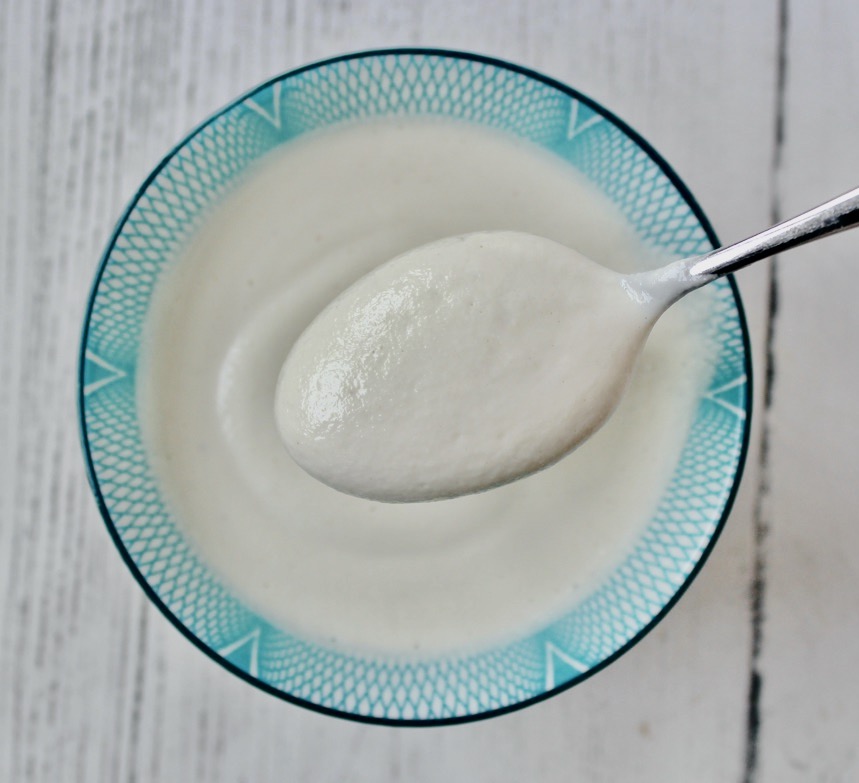
Cashew Sour Cream

Recipe Card

Cashew Sour Cream (Easy Vegan Recipe)

This Easy Vegan Sour Cream is creamy, tangy and ready in just 15 minutes! Made with just a handful of simple ingredients, it’s perfect for topping soups, chilli, tacos and more. A delicious homemade alternative to dairy sour cream, with an easy-to-adjust flavour and consistency.
Hands-on Time 5 minutes
Total Time 15 minutes
Course Condiment
Cuisine Plant-Based, Vegan
Servings 8 Tablespoons (approx)

Ingredients
 

  • 64 g / ½ cup raw cashews
  • 80 ml / ⅓ cup water
  • 1 TBSP apple cider vinegar
  • 1 TBSP fresh lemon juice
  • ½ tsp Dijon mustard optional
  • ¼ tsp salt

Instructions
 

  • Place the cashews in a heatproof bowl and cover with freshly boiled water. Leave to soak for at least 10 minutes, then drain thoroughly.
  • Add the drained cashews to a high-speed blender along with the water, vinegar, lemon juice, Dijon mustard (if using) and salt. If your blender comes with different-sized cups, use the smallest one.
  • Blend on high speed, stopping occasionally to scrape down the sides as needed. Continue until the cream is completely smooth and silky, with no pieces of cashew remaining.
  • Taste and add a little extra vinegar, lemon juice, mustard or salt, if desired.
  • Use immediately, or transfer to a clean, airtight container and refrigerate. The cream will thicken as it chills.

Notes

Consistency: This recipe makes a cream that’s ideal for spooning and swirling over soups. For a thicker cream, use slightly less water. Bear in mind that it will thicken further as it chills in the fridge. If it becomes too thick, simply stir in a little water to loosen it.
Doubling the recipe: Start with ½ cup of water rather than doubling the water straight away. Blend until smooth, then add more water if needed. I’d also recommend starting with the original quantities of vinegar and lemon juice (1 TBSP of each), then tasting and adding more if needed. It’s much easier to add a little extra tang than to take it away!
Storage: Refrigerate in an airtight container and consume within 48 hours.
Freezing: Freeze in a freezer-safe, airtight container for up to 3 months. Thaw in the fridge, then stir well before using or give it a quick whizz in a blender.
Keyword Cashew Sour Cream, Dairy-Free Sour Cream, Vegan Sour Cream
Tried this recipe?Let us know how it was!


Nutritional Breakdown


N.B. The above values are estimates and for illustration purposes only. The actual nutritional values will vary depending on the specific ingredients used. The % Reference Intake (RI) will also vary depending on your age, gender, height, BMI, level of activity and other personal variables.

Pin for Later ↓
Cashew Sour Cream Pinterest Collage


Ways to Use Cashew Sour Cream

Here are a few of my favourite ways to enjoy it:


If you make this Cashew Sour Cream, I’d love to hear how you use it, and any suggestions for adaptations! You can leave a comment below, or connect with me over on Instagram, Facebook and Pinterest.

Please tag your photos with @goodstuffsharon on Instagram. I absolutely love seeing your creations! ❤️

With love,
Sharon xx
Quick and Easy Vegan Mayonnaise (with Sweet Chilli option)

Jump to Recipe

In today’s post, I’m sharing a recipe for a delicious, quick & easy vegan mayonnaise that uses basic pantry ingredients, is ready in five minutes and costs as little as 34p! I never thought I’d find another mayo as tasty as Vegenaise, but this home-made version is just that. So if you’re on a budget or have difficulty finding great-tasting vegan mayos in your shops, then I definitely recommend giving this one a try.

While I’m a little late to the party (as per usual), the home-made vegan mayo craze kicked off in 2015, following a discovery by French musician Joel Roessel that the water from a can of beans (or left over from cooking beans) could be used as a plant-based alternative to egg whites. Ingenious! This discovery was then further developed by American software engineer Goose Wohlt (who named it ‘aquafaba’) and the Facebook community Aquafaba (Vegan Meringue – Hits and Misses!)

For those unfamiliar with the term ‘aquafaba’, it’s basically the Latin for ‘bean water’ (Aqua = water Faba = bean). The Latin name sure does sound more appealing, doesn’t it?

Literally within weeks of the aquafaba discovery, my Facebook newsfeed started filling up with images of meringues, pavlovas, marshmallows, mousses, macarons and mayonnaise that were being made with this liquid that we usually throw down the sink. Basically, all the foods that I loved in my pre-vegan days and never dreamed I would ever get to eat again.

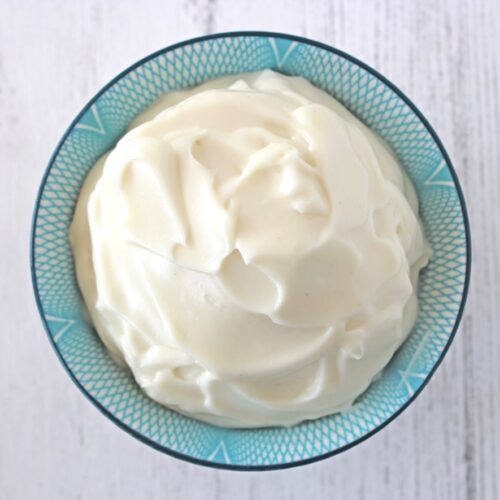
Easy Vegan Home-Made Mayonnaise

The reason I was slow to join the home-made mayo craze is because the American Follow Your Heart Vegenaise had made its way into my local health food shop. I can honestly say that Vegenaise was the best mayo I’d ever tasted (even better than the traditional egg-based mayo) so I was in no rush to find a replacement.

However, after repeatedly seeing aquafaba mayo videos popping up on social media, the intrigue got the better of me and I decided to give it a try.

And the verdict?

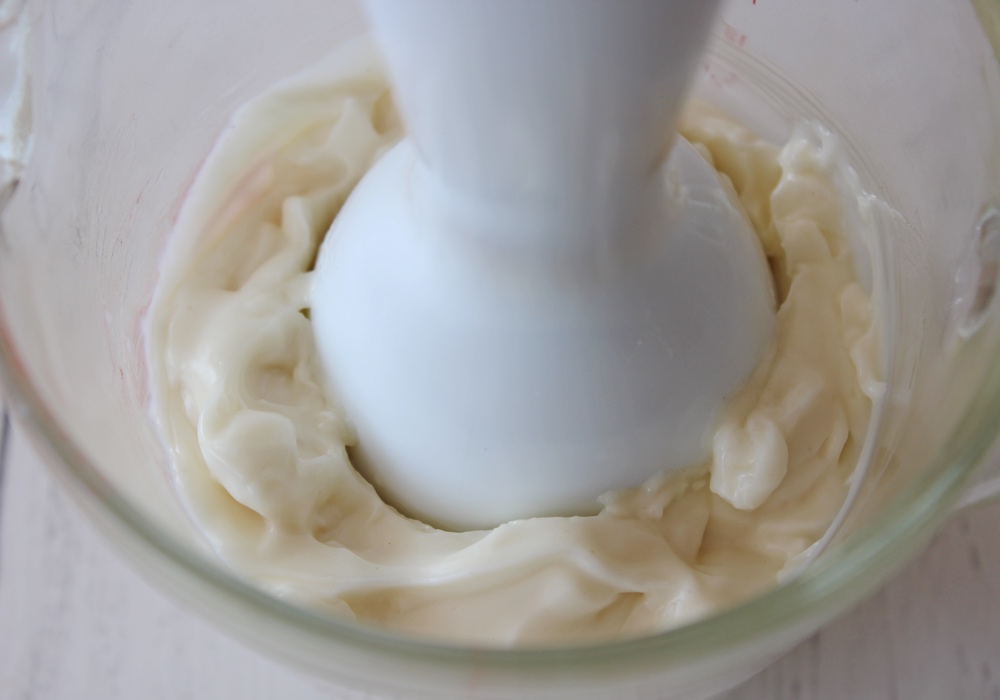
I LOVE IT! Not only does it taste gorgeous, but it’s really fun to make too! Literally within seconds of whizzing the runny ingredients together, they turn into this mass of thick, white, creamy deliciousness.

Quick and Easy Vegan Home-Made Mayonnaise

The great thing about making your own mayonnaise is that you can adjust the flavour to suit your personal preferences. A lot of mayo recipes that I’ve tried are too acidic for my taste buds, so I cut right back on the vinegar in my version.

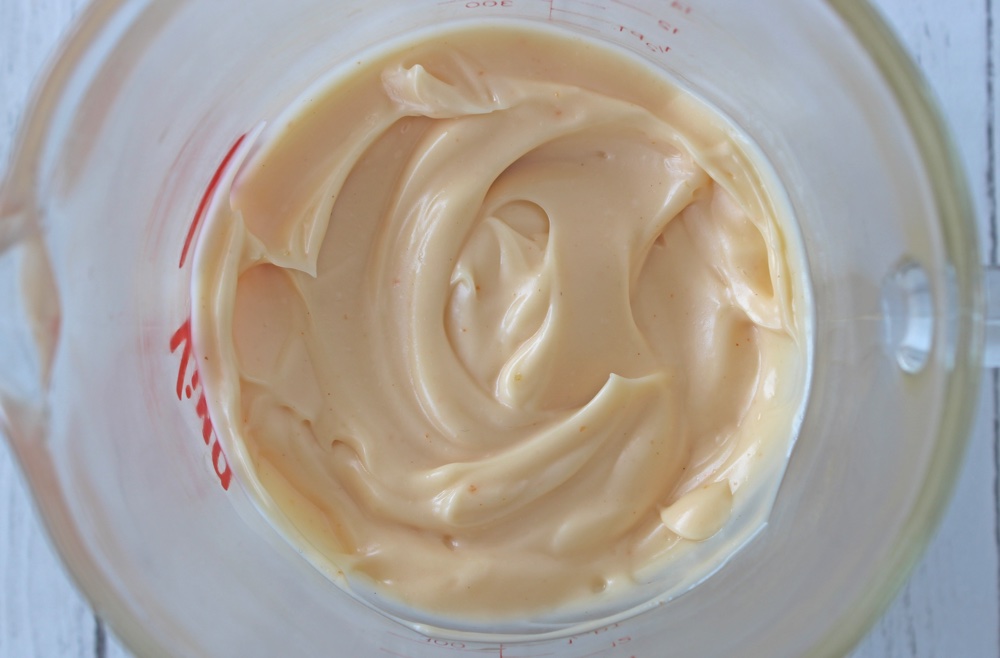
You can also switch up the flavour of the mayonnaise depending on what you’re planning to serve it with. For my vegan doner kebabs and smashed chickpea sandwich fillings, I love to add a couple of teaspoons of sweet chilli sauce to the mayonnaise for a touch of spiciness.

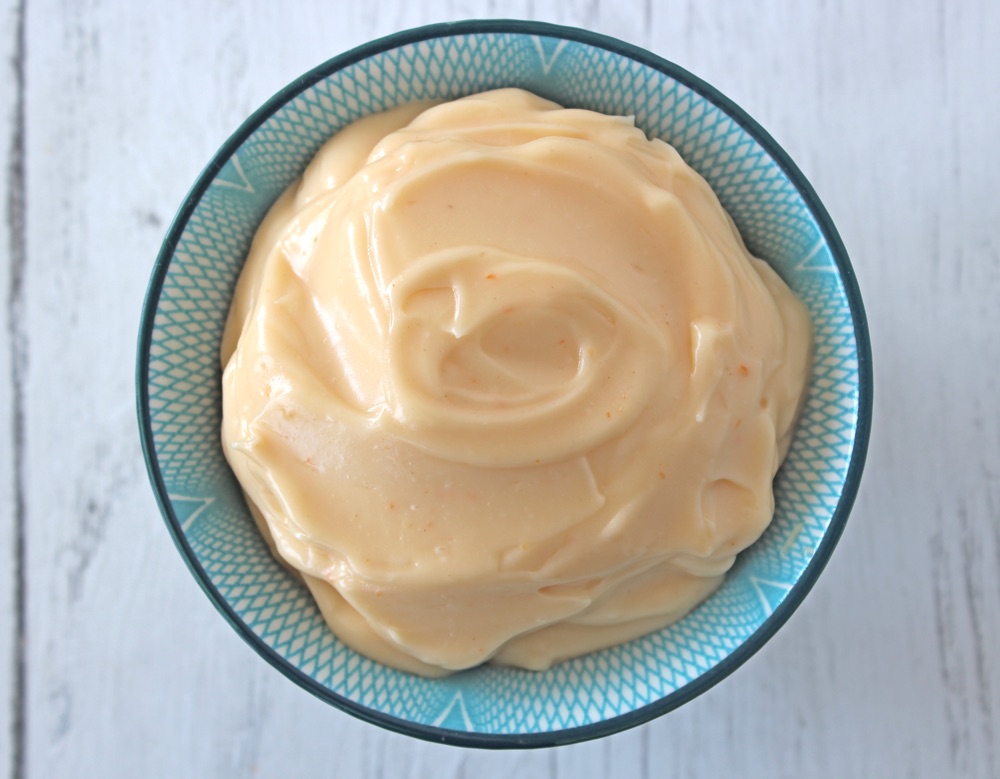
Easy Home-Made Vegan Chilli Mayonnaise

Easy Vegan Home-Made Chilli Mayonnaise

Another big advantage to making your own mayo is that it is super cheap! Using sunflower oil, it cost just 34p to make 240ml / 1 cup’s worth of mayo. (The equivalent amount of Vegenaise costs £1.77).

Using organic oil, it still only cost 70p (compared to £2.25 for the equivalent amount of organic Vegenaise).

If you’re on a budget or can’t get access to a decent vegan mayo, then home-made is definitely the way to go.

Recipe Card

Easy Vegan Home-Made Mayonnaise (Dairy-Free | Egg-Free)

Quick & Easy Vegan Mayonnaise

This delicious, quick & easy vegan mayonnaise uses basic pantry ingredients, is ready in five minutes and costs as little as 34p! In the Notes section below, you'll also find a Sweet Chilli Mayo option.
5 from 7 votes
Hands-on Time 5 minutes
Total Time 5 minutes
Course Salad
Servings 16

Ingredients
 

  • 3 TBSP aquafaba I use the water from a can of unsalted chickpeas
  • 1 tsp apple cider vinegar
  • 1 tsp maple syrup or agave nectar
  • 1 tsp Dijon mustard
  • ½ tsp salt
  • 200 g / 1 cup neutral-tasting oil e.g. organic rapeseed (canola) oil, sunflower oil, grapeseed oil
  • Sweet chilli option [See Note below]

Instructions
 

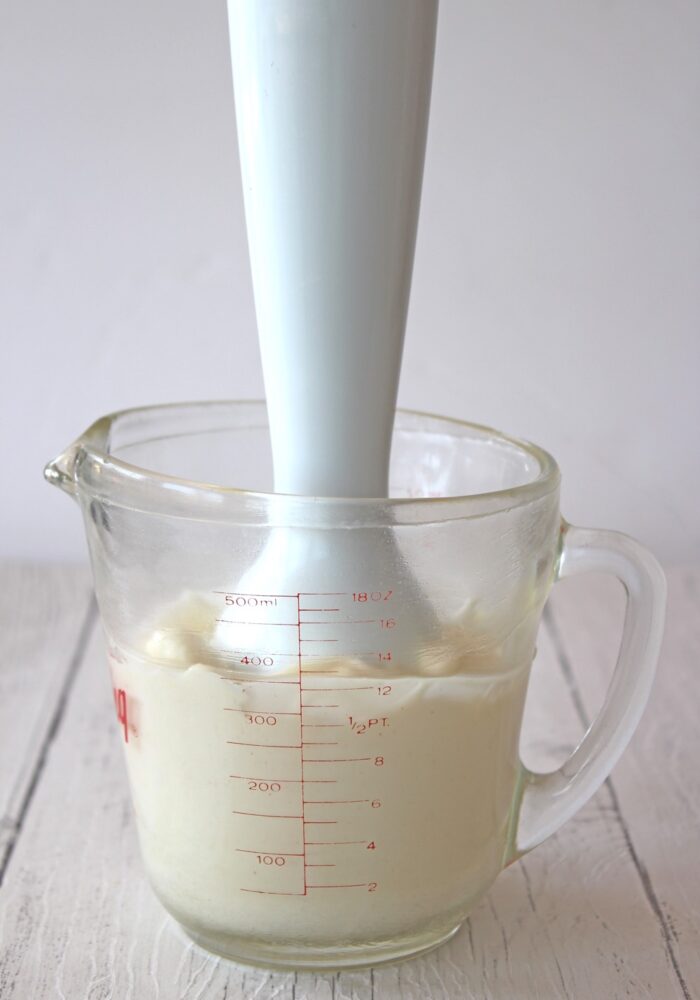
  • Place the aquafaba, vinegar, syrup, mustard and salt in a jug. Using a stick (immersion) blender, whizz the ingredients until fully combined.
  • Add 2 TBSP oil and pulse the blender until the oil is just combined (this only takes a few seconds). Add another 2 TBSP oil and pulse for a few seconds again until combined. Repeat this process, adding just 2 TBSP oil at a time, until all the oil is incorporated and the mayonnaise has become thick and creamy. (It is important to add the oil slowly so it has a chance to emulsify).
  • Taste test and add a touch more vinegar, mustard, sweetener or salt, if desired.
  • Transfer the mayonnaise to a clean glass jar and refrigerate. The mayonnaise should keep for up to 2 weeks.

Notes

For me, the ratio of ingredients in this recipe produces a mayonnaise that is very close in taste to my favourite store-bought mayo (Vegenaise). However, feel free to adapt the quantities of vinegar, sweetener, mustard and salt to suit your own taste buds.
Sweet Chilli Option: Add 2 tsp sweet chilli sauce into the mayonnaise and whizz to combine (I use Lingham’s Chilli Sauce). Taste test and add more sweet chilli, if desired.
Thanks to Hippy Chick for inspiring this recipe!
Keyword Egg-free Mayonnaise, Gluten-Free, Vegan Mayonnaise
Tried this recipe?Let us know how it was!

Pin for later ⬇️

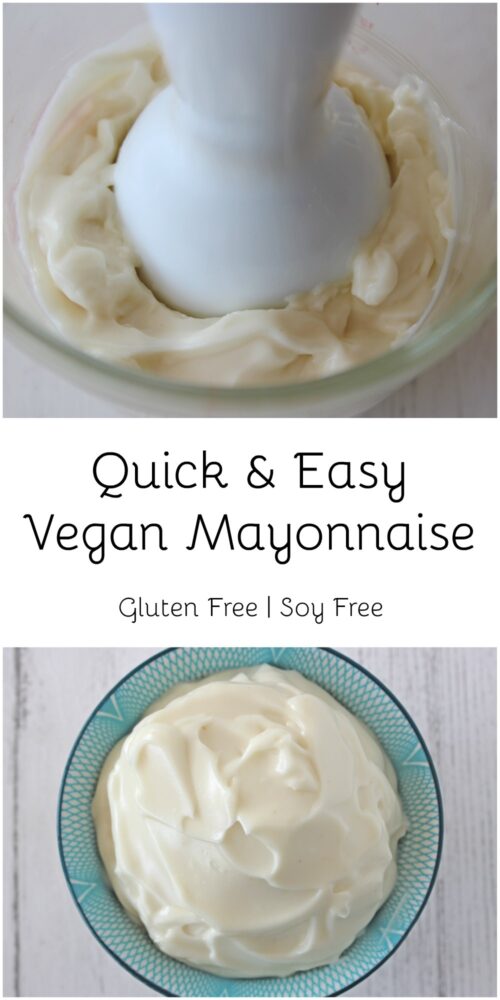
Easy Vegan Home-Made Mayonnaise

If you make this Quick and Easy Vegan Mayonnaise, I’d love to hear your feedback and any suggestions for adaptations! Tag your photos with #bitofthegoodstuff on social media – I always love to see your creations! You can also connect with me on my social media channels here: Instagram, Facebook, Pinterest.   

With love,

Sharon xx

SaveSave

SaveSave

SaveSave