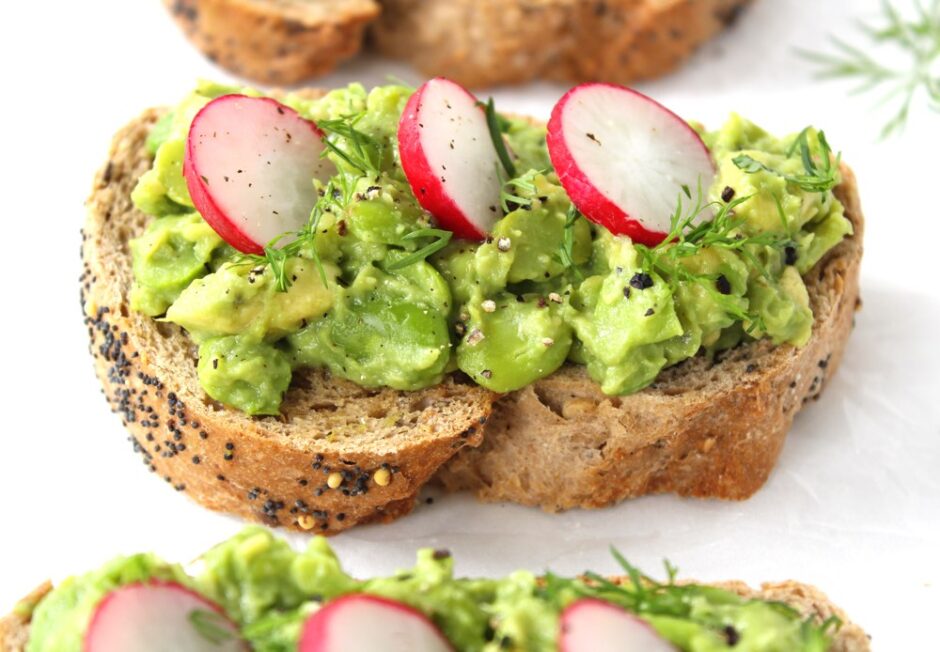
Avocado and Edamame Smash on Toast (Easy 10-Minute Recipe)

Refreshed April 2026. Originally published 2019.

Jump to Recipe

If you love a classic avocado smash on toast, this fresh and vibrant twist is one to try. Creamy avocado meets lightly mashed edamame beans for a beautifully textured topping that’s packed with goodness.

The addition of edamame gives this smash a subtle sweetness and a lovely protein boost, making it extra satisfying while still feeling light. It’s incredibly easy to make and ready in just 10 minutes – perfect for a quick breakfast, lunch, or light dinner.
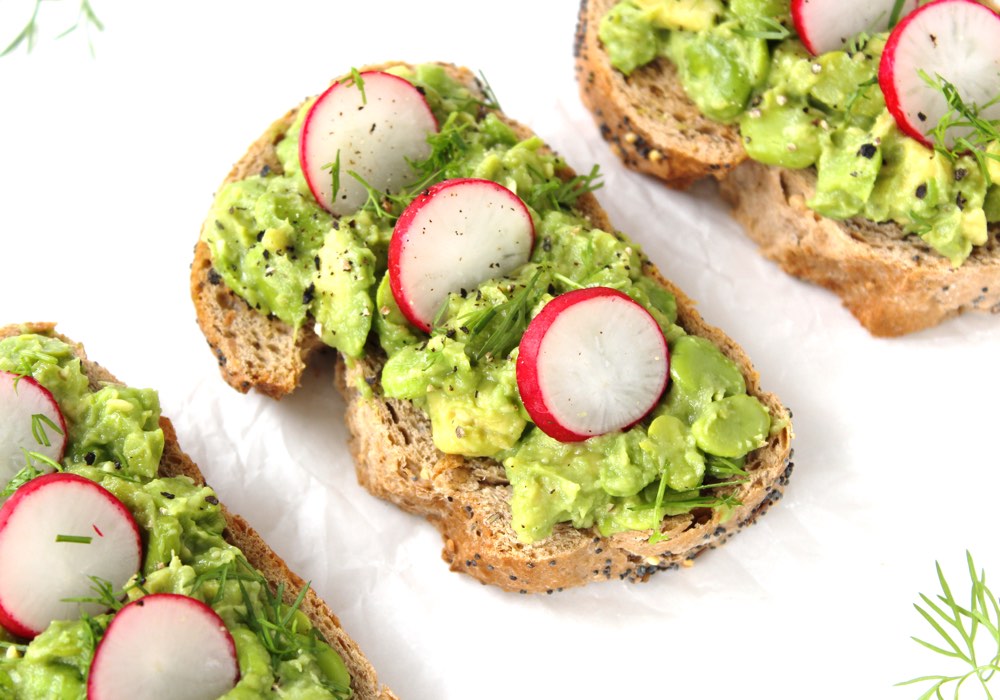
Easy Avocado and Edamame Smash on Toast

I first shared this recipe back in the summer of 2019, and all these years later, it’s still one of my absolute favourites. It’s one of my go-to lunches when I’m working from home, and in the summer my family also loves serving it as a light dinner alongside a crisp salad.

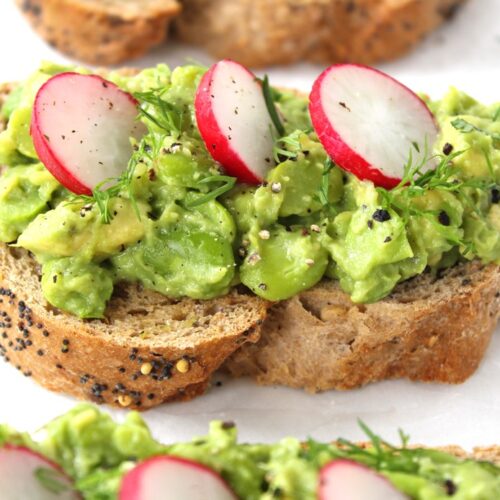
What I love most is its simplicity. Avocado and edamame are such beautifully fresh, delicate flavours that I like to let them shine. A generous twist of freshly ground black pepper and a pinch of salt is often all it needs. If I’m feeling a little fancy, I’ll add some sliced radishes for colour and crunch, or a sprinkle of fresh dill or pea shoots – but these are entirely optional.

It’s wonderfully simple to make too. Just cook the edamame beans until tender, mash them together with ripe avocado, season to taste, and pile high onto buttery toast.

The Good Stuff

Edamame (soya) beans are a fantastic source of complete plant protein, meaning they contain all nine essential amino acids. They’re also a good source of fibre and a whole array of minerals – especially manganese and copper – as well as vitamin K, all of which support bone health, metabolism, and overall wellbeing. Edamame also contain natural compounds called isoflavones, known for their antioxidant and anti-inflammatory properties, and their role in supporting hormonal balance.

Avocados are wonderfully nutrient-dense and packed with heart-healthy monounsaturated fats. They’re also a good source of fibre, which supports digestion and helps keep you feeling fuller for longer, as well as folate, vitamin C, vitamin K and B vitamins. Their creamy texture not only makes this smash irresistibly delicious but also helps your body absorb fat-soluble nutrients from other foods.
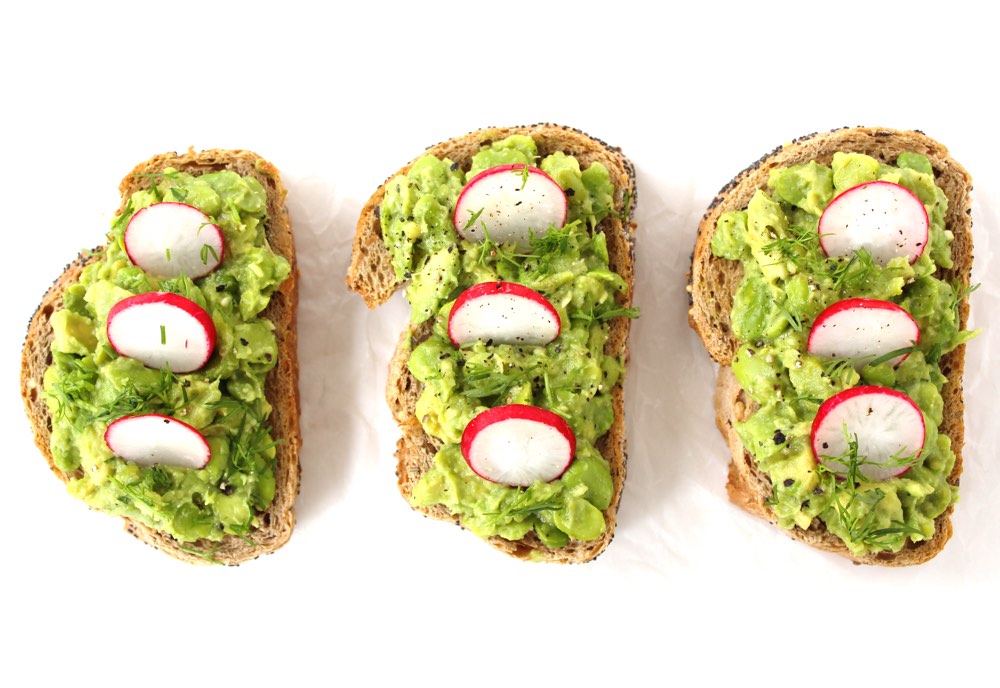
Healthy Avocado and Edamame Toast Smash

Top Tips & FAQs

What are edamame beans and where can I find them?

Edamame beans are young soya beans, harvested before they fully mature. They’re typically sold either in their pods or already shelled. For this recipe, you’ll want shelled edamame beans, which are most commonly found in the frozen vegetable section of UK supermarkets.

They’re sometimes labelled as “soya beans” rather than edamame. For example, you’ll find them sold as frozen soya beans in stores like Tesco and Waitrose. They’re a great freezer staple – perfect for quick meals like this, as well as adding to stir-fries, grain bowls and salads.

What kind of avocado is best for a smash?

For the best texture and flavour, make sure your avocado is perfectly ripe. It should feel slightly soft when gently pressed, but not mushy. If it’s too firm, it won’t mash easily. If it’s overly soft, it may taste a little overripe.

A small avocado (like the “ripe and ready” ones sold in twin packs in UK supermarkets) works perfectly for one serving. Alternatively, you can use half of a larger avocado.

Can I make this gluten-free?

Absolutely! The avocado and edamame smash itself is naturally gluten-free. Simply serve it on your favourite gluten-free bread.
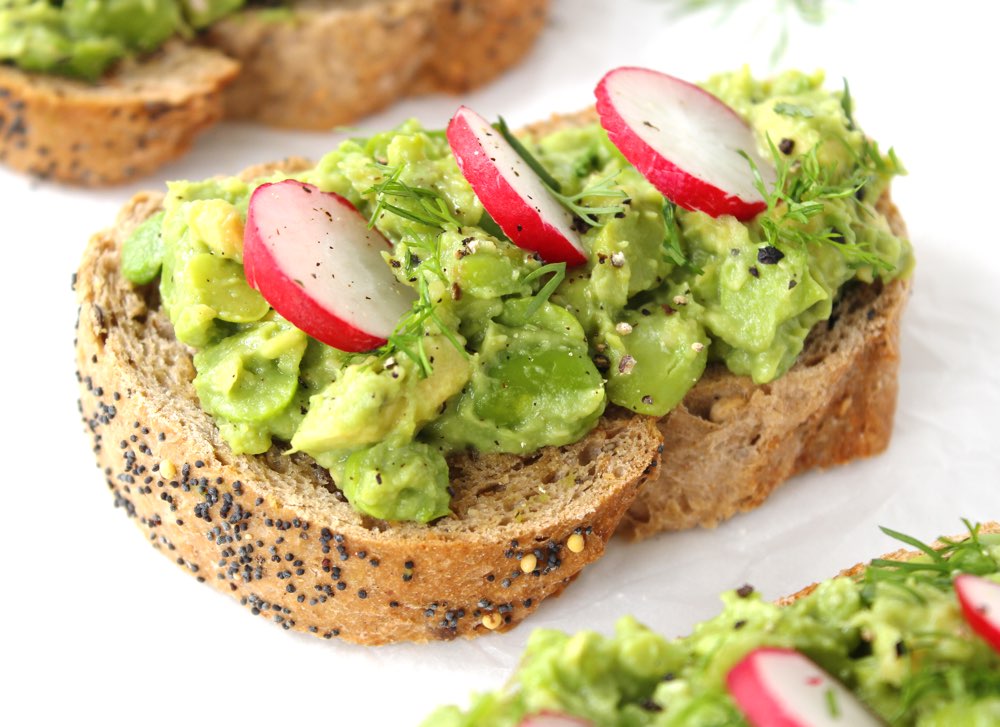
Avocado and Edamame Smash on Toast

Recipe Card

Avocado and Edamame Smash on Toast

Avocado and Edamame Smash on Toast

A fresh and vibrant twist on classic avocado toast, packed with plant protein and ready in just 10 minutes.
4.50 from 2 votes
Hands-on time 10 minutes
Total Time 10 minutes
Course Breakfast, Brunch, Light Dinner, Lunch
Cuisine Plant-Based, Vegan
Servings 1

Ingredients
 

  • 77 g / ½ cup frozen shelled edamame (soya) beans
  • 1 small avocado, flesh only (about 100g)
  • Salt and freshly ground black pepper to taste

To serve:

  • 2 slices wholegrain or sourdough bread
  • Plant-based buttery spread (I used Flora buttery)

Optional garnish:

  • Slices of radish
  • A sprinkle of fresh dill or a small handful of pea shoots

Instructions
 

  • Boil the edamame beans in a saucepan until just tender (about 6–7 minutes), or microwave according to the packet instructions.
  • Meanwhile, prepare your toast and scoop the avocado flesh into a bowl.
  • Once the edamame beans are ready, drain them well and add them to the bowl with the avocado.
  • Mash together using a potato masher until you achieve a coarse texture. The beans won’t fully mash – and that’s absolutely fine. Leaving some whole or halved adds a lovely texture.
  • Season generously with freshly ground black pepper and a pinch of salt, to taste.
  • Pile the smash onto your freshly buttered toast, add your chosen garnish, finish with an extra crack of black pepper and serve.

Notes

This avocado and edamame smash is best enjoyed immediately after making, when it’s at its freshest and brightest.
If you do need to store it, you can refrigerate it in an airtight container for a short time. However, like all avocado-based dishes, it may begin to oxidise and turn slightly brown.
To help slow this, add a squeeze of lemon or lime juice before storing, and press a layer of cling film directly onto the surface to reduce air exposure. Stir well before serving.
Keyword avocado edamame toast, easy vegan lunch idea, high protein avocado toast, vegan breakfast toast
Tried this recipe?Let us know how it was!

Nutritional Breakdown


NB: The above values are estimates and for illustration purposes only. Actual nutritional values will vary depending on the specific ingredients used. Percentage Reference Intakes (RI) will also vary depending on individual factors such as age, gender, height, BMI and activity level.

Pin for later ⬇️
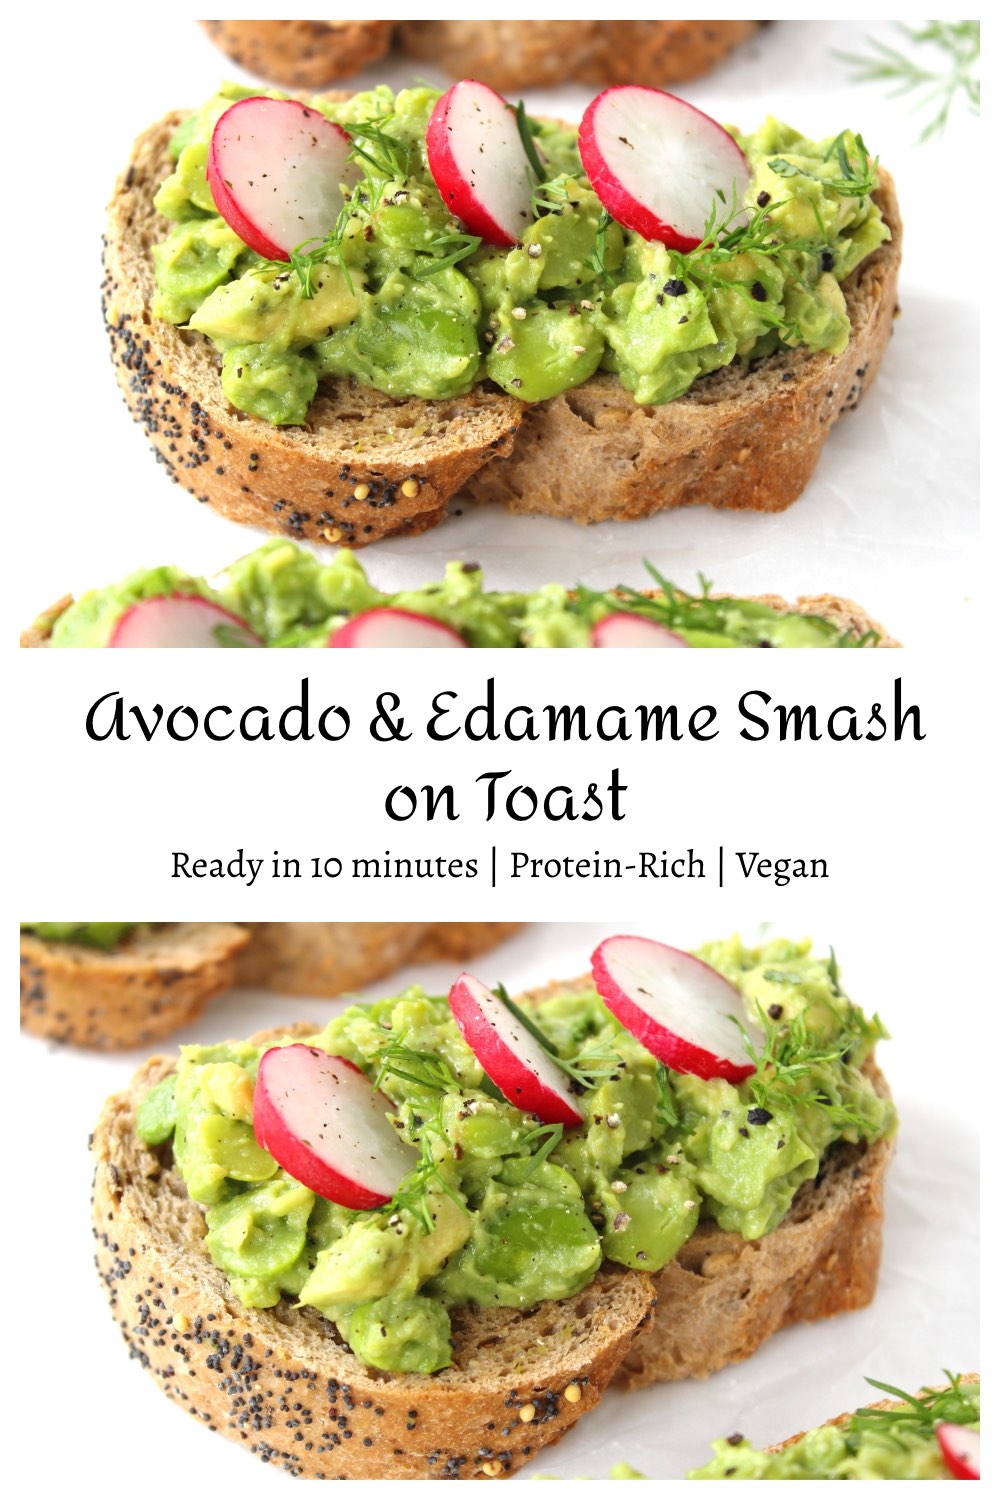
Avocado and Edamame Smash on Toast Pinterest Collage

You might also like…

Here are some more of my favourite quick and nourishing plant-based sandwich fillings and toast toppers that you might enjoy:

I’d love to hear from you ❤️

If you make this Avocado and Edamame Smash, I’d love to hear how you get on and any twists you try. Leaving a comment below will help others find the recipe and supports my blog too!

You can also connect with me on Instagram, Facebook, and Pinterest. Tag your creations with #bitofthegoodstuff – I absolutely love seeing them!

With love,
Sharon xx
Golden Pan-Fried Chickpeas (Quick Savoury Soup Topping)


Refreshed March 2026. Originally published 2018.

Jump to Recipe

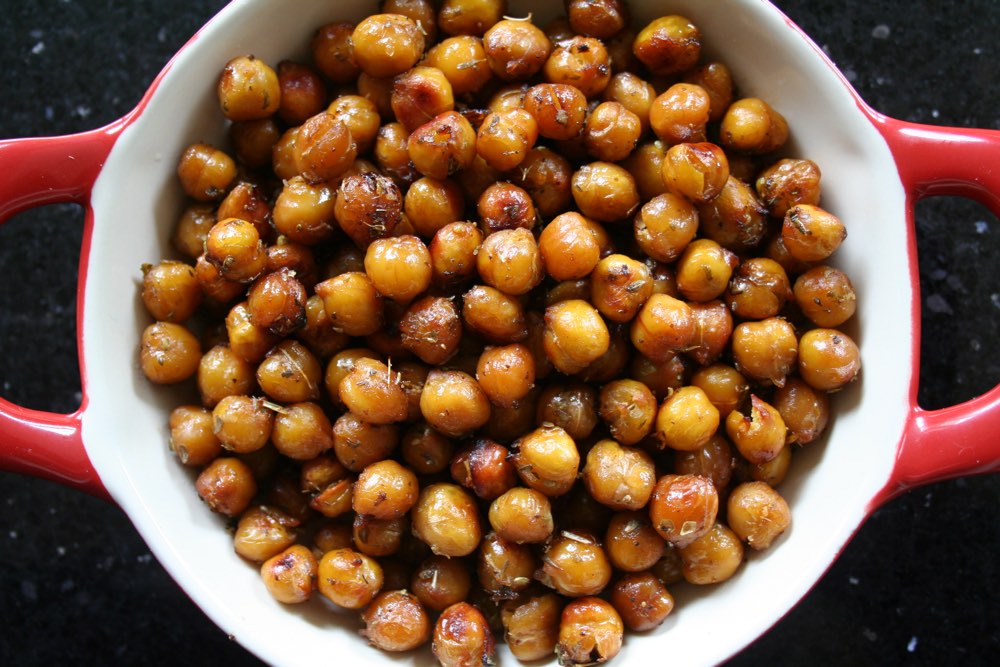
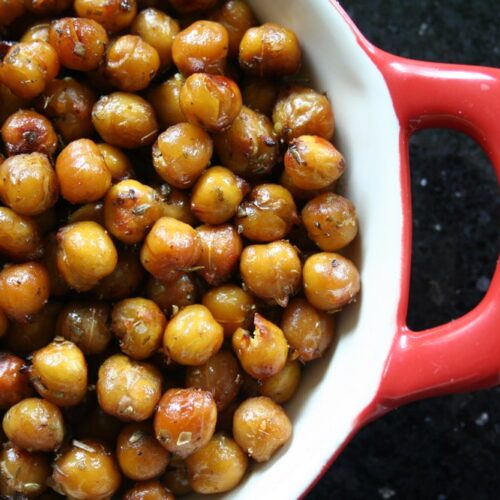
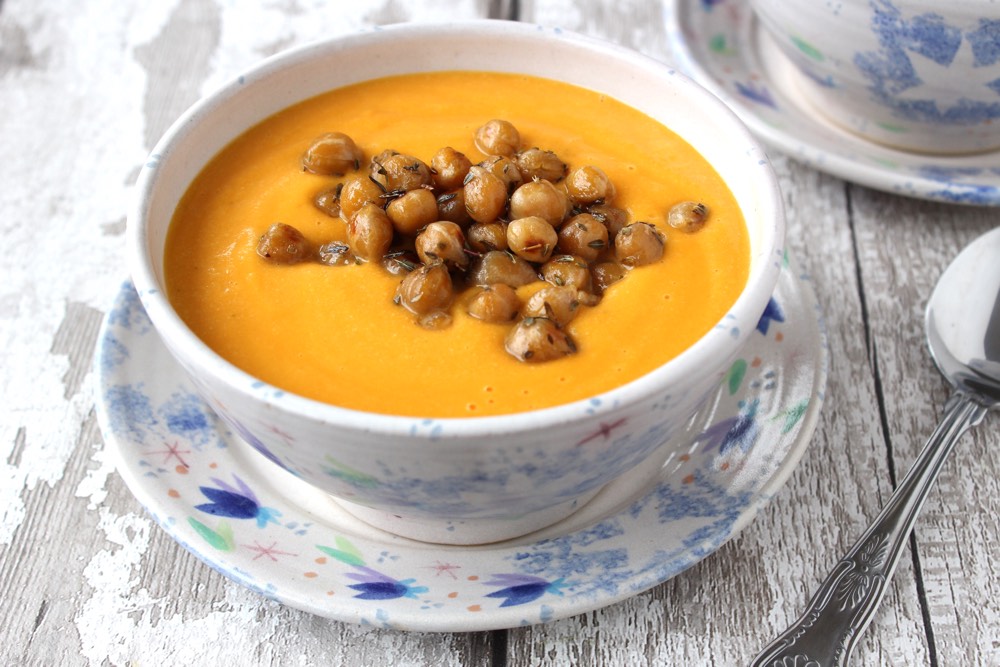
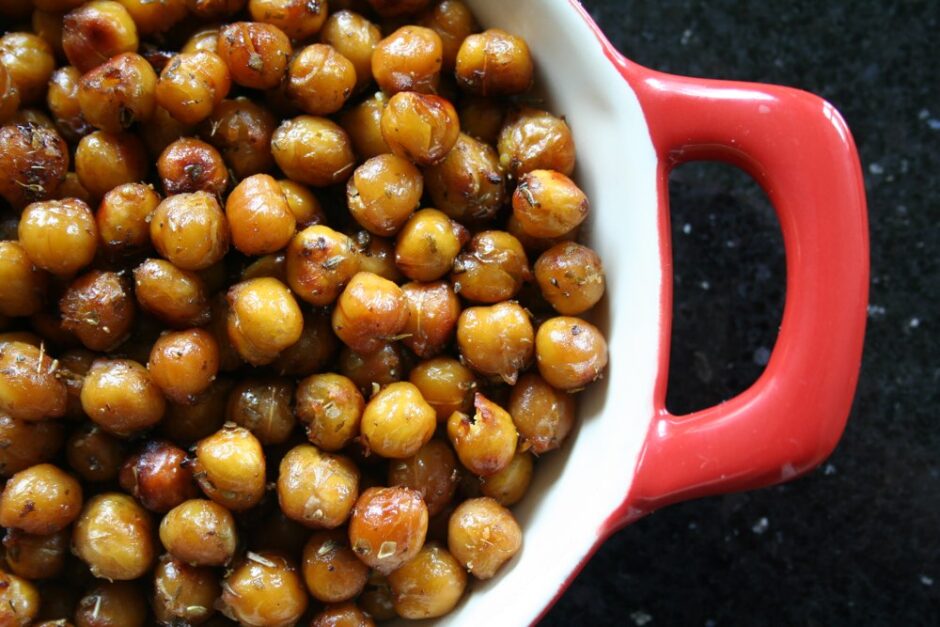
These golden pan-fried chickpeas are one of my favourite ways to transform a simple bowl of soup into a truly satisfying meal. Lightly glazed with soy sauce and a touch of maple syrup, they’re savoury, gently caramelised, and beautifully golden. We most often sprinkle them over creamy soups, such as our Cream of Mushroom Soup or Creamy Broccoli Soup, but they’re equally perfect for serving as a warm snack, straight from the pan.

Maple Glazed Chickpeas

I absolutely love chickpeas and eat them most days in some shape or form. The fact that they’re packed full of nutritional goodness makes me love them even more! They’re a good source of plant protein, dietary fibre, B vitamins and a whole array of minerals, including manganese, magnesium and iron. Chickpeas also contain an abundance of antioxidant phytonutrients, including flavonoids and phenolic acids, which boost the immune system and reduce inflammation.

Maple Glazed Chickpeas

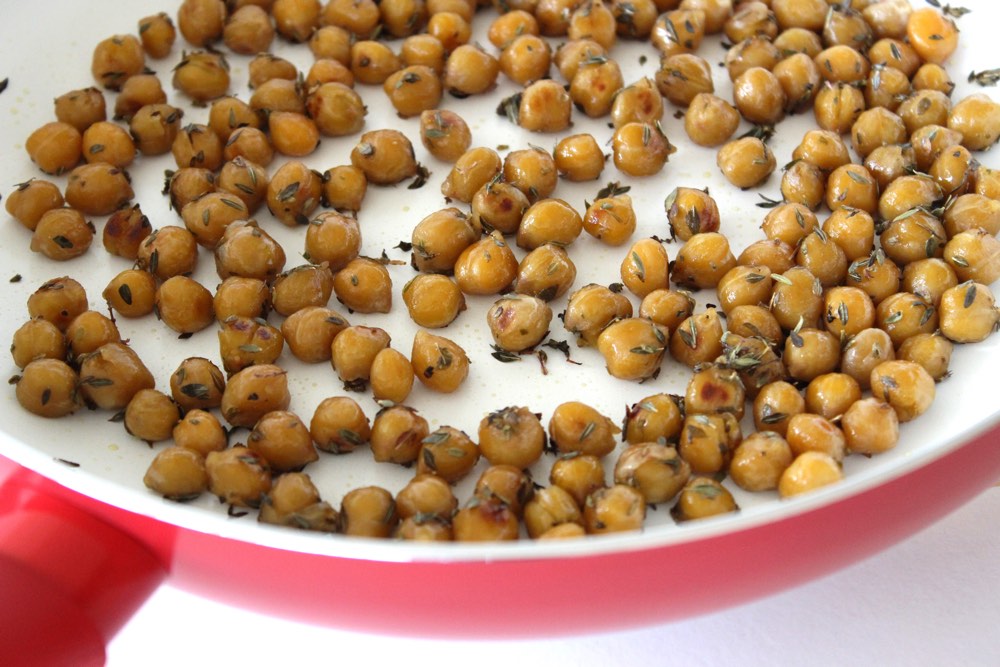
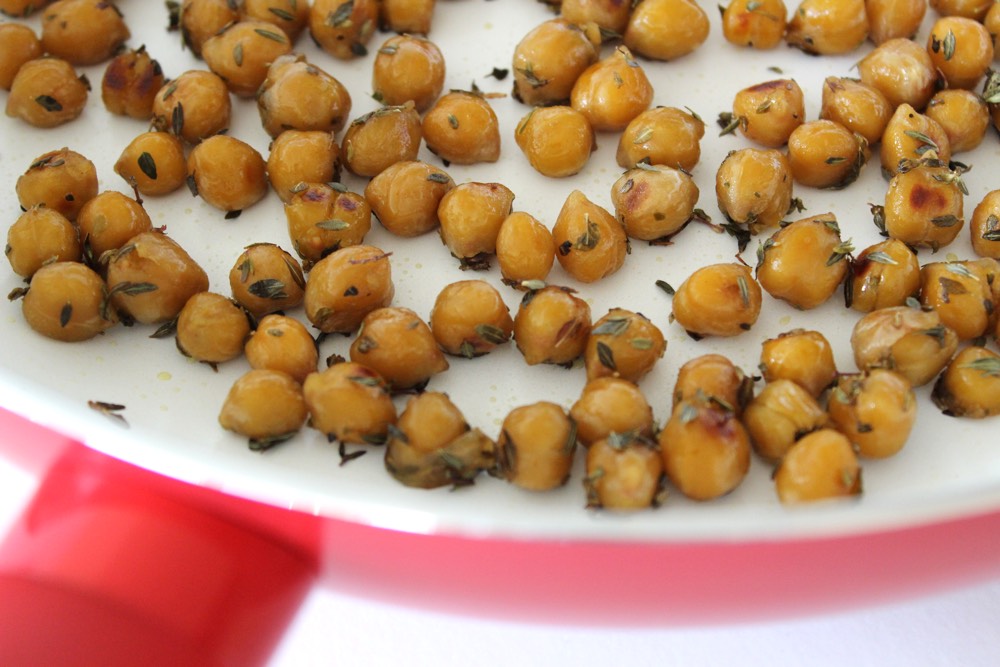
To make these golden chickpeas, you simply add the ingredients to a non-stick pan, give them a stir, then cook until the liquids have evaporated and the chickpeas are glossy and warmed through. They won’t be crunchy like oven-roasted chickpeas, but I actually prefer the texture of pan-fried chickpeas – they’re more succulent.

They’re also much quicker to make than oven-roasted chickpeas, ready in just 8 minutes. We often prepare them while the soup is cooking or warming through. They’re most delicious served fresh from the pan, when the glaze is still glossy and they have a slightly crisp exterior and a soft interior. 

Maple Glazed Chickpeas

They’re very moreish, so be warned. I probably shouldn’t admit this but one time I managed to polish off a whole panful before they’d had a chance to make their way into our soup bowls 😆

Recipe Card

Maple Glazed Chickpeas

Golden Pan-Fried Chickpeas

These golden pan-fried chickpeas are quick, easy, and nutritious, making them a perfect topping for creamy soups or a warm, savoury snack straight from the pan.
8 minutes
Total Time 8 minutes
Course Healthy Snacking, Soup Toppers
Cuisine Plant-Based, Vegan
Servings 4

Ingredients
 

  • 400 g / 14 oz can chickpeas drained and rinsed
  • ½ TBSP extra virgin olive oil
  • 1 tsp maple syrup
  • ½ TBSP low-sodium tamari or soy sauce (use tamari for a gluten-free option)
  • 1 tsp dried oregano
  • pinch of salt

Instructions
 

  • Heat the oil in a non-stick frying pan (skillet) on medium heat. Add the chickpeas and stir through to coat in the oil.
  • Stir in the maple syrup, tamari or soy sauce, dried oregano and a pinch of salt.
  • Continue cooking on medium heat, stirring regularly, until the chickpeas are golden and the liquid has evaporated, about 6–8 minutes.
  • Taste test and adjust the seasoning to suit.
  • When ready, serve immediately straight from the pan, whilst they’re still warm and glossy. 

Notes

tsp = teaspoon | TBSP = tablespoon
Storage: These chickpeas are best served fresh, straight from the pan. Leftovers can be stored in an airtight container in the fridge for up to 3 days, but they will firm up over time. Reheat gently in a pan in a splash of olive oil before serving.
Tip: If you’d like a sweeter glaze, add a little more maple syrup and reduce the tamari or soy sauce to taste.
Keyword Chickpeas, Gluten-Free Option, Healthy Snacking, Pan-Fried Chickpeas, Plant-Based, Soup Topper, Vegan
Tried this recipe?Let us know how it was!

Pin for later ⬇️

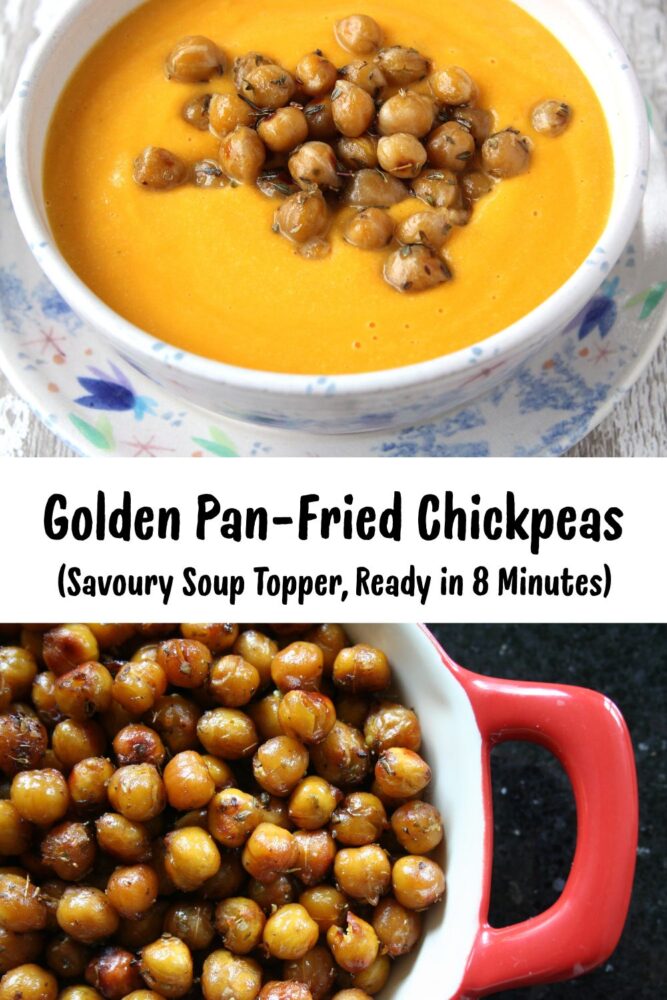
Golden Pan-Fried Chickpeas Image for Pinterest

Creamy Vegan Soups (Perfect with the Chickpea Topper)

Cream of Mushroom Soup
Creamy Broccoli Soup
Creamy Butternut Squash Soup
Lebanese Lentil Soup (Shorbat Adas)
Spiced Apple and Lentil Soup

Creamy Butternut Squash Soup


If you make these golden pan-fried chickpeas, I’d love to hear your feedback and any suggestions for adaptations! You can drop your comments in the section below. You can also connect with me over on InstagramFacebook and Pinterest. Please tag your photos with #bitofthegoodstuff on social media – I absolutely love seeing your creations! ❤️

With love,

Sharon xx
SaveSave

SaveSaveSaveSave

Lebanese Lentil Soup (Shorbat Adas) – Easy, Vegan, Ready in 35 Minutes

Jump to Recipe

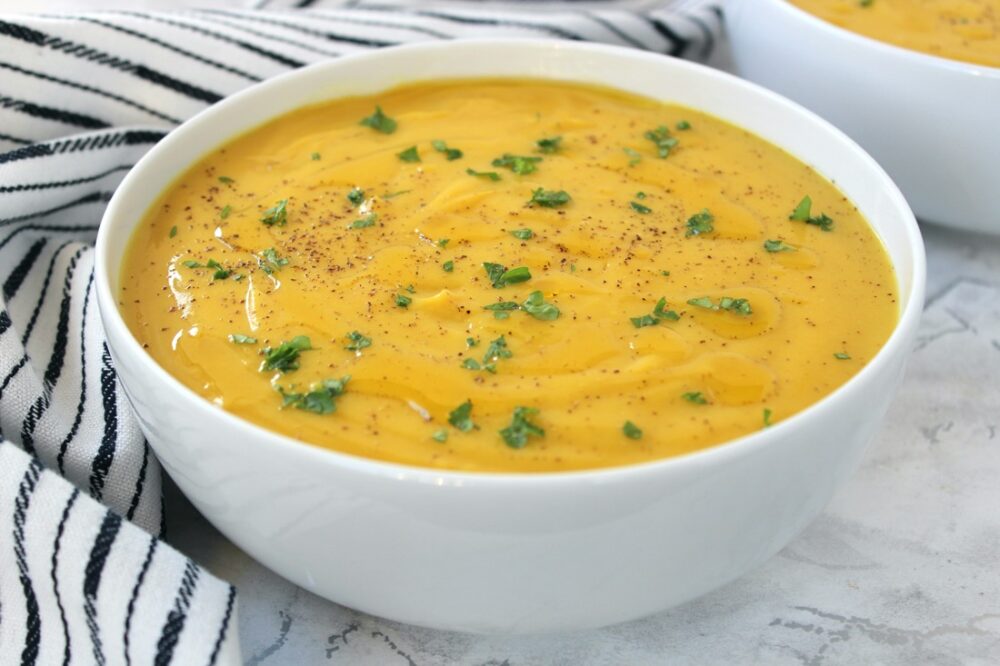
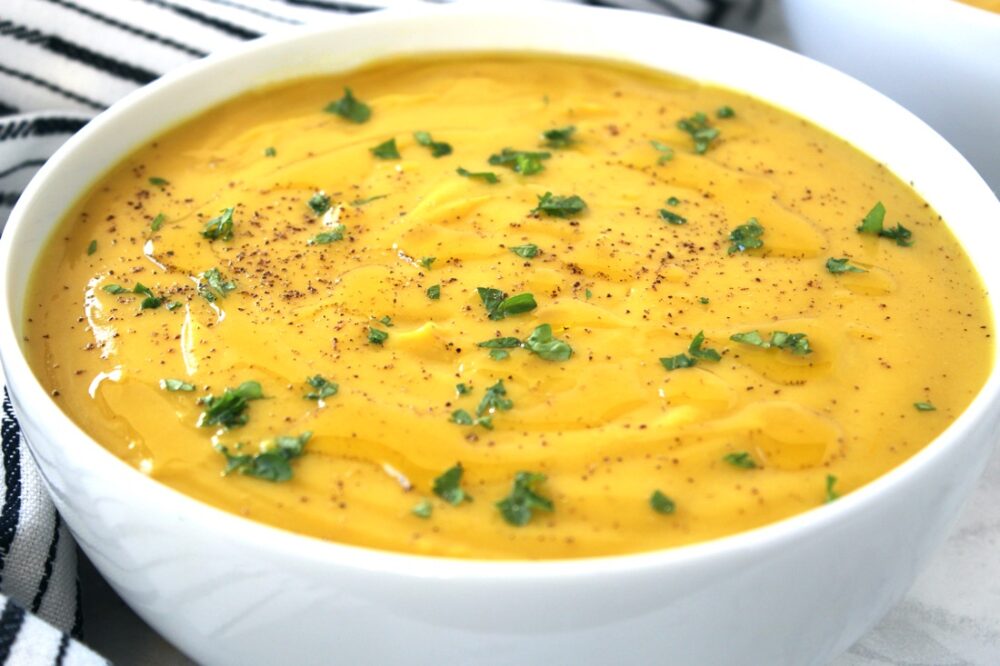
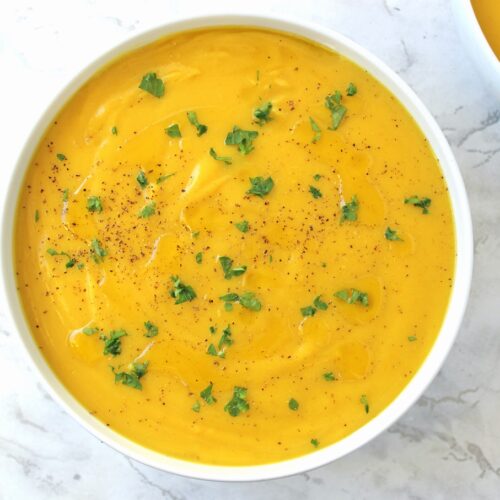
This easy-to-make traditional Lebanese Lentil Soup (Shorbat Adas) is one of my all-time favourite comfort foods. It’s hearty, filling, naturally vegan, and beautifully nourishing. Made with simple, affordable ingredients you’ll likely already have in your kitchen, it’s ready in just 35 minutes and costs only 82p per portion. Perfect for a quick lunch, a light dinner or a cosy family meal.

This recipe was inspired by the lentil soup served at my favourite Lebanese restaurant in Bath. The first time I tried it, I was completely in love. It’s such a simple dish, yet so deeply warming and comforting. I knew straight away that I wanted to recreate it at home – and once I did, it quickly became a firm family favourite. During the colder months, we enjoy a nourishing bowl of soup for dinner at least once a week, and we always look forward to the evenings when this Lebanese Lentil Soup is on the menu.

Traditionally, it’s served with a wedge of lemon on the side, allowing each person to squeeze a burst of fresh citrus into their bowl. Not only does this brighten the flavour of the lentils, but the vitamin C in the lemon also helps your body absorb their iron.

As well as being rich in iron, lentils also add a generous amount of plant protein to this dish. A bowl of soup alone provides around 16g of protein. Add a couple of slices of bread and a two-tablespoon sprinkling of seeds – or a serving of my Golden Pan-Fried Chickpeas savoury soup topper – and that rises to around 26g of protein. Pretty impressive for such a simple, budget-friendly meal!

Ingredient Cost Breakdown

  • 1 TBSP extra virgin olive oil (Tesco) – 10p
  • 1 medium brown onion (120g) (Tesco) – 11p
  • 2 small carrots (90g) (Tesco) – 6p
  • 2 tsp minced garlic (Lazy Garlic) – 6p
  • 1 medium white potato (250g) (Tesco) – 19p
  • ½ tsp ground turmeric (East End) – 1p
  • 1 tsp ground cumin (Rajah) – 3p
  • 225g / 1¼ cups red split lentils (Natco) – 45p
  • 1000ml / 4½ cups vegetable stock (Marigold Bouillon, 12g) – 18p
  • 1 unwaxed lemon (M&S) – 44p

Total cost: £1.63

Cost per serving: 82p

Prices listed are for February 2026 and mostly sourced from Tesco, where I currently do my main grocery shop.

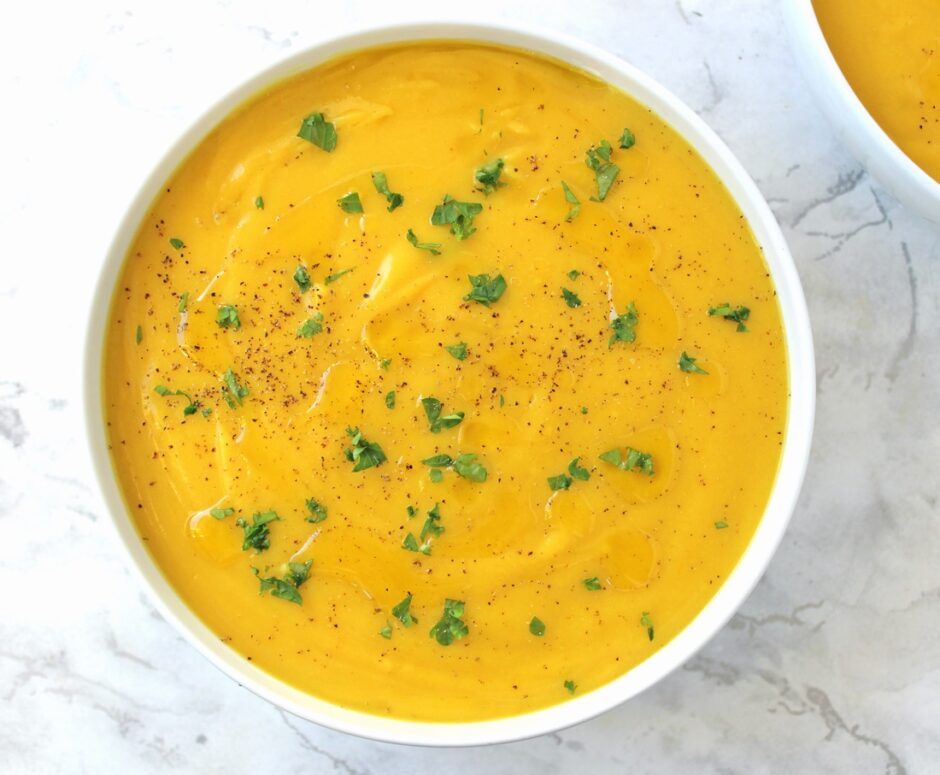
Lebanese lentil soup (Shorbat Adas), vegan and budget-friendly

The Good Stuff

This soup is packed with nutritious ingredients:

Lentils are rich in protein, fibre, and essential minerals such as iron, folate, and manganese. They also contain polyphenols with antioxidant and anti‑inflammatory benefits.

Onions are rich in antioxidants and sulfur compounds, which support heart health, immune function, and help reduce inflammation.

Garlic contains sulfur compounds (like allicin) and antioxidants, which support immune function, heart health, and have anti-inflammatory effects.

Carrots are packed with beta‑carotene (which converts to vitamin A), supporting eye health and immunity.

White potatoes (with the skin) provide fibre, an array of minerals (especially potassium), vitamin C and antioxidants, supporting digestion, immunity, and heart health.

Ground cumin is rich in antioxidants and iron and is traditionally used to support digestion and metabolic health.

Ground turmeric contains curcumin – a powerful antioxidant and anti‑inflammatory compound – plus manganese and iron.

Black pepper contains piperine, which enhances nutrient absorption (especially curcumin from turmeric) and supports digestion.

Lebanese lentil soup (Shorbat Adas), vegan and budget-friendly

Top Tips & FAQs

Which type of lentil is best for this soup?
Red split lentils are ideal as they cook quickly, don’t require soaking, and break down into a silky, creamy texture.

Why should you wash lentils?
Rinsing removes dust, debris, and excess starch, helping to reduce bloating. Rinse in a fine mesh sieve under cold running water, agitating them with your hand until the water runs clear.

New to lentils? Start low and slow.
If lentils are new to you, start with smaller portions and increase gradually to allow your digestion to adapt.

My soup has gone super thick in the fridge – help!
This is totally normal! Lentils absorb liquid as they cool. Simply whisk in a little extra water or stock while reheating until you reach your desired consistency.

Gluten‑free?
This soup is naturally gluten‑free. Just check your vegetable stock or bouillon powder and serve with gluten‑free bread if needed.

Recipe Card

Lebanese lentil soup (Shorbat Adas), vegan and budget-friendly

Easy Lebanese Lentil Soup

This comforting, nourishing soup is easy to make and ready in just 35 minutes. I keep the spices minimal to let the natural flavour of the lentils shine, but feel free to adjust them to suit your taste. A squeeze of fresh lemon at the end is highly recommended!
5 from 1 vote
Hands-on time 20 minutes
Total Time 35 minutes
Course Light Dinner, Lunch, Soup
Cuisine Lebanese, Middle East
Servings 4

Ingredients
 

  • 1 TBSP extra virgin olive oil plus extra for drizzling
  • 1 medium brown onion finely chopped
  • 2 small carrots (90g) halved lengthways and thinly sliced
  • 2 tsp minced garlic
  • 1 medium white potato (250g) diced (no need to peel if blending)
  • ½ tsp ground turmeric
  • 1 tsp ground cumin
  • 225 g / 1¼ cups red split lentils thoroughly washed (see Notes below)
  • 1000 ml / 4½ cups vegetable stock (vegetable broth)
  • ¼ tsp freshly ground black pepper
  • ¼ tsp salt, or to taste
  • Fresh parsley, optional

To serve:

  • Lemon wedges

Suggested accompaniments: 


  • Toasted sourdough, multigrain bread or warm flatbread


  • Pan-fried sunflower and pumpkin seeds, or chickpeas, as a soup topper (see Notes below)

Instructions
 

  • Heat the oil in a large saucepan over medium heat. Add the onion and cook until softened and translucent (about 5 minutes).
  • Add the carrot and garlic and cook for another minute or so, stirring regularly.
  • Add the potato, followed by the turmeric and cumin. Stir through to coat the vegetables in the spices. If they begin to stick, add a small splash of water.
  • Add the rinsed lentils, followed by the vegetable stock, black pepper and salt (adjust depending on how salty your stock is).
  • Bring to the boil, then reduce the heat, partially cover with a lid, and simmer for 20 minutes, or until the vegetables and lentils are very soft.
  • Blend until smooth using a stick (immersion) blender, or carefully transfer to a jug blender.
  • Taste and adjust seasoning as needed.
  • Divide between warm bowls. Add a drizzle of olive oil, and a sprinkling of freshly ground black pepper, chopped parsley, and pan-fried seeds or chickpeas, if desired.
  • Serve with a wedge of lemon and toasted bread or warm flatbread on the side.

Notes

tsp = teaspoon | TBSP = tablespoon
Store leftovers in an airtight container for up to 5 days in the fridge or 3 months in the freezer.
The soup will thicken as it sits – simply thin with water or stock when reheating.
Washing lentils: Place the red lentils in a fine mesh sieve under cold running water, gently agitating them with your fingers until the water runs clear. 
For a little extra protein and crunch, you can top the soup with pan-fried sunflower and pumpkin seeds – lightly fry them in a small amount of olive oil over medium heat for 2–3 minutes, stirring frequently, until lightly golden and fragrant.

For another delicious option, try adding a serving of my Golden Pan-Fried Chickpeas savoury soup topper. They add a lovely contrast in texture along with an extra boost of plant-based protein.
Keyword Budget-friendly soup, Easy lentil soup, Lebanese lentil soup, Plant-based soup, Quick lentil soup recipe, Red Lentil Soup, Shorbat Adas, Vegan lentil soup
Tried this recipe?Let us know how it was!


Nutritional Breakdown

N.B. The above values are estimates and for illustration purposes only. The actual nutritional values will vary depending on the specific ingredients used. The % Reference Intake (RI) will also vary depending on your age, gender, height, BMI, level of activity and other personal variables.

Pin for Later

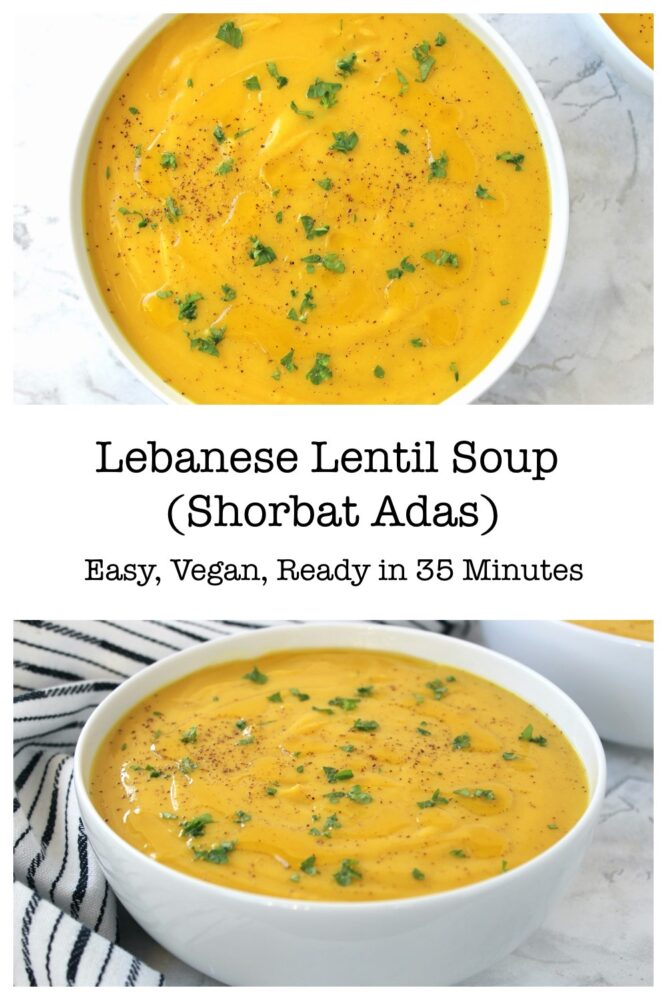
Lebanese Lentil Soup Collage for Pinterest

If you make this easy Lebanese Lentil Soup, I’d love to hear your feedback and any suggestions for adaptations! You can drop your comments in the section below. You can also connect with me over on Instagram, Facebook, and Pinterest. Please tag your photos with #bitofthegoodstuff on social media – I absolutely love seeing your creations! ❤️

With love,
Sharon xx
Easy Vegan British Scones

Jump to Recipe

These vegan British scones are incredibly easy to make, budget-friendly at just 15p each, and taste just as delicious as the classic version—with no dairy or eggs needed!

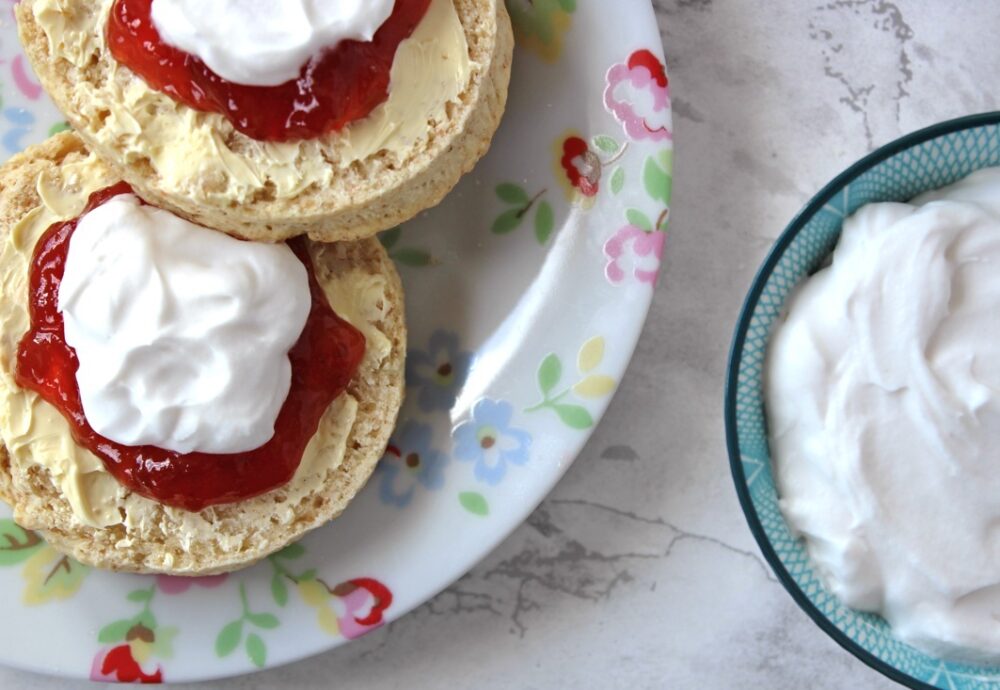
There’s nothing quite like a warm, freshly baked scone topped with fruity jam and a dollop of cream. It’s one of those simple pleasures that feels like a real treat! These British scones are ideal for weekend baking, tea parties with friends, or simply enjoying a moment of indulgence midweek.

British Scones (Vegan | Dairy-Free)

I first created this scone recipe over a decade ago, and I’m still baking it today! In fact, this was the recipe that landed me a finalist spot in PETA UK’s very first ‘Great Vegan Bake-Off’ way back in 2013! You’ll also find it on page 47 of the Bit of the Good Stuff Cookbook. I’m so happy to finally re-share it here on the blog—with a fresh new look and set of photos.

These scones are so easy and inexpensive to make, using just a few pantry staples!

Ingredient Costs

Here’s a quick breakdown of the costs, sourced from Tesco where I currently do my main grocery shop (prices listed are for June 2025):

  • 300ml / 1¼ cups soya milk (Tesco Longlife) – 38p
  • 10ml / 2 tsp apple cider vinegar (Tesco) – 4p
  • 270g / 2 cups plain flour (Tesco) – 14p
  • 270g / 2 cups fine wholemeal or chapatti flour (Tesco Medium Chapatti Flour) – 26p
  • 18g / 4 tsp baking powder (Stockwell & Co) – 7p
  • 90g / 6 TBSP vegan butter (Flora Buttery) – 38p
  • 36g / 3 TBSP unrefined cane sugar (Billingtons Golden Caster) – 10p

Total cost: £1.37
Cost per scone: 15p

British Scones (Vegan | Dairy-Free)

Top Tips & FAQs

How do you get the perfect scone texture?

  • The key is minimal handling. As soon as the dough starts coming together, turn it out onto a floured surface and avoid kneading it. Overworking the dough will make the scones tough or chewy.
  • Roll it to a thickness of between 2.5 cm – 3 cm (1 inch – 1⅓ inches) for the best rise. And remember, when using a cutter, press straight down and lift up – don’t twist or you’ll end up with funny shape scones! 
  • A hot oven is essential too. It helps the scones puff up quickly, giving you that soft interior and crisp top.

What’s the best plant milk for vegan scones?

  • Soya milk is my go-to for baking. It has a higher protein content than most plant milks, which helps with browning and structure. When mixed with vinegar, it curdles and mimics buttermilk—ideal for achieving that classic scone texture.

Recipe Card

British Scones (Vegan | Dairy-Free)

Easy Vegan British Scones

These quick and easy vegan British scones are dairy-free, egg-free, and budget-friendly—yet every bit as delicious as the classic version! Perfect for cream teas, elevenses and as an afternoon treat!
Hands on time 20 minutes
Total Time 35 minutes
Course Afternoon Tea, Celebrations, Elevenses, Treat
Cuisine English
Servings 9

Ingredients
 

  • 300 ml / 1¼ cups soya milk
  • 10 ml / 2 tsp apple cider vinegar
  • 270 g / 2 cups plain (all-purpose) flour
  • 270 g / 2 cups fine wholemeal (whole wheat pastry) flour or chapatti flour or sub with more plain flour
  • 18 g / 4 tsp baking powder
  • ¼ tsp salt
  • 90 g / 6 TBSP chilled vegan butter or dairy-free spread (I use Flora Buttery or Vitalite)
  • 36 g / 3 TBSP golden caster (unrefined cane) sugar
  • A little extra soya milk for glazing

Filling Ideas

  • Vegan buttery spread
  • Strawberry jam or fruit spread (we love St Dalfour)
  • Coconut Whipped Cream*

Instructions
 

  • Preheat the oven to 220°C (200°C fan) / 425°F. Line a large baking tray with non-stick baking paper.
  • In a jug, whisk the soya milk and vinegar together. Set aside while you prepare the dry ingredients.
  • In a large mixing bowl, combine the flours, baking powder, and salt. Rub in the vegan butter/dairy-free spread using your fingertips until the mixture resembles fine breadcrumbs.
  • Stir in the sugar.
  • Make a well in the centre and pour in three-quarters of the milk mixture. Gently stir with a spoon to combine. Add the remaining liquid a little at a time, using your hands to bring the mixture together into a soft, slightly sticky dough. (Depending on the type of flour you use, you may not need all the liquid). Do not overwork the mixture, as this will result in heavy scones.
  • Tip the dough onto a lightly floured surface. Sprinkle a little flour on top and gently roll out to a thickness of around 2.5cm – 3cm / 1 inch – 1⅓ inches.
  • Using a 7.5cm / 3 inch metal pastry cutter, cut out rounds. Swiftly press straight down and lift—don’t twist! Place the scones onto the prepared tray.
  • Re-roll the scraps as needed, handling the dough as little as possible.
  • Brush the tops with a little soya milk, for a golden glaze.
  • Bake for 15 minutes, or until lightly browned on top. Leave to cool slightly, before serving.

Notes

Serving & Storage
These scones are best enjoyed fresh, but they’ll keep in an airtight container for a couple of days. They also freeze really well. I like to keep a stash in an airtight freezer bag, ready for whenever a scone craving hits!
* My easy Coconut Whipped Cream recipe can be found here.
Keyword Dairy-Free, English Scones, Vegan, Vegan Afternoon Tea, Vegan Baking, Vegan Cream Tea, Vegan Scones
Tried this recipe?Let us know how it was!

Pin for later ⬇️

British Scones (Vegan | Dairy-Free)

If you make these British Scones, I’d love to hear your feedback and any suggestions for adaptations. Tag your photos with #bitofthegoodstuff on social media – I always love to see your creations! You can also connect with me on my social media channels here: InstagramFacebook, Pinterest.   

With love,

Sharon xx
———————

You might also like….

Coconut Whipped Cream (Vegan / Dairy-Free)

Coconut Whipped Cream


Coconut Whipped Cream (Vegan / Dairy-Free)

Jump to Recipe

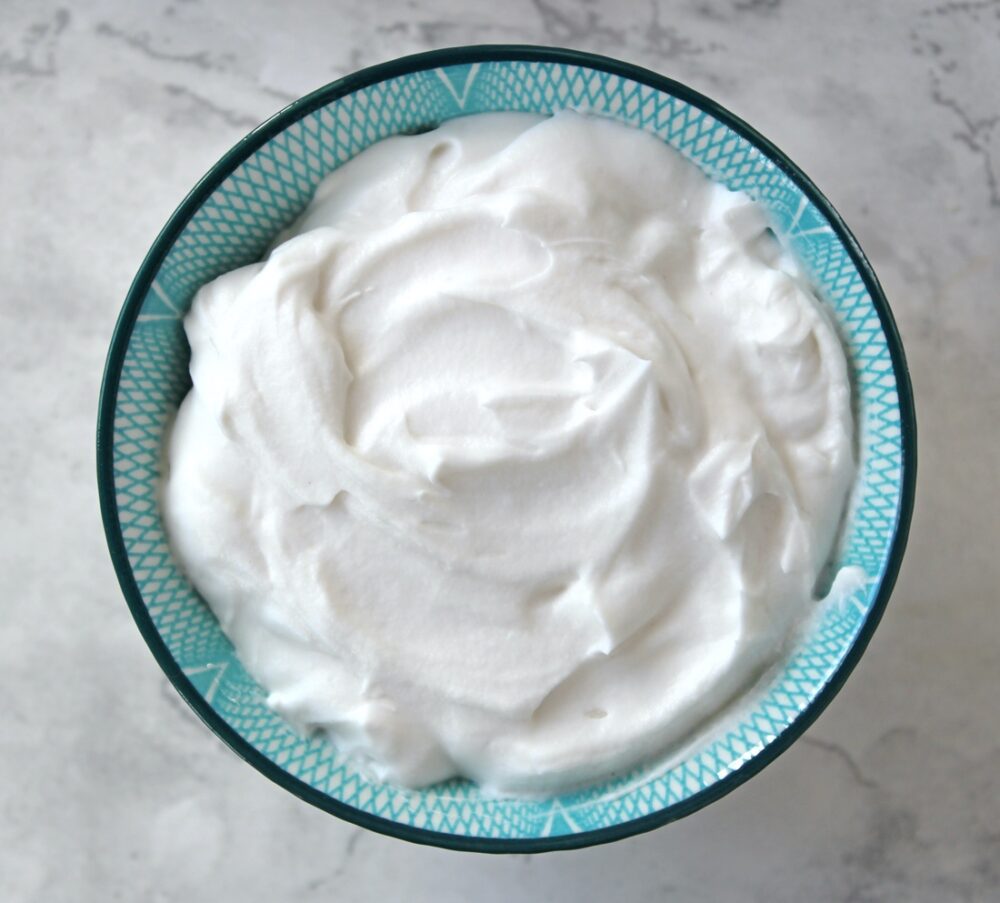
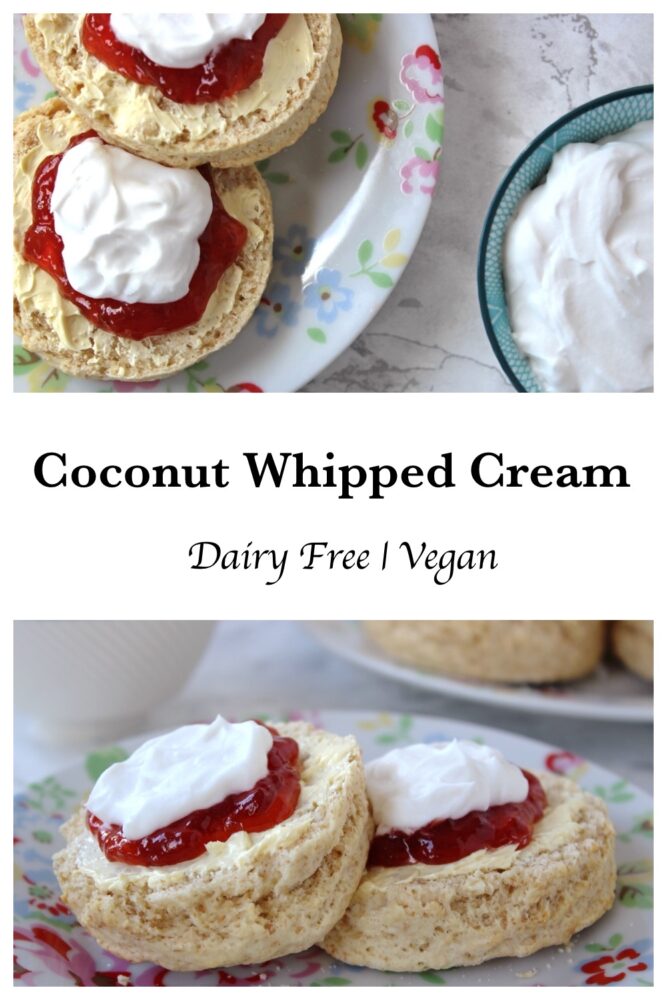
Lightly sweetened with a hint of vanilla, this dreamy coconut whipped cream is a delicious dairy-free alternative to traditional clotted cream. It’s quick and easy to make, and perfect for topping scones, fresh fruit, and all your favourite desserts.

We especially love serving it as part of a Vegan Cream Tea, alongside freshly baked scones, strawberry jam, and a pot of tea. It’s also wonderful paired with strawberries for a plant-based twist on the classic Strawberries & Cream dessert.

This recipe was first published in the Bit of the Good Stuff Cookbook (back in 2016), and it’s still my go-to dairy-free cream to this day. I’m so happy to finally be sharing it on the blog!

British Scones (Vegan | Dairy-Free)

Top Tips & FAQs

Where can I find coconut cream?
In the UK, coconut cream is available in larger supermarkets—usually in the world food aisle near the coconut milk. My favourite is Sainsbury’s own-brand coconut cream (which comes in a handy tetra pak).

Why chill the coconut cream?
Chilling allows the cream to separate from the water and firm up—essential for that rich, clotted cream-style texture. Once chilled, the solid cream rises to the top, and that’s the part we want! Just be sure not to shake the container before opening, or the cream and water may remix.

How do I stop the cream from melting?
If your kitchen is warm, pop your jug (or small bowl) and beaters in the freezer for 5–10 minutes before you begin. This helps keep the coconut cream cool and prevents it from softening as you whip. Once whipped, store the cream in the fridge until needed.

Coconut Whipped Cream

Recipe Card

British Scones (Vegan | Dairy-Free)

Coconut Whipped Cream (Vegan | Dairy-Free)


This whipped coconut cream is a dreamy dairy-free alternative to clotted cream – perfect for topping scones, strawberries, and all your favourite desserts!
Prep Time 1 day
Hands on time 5 minutes
Total Time 1 day 5 minutes
Course Afternoon Tea, Dessert
Servings 5 servings

Ingredients
 

  • 250 ml / 8½ fl oz coconut cream see Top Tips & FAQs above
  • 1 TBSP icing (powdered) sugar
  • ½ tsp vanilla extract

Instructions
 

  • Chill the coconut cream in the refrigerator for at least 24 hours (this helps the cream separate and firm up). Do not shake the container.
  • Carefully open and scoop the solid cream into a measuring jug or small bowl. (You can discard any water or save it for a smoothie.)
  • If the cream is very firm, break it up with a fork, then beat with an electric hand mixer until smooth and fluffy.
  • Sieve in the icing sugar, add the vanilla extract, and beat again until combined. Taste and add a touch more sweetener or vanilla if needed.
  • Chill until ready to serve. The cream will keep in the fridge for up to a week. If it firms up too much, just whisk it with a fork before serving.

Notes

If your kitchen is warm, chill your jug (or bowl) and beaters in the freezer for 5–10 minutes before starting.
Keyword Coconut Cream, Dairy-Free Cream, Easy Vegan Desserts, Vegan Afternoon Tea, Vegan Cream Tea
Tried this recipe?Let us know how it was!

Pin for Later ⬇️

Coconut Whipped Cream Collage

If you make this Coconut Whipped Cream, I’d love to hear your feedback and any suggestions for adaptations. Feel free to tag your photos with #bitofthegoodstuff on social media – I always love to see your creations! You can also connect with me on my social media channels here: Instagram, Facebook, Pinterest.   

With love,

Sharon xx


You might also like…

Easy British Vegan Scones

British Scones (Vegan | Dairy-Free)

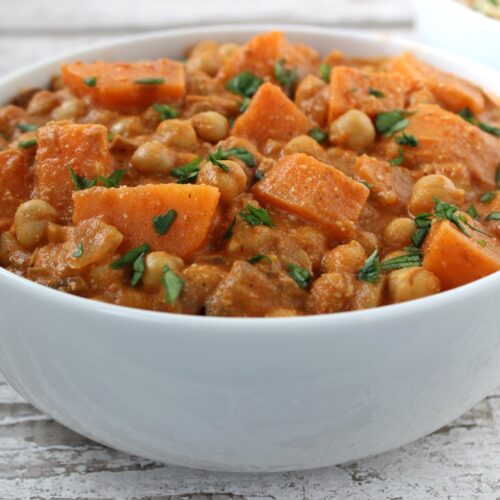
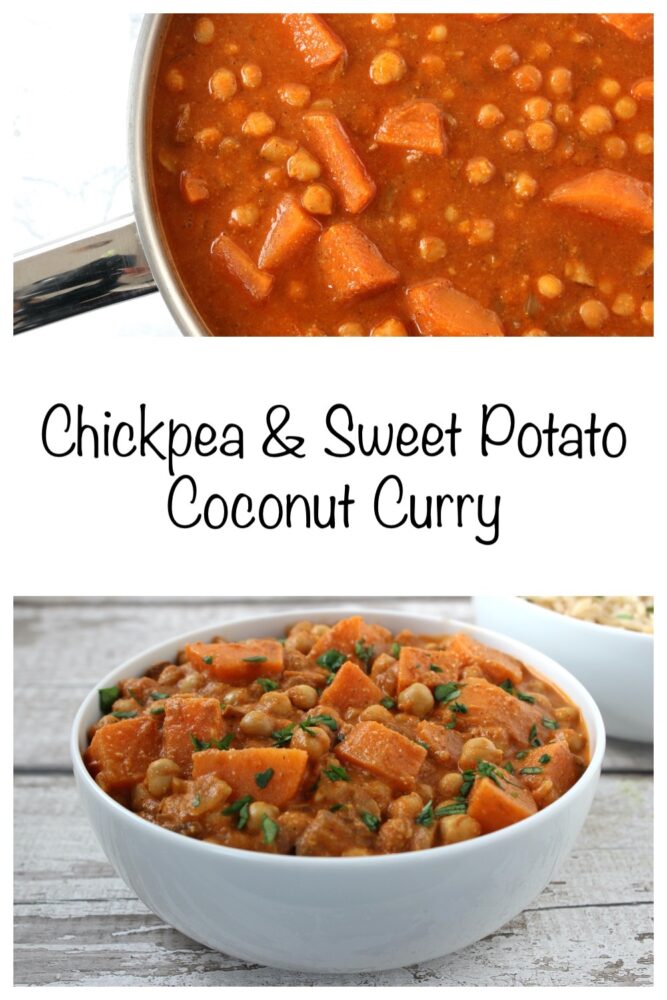
Chickpea & Sweet Potato Coconut Curry

Jump to Recipe

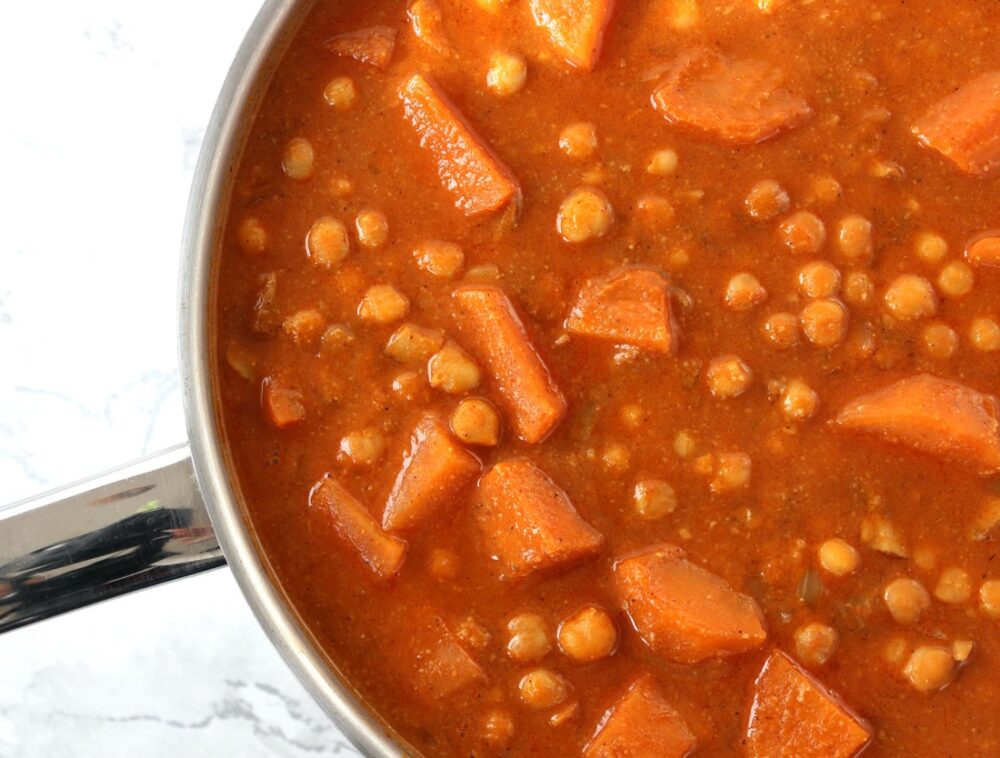
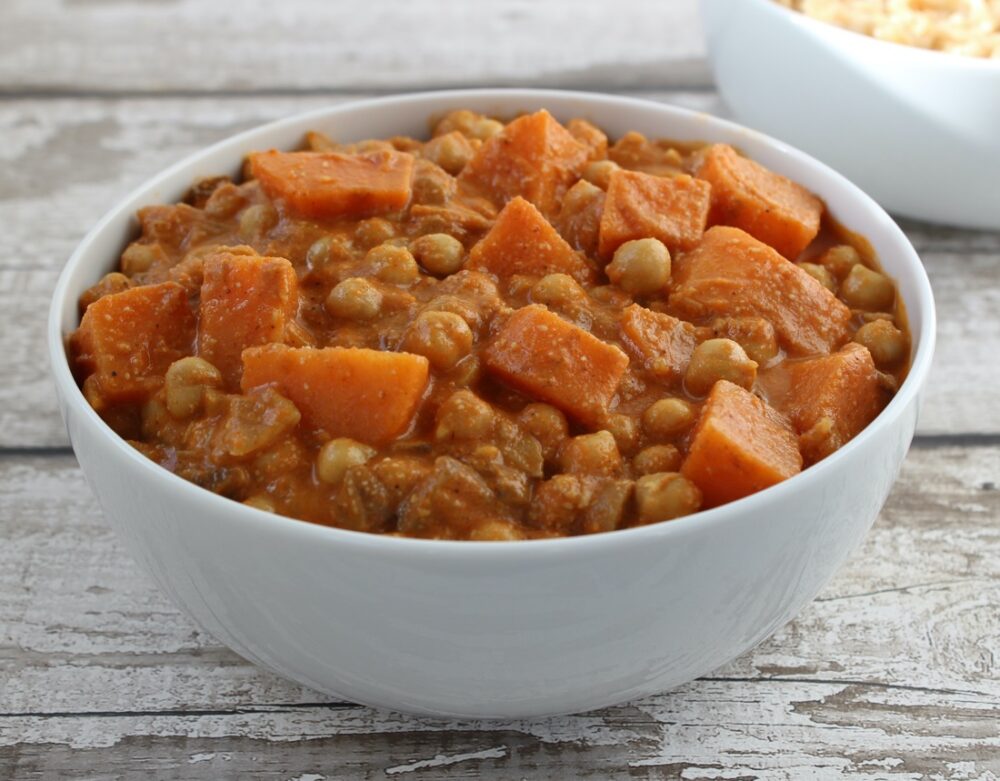
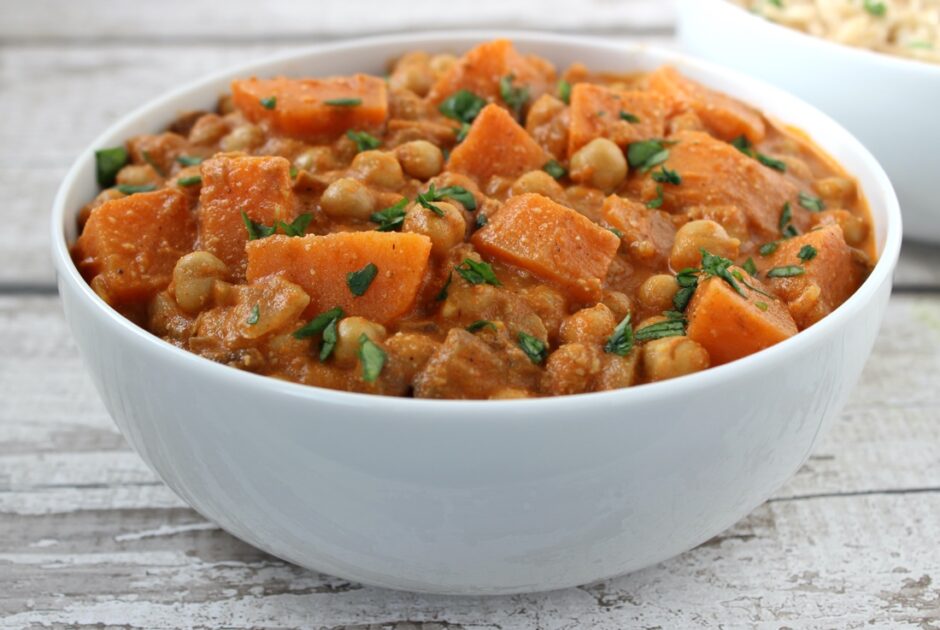
This Chickpea and Sweet Potato Coconut Curry is one of my family’s favourite weeknight dinners. It’s hearty, warming, bursting with flavour, and packed with nutritional goodness to nourish both body and soul. Easy to prepare and budget-friendly at 90p per portion, it’s a recipe you’ll want to come back to again and again!

This recipe is part of my 3 Healthy Meals for £3 a Day series, perfect for students and anyone seeking cheap, easy, and delicious plant-based meals.

Ingredient Cost Breakdown

  • ½ medium onion (60g) (Tesco) – 6p 
  • 2 tsp minced garlic (Very Lazy Chopped Garlic) – 6p
  • 5 mushrooms (100g) (Tesco) – 30p
  • 1 medium sweet potato (200g) (Tesco) – 24p 
  • 1 tsp smoked paprika (Tesco) – 4p
  • 1 tsp ground cumin (East End) – 2p
  • 1 TBSP curry powder (Tesco) – 10p
  • 2 TBSP tomato puree (Tesco Growers Harvest) – 10p
  • 300 ml / 1¼ cups vegetable stock (Marigold bouillon powder) – 8p
  • 400ml / 14 oz can chickpeas (Tesco) – 49p
  • 50g / 2 oz creamed coconut (Pride) – 25p

Serve with:

  • 120g / ⅔ cup brown rice (Tesco) – 17p

Total cost: £1.81

Cost per serving: 90p

Prices listed are for November 2024, sourced from Tesco where I currently do my main grocery shop.

Chickpea and Sweet Potato Coconut Curry

The Good Stuff

This curry is packed full of nutritional goodness:

Onions are rich in antioxidant flavonoids, such as quercetin, as well as vitamins and fibre which support immune health, heart health and have anti-inflammatory properties.

Garlic is rich in sulfur-containing compounds like allicin, which have potent antioxidant, anti-inflammatory, and immune-boosting properties.

Mushrooms are rich in B vitamins, selenium, copper, and antioxidants, which support immune function and brain health.

Sweet potatoes are a great source of complex carbs, fibre, and vitamins A, C, and B6, supporting immune function, eye health, and digestive health.

Curry spices (including cumin, coriander, paprika and turmeric) provide antioxidants that aid digestion, heart health, and reduce inflammation.

Tomato puree contains lycopene, an antioxidant that promotes heart health and has anti-inflammatory properties.

Chickpeas are a great plant-based protein, with fibre and essential nutrients like folate, iron, and magnesium, for heart health and blood sugar regulation.

Brown rice is a whole grain, rich in fibre, magnesium and B vitamins, supporting heart health and energy metabolism.

Chickpea and Sweet Potato Coconut Curry

Top Tips & FAQs

What is creamed coconut?

Creamed coconut is made of 100% coconut and comes in a solid block (not to be confused with coconut cream which comes in a tin or tetra pak). In UK supermarkets, it’s usually found in the world food aisles (in the Indian, Thai and African Caribbean sections).

Here’s why I prefer to use creamed coconut in my curries…

  • It’s purely made from coconut, unlike many coconut milk products that contain additives like ‘Polysorbate 60’.
  • I only need about 50g (¼ of a 200g block) to achieve a rich, creamy texture, reducing the fat and calorie content compared to a full can of coconut milk.
  • It works out far cheaper. The creamed coconut costs around 25p, while a quality can of coconut milk without additives can cost over £1.00.

Can I recommend a brand of creamed coconut?

My current favourite is Pride, which has a lovely consistency and is currently available at Tesco for £1 for a 200g block. In other brands, I’ve found there can be some separation between the cream and coconut oil in the block (you’ll notice this if one end of the block is bright white and softer). It’s the creamy coloured, hard section of the block that we want to use in our curries.

Recipe Card

Chickpea and Sweet Potato Coconut Curry (Vegan | Dairy-Free)

Chickpea & Sweet Potato Coconut Curry

This curry is hearty, warming and packed full of nutritional goodness. I’ve kept the spices mild so that it’s family-friendly, but feel free to use a hotter curry powder if you like heat! It's freezer friendly and perfect for batch-cooking.
Hands-on Time 20 minutes
Total Time 35 minutes
Course Dinner
Cuisine Indian
Servings 2

Ingredients
 

  • ½ TBSP oil
  • ½ medium onion (60g) finely chopped
  • 2 tsp minced garlic
  • 5 mushrooms (100g) finely chopped
  • 1 medium sweet potato (200g) peeled and cut into 2cm / ¾ inch cubes
  • 1 tsp smoked paprika
  • 1 tsp ground cumin
  • 1 TBSP curry powder I use mild
  • 2 TBSP tomato puree (paste)
  • 300 ml / 1¼ cups vegetable stock (broth)
  • 400 ml / 14 oz can chickpeas in water rinsed and drained*
  • ¼ tsp salt
  • 50 g / 2 oz creamed coconut** chopped into small pieces

Serve with:

  • 120 g / ⅔ cup uncooked brown rice or 360g / 2⅓ cups cooked rice***

Suggested accompaniments:

  • Flatbreads such as chapatti, roti or naan
  • Finely chopped spinach or coriander leaves, for garnish

Instructions
 

  • Heat the oil in a large saucepan over low-medium heat. Add the onion and cook until it starts to soften and become translucent, about 3-5 minutes.
  • Stir in the garlic and chopped mushrooms.
  • When the mushrooms start to release their liquid, stir in the spices (smoked paprika, cumin, curry powder) and tomato puree. Cook for 1 minute to allow the flavours to deepen.
  • Add the sweet potato cubes and stir to coat in the spices. If they start to stick to the pan, add a splash of water.
  • Add the vegetable stock, chickpeas and salt, and bring to a gentle boil. Cover with a lid (leave it open a crack to allow the steam to escape) and cook for 20 minutes, or until the sweet potato is tender. Add a splash more stock or water, if needed.
  • Stir in the creamed coconut and simmer for 5 minutes.
  • Remove from the heat and allow to cool slightly (it will thicken as it cools). Taste test and adjust the seasoning to suit. Arrange in bowls with rice and optional garnish and accompaniments, and it’s ready to serve.

Notes

tsp = teaspoon | TBSP = tablespoon  
* To rinse the chickpeas, drain in a fine mesh sieve and rinse under cold water, until the water runs clear. 
** Creamed coconut is made of pure coconut and comes in a solid block. In UK supermarkets, it can be found in the world food aisles. Check out my ‘Top Tips’ section above to find out why I love to use it in curries and my recommended brand.
*** For convenience, you can use microwavable wholegrain rice. I would recommend transferring it to a glass dish before microwaving. 
Storage Tips: Leftover curry can be refrigerated for up to five days and also freezes well. Store leftover rice separately, refrigerate within 1 hour of cooking and consume within 24 hours (This is the advice of the British Food Standards Agency).
Keyword Budget Vegan Meals, Easy Vegan Meals, Family Friendly, Gluten-Free, Plant-Based, Student Vegan Meals, Vegan Curry, Vegan Dinners
Tried this recipe?Let us know how it was!

Nutrition breakdown

N.B. The above values are estimates and for illustration purposes only. The actual nutritional values will vary depending on the specific ingredients used. The % Reference Intake (RI) will also vary depending on your age, gender, height, BMI, level of activity and other personal variables.

Pin for later ⬇️

Chickpea & Sweet Potato Coconut Curry

If you make this curry, I’d love to hear your feedback and any suggestions for adaptations. Tag your photos with #bitofthegoodstuff on social media – I’d love to see them! You can also connect with me on my social media channels here: InstagramFacebookPinterest.  

With love,

Sharon xx
—————————–

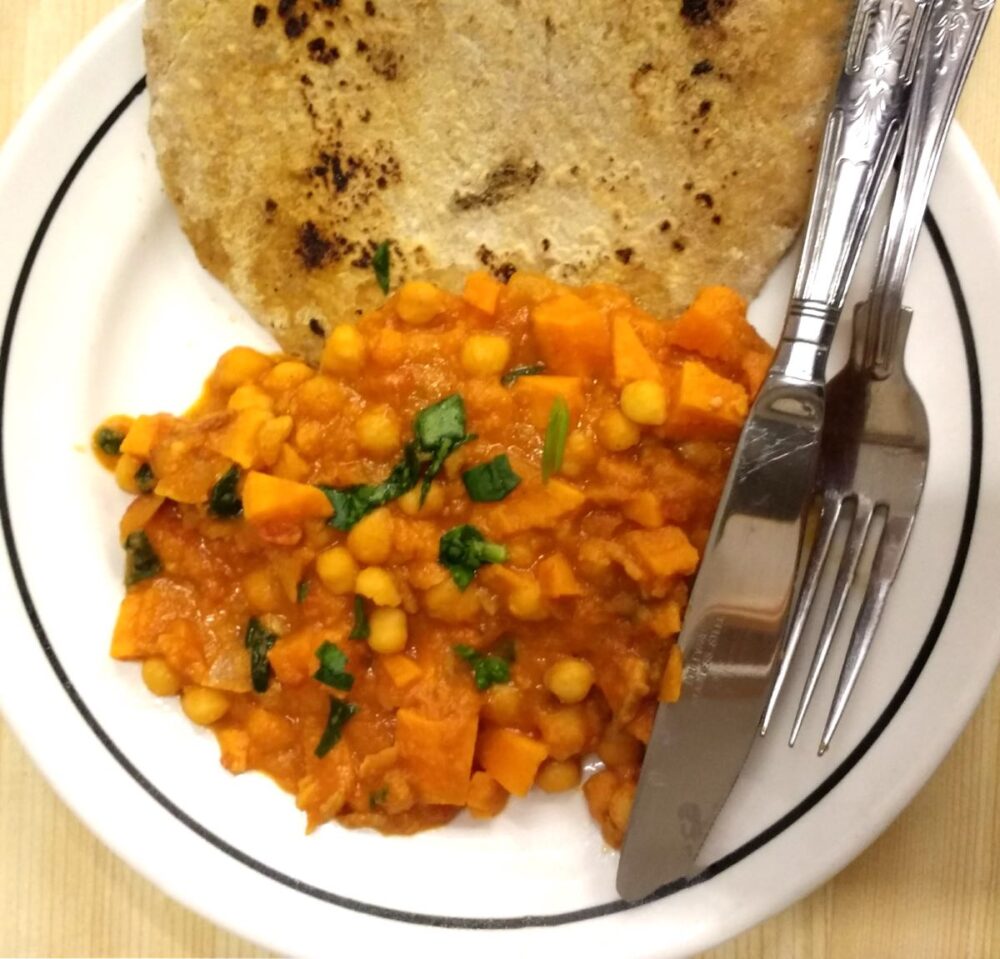
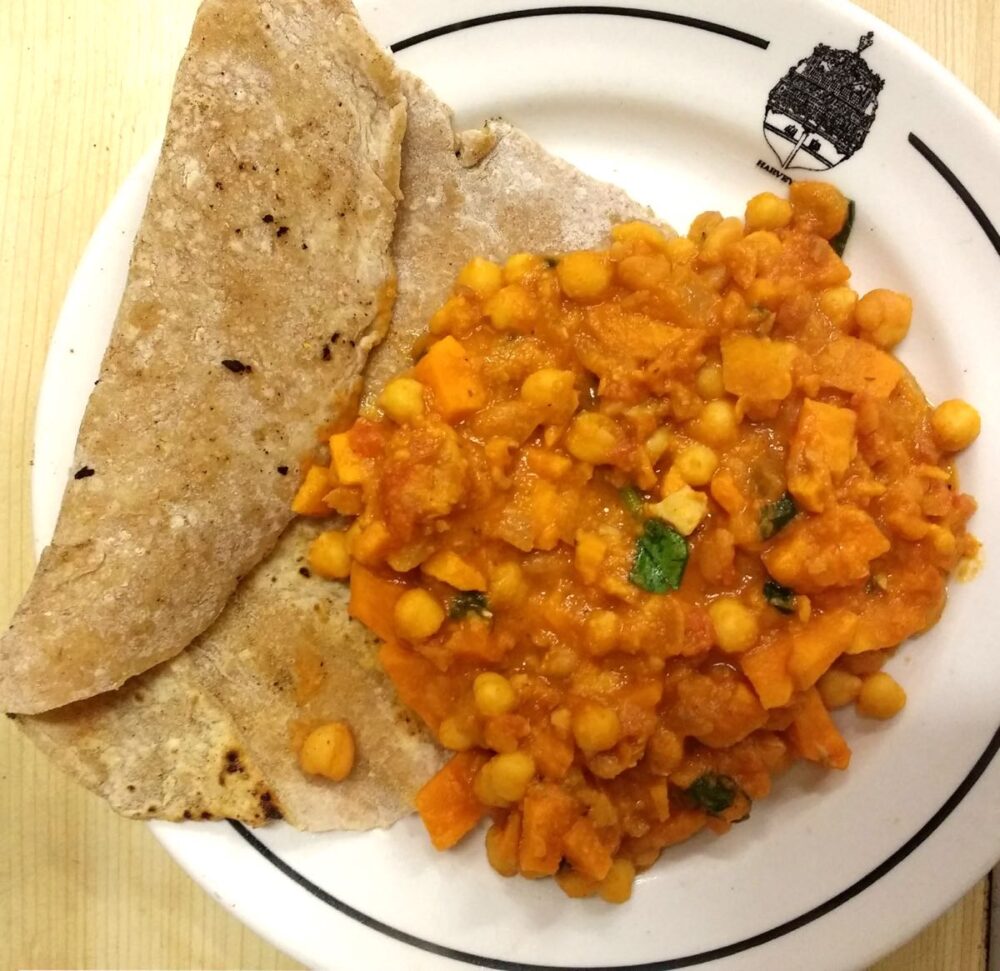
Vegan Night at Bath Scouts, 2018 💚

In March, Mark and I were invited by our local Scout group (boys and girls aged 10 to 16) to lead a vegan cooking session. The scouts were split into four teams and we set them the challenge of making this Sweet Potato and Chickpea Coconut Curry as well as chapattis from scratch! They had thirty minutes to create the meal and present it, before being judged. They had the added difficulty of being in their scout hut with very little equipment and just a hot plate to cook on! We were blown away not only by their cooking skills, but also their enthusiasm! All four teams ended up producing the most delicious curries, which meant we had a really tough time picking a winner. I managed to snap a couple of pics before the curries got devoured.

Chickpea and Sweet Potato Coconut Curry

Chickpea and Sweet Potato Coconut Curry

Didn’t they do well? We heard that some of the scouts even started cooking this curry at home for their families 😀


N.B. This post was originally published in 2018 and updated in November 2024.

SaveSave

SaveSave

SaveSave

SaveSave