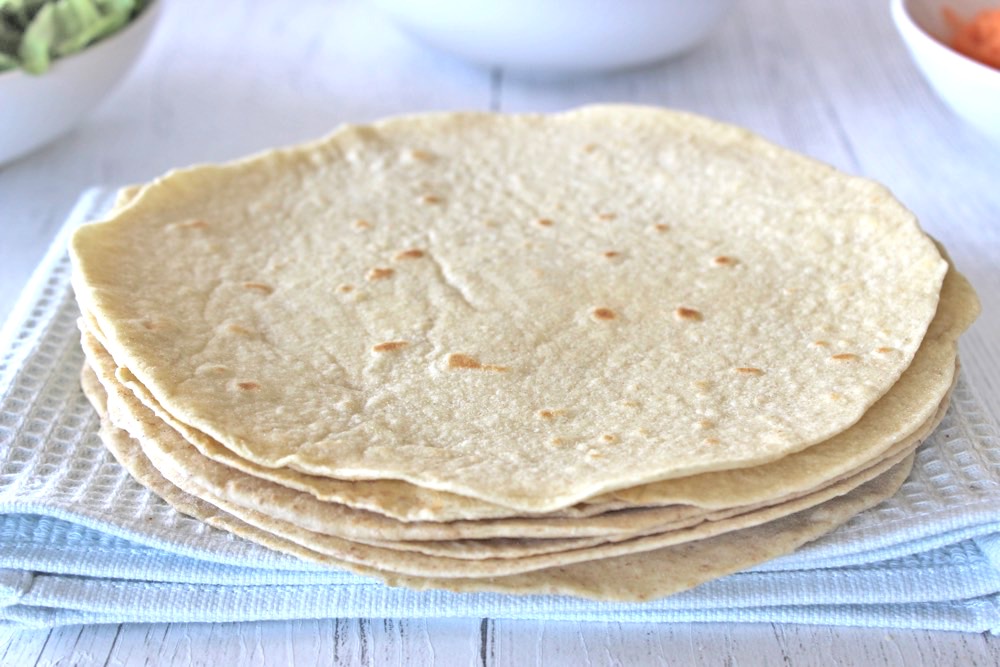
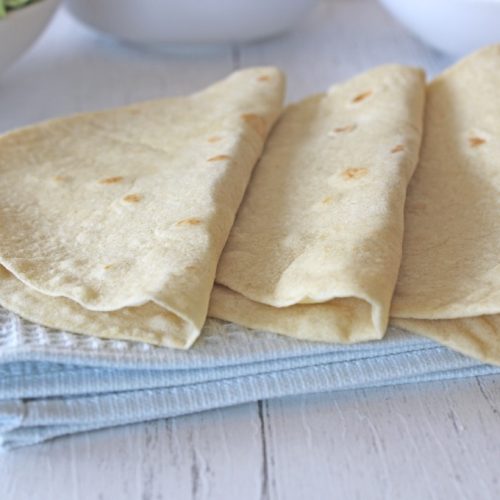
In today’s post, I’m sharing my recipe for easy home-made tortilla wraps. They contain just five ingredients and cost as little as 27p for six. Bargain!
Not only budget-friendly, they also taste far nicer and fresher than the shop-bought variety. One bite of a home-made tortilla and you’ll never want to go back to shop-bought again!
✧ Home-made tortillas are easy and delicious!
Have you checked the ingredients lists on shop-bought tortillas? I was shocked when I saw how many ingredients they contain. I counted 12 ingredients in the basic Waitrose and Tesco tortillas, including emulsifiers, preservatives, stabilisers, humectants… and palm oil.
I never dreamed that they would be easy to make from scratch, however one day we were in the midst of making fajitas for dinner and realised that we didn’t have any tortillas on hand. Instead of abandoning the fajitas, we decided to have a go at making our own.
And you know what? Not only were they easy to make, but they were absolutely delicious! They tasted so fresh and ‘real’ compared to the shop-bought variety. In fact, Mark and Lucien loved them so much that they said they could never go back to shop-bought again. I was okay with this, on the proviso that they make the tortillas while I prepare the fillings. And they happily agreed to do so!
✧ Make it fun!
The kitchen is now filled with fun and lots of chat on kebab and fajita nights, as we all get stuck into preparing the meal. I prepare the filling, while Mark rolls the tortillas and Lucien cooks them. A helping hand means the tortillas are ready in half the time, which is a bonus!
The tortillas are best served fresh, however they can be stored in the fridge for up to a week. Sometimes, I’ll spend an hour preparing a triple or quadruple batch, which we then use through the week. I always make sure the music’s playing loud and I’m singing and dancing along, which makes the tortilla making much more fun.
✧ Perfecting my tortilla recipe
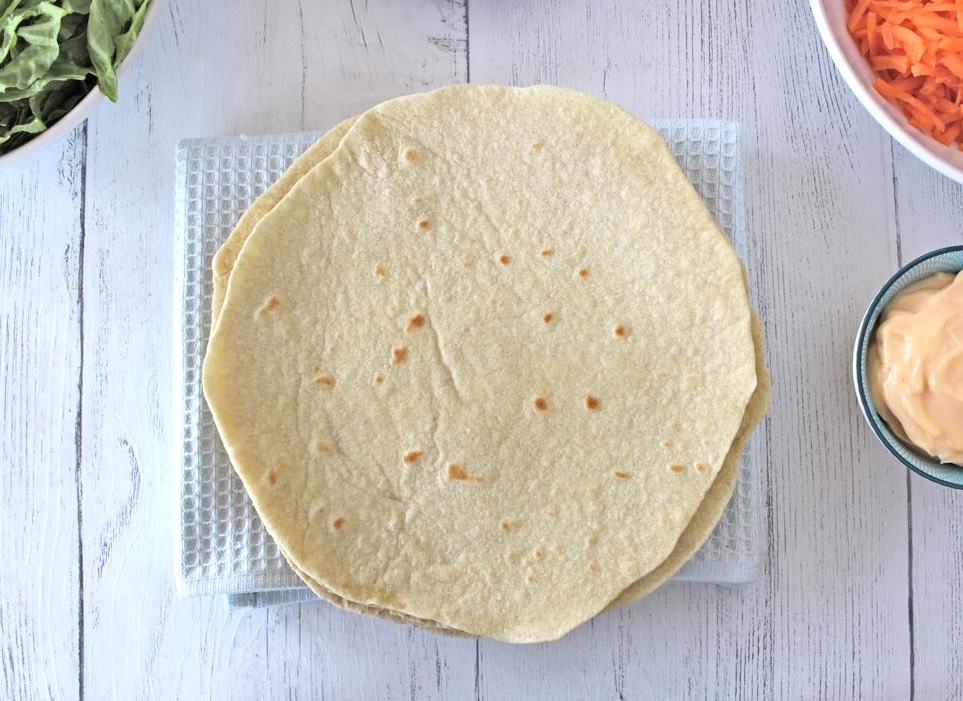
My first attempt at home-made tortillas was based on my chapatti recipe (also published on p119 of the Bit of the Good Stuff cookbook) and it was pretty good. Since then, however, I’ve been on a mission to ‘perfect’ my flour tortilla recipe. I’ve tried different ratios of dry ingredients and liquids; different amounts of oil (I wanted to keep the oil to a minimum, yet use sufficient oil to ensure the tortillas can be stored and reheated without drying out and cracking); and I’ve compared using water and plant milk as the main liquid. Tortillas are traditionally made with water, but I find plant milk can really enhance the flavour.
The recipe I’m sharing today is based on my fifth trial and they’ve got a huge thumbs up from the family. I hope you enjoy them too!
✧ My top tips for home-made tortillas
Making tortillas is far easier than you might imagine, but here are some tips that I’ve learnt along the way to help perfect the process:
✦ For tortillas, you want a light, slightly sticky dough. It’s easier to start with a dough that’s too sticky and add a little flour at a time until you reach the right consistency, rather than adding more liquid to a dough that’s too dry.
✦ It’s best to use warm liquid rather than cold. It makes it much easier to roll the tortillas.
✦ To roll a perfect circle, press the floured dough ball into a flat disk using your fingers, then use a rolling pin to roll the tortilla into a large circle, rolling anti-clockwise from the centre of the circle to the outer edge. With practice, the easier and quicker it becomes. I was rubbish at rolling to begin with, but can now roll a circular tortilla in 45 seconds.
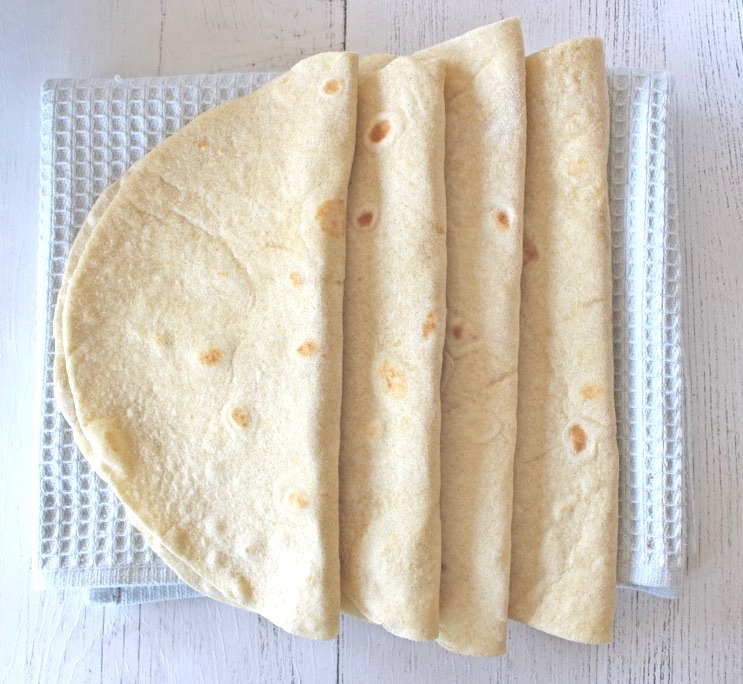
✦ If you’re not using the tortillas immediately, store them flat in an airtight container in the fridge. They will stiffen up over time, but heating them through in a frying pan (skillet) returns them to their pliable state. Don’t try and fold the tortilla straight from the fridge otherwise it will break in half.
Recipe Card
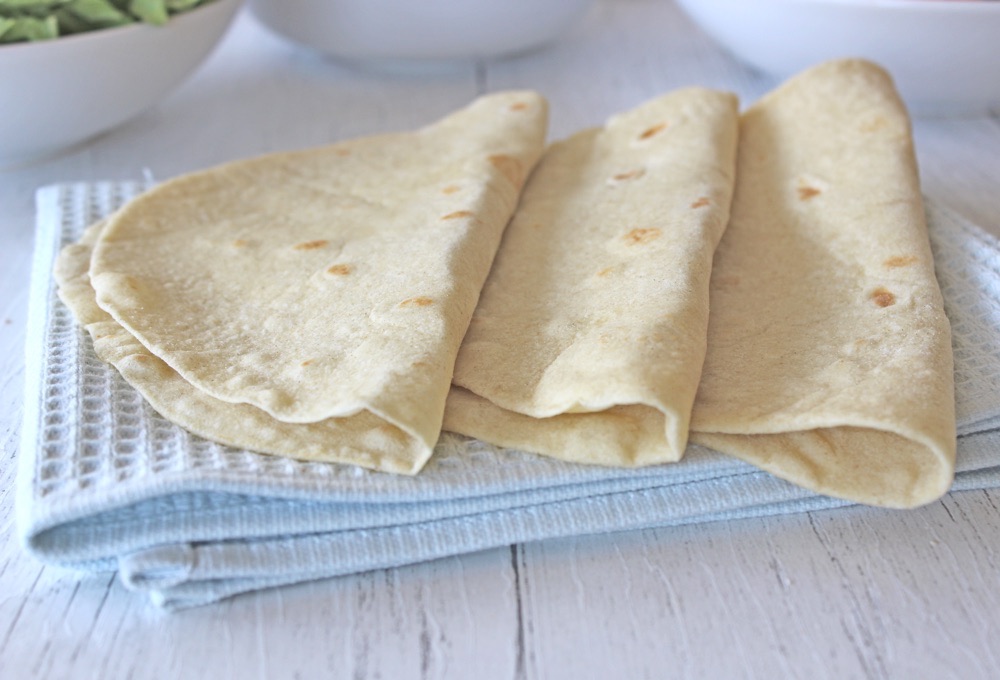
Easy Home-Made Tortilla Wraps
Ingredients
- 120 g / ½ cup soya milk (can substitute with water, but I find the milk enhances the flavour of the wraps)
- 2 TBSP extra virgin olive oil or oil of choice
- 210 g / 1½ cups plain (all purpose flour) (or you can use 140g / 1 cup plain (all purpose) flour and 70g / ½ cup fine wholemeal (whole wheat) or chapatti flour)
- ½ tsp salt
- ½ tsp baking powder
Instructions
- Gently heat the milk and oil in a small pan. Whisk with a fork to combine.
- Place the flour, salt and baking powder in a mixing bowl. Pour in the warm liquid and stir with a spoon until it starts to come together. Continue to bring the dough together with your hands. You want the dough to be soft and slightly sticky. The consistency will vary depending on the type of flour and liquid you have used. If it’s too sticky, add a touch more flour. If it’s too dry, add a touch more liquid.
- Turn out the dough onto a lightly floured surface and knead for 1-2 minutes, until smooth.
- Divide into 6 equal pieces (I weigh mine to divide it equally). Use your hands to roll them into balls and place on a chopping board. Cover with a clean tea towel and leave to rest for 15 minutes.
- Pre-heat a dry frying pan (skillet) on medium-high heat.
- Take one dough ball and coat in flour. Place on a lightly floured surface and using your fingers, press it into a thin disk. Use a rolling pin to roll it into a circle with a 23cm / 9” diameter. (To achieve a circular shape, I roll from the centre of the circle to the outer edge, in an anti-clockwise motion).
- Lay the rolled dough over the rolling pin and transfer to the hot pan. After a short while, the dough should start to bubble a little. When this happens, flip the tortilla over and continue cooking until brown spots appear on the underside. If the tortilla is browning too quickly, turn down the heat a touch. (I have an electric hob and I cook mine for 40 seconds on the first side, and 20 seconds on the second).
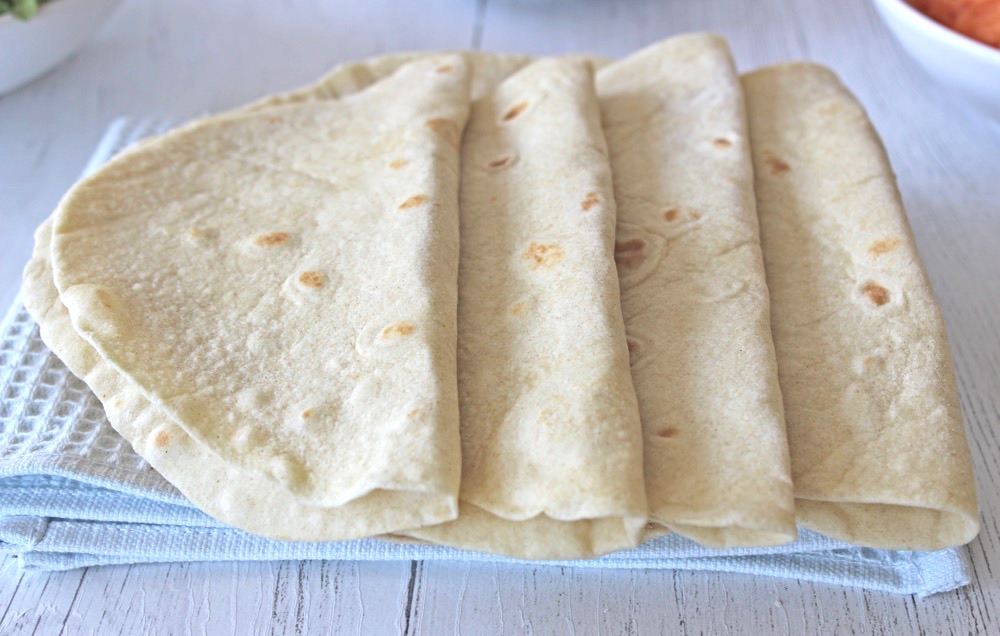
- Transfer the cooked tortilla to a plate lined with a piece of kitchen paper or a clean tea cloth. Cover with a lid slightly larger than the plate (I don’t have a lid large enough so I use an upturned frying pan!) This will help to keep the steam in and prevent the tortillas from drying out.
- Repeat the process with the remaining dough balls, adding them to the plate once cooked and covering with the lid.
- If not using immediately, allow the tortillas to cool completely then store flat in an airtight container in the fridge, where they will keep for up to a week. They will stiffen up over time but heating them through will return them to their pliable state.
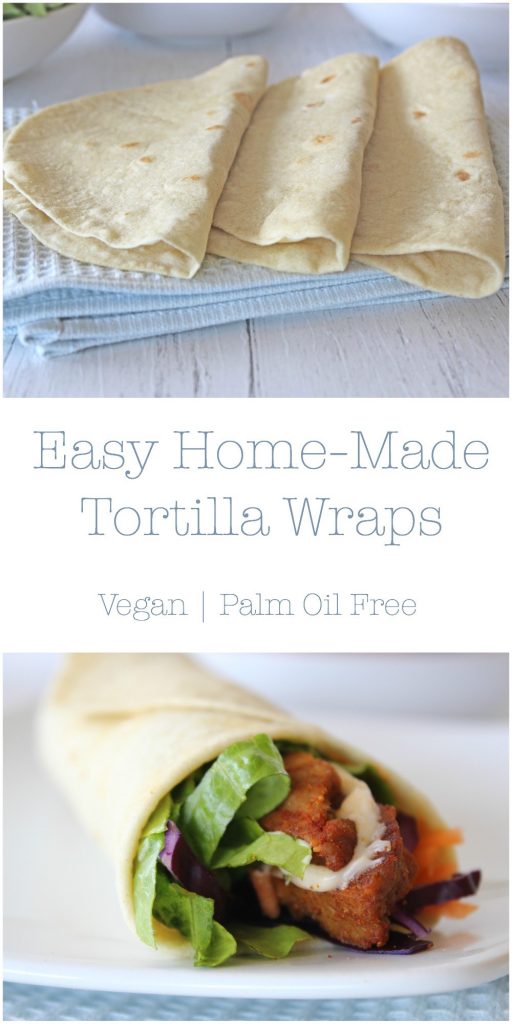
Pin for later ⬇️
If you try this recipe, please come back and leave a review. It’s so helpful to me (and other readers) to hear your experiences and ideas for variations. Thank you! ❤️
With love,


That’s handy. I’m going to make these later and fill them with the remains of yesterday’s dinner…..