Coronation Chickpea Smash (Easy Vegan Sandwich Filling)

Jump to Recipe

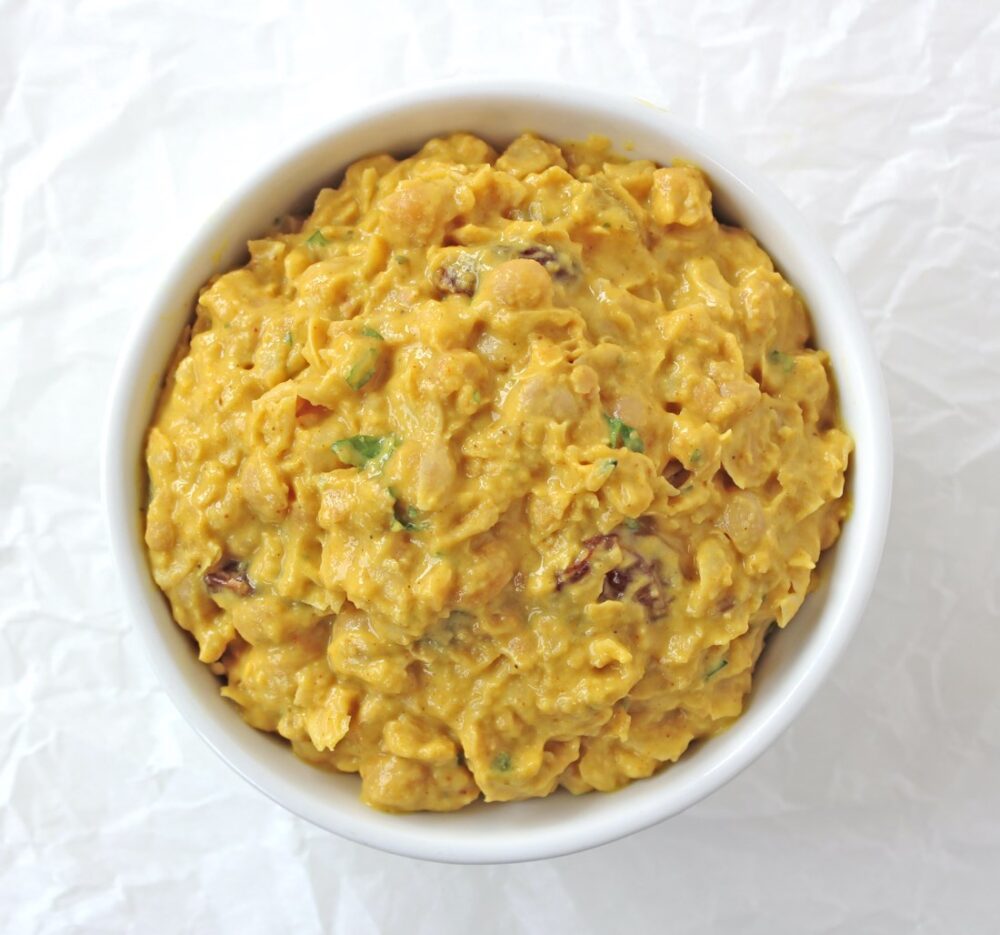
I’ve been making this Coronation Chickpea Smash for years, and I can’t believe it’s taken me this long to share it! With its creamy, gently spiced dressing and hearty chickpeas, it’s one of my all-time favourite vegan sandwich fillings. Easy to make and ready in just 10 minutes, it’s perfect for busy weekdays.

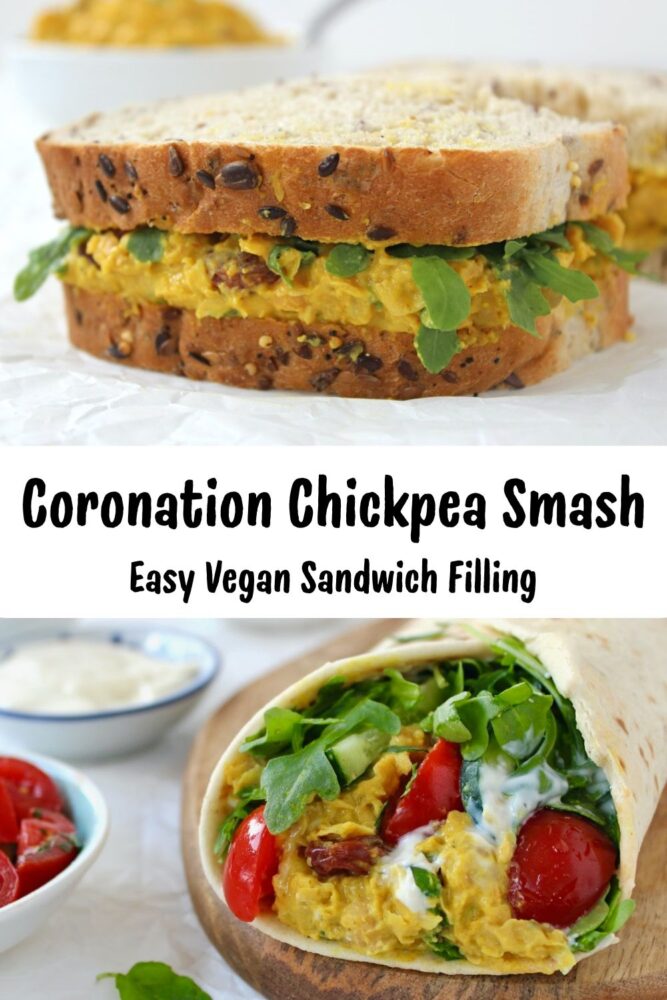
Coronation Chickpea Smash is a vegan take on the classic British Coronation Chicken. The original dish was created in 1953 to celebrate the coronation of Queen Elizabeth II and quickly became a much-loved British favourite. This plant-based version replaces the chicken with the humble chickpea, which works beautifully here thanks to its hearty texture and ability to soak up all those delicious flavours.
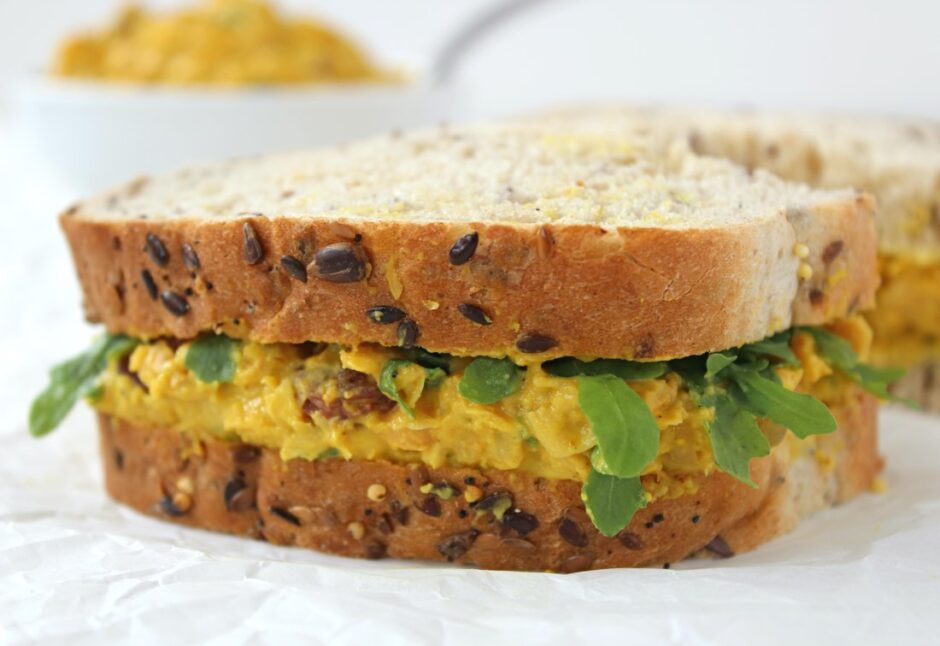
My favourite way to serve it is piled into a sandwich with a handful of rocket (arugula). The peppery leaves work so well with the creamy, gently spiced filling and add a lovely freshness.
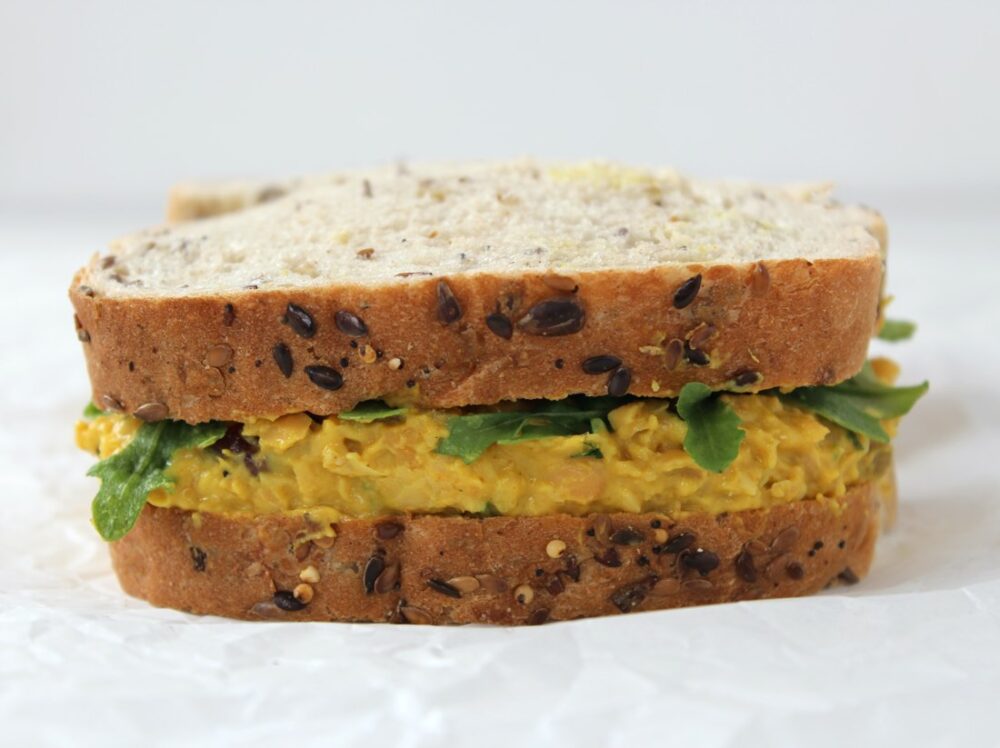
Coronation Chickpea Smash Sandwich

It’s also become one of my family’s favourite no-cook evening meals, especially on those hot summer days when you don’t want to turn on the oven. We pile it into soft flatbreads with a layer of Greek-style plant-based yoghurt, then add plenty of rocket, crunchy cucumber, sweet vine-ripened cherry tomatoes and fresh mint. It’s fresh, vibrant and wonderfully satisfying. If we’re feeling extra hungry, we’ll often add some diced smoked tofu too. It pairs beautifully with the gently spiced curry flavours. 
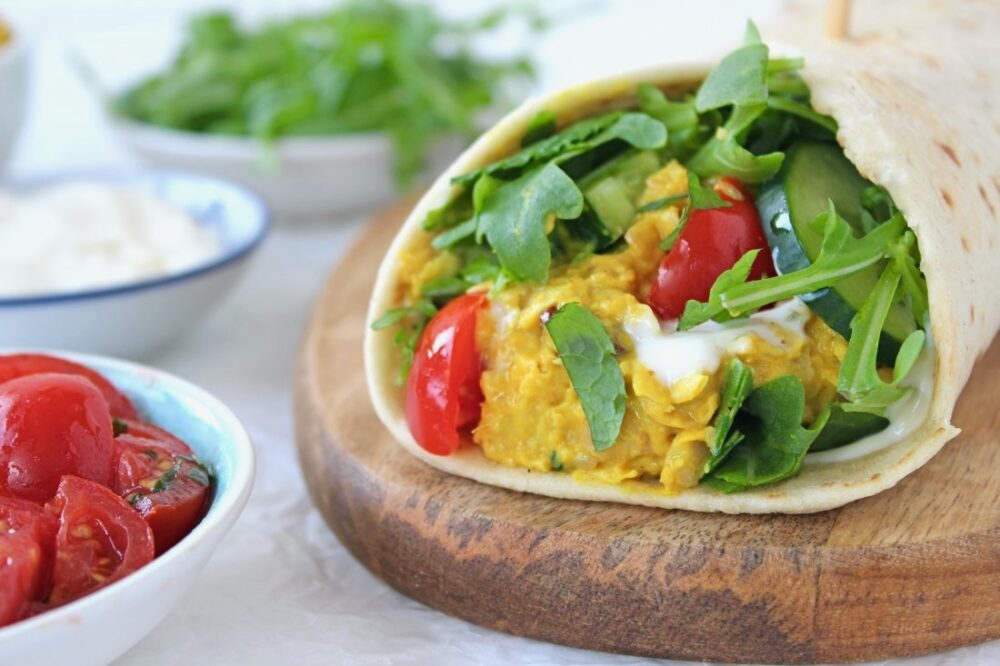
Coronation Chickpea Smash Wrap

Quick, easy and budget-friendly, this Coronation Chickpea Smash is another delicious addition to my 3 Healthy Meals for £3 a Day series, where I share simple, nourishing plant-based recipes for everyday life.

The recipe makes 2 generous servings and costs approximately 64p per serving (or 91p per serving including bread and rocket).


Cost Breakdown

Coronation Chickpea Smash

  • 400g / 14 oz can chickpeas (Tesco, 41p)
  • 2 TBSP vegan mayonnaise (Hellman’s Plant-Based, 26p)
  • 2 TBSP vegan Greek-style yoghurt (Alpro Greek Style Plain, 19p)
  • 4 tsp mild curry powder (Tesco, 14p)
  • 2 TBSP mango chutney (Tesco, 16p)
  • 2 tsp apple cider vinegar (Tesco, 4p)
  • 3 TBSP sultanas (Tesco, 12p)

Served with:
4 slices of thick bread (Tesco Seeded, 33p)
Handful of rocket (Tesco, 17p)

Total: £1.82

Cost per serving: 91p

Prices are correct as of July 2026, and are based on Tesco prices as that’s where I currently do my main grocery shop.


The Good Stuff

Chickpeas – little legumes with lots to offer!

Chickpeas are one of my favourite ingredients for affordable, nourishing plant-based cooking. These humble little legumes are packed with dietary fibre and provide a good source of plant-based protein, helping to make this Coronation Chickpea Smash a satisfying and nourishing meal.

They’re also rich in a variety of vitamins and minerals, including iron, magnesium, potassium and folate, along with other beneficial plant compounds. Their creamy texture and ability to absorb flavours make them incredibly versatile – from curries and soups to salads, spreads and sandwich fillings like this one!
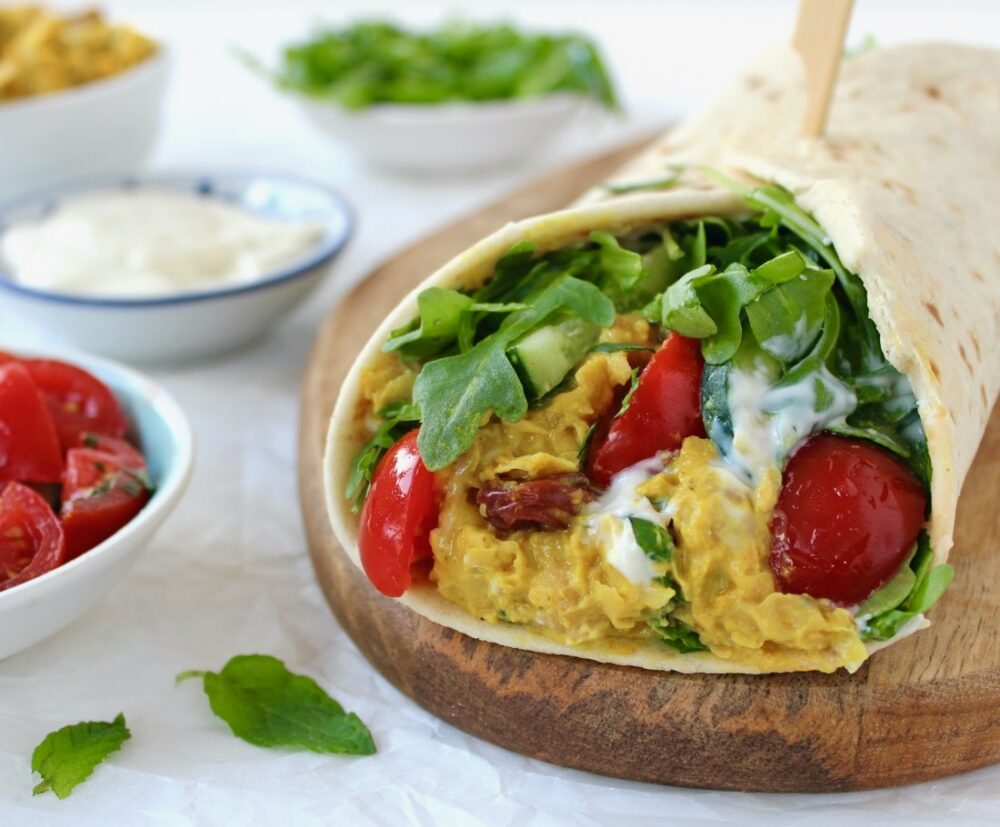
Coronation Chickpea Smash Wrap


Top Tips & FAQs

Where to buy vegan mayonnaise?
There are now lots of vegan mayonnaise options available in UK supermarkets. My personal favourite is Hellmann’s Plant-Based Mayo. You can also make your own vegan mayonnaise – it’s surprisingly quick, easy and cheap to make! I have a recipe for Quick & Easy Vegan Mayonnaise on the blog.

What yoghurt works best in this recipe?
A thick, creamy Greek-style yoghurt works best here. I usually use Alpro Greek Style High Protein Plain. You can also use a regular plain or coconut plant-based yoghurt, though the filling will have a slightly looser consistency.

If you prefer, you can simply replace the yoghurt with extra vegan mayonnaise for a richer Coronation Chickpea Smash.

What curry powder works best?
I recommend using a mild curry powder for this recipe, but different brands can vary quite a lot in flavour and strength. I usually use 3 – 4 teaspoons depending on the brand and how strong I’d like the curry flavour to be. If you’re unsure, start with 3 teaspoons and add more to taste.

Can I make this recipe without mango chutney?
Mango chutney is what gives this recipe its signature sweet, fruity flavour, so I’d recommend including it if possible. If you don’t have any to hand, you could substitute with a little apricot jam or another fruity chutney.

Can I make it more protein-rich?
For a protein boost, I recommend folding through some diced smoked tofu before serving. It pairs beautifully with the gently spiced curry flavours and makes it a wonderfully satisfying filling for wraps or flatbreads.

Is this recipe gluten-free?
Yes! Coronation Chickpea Smash is naturally gluten-free. Simply serve it with your favourite gluten-free bread, wrap or flatbread.


Recipe Card
Coronation Chickpea Smash Sandwich

Coronation Chickpea Smash

A creamy curried chickpea smash that’s perfect for sandwiches, wraps, easy lunches and no-cook evening meals. This quick and easy vegan filling is ready in just 10 minutes using simple, budget-friendly ingredients.
Hands-on Time 10 minutes
Total Time 10 minutes
Course Light Dinner, Lunch
Cuisine British, Plant-Based
Servings 2

Ingredients
 

  • 3 TBSP sultanas
  • 1 x 400g / 14 oz can chickpeas rinsed and drained
  • 2 TBSP vegan mayonnaise
  • 2 TBSP Greek-style plant-based yoghurt (or substitute with extra vegan mayonnaise)
  • 3-4 tsp mild curry powder adjust to taste
  • 2 TBSP mango chutney
  • 2 tsp apple cider vinegar
  • Salt and freshly ground black pepper to taste

Instructions
 

  • First, plump up the sultanas by placing them in a small bowl and cover with boiling water. Leave to soak while you prepare the remaining ingredients.
  • In a mixing bowl, combine the vegan mayonnaise, yoghurt, curry powder, mango chutney and apple cider vinegar. Stir until smooth and well combined.
  • Tip the chickpeas into the bowl and roughly mash with a potato masher, leaving plenty of texture.
  • Drain the sultanas and fold them through the mixture.
  • Season to taste with salt and freshly ground black pepper. Serve immediately or chill until ready to use.

Notes

My favourite ways to serve it:
  • Sandwich: Spread with a thin layer of buttery plant-based spread, and serve with a small handful of rocket (arugula). (Great for lunchboxes!)
  • Flatbread: Spread with a thin layer of Greek-style plant-based yoghurt, then add rocket, cucumber, sweet vine-ripened cherry tomatoes, chopped fresh mint and the Coronation Chickpea Smash. Fold and enjoy as a delicious, no-cook meal!
  • For an extra protein boost: Fold some diced smoked tofu into the filling. It pairs beautifully with the gently spiced curry flavours.
 
Kitchen Tip: I find the easiest way to rinse and drain chickpeas is to tip them into a fine mesh sieve and rinse under cold running water, gently shaking or stirring them with your hand until the water runs clear. Then give the sieve a good shake to remove as much excess water as possible before adding them to the recipe. If you regularly cook with beans and lentils, a fine mesh sieve is a really useful kitchen tool to have.
Storage: Store in an airtight container in the fridge for up to 3 days.
Keyword Budget-Friendly Meals, Chickpea Recipes, Chickpea Smash, Easy Vegan Meals, No Cook Vegan Meal, Plant-Based Lunch, Vegan Lunchbox Ideas, Vegan Sandwich Filling
Tried this recipe?Let us know how it was!


Nutritional Breakdown

N.B. These values are estimates and for illustration purposes only. The actual nutritional values will vary depending on the specific ingredients used. The % Reference Intake (RI) will also vary depending on your age, gender, height, BMI, level of activity and other personal variables.


Pin for Later ⬇️

Looking for More Chickpea Inspiration?

If you enjoyed this Coronation Chickpea Smash, here are a few more of my favourite chickpea recipes you might like to try next:


I hope you enjoy this Coronation Chickpea Smash as much as we do! Whether you pile it into a sandwich for lunch or wrap it up with crunchy salad for a quick evening meal, I hope it becomes one of those dependable recipes you find yourself coming back to again and again. 

If you give this recipe a try, please leave a comment below and let me know how you served it. I always enjoy hearing your ideas ❤️

And if you share your creations on social media, I’d love to see them! Don’t forget to tag me using @goodstuffsharon or #bitofthegoodstuff on Instagram. You can also connect with me on Facebook and Pinterest.

With love,

Sharon xx
Herby Tofu ‘Cream Cheese’ (Easy High Protein Vegan Spread)

Jump to Recipe

First published 2019. Refreshed in July 2026.


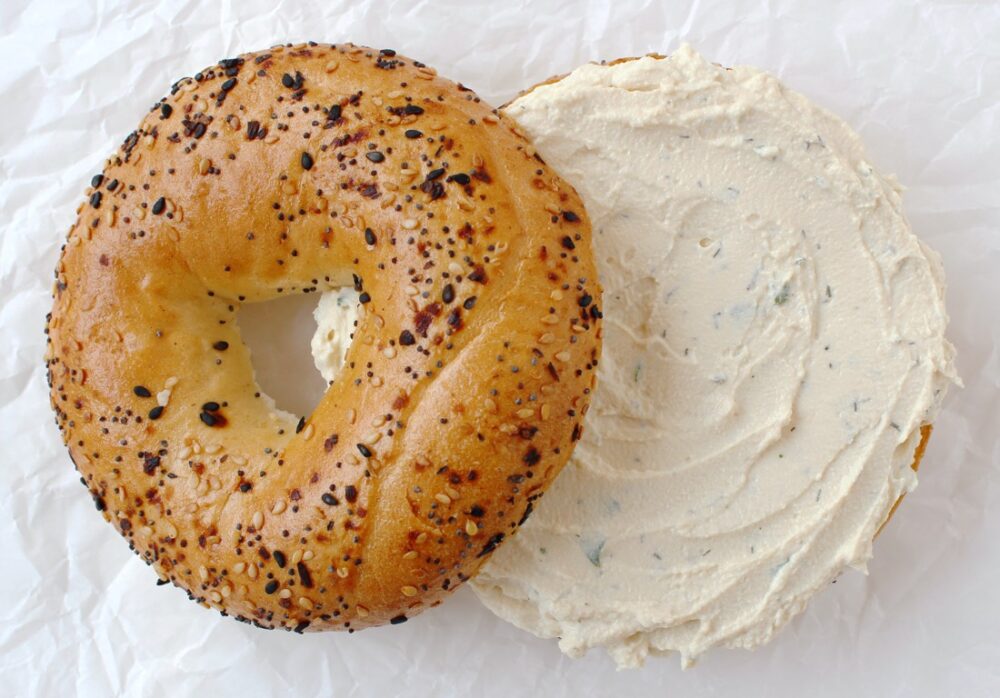
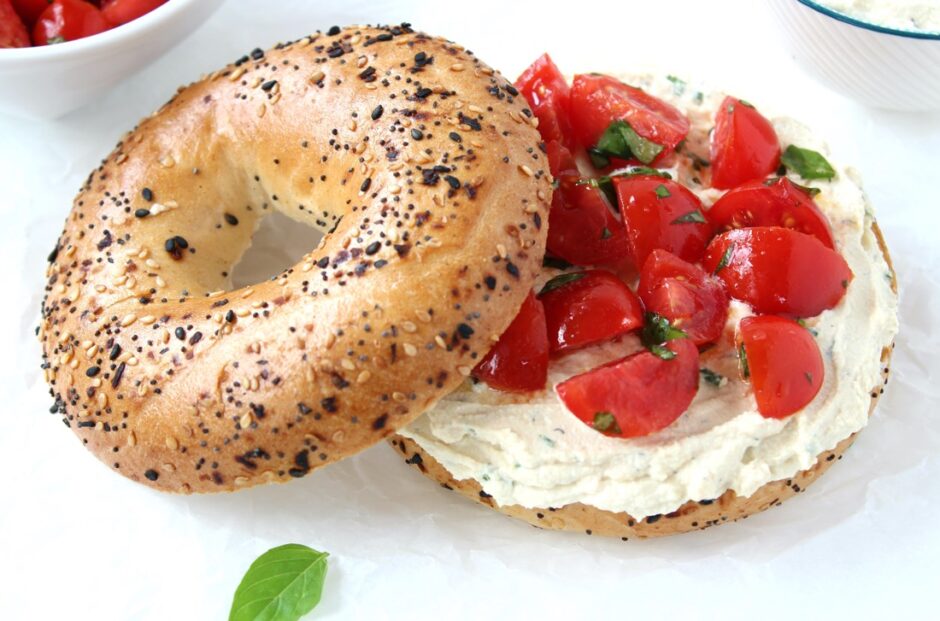
If you’re looking for a creamy vegan spread that’s quick to make, naturally high in protein and wonderfully versatile, I think you’re going to love this Herby Tofu ‘Cream Cheese’. Made with simple, everyday ingredients, it takes just 10 minutes to prepare and is perfect for bagels, toast, sandwiches and crackers.

I’ve actually been making this recipe since I first went plant-based back in 2011, long before vegan cream cheeses became widely available in UK supermarkets. It’s wonderful to see that there are now some lovely shop-bought options to choose from (Violife is a favourite!), but I still find myself coming back to this home-made version time and time again. 

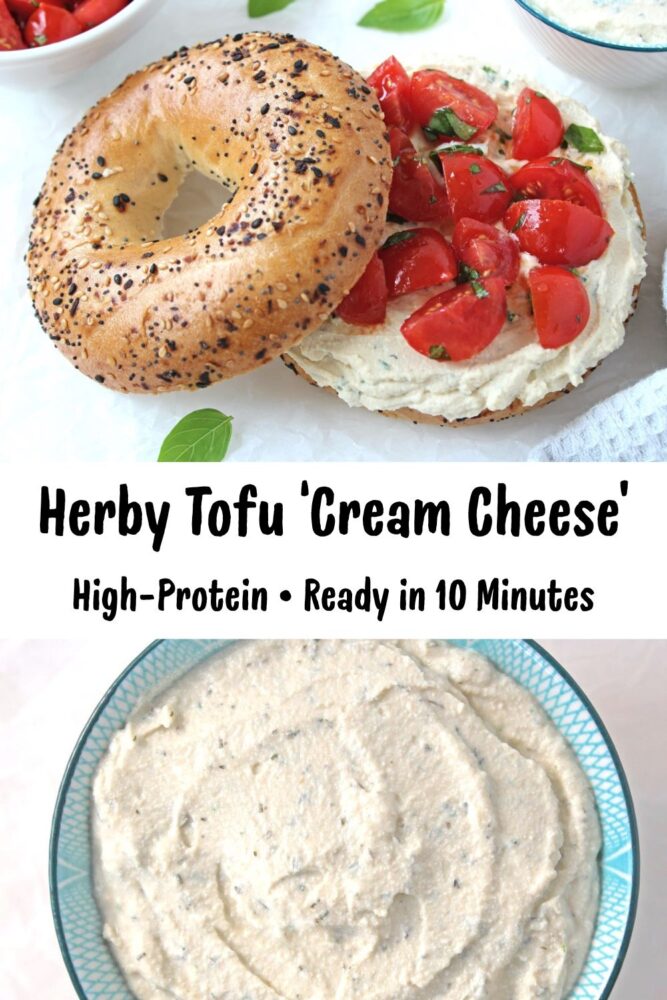
Herby Tofu Cream Cheese

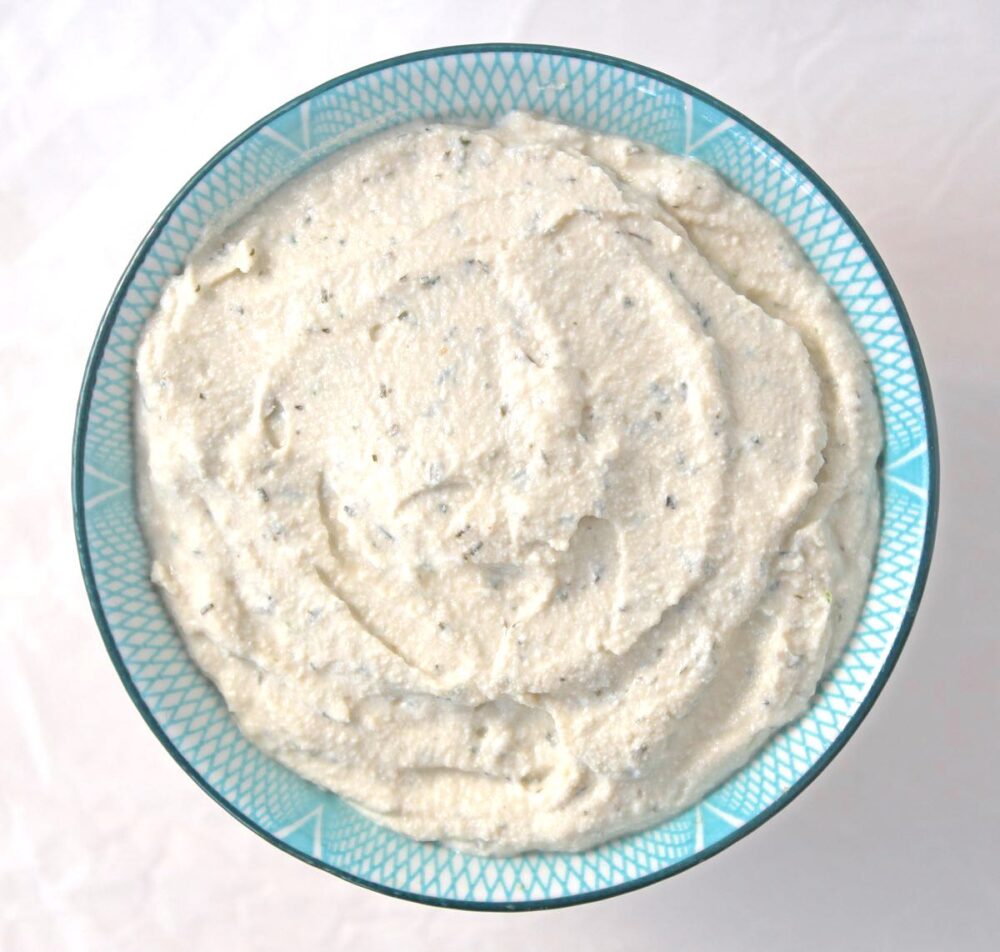
Made with wholesome ingredients like tofu, fresh herbs and white miso, it’s naturally high in plant protein and lower in saturated fat than many shop-bought alternatives. Knowing exactly what’s in it means I can happily slather it onto bagels and toast to my heart’s content!

One of my favourite things about this recipe is how adaptable it is. You can use whatever fresh herbs you have on hand and tweak the flavour to suit your taste. My favourite combination is fresh basil with a sprinkling of dried dill, but fresh chives with onion powder also make a delicious combination. A sprinkling of crispy onions is lovely too.

Herby Tofu Cream Cheese Bagel


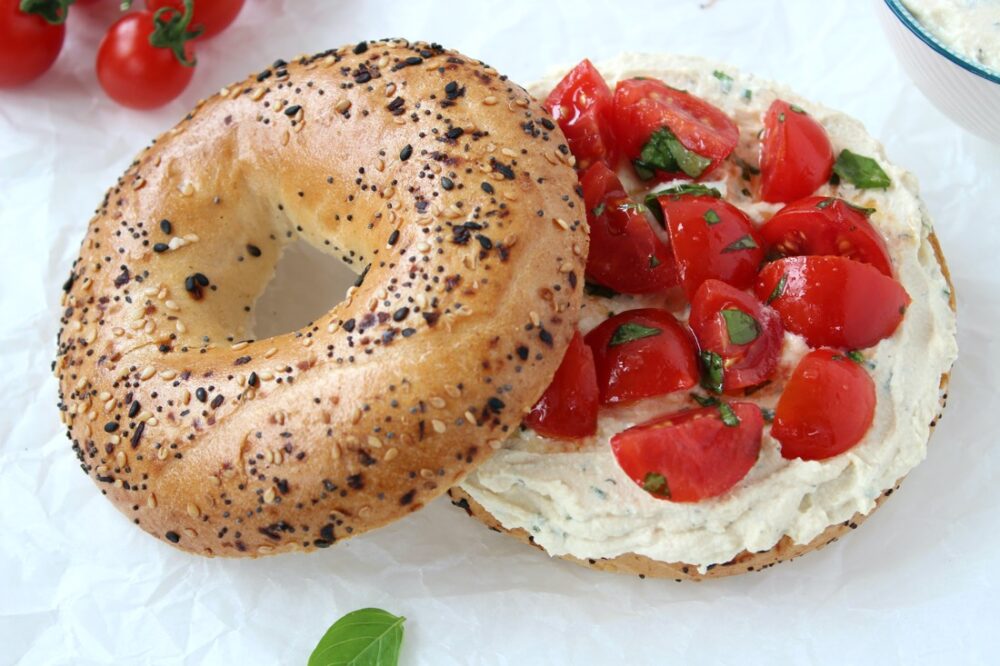
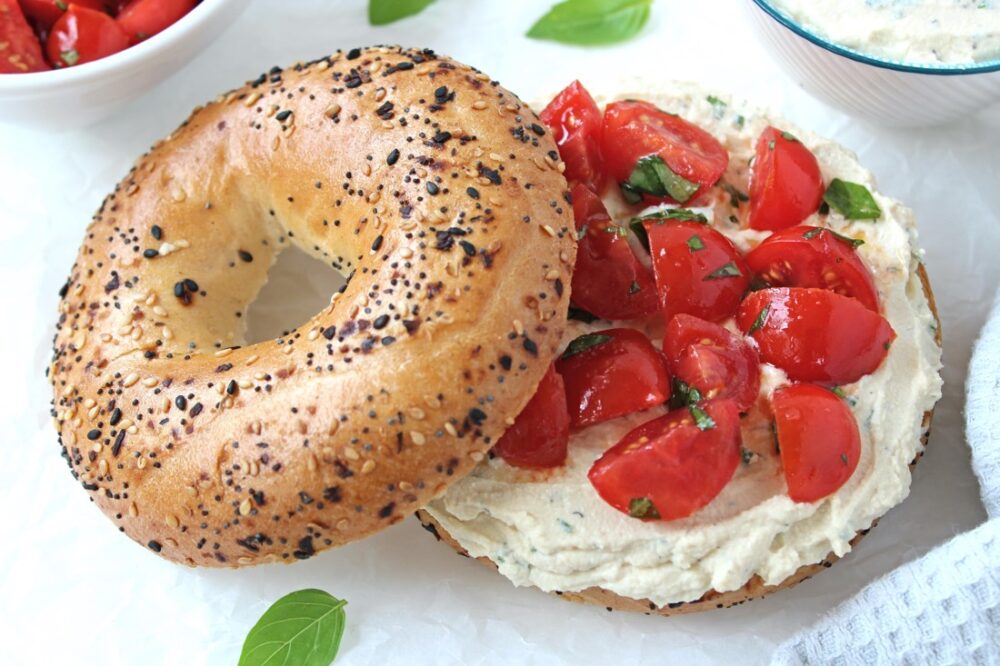
This summer, I’ve especially loved spreading this herby tofu ‘cream cheese’ onto a toasted seeded bagel or baguette, then topping it with sweet, vine-ripened cherry tomatoes, fresh basil, a drizzle of extra virgin olive oil and a pinch of salt. It’s one of those simple meals I never seem to tire of, equally perfect for a leisurely lunch or a no-cook dinner enjoyed in the garden on a warm summer evening.

Herby Tofu Cream Cheese Bagel

It also makes a fantastic sandwich filling for lunchboxes, and is one of my favourite ways to add a little extra plant protein to a packed lunch.

Quick, easy, budget-friendly and with no fancy equipment required, this Herby Tofu ‘Cream Cheese’ fits perfectly into my 3 Healthy Meals for £3 a Day series, where I share simple, quick, affordable and delicious plant-based recipes for everyday life.


Cost Breakdown

Herby Tofu ‘Cream Cheese’

  • 200g / 7 oz firm tofu (Tesco Plant Chef) – £1.26
  • ½ TBSP white miso (Miso Tasty) – 13p
  • 1 TBSP cider vinegar (Tesco) – 11p
  • 1 TBSP olive oil (Tesco) – 10p
  • 2 TBSP fresh basil (Tesco) – 9p

Served with:

  • 2 bagels (New York Bakery) – 84p

Total cost: £2.53

Cost per serving: £1.26

Prices are correct as of July 2026, and are based on Tesco prices as that’s where I currently do my main grocery shop.


The Good Stuff

Tofu forms the creamy base of this spread and is naturally rich in plant protein, healthy unsaturated fats, and minerals such as iron, calcium, and magnesium. Tofu contains beneficial compounds called isoflavones that have antioxidant and anti-inflammatory properties, and may also support hormonal balance.

Fresh herbs don’t just make this cream cheese taste vibrant and fresh – they’re also packed with protective plant compounds called polyphenols, which help support our overall health. Whether you choose basil, chives or dill, each herb brings its own unique flavour and nutritional benefits.

Herby Tofu Cream Cheese Bagel


Top Tips & FAQs

What type of tofu is best for this recipe?
Firm tofu gives the creamiest texture and is my first choice for this recipe. Here in the UK, Cauldron Authentic Tofu is one of the most widely available brands, and most supermarkets also sell their own-brand firm tofu.

Extra-firm tofu (such as Tofoo) also works well, though it creates a slightly firmer texture that can be a bit grainier. I recommend adding a touch more oil and blending for a little longer to create a silky smooth spread.

Silken tofu isn’t suitable for this recipe as it contains too much water.

Do I need to press the tofu?
No. Simply drain the tofu, give it a gentle squeeze to remove any excess water, then pat it dry with a clean tea towel or kitchen paper before blending.

What is white miso and where can I buy it?
White miso (also known as shiro miso) is a traditional Japanese fermented seasoning made from soybeans and rice. It has a milder, slightly sweeter flavour compared to other misos, making it perfect for this recipe. It adds a wonderful savoury depth (known as umami) that really brings this ‘cream cheese’ to life, while allowing the fresh herbs to shine. A little goes a long way, so just half a tablespoon is enough to transform this spread.

Here in the UK, you can find white miso in many larger supermarkets (in the Japanese section of the world food aisle), health food shops and Asian supermarkets. I often use Miso Tasty Organic White Miso, which I buy from Tesco or Waitrose.

Can I use lemon juice instead of apple cider vinegar?
Yes, you can. Lemon juice gives a slightly brighter citrus flavour, whereas I prefer the cleaner tang of apple cider vinegar. After lots of recipe testing, the vinegar version is the one I keep coming back to.

Can I make this recipe without a food processor?
Yes, absolutely! I often make it using a stick blender and bowl. It works brilliantly and is much quicker to wash up! 

Is this recipe gluten-free?
Yes, it can be! Just check your white miso is gluten-free (most are, but it’s always worth checking the label) and serve with your favourite gluten-free bread, bagels or crackers.


Recipe Card

Herby Tofu Cream Cheese Bagel

Herby Tofu ‘Cream Cheese’

This creamy, herby tofu 'cream cheese' is naturally high in protein, ready in just 10 minutes and wonderfully versatile. Try basil, chives, dill or your own favourite combination of herbs. Perfect for bagels, toast, sandwiches and crackers.
Hands-on Time 10 minutes
Total Time 10 minutes
Course Breakfast, Brunch, Light Dinner, Lunch, Lunchbox, Snack
Cuisine Plant-Based
Servings 2

Ingredients
 

  • 200 g / 7 oz firm tofu (see Notes)
  • ½ TBSP white miso
  • 1 TBSP apple cider vinegar (or substitute with fresh lemon juice)
  • 1 TBSP neutral-flavoured oil (such as light olive, rapeseed or sunflower oil)
  • ¼ tsp salt or to taste
  • 2 TBSP finely chopped fresh herbs (or more!), such as basil, chives or dill

Optional flavour add-ins

  • ¼ – ½ tsp onion powder or granules
  • ¼ – ½ tsp garlic powder or granules
  • ¼ tsp dried dill (my favourite!)

Instructions
 

  • Drain the tofu, gently squeeze out any excess water, then pat it dry with a clean tea towel or kitchen paper.
  • Break the tofu into chunks and place it in a food processor. Add the white miso, vinegar, oil and salt, then blend until smooth and creamy, stopping to scrape down the sides as needed. (Alternatively, use a stick blender and a bowl.)
  • Blend in any optional flavour add-ins, if using.
  • Taste and adjust the seasoning if needed. You may wish to add a little more salt or vinegar/lemon juice to suit your taste.
  • Fold through the chopped fresh herbs.
  • This herby tofu ‘cream cheese’ can be eaten straight away, but it is best chilled for a couple of hours to allow the flavours to meld. When chilled, the texture will also thicken up slightly.

Notes

Tofu: Firm tofu gives the creamiest texture, though extra-firm tofu works well too. If using extra-firm tofu, you may wish to add a little extra oil and blend for longer to achieve a creamier consistency.
Storage: For the best flavour and freshness, store in an airtight container in the fridge and enjoy within 2 days (or according to the storage instructions on your tofu packaging).
Keyword Budget Vegan Meals, Healthy Plant-Based Recipes, High Protein Vegan Spread, Quick Vegan Lunch, Tofu Cream Cheese, Vegan Cream Cheese
Tried this recipe?Let us know how it was!


Nutritional Breakdown

N.B. The above values are estimates and for illustration purposes only. The actual nutritional values will vary depending on the specific ingredients used. The % Reference Intake (RI) will also vary depending on your age, gender, height, BMI, level of activity and other personal variables.


Pin for Later ⬇️

Herby Tofu Cream Cheese Pinterest Collage


More Tofu Recipes You Might Like

Tofu is such a versatile ingredient! If you enjoyed this recipe, you might like these other simple tofu creations:


If you give this Herby Tofu ‘Cream Cheese’ a try, I’d love to hear how you flavoured yours! Did you use my favourite basil and dill combination, or create your own? Let me know in the comments below. I always enjoy hearing your ideas.

And if you make this recipe, I’d love to see your creations! ❤️ Don’t forget to tag me using @goodstuffsharon or #bitofthegoodstuff on Instagram. You can also connect with me on Facebook and Pinterest.   

With love,

Sharon xx
Avocado and Edamame Smash on Toast (Easy 10-Minute Recipe)

Refreshed April 2026. Originally published 2019.

Jump to Recipe

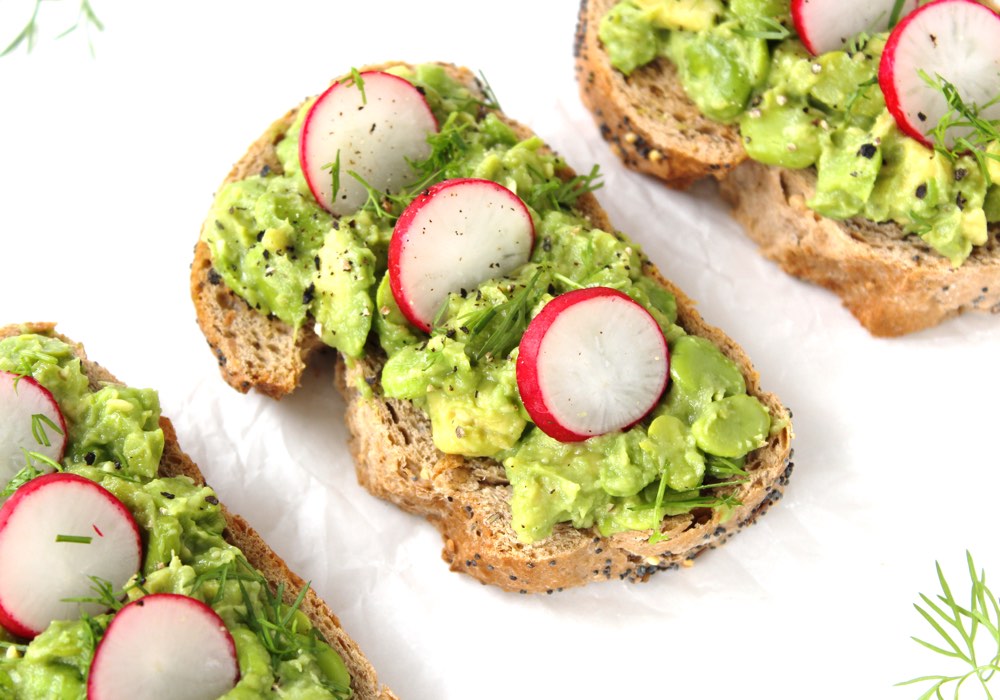
If you love a classic avocado smash on toast, this fresh and vibrant twist is one to try. Creamy avocado meets lightly mashed edamame beans for a beautifully textured topping that’s packed with goodness.

The addition of edamame gives this smash a subtle sweetness and a lovely protein boost, making it extra satisfying while still feeling light. It’s incredibly easy to make and ready in just 10 minutes – perfect for a quick breakfast, lunch, or light dinner.

Easy Avocado and Edamame Smash on Toast

I first shared this recipe back in the summer of 2019, and all these years later, it’s still one of my absolute favourites. It’s one of my go-to lunches when I’m working from home, and in the summer my family also loves serving it as a light dinner alongside a crisp salad.

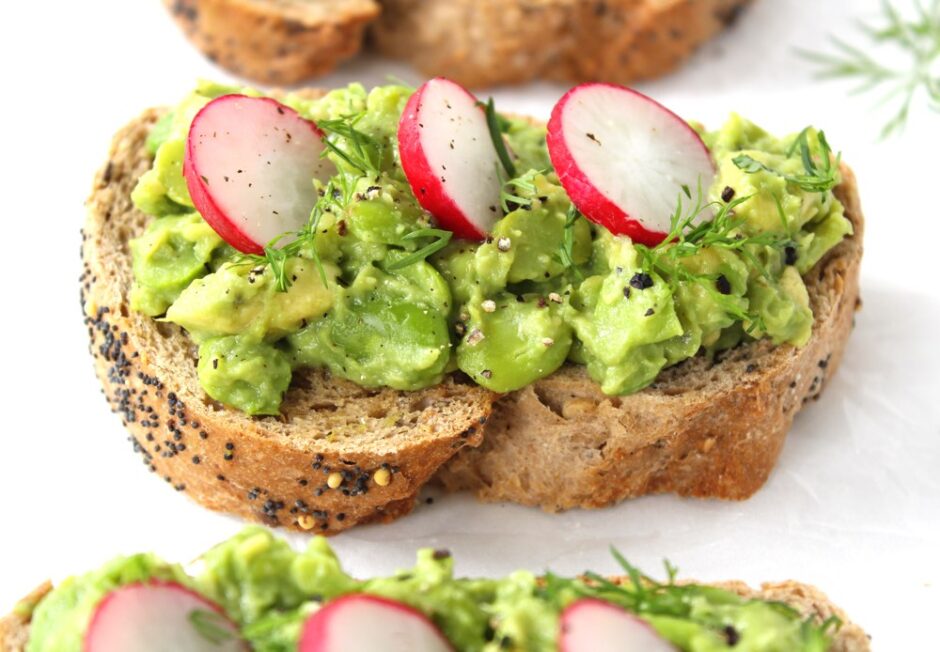
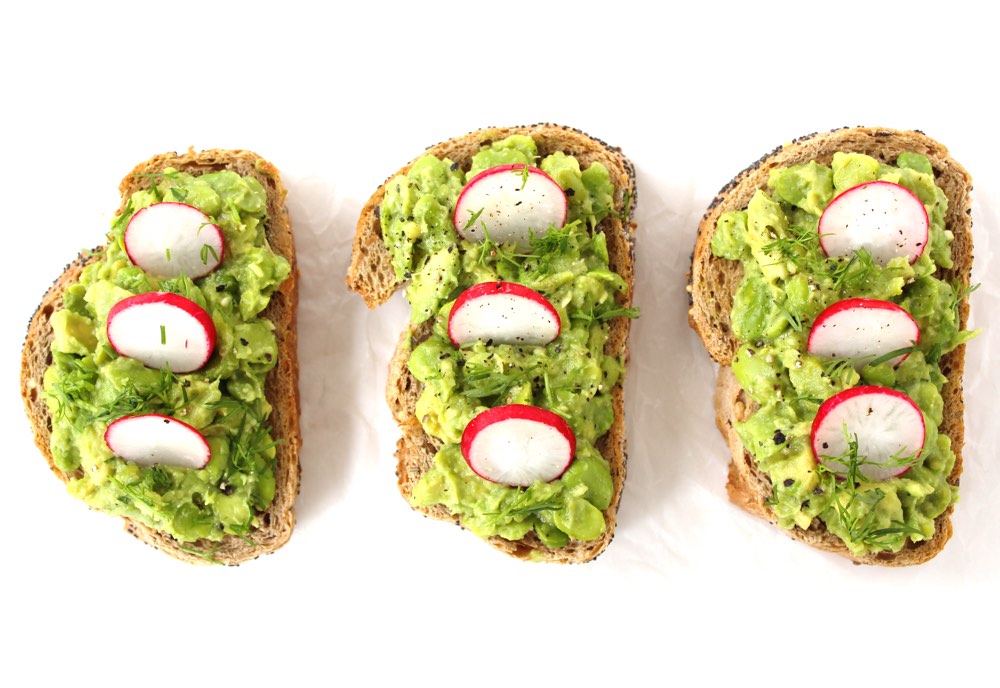
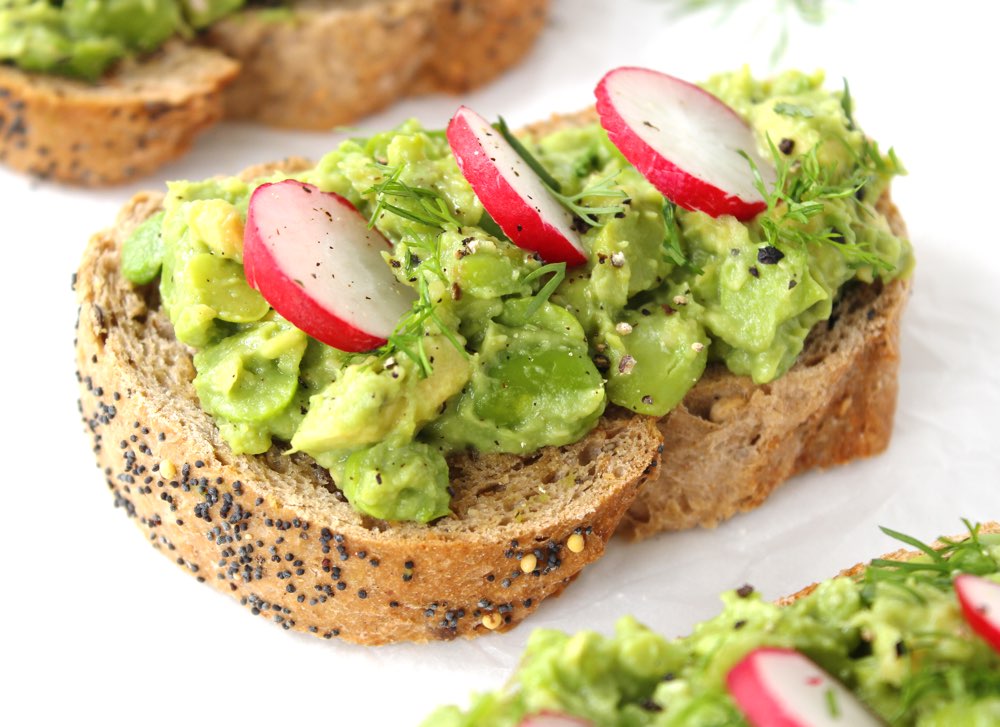
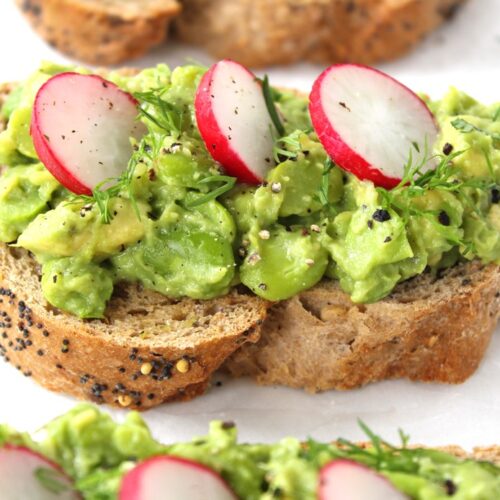
What I love most is its simplicity. Avocado and edamame are such beautifully fresh, delicate flavours that I like to let them shine. A generous twist of freshly ground black pepper and a pinch of salt is often all it needs. If I’m feeling a little fancy, I’ll add some sliced radishes for colour and crunch, or a sprinkle of fresh dill or pea shoots – but these are entirely optional.

It’s wonderfully simple to make too. Just cook the edamame beans until tender, mash them together with ripe avocado, season to taste, and pile high onto buttery toast.

The Good Stuff

Edamame (soya) beans are a fantastic source of complete plant protein, meaning they contain all nine essential amino acids. They’re also a good source of fibre and a whole array of minerals – especially manganese and copper – as well as vitamin K, all of which support bone health, metabolism, and overall wellbeing. Edamame also contain natural compounds called isoflavones, known for their antioxidant and anti-inflammatory properties, and their role in supporting hormonal balance.

Avocados are wonderfully nutrient-dense and packed with heart-healthy monounsaturated fats. They’re also a good source of fibre, which supports digestion and helps keep you feeling fuller for longer, as well as folate, vitamin C, vitamin K and B vitamins. Their creamy texture not only makes this smash irresistibly delicious but also helps your body absorb fat-soluble nutrients from other foods.

Healthy Avocado and Edamame Toast Smash

Top Tips & FAQs

What are edamame beans and where can I find them?

Edamame beans are young soya beans, harvested before they fully mature. They’re typically sold either in their pods or already shelled. For this recipe, you’ll want shelled edamame beans, which are most commonly found in the frozen vegetable section of UK supermarkets.

They’re sometimes labelled as “soya beans” rather than edamame. For example, you’ll find them sold as frozen soya beans in stores like Tesco and Waitrose. They’re a great freezer staple – perfect for quick meals like this, as well as adding to stir-fries, grain bowls and salads.

What kind of avocado is best for a smash?

For the best texture and flavour, make sure your avocado is perfectly ripe. It should feel slightly soft when gently pressed, but not mushy. If it’s too firm, it won’t mash easily. If it’s overly soft, it may taste a little overripe.

A small avocado (like the “ripe and ready” ones sold in twin packs in UK supermarkets) works perfectly for one serving. Alternatively, you can use half of a larger avocado.

Can I make this gluten-free?

Absolutely! The avocado and edamame smash itself is naturally gluten-free. Simply serve it on your favourite gluten-free bread.

Avocado and Edamame Smash on Toast

Recipe Card

Avocado and Edamame Smash on Toast

Avocado and Edamame Smash on Toast

A fresh and vibrant twist on classic avocado toast, packed with plant protein and ready in just 10 minutes.
4.50 from 2 votes
Hands-on time 10 minutes
Total Time 10 minutes
Course Breakfast, Brunch, Light Dinner, Lunch
Cuisine Plant-Based, Vegan
Servings 1

Ingredients
 

  • 77 g / ½ cup frozen shelled edamame (soya) beans
  • 1 small avocado, flesh only (about 100g)
  • Salt and freshly ground black pepper to taste

To serve:

  • 2 slices wholegrain or sourdough bread
  • Plant-based buttery spread (I used Flora buttery)

Optional garnish:

  • Slices of radish
  • A sprinkle of fresh dill or a small handful of pea shoots

Instructions
 

  • Boil the edamame beans in a saucepan until just tender (about 6–7 minutes), or microwave according to the packet instructions.
  • Meanwhile, prepare your toast and scoop the avocado flesh into a bowl.
  • Once the edamame beans are ready, drain them well and add them to the bowl with the avocado.
  • Mash together using a potato masher until you achieve a coarse texture. The beans won’t fully mash – and that’s absolutely fine. Leaving some whole or halved adds a lovely texture.
  • Season generously with freshly ground black pepper and a pinch of salt, to taste.
  • Pile the smash onto your freshly buttered toast, add your chosen garnish, finish with an extra crack of black pepper and serve.

Notes

This avocado and edamame smash is best enjoyed immediately after making, when it’s at its freshest and brightest.
If you do need to store it, you can refrigerate it in an airtight container for a short time. However, like all avocado-based dishes, it may begin to oxidise and turn slightly brown.
To help slow this, add a squeeze of lemon or lime juice before storing, and press a layer of cling film directly onto the surface to reduce air exposure. Stir well before serving.
Keyword avocado edamame toast, easy vegan lunch idea, high protein avocado toast, vegan breakfast toast
Tried this recipe?Let us know how it was!

Nutritional Breakdown


NB: The above values are estimates and for illustration purposes only. Actual nutritional values will vary depending on the specific ingredients used. Percentage Reference Intakes (RI) will also vary depending on individual factors such as age, gender, height, BMI and activity level.

Pin for later ⬇️

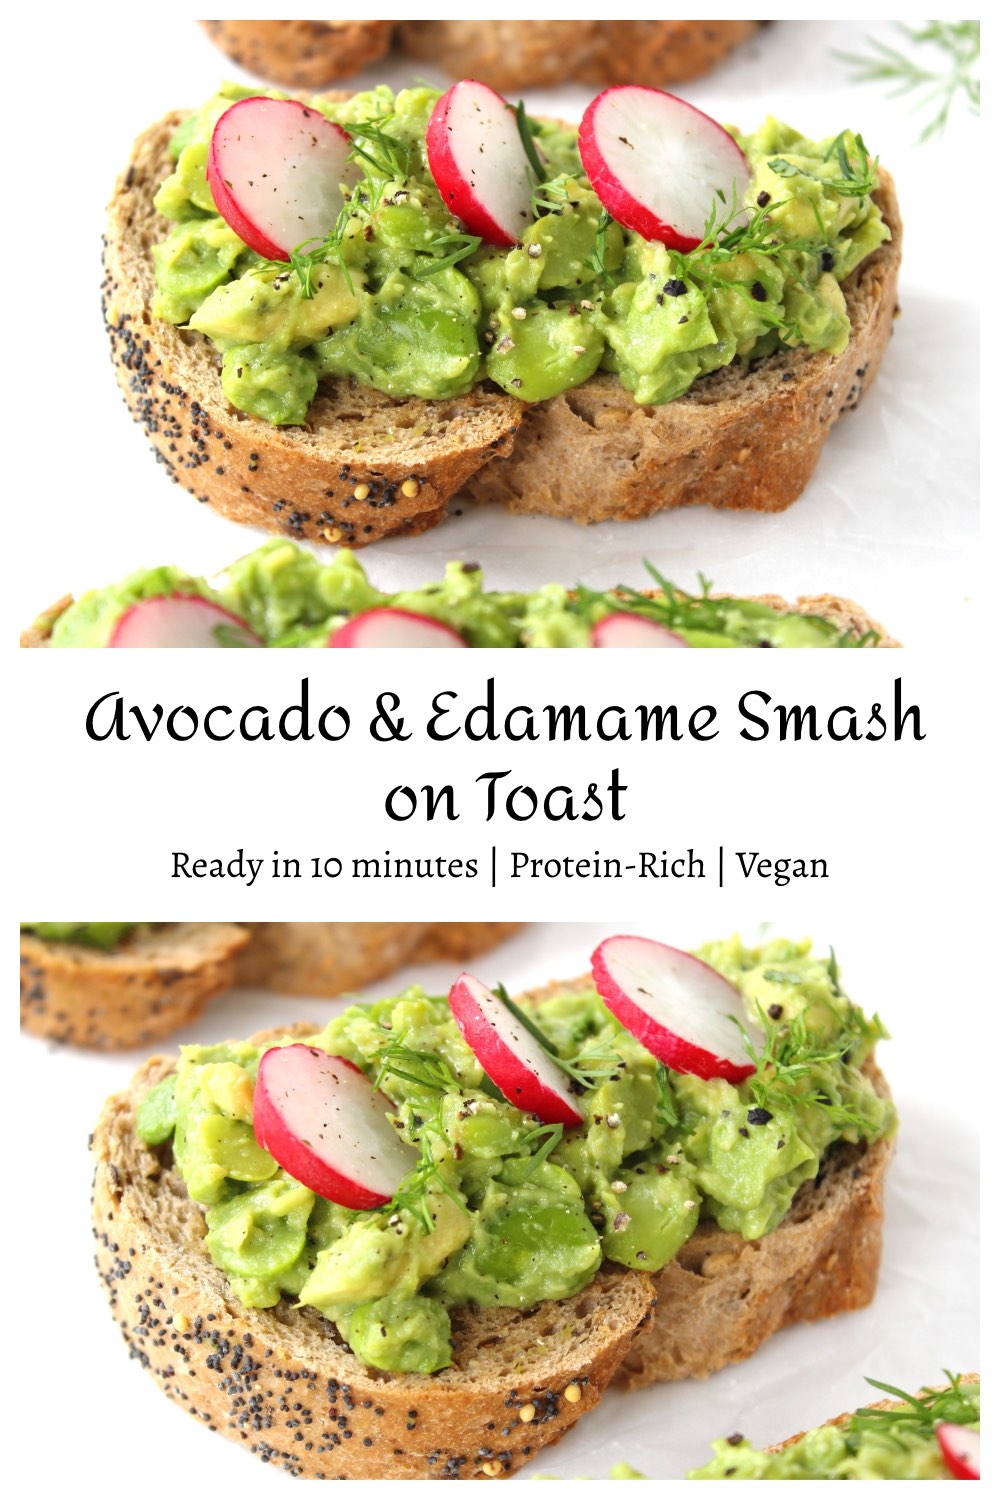
Avocado and Edamame Smash on Toast Pinterest Collage

You might also like…

Here are some more of my favourite quick and nourishing plant-based sandwich fillings and toast toppers that you might enjoy:

I’d love to hear from you ❤️

If you make this Avocado and Edamame Smash, I’d love to hear how you get on and any twists you try. Leaving a comment below will help others find the recipe and supports my blog too!

You can also connect with me on Instagram, Facebook, and Pinterest. Tag your creations with #bitofthegoodstuff – I absolutely love seeing them!

With love,
Sharon xx

Red Lentil Dhal with Coconut & Sweet Potato

Jump to Recipe

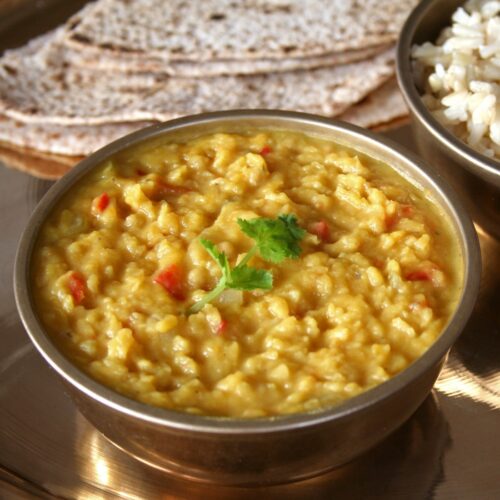
Dhal is one of my ultimate comfort foods – it’s warm, nourishing, and incredibly easy to make! This Red Lentil Dhal with Coconut and Sweet Potato puts a delicious twist on the classic, adding the perfect touch of sweetness and richness. Paired with warm Indian flatbread, it’s a cozy, satisfying meal that costs just 80p per serving!

As part of my 3 Healthy Meals for £3 a Day series, this recipe is perfect for students and anyone looking to enjoy nutritious, flavourful meals on a budget.

Ingredient Cost Breakdown

  • 100g / ½ cup red lentils (Tesco) – 25p
  • ½ medium onion (60g) (Tesco) – 6p
  • 2 tsp minced garlic (Very Lazy Chopped Garlic) – 6p
  • ½ tsp ground turmeric (Tesco) – 4p
  • ½ tsp ground cumin (East End) – 1p
  • 1 tsp mild curry powder (Tesco) – 3p
  • 400 ml / 1¾ cups vegetable stock (Marigold bouillon powder) – 12p
  • 1 TBSP tomato puree (Tesco Growers Harvest) – 5p
  • 1 medium sweet potato (170g) (Tesco) – 20p
  • 25g / 1 oz creamed coconut (Pride) – 13p

Serve with:

Total cost: £1.60 / £1.06

Per serving: 80p / 53p

N.B. Prices listed are for November 2024, sourced from Tesco where I currently do my main grocery shop.

The Good Stuff

This dish is packed full of nutritional goodness:

Lentils are a powerhouse of plant protein, fibre, and essential minerals like iron, folate, and manganese, plus polyphenols with antioxidant and anti-inflammatory benefits. They’re also rich in prebiotics, which nourish your gut health.

Onions are packed with flavonoid antioxidants, vitamins and fibre which support immune and heart health and have anti-inflammatory properties.

Garlic is rich in sulfur compounds like allicin, which have potent antioxidant, anti-inflammatory, and immune-boosting properties.

Curry spices (including cumin, coriander and turmeric) are rich in antioxidants that support heart health, reduce inflammation and improve digestion.

Tomato puree  is a concentrated source of lycopene, a potent antioxidant which supports heart health and has anti-inflammatory properties.

Sweet potatoes are rich in complex carbs, fibre, and vitamins A, C, and B6, along with potassium and antioxidants, supporting immune function, eye health, and digestion.

Chapattis made from whole wheat flour are a good source of complex carbs, protein, fibre, and essential nutrients like B vitamins, iron, and magnesium.

Coconut and Sweet Potato Dhal

Top Tips & FAQs

What is dhal? 

Dhal (or dal) is a traditional South Asian dish made from split lentils, peas, or beans, seasoned with spices like turmeric, cumin, and garlic. It’s typically enjoyed with with rice or flatbreads, such as chapatti or naan, and is a staple in Indian, Pakistani, and Bangladeshi cuisine. 

Which type of lentil is best for this dhal?

Red lentils are ideal for this recipe; they cook quickly and break down into a smooth, almost purée-like texture, making them perfect for a creamy dhal. Plus, they don’t require pre-soaking!

Why should you wash your lentils?

Washing lentils removes dust, dirt, and excess starch, which can reduce bloating. Rinse them in a fine mesh sieve under cold running water, agitating with your hand until the water runs clear.

New to Lentils? Start Low and Slow.

If lentils are new to you, start with smaller portions (around half a cup of well-rinsed and cooked lentils) to give your digestive system time to adjust. You can gradually increase the portion size after a couple of weeks.

What is creamed coconut? 

Creamed coconut is pure, solid coconut (not to be confused with canned coconut cream) and is available in blocks in the world food aisle (in the Indian, Thai and African Caribbean sections). It adds a lovely creaminess and sweetness to dishes like this dhal. It’s also cost-effective, as you can slice off what you need and store the rest in the fridge.

Gluten-free options

For a gluten-free version, serve the dhal with rice or a gluten-free flatbread, which can be found in the ‘Free From’ aisle of most UK supermarkets.

Recipe Card

Red Lentil Dhal with Coconut and Sweet Potato

This hearty and nutritious red lentil dhal is easy to make and ready in just 30 minutes. It is freezer-friendly and perfect for batch cooking.
It is most delicious served with some warm flat breads. If you fancy trying your hand at making your own chapattis (Indian flatbreads), I share my home-made recipe in this post. It takes me about 15 minutes to make 4 chapattis (perfect for 2 people). I prepare them while the dhal is simmering.
Hands on time 15 minutes
Total Time 30 minutes
Course Dinner, Light Dinner, Lunch
Cuisine Indian
Servings 2

Ingredients
 

  • 100 g / ½ cup red lentils
  • 1 TBSP oil
  • ½ medium onion (60g) finely diced
  • 2 tsp minced garlic
  • ½ tsp ground turmeric
  • ½ tsp ground cumin
  • 1 tsp curry powder or to taste
  • 400 ml / 1¾ cups vegetable stock (broth)
  • 1 TBSP tomato puree (paste)
  • 1 medium sweet potato (170g) peeled & diced
  • 25 g / 1 oz creamed coconut chopped*

Serve with:

  • 4 chapattis or other flatbread, such as naan

Optional side dishes

  • Some greens such as a baby leaf salad, sauteed kale or roasted broccoli**
  • Rice
  • Poppadoms

Instructions
 

  • Place the lentils in a fine mesh sieve and rinse under cold water, agitating with your hand until the water runs clear.
  • Heat the oil in a large saucepan over low-medium heat. Add the onion and garlic, and cook until the onion is soft and translucent (3-5 minutes). 
  • Add the spices (turmeric, cumin, curry powder), and tomato puree to the pan and cook for a couple of minutes, stirring frequently. If it begins to stick, add a splash of water to prevent it burning.
  • Stir in the lentils, followed by the vegetable stock, sweet potato, and creamed coconut. Bring to a gentle boil, then cover with a lid (leave it open a crack to allow the steam to escape) and cook for 18 minutes. Stir towards the end, adding a little extra water if needed.
  • When the lentils and sweet potato are tender, remove the pan from the heat and leave to rest for a couple of minutes. Season with salt, to taste.
  • While the dhal is cooking, prepare your chapattis and any sides.

Notes

tsp = teaspoon | TBSP = tablespoon
* Creamed coconut is made from pure coconut and comes in a solid block. In UK supermarkets, it is typically found in the world food aisles. Check out my ‘Top Tips’ section above to find out more.
** My roasted broccoli recipe is posted here.
Storage Tips: Store any leftover dhal for up to five days in the fridge or freeze for up to two months.
Keyword Budget Vegan Meals, Dhal, Easy Vegan Meals, Lentils, Student Vegan Meals, Vegan Dinners
Tried this recipe?Let us know how it was!

Nutrition breakdown

N.B. The above values are estimates and for illustration purposes only. The actual nutritional values will vary depending on the specific ingredients used. The % Reference Intake (RI) will also vary depending on your age, gender, height, BMI, level of activity and other personal variables.

Pin for later ⬇️

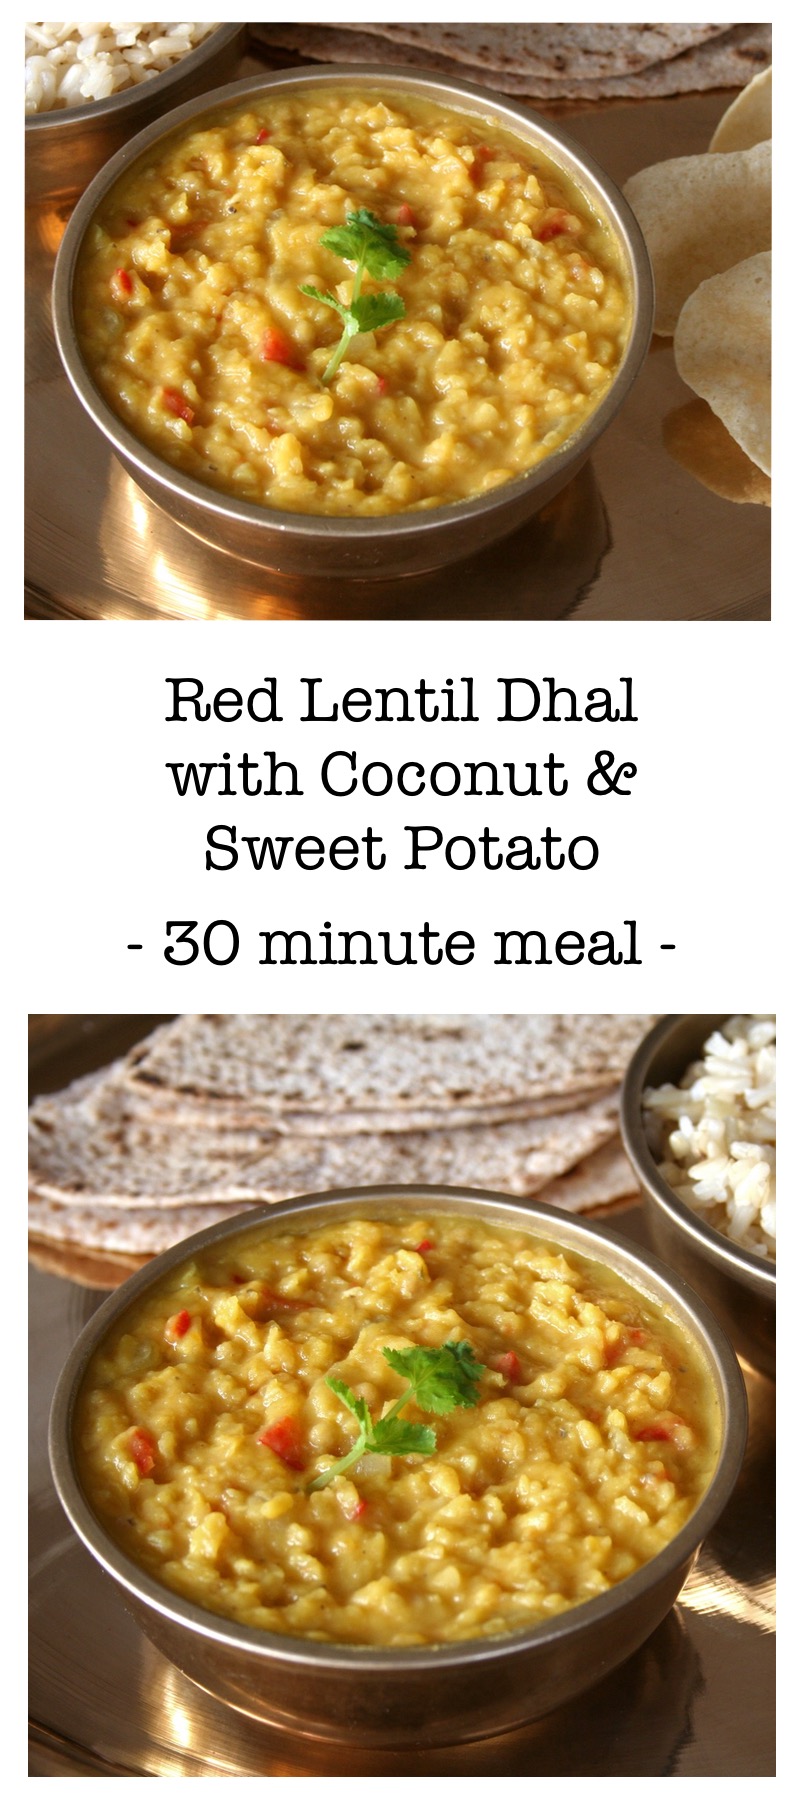
Red Lentil Dhal with Coconut Sweet Potato

If you make this Red Lentil Dhal, I’d love to hear your feedback and any suggestions for adaptations. Tag your photos with #bitofthegoodstuff on social media – I’d love to see them! You can also connect with me on my social media channels here: InstagramFacebookPinterest.   

With love,

Sharon xx
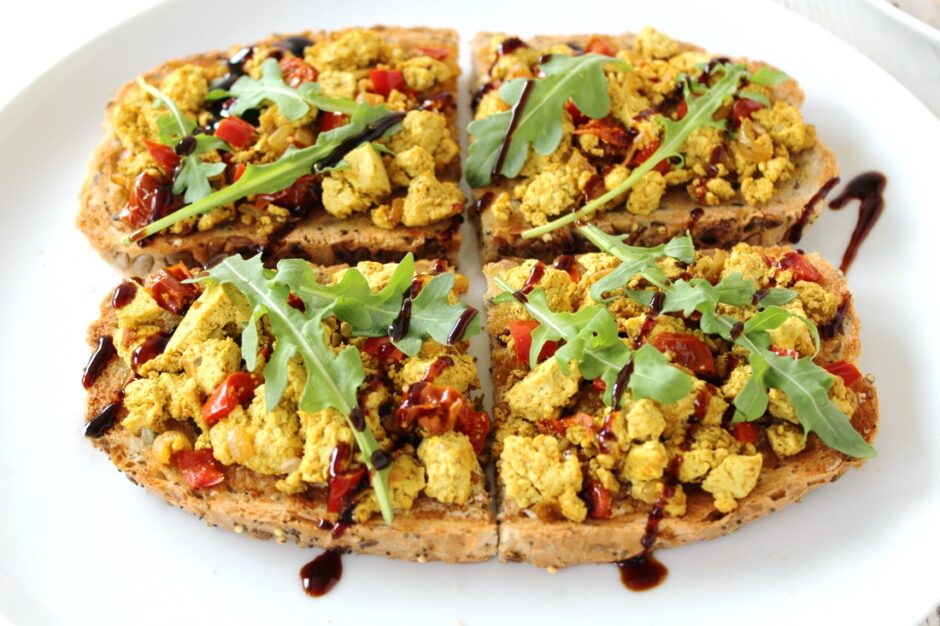
Scrambled Tofu on Toast: A High-Protein Vegan Twist on a Classic!

Jump to Recipe

This delicious vegan alternative to scrambled eggs on toast packs in over 30g of protein per serving, for just £1.32! 

Easy, nutritious, and perfect for breakfast, lunch or a light dinner, this scrambled tofu is savoury, satisfying, and loaded with plant proteins, vitamins, and minerals. It’s an ideal addition to my 3 Healthy Meals for £3 a Day series.

Ingredient Cost Breakdown

  • ½ medium brown onion (60g) (Tesco) – 6p
  • 300g / 10½ oz firm tofu (Cauldron Authentic) – £2.08 
  • ½ tsp garlic granules (Tesco) – 2p
  • ½ tsp ground turmeric (Rajah Haldi) – 1p
  • ½ tsp Kala Namak salt (Natco) – 6p
  • 4 thick slices multigrain seeded bread (Tesco Finest) – 31p
  • Dairy-free spread (Vitalite) – 9p

Total cost: £2.63

Cost per serving: £1.32

Prices listed are for November 2024. I mostly used Tesco prices as that’s where I do my main grocery shop at the moment.

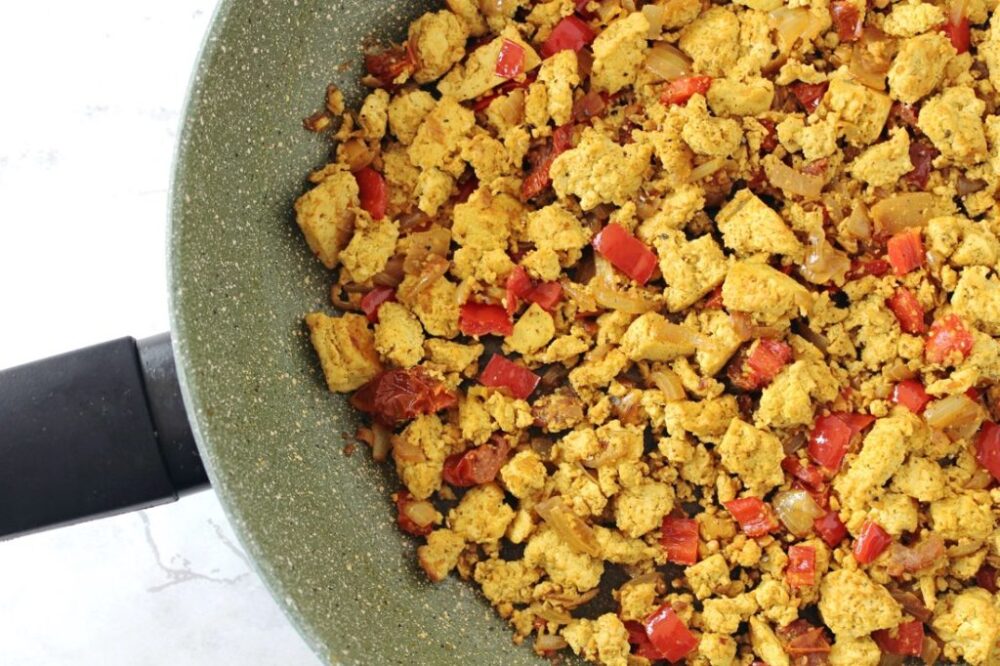
Scrambled Tofu

The Good Stuff

Tofu is rich in plant-based protein, heart-healthy fats, and minerals such as iron, calcium, magnesium. Tofu contains beneficial compounds called isoflavones that have antioxidant and anti-inflammatory properties, and also promote hormonal balance.

Onions contain antioxidants, anti-inflammatory polyphenols and prebiotics, which promote a healthy gut.

Red bell peppers are rich in antioxidants and vitamins A and C, supporting the immune system, skin and vision.

Garlic granules are rich in antioxidants and sulfur compounds, which support immune function, heart health, and have anti-inflammatory properties.

Ground turmeric is high in antioxidants, particularly curcumin, along with manganese, iron and vitamin B6, offering anti-inflammatory benefits and supporting immune and digestive health.

Kala namak (‘black salt’) contains essential minerals like iron and potassium, and has a low-sodium content compared to regular salt. It is valued for its unique sulfurous taste and potential health benefits, including aiding digestion and reducing bloating.

Black pepper contains piperine, an active compound that enhances nutrient absorption (including the curcumin in turmeric), has anti-inflammatory properties and improves digestion.

Multigrain seeded bread is rich in fibre, healthy fats, protein, and essential nutrients like B vitamins, iron and magnesium, promoting heart health, digestion, and sustained energy.

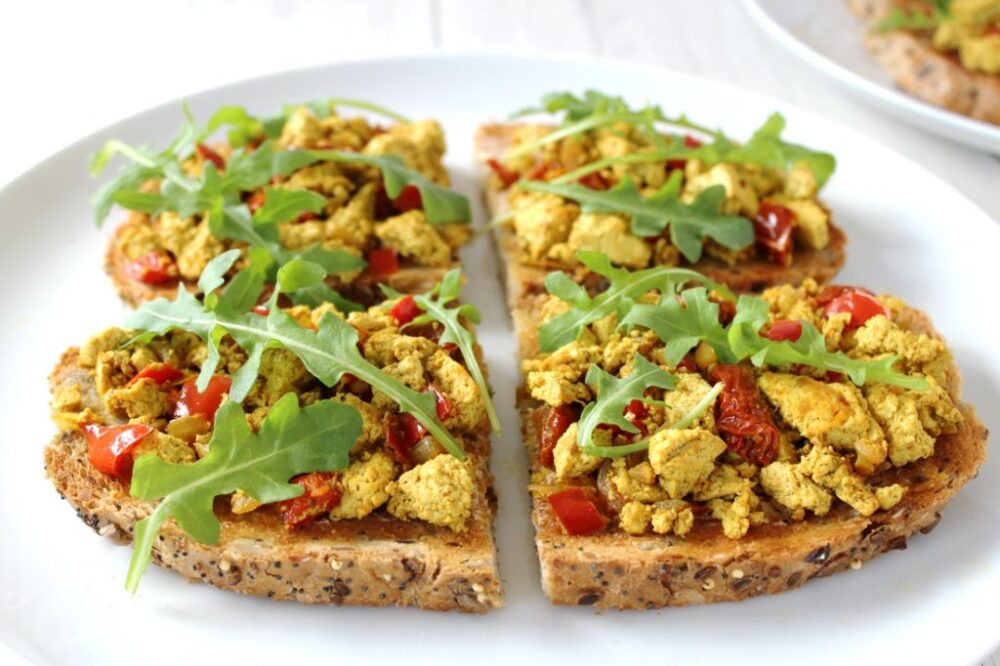
Scrambled Tofu on Toast

Top Tips & FAQs

What type of tofu works best?  

Firm tofu has the ideal texture for scrambled tofu. This is the type of tofu that is found in the chiller cabinets and usually needs pressing before cooking. For those in the UK, Cauldron Authentic tofu is widely available in our supermarkets. As a bonus, this brand of tofu is set in calcium sulfate, which means that one portion of this scramble offers a substantial calcium boost of 607 mg (over 85% of the UK’s daily recommended intake!)

You can also use extra firm tofu (such as Tofoo) to make scrambled tofu but it will give a slightly chewier texture. I would recommend adding a splash of milk into the scramble (after you’ve added the spices) to soften it up a little.

What is kala namak and where can I buy it? 

Kala namak (also known as ‘black salt’), is a type of volcanic rock salt commonly used in South Asian cuisine. It has a sulphurous ‘eggy’ aroma and flavour, making it perfect for vegan alternatives to scrambled egg and omelettes. It’s available from Asian supermarkets, health food stores and online. I purchased a 100g bag from Amazon UK for under £3 with free delivery and it’s lasted years!

Boosting iron absorption

Adding a vitamin-C veggie such as red bell pepper, chilli pepper or red cabbage to your meal will help your body to absorb the iron in the tofu and bread. Alternatively, enjoy a vitamin-C rich fruit, such as kiwi, orange or strawberries for dessert.

Gluten-free options

Serve the scrambled tofu with a gluten-free bread. These can be found on the ‘Free From’ aisle in UK supermarkets.

Recipe Card

Scrambled Tofu on Toast

A delicious, high protein vegan alternative to scrambled egg on toast. Great as a hearty breakfast, lunch or light dinner, and even better when paired with a colourful side salad!
Hands on time 15 minutes
Total Time 15 minutes
Course Breakfast, Light Dinner, Lunch
Servings 2

Ingredients
 

  • 1 TBSP oil (preferably olive)
  • ½ medium brown onion (60g) finely diced
  • 2 TBSP red bell pepper finely chopped (optional)
  • 300 g / 10½ oz firm tofu* drained (no need to press)
  • ½ tsp garlic granules
  • ¼ tsp ground turmeric
  • ½ tsp kala namak salt** (or use sea salt if you don’t want an ‘eggy’ flavour)
  • freshly ground black pepper to taste

To serve:

  • 4 thick slices of multigrain seeded bread
  • dairy-free spread

Suggested accompaniments:

  • Mixed salad
  • Dollop of hummus or vegan mayonnaise
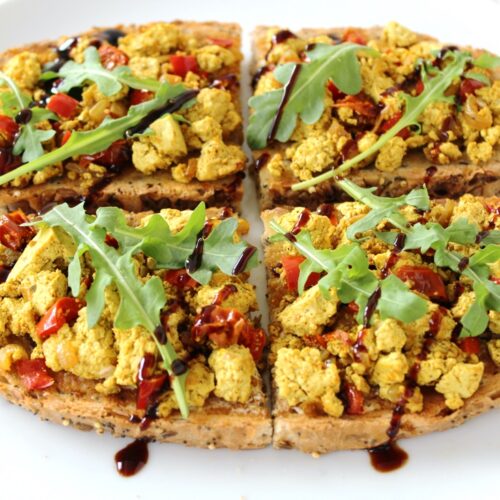
  • Drizzle of Balsamic glaze

Instructions
 

  • Heat the oil in a large frying pan (skillet) over medium heat and cook the onion until soft and translucent (3-5 minutes). Stir in the red pepper, if using.
  • Drain the tofu and give it a squeeze to remove excess water. Using your hands, break the tofu into chunky crumbs. 
  • Add the tofu to the frying pan, and sprinkle the garlic granules and turmeric on top. Stir until the tofu is completely golden in colour. Use a wooden spoon to break down any tofu chunks that are too large. Leave the tofu to cook until it starts to lightly brown, stirring occasionally. 
  • Prepare your bread and any side salad.
  • Sprinkle the salt on top of your scramble and stir through to combine. This is especially important if you use kala namak salt as you don’t want any clumps!
  • Season with freshly ground black pepper, and adjust the salt to taste.
  • Serve the scramble on toast along with your favourite accompaniments.

Notes

tsp = teaspoon | TBSP = tablespoon. 
* I use Cauldron Authentic Tofu, which is widely available in UK supermarkets. You can also use extra firm tofu (such as Tofoo) but it will give a slightly chewier texture. I would recommend adding a splash of milk into the scramble (after you’ve added the spices) to soften it up a little.
** Check out my ‘Top Tips’ section for info about kala namak and where to buy it in the UK. Just to note, kala namak can smell very pungent when you first add it to the pan but it soon dissipates.
Storage tips: Any leftover scramble can be refrigerated for a couple of days. It also freezes well.
Keyword Budget Vegan Meals, Easy Vegan Meals, Scrambled Tofu, Student Vegan Meals
Tried this recipe?Let us know how it was!

Nutrition breakdown

N.B. The above values are estimates and for illustration purposes only. The actual nutritional values will vary depending on the specific ingredients used. The % Reference Intake (RI) will also vary depending on your age, gender, height, BMI, level of activity and other personal variables.

Pin for later ⬇️

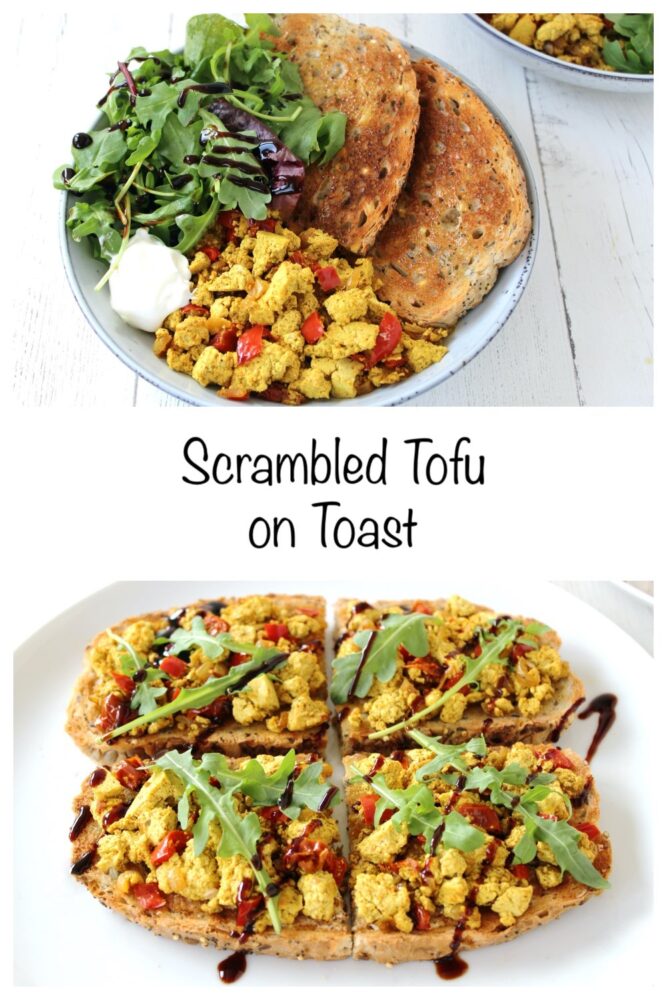
Scrambled Tofu on Toast

If you make this Scrambled Tofu on Toast, I’d love to hear your feedback and any suggestions for adaptations. Tag your photos with #bitofthegoodstuff on social media – I’d love to see them! You can also connect with me on my social media channels here: InstagramFacebookPinterest.   

With love,

Canned Vegetable Soup with a Protein Boost! (Vegan / Dairy-Free)

Jump to Recipe

With the easy hack I share below, you can transform a basic can of vegetable soup into a protein-packed, nutrient-rich meal that costs just 98p per serving!  

Keeping a can or two of soup in the cupboard is always useful for when you need a quick, low-effort meal. Vegetable soups can be especially comforting in colder seasons or when you’re feeling under the weather. Packed with a variety of vegetables, herbs and spices, they often work out far cheaper than making soups from scratch, and are definitely more convenient!

The only downside is that they can be low in protein. Luckily, there’s a simple way to fix this: just add half a cup of chickpeas! Serve with some multigrain bread, and you’ll have a balanced meal with over 20g of protein, plus loads of fibre and complex carbs to keep you feeling full and energised!

This recipe is part of my 3 Healthy Meals for £3 a Day series, ideal for students and anyone looking to eat well on a budget!

Ingredient Cost Breakdown

  • 400g / 14 oz can vegetable soup (Tesco) – 62p
  • 90g / ½ cup chickpeas (Tesco) – 18p

Served with:

  • 2 thick slices of multigrain seeded bread (Tesco Finest) – 15p
  • dairy-free spread (Vitalite) – 3p

Total cost: 98p

Prices listed are for November 2024, sourced from Tesco where I currently do my main grocery shop.

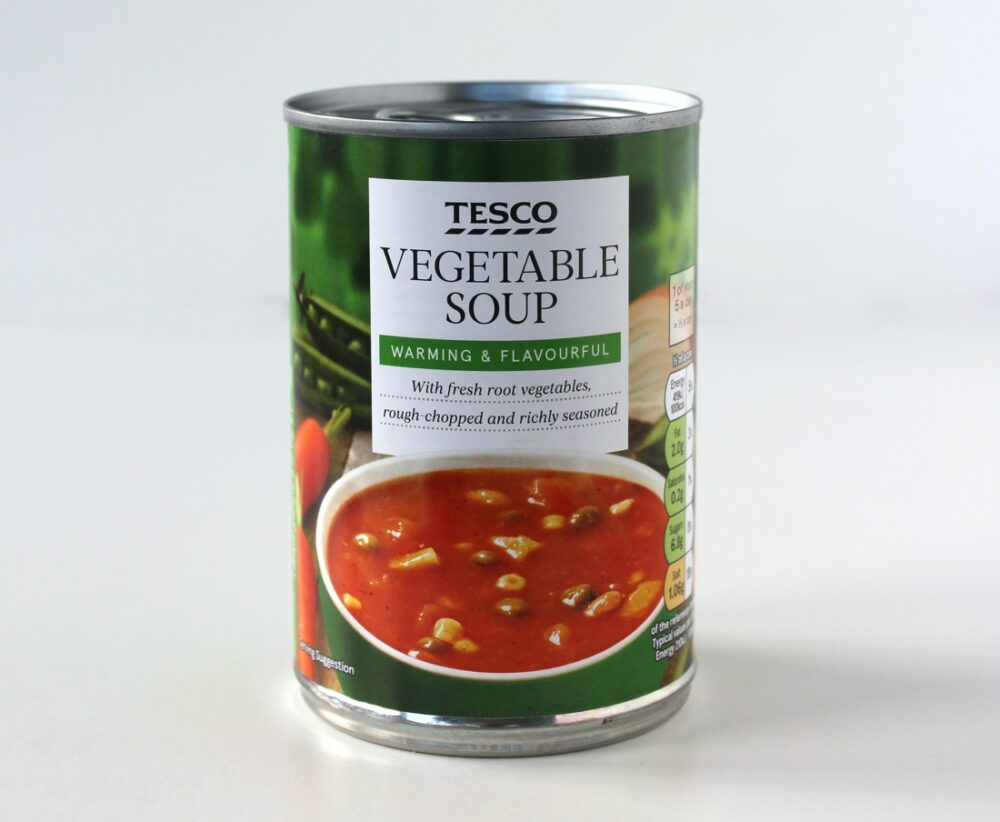
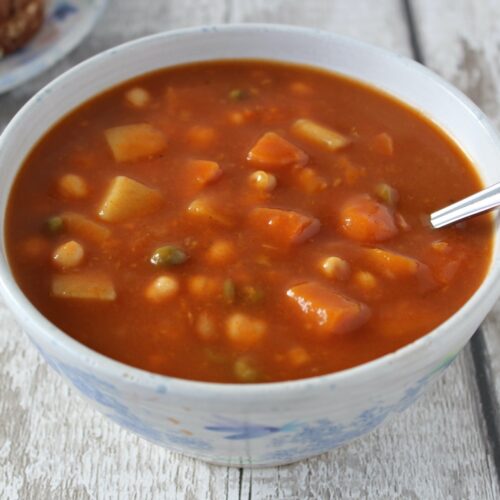
Tesco Vegetable Soup

The Good Stuff

Canned vegetable soup can offer a quick, convenient source of vitamins, minerals, and fibre, supporting immune function and digestion.

Chickpeas are rich in plant-based protein, fibre, and essential nutrients like folate, iron, and magnesium, supporting digestion, heart health, and blood sugar regulation.

Multigrain seeded bread brings extra fibre, healthy fats, protein, vitamins and minerals to support heart health, digestion, and sustained energy.


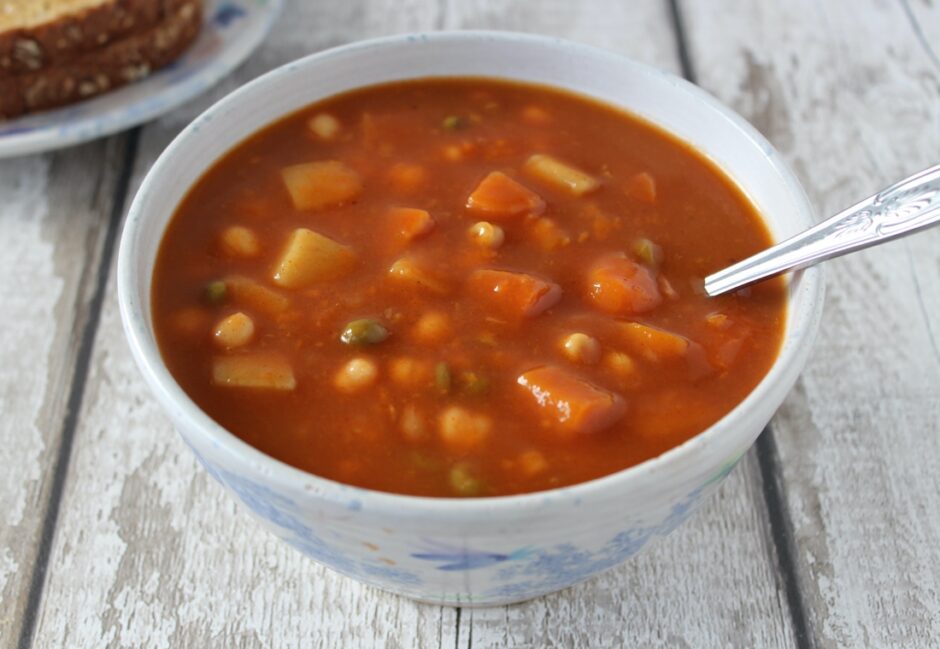
Canned Vegetable Soup with a Protein Boost

Top Tips & FAQs

Check the salt and sugar content

Some canned soups can be high in salt and sugar, so check the nutrient label before buying. In the UK, the ‘traffic light’ system on packaging can help you choose healthier options – try to avoid those marked red. It’s also best to avoid soups with artificial sweeteners, like maltodextrin, as these may negatively impact gut health.

Can I recommend a budget-friendly can of vegetable soup? 

My favourite is Tesco Vegetable Soup, which is vegan-friendly. It has a good consistency, flavour, and variety of chunky vegetables, all for just 62p. Other UK supermarkets offer similar soups, so you may want to try a few to find your favourite!

Gluten-free options

Be sure to check the ingredients label on the canned vegetable soups, as many contain wheat. Here are some examples of canned soups that are vegan and gluten free:
Sainsbury’s Be Good To Yourself Tomato & 3 Bean Soup, 62p (& contains 13.6 grams of protein!)
Sainsbury’s Be Good To Yourself Spiced Lentil & Tomato Soup, 62p
M&S Chunky Vegetable Soup, £1.10
Tesco Tuscan Inspired Bean Soup, £1.20
Serve the soup with a gluten-free bread, which can be found on the ‘Free From’ aisles in UK supermarkets.

Recipe Card

Canned Vegetable Soup with a Protein Boost!

With this simple hack, you can transform a basic can of vegetable soup into a satisfying, protein-rich, nutrient-packed, low-cost meal!
Hands on time 5 minutes
Total Time 5 minutes
Course Light Dinner, Lunch
Servings 1

Ingredients
 

  • 400 g / 14 oz can of vegetable soup*
  • 90 g / ½ cup chickpeas drained and rinsed**

Serve with:

  • 2 thick slices of multigrain seeded bread
  • ½ TBSP dairy-free spread

Instructions
 

  • Place the soup and chickpeas in a small saucepan over medium-low heat, stirring regularly until piping hot. (Alternatively, place in a deep microwave-safe bowl, cover with a lid or plate and microwave according the instructions on the soup can).
  • Serve with a couple of thick slices of multigrain seeded bread as a hearty lunch or light dinner option.

Notes

* For tips on how to choose the best budget-friendly canned soup, check out my ‘Top Tips’ section above. I most often use Tesco Vegetable Soup.
** To rinse the chickpeas, place them in a fine mesh sieve and rinse under cold running water until the water runs clear. 
Keyword Budget Vegan Meals, Easy Vegan Meals, Student Vegan Meals, Vegan Soup
Tried this recipe?Let us know how it was!

Nutrition breakdown

N.B. The above values are estimates and for illustration purposes only. The actual nutritional values will vary depending on the specific ingredients used. The % Reference Intake (RI) will also vary depending on your age, gender, height, BMI, level of activity and other personal variables.

Pin for later ⬇️

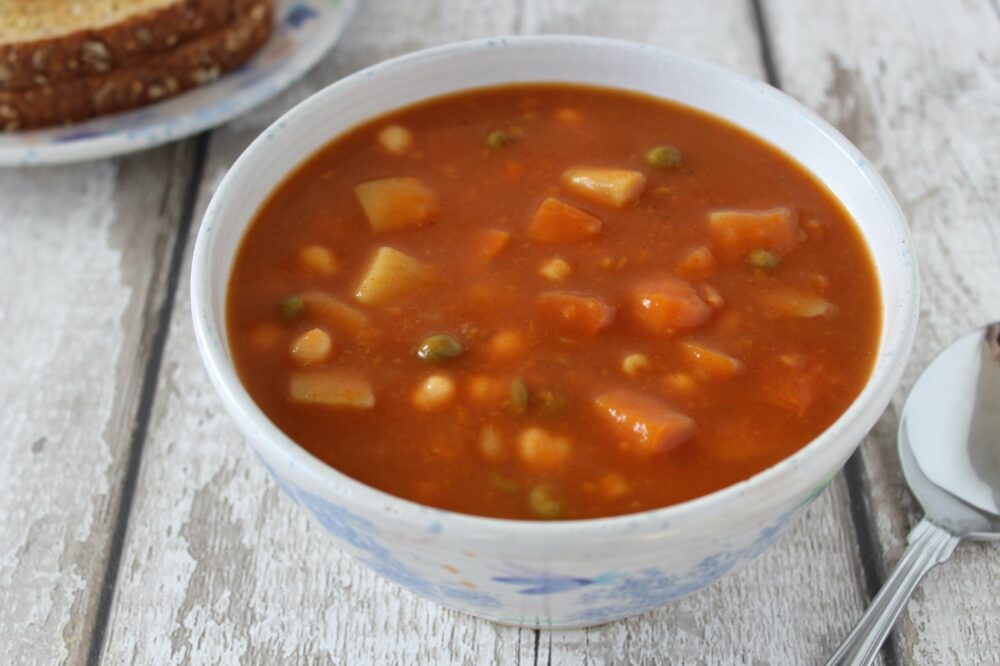
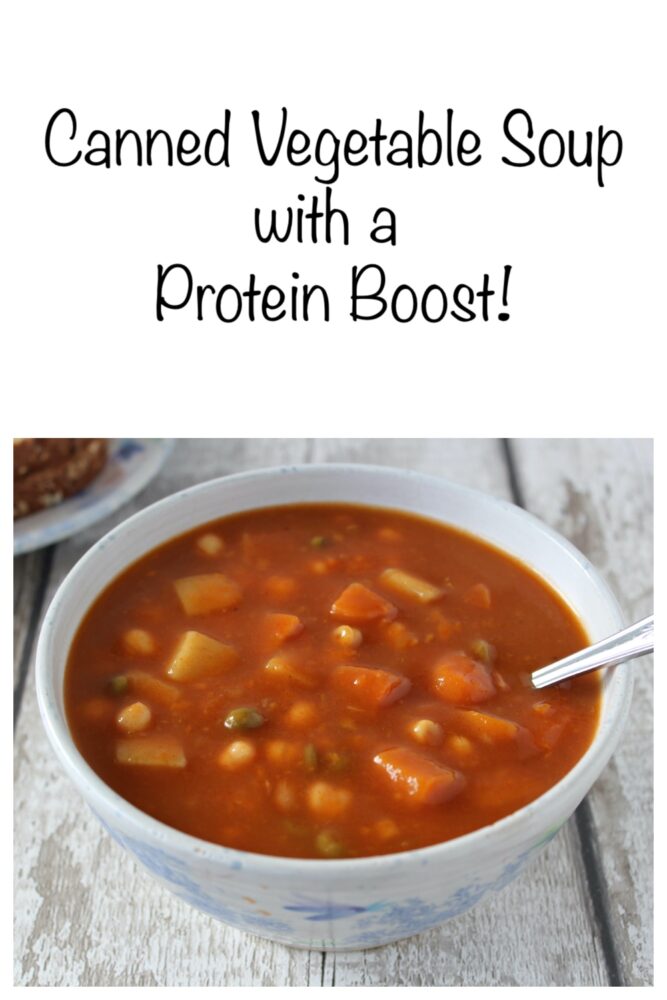
Canned Vegetable Soup with a Protein Boost

Have you tried this soup? If so, I’d love to hear your feedback! Tag your comments and photos with #bitofthegoodstuff on social media and they will find their way to me. You can also connect with me on my social media channels here: InstagramFacebookPinterest.   

With love,