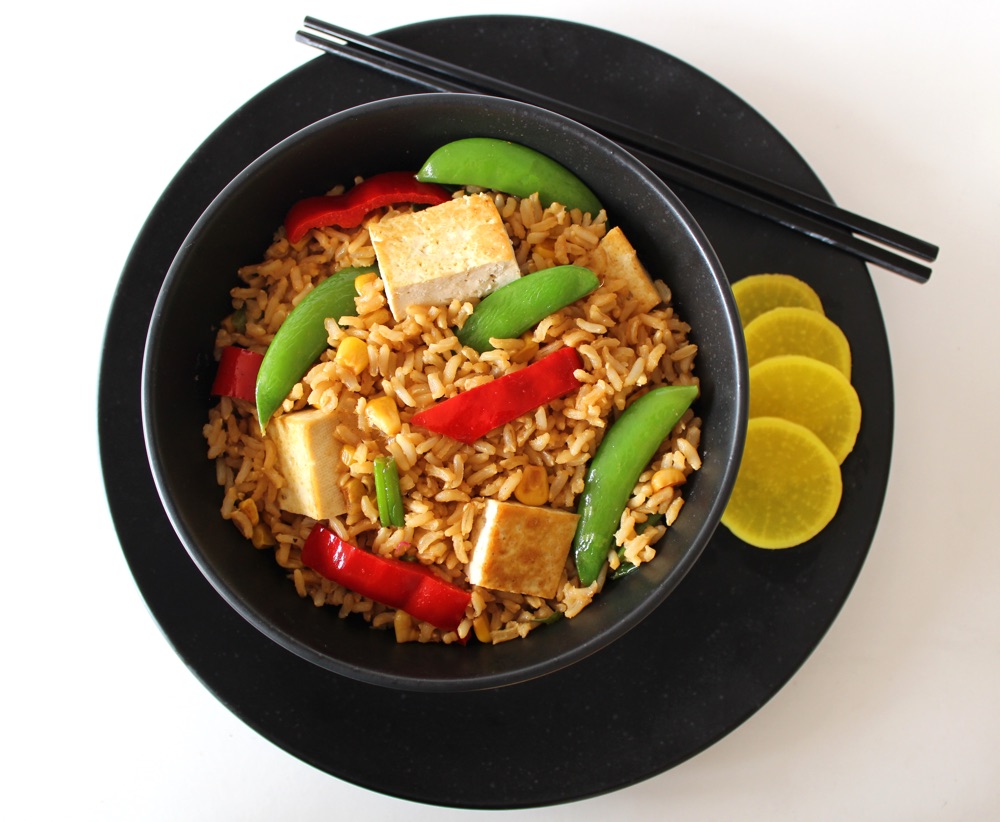
In early Summer, my family were eagerly anticipating a trip to Wagamamas. On the way there, we psyched each other up, talking about how much we were looking forward to tucking into our favourite Wagamama dish – the Yasai Cha Han Donburi. Upon arrival, the waiter showed us to our seats and handed us the menu. Our eyes immediately moved to the spot where the dish is usually listed, but it wasn’t there. We scanned both sides of the menu but it was nowhere to be seen. We called over the waiter and he explained that they had a new summer menu. Sadly, the Yasai Cha Han Donburi hadn’t made the cut.
Has that ever happened to you? Where you’re looking forward to tucking into your favourite dish at a restaurant, or you specifically go to that restaurant because you’re craving a dish… only to find that it’s been taken off the menu. It’s happened to my family a few times and it’s always such a bummer.
Well this time, I decided to look on the bright side. I’d been meaning to try my hand at making the Yasai Cha Han Donburi at home for a while, and now was the perfect opportunity. I could still remember what the bowl tasted like and its main components, so I set to work re-creating it.
One of my favourite parts of the bowl is the flavouring added to the rice, so I really wanted to nail this part. I chose to use two of my favourite pantry staples as the basis of the dressing – Clearspring Organic Tamari Sauce and Meridian Organic Toasted Sesame Oil. The tamari provides the ‘umami’ flavour, while the toasted sesame oil add a touch of smokiness. I then added a tablespoon each of maple syrup and rice vinegar for some ‘sweet ’n’ sour’ flavour, and finished it off with a sprinkling of garlic granules. I was extremely happy with the way the dressing turned out. For me, it’s the perfect compliment to a Japanese-inspired rice bowl.
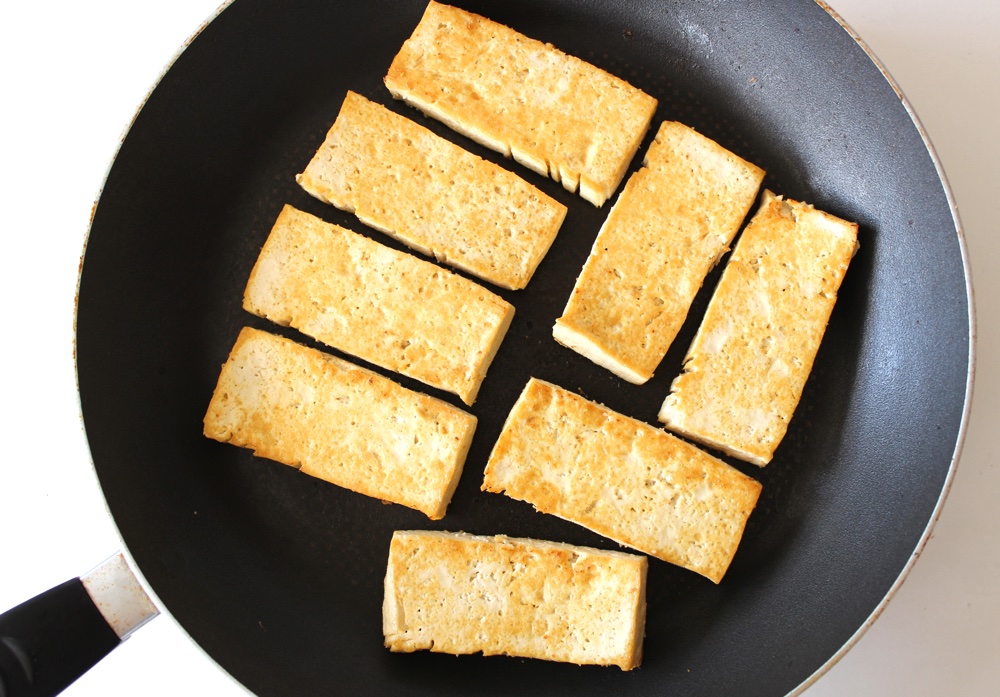
For this dish, I prefer to use original tofu, which I press for 30 minutes then pan-fry. If you’ve not cooked tofu from scratch before, rest assured that it’s not difficult at all. I’ve given some tips in the recipe below of how I do it.
I absolutely adore this rice bowl, and it’s been a huge hit with the rest of the family too. I’ve made it multiple times these past couple of months and we never tire of it. The flavour is as good (if not better, in my humble opinion hehe) than the Wagamama version. It’s far cheaper too!
Recipe Card
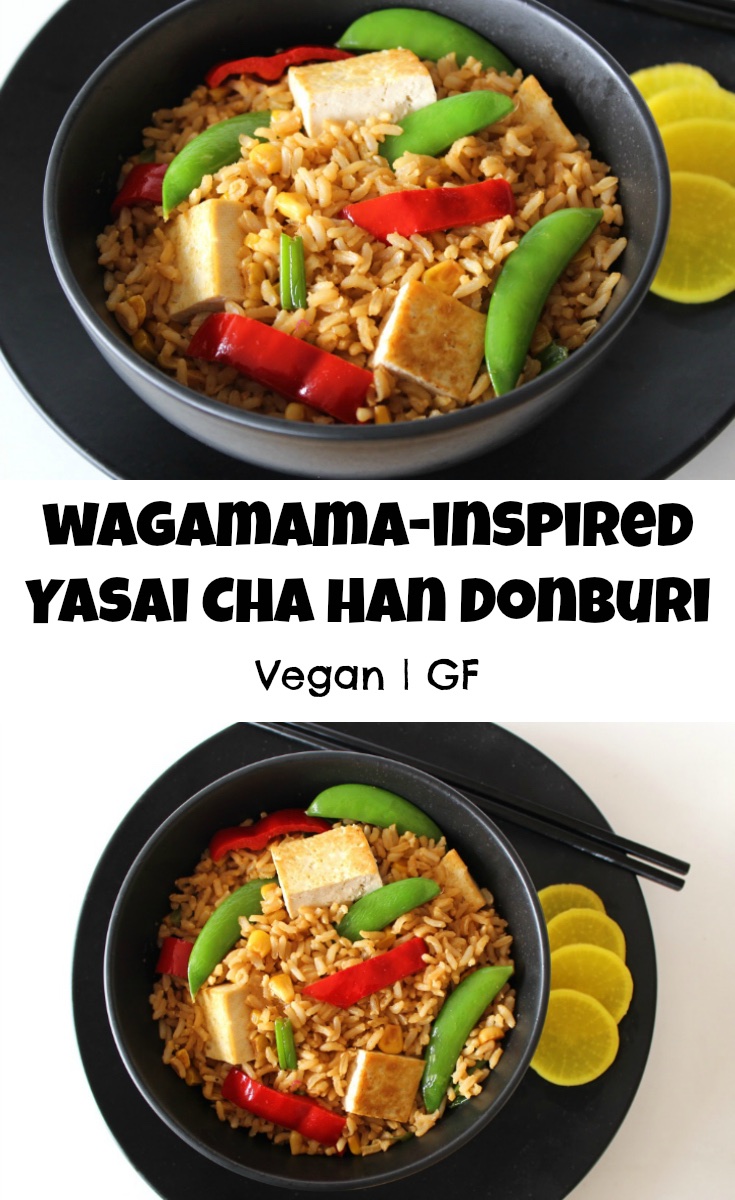
Wagamama-Inspired Yasai Cha Han Donburi (Brown Rice Bowl with Stir-Fried Veggies and Tofu)
Ingredients
- 1 block firm tofu (about 400g / 14 oz)
- 300 g / 1½ cups brown rice rinsed and drained
- 750 ml / 3 cups water
- ½-1 TBSP toasted sesame oil
- ¼ tsp garlic granules or garlic powder
- pinch of salt
- 1 medium onion sliced
- 175 g / 1 cup sweetcorn (I use canned)
- 1 sweet romano pepper or red bell pepper
- handful of sugar snap peas
Dressing
- 3 TBSP tamari or reduced-salt soy sauce
- 1 TBSP toasted sesame oil
- 1 TBSP rice vinegar or substitute with another white vinegar
- 1 TBSP maple syrup
- ½ tsp garlic granules or powder
- Slices of pickled radish for garnish (optional)
Instructions
- Press the tofu for 30 minutes (See Note 1).
- Cook the rice (see Note 2).
- Prepare the dressing: Place all the dressing ingredients in a small bowl and whisk together with a fork.
- Once pressed, slice the tofu into eight long rectangles. (I find it far easier and quicker to pan-fry and flip eight pieces of tofu rather than a panful of tofu cubes).
- Heat ½ TBSP sesame oil in a large non-stick frying pan (skillet) on medium-high heat. Once the oil is hot, place the tofu in the pan (be careful as the oil may spit). Flip the tofu over, so that both sides are coated in oil. Sprinkle the garlic granules and a pinch of salt over the tofu. Leave to cook until golden brown on the underside, then flip over and cook until browned on the second side. Transfer to a plate and slice into bite-size pieces. Place in a warm oven while you prepare the veggies.
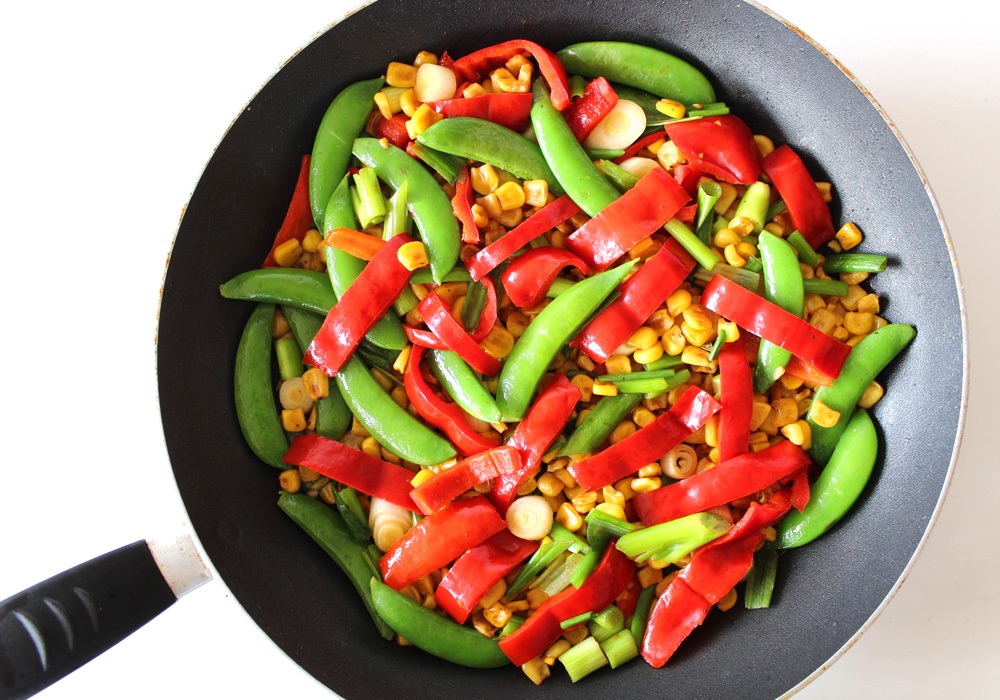
- Add a splash more oil to the pan, if needed. Add the onion and stir fry on medium heat for 2 minutes. Add the sweetcorn and continue stir frying until it just starts to brown. Finally, add the sweet romano (or bell) pepper and sugar snap peas to the pan and stir fry until warmed through. Stir in 1 TBSP of the dressing and set aside.
- Once the rice is ready, tip into a large bowl. Drizzle in the remaining dressing and stir through until thoroughly coated. Add the veggies and tofu and stir through. Divide between four bowls. Garnish with picked radish (if desired) and serve.
- Any leftovers can be stored in the fridge for 24 hours. As with any rice dish, make sure the leftover rice is cooled quickly and refrigerated within an hour.
Notes
Pin for later ⬇️
Big thank you to Suma for supplying me with the gorgeous ingredients for this bowl. It’s hugely appreciated!
Much love,


Looks delicious.
Beats visiting some restaurants I’ve visited. Tiny portions at high prices. Lacking that Thai garnish with the takeaway foods. Many Thai restaurants serve the dry in a packet tofu. Cost effective. When asked if it’s fresh tofu, they’ll say yes. It isn’t. It’s the dried tofu. That has to be soaked for hours to soften. It feels very dry & synthetic on the tongue. It’s tasteless & difficult to season.
One overly expensive Thai restaurant in Dorchester even deep fries them. Served with sweet & sour sauce. Yuck.
Priced nearly £8.00
A packet of dried tofu cost a couple of pounds
Ridiculous. I’ll then leave my reviews
I’ve stopped visiting Chinese & Indian restaurants, for ethical reasons of cruelty to animals.
I prefer to make my own Indian & Thai foods now.
We are so fortunate to now gain online access for free authentic recipes. Plus, to Google the Thai shops for the recipes.
It’s wonderful to hear that you’re making your own Indian and Thai foods now. Home-made is always the best… and so much cheaper too! As you rightly said, we’re incredibly lucky these days as we’re able to access many authentic recipes online for free 👍☺️
Such pretty colours!
Aren’t they just? 😍 This dish looks even more colourful in real life thanks to the bright yellow sweet corn. It hasn’t shown up so well in the photos.