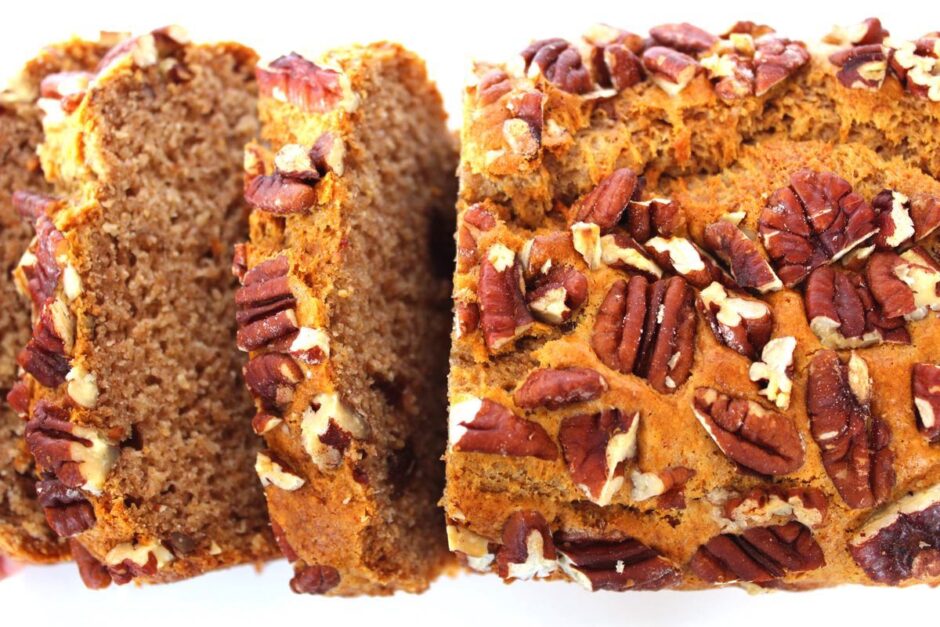
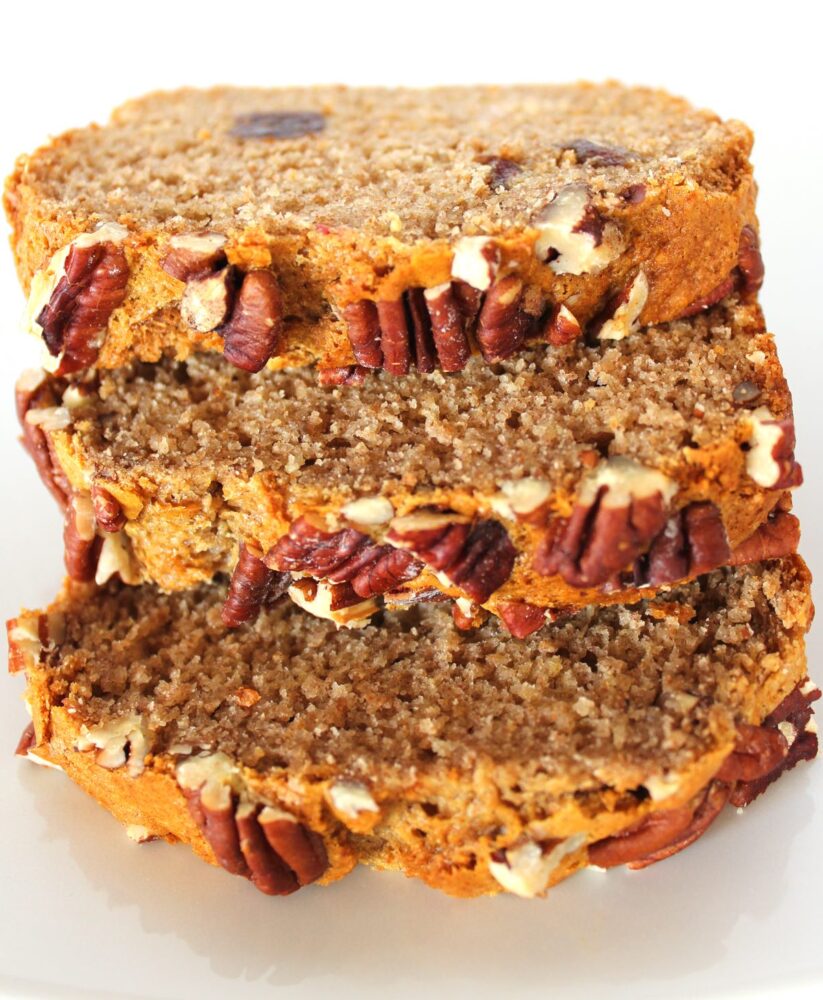
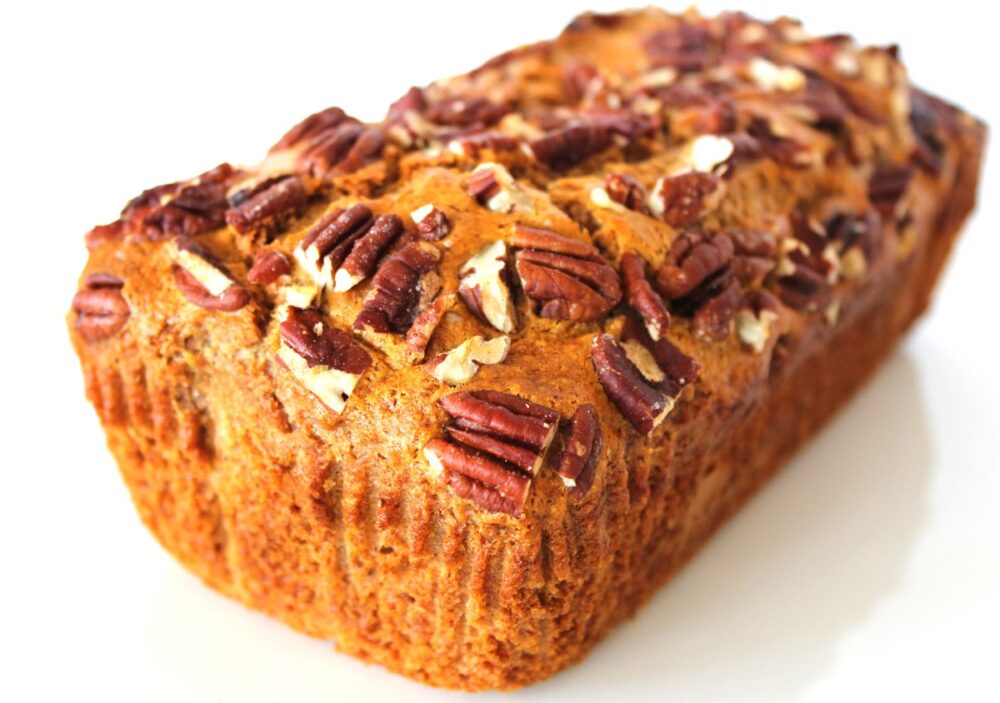
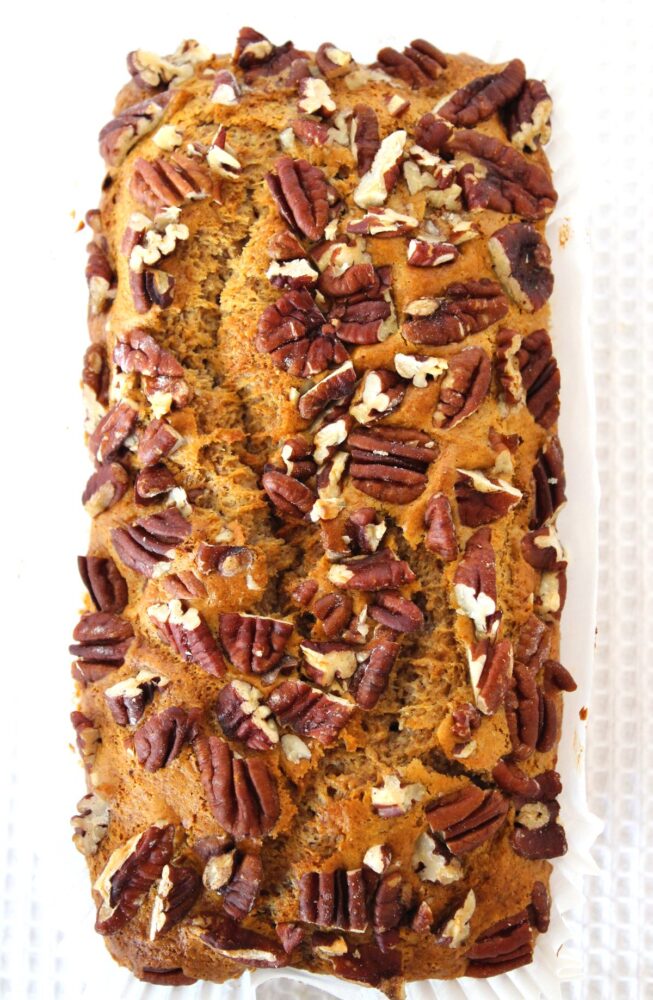
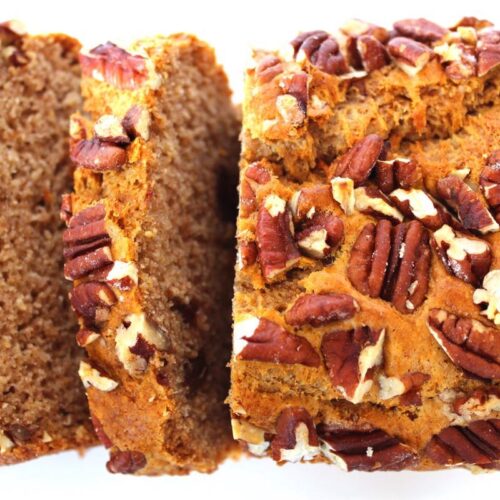
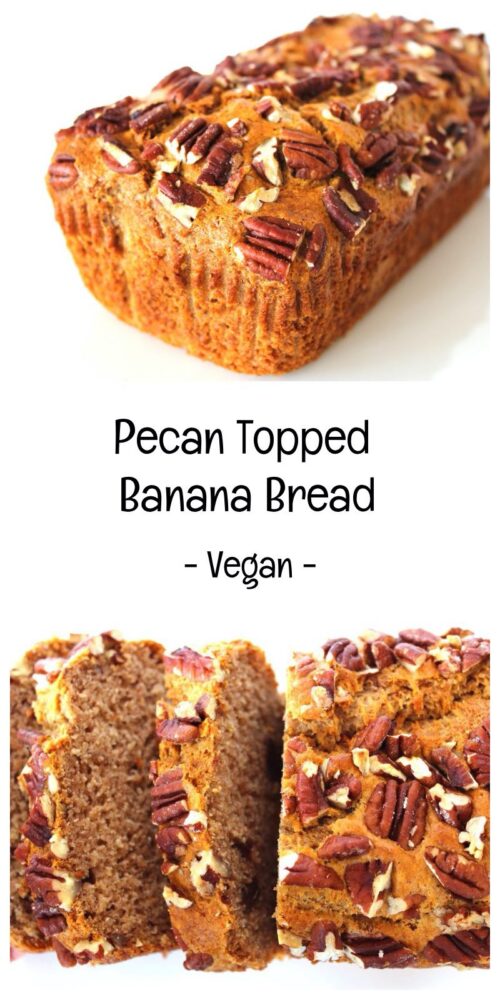
I originally posted our Pecan-Topped Banana Bread on the blog way back in 2015 and, to this day, it remains our family’s favourite banana bread recipe! It has a beautiful soft texture (definitely more cake-like than bread!) and cinnamon-spiced flavour. I especially love the pecan topping which adds a tasty crunch to every mouthful.
Five years old, this web page was in desperate need of a makeover, so I’ve spent this afternoon giving it some love, brightening up the photos and adding a printable recipe insert.
For those of you that have a copy of the Bit of the Good Stuff Cookbook, this recipe can also be found on p159… it was definitely one I had to include in the book!
For banana bread, you want to use over ripe bananas – the blacker the better – so if you’ve got some bananas languishing in the fruit bowl, this is the perfect way to use them up!
In the centre of the loaf, I’ve added some chopped dates for a touch of caramel-like sweetness. If you wish, you could sub some of the dates for chopped nuts instead. Pecans or walnuts work especially well!
Though I’ve given this loaf the traditional name of ‘banana bread’, it’s so sweet and moist that it’s definitely more cake-like than bread. I find it makes a lovely afternoon ‘pick me up’ with a cuppa. Kids love it too and it makes a great after-school treat.
58ml/ ¼ cup organic rapeseed (canola) oil (or any other neutral flavoured oil)
80g/ ⅓ cup golden caster sugar or coconut sugar
1½tspvanilla extract
210g/ 1½ cups fine wholemeal (whole wheat pastry) flour or chapatti flour
1½tspbaking powder
½tspbicarbonate of soda (baking soda)
3tspground cinnamon
¼tspsalt
90g/ ½ cup pitted dateschopped
45g/ ⅓ cup pecanschopped
Instructions
Preheat the oven to 180C (160C fan) / 350F. Grease and line a 2lb loaf tin with non-stick baking paper or use a non-stick loaf liner.
Place the sliced banana, oil, sugar and vanilla extract in a food processor and whiz until smooth (alternatively use a bowl and hand blender).
Sift the flour, baking powder, bicarbonate of soda, cinnamon and salt into a large mixing bowl. Tip any remaining wheatgerm from the sieve into the bowl. Stir to combine. Make a well in the middle and pour in the banana mixture. Gently stir until thoroughly combined. Stir in the dates. Tip the mixture into the prepared tin and level with the back of a spoon. Sprinkle the pecans on top and lightly press them into the batter.
Bake for 55 minutes, or until a skewer inserted through the middle comes out clean. Leave in the tin for at least 30 minutes, then transfer to a wire rack until completely cooled.
Stored in an airtight container, the loaf will keep for five days in the fridge. It also freezes well.
If you make this Pecan-Topped Banana Bread (or any other recipes on our blog), I’d love to hear your feedback and any suggestions for adaptations! Tag your photos with #bitofthegoodstuff on social media – I always love to see your creations! You can also connect with me on my social media channels here: Instagram, Facebook, Pinterest.
* This recipe was originally posted in March 2015. The page was updated in October 2019.
Have you ever tried making your own energy balls? It’s so easy! You simply throw all the ingredients in a food processor, whizz for a few seconds then shape the mixture into balls. It couldn’t easier!
What I especially love about these balls is that they taste decadent, yet they’re packed full of nutrient-rich ingredients that are not only going to increase our energy levels, but also boost our health in general. Each ball is filled with protein, heart-healthy fats, complex carbs, fibre, plus a whole host of minerals and antioxidant compounds. It’s amazing just how much goodness you can fit into one little ball!
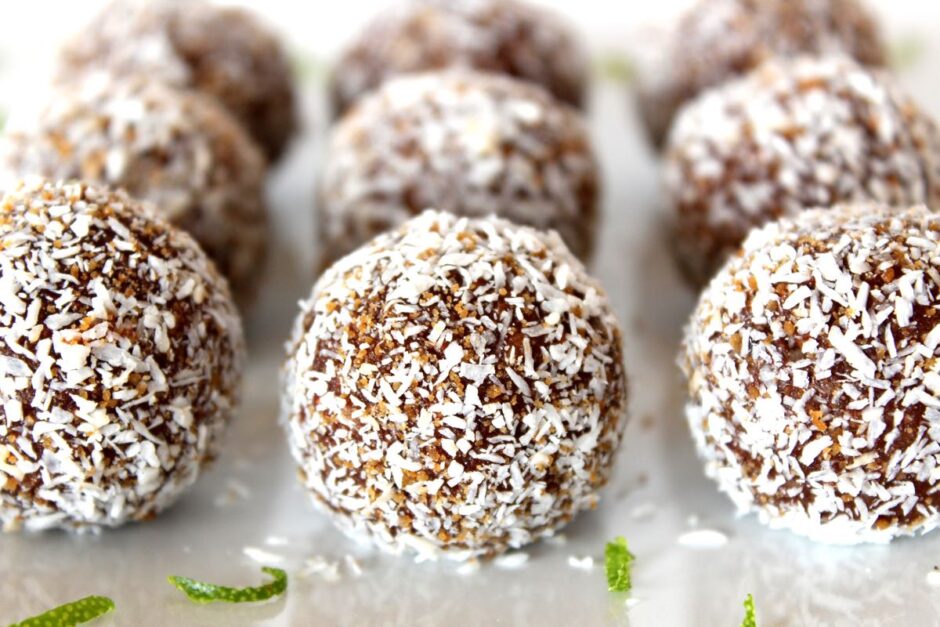
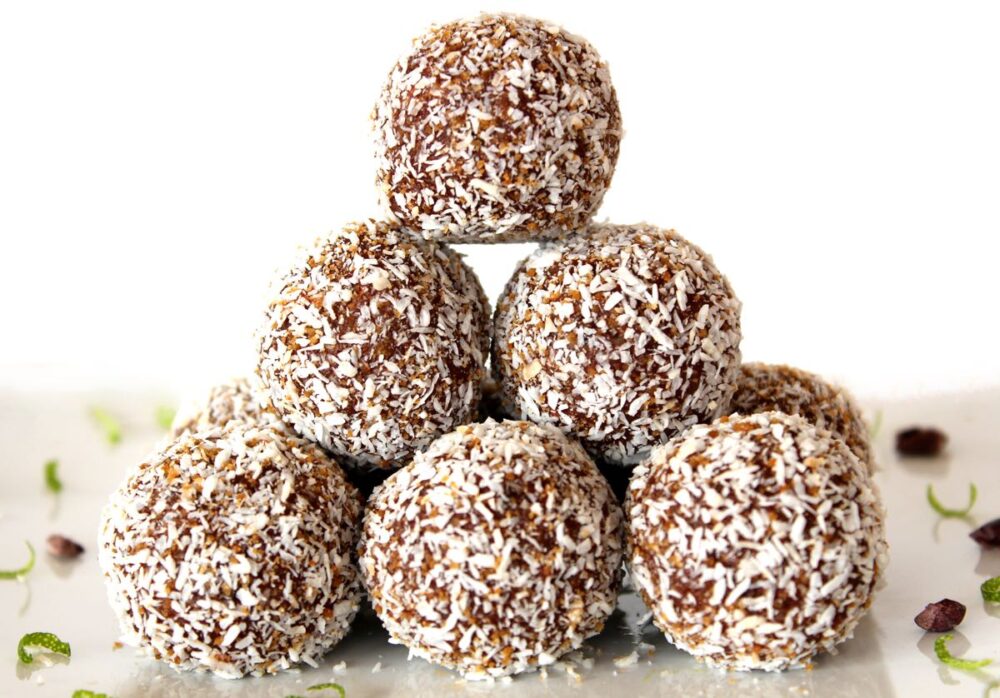
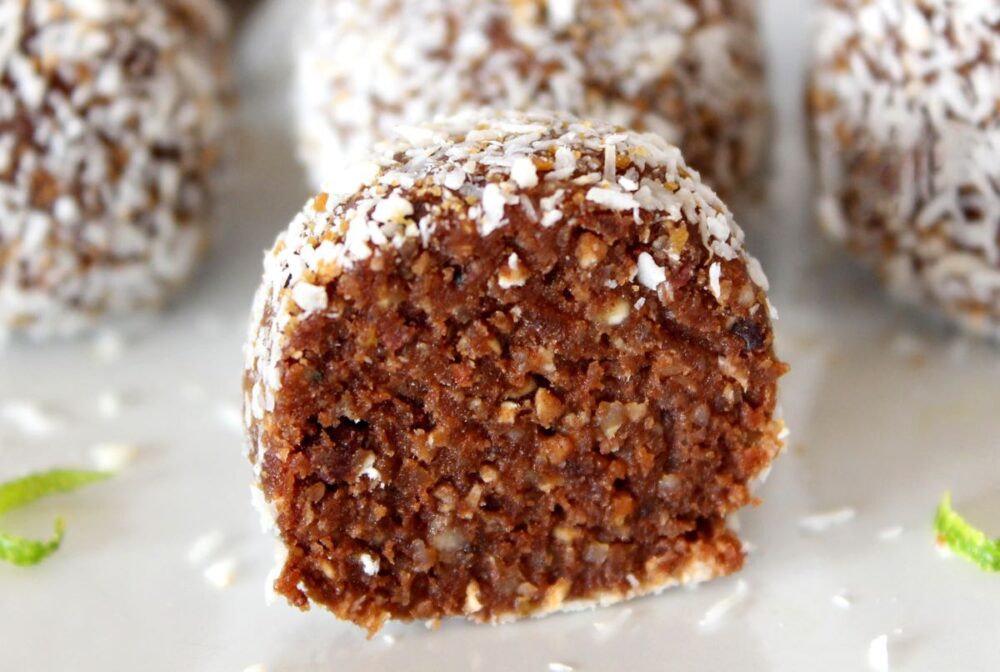
And not only does it work out much cheaper to make your own rather than buying the branded versions, but it also means that you get to flavour them however you wish! In today’s recipe, I’m using one of my favourite flavour combinations – cocoa and lime. I love anything chocolatey, but especially when it’s combined with a citrus flavour like lime. It help cuts through the richness of the chocolate, and adds a delicious fresh, zesty taste to every bite.
Since I originally posted this recipe back in 2015, I’ve made literally hundreds of these balls to share with friends, family and vegan festival goers, and they’ve proven to be a big hit with everyone that’s tried them. Even little kids have given them a thumbs up, which has made me super happy! These balls make a great after-school snack and (provided you carefully supervise the food processor part) children could easily help you make them. They could even experiment with their own flavour combinations!
Recipe Card
Prevent your screen from going dark
Cocoa Lime Energy Balls
These Cocoa Lime Energy Balls are chocolatey but not too rich, fresh and zesty thanks to the lime, and lighter than the classic energy ball as I've reduced the nuts and used oats instead. Delicious, nutrient-rich and energy boosting, these balls make the perfect snack. Their handy size makes them easy to transport and stash in your bag for snacking 'on the go'.
Mix together the desiccated coconut and sugar in a shallow container.
Place the oats, cashews and walnuts in a food processor and whizz into crumbs. Add the cacao/cocoa powder, dates, lime zest, lime juice, maple syrup and salt. Process until the dates are broken down. Add the cacao nibs, and continue processing until the mixture comes together in a ball. Taste test and add a touch more cacao/cocoa, lime zest or sweetener, if desired.
Scoop level tablespoons of the mixture. Roll into balls, then roll in the coconut sugar mixture. Repeat until all the dough is used. Chill in the fridge (ss they chill, they will firm up).
Stored in an airtight container, these energy balls will keep for a week in the fridge, or for weeks in the freezer.
N.B. The above values are estimates. The actual nutritional values will vary depending on the brands and ingredients used.
Pin for later ⬇️
If you make these Cocoa Lime Energy Balls, I’d love to hear your feedback and any suggestions for adaptations! Tag your photos with #bitofthegoodstuff on social media – I always love to see your creations! You can also connect with me on my social media channels here: Instagram, Facebook, Pinterest.
The clock’s have gone back, the evenings are drawing in, and the air is fresh and crisp. I love the beauty of the Autumn season; the changing colours of nature’s palate and crunching my way through piles of golden horse chestnut leaves. The cold and extra layers of clothing… I love less so; but I’m working on it. What makes the foray into the cold that much sweeter however, is the return home to a hearty, warming dinner.
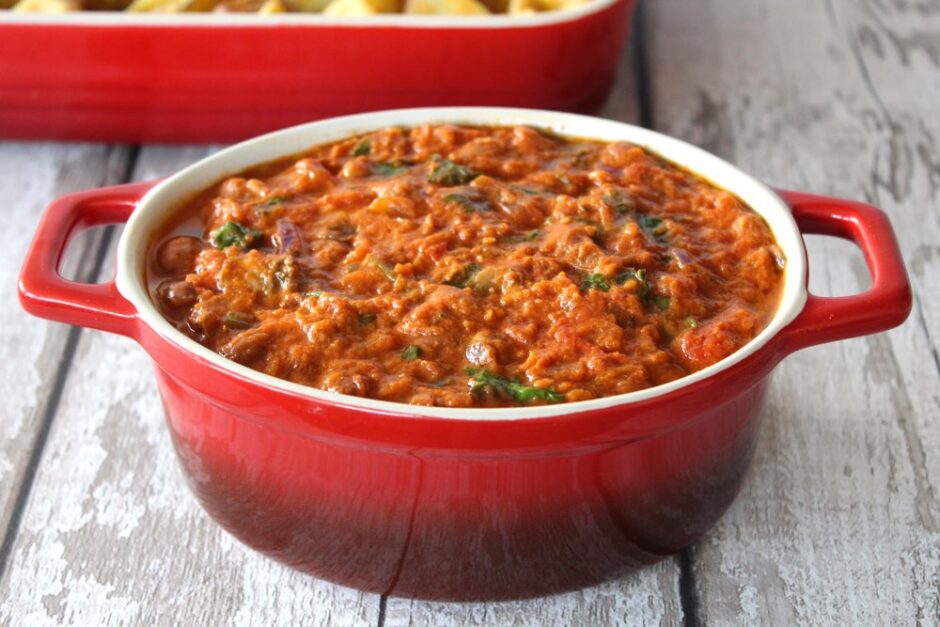
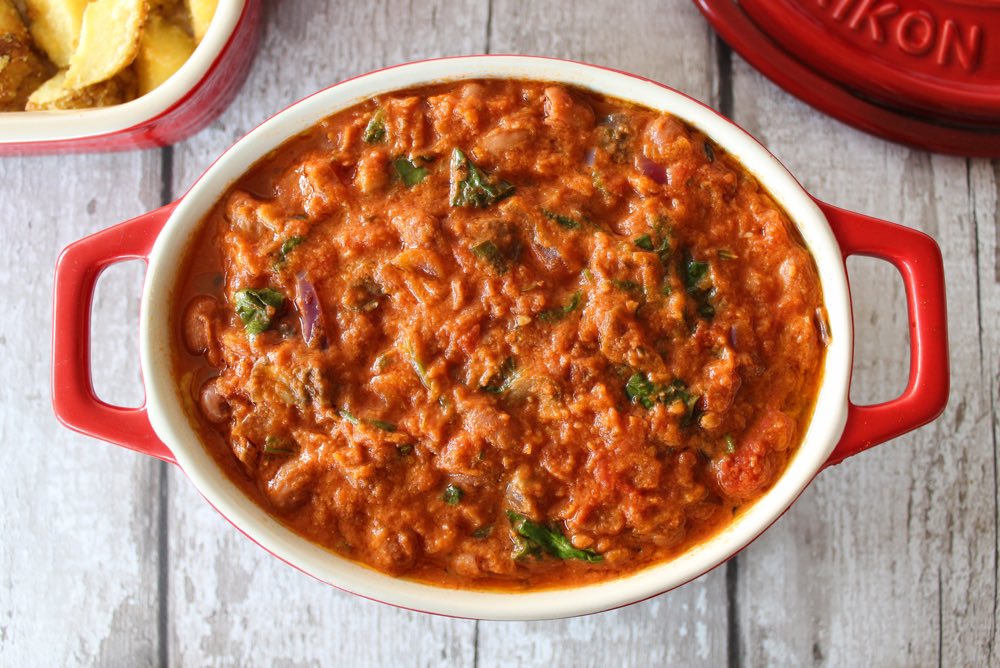
In today’s post, I’m sharing a recipe for an Italian bean casserole that’s just perfect for the cold weather seasons. It’s hearty, warming and filling. It’s also packed with lots of immune-boosting nutrients to keep those pesky cold germs at bay.
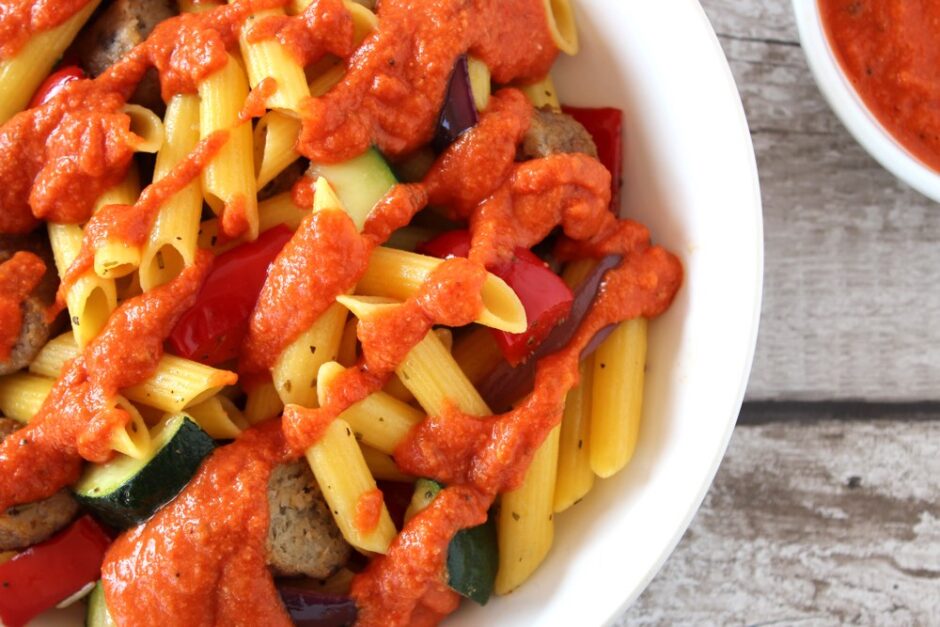
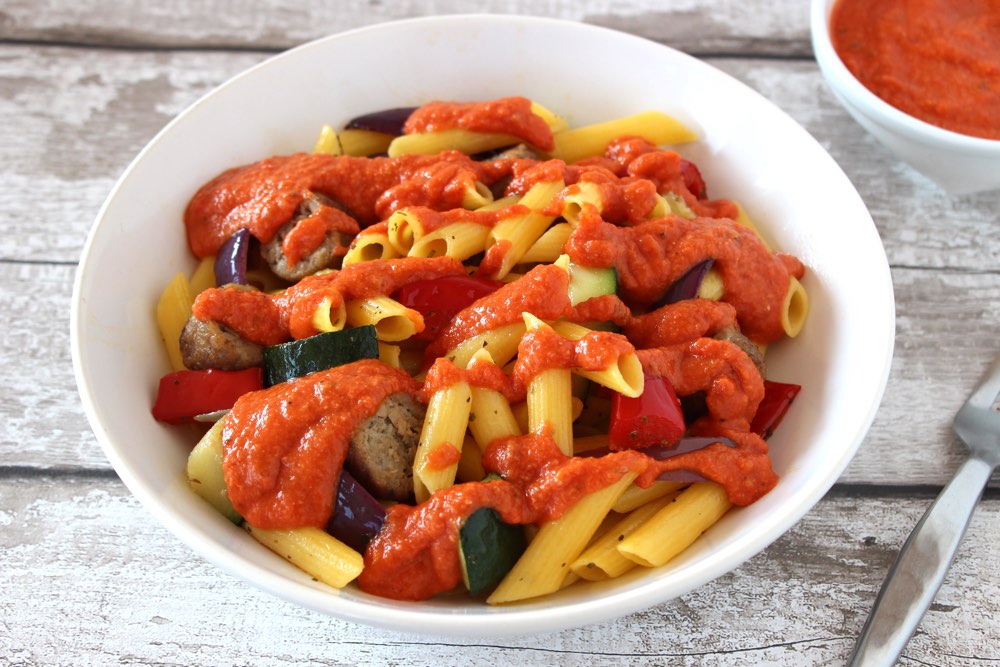
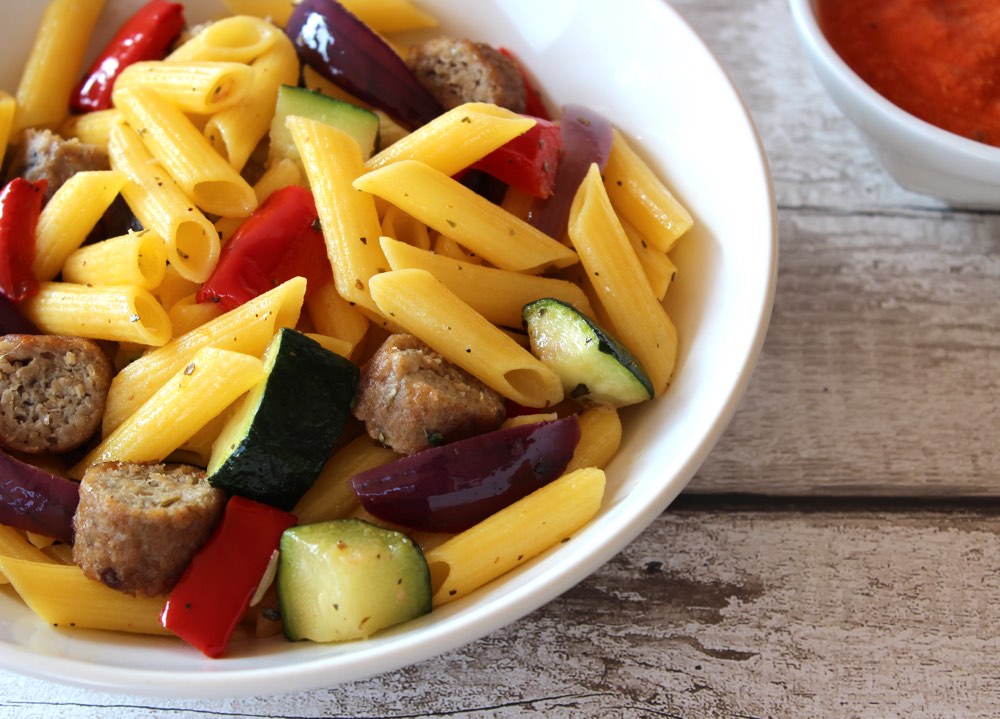
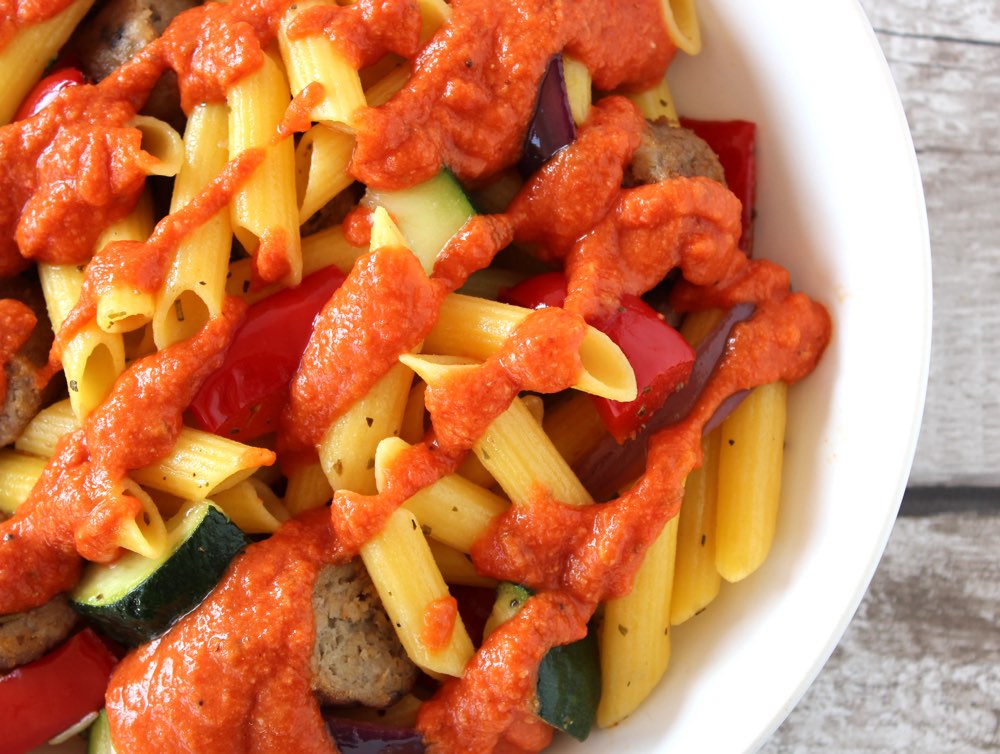
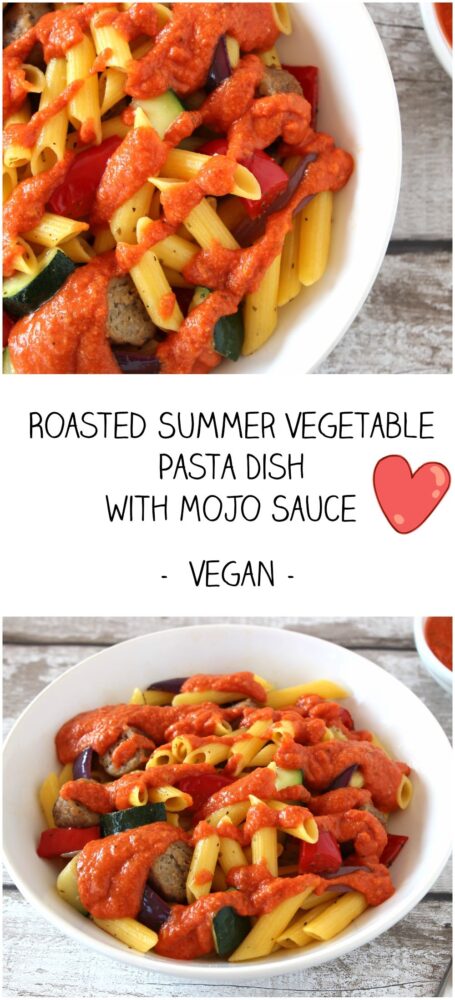
In today’s post, I’m sharing a recipe for a pasta dish that features colourful roasted veggies and chunks of sausage, coated in a delicious red pepper sauce. It’s easy to prepare and makes a great weeknight meal.
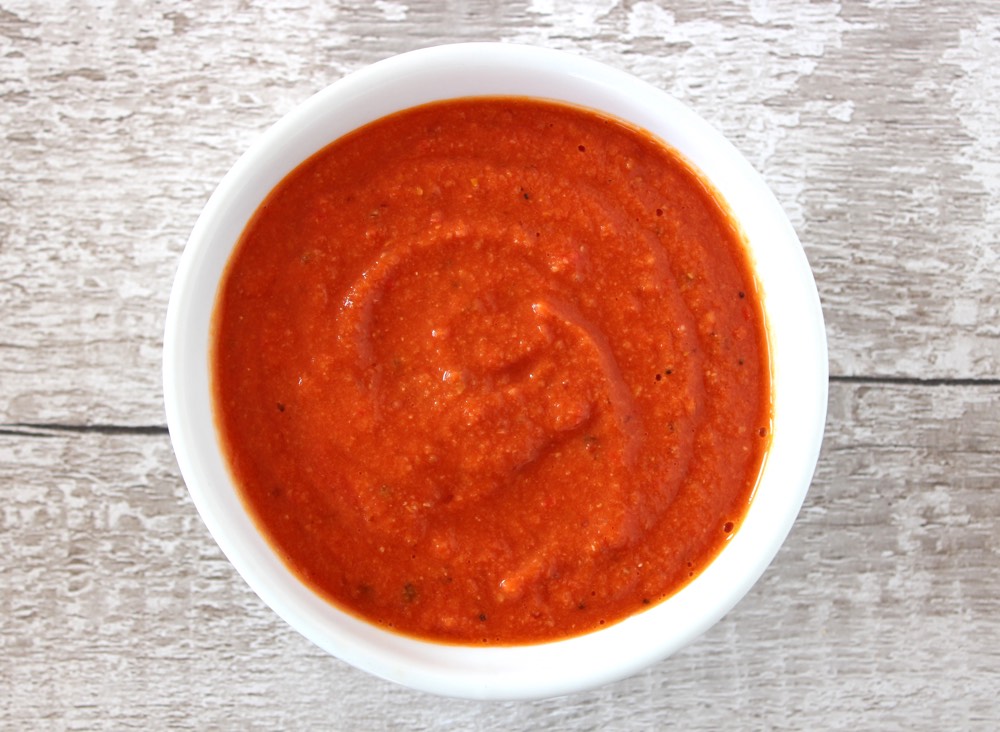
The mojo sauce really is the star of this dish, and takes it to a whole new level of deliciousness. I first discovered this sauce in a supermarket in La Palma, and it was just perfect for brightening up our simple home-cooked veggie meals. Back home, I’d been dreaming about this sauce and finally, nearly a year later, I set to re-creating it.
The main ingredient in mojo sauce is pepper. In La Palma, it is traditionally made with small red peppers called pimienta picona, which gives it a beautiful orangey-red colour and spicy flavour. According to Wikipedia, every Canarian family has its own recipe for mojo though, so it can vary greatly in flavour, spiciness and texture.
I love that the sauce is so adaptable, and I really enjoyed creating my own rendition. I can’t claim that it’s in any way authentic, but it’s very similar to the colour, flavour and texture of the sauce we enjoyed last year.
While it’s packed full of flavour, I’ve kept the chilli heat to a minimum so that it’s suitable for all members of the family, including kids and spice wimps (like me!) Of course, you’re very welcome to crank up the heat by adding some fresh chillies into the mix.
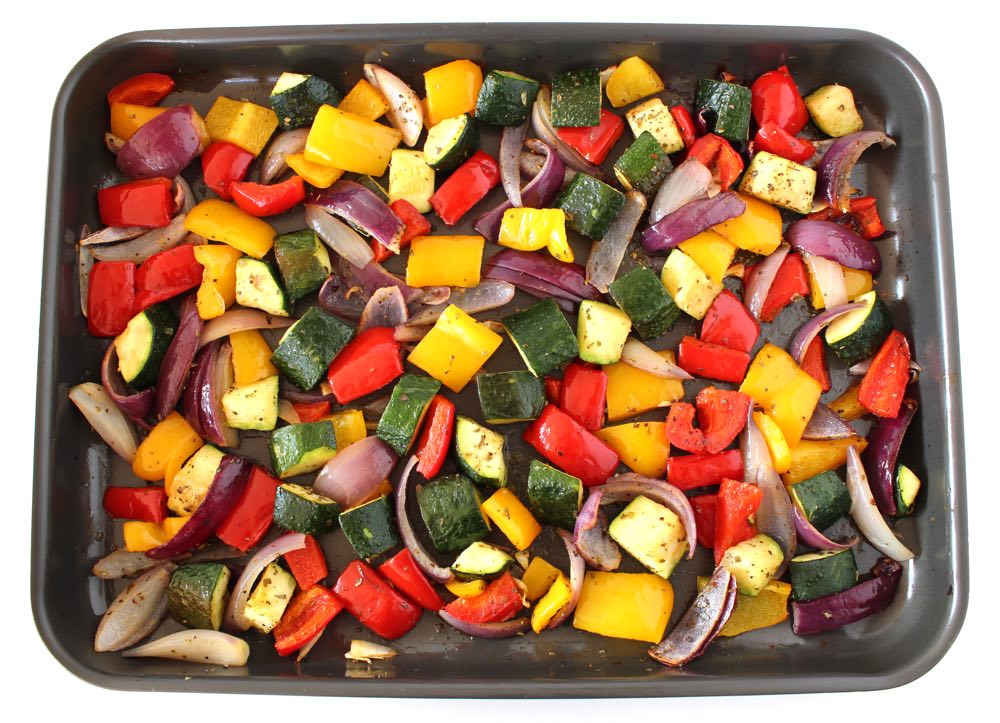
To prepare this pasta dish, I first roast a tray of colourful veggies. My favourite mix is bell peppers, courgette and red onion. Into the oven, I also add four or five vegan-friendly sausages.
While the veggies are roasting, I cook the pasta and prepare the mojo sauce. To make the sauce, it’s simply a case of throwing all the ingredients in a high speed blender, whizzing smooth, then gently heating through.
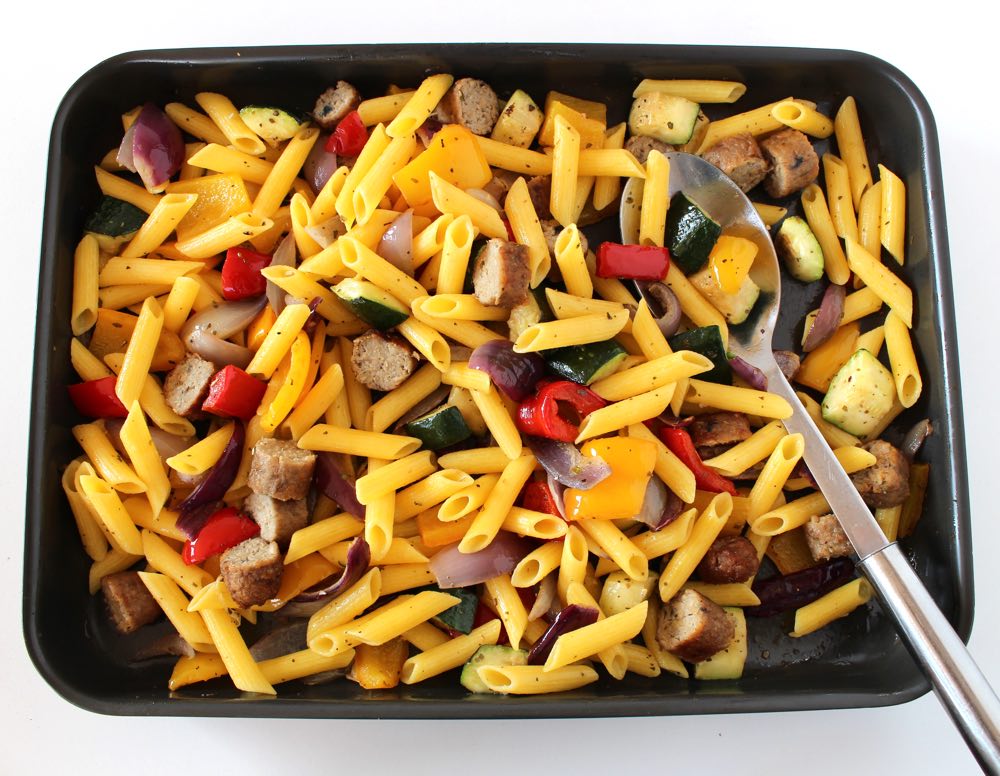
Once the veggies, sausages and pasta are ready, I stir them through to combine…
… transfer to warm bowls…
… and invite the family to drizzle on the mojo sauce, before tucking in.
So good!
Recipe Card
Prevent your screen from going dark
Roasted Summer Vegetable Pasta Dish with Mojo Sauce
This recipe was inspired by a visit to La Palma. It was on this beautiful Canary Island that I discovered mojo sauce. It’s a delicious, flavour-packed sauce, which you can use in myriad ways. I love drizzling it on pasta, rice and couscous dishes and stirring it through beans and veggies for burrito-style wraps. I also use it as a dressing for salads, dip for bread and topping for jacket potatoes.
1large courgette (zucchini) (about 325g) sliced into bite-size chunks
2sweet romano or bell peppersdeseeded and sliced
1TBSPolive oil
1tspdried oregano
pinchof salt
6vegan-friendly sausagesI used Linda McCartney Chorizo & Red Pepper sausages which are vegan & gluten free
350g/ 12.5 oz penne pasta(Use GF pasta, if needed)
Mojo sauce
400g/ 14 oz can chopped tomatoes with chilli*
2tspminced garlic(raw or pan-fried – see Note **)
1sweet romano or red bell pepperchopped
½tspsalt
½-1tspground cumin
1tspunrefined sugar
2TBSPextra virgin olive oil
2slicesof breadbroken into pieces [see Note *** for a GF option]
Instructions
Pre-heat the oven to 200C (180C fan) / 400F.
Arrange the onions, courgette and pepper pieces in a large roasting tin. Drizzle in the olive oil and stir through to combine. Sprinkle on the oregano and a pinch of salt. Roast for about 16-20 minutes, until the vegetables are tender. Stir half way through the cooking time.
Cook the sausages as per the instructions on the packet (I pop them in the oven at the same time as the veggies). When cooked, slice into bite-size pieces.
Prepare a large pan of salted boiling water and cook the pasta until al dente. Drain, then return the pasta to the pan. Drizzle in a drop of olive oil and stir through to prevent the pasta sticking together.
Prepare the mojo sauce: Add all the ingredients to a jug blender. Initially begin with ½ tsp cumin and sugar, and 1 slice of bread. Blend from low to high speed, until smooth. Taste test and add more cumin and sweetener, if desired. Pour the sauce into a pan and gently heat through before serving.
Once the vegetables, sausages and pasta are cooked, combine them and transfer to warm pasta bowls. Drizzle the mojo sauce on top, and serve.
Any leftovers can be stored in the fridge for up to five days. Gently heat through before serving.
Notes
* If serving to children, use a can of plain chopped tomatoes or chopped tomatoes with basil.** If, like me, you’re not a fan of raw garlic, pan-fry it in a splash of olive oil until it just starts to brown.*** For a gluten-free mojo sauce, use 150g / ¾ cup butter beans to thicken the sauce instead of bread.
Big thank you to Suma for supplying the following ingredients that I used in the recipe:
– Suma Organic Chopped Tomatoes with Chilli – Suma Organic Italian Extra Virgin Olive Oil – Suma Organic Corn Rice Penne Pasta – Aspall Red Wine Vinegar
If you make this Roasted Summer Vegetable Pasta Dish, I’d love to hear your feedback and any suggestions for adaptations! Tag your photos with #bitofthegoodstuff on social media – I always love to see your creations! You can also connect with me on my social media channels here: Instagram, Facebook, Pinterest.
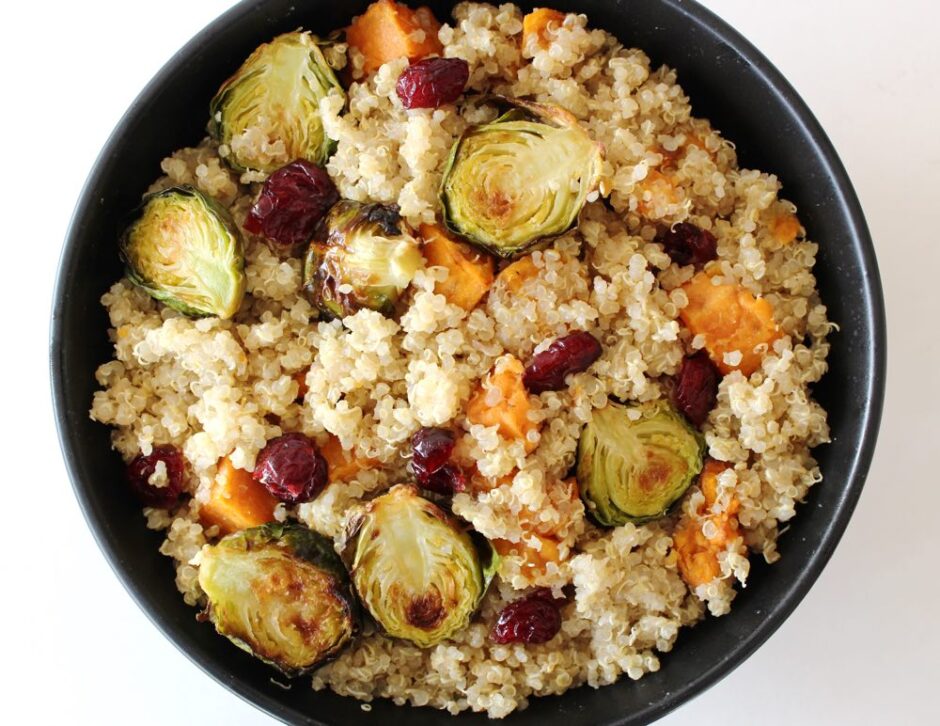
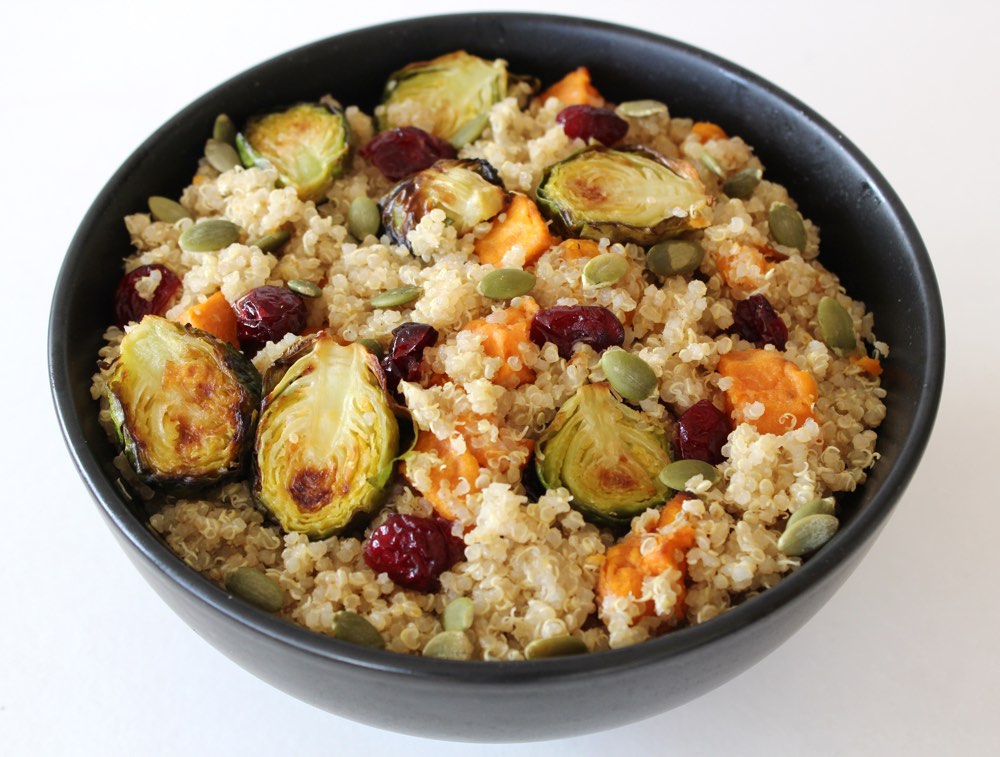
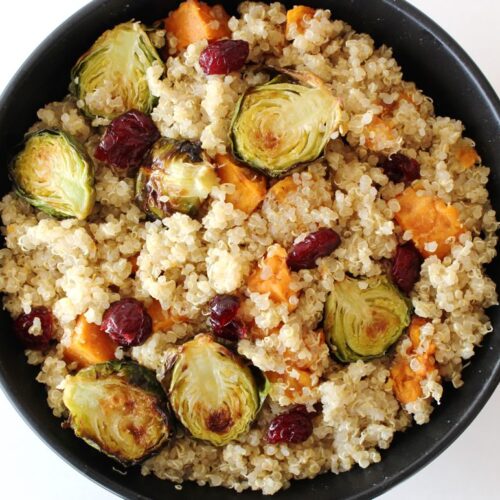
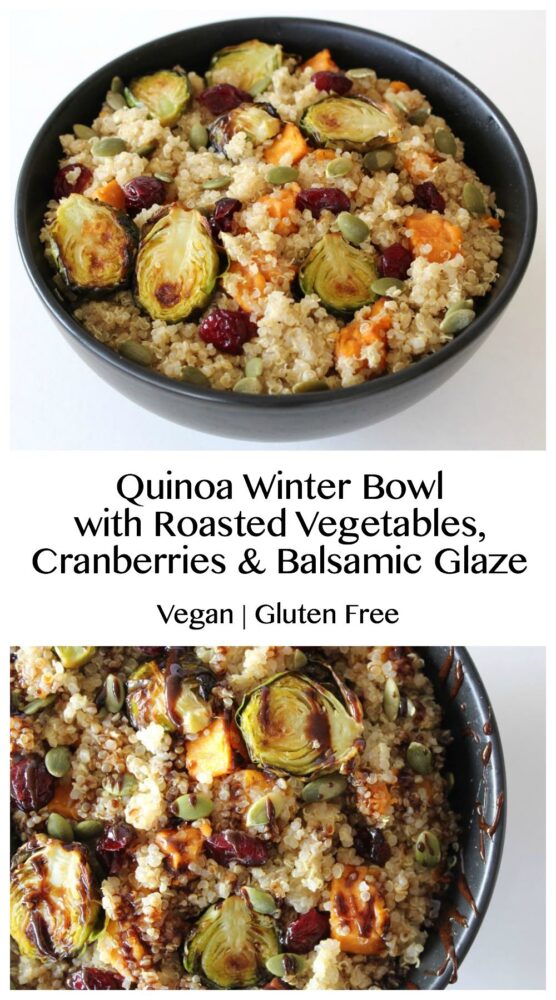
In today’s post, I’m sharing a recipe for a delicious quinoa bowl that’s just perfect for serving this time of year. It features roasted veggies, dried cranberries and crunchy pumpkin seeds, topped with a sweet balsamic glaze. We’ve been enjoying it as a light evening meal, with leftovers served for lunches later in the week. It can even be served cold, and Lucien’s been taking it to school in his lunchbox.
I must admit that I never used to be a fan of quinoa. I found the texture and flavour of plain quinoa quite strange and not particularly appealing. However, I discovered a couple of key steps that make it much more palatable…
Ensure the quinoa is thoroughly rinsed before cooking to remove the bitter saponin coating.
Flavour the quinoa using seasoning or a dressing.
One of my favourite ways to flavour quinoa is using a combination of toasted sesame oil and sweet white miso. These seasonings not only add a delicious savoury flavour but they also enhance the texture of the grain.
Quinoa has lots of health benefits, so I’m happy that I found a way to really enjoy the grain, rather than just eating it because ‘it’s good for me’!
For this Winter quinoa bowl, I use a combination of roasted sweet potato and brussels sprouts. This dish has been a great way to entice Lucien to eat more sprouts. He won’t touch the boiled or steamed varieties, but he’ll happily eat pan-fried or roasted sprouts. One of his favourite sprout recipes is the Brussels Sprout Hash with Balsamic Red Onions & Pecans but I think this one is a close second. Of course, if you’re not a fan of brussels sprouts in any shape or form, feel free to leave them out or substitute with another roasted vegetable.
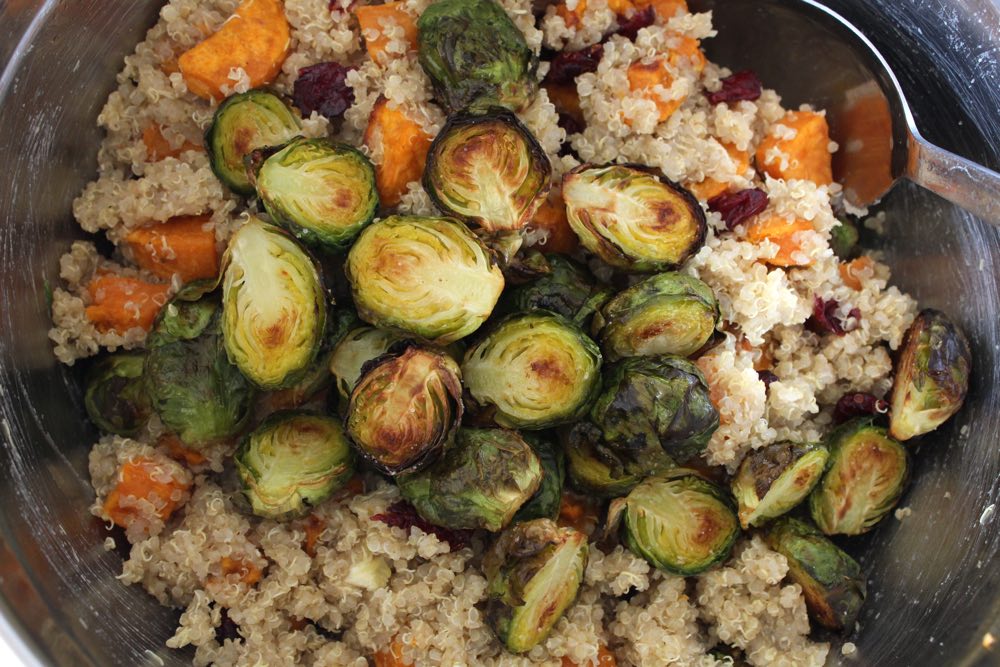
This bowl is super easy to prepare. While the veggies are roasting, I cook the quinoa and prepare the Balsamic glaze (if using a home-made one rather than shop-bought). Once everything is cooked through, it’s simply a case of mixing the quinoa, veggies, cranberries and pumpkin seeds together.
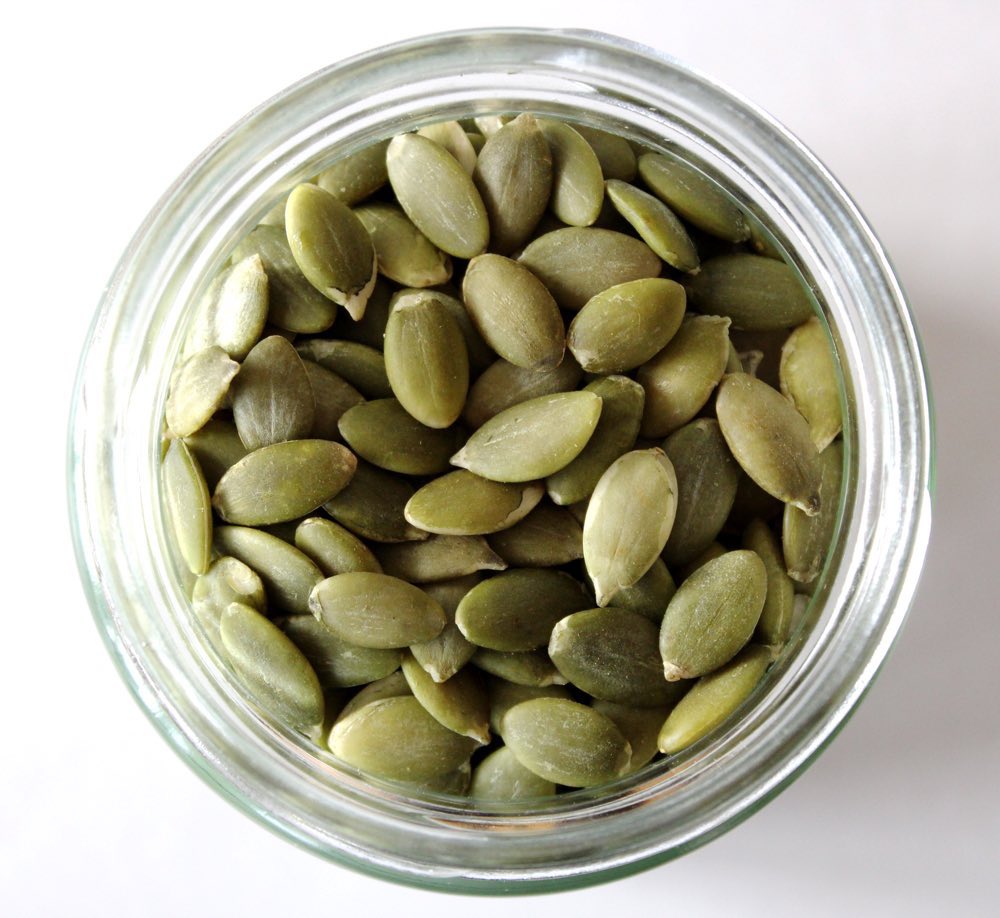
I recently discovered that pumpkin seeds can vary enormously in flavour, size and colour. For this recipe, I used Suma’s organic pumpkin seeds which are smaller, lighter in colour and far tastier than the ones I’d previously bought from a big supermarket. I didn’t need to toast the Suma seeds to improve the flavour as they were tasty raw.
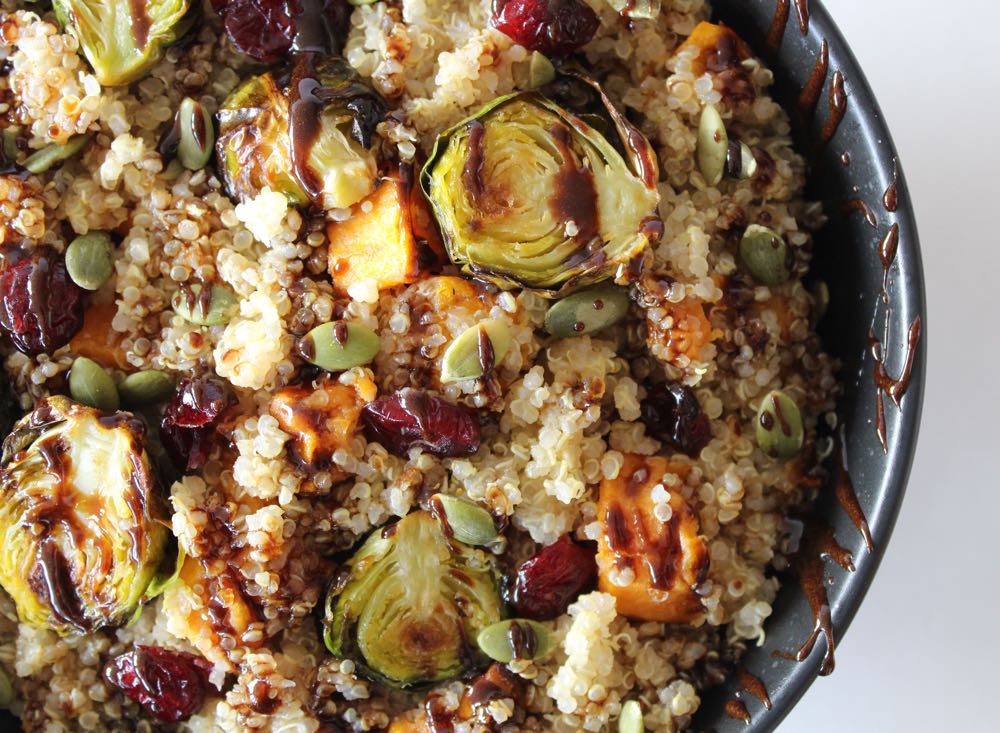
Just before serving, the bowl is dressed with a drizzle of balsamic glaze, which adds a beautifully rich, sweet and tangy flavour. Balsamic glaze is widely available in UK food shops, however if you can’t get your hands on some, it’s easy to make your own. Check out the tips in the recipe below to see how I do it.
This bowl is not only tasty, but it’s packed full of nutrient-rich ingredients, which help to keep us in good health. In particular, this dish is a good source of… – Protein, Complex Carbohydrates and Fibre – Vitamins A, B, C & K – Minerals Zinc, Magnesium, Copper, Manganese, Potassium and Iron – Antioxidant Phytonutrients, including Glucosinolates, which help boost the immune system and protect against disease
Recipe Card
Prevent your screen from going dark
Quinoa Winter Bowl with Roasted Vegetables, Cranberries and Balsamic Glaze
This Quinoa Winter Bowl is simple to prepare and is perfect for serving as a light evening meal or lunch. I find it makes a great ‘make ahead’ option and can be warmed through in a frying pan before serving. It can also be served cold and any leftovers make a great addition to lunchboxes.
500g/ 3 cups sweet potatopeeled and diced into small pieces (about 2cm x 2cm x 1.5cm / ¾” x ¾” x ½”))
2TBSPolive oildivided
16-20brussels sproutstrimmed and halved lengthways
300g/ 1½ cups quinoa
720ml/ 3 cups water
1TBSPtoasted sesame oil
1-2TBSPsweet white miso(I used Clearspring Sweet White Miso)
55g/ ⅓ cup dried cranberries
38g/ ¼ cup pumpkin seedsraw or toasted
Balsamic glazefor drizzling (See Note 2)
Salt and freshly ground black pepper
Instructions
Pre-heat the oven to 210C (190C fan) / 410F. Line two baking trays with non-stick baking paper.
Place the diced sweet potato in a large mixing bowl. Drizzle in 1 TBSP olive oil and stir until thoroughly coated. Transfer the potato to a prepared baking tray and distribute in a single layer. Season with salt. Roast for 30 minutes, or until cooked through.
Tip the brussels sprouts into the mixing bowl. Drizzle in 1 TBSP olive oil and stir through. Transfer the sprouts to the second baking tray. Arrange the sprouts cut side facing down. Season with salt (and black pepper, if desired).
When the sweet potatoes have roasted for 10 minutes, add the sprouts to the oven. Roast for 15 minutes, then flip them over and roast for a further 5 minutes, or until browned on both sides.
While the veggies are roasting, prepare the quinoa. First, rinse the quinoa (see Tip 1 below), then thoroughly drain and transfer to a saucepan. Add 3 cups water. Bring to the boil, then reduce the heat to low, cover with a lid and simmer for 15 minutes, or until the water has been absorbed and the quinoa is fluffy. Remove from the heat and leave to rest, covered with a lid, for 5 minutes. Drizzle in 2 tsp toasted sesame oil and stir through with a fork. Add 1-2 TBSP white miso and stir through until the quinoa is coated. Taste test and add more sesame oil/white miso if desired.
Tip the quinoa into the mixing bowl. Add the roasted veggies, cranberries and pumpkin seeds, and stir through. Transfer to bowls. Just before serving, add a drizzle of balsamic glaze.
This dish will keep for up to five days in the refrigerator.
Notes
Tip 1: To rinse quinoa, place it in a fine mesh sieve and rinse under cold running water, agitating it with your fingers for a couple of minutes.Tip 2: If there is no shop-bought balsamic glaze on hand, I make my own by simmering ⅓ cup balsamic vinegar and 1 TBSP coconut sugar in a small pan, stirring from time to time. As soon as it starts to thicken, I remove it from the heat (it continues to thicken as it cools). I find this home-made version is best used immediately.
If you make this Quinoa Winter Bowl, I’d love to hear your feedback and any suggestions for adaptations! Tag your photos with #bitofthegoodstuff on social media – I always love to see your creations! You can also connect with me on my social media channels here: Instagram, Facebook, Pinterest.
In early Summer, my family were eagerly anticipating a trip to Wagamamas. On the way there, we psyched each other up, talking about how much we were looking forward to tucking into our favourite Wagamama dish – the Yasai Cha Han Donburi. Upon arrival, the waiter showed us to our seats and handed us the menu. Our eyes immediately moved to the spot where the dish is usually listed, but it wasn’t there. We scanned both sides of the menu but it was nowhere to be seen. We called over the waiter and he explained that they had a new summer menu. Sadly, the Yasai Cha Han Donburi hadn’t made the cut.
Has that ever happened to you? Where you’re looking forward to tucking into your favourite dish at a restaurant, or you specifically go to that restaurant because you’re craving a dish… only to find that it’s been taken off the menu. It’s happened to my family a few times and it’s always such a bummer.
Well this time, I decided to look on the bright side. I’d been meaning to try my hand at making the Yasai Cha Han Donburi at home for a while, and now was the perfect opportunity. I could still remember what the bowl tasted like and its main components, so I set to work re-creating it.
One of my favourite parts of the bowl is the flavouring added to the rice, so I really wanted to nail this part. I chose to use two of my favourite pantry staples as the basis of the dressing – Clearspring Organic Tamari Sauce and Meridian Organic Toasted Sesame Oil. The tamari provides the ‘umami’ flavour, while the toasted sesame oil add a touch of smokiness. I then added a tablespoon each of maple syrup and rice vinegar for some ‘sweet ’n’ sour’ flavour, and finished it off with a sprinkling of garlic granules. I was extremely happy with the way the dressing turned out. For me, it’s the perfect compliment to a Japanese-inspired rice bowl.
For this dish, I prefer to use original tofu, which I press for 30 minutes then pan-fry. If you’ve not cooked tofu from scratch before, rest assured that it’s not difficult at all. I’ve given some tips in the recipe below of how I do it.
I absolutely adore this rice bowl, and it’s been a huge hit with the rest of the family too. I’ve made it multiple times these past couple of months and we never tire of it. The flavour is as good (if not better, in my humble opinion hehe) than the Wagamama version. It’s far cheaper too!
Recipe Card
Prevent your screen from going dark
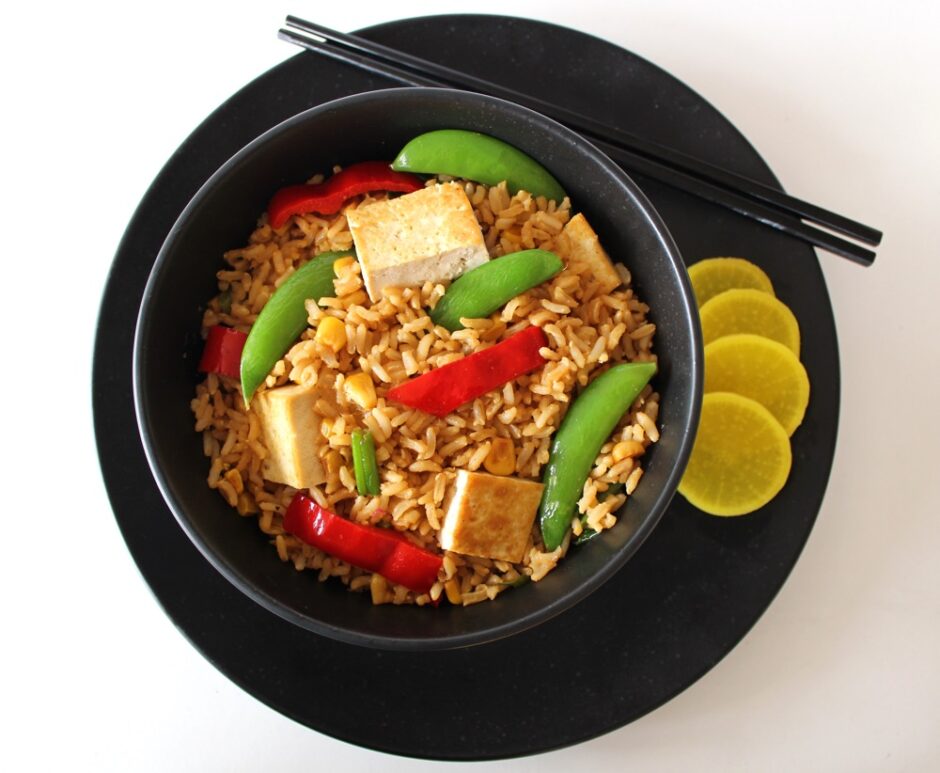
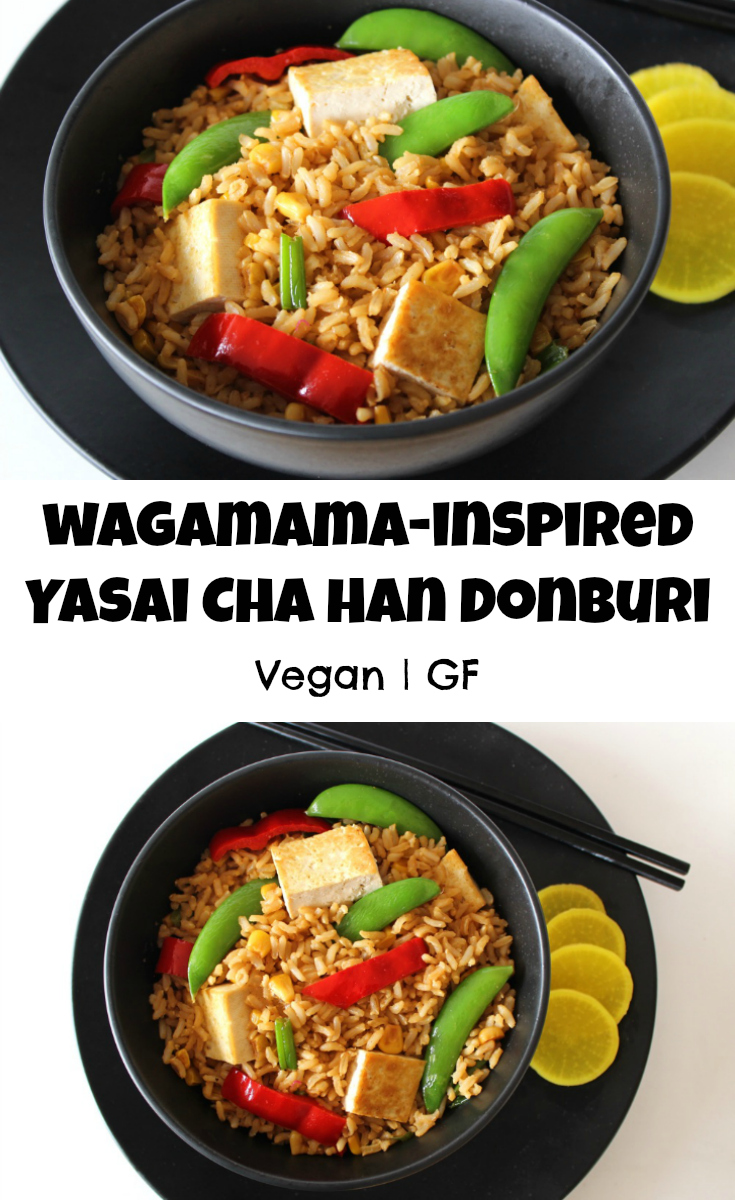
Wagamama-Inspired Yasai Cha Han Donburi (Brown Rice Bowl with Stir-Fried Veggies and Tofu)
This recipe was inspired by Wagamama’s Yasai Cha Han Donburi which, at the time of writing, has sadly been taken off their menu. No matter though, as this version is just as delicious and a fraction of the cost.
1TBSPrice vinegaror substitute with another white vinegar
1TBSPmaple syrup
½tspgarlic granules or powder
Slicesof pickled radishfor garnish (optional)
Instructions
Press the tofu for 30 minutes (See Note 1).
Cook the rice (see Note 2).
Prepare the dressing: Place all the dressing ingredients in a small bowl and whisk together with a fork.
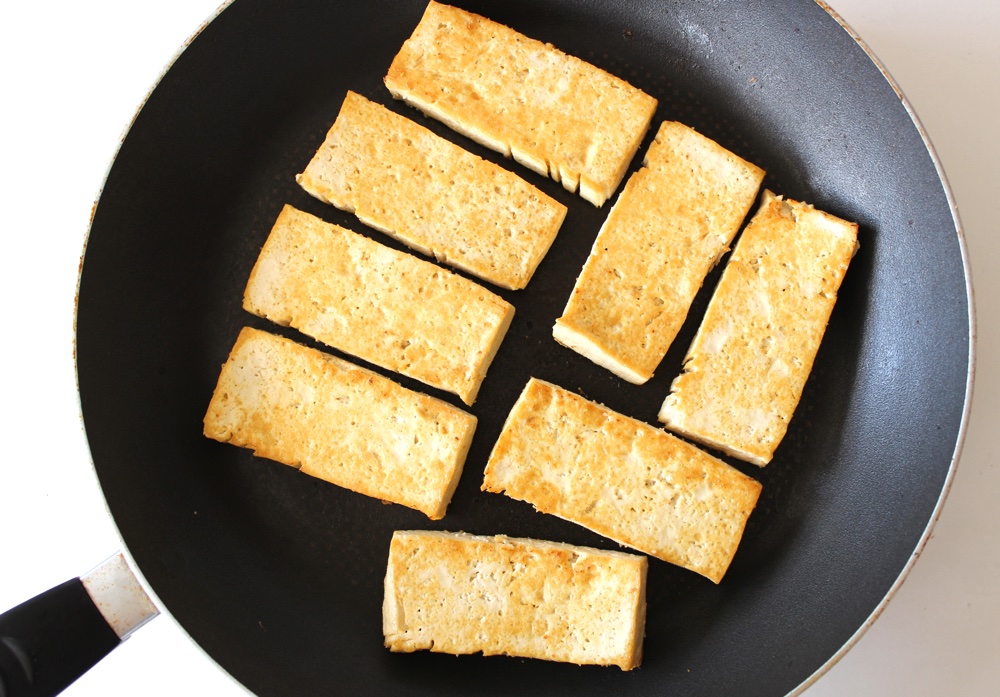
Once pressed, slice the tofu into eight long rectangles. (I find it far easier and quicker to pan-fry and flip eight pieces of tofu rather than a panful of tofu cubes).
Heat ½ TBSP sesame oil in a large non-stick frying pan (skillet) on medium-high heat. Once the oil is hot, place the tofu in the pan (be careful as the oil may spit). Flip the tofu over, so that both sides are coated in oil. Sprinkle the garlic granules and a pinch of salt over the tofu. Leave to cook until golden brown on the underside, then flip over and cook until browned on the second side. Transfer to a plate and slice into bite-size pieces. Place in a warm oven while you prepare the veggies.
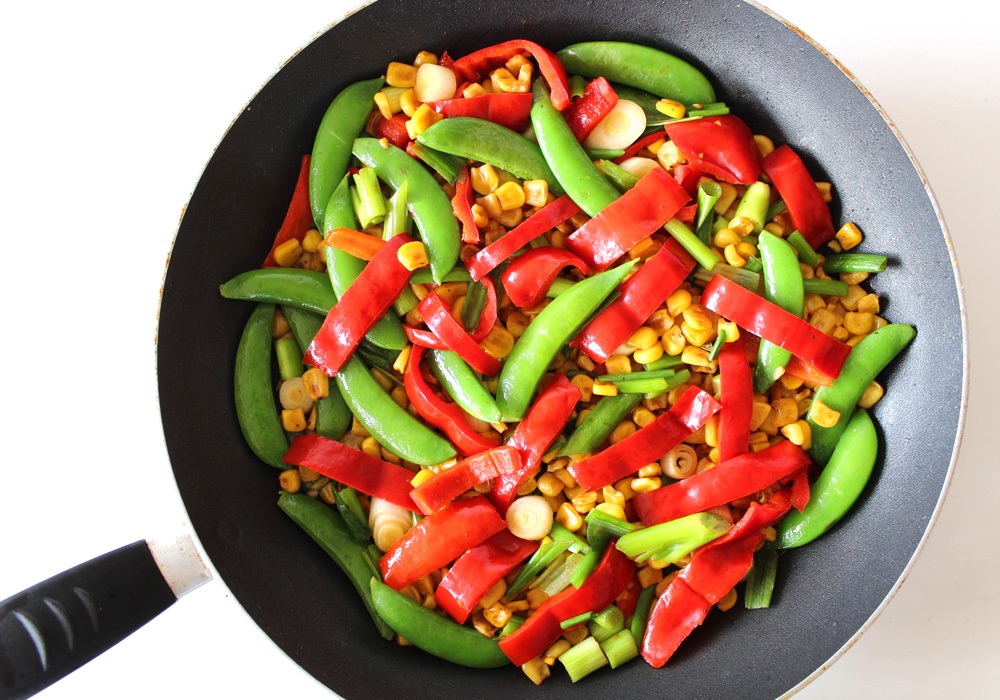
Add a splash more oil to the pan, if needed. Add the onion and stir fry on medium heat for 2 minutes. Add the sweetcorn and continue stir frying until it just starts to brown. Finally, add the sweet romano (or bell) pepper and sugar snap peas to the pan and stir fry until warmed through. Stir in 1 TBSP of the dressing and set aside.
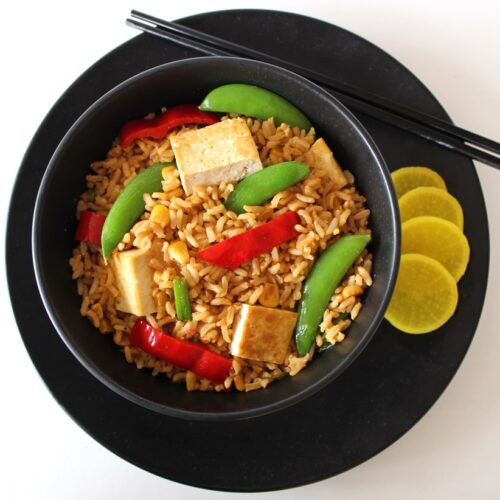
Once the rice is ready, tip into a large bowl. Drizzle in the remaining dressing and stir through until thoroughly coated. Add the veggies and tofu and stir through. Divide between four bowls. Garnish with picked radish (if desired) and serve.
Any leftovers can be stored in the fridge for 24 hours. As with any rice dish, make sure the leftover rice is cooled quickly and refrigerated within an hour.
Notes
Note 1: Pressing tofu: Here’s my preferred way to do it (since I don’t have a tofu press): Slice the block of tofu through the middle into two equal halves. Place the tofu on a rimmed baking tray. Place a chopping board on top of the tofu, followed by a heavy object to weigh it down. The water collects in a pool round the tofu. After 30 minutes, drain off the liquid. Give the tofu a quick pat with kitchen paper to soak up any residual liquid, then it’s good to go.Note 2: Cooking brown rice: My preferred way to do this is using the absorption method. Here’s how I do it: Place the rinsed rice in a large, heavy-bottomed saucepan along with the water. Bring to the boil, then reduce the heat and simmer uncovered for 10 minutes. Reduce the heat to very low, cover with a tight-fitting lid and cook for a further 20 minutes. When air pockets have appeared in the rice, it’s ready. Remove from the heat and leave to rest for 5 minutes, covered with the lid.