Gingerbread Cookies (Dairy-Free / Vegan)

Today, I am delighted to share my first post for the Suma Blogger’s Network  I’m sure a lot of you will have already heard of Suma or seen their products in your local health food stores. Suma are the UK’s largest independent wholefood wholesalers of vegetarian, vegan, fair trade, natural and organic produce.  Suma operates as a workers’ cooperative which means that the business is jointly owned and managed by the staff. Everyone is paid the same and they collectively do all the jobs that need doing, whatever they happen to be.

Suma-Bloggers-Network-LogoI love everything that Suma stands for, so when they invited me to become one of the first twelve bloggers in their new network, I was more than delighted to accept! Intrigued to find out who else is involved? Click on this page to check out their profiles (you’ll see I’m in good company!)

Every other month we’ll be sharing a recipe using one or more products from Suma’s product range. We’ll post the recipes on our blogs, and share them via Facebook, Twitter and a dedicated Pinterest board.

This month, I’m sharing a recipe using one of my all-time favourite ingredients and ‘super’ foods…. Blackstrap Molasses!
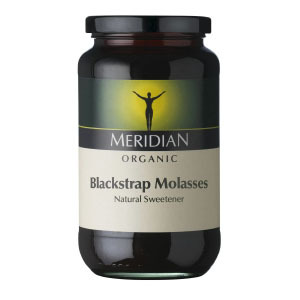
Meridian Blackstrap Molasses_740g

As you might know, Blackstrap is the dark, thick liquid that remains after sugar cane is processed to make refined sugar. While the end product – white sugar – has no nutritional value whatsoever, the molasses that gets left behind after extraction is literally brimming with nutrients. It’s rich in vitamin B6 and minerals, including calcium, iron, magnesium, potassium, manganese and selenium. Historically, this byproduct of sugar production has been used to feed livestock, while humans consume the empty calorie, unhealthy white sugar. Crazy eh?
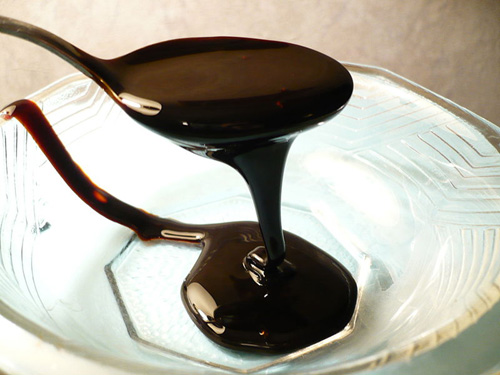
Blackstrap Molasses from Wikipedia

[Source]

Flavour-wise, Blackstrap is rich and bittersweet. To me, it has a liquorice-like flavour which, I guess, is one of those flavours that you either love or hate. If you have Blackstrap lurking at the back of your cupboard, then this recipe might just tempt you to dust off the jar and give it another try. The Blackstrap adds a wonderful depth of flavour and colour to these ginger cookies, but it’s not overpowering at all.
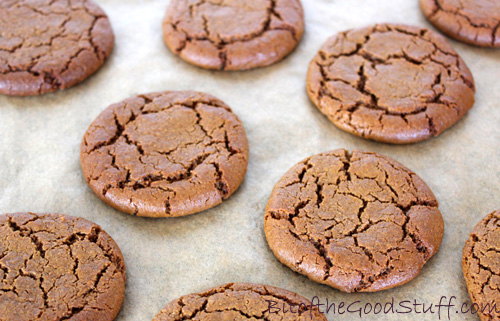
Gingerbread Cookies | Bit of the Good Stuff #vegan

For the dry sweetener, you can use unrefined caster sugar or coconut sugar. I prefer the latter as it’s low GI (which helps to keep blood sugar levels balanced), plus it contains B vitamins and a range of minerals, including potassium, magnesium, zinc and iron. I also love its caramel-like flavour.

Feel free though to choose whatever sweetener suits your personal tastes and preferences. I prefer the coconut sugar cookies, ‘M’ prefers the cane sugar ones (which are slightly sweeter), and Lil’ L says he can’t really tell the difference and loves both!

Gingerbread Cookies | Bit of the Good Stuff #vegan

These cookies have been tried and tested many times over with my family and friends, and they’ve received a big thumbs up from everyone. I’ve been asked numerous times for the recipe and my standard reply is ‘sure, I’ll post it on the blog’. Well, it’s high time I kept my promise! Here it is…

NOTE: Recipe updated 25 March 2019 to bring it into line with the ‘Gingerbread Cookies’ recipe in the Bit of the Good Stuff Cookbook

[print_this]

Makes 12 cookies
Hands-on time: 15 minutes    Ready in: 35 minutes

Ingredients
70g / ⅓ cup unrefined cane sugar or coconut sugar
50ml / ¼ cup organic rapeseed (canola) oil (or other neutral flavoured oil)
65g / 3 TBSP black treacle (molasses) or Blackstrap molasses
22g / 1½ TBSP soya or almond milk
½ tsp vanilla extract
120g / ¾ cup & 2 TBSP fine wholemeal (whole wheat pastry) flour or chapatti flour
1 – 1½ tsp ground ginger
½ tsp ground cinnamon
pinch of ground nutmeg
¼ tsp baking powder
¼ tsp bicarbonate of soda (baking soda)
¼ tsp salt

Method
1. Preheat the oven to 200C (180C fan) / 400F. Line two baking sheets with non stick baking paper.

2. Place the sugar, oil, molasses, milk and vanilla extract in a bowl and whisk with a fork until smooth and fully combined.

3. Place the flour, spices, baking powder, bicarbonate of soda and salt in a separate bowl and stir through. Tip half the dry ingredients into the wet ingredient bowl and stir to combine. Add the remaining dry ingredients and keep stirring until the mixture comes together in a firm dough.

4. Scoop slightly rounded tablespoons of dough and arrange six on each baking sheet. With damp hands, press the dough into a thin cookie shape.

5. Bake in the centre of the oven for 9 minutes, or until dry to the touch. (The cookies will still feel soft, but they firm up as they cool).

6. Leave the cookies on the baking sheets until they are firm, then use a thin spatula/slotted turner to remove them from the baking paper and transfer to a wire rack.

7. When completely cool, store in an airtight container where they will keep for a couple of weeks. They also freeze well. Leave at room temperature for about 10 minutes before serving.

Notes
Freshly baked, the cookies should be lightly crisp on the outside with a soft, chewy centre. They go softer and chewier over time, but are just as delicious!

I did a few trials with different quantities of Blackstrap. If you add more, the flavour is still amazing but the cookies spread a lot on the baking sheet and are flatter (‘M’ calls them ‘ginger coasters’!)

If you have any black treacle (aka molasses) leftover from Christmas cakes and puddings, you can use it in these cookies instead of the Blackstrap.

All TBSP mentioned in the recipe are level tablespoons.

[/print_this]

I just need to work out how to make a gluten-free version now, so no one misses out! Any tips from the GF experts would be greatly appreciated! 😉
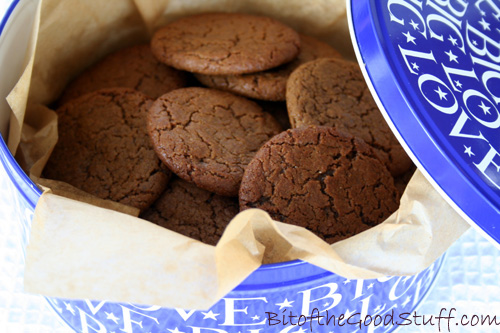
Gingerbread Cookies | Bit of the Good Stuff #vegan

 Enjoy! xx

Are you a fan of Blackstrap molasses? If so, what’s your favourite way to use it?

Disclaimer: I received some Suma’s products to use for recipe development but, as always, all opinions expressed are my own.

Vegan Lemon Drizzle Cake (Dairy-free / Egg-free)

What colour do you associate with Spring?

For me, it has got to be yellow ♥ 

Everywhere I look at the moment, I’m seeing this beautiful, fresh colour.

In my garden the yellow primroses are in bloom…

Crocuses & Primroses

as are the sweet little narcissus.

Narcissus

It won’t be long before the daffodils are in full bloom too 🙂

Daffodils

As well as being the colour of spring, yellow also happens to be my mum’s favourite colour

Here in the UK, it’s Mother’s Day on Sunday.  I haven’t seen my mum since Christmas so I’m really looking forward to spending the day with her.  Inspired by her favourite colour, I’ve chosen to bake a Lemon Drizzle Cake to give her on Sunday as a little home-made treat.

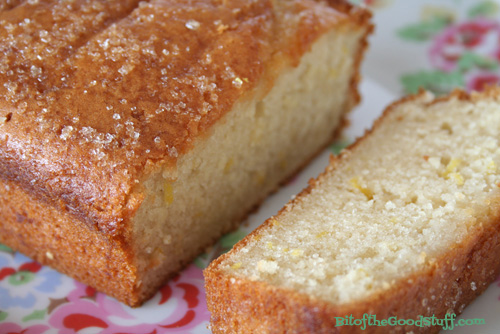
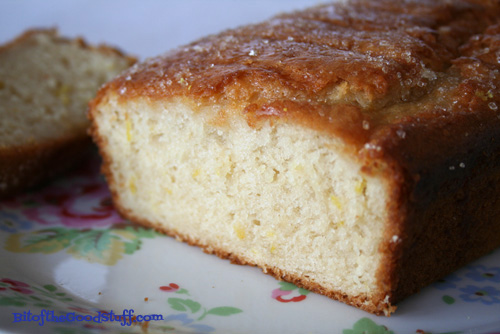
With its light texture, zingy citrus flavour and flecks of bright yellow zest, I think this is the perfect cake for this season.

Vegan Lemon Drizzle Cake (Dairy Free / Egg Free)

Since I’m giving this cake as a gift, I haven’t ‘healthified’ it to the extreme (I’m sure my mum will appreciate that 😉 ).  However, it is free from dairy and eggs, so will be suitable for anyone with those allergies.

To make the cake super zingy and moist, once it was cooked I pierced it all over with a toothpick and drizzled over the juice from a freshly squeezed lemon mixed in with a couple of tablespoons of granulated sugar (which gives the top of the cake a great, crunchy texture).

Vegan Lemon Drizzle Cake (Dairy Free / Egg Free)

Just in case you fancied trying it for yourself, here’s how I made it:

[print_this]

Serves 8 -10
Hand on time: 15 minutes    Ready in: 2 hours

Ingredients
200g / ¾ cup + 3 tbsp unrefined cane sugar (e.g. golden caster sugar)
2 TBSP maple syrup (or maple blend. I use Clarks Original).
70ml / ⅓ cup organic rapeseed (canola) oil (or other neutral-flavoured oil, like sunflower oil)
240ml / 1 cup soya milk
2 tsp apple cider vinegar
30ml / 2 TBSP freshly squeezed lemon juice
zest of 2 unwaxed/organic lemons
250g / 1¾ cups plain (all purpose) flour
2 tsp baking powder
¼ tsp salt

Drizzle
2 TBSP freshly squeezed lemon juice
2 TBSP Demerara (or turbinado) sugar

Method

1. Grease and line a 2lb loaf tin with non-stick baking paper (or use a non-stick loaf liner).  Preheat the oven to 190c (170C fan) / 375F.

2. In a mixing bowl, whisk together the sugar, syrup, oil, milk, vinegar and lemon juice using a balloon whisk until fully combined. Stir in the lemon zest.

3. Sift one third of the dry ingredients (flour, baking powder, salt) into the bowl and whisk by hand to combine. Repeat with the remaining two thirds, whisking each time.

4. Tip the mixture into the prepared tin.  Place on the middle shelf in the oven and bake for 50 minutes, or until a skewer inserted into the middle comes out clean.

5. Meanwhile, place 2 TBSP juice from a freshly squeezed lemon in a small bowl with the Demerara sugar.  Stir to combine.

6. When the cake is baked, remove from oven and pierce all over with a toothpick or skewer.  Spoon the lemon drizzle evenly over the top of the cake.  Allow to cool in the tin for at least an hour (it will firm up as it cools) then transfer to a wire wrack.

7. Once completely cooled, slice and serve or transfer to an airtight container. The cake will keep up to a week in the  refrigerator.  It also freezes well.

[/print_this]

Have a wonderful weekend everyone


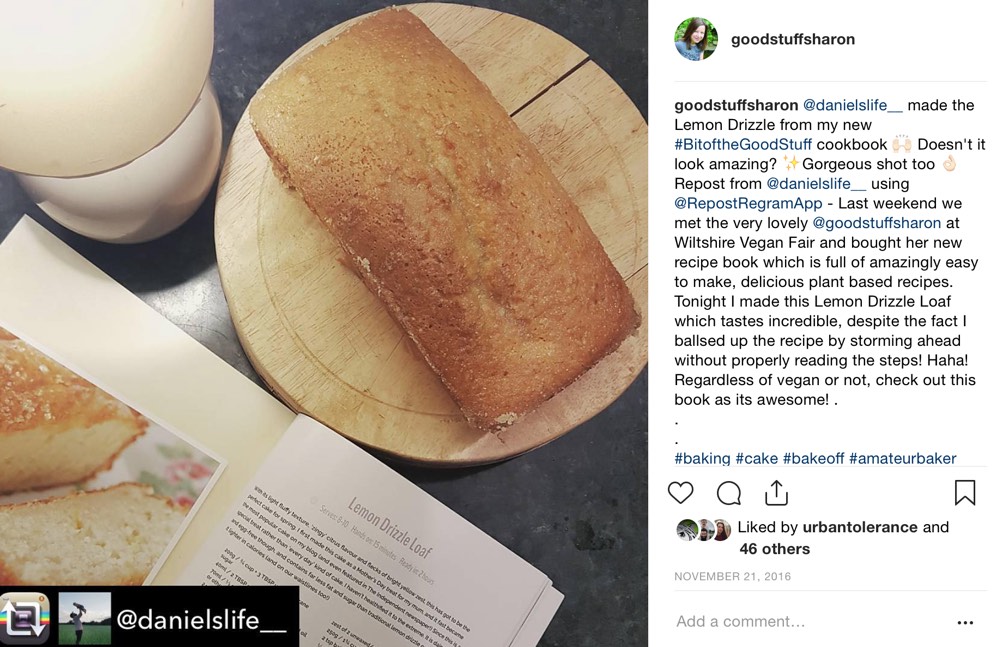
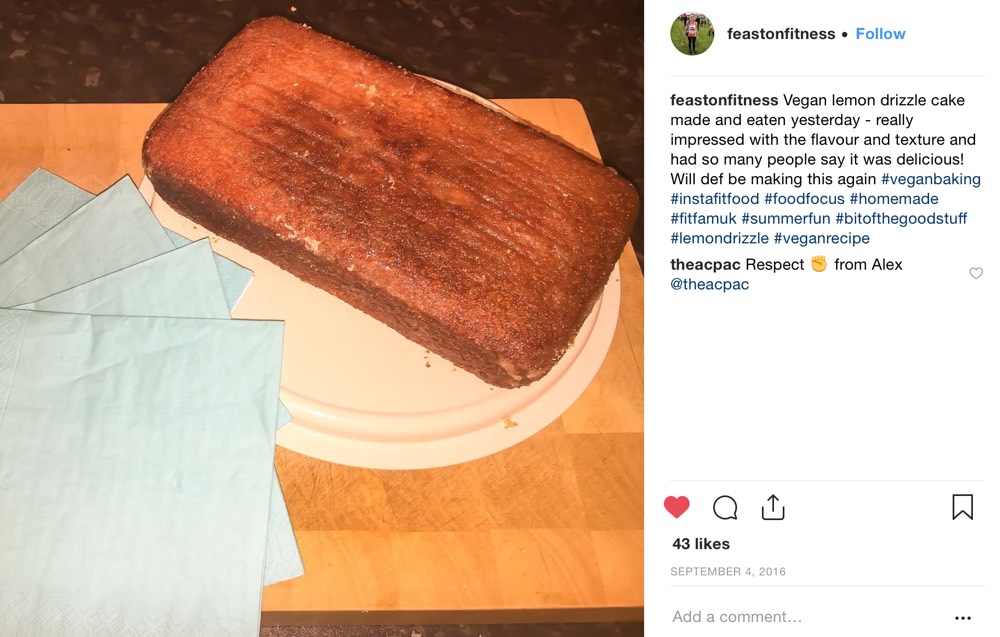
READER REMAKES ❤️

————————————————-

SaveSave

Vegan Hot Cross Buns (Dairy free, Egg free)

With Easter fast approaching, we have officially entered hot cross bun season.  I adore these sweet, fruity, spiced buns.  How about you?  Are you a fan?

While the supermarket shelves are laden with hot cross buns this time of year, I prefer to bake my own.  That way, I get to make them dairy free, cut back on the sugar and fat content, and pack them with fruits and spice. 🙂

Hot Cross Buns (Vegan / Dairy Free / Egg Free)

Baking your own hot cross buns is not as difficult as you may think.  While it seems like a long process, it only takes around 30 minutes hands on time.  For the majority of the time the dough is resting!

As an added bonus, if you make your own, you will be rewarded with the most amazing scent of freshly baked buns with hints of fruit and cinnamon spice wafting through the house.  Believe me, it is so good!

While hot cross buns are normally made with strong bread flour, I prefer to use plain (all purpose), which gives a more tender texture.

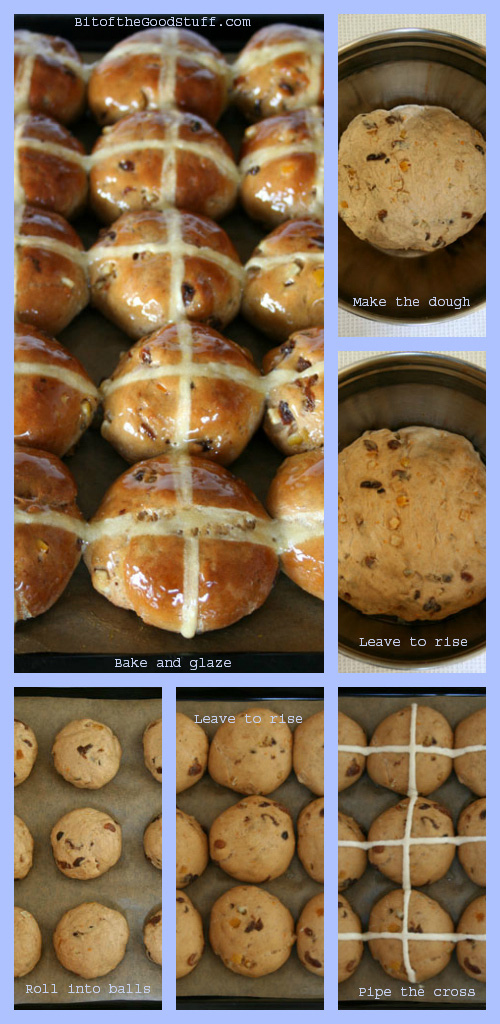
Hot Cross Buns Collage (Vegan / Dairy Free / Egg Free)

Here’s how I make the Hot Cross Buns…

[print_this]

Hands on time: 30 minutes    Resting time: 1¾ hours
Cooking time: 20 minutes

Makes 15 medium or 12 large buns

Ingredients

Dough
250ml / 9 oz / 1 cup soya milk (or other non dairy milk)
1 tsp fast action / easy bake yeast
2 tbsp sugar
2 tbsp neutral flavoured vegetable oil, such as rapeseed (canola)
500g / 17½ oz / 3½ cups plain (all purpose) flour
1 tsp salt
4 tsp mixed spice
100g / 3½ oz / ½ packed cup sultanas or raisins
100g / 3½ oz / ½ cup Italian mixed peel
Finely grated zest of 1 organic/unwaxed orange
85ml / 3 fl oz / ¼ cup freshly squeezed orange juice (or other fruit juice)

Crosses
3 tbsp plain (all purpose) flour
2 tbsp water

Glaze
2 tbsp sugar
2 tbsp freshly squeezed orange juice (or other fruit juice)

Method

  1. Gently heat the milk until it is lukewarm.  Remove from the heat and whisk in the yeast and sugar.  After a couple of minutes the yeast will start to froth.
  2. In a large bowl, mix together the flour, salt, spices.  Stir in the sultanas, citrus peel and orange zest.  Make a well in the centre of the dry ingredients and stir in the oil, yeast milk mixture, and orange juice.  Bring together the ingredients using your hands.  The dough should be soft and sticky.  Depending on the type of flour used, you may need to add a little more liquid.
  3. Turn out the dough onto a lightly floured surface and knead for 5 minutes or so, until the dough is smooth.  Place the dough in an oiled bowl, cover with a damp tea towel or oiled cling film (plastic wrap) and leave in a warm place for an hour or so until it has doubled in size.  If your house is cool (like ours), cover with oiled foil and place in the oven at 40C / 100F for an hour.
  4. When the dough has risen, knead for a further 10 minutes then divide into 12 or 15 equal size balls.  To ensure that the buns are exactly the same size and bake evenly, I weigh the dough.  My dough tends to weigh about 1.125kg, so I tear off 75g for medium size buns.  Roll the dough into smooth balls and evenly space out on a large baking tray (28 x 40cm / 10 x 15”) lined with non stick baking paper.  Cover with the damp tea towel, oiled cling film (plastic wrap) or foil and leave in a warm place for 45 minutes or so, until they have risen.
  5. Heat the oven to 200C (190C fan) / 400F.
  6. To make the crosses, mix 3 tbsp plain (all purpose) flour with 2 tbsp water to form a thick paste.  Spoon into an icing bag with a thin nozzle (or a plastic freezer bag and snip the corner).  Slowly pipe along each row of buns, then repeat in the other direction.  Place in the oven and bake for 20 minutes on the middle shelf, until golden brown.
  7. To make the glaze, gently boil the sugar and fruit juice in a small pan for about 5 minutes until it starts to thicken into a syrup.  Brush over the buns while they’re still hot.  Allow to set before serving. These buns are most delicious served warm or toasted.
  8. The buns will last 2-3 days in an airtight container.  They also freeze well.  I tend to slice them in half before I freeze them so that they can be toasted without the need to defrost first.

[/print_this]

UPDATE EASTER 2017
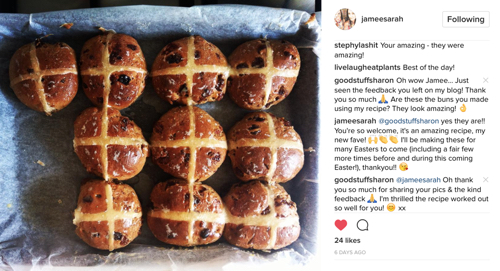
It’s been three years since I posted this recipe and it’s great to hear that people are still finding it useful! I’ve loved seeing all the pics you’ve been sharing on social media, so thank you so much for tagging me! Check out these beauties, that @jameesarah shared on Instagram (you can check out Jamee’s feedback in the comments section below this post).

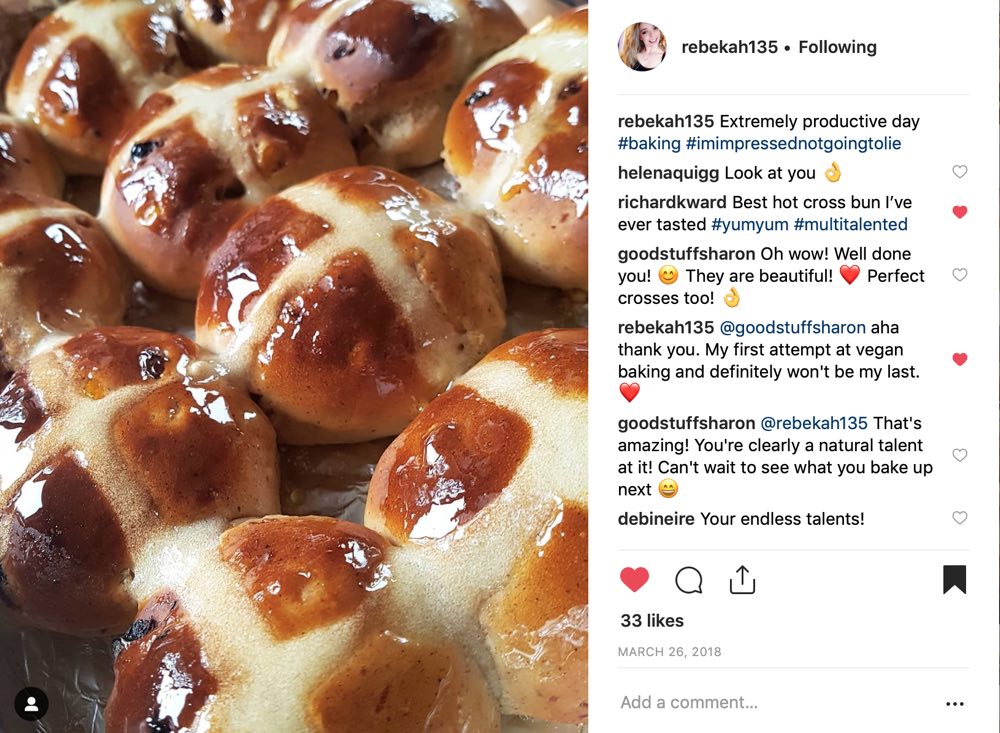
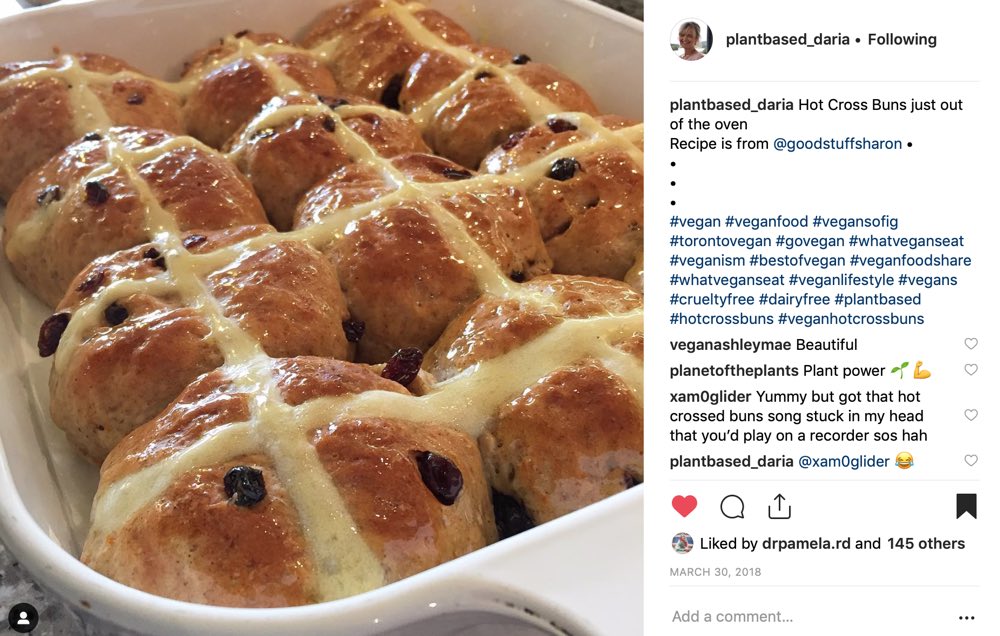
MORE READER REMAKES ❤️

@rebekah135

@plantbased_daria

Back in 2013 when I shared this recipe, it was really difficult to find vegan hot cross buns in UK supermarkets, so I made them myself. Here we are in 2017, and vegan-friendly hot cross buns are available in practically every UK supermarket. Times sure are changing!

You might also like…

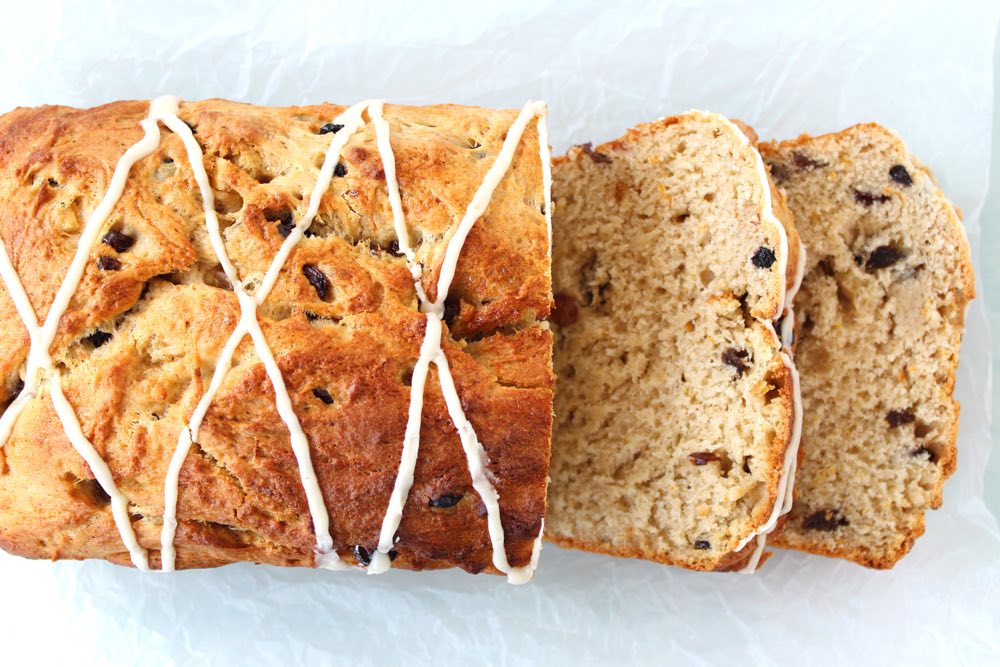
Hot Cross Bun Loaf

Delicious Orange & Almond Cake (Dairy-free & Vegan)

Inspired by the yummy orange and almond cake that I had at the Holburne Museum Garden Cafe last week, I thought I’d attempt to bake an orange and almond cake myself.

And guess what?  …

It wasn’t a flop!

Look, it’s even cake shape (unlike last week’s brownie gloop which I had to turn into a chocolate ‘pudding’).

This cake is beautifully moist and has the most delicious almond flavour with a hint of orange.

AND, it’s got lots of lovely goodness in it, including B vitamins, vitamin C, vitamin E and a few minerals to boot. The cake’s also low GI, so it gives us slow release energy rather than those horrible refined sugar energy spikes.

AND it’s easy to make.  Even for me!  (and if I can bake it, you definitely will be able to!)

One of my study group friends said it’s the best cake I’ve ever made.  (To be fair, I haven’t set the bar very high with my attempts at baking, but it’s wonderful to hear that I’ve actually made something that’s more than edible).

M and Lil’ L absolutely loved it.  In fact, Lil’ L said it was one of the best cakes in the world!  For this reason alone, I think this cake deserves its own blog post.  So here it is.

[print_this]
Unlike regular cakes which are full of ’empty’ calories, this cake is packed full of vitamins, minerals, antioxidants, protein and fibre. It also provides slow release energy thanks to the wholegrain flour and almonds. I would class this cake as a healthier ‘eat any time’ kind of cake, though some of my readers have served it at parties and told me that it went down a treat. It can easily be prepared in advance. In fact, we find it tastes even better a day or two after baking.

Ingredients
140g / 1 cup fine wholemeal (whole wheat pastry) flour or chapatti flour
140g / 1 cup plain (all purpose) flour
1½ tsp baking powder
½ tsp bicarbonate of soda (baking soda)
½ tsp salt
100g / 1 cup ground almonds (almond meal)
100ml / ½ cup organic rapeseed (canola) oil or other neutral-flavoured oil
150ml / ½ cup + 2 TBSP soya or almond milk
200ml / ⅔ cup maple syrup
½ TBSP zest from an unwaxed/organic orange
60ml / ¼ cup freshly squeezed orange juice
1 tsp orange extract
½ tsp almond extract

Decorating options:
Orange Cashew Cream Frosting (see below) or apricot fruit spread (e.g. St Dalfour)
3 TBSP toasted flaked almonds, crushed

Method

1  Preheat the oven to 180C (160 fan) / 350F.  Grease the sides of a 20cm / 8 inch loose-bottomed cake tin with oil and line the bottom with non-stick baking paper.

2  Sift the flours, baking powder, bicarbonate of soda and salt into a large bowl. Tip any remaining wheat germ into the bowl. Add the ground almonds and stir through to combine.

3  In a separate bowl, use a fork to whisk together the oil, milk, syrup, orange zest, orange juice, orange extract and almond extract until fully combined.

4  Make a well in the dry ingredients, pour in the wet ingredients and stir to combine (but do not over mix).  Pour the batter into the prepared tin.

5  Bake for 45 minutes, or until the cake is lightly browned and springs back when lightly pressed. Leave the cake to cool in its tin until completely cooled (it will firm up as it cools).

6  Decorate with frosting or apricot fruit spread and sprinkle toasted flaked almonds on top. Lightly press down on the almonds so that they stick. Chill in the refrigerator before serving.

7  Stored in an airtight container in the refrigerator, this cake will keep for up to 5 days. It also freezes well.

[/print_this]

[print_this]

Orange Cashew Cream Frosting

Yield: about 240g / ¾ cup
Hand on time: 10 minutes    Ready in: 70 minutes

Ingredients
110g / ¾ cup raw cashews
55 ml / 3 TBSP maple syrup
½ TBSP zest from an unwaxed/organic orange
30ml/ 2 TBSP freshly squeezed orange juice
1 tsp orange extract
½ tsp vanilla extract
45g / 3 TBSP virgin coconut oil, melted

Method
1  To soften the cashews,  boil them in a pan of water for 15 minutes or soak in freshly boiled water for 30 minutes. Rinse in cold water and thoroughly drain. 

2  Place the cashews in a food processor along with the syrup, zest, orange juice, orange extract and vanilla extract. Process until the cashews are ground into a creamy mixture. Stop now and then to scrape down the bowl. Add the melted coconut oil and continue blending for a few minutes until the mixture is completely smooth. Taste test for smoothness.

3  Scoop the frosting into a bowl and chill for one hour, or until firm enough to spread. The frosting will keep for 5 days in the refrigerator. It is also freezable

[/print_this]

Have a wonderful weekend everyone!

With love,