Family-Size Festive Mince Pie [Vegan]

Jump to Recipe

* This recipe was first published in December 2017. The page was updated in December 2019

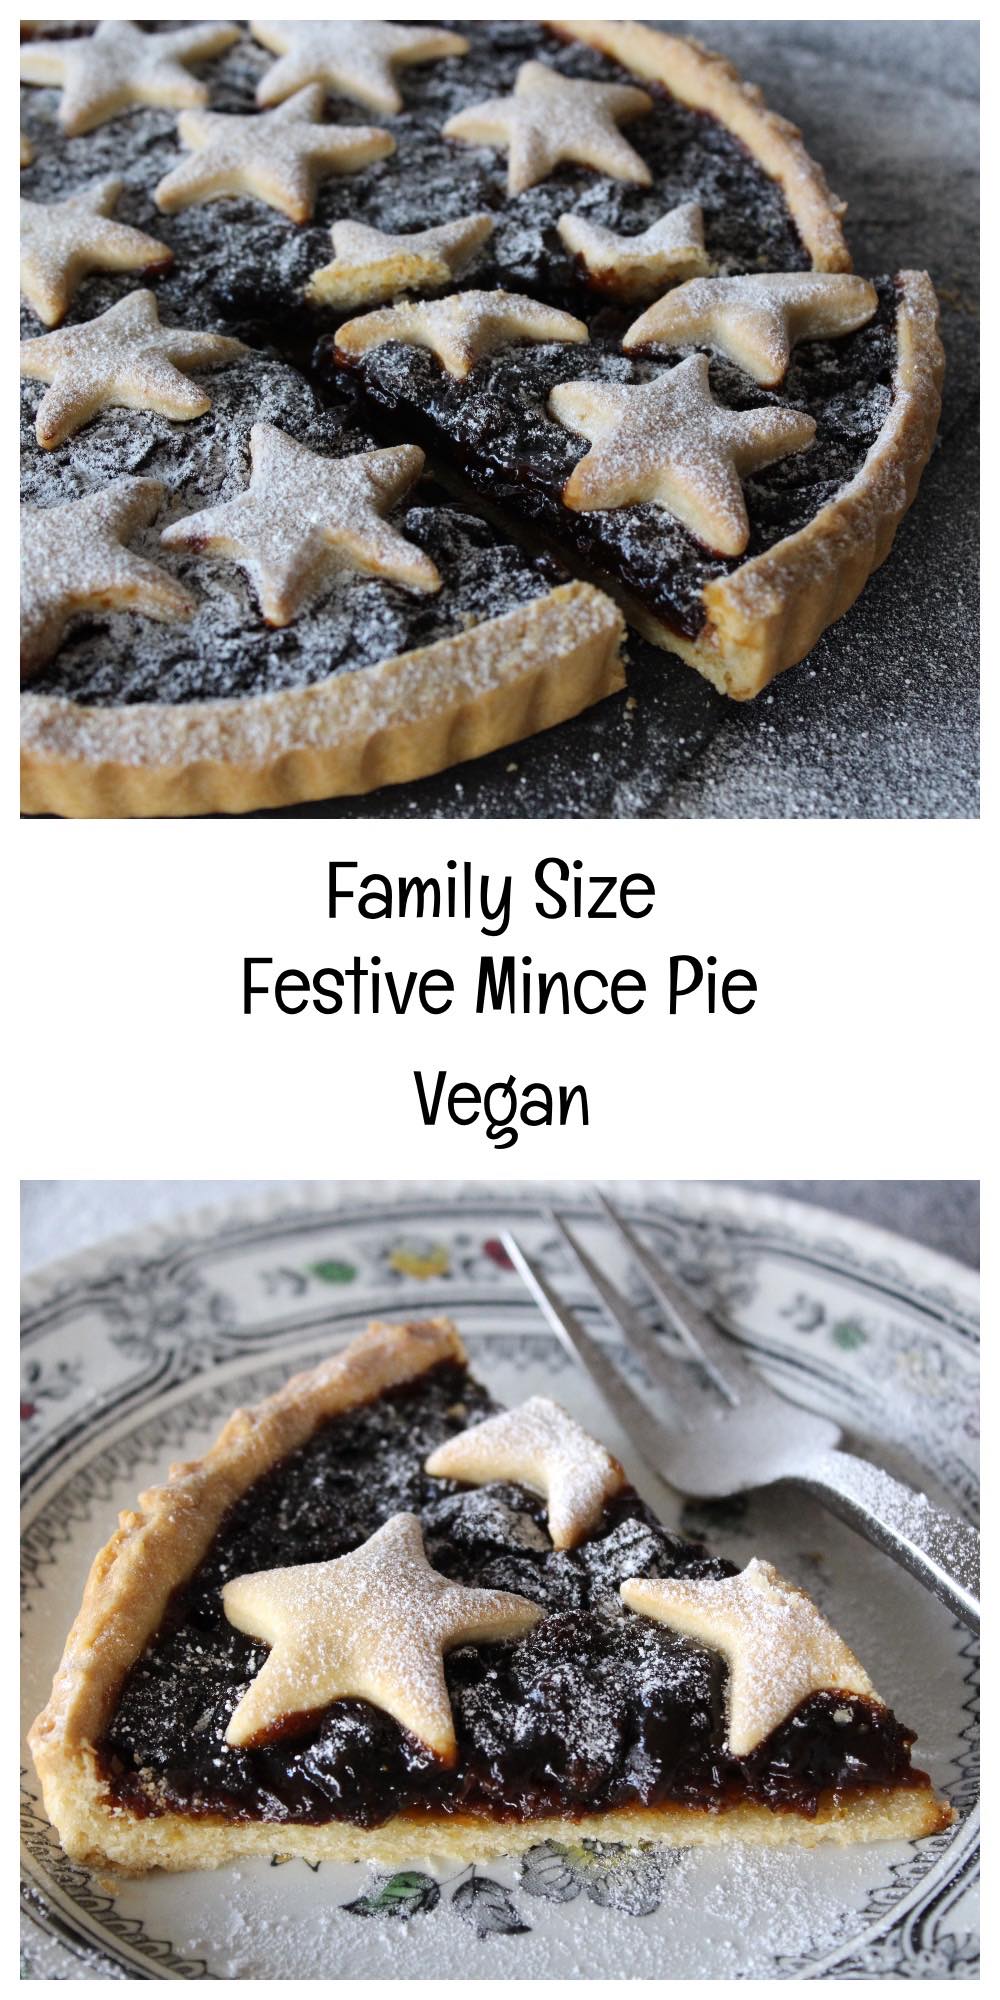
Hello everyone! I hope your preparations for the festive holiday are going well. Hopefully you’ve been a bit more organised than me. As usual, I’ve left a lot of shopping and food preparation to the last minute, so today – Christmas Eve – is going to be one very busy day for me! However, before I crack on with the preparations, I thought I would share one last recipe on the blog before 2017 comes to a close. The recipe is for a giant-sized mince pie, which is just perfect for sharing with friends and family this season. I’ve already made three of these pies in the past week, and no doubt I will making more in the lead up to the New Year.
Vegan Mince Pie Tart

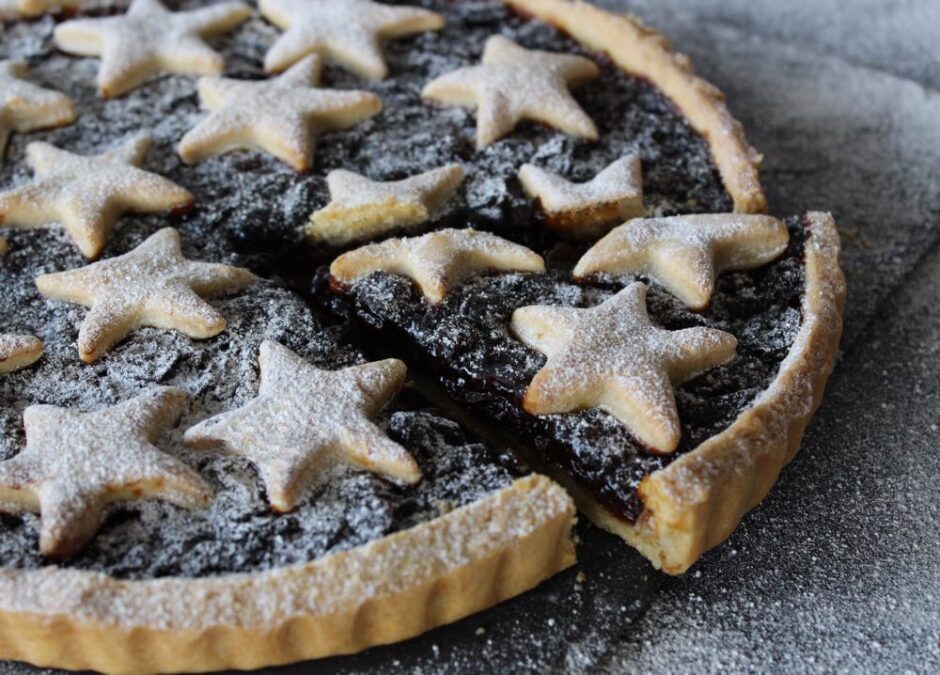
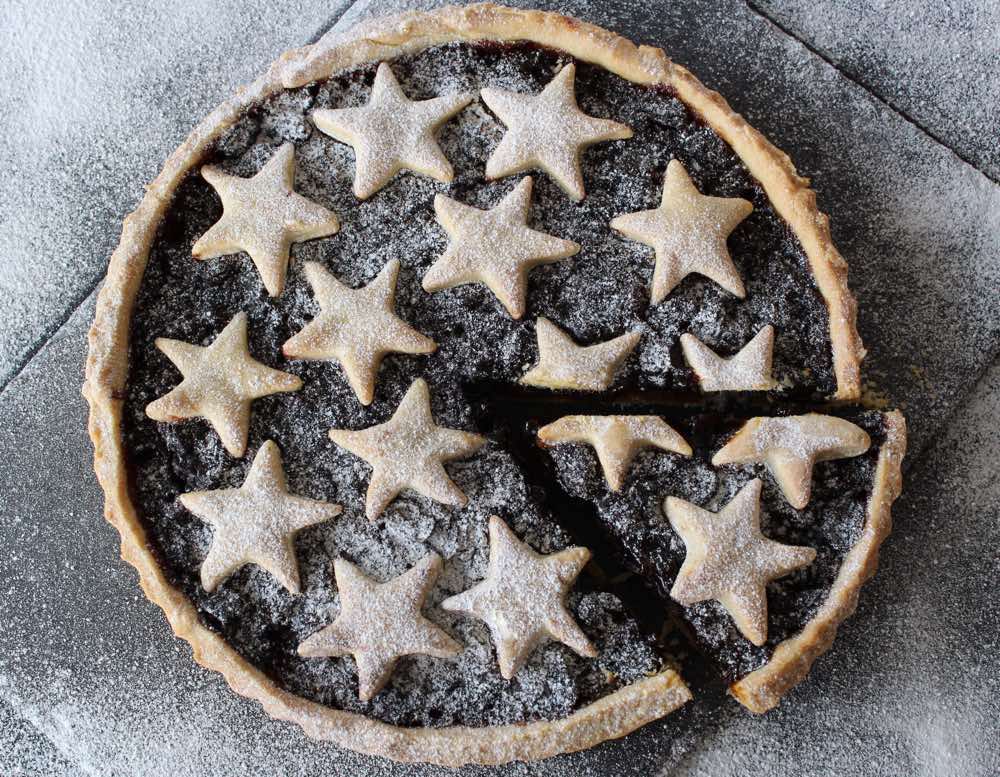
During the festive season, my family loves to have home-made mince pies for dessert, drizzled in custard or cream. However, while they taste delicious, individual mince pies do tend to look a bit lost on dessert plates and aren’t what I would consider ‘special enough’ to serve to dinner guests. To resolve this, I’ve played around with my favourite mince pie recipe and created a family-sized pie instead, which can be sliced and served on a plate with a more appealing presentation.

It took a couple of attempts with different pastry quantities and baking methods, but I’m really pleased with how it finally turned out. The pastry is lovely and crisp; it’s robust enough to slice without crumbling and, most importantly, it has been given the thumbs up from the recipe testers in my house.
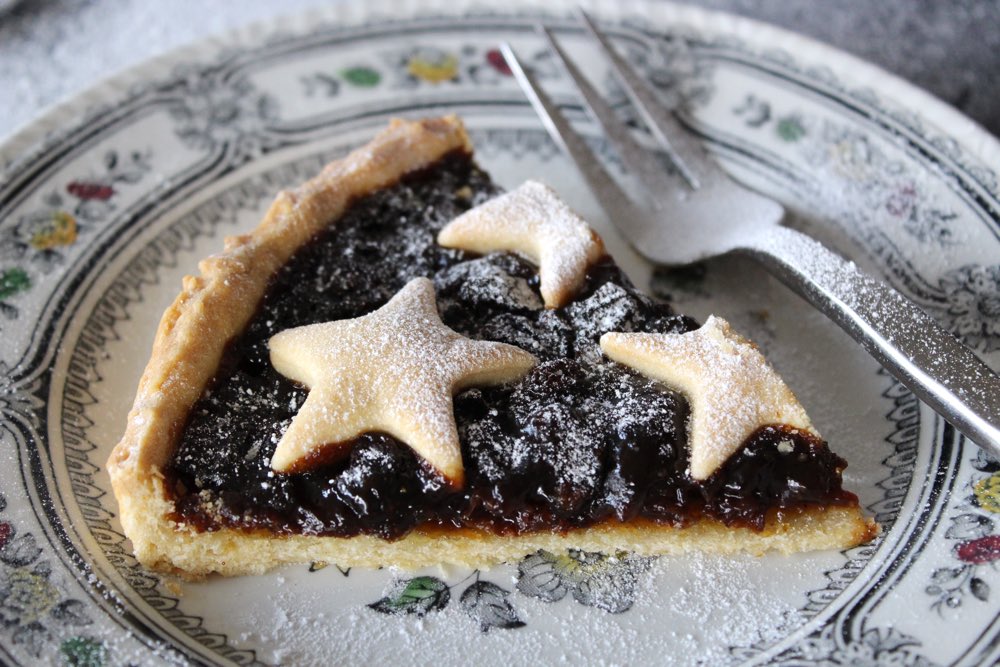
Vegan Mince Pie Tart

I used my favourite organic mincemeat for this pie, which is made by Meridian. For the flour, I used Doves Organic White Spelt flour. For a while now, spelt has been my flour of choice for pastry-making. Personally, I find it gives pastry a nicer taste and texture compared to plain (all purpose) flour. As an added bonus, I find that some of my friends that generally avoid gluten/wheat, can tolerate spelt. It does make me wonder whether it’s specifically modern wheat that’s causing tummy issues for a lot of people.

Recipe Card
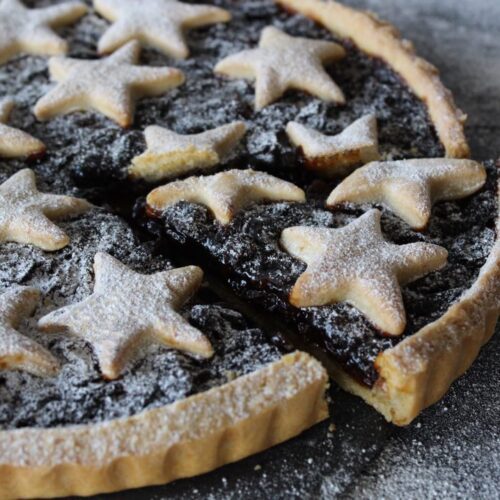
Vegan Mince Pie Tart

Family-Size Festive Mince Pie [Vegan]

This giant mince pie is perfect for serving to friends and family in the festive season. It’s easy to prepare, even when making the pastry from scratch!
Cook Time 1 hour 20 minutes
Hands-on Time 15 minutes
Course Dessert, Treat
Cuisine English
Servings 8

Ingredients
 

Short crust pastry*

  • 250 g / 1¾ cups white spelt flour or plain (all purpose) flour
  • 100 g / ½ cup dairy-free spread/vegan butter or aroma-free coconut butter
  • 20 g / 2 TBSP icing (confectioner’s) sugar
  • pinch of salt
  • 1 – 4½ TBSP chilled orange juice

Filling

  • 410 g / 1 cup mincemeat (make sure it's suitable for vegans)
  • soya milk for glaze (optional)

Suggested accompaniments

  • Dairy-free custard or cream

Instructions
 

  • Place the flour, dairy-free spread/vegan butter/coconut butter, icing sugar and salt in a food processor and whiz to combine. Add the orange juice through the funnel, ½ tablespoon at a time, until the mixture just starts to come together. (The amount needed will vary depending on the type of flour and butter used. I find that I need about 1-2 TBSP of juice when using dairy-free spread and about 3½-4½ TBSP when using coconut butter).
  • Scoop the dough together and press into a ball. Cover in cling film (plastic wrap) and rest in the fridge for 30 minutes.
  • Grease a 20cm / 8 inch loose-bottomed tart or quiche tin. Preheat the oven to 190c (170c fan) / 375F.
  • Once the dough has rested, break off a small chunk (about a fifth) and set to one side (this will be used for the star decoration). Place the remaining dough on a lightly floured surface. Arrange the cling film/plastic wrap on top and roll the dough to a thickness of about 0.3cm / ⅛ inch. Transfer the dough to the prepared tin and press into the edges and up the sides to a height of 2.5cm / 1 inch. Trim off the excess and place with the reserved dough for the stars.
  • Prick the dough in the base of the tin all over with a fork. Place in the pre-heated oven and bake for 20 minutes.
  • Five minutes before the pastry is cooked, roll out the reserved dough and cut out about 16 mini stars using a metal cutter (re-rolling the dough scraps as needed).
  • When the pastry case is cooked, distribute the mincemeat evenly on top, followed by the stars. Brush the stars with soya milk (if you’d like them to brown). Place in the centre of the oven and bake for 20 minutes, or until the stars are dry to the touch.
  • Leave to cool slightly before slicing (the pastry will firm up as it cools). Sprinkle with sieved icing sugar before serving. This tart is delicious served on its own, or with a drizzle of vegan cream or custard. Stored in an airtight container in the fridge, the tart will keep for five days.

Notes

*Alternatively, you can use shop-bought short-crust pastry (Jus-Rol is suitable for vegans)
Keyword Vegan Christmas Food, Vegan Mince Pie, Vegan Treats
Tried this recipe?Let us know how it was!

Pin for later ⬇️

Vegan Family Size Festive Mince Pie

If you make this Vegan Festive Mince Pie, I’d love to hear your feedback and any suggestions for adaptations! Tag your photos with #bitofthegoodstuff on social media – I always love to see your creations! You can also connect with me on my social media channels here: InstagramFacebook, Pinterest.   

Happy holidays everyone! ❤️

With love,

Sharon xx
SaveSave

SaveSave

SaveSave

SaveSave

SaveSave

SaveSave

Vegan Carrot Cake with Cream Cheese Frosting

Jump to Recipe

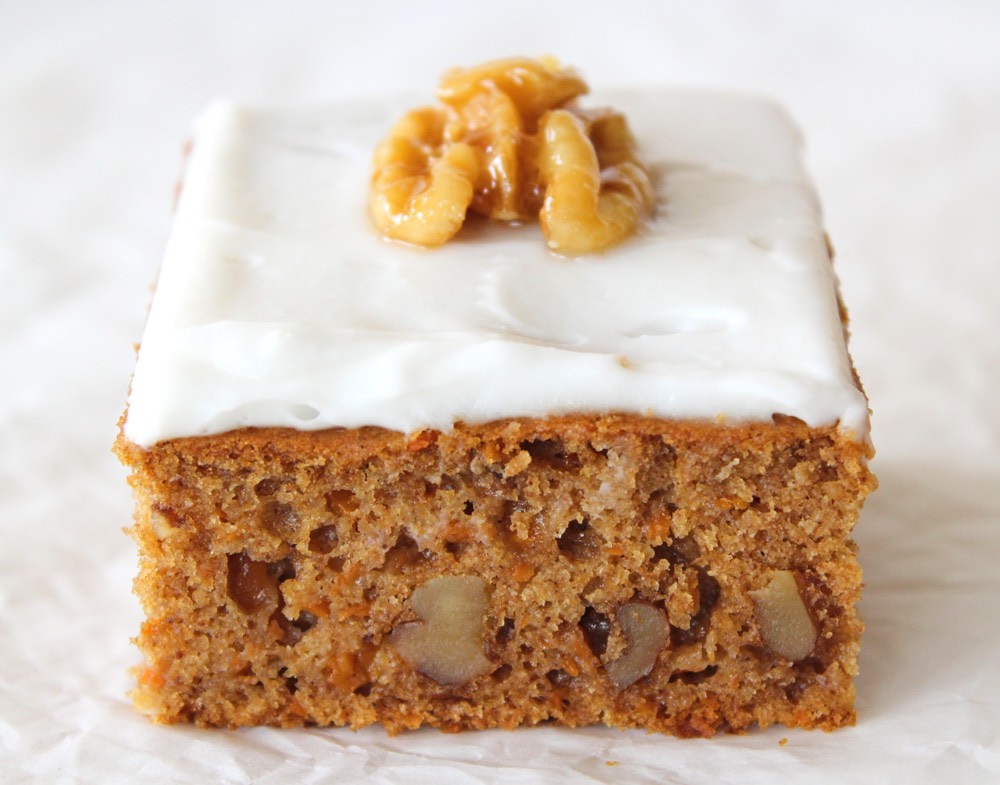
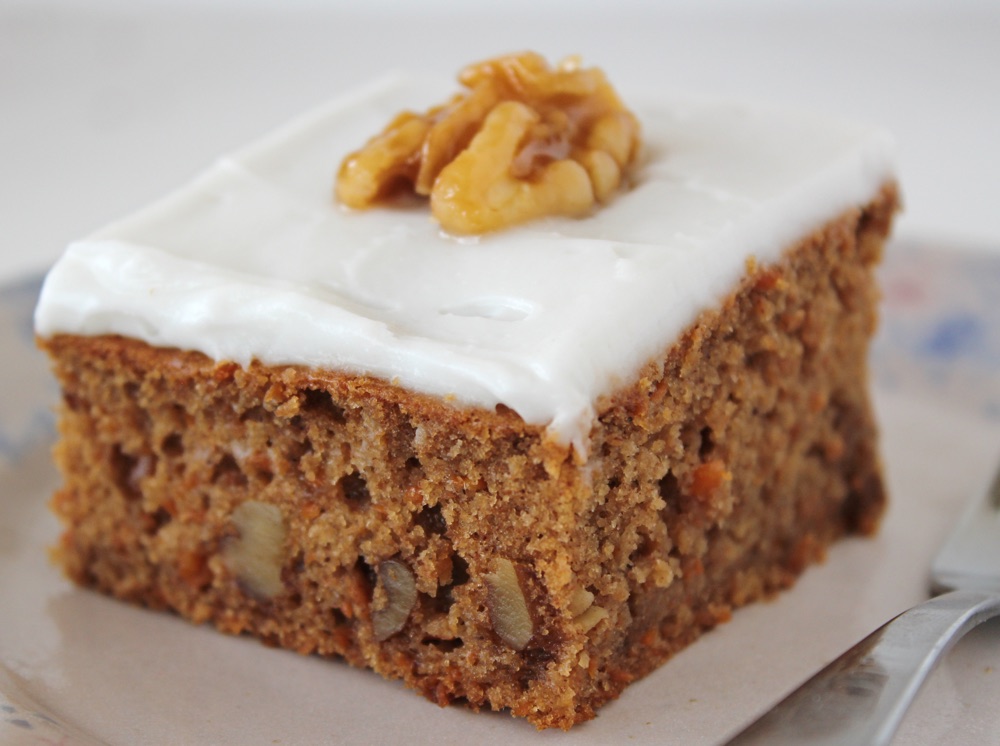
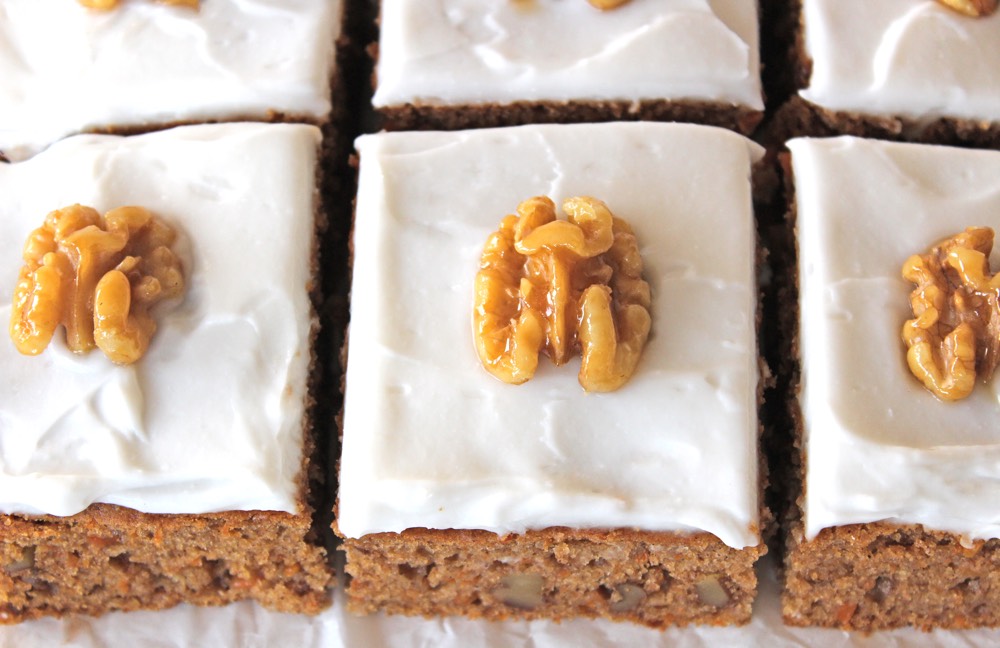
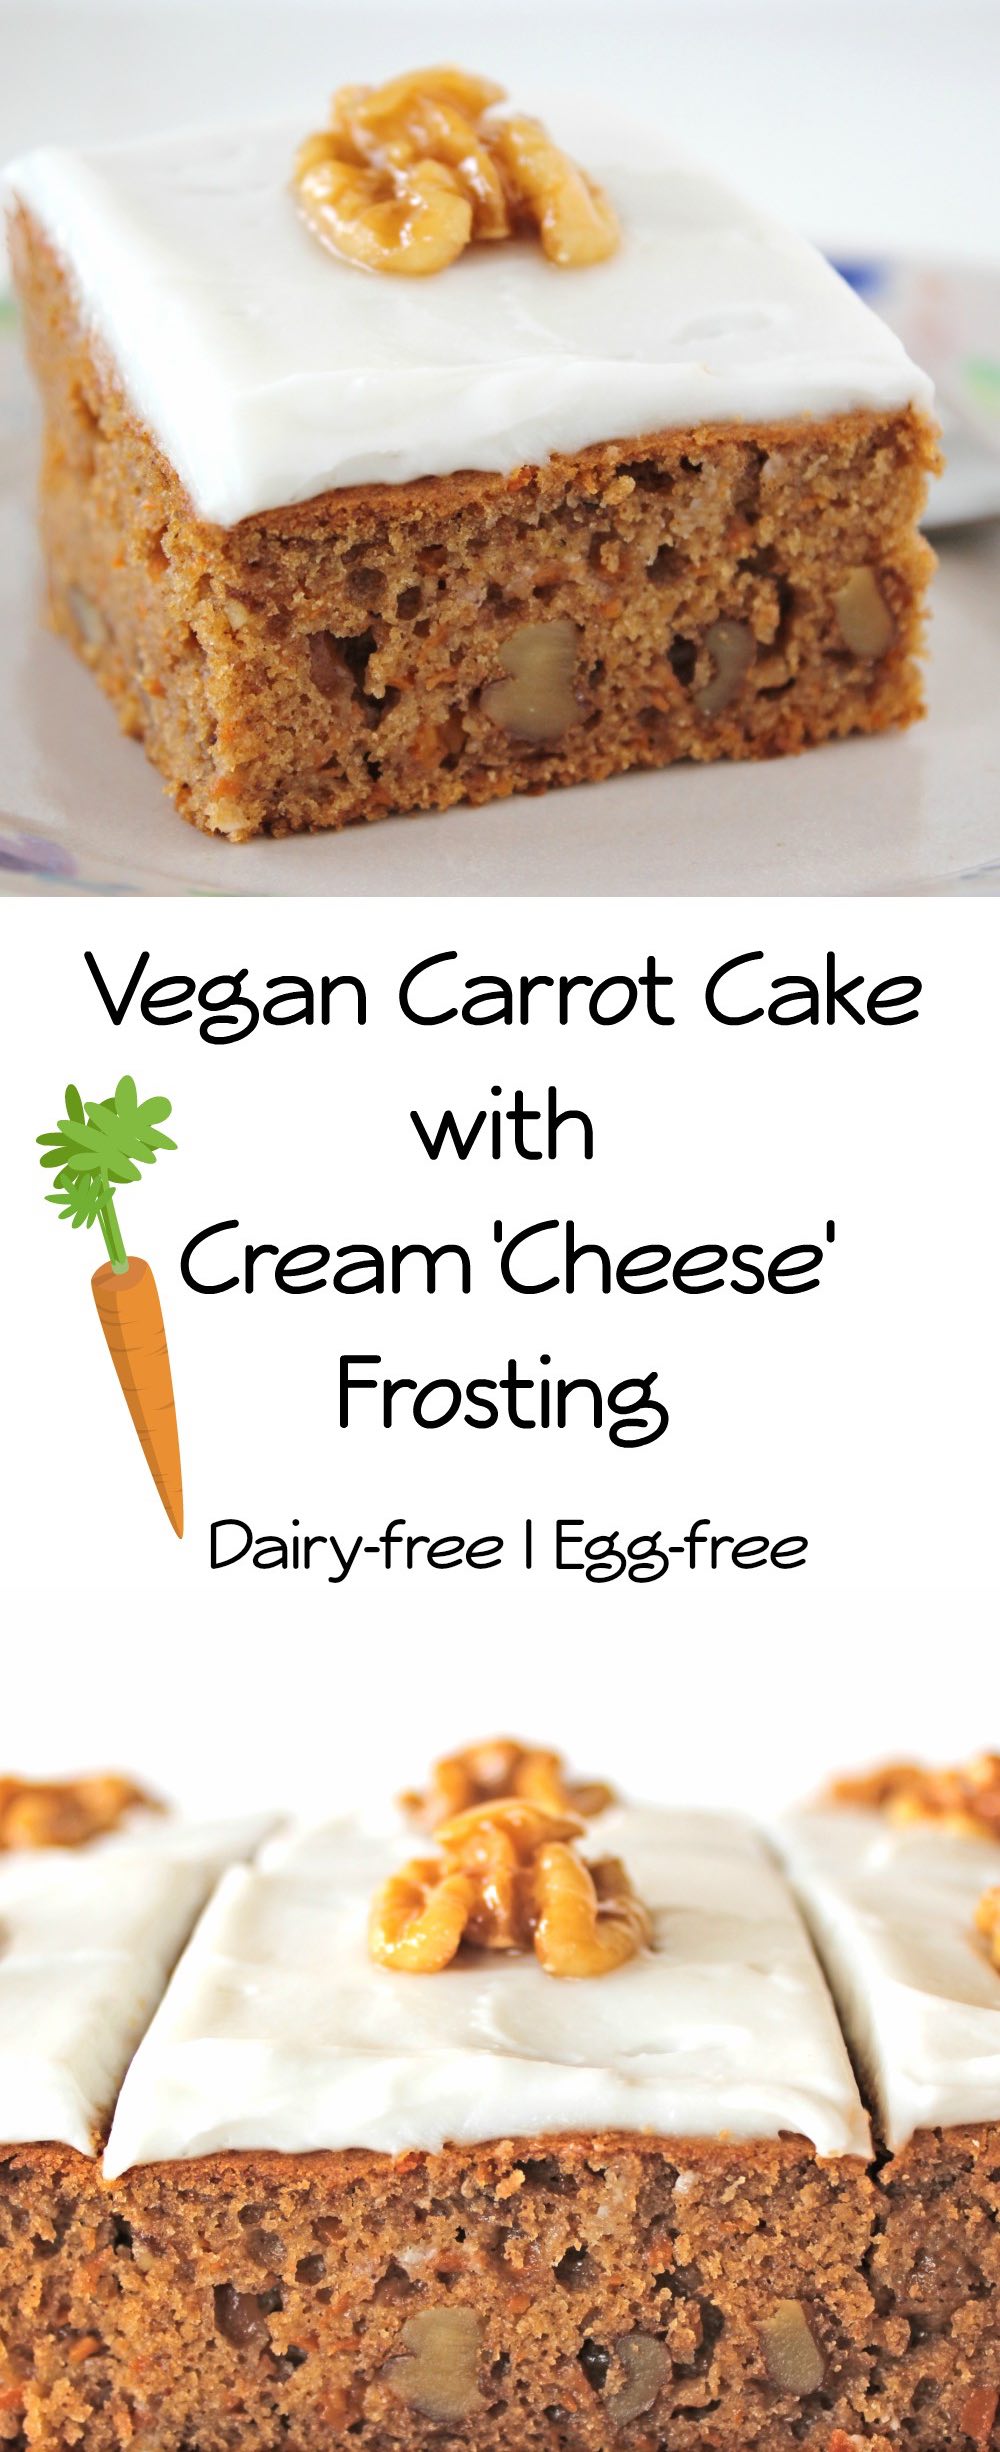
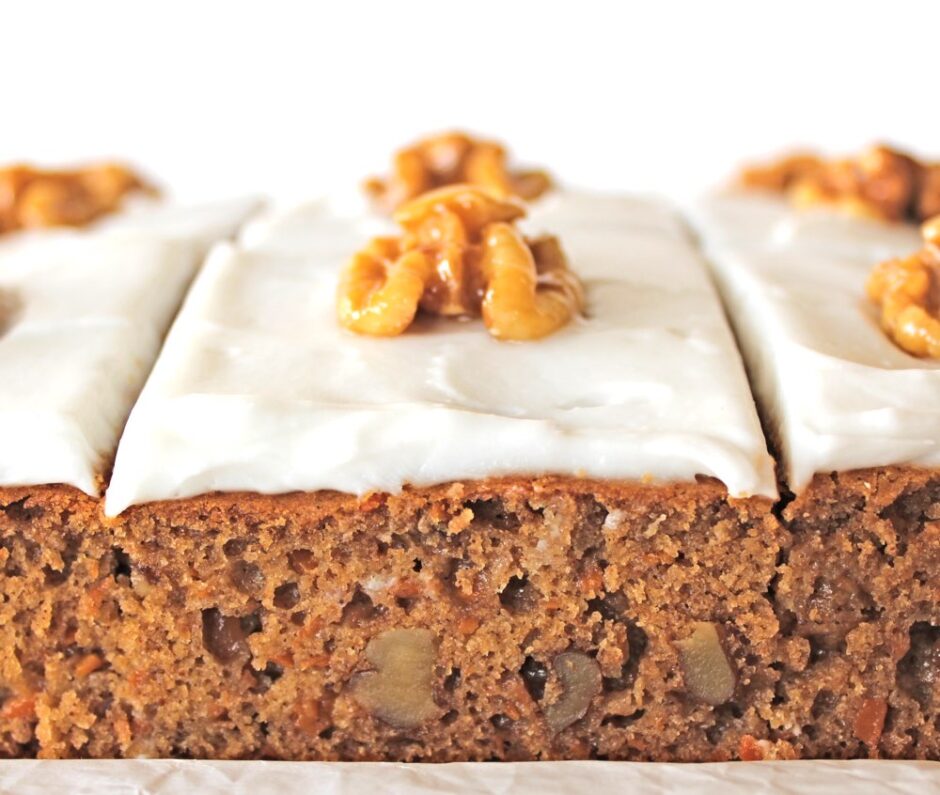
Today, I’m finally publishing my recipe for vegan carrot cake. It contains no dairy or eggs, yet tastes just as good (if not better!) than its traditional counterpart. This was the cake that I chose to bake for my mum’s and father-in-law’s birthdays this year and I’m pleased to say, it went down a treat!

Vegan Carrot Cake

I must admit, this recipe has been a long time coming (the culmination of about two years’ worth of experimenting!) Carrot cake is one of my all-time favourites so I was determined to keep experimenting until I’d created a vegan version that replicated the one of my childhood memories. I had set the bar high!

My family were very willing cake testers and gave positive feedback on all the various versions I created but, for me, they were never quite right. The main issue that I needed to nail was the texture. If you’re a carrot cake connoisseur, you’ll know that it has a very specific texture. It isn’t like a traditional ‘light and fluffy’ sponge cake. It’s a lot more dense and moist; almost fudge-like.

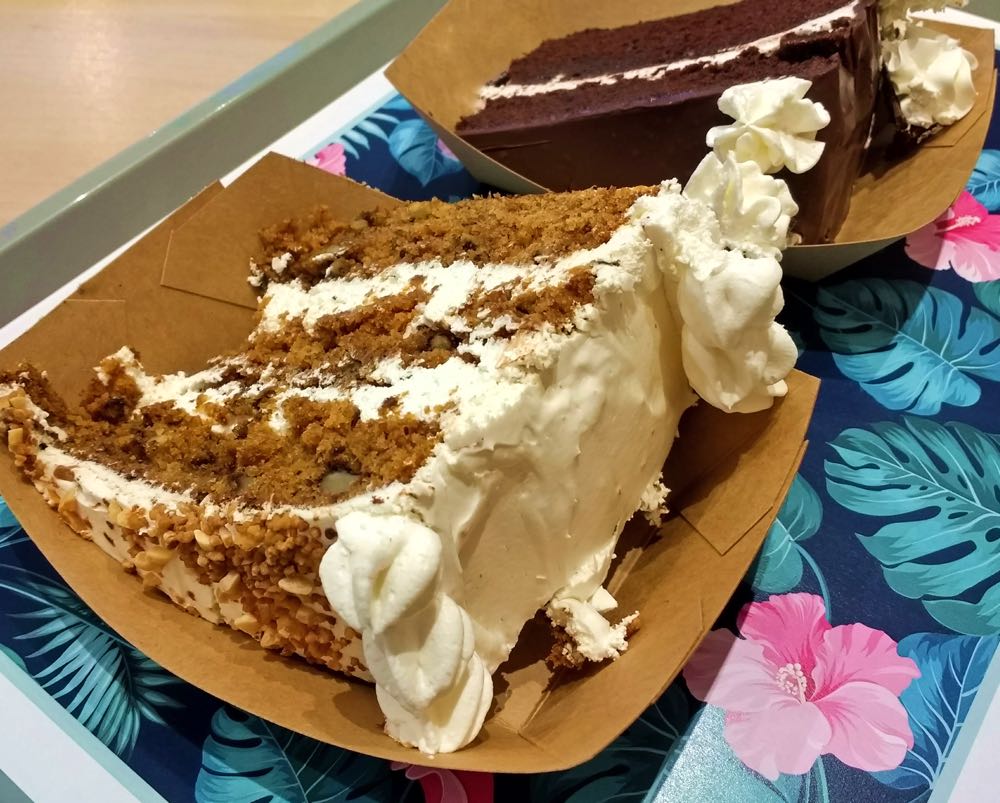
It had been at least 20 years since I’d eaten a traditional carrot cake so my reference point was pretty old (and with questionable reliability!) but this Easter I finally got to indulge in carrot cake once more; and at the most unexpected of places… the vegan fast food joint ‘Vurger’ in Valencia, Spain.

Vegan Carrot Cake

After we’d ordered our burgers and were making our way to the seating area, I caught sight of a glass cabinet filled with the most incredible-looking cakes. Each one was at least three layers tall and covered in the most beautiful frosting. There were a selection of flavours on offer, including double chocolate, chocolate cherry, and carrot cake. Much to our delight, we discovered that another vegan fast food joint called ‘Aloha’ also stocked these beautiful cakes. My family ended up going to Vurger and Aloha three times, just so we could try out all the cakes!

Vegan Carrot Cake

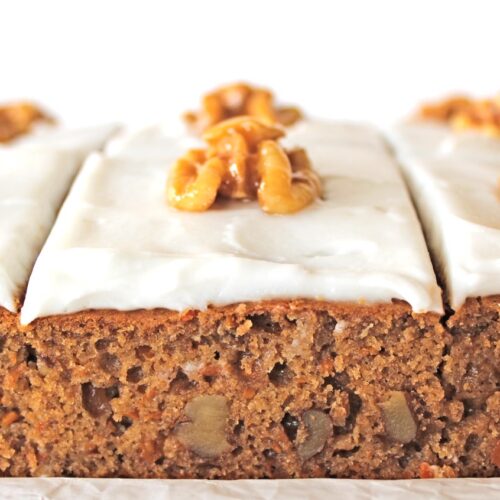
Filled with fresh memories of how carrot cake should taste, as soon as I returned home I dusted off my scribbled experiments and enthusiastically set to work on ‘perfecting’ my recipe. I experimented with different ratios of wet/dry ingredients, varying ratios of carrots and nuts, different shape tins and baking times, and finally came up with a recipe that I’m 100% happy with. It might not be to everyone’s taste but, for me, this cake is just spot on flavour and texture-wise. It’s dense and moist, with plenty of carrot and walnuts for added layers of texture. It’s not sugary sweet, but instead flavoured with beautiful, warming spices.

Vegan Carrot Cake

Cream cheese frosting is the perfect topping for this cake. A few years ago, it was difficult to find vegan cream cheese here in the UK (let alone a great-tasting one!); however lately there’s been an explosion of dairy-free ‘cheeses’ entering our shops. When it comes to vegan cheese, everyone’s tastes differ so it’s worth trying a few and seeing which one most appeals to your taste buds. Two of my personal favourites are Violife Creamy Original  and Tofutti Creamy Smooth Original. These have a very subtle cheese flavour, with a lovely creamy texture, making it perfect for cake frosting. I’ve also used Sheese Creamy Original and Tesco Free From Soft Cheese for topping carrot cake. These two have a stronger cheese flavour so need a touch more icing sugar to balance the flavours.

Recipe Card

Vegan Carrot Cake

Vegan Carrot Cake with Cream Cheese Frosting

For me, this recipe epitomises everything that I love about carrot cake. It’s dense and moist, with a generous amount of carrots and walnuts. It's not sugary-sweet, but beautifully flavoured with warming spices. It’s had great feedback from my friends and family. I hope you enjoy it too!
Hands-on time 30 minutes
Total Time 2 hours
Course Afternoon Tea, Elevenses, Treat
Cuisine English
Servings 9

Ingredients
 

  • 240 ml / 1 cup soya milk
  • 2 tsp apple cider vinegar
  • 100 g / ½ cup soft brown sugar or coconut sugar
  • 80 ml / ¼ cup syrup of choice (I use maple syrup or coconut blossom syrup)
  • 100 ml / ½ cup neutral-flavoured oil (I use rapeseed (canola) oil, grapeseed oil or sunflower oil
  • 240 g / 2 cups carrot grated
  • 140 g / 1 cup plain (all purpose) flour
  • 140 g / 1 cup fine wholemeal (whole wheat) flour or chapatti flour
  • tsp baking powder
  • ½ tsp bicarbonate of soda (baking soda)
  • ½ tsp salt
  • 2 tsp mixed spice or pumpkin spice
  • 1 tsp ground cinnamon
  • 50 g / ½ cup walnuts chopped

Vegan Cream Cheese Frosting

  • 1 tub vegan cream cheese (around 200g / 7 oz)
  • 2½ – 5 TBSP icing (confectioners) sugar

Maple-Glazed Walnuts

  • 9 walnut halves
  • 1 TBSP maple syrup

Instructions
 

  • Grease a 21 cm x 21 cm / 8” x 8” square baking pan and line with non-stick baking paper. Preheat the oven to 180C (160C fan) / 350F.
  • Grate the carrots either using a box grater or mini chopper. Roughly chop the walnuts.
  • Whisk together the soya milk and vinegar in a large mixing bowl using a hand whisk or fork. Add the sugar, syrup and oil. Continue whisking until fully combined.
  • In a separate bowl, add the flours, baking powder, bicarbonate of soda, salt, mixed spice and cinnamon. Stir through to combine.
  • Fold the dry ingredients into the wet ingredients. Add the grated carrot and chopped walnuts and stir through until evenly distributed.
  • Transfer the mixture to the prepared tin. Using a spatula, distribute the mixture evenly in the tin and smooth the top. Place in the centre of the oven and bake for 45 minutes, or until a skewer inserted through the middle comes out clean and the top of the cake is springy to the touch.
  • Leave the cake in the tin for at least an hour, or until completely cool (it will continue to firm up as it cools), then peel off the baking paper and transfer to a chopping board. Using a bread knife, trim the four edges of the cake to neaten them up.
  • Meanwhile, place the cream cheese in a bowl. Sieve in the icing sugar, then beat using electric beaters until just combined (do not over-beat, otherwise the cheese may become runny). Taste test and add more sieved sugar, if desired. Beat once more to combine. Store the cream cheese in the fridge until needed.
  • Preheat a frying pan (skillet) on a medium-high heat. Add the walnuts and dry fry for 2 minutes, stirring continuously. Add the maple syrup and continue stirring for about 3 minutes, until the nuts are fully coated and the syrup has caramelised and become very sticky. Space out the nuts on a piece of non-stick baking paper. As they cool, the nuts will firm up and become shiny. Store in an airtight container in the fridge until ready to use.
  • Once the cake is completely cooled, distribute the cream cheese over the top of the cake using a knife. Slice the cake into squares, add the maple-glazed walnuts, then chill the cake in the fridge until ready to serve.
  • This cake will keep for up to five days in the fridge. It is also freezable (without the frosting). The cream cheese frosting is best added on the day that it is to be served as the lighter coloured cheeses (like Violife, Tofutti) can discolour over time.
Keyword Dairy-Free, Egg-Free, Plant-Based, Vegan Cake, Vegan Treats
Tried this recipe?Let us know how it was!

Pin for later ⬇️

Vegan Carrot Cake

This recipe is being submitted to the Suma Blogger’s Network. Big shout out to the lovely people at Suma who supplied the ingredients I used to create this recipe.

Ingredients from Suma (available from independent health food shops in the UK):

Aspall Organic Cyder Vinegar
Suma Organic Coconut Palm Sugar
Suma Organic Coconut Blossom Syrup
Suma Grapeseed Oil
Suma Mixed Spice
Suma Ground Cinnamon
Doves Farm Organic Fine Plain English Wholemeal Flour
Doves Farm Organic Plain White Flour
Doves Farm Baking Powder
Doves Farm Bicarbonate of Soda
Violife Creamy Original
Tofutti Creamy Smooth Original

If you make this Carrot Cake, I’d love to hear your feedback and any suggestions for adaptations! Tag your photos with #bitofthegoodstuff on social media – I always love to see your creations! You can also connect with me on my social media channels here: InstagramFacebookPinterest.   

Happy baking!

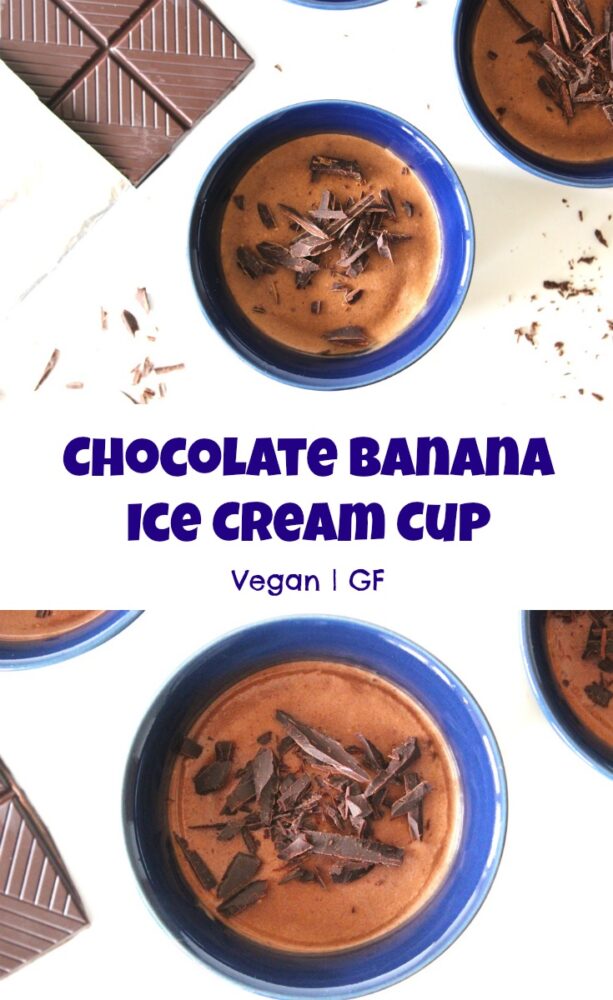
Chocolate Banana Ice Cream Cups (Vegan / Dairy-Free)

Jump to Recipe

I love making chocolate banana ice cream! (aka ‘Nicecream’)  It’s so simple and cheap to make (costing literally a few pence per serving), yet it feels like a real treat. It also happens to be packed full of healthy ingredients, including an array of minerals and antioxidant goodness.

I’ve been making banana ice cream for a few years now, and have learnt a few tricks along the way to make the process even quicker and easier. For example, I used to slice the bananas into discs and arrange them in single layers in freezer bags prior to freezing, however I’ve since discovered that whole bananas can easily be sliced from frozen using a sharp knife! These days, I simply pop whole bananas in the freezer stacked in plastic containers with a layer of parchment paper in between to stop them sticking together.

For ice cream desserts, I’ve also learnt to reduce the amount of milk that I add to the bananas so that it can be served instantly as soft-serve. When I’m in the mood for banana ice cream, the last thing I want to do is wait two hours for it to freeze.

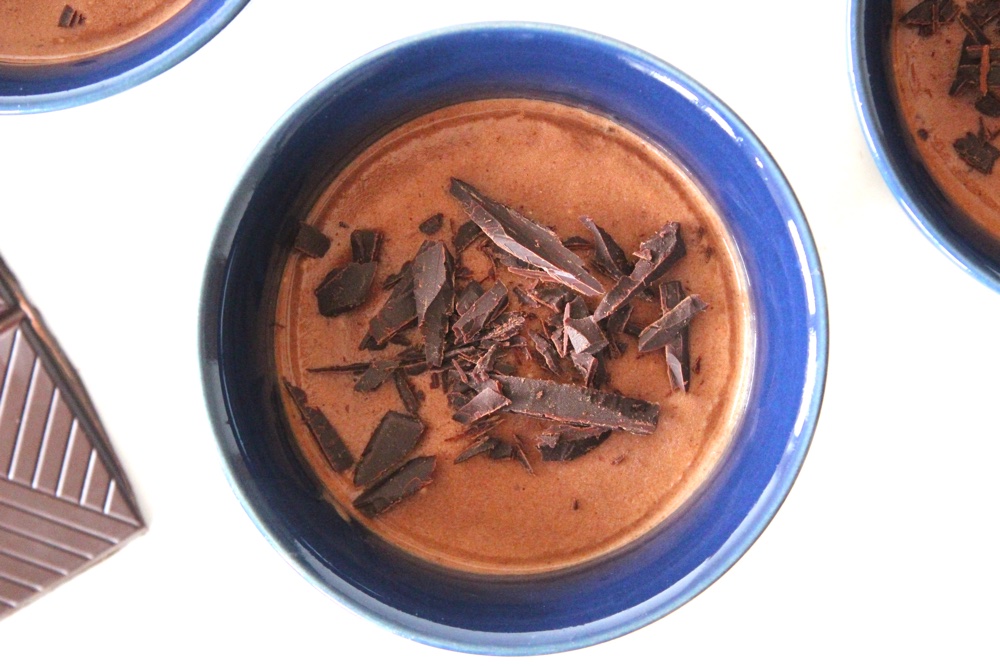
Chocolate Banana Ice Cream (Vegan)

For a more ‘grown up’ banana ice cream dessert, I love the idea of adding some strong coffee into the blend to create a mocha flavour. You could even serve it in an Espresso Cup to make it look extra fancy. If serving to children, however, it’s probably best to forego the coffee otherwise they may be up all night buzzing from the caffeine!

One of my personal favourite (kid-friendly) additions to banana ice cream is nut butters. Almond, hazelnut and peanut butters all add a gorgeous flavour as well as lending some extra creaminess to the blend.

Recipe Card

Chocolate Banana Ice Cream Cup (Vegan)

Chocolate Banana Ice Cream Cups

These chocolate banana ice cream cups are simple and cheap to make, yet they look and taste decadent. They contain lots of healthy goodness, including an array of minerals and antioxidants. Both kid- and adult-approved, these cups make a great dessert.
Hands-on time 5 minutes
Total Time 5 minutes
Course Dessert, Healthy Snacking, Treat
Servings 4

Ingredients
 

  • 3-4 very ripe frozen bananas
  • 60 ml / ¼ cup non-dairy milk
  • 26 g / 4 TBSP cacao or cocoa powder
  • 1 tsp vanilla extract
  • 1 TBSP maple syrup
  • 2-3 TBSP almond, hazelnut or peanut butter optional

Suggested toppings:

  • dark chocolate sliced into thin shards

Instructions
 

  • Slice the frozen bananas into coins.
  • Whiz the bananas in a food processor to break them up. Add the remaining ingredients and blend for a couple of minutes until smooth. Stop now and then to scrape down the sides. For a while it may look like it’s not going to blend smooth but be patient, it will! Taste test and add a touch more sweetener, if desired.
  • Divide between four ramekins. Decorate with dark chocolate. Serve immediately as soft serve, or place in the freezer to firm up. If left for two hours or more, the ice cream will freeze solid so leave at room temperature for 15 minutes before serving to allow it time to soften.
Keyword Dairy-Free, Easy Vegan Desserts, Gluten-Free
Tried this recipe?Let us know how it was!


Pin for later ⬇️

Chocolate Banana Ice Cream (Vegan)

As well as banana ice cream for dessert, I love eating it for breakfast too! You’ll find one of my all-time favourite ice cream breakfast bowls  – banana, mango, cinnamon and chia – on page 33 of the Bit of the Good Stuff cookbook. I’ve made this bowl so many times already this summer! I find it’s the perfect cool-down breakfast after a hot morning run.

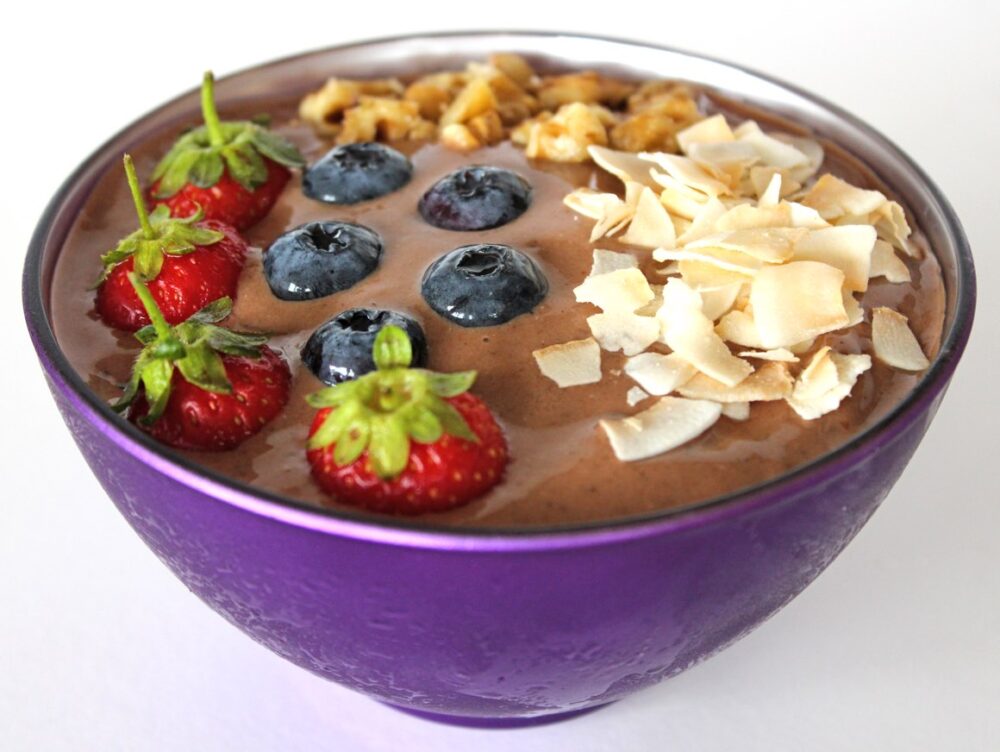
Another favourite is this Chocolate Banana Ice Cream Bowl

Chocolate Banana Ice Cream Smoothie Bowl (Vegan / Dairy-Free)

Do you make banana ice cream? If so, I’d love to hear about your favourite add-ins and flavours!

With love,

Sharon xx
Blueberry Vanilla Chia Pudding

Jump to Recipe

If you’re looking for a sweet treat that feels indulgent yet nourishes you from the inside out, this Blueberry Vanilla Chia Pudding is just the thing. It’s one of our family favourites—simple to make, beautifully creamy, and bursting with vibrant flavour. We often enjoy it as a weekday dessert, but it’s wholesome and filling enough to serve for breakfast too. What better way to start the day than with something this delicious?

This recipe features in the ‘Breakfast and Elevenses’ chapter of the Bit of the Good Stuff cookbook, and it’s one we come back to time and again. Since the book’s launch four months ago, I’ve been incredibly touched by the response. Your kind messages, glowing reviews, and word-of-mouth recommendations have truly blown me away!

We’ve even received multiple repeat orders—some readers are already on their third copy! It’s so heartening to see the book being shared with friends, family, and colleagues. One lovely reader took her copy into work, and after it made the rounds in her office, four more orders came in. Stories like this absolutely make my day. Thank you so much for spreading the word and sharing a Bit of the Good Stuff with those around you ❤️

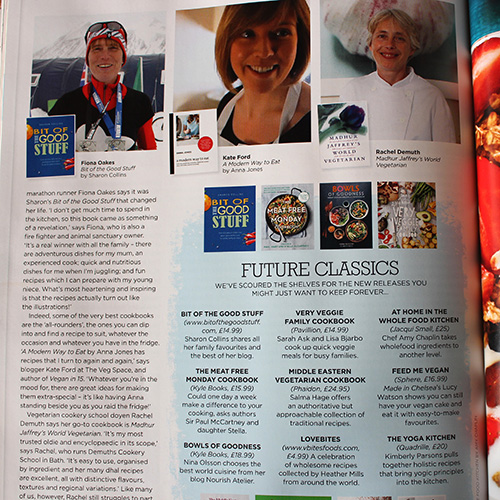
The book’s also been receiving some wonderful press, both nationally and locally. One of the most exciting moments so far was seeing Bit of the Good Stuff featured in the April 2017 issue of Vegetarian Living magazine. Not only was the book named in their roundup of Future Classics – New Releases You Might Just Want to Keep Forever, but one of my personal heroes—ultramarathon runner and animal sanctuary founder Fiona Oakes—chose it as her favourite cookbook. What an incredible honour!

Vegetarian Living Magazine

But back to today’s recipe…

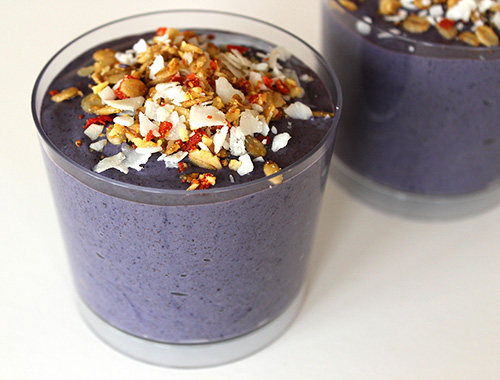
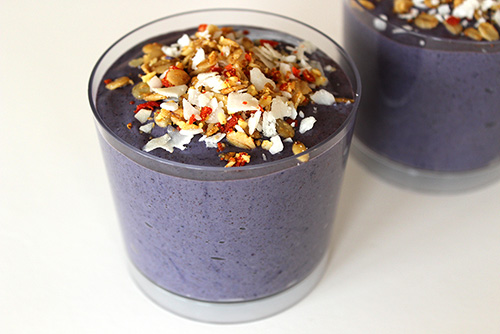
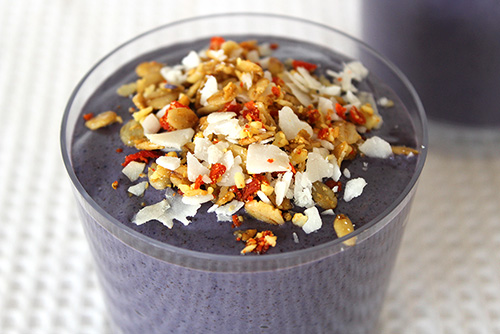
This Blueberry Vanilla Chia Pudding is as nourishing as it is pretty. It’s packed with plant-based goodness, including omega-3s from the chia seeds, and antioxidants from the blueberries.

I love to add a spoonful of ‘Goji Nut Sprinkles’ on top for a pop of colour, crunch, and extra nutrients. The combination of chewy berries and toasted nuts adds such a lovely contrast to the soft, creamy pudding.

This recipe is so simple to prepare. It’s perfect for busy weekdays when you want something quick, healthy, and satisfying.

Recipe Card

Blueberry Vanilla Chia Pudding

Dessert for breakfast anyone? This creamy pudding is packed with nutrient-rich ingredients that provide slow release energy and keep you feeling full for hours. What a great way to start the day! You can easily make it the night before and store it in the refrigerator for a fast ‘grab and go’ breakfast. We also love to serve this pudding as a quick weekday dessert.
Hands on time 5 minutes
Total Time 20 minutes
Course Breakfast, Dessert, Healthy Snacking
Servings 2

Ingredients
 

  • 240 ml / 1 cup fortified soya milk or other plant milk
  • 3 TBSP chia seeds
  • 40 g / ¼ cup raw cashews
  • ¾ tsp vanilla extract
  • 2 soft sticky dates (e.g. Medjool) pitted
  • pinch of salt
  • 70 g / ½ cup frozen blueberries
  • maple syrup optional

Suggested toppings

  • Goji Nut Sprinkles (see recipe below); Granola

Instructions
 

  • First soften the cashews in freshly boiled water for 15 minutes or so. 5 minutes before the end of the soaking time, add the dates. Drain thoroughly.
  • Place all the ingredients in a high speed blender, starting with the milk. Give the ingredients a stir so that they are coated in milk. Start blending on low speed to break up the nuts and dates, then blend on high speed for a couple of minutes until completely smooth. Stop now and then to scrape down the sides. Taste test and add a splash of maple syrup, if desired.
  • Scoop into two small bowls or ramekins and sprinkle on your desired toppings. The puddings can either be served immediately or chilled in the refrigerator for up to 24 hours. If storing in the refrigerator, cover the bowls to make them airtight. This will ensure the puddings keep their vibrant purple colour.
Keyword Chia Pudding, Dairy-Free, Easy Vegan Desserts, Healthy Snacking, Vegan Breakfast
Tried this recipe?Let us know how it was!

Goji Nut Sprinkles

These sprinkles come in handy when you need a quick topping to ‘dress up’ a breakfast or dessert. They’re especially suited for children as the pieces are broken up nice and small.
Hands on time 5 minutes
Total Time 5 minutes
Servings 10

Ingredients
 

  • 4 TBSP toasted coconut chips
  • 2 TBSP pecans
  • 4 TBSP toasted flaked almonds
  • 4 TBSP dried goji berries

Instructions
 

  • Place the coconut chips, pecans and 2 TBSP of the almonds in a bowl and crush them between your fingers to break them up.
  • Add the remaining 2 TBSP of almonds and the goji berries to a mini food processor and whiz into crumbs (I use the bowl attachment that came with my hand blender).
  • Combine all the ingredients and transfer to an airtight jar. Store in the refrigerator where they will keep for weeks.
Tried this recipe?Let us know how it was!

 I hope you enjoy this pudding as much as we do! If you give it a try, I’d love to hear what you think. Feel free to leave a comment below, or tag me in your photos on social media—I always love seeing your creations! You can also connect with me on my social media channels here: InstagramFacebook, Pinterest.   

With love and gratitude,

Sharon xx

Vegan Pecan Pie

Jump to Recipe

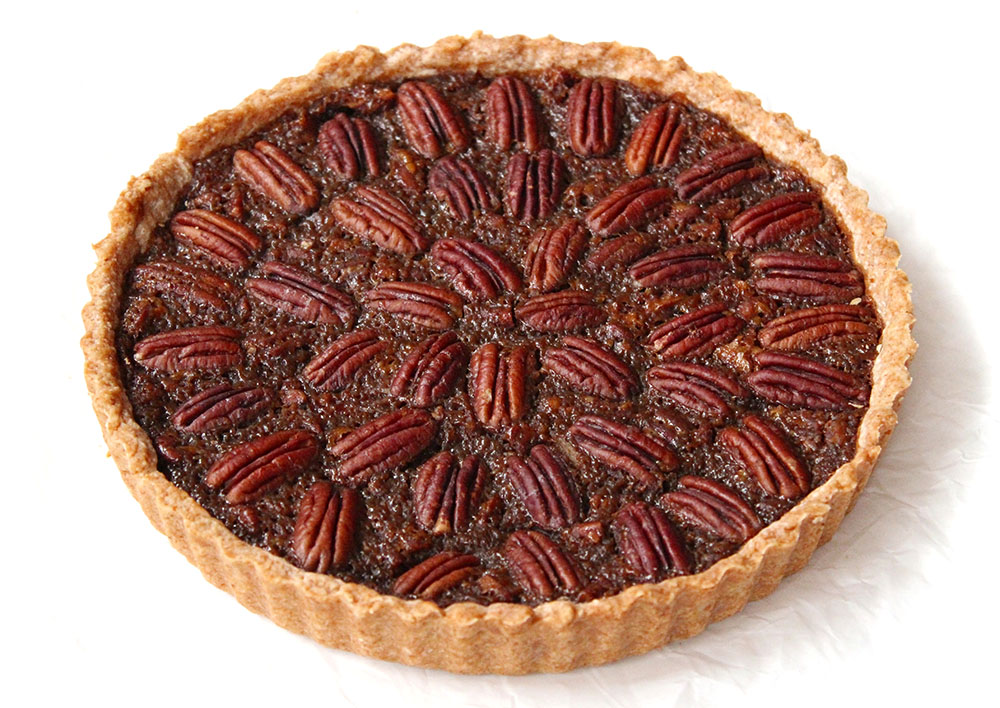
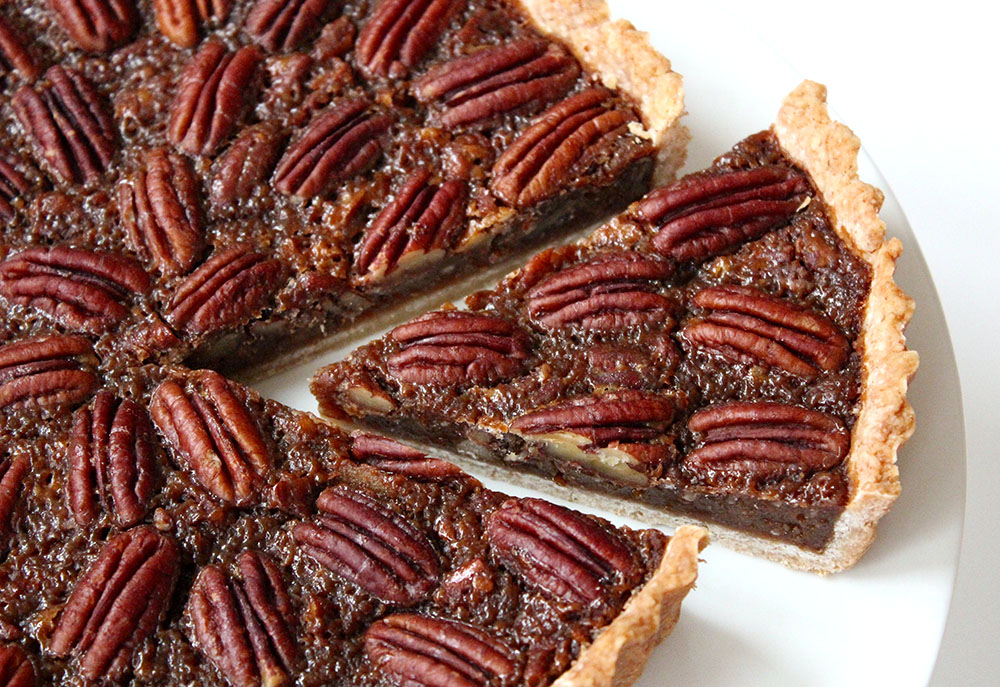
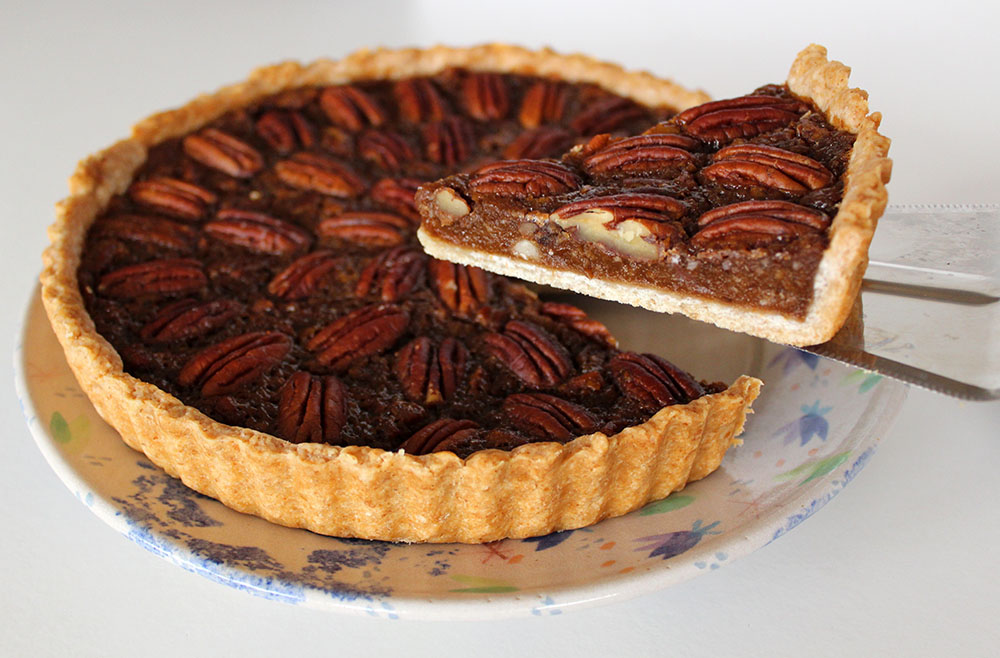
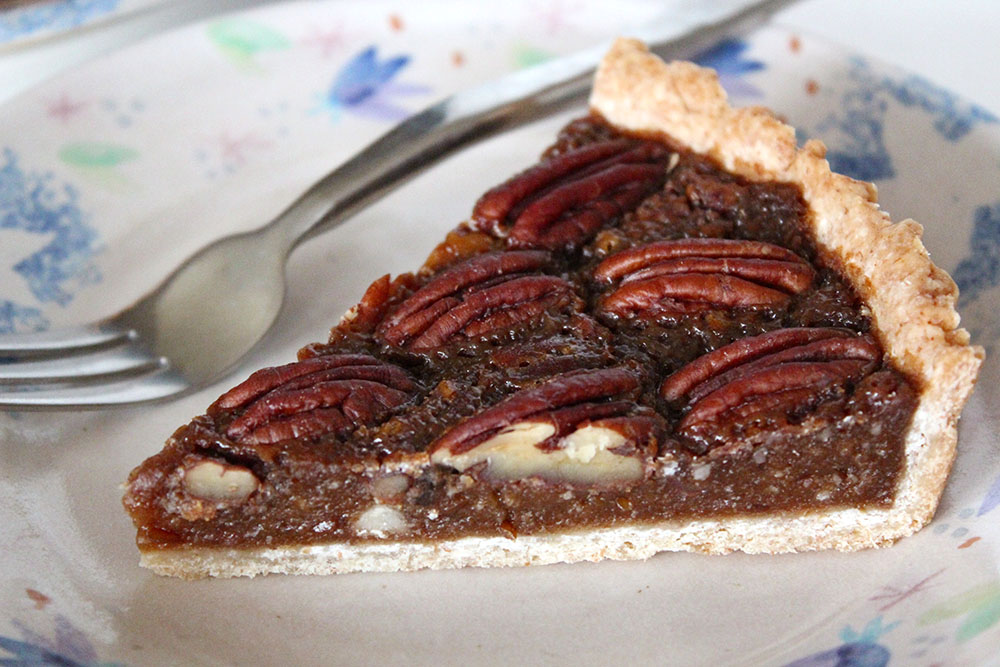
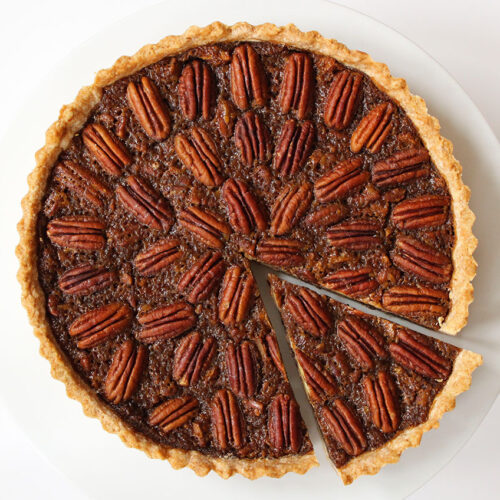
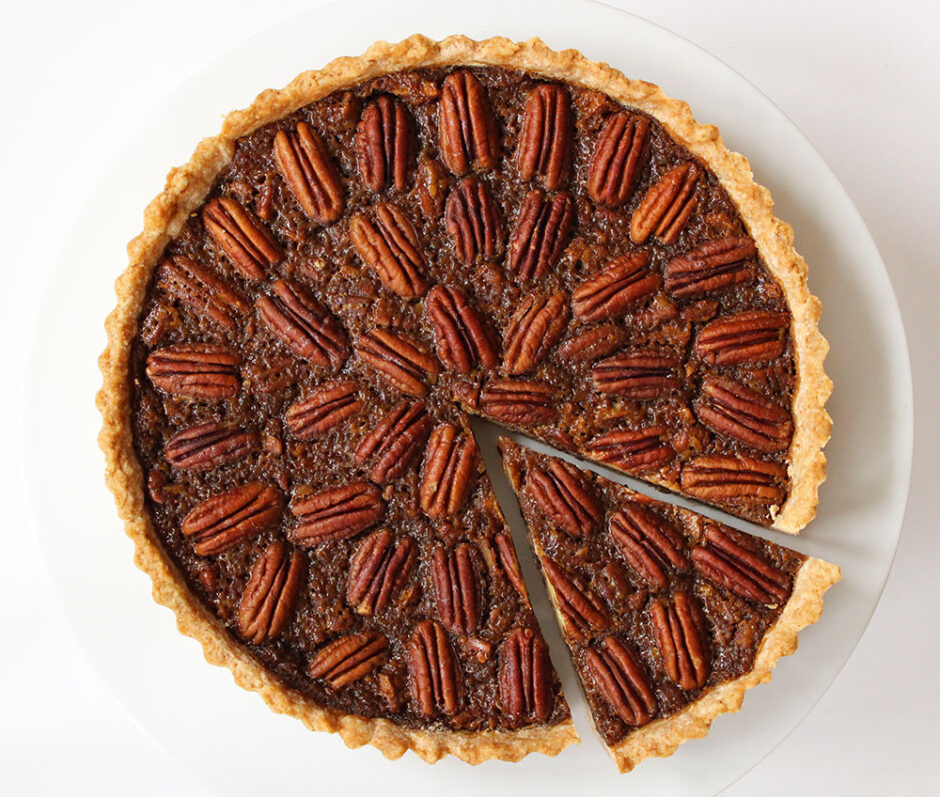
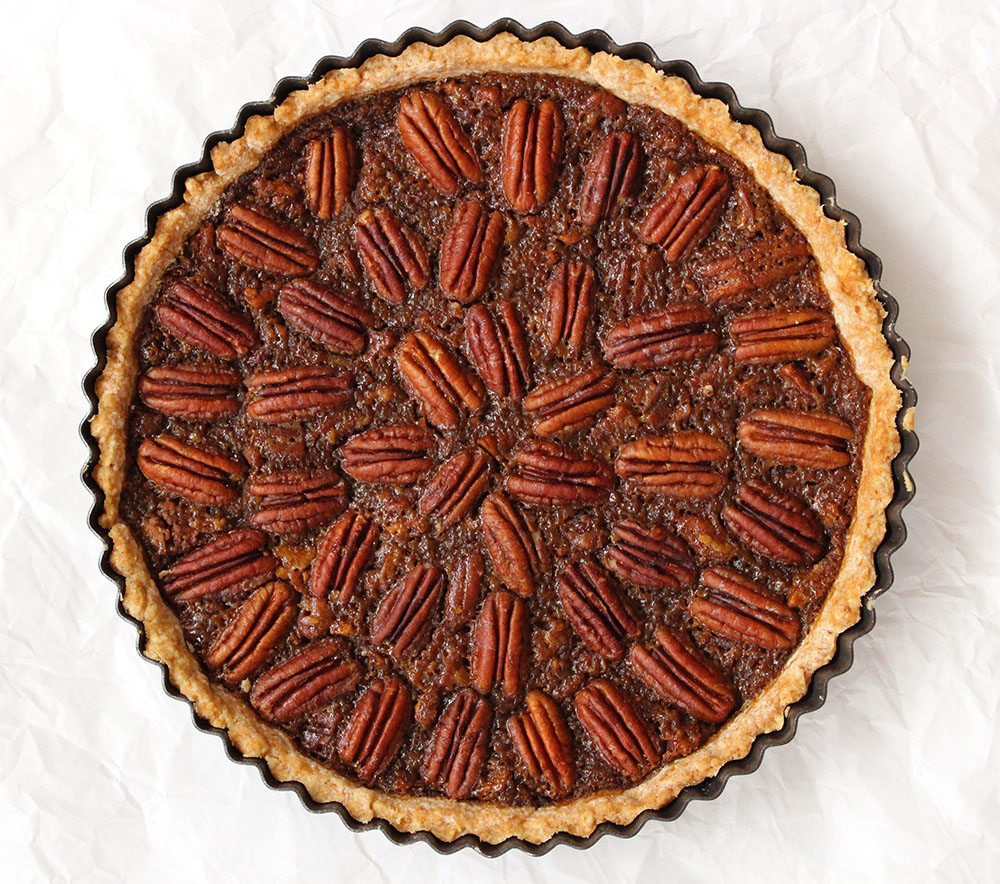
In today’s post, I’m sharing a recipe for an easy vegan pecan pie. This dish will be perfect for serving in the upcoming festive season. It looks impressive and slices beautifully.

Pecan pie hails from the southern US states. After a google search, I discovered that it’s traditionally made with eggs, butter, refined sugar and corn syrup. I decided to ditch all of these and use some of my favourite plant-based ingredients instead.

Vegan Pecan Pie

For the crust, I use my ‘go to’ sweet pastry recipe. I’ve never had a fail with this pastry and I love how crisp it turns out. Unlike many pastry recipes, it’s also palm-oil free as it uses coconut butter (the aroma-free/culinary kind) instead of dairy-free spread/vegan butter.

Vegan Pecan Pie

For the binder I replaced the chicken eggs with a couple of ‘flax eggs’ (a mix of ground linseed and warm water) and a couple of tablespoons of corn flour.

The butter was replaced with coconut cooking butter in the pastry and extra virgin coconut oil in the filling.

Vegan Pecan Pie

For the sweetener, I used a mix of maple syrup and coconut sugar. This gave the pie a delicious, caramel-like sweetness rather than the ‘sugary’ sweetness which you get from cane sugar. It also gave the pie a gloriously rich, dark brown hue.

Most of the traditional pecan pie recipes I’ve come across contain two cups of sugar in the filling. I used half this amount and still found it to be plenty sweet enough.

Vegan Pecan Pie

The pie is incredibly easy to make! In fact, I think it’s one of the simplest baked desserts that I’ve ever made… yet it looks like it took a lot of work. (It’ll be a great one for impressing your guests!) If you wanted to make it even easier, you could buy ready-made short-crust pastry (Jus-Rol does a vegan one) but, I promise you, it’s really easy to make pastry from scratch.

Vegan Pecan Pie

I’m sharing this recipe with the Suma Bloggers Network. Big shout out to my favourite wholefood wholesalers Suma, for supplying me with top quality ingredients. Suma products are stocked in independent healthfood shops and online.

Recipe Card

Vegan Pecan Pie

Vegan Pecan Pie

This is my plant-based version of the traditional southern US pecan pie. It’s perfect for serving in the festive season. It’s easy to make, but sure to impress your guests. You can use shop-bought pastry if you wish, but I promise you that it’s easy to make from scratch.
Hands-on time 30 minutes
Total Time 2 hours 30 minutes
Course Dessert
Cuisine American
Servings 8

Ingredients
 

Pastry

  • 90 g / ⅔ cup white spelt flour or plain (all purpose) flour
  • 90 g / ⅔ cup fine wholemeal (whole wheat pastry) flour or chapatti flour
  • 75 g / scant ½ cup aroma-free coconut cooking butter* (or substitute with dairy-free spread/vegan butter)
  • 2 TBSP golden caster (unrefined cane) sugar
  • pinch of salt
  • – 4 TBSP orange juice

Filling

  • 15 g / 2 TBSP ground linseed (flaxseed)
  • 90 ml / 6 TBSP warm water
  • 160 g / 1½ cups pecans divided
  • 100 g / ½ cup extra virgin coconut oil
  • 75 ml / ¼ cup maple syrup
  • 125 g / ¾ cup coconut sugar or golden caster (unrefined cane) sugar
  • 1 tsp vanilla extract
  • pinch of salt
  • 60 ml / 4 TBSP non-dairy milk
  • 15 g / 2 TBSP fine wholemeal (whole wheat pastry) flour or chapatti flour
  • 15 g / 2 TBSP corn flour (corn starch)

Instructions
 

  • Lightly grease an 20cm / 8 inch pie dish (or quiche tin) with oil. (I use a loose-bottomed tin for easy removal).
  • Prepare the pastry: Place the flour, coconut cooking butter (or dairy-free spread), sugar and salt in a food processor. Whiz until combined. While the machine is running, add orange juice a little at a time until the mixture starts to come together (I find I need about 3½-4 TBSP when using coconut butter and 2½ TBSP when using dairy-free spread). Scoop the mixture into a ball. Wrap in cling film (plastic wrap) and chill for 15-20 minutes.
  • Once the pastry has rested, place it on a lightly floured pastry mat and lay the cling film (plastic wrap) on top. Roll out the pastry into a circle large enough to fill the tin and the sides. Place the pastry in the tin and press it into the edges and up the sides. Slice off any excess pastry. If you have any holes in the pastry, you can patch it up using the scraps.
  • While the pastry is resting, prepare the filling. First, make the flax ‘egg’. Place the ground linseed in a small bowl with 90ml / 6 TBSP warm water. Whisk together with a fork then set aside for 10 minutes to gel up.
  • Set aside half of the pecan halves for decorating the top of the pie. Roughly chop the remaining pecans.
  • Preheat the oven to 190C (170C fan) / 375F.
  • Place the coconut oil, maple syrup, coconut sugar, vanilla extract and pinch of salt in a small saucepan over very low heat. As the oil melts, whisk to combine. When fully melted, remove from the heat.
  • In a small bowl, whisk together the milk, flour and corn flour until smooth. Pour it into the pan. Add the flax ‘egg’ and whisk until fully combined. Stir in the chopped pecans. Pour the mixture onto the pie crust (it will be very runny, but this is normal). Arrange the pecan halves on top.
  • Carefully place the pie on a baking sheet in the centre of the oven. Bake for 20 minutes at 190C (170C fan) / 375F. Reduce the heat to 130C (130C fan also) / 275F and bake for a further 40 minutes. Remove from the oven and leave to cool completely. (It will firm up as it cools).

Notes

* I used Tiana Organic Pure Coconut Cooking Butter
Storage Instructions: Stored in an airtight container in the refrigerator, the pie will keep for five days. I’m pretty confident this pie will freeze well but I haven’t tried it yet. As soon as I do, I’ll report back.
Keyword Dairy-Free, Egg-Free, Vegan Baking, Vegan Pecan Pie
Tried this recipe?Let us know how it was!

If you make this recipe, I’d love to hear about it! Leave me a comment below or tag your social media posts #BitoftheGoodStuff.  You’ll find me on Facebook and Pinterest and, as of this week… Instagram! I’m very late joining the Instagram party so if you’re already an Instagrammer, do pop by and say hi. I’d love to connect with you!

With love,

Sharon xx
Chocolate Orange Chia Pudding

Jump to Recipe

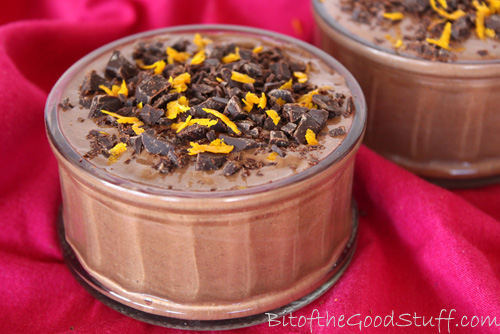
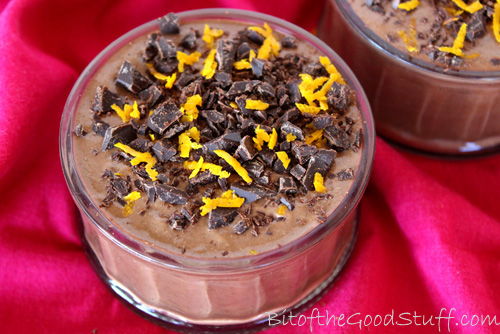
I first shared a recipe for chocolate orange chia pudding back in February 2012 and, to this day, it remains one of my family’s favourite desserts. It’s such a simple pudding to make and, since I originally posted the recipe, I’ve refined the method so that it’s even quicker. Honestly, this recipe could not be more easy! The original photo I took doesn’t do this pudding justice, so I thought it was time for a re-post with the updated recipe and some shiny new photos.

Chocolate Orange Chia Pudding

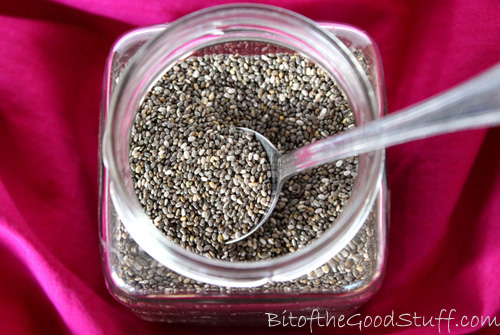
Since that original post, chia seeds have become much more popular here in the UK. You can buy them in health food shops, and even supermarkets have started stocking them. I find they can vary a lot in price, so I always shop around for the best deal. Since I use them frequently in smoothies and puddings, I’ve been buying larger bags lately, which tend to work out much better value.

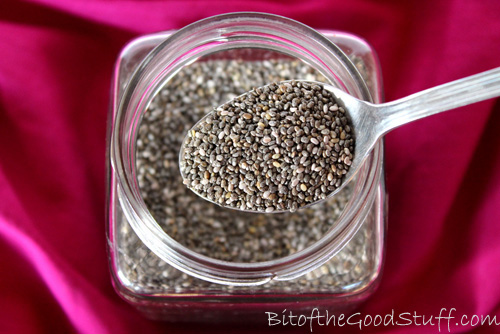
Chia Seeds

So why do I love chia seeds so much?

Well, there are two main reasons. The first is their amazing nutritional profile. Chia seeds are very high in dietary fibre, a good source of ‘complete’ protein, and rich in omega 3 essential fatty acids. They’re also hydrophilic and can absorb around 10 times their weight in water, thus helping to keep us nicely hydrated. Their fibre, fat and protein content, along with these hydrophilic abilities, means that the seeds are a great source of slow release energy, they help to balance blood sugar levels, and they keep us feeling full up for hours. Adding a spoonful to smoothies is a great way to keep hunger pangs at bay.

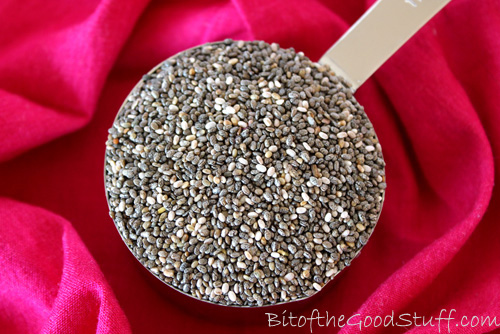
Chia Seeds

Chia seeds contain a range of trace minerals, and are especially rich in manganese, phosphorus and calcium, which are all important for good bone health. A 28g / 1 oz serving provides 30% of the manganese RDA, 27% of phosphorus, and 18% of the calcium RDA. The seeds also contain a multitude of antioxidants, including the flavonoid quercetin, which has anti-inflammatory and antihistamine properties.

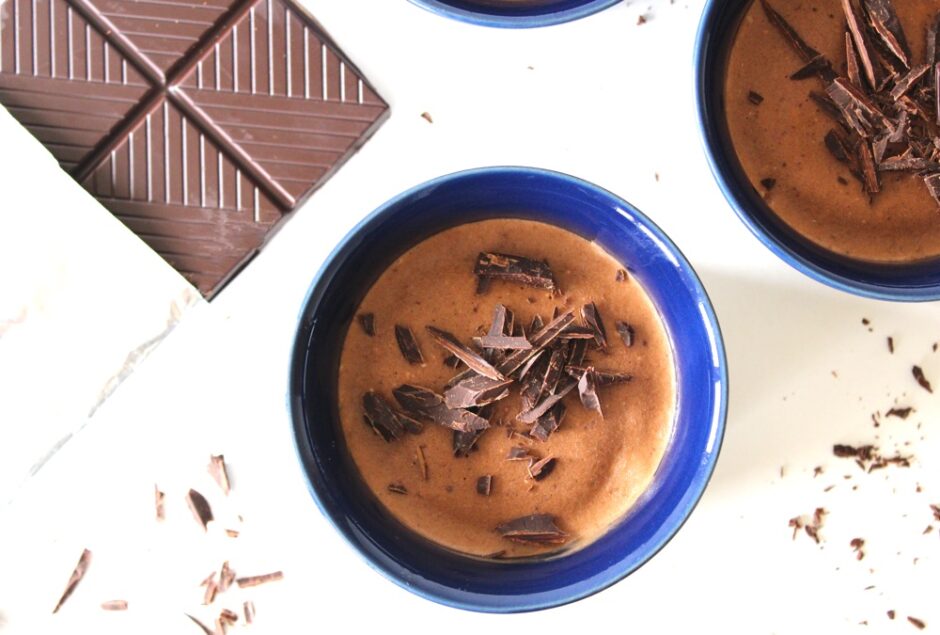
The second reason I love chia so much is that they make the most incredible chocolate puddings! Once blended with some cacao or cocoa powder and a little liquid, they transform into a delicious, silky smooth pudding that will easily rival any shop-bought chocolate dessert. And unlike the shop-bought varieties that tend to be laden with sugar and little nutritional value, these chia puddings are refined sugar free and packed with nutrition.

Chia Seeds

I used to soak the chia seeds in liquid for an hour or so until they’d transformed into a gel-like substance before blending them up, but these days I literally throw all the ingredients straight in the blender. High speed blenders are best for this job as they’ll blend the seeds smooth in a matter of seconds.

Lil’ L absolutely loves these puddings and sees them as a real treat. It’s great to be able to treat him to something that’s so nutritionally packed and full of healthy goodness.

Recipe Card

Chocolate Orange Chia Pudding

Chocolate Orange Chia Pudding

The fresh zesty flavour of the orange works in harmony with the bitter dark chocolate to make one delicious dessert! It tastes decadent yet it's super healthy and packed with feel-good nutrients. It's also very filling, so a little goes a long way. I find a ramekin or espresso cup is the perfect serving size.
Hands-on time 7 minutes
Total Time 7 minutes
Course Dessert
Servings 4

Ingredients
 

  • 80 ml / ⅓ cup orange juice
  • 300 ml / 1¼ cups plant milk (I use fortified soya milk)
  • 64 g / 6 TBSP chia seeds
  • 30 g / 4 TBSP cacao or regular cocoa powder
  • 4 soft pitted dates e.g. Medjool
  • ½ tsp orange extract
  • 1 TBSP maple syrup

Suggested garnish

  • dark chocolate finely chopped or grated
  • orange zest

Instructions
 

  • Place the orange juice and milk in a high speed, power blender, followed by the remaining ingredients. Give them a stir until they are coated in liquid. Blend on low speed until the dates are broken up, then move to high speed and continue blending until silky smooth. Stop now and then to scrape down the sides. Taste test and add a touch more orange extract or sweetener, if desired.
  • Pour into small ramekins or cups, sprinkle on the garnish and chill until ready to serve. It will keep for up to five days in the refrigerator.
Keyword Chia Pudding, Dairy-Free, Easy Vegan Desserts, Egg-Free
Tried this recipe?Let us know how it was!

Have you tried chia puddings before? If so, what’s your favourite flavour combo? If you’ve posted any recipes or pics, please do share the links below x

With love,

Sharon xxSaveSave

SaveSave

SaveSave