Tofu ‘Egg’ Mayonnaise Sandwich: A High-Protein Vegan Take on a Classic

Jump to Recipe

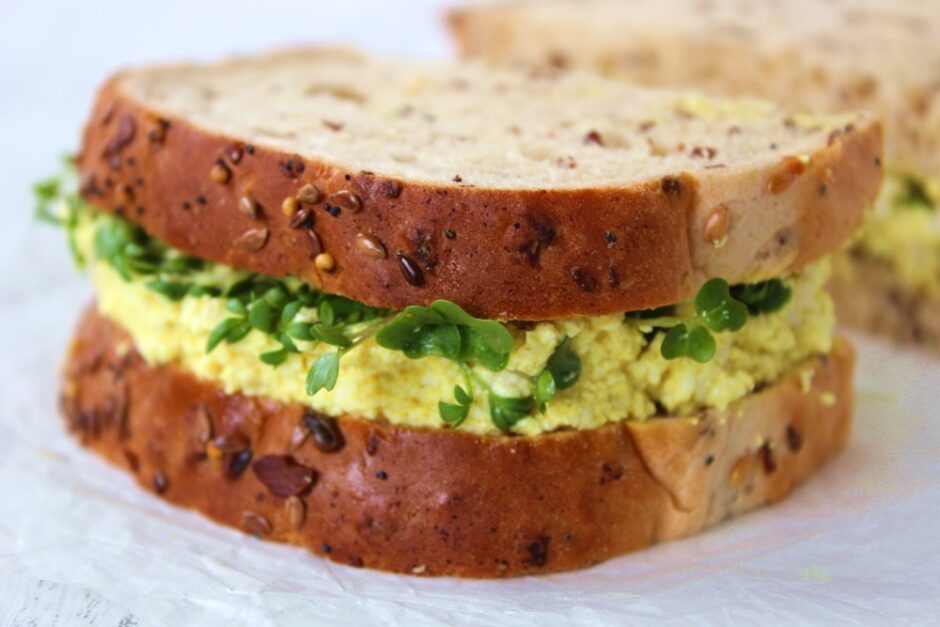
This vegan twist on one of our nation’s favourite sandwiches is quick, easy to make and packed with protein (24g per sandwich). Perfect for packed lunches, it’s delicious, nutrient-rich, and costs just £1 per serving—much cheaper than any high-street sandwich!

Tofu is the perfect plant-based substitute for eggs in this sandwich, offering a creamy texture that’s both cruelty-free and nutritious! Packed with protein, vitamins, minerals, and antioxidants, tofu contains no cholesterol and has significantly less saturated fat than eggs.

For those who love that classic ‘eggy’ flavour, a pinch of kala namak (also known as black salt) adds the perfect sulphuric aroma, recreating the classic taste of egg mayonnaise.

This recipe is part of my 3 Healthy Meals for £3 a Day series—an affordable way to eat well every day!

Ingredient Cost Breakdown

  • 200 g / 7 oz firm tofu (Cauldron) – £1.38
  • 1½ TBSP vegan mayonnaise (Hellmans) – 19p
  • ½ tsp Dijon mustard (Tesco) – 1p
  • ¼ tsp ground turmeric (Rajah Haldi) – 1p
  • ¼ tsp Kala Namak salt (Natco) – 4p
  • 1 TBSP dairy-free spread (Vitalite) – 6p
  • 4 thick slices of multigrain seeded bread (Tesco Finest) – 31p

Total cost: £2.00

Cost per serving: £1.00

Prices listed are for November 2024. I mostly used Tesco prices as that’s where I do my main grocery shop at the moment.
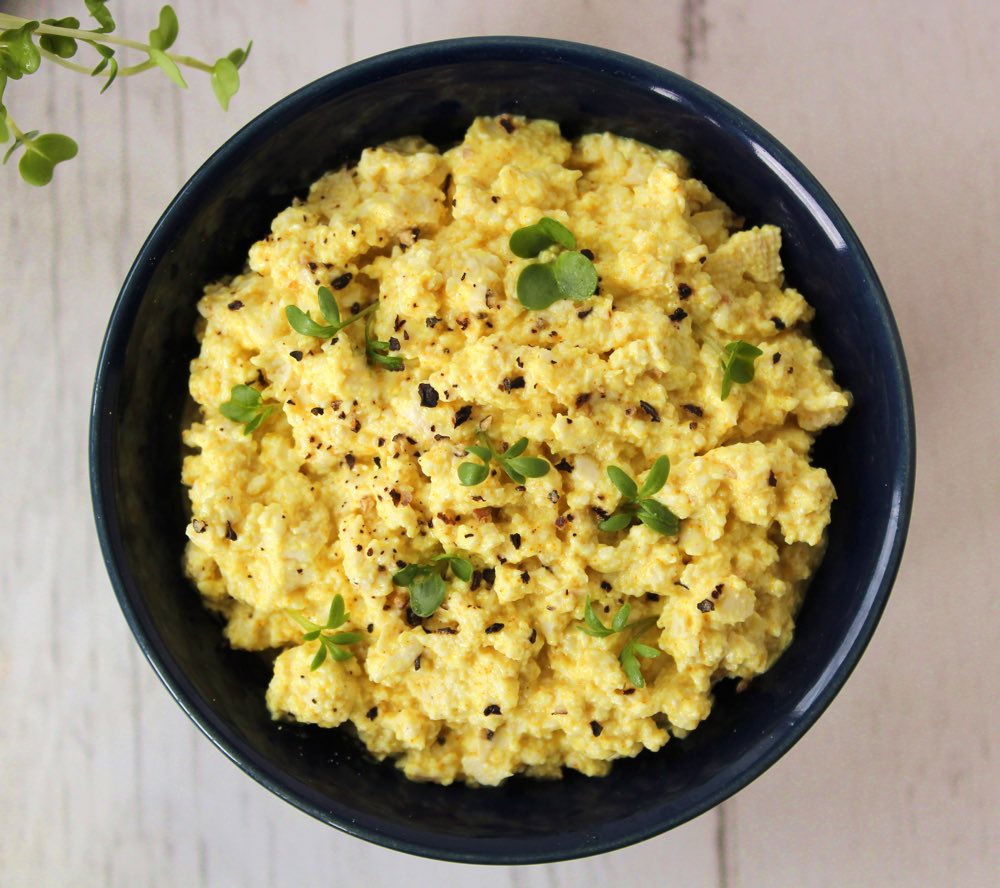
Tofu Egg Mayonnaise

The Good Stuff

Tofu is rich in plant-based protein, heart-healthy fats, and minerals such as iron, calcium, magnesium. Tofu contains beneficial compounds called isoflavones, that have antioxidant and anti-inflammatory properties and also promote hormonal balance.

Ground turmeric is high in antioxidants, particularly curcumin, along with manganese, iron, and vitamin B6, offering anti-inflammatory benefits and supporting immune and digestive health.

✨ Kala namak (black salt) contains essential minerals like iron and potassium, and has a low-sodium content compared to regular salt. It is valued for its unique sulphurous taste and potential health benefits, including aiding digestion and reducing bloating.

 Black pepper contains piperine, an active compound that enhances nutrient absorption (including the curcumin in turmeric), has anti-inflammatory properties and improves digestion.

 Multigrain seeded bread is rich in fibre, healthy fats, protein, and essential nutrients like B vitamins, iron and magnesium, promoting heart health, digestion, and sustained energy.
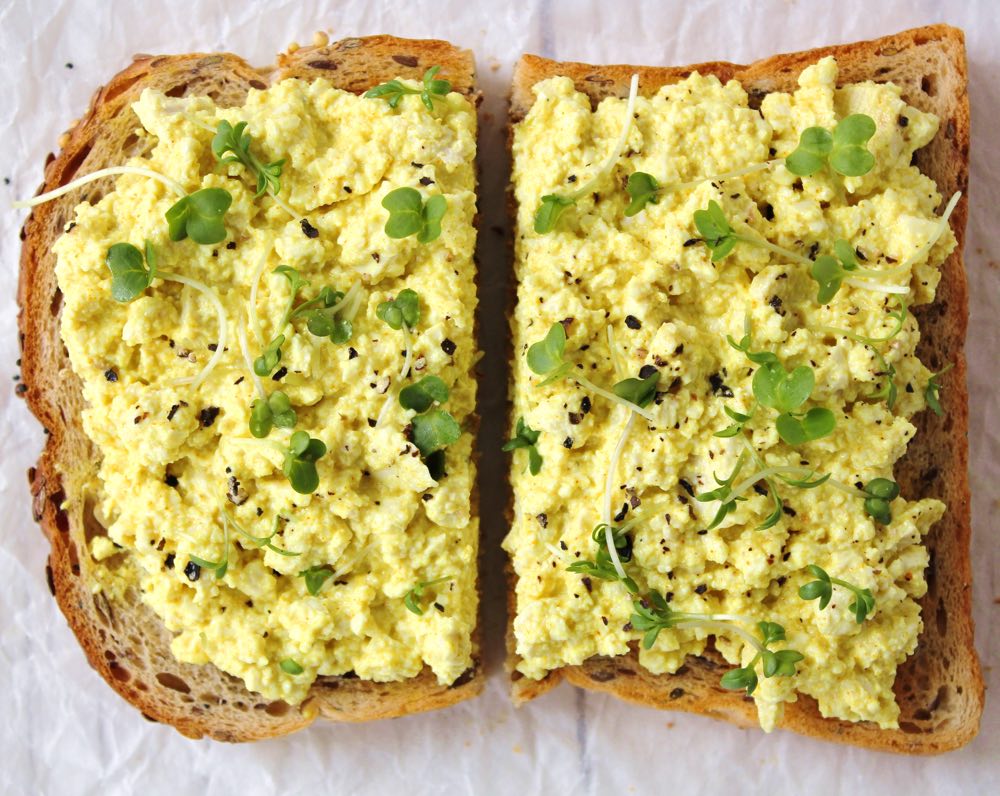
Tofu Egg Mayonnaise

Top Tips & FAQS

What type of tofu works best?  

Firm tofu has the ideal texture for this sandwich filling. This is the type of tofu that is found in the chiller cabinets and usually needs pressing before cooking. For those in the UK, Cauldron Authentic tofu is widely available in our supermarkets. As a bonus, this brand of tofu is set in calcium sulfate, which means that one sandwich offers a substantial calcium boost of 490 mg (70% of the UK’s daily recommended intake!)

You can also use extra firm tofu (such as Tofoo) but it will give a slightly chewier texture. 

What is kala namak and where can I buy it? 

Kala namak (also known as black salt), is a type of volcanic rock salt commonly used in South Asian cuisine. It has a sulphurous ‘eggy’ aroma and flavour, making it perfect for vegan alternatives to egg mayonnaise, scrambled egg and omelettes. It’s available from Asian supermarkets, health food stores and online. I purchased a 100g bag from Amazon UK for under £3 with free delivery and it’s lasted years.

Where can I find vegan mayonnaise?

Vegan mayonnaise is now available in most UK supermarkets—look in the condiment aisle. Hellmann’s 100% Plant-Based Mayo is a favourite. You can also make home-made mayo using some basic pantry ingredients with my Quick & Easy Vegan Mayonnaise recipe. It’s super cheap too!

Boosting iron absorption

Adding a vitamin-C veggie such as red bell pepper to your sandwich will help your body to absorb the iron in the tofu and bread. Alternatively, enjoy a vitamin-C rich fruit, such as kiwi, orange or strawberries for dessert.

Gluten-free options

Serve the vegan ‘egg’ mayonnaise with a gluten-free bread. This can typically be found on the ‘Free From’ aisles in UK supermarkets.

Recipe Card
Vegan ‘Egg Mayonnaise’ Sandwich

A vegan twist on the classic egg mayo sandwich, perfect for lunches on the go or a quick, satisfying meal at home.
5 from 2 votes
Hands on time 5 minutes
Total Time 5 minutes
Course Afternoon Tea, Breakfast, Lunch, Snack
Servings 2

Ingredients
 

  • TBSP vegan mayonnaise*
  • ½ tsp Dijon mustard
  • ¼ tsp ground turmeric
  • ¼ tsp kala namak salt** (or use sea salt if you don’t want an ‘eggy’ flavour)
  • 200 g / 7 oz firm tofu***
  • frsehly ground black pepper to taste
  • small handful of cress or microgreens optional

Serve with:

  • 4 thick slices of multigrain seeded bread
  • dairy-free spread

Instructions
 

  • In a mixing bowl, stir together the mayonnaise, mustard, turmeric, and salt until fully combined.
  • Drain the tofu, squeeze out excess water (no need to press) and crumble the tofu into the bowl. Use a fork to mash the tofu, mixing it well with the mayo blend. Taste test and adjust the seasoning to suit.
  • Spread a thin layer of vegetable spread on the bread, then add the tofu filling. Top with cress or microgreens and a sprinkle of black pepper, if desired.
  • Serve immediately or pack for lunch on the go.

Notes

tsp = teaspoon | TBSP = tablespoon
* I use Hellman’s Plant-Based Mayo or my home-made Quick & Easy Vegan Mayo.
** Check out my ‘Top Tips & FAQ’ section above for information about kala namak and where to buy it in the UK. Kala namak has a strong, sulphurous flavour so if you’re new to this salt, I would recommend starting with a pinch and adjust as needed.
*** I used Cauldron Foods Authentic Tofu, found in the chiller cabinets in most of the larger UK supermarkets.
Storage tips: Leftovers keep well in the fridge for up to 2 days.
Keyword Dairy-Free, Egg Salad, Egg-Free, Plant-Based, Vegan Buffets, Vegan Picnics, Vegan Sandwiches
Tried this recipe?Let us know how it was!

Nutrition breakdown

N.B. The above values are estimates and for illustration purposes only. The actual nutritional values will vary depending on the specific ingredients used. The % Reference Intake (RI) will also vary depending on your age, gender, height, BMI, level of activity and other personal variables.

Pin for later ⬇️
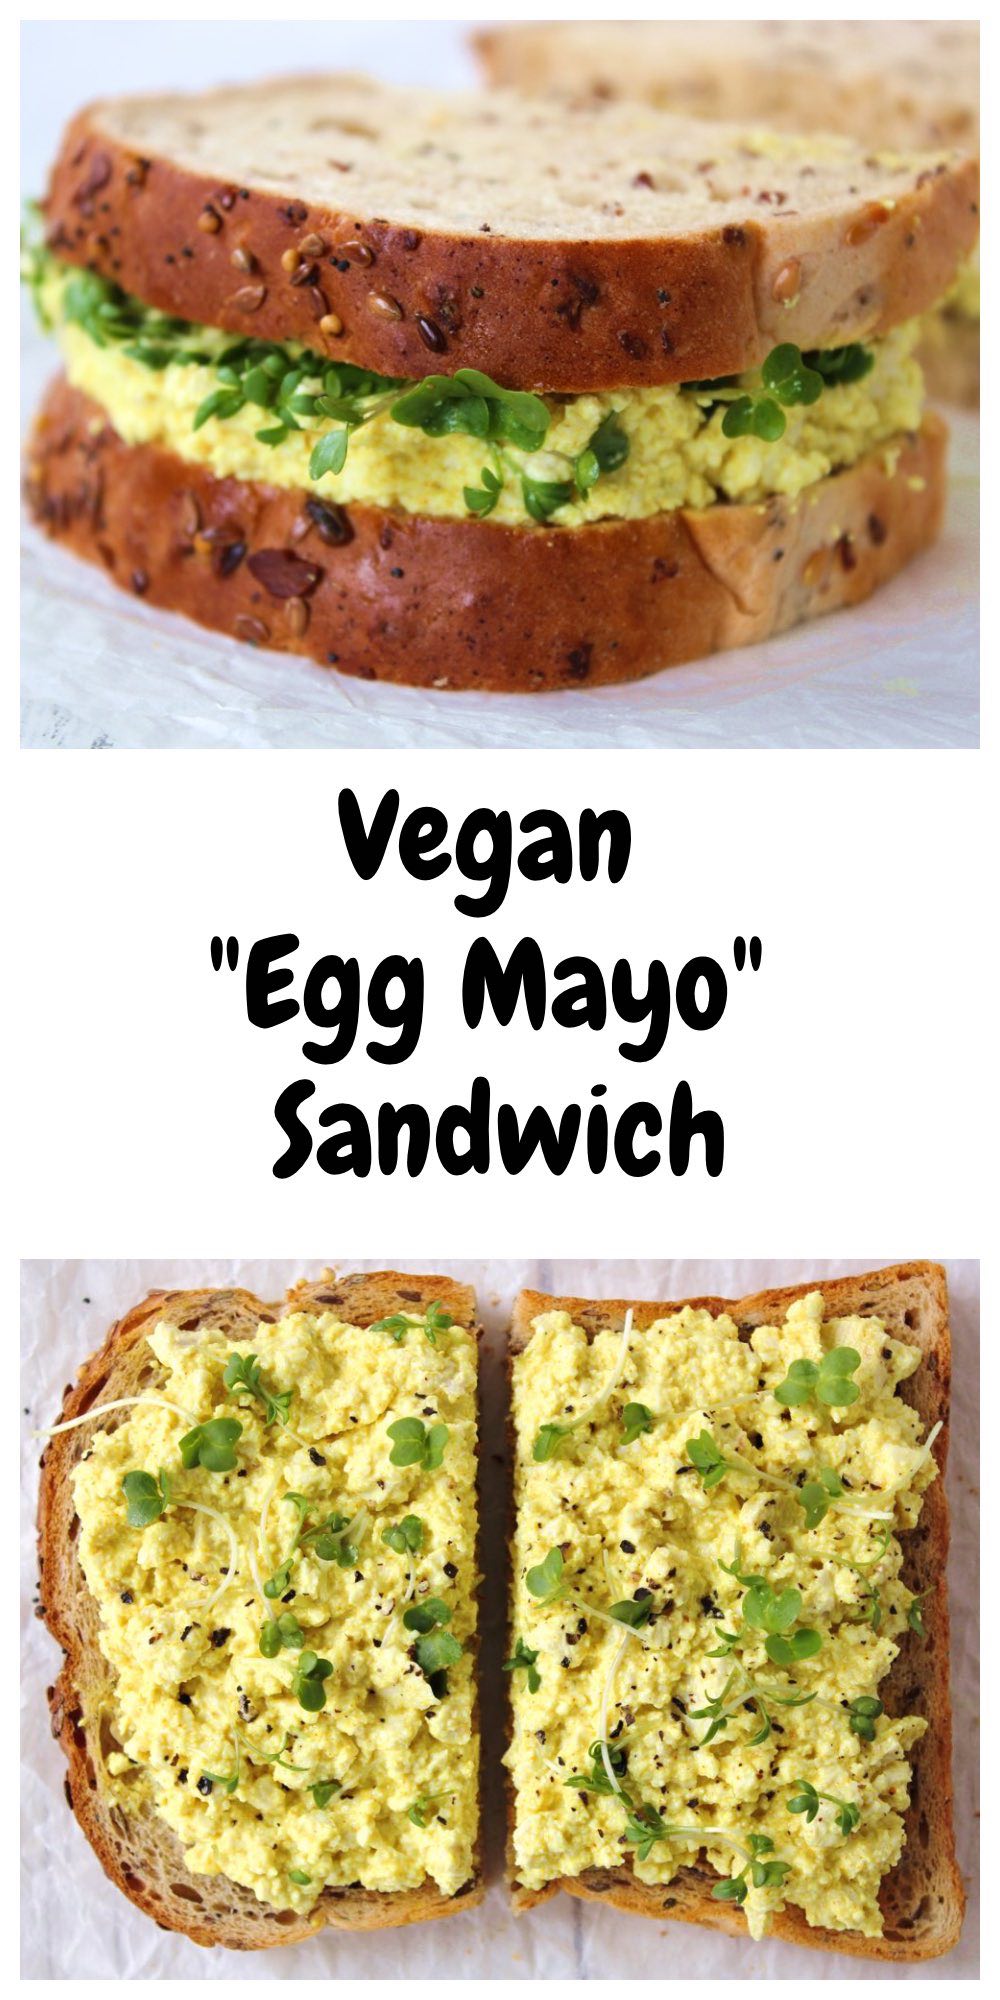
Vegan Egg Mayo Sandwich

If you make this Vegan ‘Egg Mayonnaise’ sandwich, I’d love to hear your feedback and any suggestions for adaptations. Tag your photos with #bitofthegoodstuff on social media – I’d love to see them! You can also connect with me on my social media channels here: InstagramFacebookPinterest.   

With love,

Sharon xx


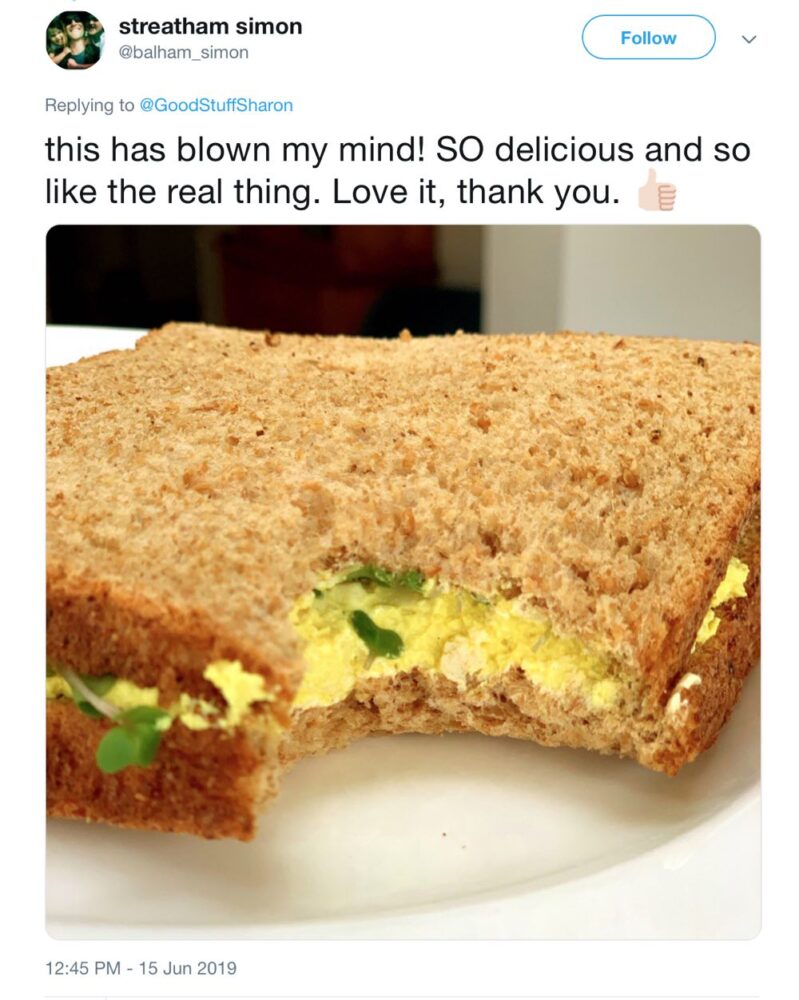
READER REMAKE 💚
——————————– 

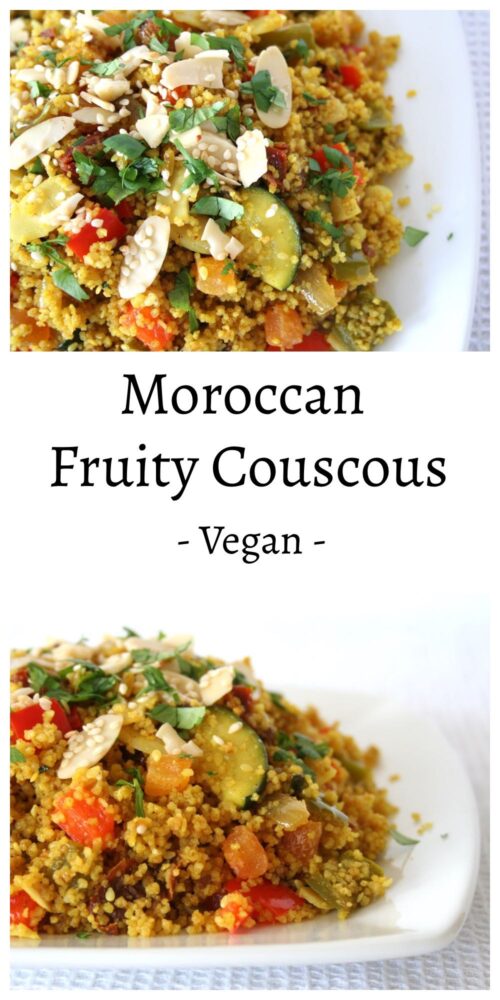
Moroccan Fruity Couscous

Jump to Recipe

* This post was originally published in July 2013. The page was updated in August 2019.

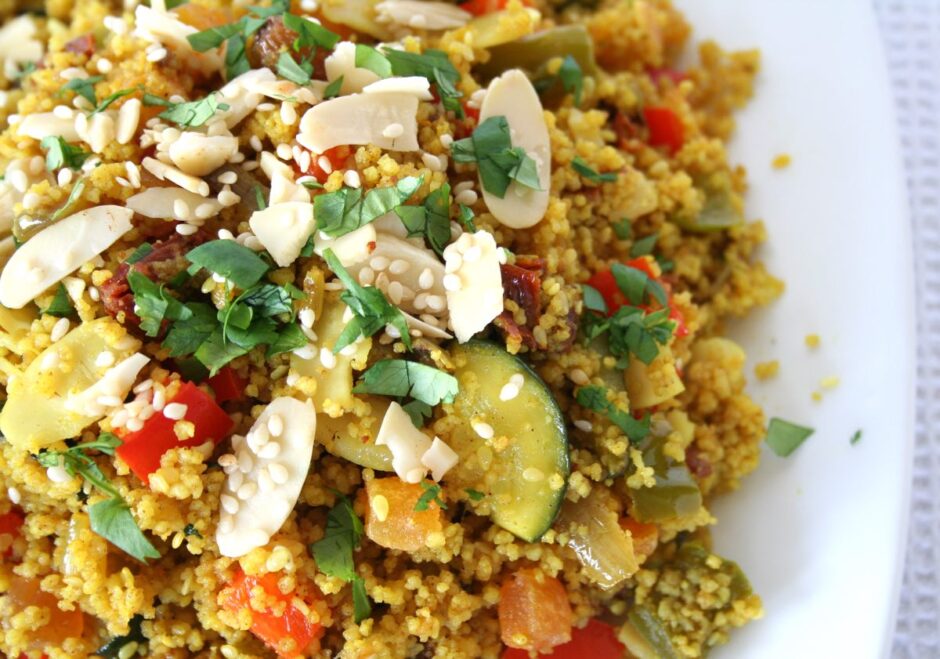
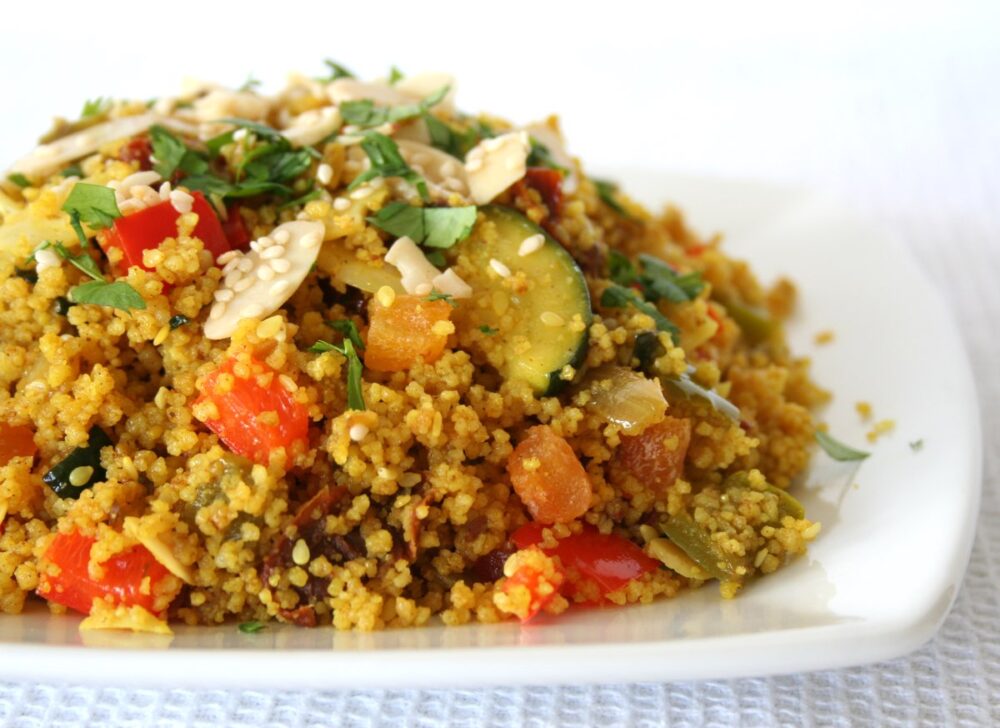
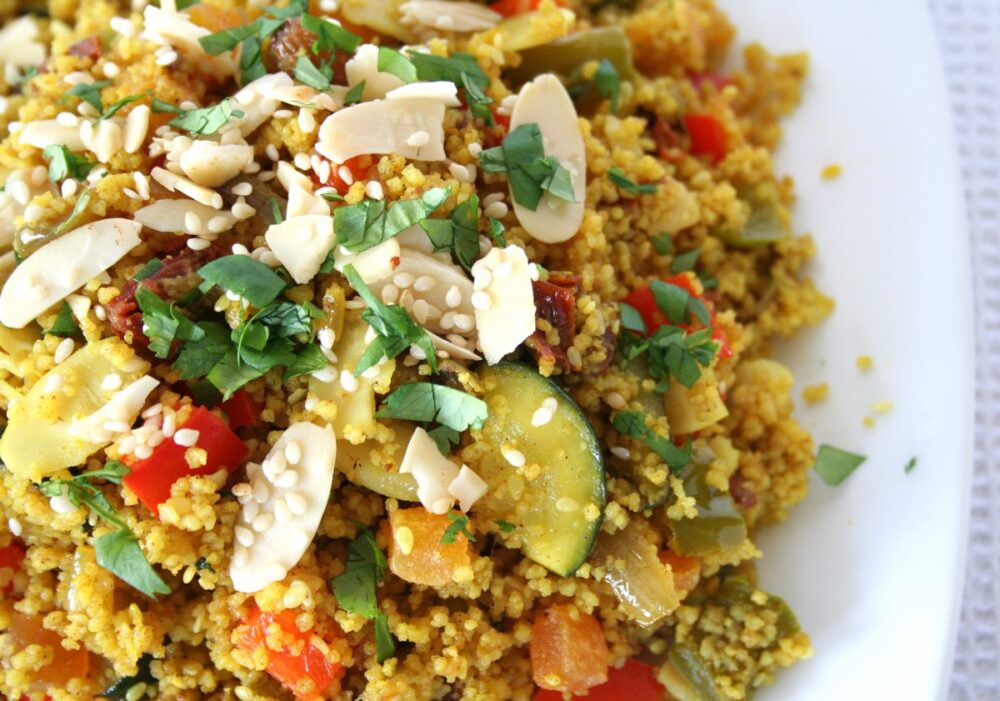
Today I’d like to share another one of my family’s current favourite dishes – Moroccan Fruity Couscous. This is such a pretty dish, full of flavour and ready in just 20 minutes!

Moroccan Fruity Couscous

It makes a lovely summer weekend lunch or speedy weeknight supper. It’s equally delicious served hot or cold, making it perfect for al fresco dining, picnics and buffets. As a main meal, we love to serve it with strips of warm pitta or garlic bread, some baby salad leaves and a large dollop of hummus. Moroccan-spiced or roasted red pepper hummus is especially good!

Moroccan Fruity Couscous

July 30 2013 – I made this dish for dinner last night, and was intending to blog it in the evening and join in Meatless Monday. However, after a day of thunder, lightening and heavy rain, the weather had finally cleared by 7pm and the three of us were itching to get outside and make the most of the ‘best part of the day’. Our short stroll turned into a 6 mile circular walk along the Kennet & Avon Canal & across Bath City centre. It was such a beautiful evening! Everything smelt so fresh after the rainfall, and the late sun was making everything sparkle.

Kennet and Avon Canal by Sydney Gardens in Bath

So here’s the recipe, a day late but I’m sure you’ll forgive me 😉

Recipe Card

Moroccan Fruity Couscous

Moroccan Fruity Couscous

Sharon
This gently spiced, fruity couscous makes a lovely summer weekend lunch or speedy weeknight supper. As a main meal, we like to serve it with strips of warm pitted bread or garlic bread, baby salad leaves and a large dollop of hummus. I've kept it mild enough for children, but feel free to spice it up with some chilli.
Hands-on time 20 minutes
Total Time 20 minutes
Course Lunch, Main Course, Supper
Cuisine Moroccan
Servings 4

Ingredients
 

  • 245 g / 1⅓ cups couscous, preferably whole wheat
  • 8 sun-dried tomatoes in olive oil drained and sliced
  • 8 dried apricots chopped
  • 30 g / 3 TBSP dried cranberries or sultanas
  • 480 ml / 2 cups boiling hot vegetable stock (broth)
  • 1 TBSP olive oil divided
  • 1 medium onion (140g) finely chopped
  • 2-3 garlic cloves minced
  • 1 bell pepper (190g) deseeded and diced (or use a mix of different coloured pepper pieces to make it extra vibrant!)
  • 1 medium courgette (zucchini) (240g) quartered lengthwise and sliced
  • 1 tsp ground cumin
  • ½ – 1 tsp sweet paprika
  • ½ tsp ground cinnamon
  • ¼ tsp ground ginger
  • ¼ tsp ground turmeric
  • small handful of fresh coriander leaves (cilantro)or parsley roughly chopped
  • salt to taste

Garnish

  • 4 TBSP toasted flaked almonds
  • 2 TBSP toasted sesame seeds

Instructions
 

  • Place the couscous, sun-dried tomatoes, dried apricots and cranberries/sultanas in a heat-proof bowl. Pour the boiling hot stock on top, cover with a plate and leave for 7 minutes. Drizzle on ½ TBSP olive oil (or oil from the jar of sun-dried tomatoes) and fluff up with a fork.
  • Meanwhile, heat ½ TBSP oil in a large frying pan (skillet) on medium heat and cook the onion, garlic, bell pepper and courgette for a couple of minutes. Stir in the dried spices, reduce the heat to medium-low and continue cooking for 5 minutes. If the vegetables start to stick, add a splash of water to the pan.
  • Once ready, tip the couscous into the pan along with the fresh herbs. Gently stir through to combine. Season with salt, to taste.
  • Divide between four bowls. Sprinkles on the nuts and seeds and serve.
  • Any leftovers can be stored in the fridge for three days. They’re great for packing into lunchboxes as an alternative to sandwiches. Be sure to add a dollop of hummus to the bowl. It helps the couscous stick together!

Notes

Super Speedy Version
To save on chopping time, substitute the fresh vegetables with a bag of frozen grilled Mediterranean vegetables.
Keyword Buffets, Couscous, Lunchbox Ideas, Plant-Based, Vegan Dinners, Vegan Lunch, Vegan Picnics, Vegan Supper
Tried this recipe?Let us know how it was!

Pin for later ⬇️

Moroccan Fruity Couscous

If you make this Moroccan Fruity Couscous (or any other recipes on my blog), I’d love to hear your feedback and any suggestions for adaptations! Tag your photos with #bitofthegoodstuff on social media – I always love to see your creations! You can also connect with me on my social media channels here:
InstagramFacebookPinterest.   

With love,

Sharon xx

———————————-

YOU MAY ALSO LIKE…

Moroccan-Spiced Falafel

Falafel Sandwich

Easy Vegan ‘Camembert Cheese’

Jump to Recipe

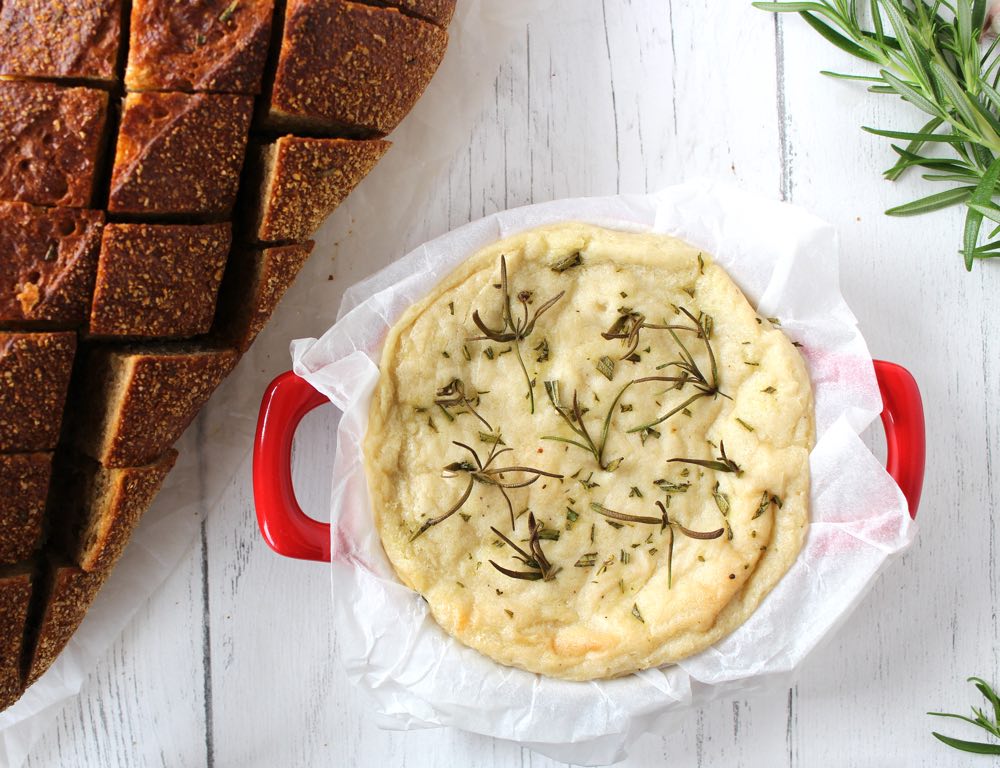
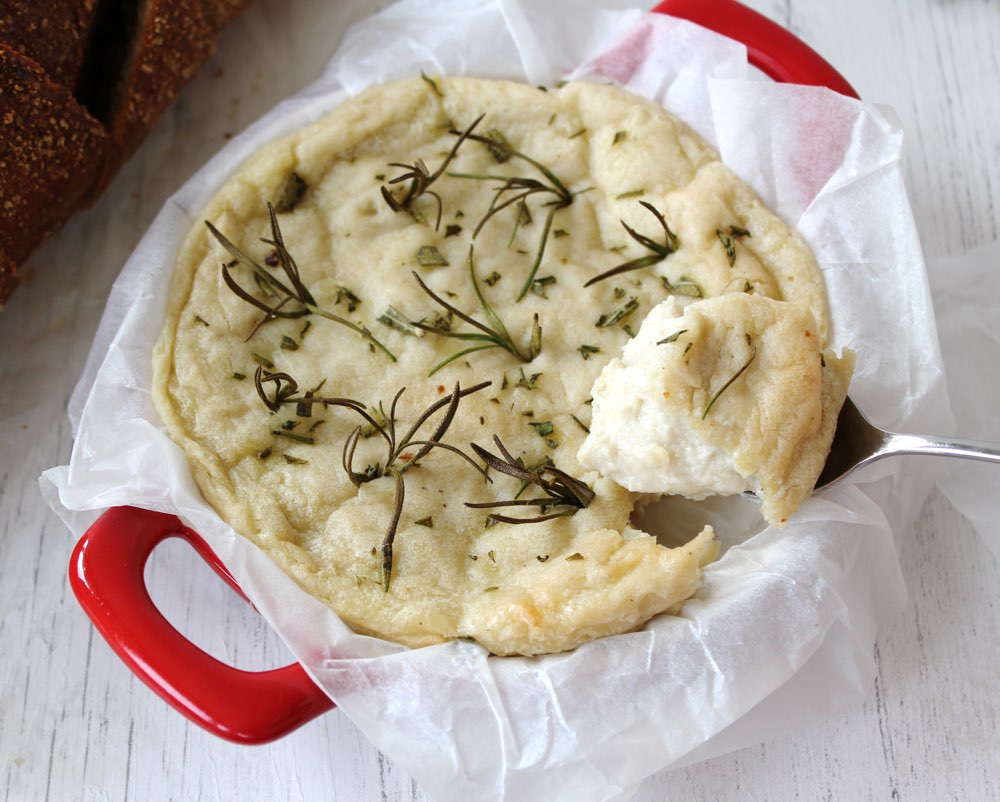
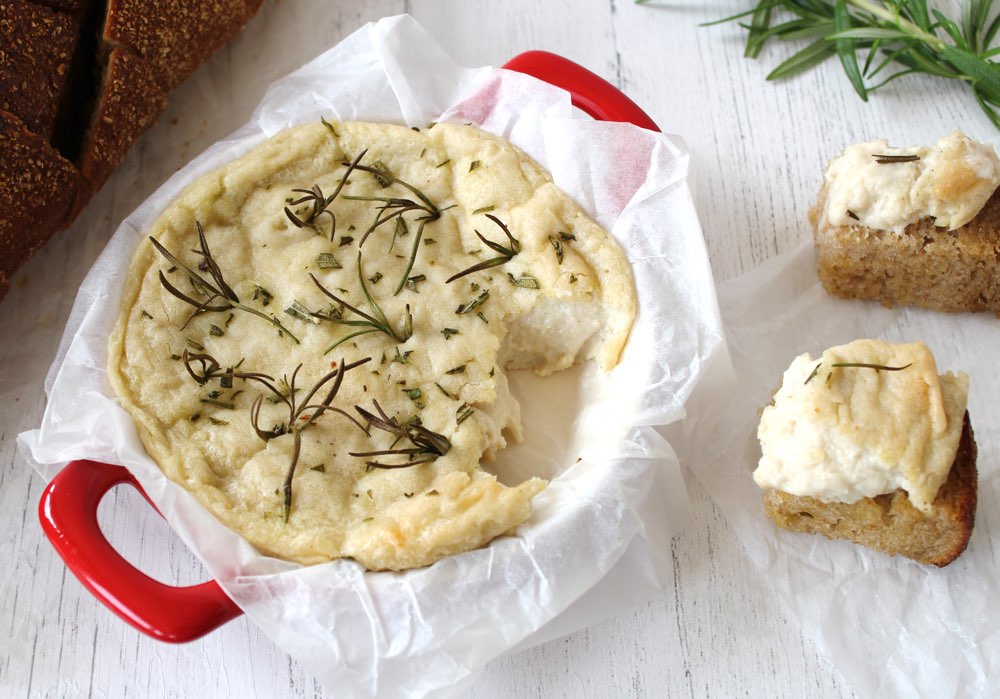
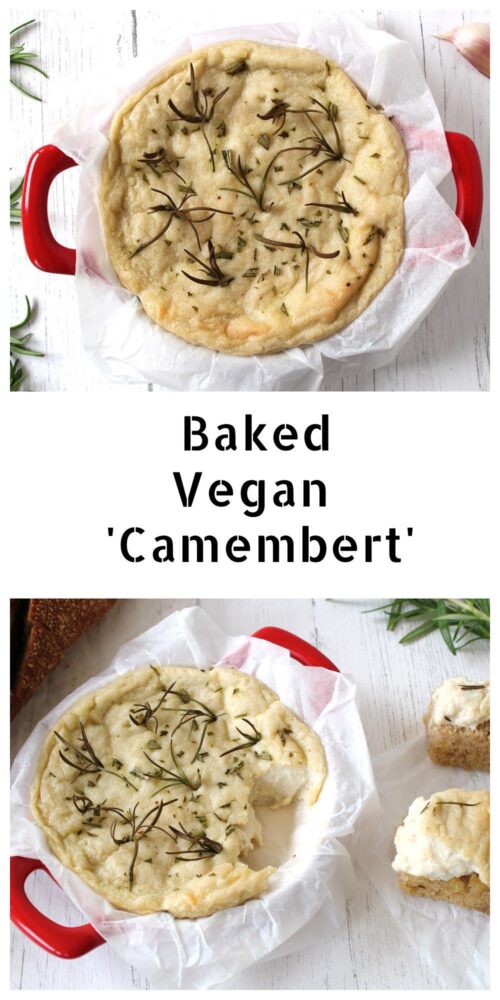
Today, I’m delighted to be sharing a recipe for a delicious vegan camembert-style cheese. When I started food blogging back in 2011, I would never have dreamed that I would be sharing such a recipe but here we are, in 2019, where it’s pretty much possible to veganise anything!! Whether you avoid dairy for ethical, dietary or environmental reasons, this creamy, cashew-based cheese is more than a worthy substitute for traditional camembert. Not only does it taste amazing, but it also has a beautiful texture. As it bakes, it forms a skin on the outside, yet remains soft and gooey in the middle.

Unlike a lot of hand-made cheeses, this one is incredibly quick and easy to make. It takes just 10 minutes hands-on time and is ready to serve in half an hour. It’s also super cheap. I calculated that this cheese cost me just 65p to make, which is way cheaper than any vegan cheeses you’ll find in the shops. 

And while it feels like an indulgent treat, it’s actually good for you! It’s rich in heart-healthy monounsaturated fats, B vitamins and a whole host of minerals, including zinc, manganese, magnesium and iron. Unlike its dairy counterpart, this plant-based camembert contains zero cholesterol as well as significantly less saturated fat. Oh, and most importantly, it’s cruelty-free… no cows were harmed in the making of this cheese 🐮❤️ It’s a winner all round!

Vegan Camembert

The inspiration for today’s recipe was the infamous ‘Camembosh’ which was featured in this month’s Vegan Life magazine (the one with the lovely Henry and Ian from BOSH! on the front cover). I’d been meaning to try this cheese ever since I’d first heard the rave reviews about it on social media, and seeing it in Vegan Life prompted me to dive into the kitchen and get stuck in.

The recipe is actually very similar to the one I use for cashew ‘mozzarella’ which I make for our pizza nights. It is so easy to make! It’s simply a case of blending the ingredients, then heating them in a saucepan and stirring until they become thick and gooey. For the camembert cheese, the mixture gets transferred to a shallow dish and baked in the oven for 20 minutes until it forms a skin. And that’s it! It’s now ready to serve. If you wish, you can warm some bread in the oven at the same time, ready for dipping into the camembert.

Vegan Camembert

The recipe I’m sharing in this post is an adaptation of the Camembosh. The main tweak I’ve made is to reduce the salt. The BOSH! recipe calls for 1½ tsp salt, plus extra for seasoning. A friend who had already tried the cheese recommended reducing the salt quantity as she’d found it very salty. Heeding her advice, we initially reduced the amount to 1 tsp, but we still found it too salty, so in the second batch, we reduced it to ½ tsp. This amount proved to be perfect for us. In the recipe below, I recommend using ½ tsp salt initially, then taste test while the cheese is on the stove. You can always add extra salt at this point, if needed.

I also reduced the amount of garlic compared to the original recipe as I wanted the ‘cheesy’ aspect of the camembert to shine through. Feel free though to add more garlic if you’d prefer a more garlic-flavoured camembert.

Vegan Camembert

Recipe Card

Vegan Camembert

Easy Vegan ‘Camembert Cheese’

This creamy cashew ‘camembert’ is delicious served with warm crusty bread as a weekend treat or when you’re having friends over for ‘drinks and nibbles’. It’s also perfect for picnics, buffets and parties. Any leftovers make a great sandwich filling. We especially love it with slices of sun-dried tomato and chutney.
4.84 from 6 votes
Cook Time 20 minutes
Hands-on Time 10 minutes
Total Time 30 minutes
Course Appetizer, Lunch, Treat
Cuisine French
Servings 2

Ingredients
 

  • 75 g / ½ cup cashews (If you don’t have a power blender, first soften the cashews by soaking them in freshly boiled water for 30 minutes, then drain)
  • 150 ml / ⅔ cup water
  • 2 TBSP tapioca flour (tapioca starch)
  • 1 garlic clove peeled
  • 1 tsp apple cider vinegar
  • 1 TBSP nutritional yeast flakes with B12
  • ½ tsp salt

For Garnish

  • 1 sprig fresh rosemary (highly recommended as it imparts a wonderful flavour to the cheese)
  • freshly ground black pepper (omit if serving to children)

Instructions
 

  • Preheat the oven to 180C / 350F. Line a small shallow dish with baking paper (the dish I use measures approx 11cm x 3cm).
  • Add all the ingredients (except the rosemary and pepper) to a blender and whizz on high speed until smooth.
  • Transfer to a saucepan and cook on medium heat, stirring continuously until it is smooth and has started to thicken (about 2 minutes). Initially, as it warms up, it will go lumpy but don’t worry this is normal. Keep stirring and it will soon smoothen out. Taste test and add a touch more salt, if needed.
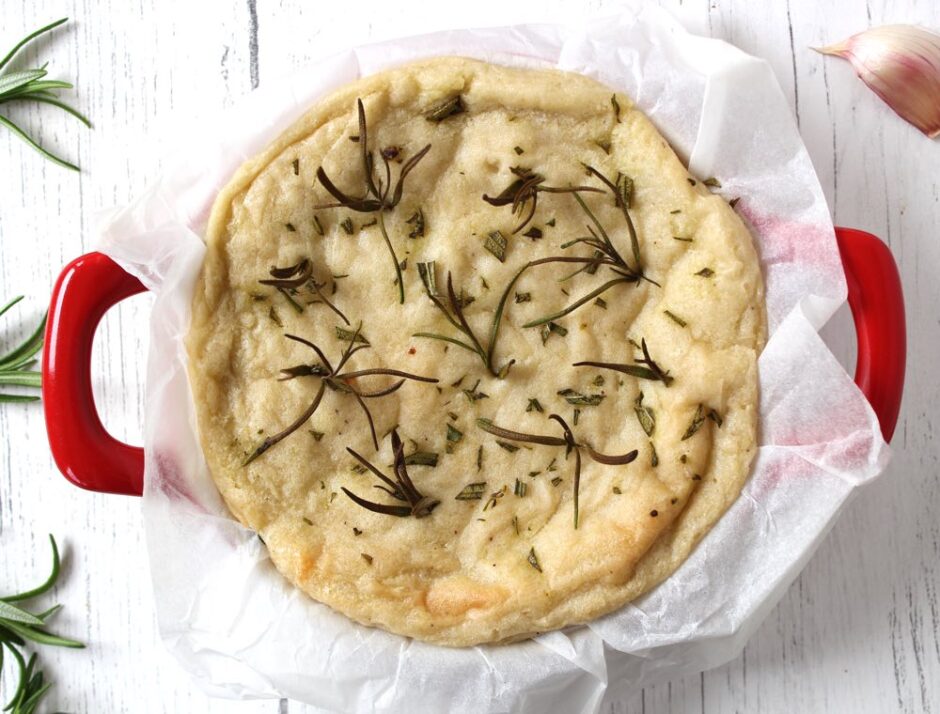
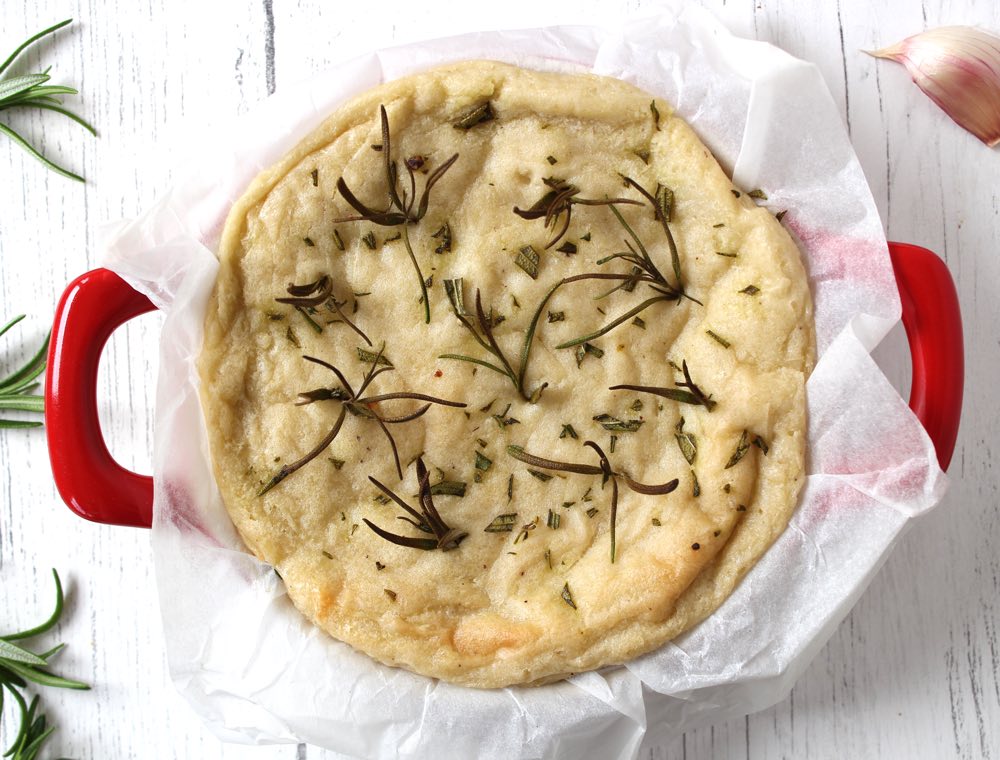
  • Pour into the prepared dish and smooth the top. Garnish with rosemary needles (I push some of the needles in whole and finely chop a few to sprinkle). Add some freshly ground black pepper, if desired.
  • Bake for 20 minutes, or until the cheese has formed a skin and is lightly browned round the edges. (You can also warm some bread in the oven at the same time, if you wish).
  • Serve immediately or leave to cool before transferring to an airtight container. It will keep for up to five days in the fridge. Bring to room temperature or re-heat in the oven for a few minutes before serving.

Notes

This recipe has been adapted from the BOSH! Camembosh in BISH BASH BOSH! by Henry Firth and Ian Theasby, featured in Vegan Life magazine Issue 50 (The BOSH! guys credit Ellie from Kinda Co. for the original recipe).
Keyword Dairy-Free, Gluten-Free, Lunchbox Ideas, Oil-Free, Plant-Based, Sandwiches, Vegan Buffets, Vegan Cheese, Vegan Picnics, Vegan Sandwiches
Tried this recipe?Let us know how it was!

Nutritional Breakdown

N.B. The above values are estimates. The actual nutritional values will vary depending on the brands and ingredients used.

Pin for later ⬇️

Baked Vegan Camembert

If you make this Cashew ‘Camembert’, I’d love to hear your feedback and any suggestions for adaptations! Tag your photos with #bitofthegoodstuff on social media – I always love to see your creations! You can also connect with me on my social media channels here: Instagram, Facebook, Pinterest.   

With love,

Sharon xx


——————————–

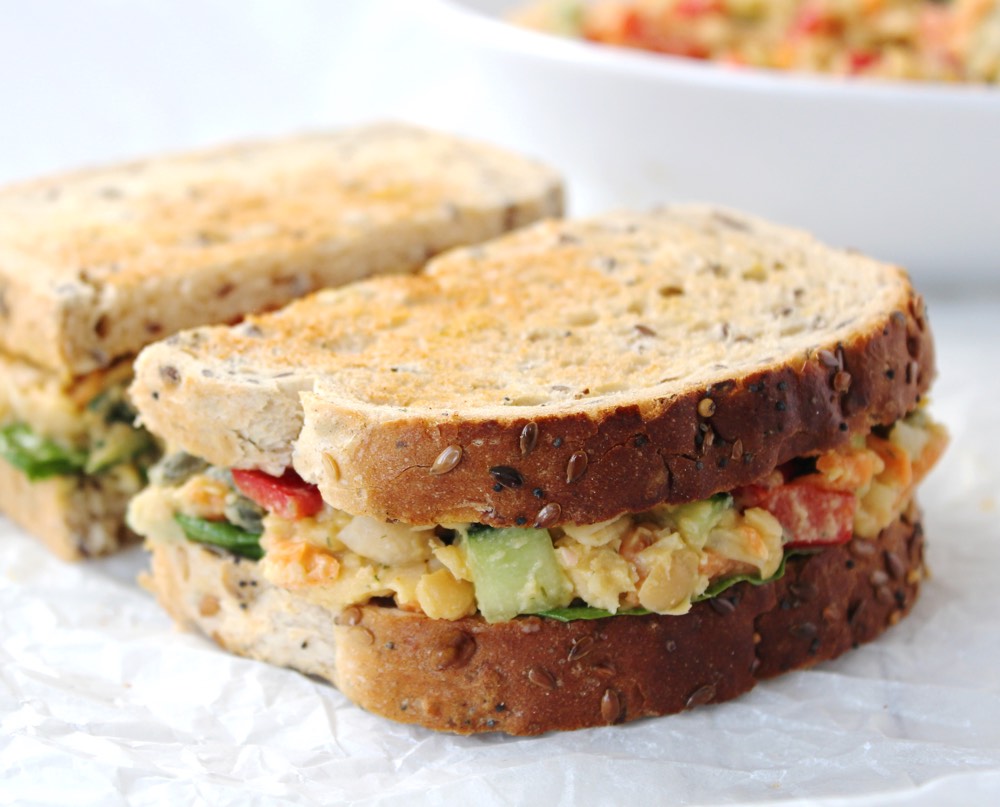
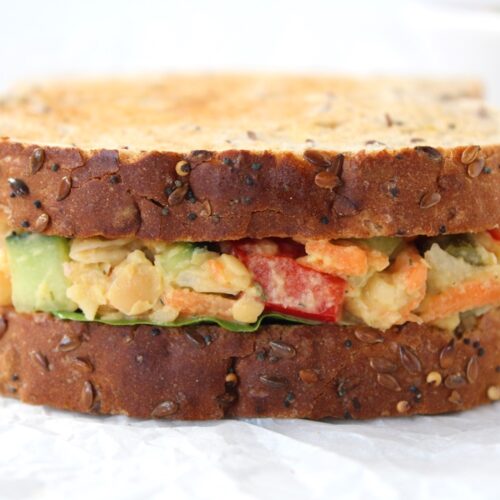
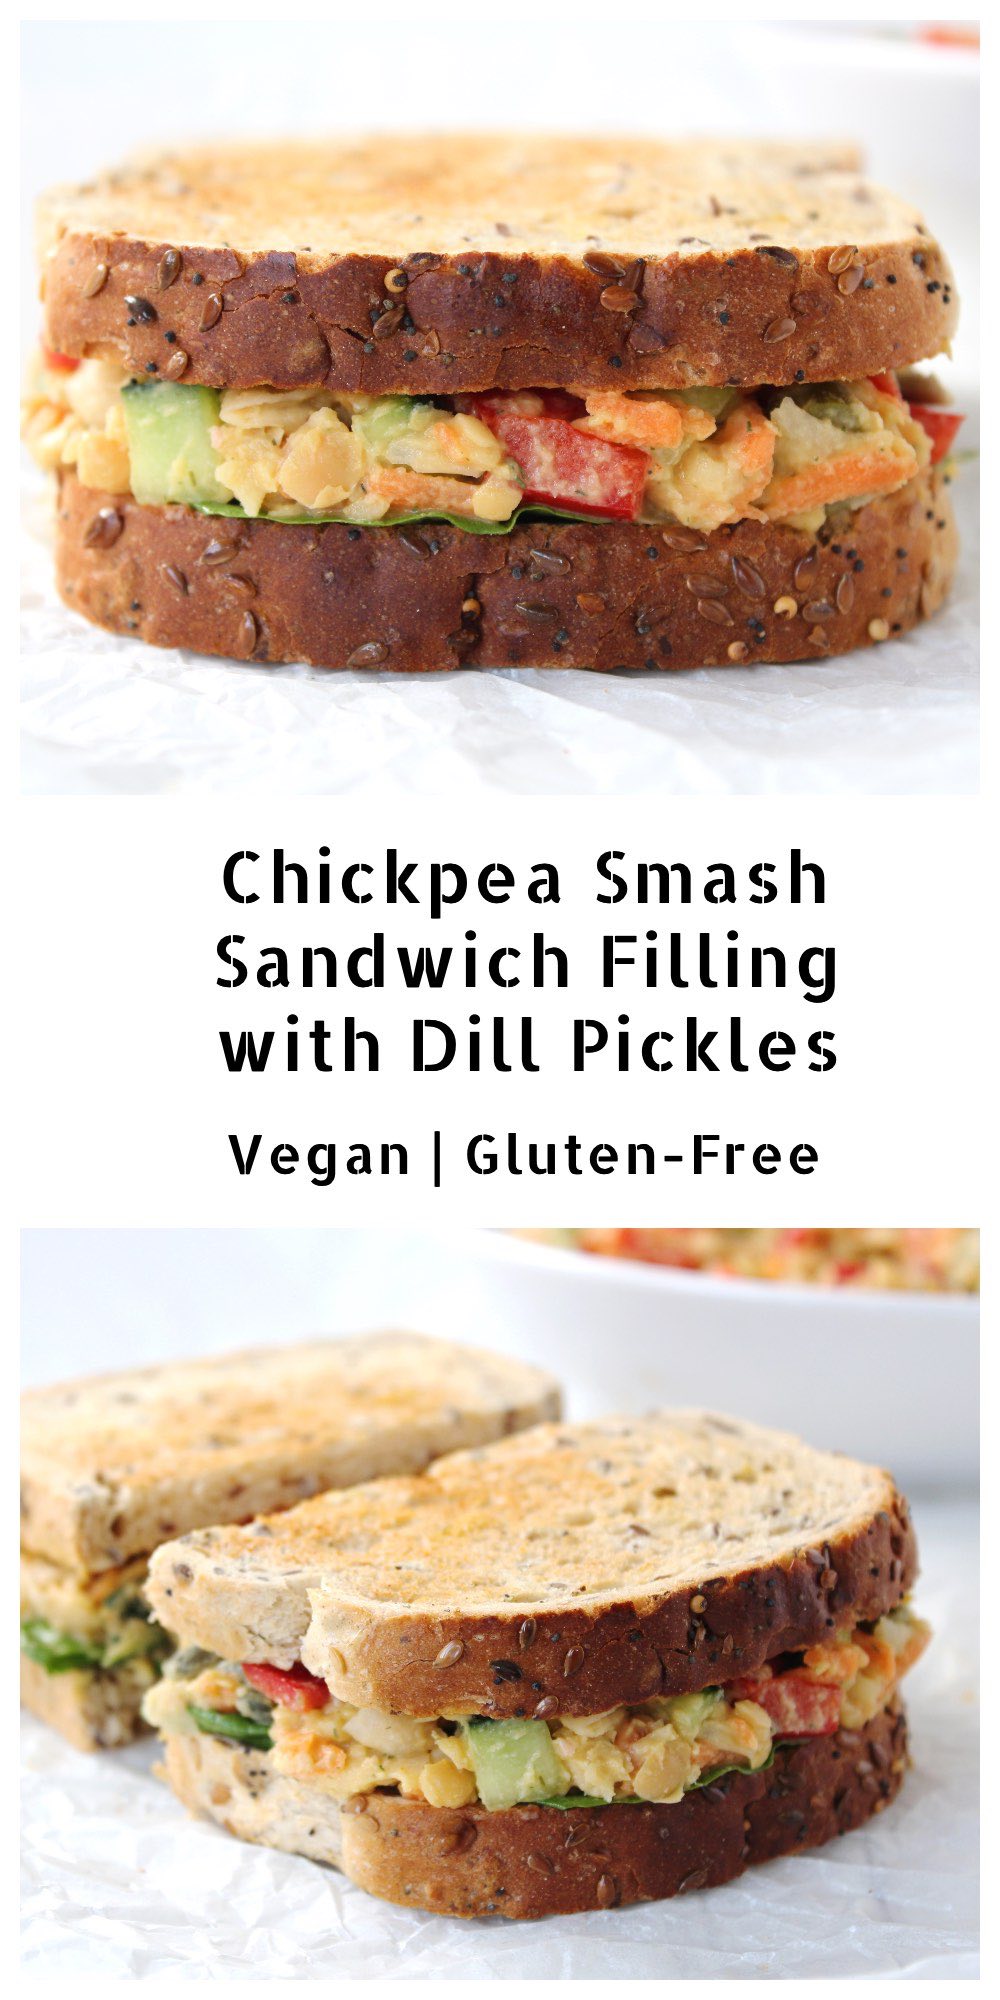
Chickpea Smash with Dill Pickles – Delicious Vegan Sandwich Filling!

Jump to Recipe

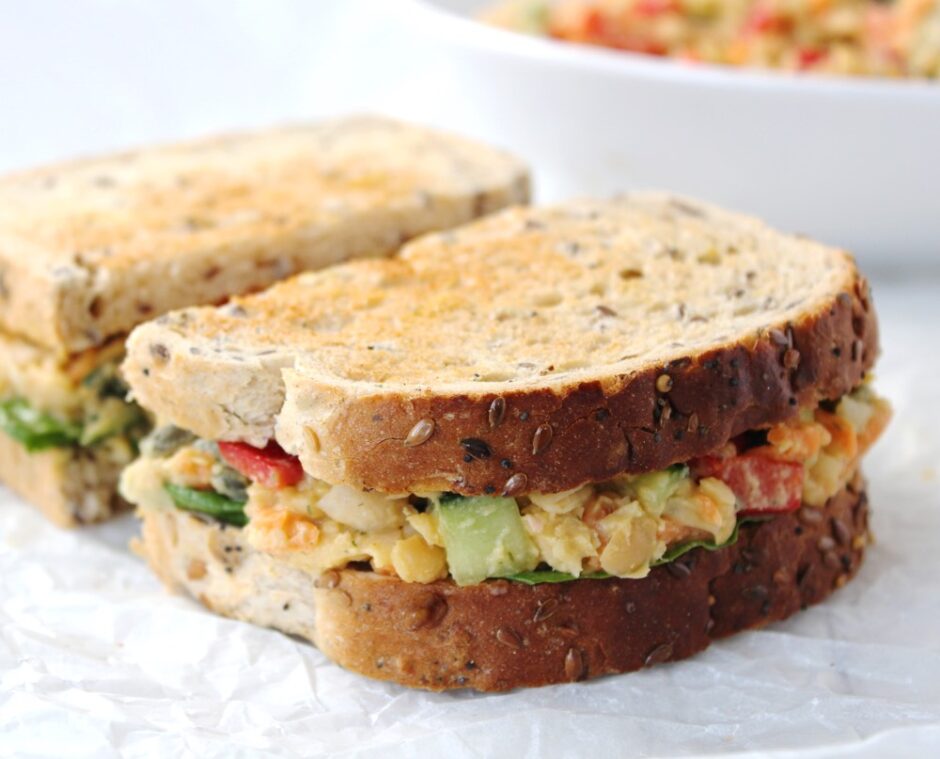
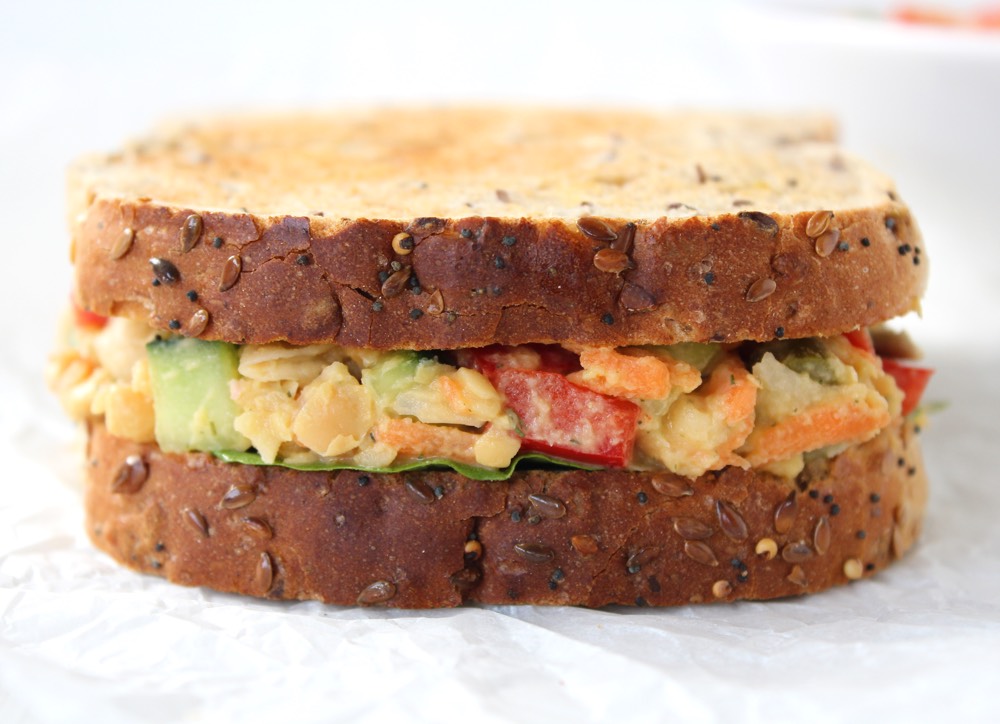
In today’s post I’m sharing a sandwich filling that is tangy, crunchy, creamy and oh so delicious! It reminds me of the Heinz Sandwich Spread that I used to love as a kid in the 80s, but this home-made version is way fresher, tastier and healthier too! 

Chickpea Smash Sandwich Filling (Vegan | Dairy-Free)

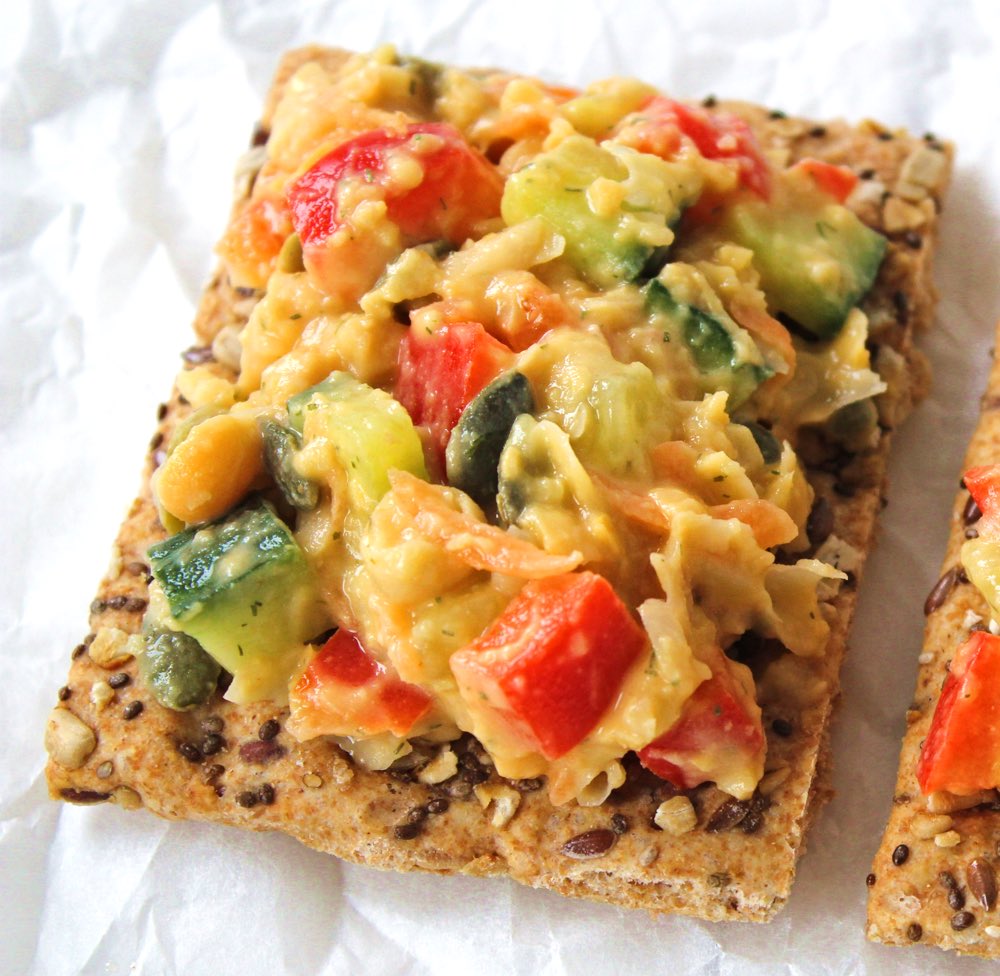
If you’re looking for a new sandwich to liven up school or work lunchboxes, I’d definitely recommend giving this recipe a try. It would also be great for picnics and buffets. As well as a sandwich filling, you can also use it as a topping for crackers. Perhaps even as a jacket potato topper too?

It’s really easy to make and takes around 12 minutes to prepare a large bowl, which will fill about five sandwiches. I tend to make one batch of chickpea smash at the start of the week, which we then use on the following days for Lucien’s school sandwiches, as well as our own.

The inspiration for today’s recipe was this Garden Veggie Chickpea Salad Sandwich from Jenn @ Peas and Crayons which I came across back in 2017, and have been making adapted versions of ever since. Jenn, in turn, credits Angela from Oh She Glows for inspiring her recipe, so it sounds like Angela is the original recipe creator. I’d like to thank both Jenn and Angela for inspiring the recipe I’m sharing today and for giving my family so much sandwich joy these past couple of years!

This recipe is highly versatile, so feel free to switch up the ingredients. I would definitely recommend keeping the dill pickles in though, as they give this recipe its signature tangy, crunchy bite. In England, dill pickles are called ‘gherkins’. It’s such a funny name isn’t it? Even funnier, my mum still calls them by their old slang name ‘Wallies’. Personally, I prefer to call them dill pickles as it sounds much more appealing to me than gherkins or wallies. How about you? What do you call them?

Recipe Card

Chickpea Smash Sandwich Filling (Vegan | Dairy-Free)

Chickpea Smash Sandwich Filling with Dill Pickles

This tangy, crunchy, creamy chickpea smash is perfect as a sandwich filling for school or work lunchboxes, as well as picnics and buffets. The quantity below fills about five sandwiches.
5 from 7 votes
Hands-on time 12 minutes
Total Time 12 minutes
Course Lunch, Snack
Servings 5

Ingredients
 

  • 400 g / 14 oz can chickpeas rinsed and drained
  • 140 g / 1 cup cucumber finely diced
  • 1 medium carrot (66g), grated
  • 1 small red bell pepper or romano pepper deseeded and finely diced
  • 75 g / ½ cup dill pickles or gherkins sliced
  • 2 TBSP pumpkin seeds
  • 4 TBSP vegan mayonnaise*
  • 1 tsp Dijon mustard
  • ¼ tsp dried dill
  • pinch of salt

Instructions
 

  • Placed the drained chickpeas in a large bowl and roughly mash with a potato masher.
  • Add all the remaining ingredients and stir through until fully combined. Taste test and adjust the seasoning to suit.
  • Stored in an airtight container in the fridge, this chickpea smash will keep for three days.

Notes

* I use this Home-Made Sweet Chilli Mayonnaise It’s so cheap and easy to make! If you prefer to use a ready-made mayonnaise, both Vegenaise and Hellmans Vegan Mayo are now available in many of the major supermarkets in the UK, as well as the independent health food shops.
 
Keyword Family Friendly, Gluten-Free, Plant-Based, Vegan Buffets, Vegan Picnics, Vegan Sandwiches, Vegan Snacks
Tried this recipe?Let us know how it was!

Nutritional Breakdown

N.B. The above values are estimates. The actual nutritional values will vary depending on the brands and ingredients used.

Pin for later ⬇️

If you make this Chickpea Smash, I’d love to hear your feedback and any suggestions for adaptations! Tag your photos with #bitofthegoodstuff on social media – I always love to see your creations! You can also connect with me on my social media channels here: InstagramFacebook, Pinterest.   

With love,

Sharon xx

——————————–