Tofu ‘Halloumi’

Jump to Recipe

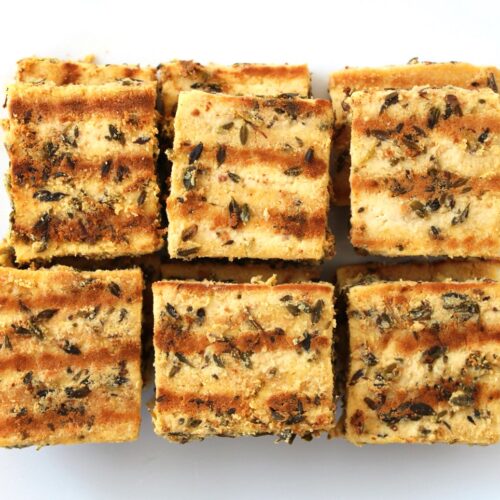
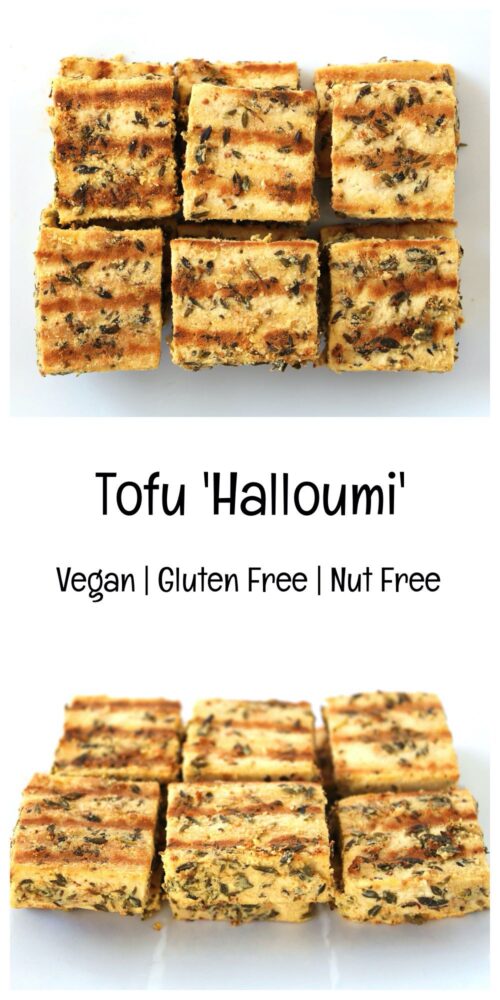
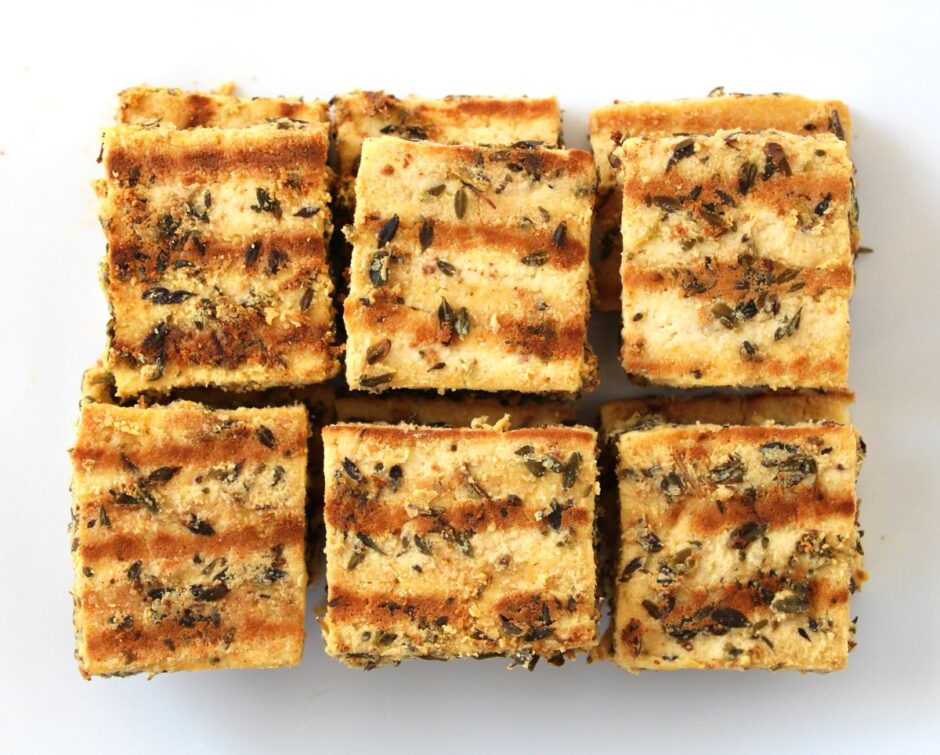
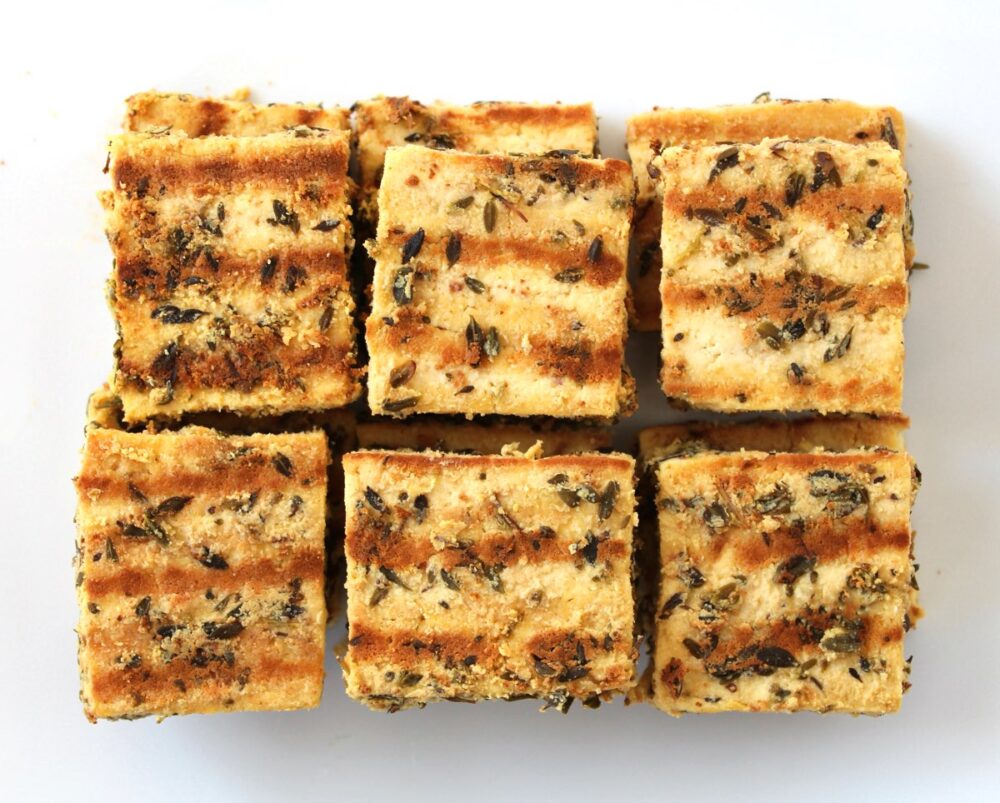
In today’s post, I’m sharing the recipe for a delicious plant-based alternative to halloumi. Simple to prepare, this Tofu ‘Halloumi’ is highly versatile. We love to add it to Greek-style salads, sandwiches, pittas, wraps and mezze platters. 
Tofu Halloumi

It was the Greek Vegan Deli guys that first introduced me to Tofu ‘Halloumi’ back in 2018 at Bristol VegFest. It was absolutely delicious!! Since then, every time I see the Greek Deli guys at a festival, I really look forward to tucking into their Tofu ‘Halloumi’, either stuffed into a pitta or as part of one of their incredible Greek platters. 

I love Greek food and halloumi used to be one of my favourite cheeses. However, once I’d tried the tofu version, I was hooked. I loved it even more than the original!

And if I’d known just how easy it is to make, I would definitely have tried making Tofu ‘Halloumi’ a long time ago!

It involves three simple steps …

  1. Pressing the tofu
  2. Marinating it for an hour
  3. Then grilling it for a few minutes.

Job done!

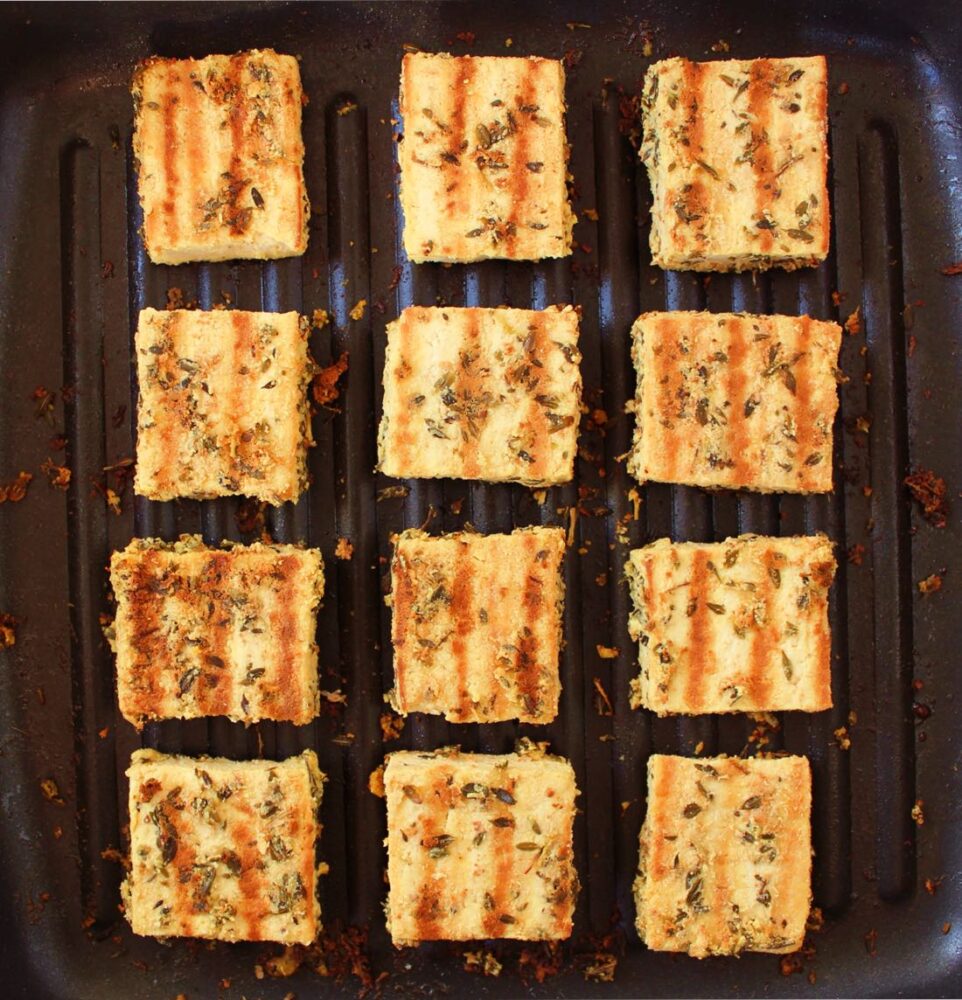
I especially love to use a griddle pan to get those beautiful grill lines.
Tofu Halloumi

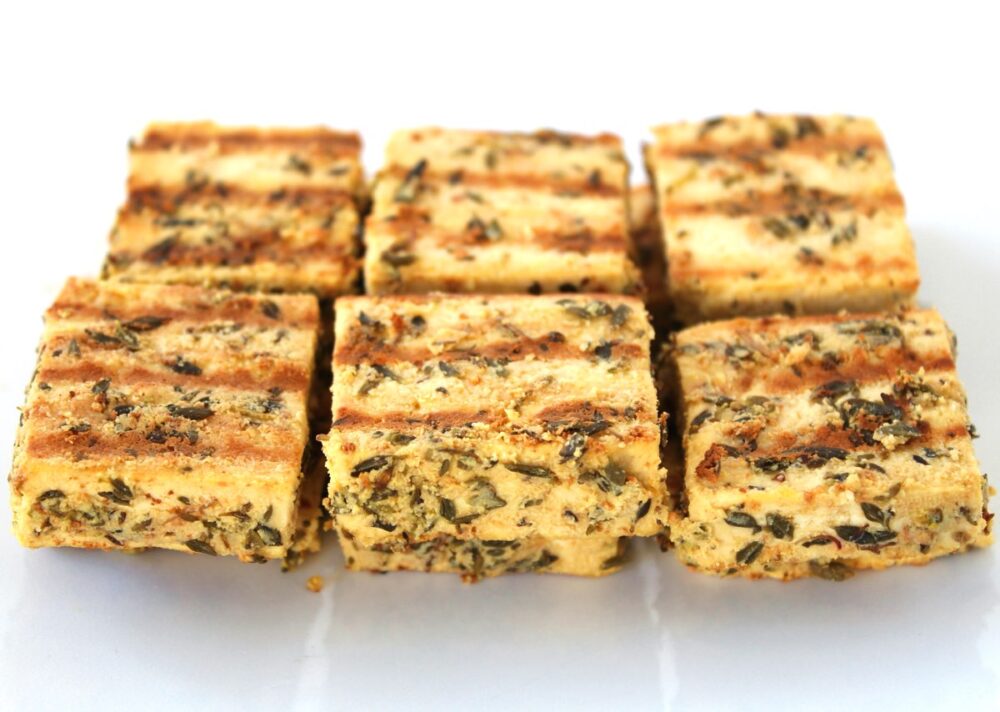
For the marinade, I used five ingredients that are basic staples my kitchen – nutritional yeast flakes, lemon, oregano, extra virgin olive oil and salt. The resulting tofu was so flavourful. It was salty, tangy, cheesy and herby – all the flavours I associated with Greek halloumi (for Cypriot halloumi you could switch the oregano for mint instead).
Tofu Halloumi

Recipe Card

Tofu Halloumi

Tofu ‘Halloumi’

This tofu is a delicious alternative to halloumi. It can be served warm or cold, and is perfect for adding to Greek salads, sandwiches, pittas, wraps and mezze platters.
5 from 3 votes
Hands-on Time 18 minutes
Total Time 2 hours
Course Appetizer, Dinner, Lunch, Salad
Cuisine Mediterranean, Middle East
Servings 3

Ingredients
 

  • 1 block (about 400g / 14 oz) of super firm tofu*
  • 4 TBSP nutritional yeast flakes
  • 2 TBSP fresh lemon juice
  • 1 TBSP dried oregano
  • 1 TBSP extra virgin olive oil
  • ½ tsp salt

Instructions
 

  • Press the tofu for 30 minutes**. Slice into ½ inch (1.3 cm) thick rectangles.
  • Add the nutritional yeast flakes, lemon juice, dried oregano, oil and salt to a bowl and stir until thoroughly combined. The nutritional yeast should start to dissolve into the oil.
  • Add the tofu to a wide, shallow container and use a pastry brush or spoon to coat both sides in the marinade (it doesn’t matter if you need to stack the tofu). Cover and leave for an hour to marinate. Alternatively you can leave it overnight in the fridge.
  • When ready to cook, spray a non-stick griddle pan or frying pan (skillet) with oil and pre-heat on medium-high. Add the tofu in a single layer and press down on it with a slotted turner spatula (you should hear it sizzle). Cook for 2-3 minutes until golden brown on the underside then flip over and repeat.
  • Stored in an airtight container, the tofu will keep for a couple of days.

Notes

* I used Cauldron Extra Firm Organic Tofu (available in the chiller cabinet in most big UK supermarkets). I like this tofu as it is set in calcium sulphate so it’s an easy way to boost our calcium levels. According to their website, Cauldron Organic Tofu contains approximately 400mg of calcium per 100g (a quarter block). 
**Here’s my preferred way to press tofu (since I don’t have a tofu press): Place the tofu on a rimmed baking tray. Place a chopping board on top of the tofu, followed by a heavy object to weigh it down. The water collects in a pool round the tofu. After 30 minutes, drain off the liquid. Give the tofu a quick pat with kitchen paper to soak up any residual liquid, then it’s good to go.
Keyword Easy Vegan Meals, Gluten-Free, Plant-Based, Vegan Lunchbox Ideas, Vegan Sandwiches
Tried this recipe?Let us know how it was!

Pin for later ⬇️

Tofu Halloumi

I’m really looking forward to seeing how you would use this Tofu ‘Halloumi’. Today, I added it to a toasted sandwich with baby leaves and shredded beetroot, sun-dried tomatoes and mayo. It was so delicious! If you make it, remember to take a photo and tag it with #bitofthegoodstuff on social media – I always love to see your creations! You can also connect with me on my social media channels here: Instagram, Facebook, Pinterest.    

With love,

Sharon xx

——————————–
Cranberry-Glazed Nut Loaf (Vegan)

Jump to Recipe

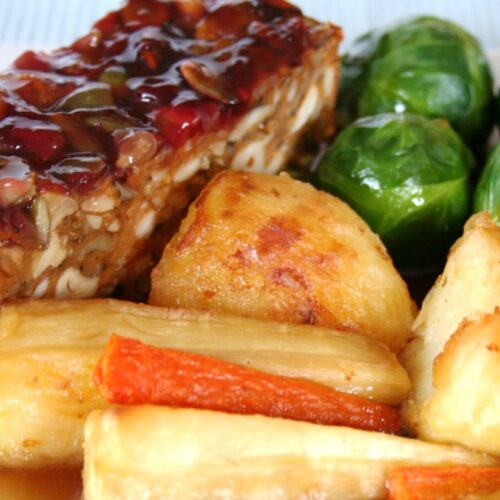
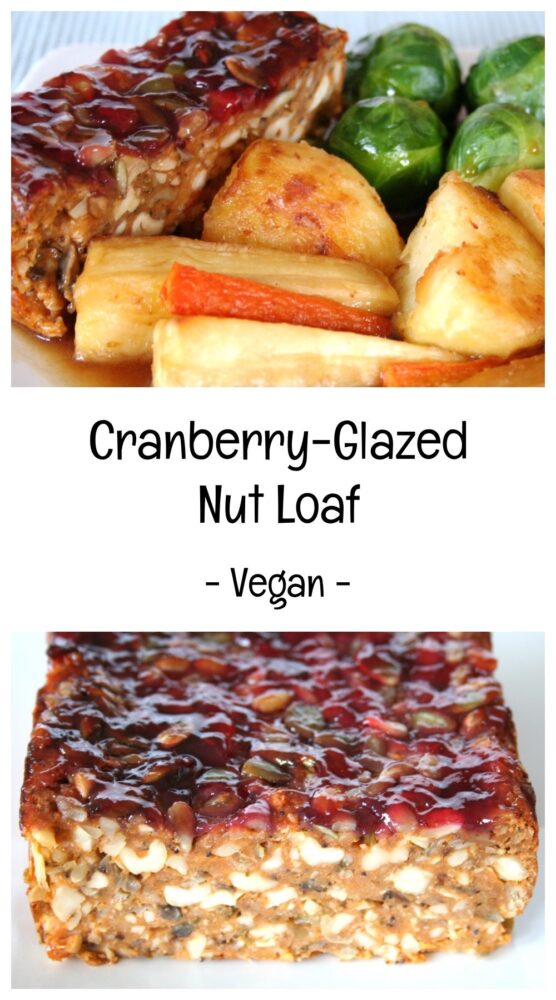
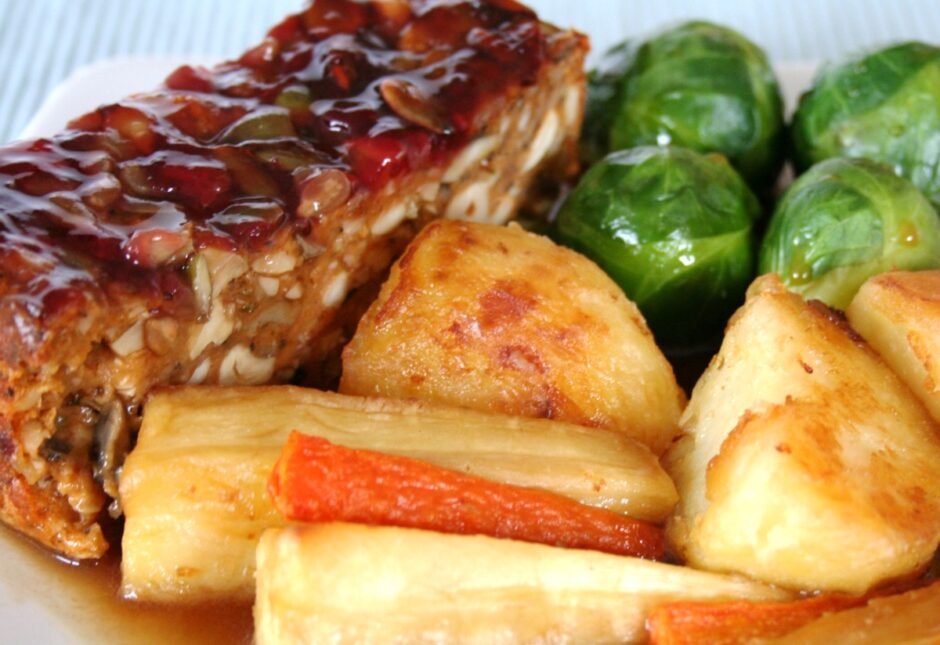
When it comes to Christmas dinner, for me, nothing can beat a nut loaf served with a big pile of roasted veggies and onion gravy ♥ 

My mum made me my first nut roast for Christmas when I was 12 and it was by far the best Christmas dinner I’d ever had! In contrast to turkey (which I’d always found pretty bland), the nut roast was packed with beautiful flavours and textures. Since then, I’ve always chosen to have nut loaf as the centre piece of my Christmas dinner… and for many years now, my mum has chosen it over turkey too!!

In fact, pretty much everyone I know loves a nut roast, regardless of whether they’re vegetarian, vegan or not, so this is a great meal to serve to friends and family over the Christmas holidays, or as a special Sunday roast dinner.

Cashew Nut and Red Lentil Loaf

The nut loaf recipe I’m sharing today has be my family’s all-time favourite. It’s the one we’ve chosen as the centre piece of our Christmas dinner for the past ten years or so. We only make it at Christmas (to keep it ‘special’) and I’m already looking forward to tucking into it again this year!

Not only does it taste delicious, but it is easy to make too! It also stores really well, which means you can make the loaf a few days in advance of Christmas (or Thanksgiving) then simply heat up some slices before serving. The last thing I want to be doing in the Christmas holidays is slaving away in the kitchen and missing out on the fun, so this kind of ‘make ahead’ meal really suits me!

Cashew and Red Lentil Nut Loaf

This Cranberry-Glazed Nut Loaf has proven to be popular with our lovely readers too. I first posted this recipe back in December 2013 and I’ve absolutely loved reading your feedback and seeing your photos on social media. Thank you so much to everyone that’s taken the time to do this. It means a lot to me!

This blog post was in desperate need of updating (especially since we moved our website to a new format this year) so I’m really happy to have finally found the time to do so. This is one recipe that I’m sure my family is going to be making for many years to come!

Recipe Card

Cranberry Glazed Nut Loaf (Vegan)

Cranberry-Glazed Nut Loaf

This nut loaf is perfect for sharing with friends and family over the festive holidays or as the centrepiece to a Sunday roast dinner. It can be made two or three days in advance and warmed through in the oven or a microwave just before serving. It also makes a delicous sandwich filling served with caramelised onion chutney or sweet pickle.
5 from 2 votes
Hands-on Time 30 minutes
Total Time 1 hour 40 minutes
Course Dinner, Lunch, Main Course
Cuisine American, English
Servings 6

Ingredients
 

  • 250 g / 1½ cups cashew nuts
  • 125 g / 1¾ cups fresh wholegrain bread
  • 200 g / 1 cup red lentils
  • 500 ml / 2 cups vegetable stock (broth)
  • 1 TBSP olive oil
  • 1 large red onion (160g) finely diced
  • 2 celery sticks (140g) finely diced
  • 2-3 garlic cloves minced
  • 100 g / 1 cup mushrooms finely chopped
  • 1 tsp dried sage
  • 2 TBSP tomato purée (paste)
  • 40 g / ⅓ cup wholemeal (whole wheat pastry) flour or chapatti flour
  • 2-3 TBSP fresh parsley finely chopped
  • ½ tsp salt
  • 1 TBSP each of pine nuts, pumpkin seeds and sunflower seeds
  • 4 TBSP cranberry sauce

Instructions
 

  • Preheat the oven to 190C (170C fan) / 375F.
  • Grease a large (3lb) loaf pan (about 24cm x 13cm x 7cm in size) and line with a strip of non-stick baking paper to cover the bottom and long sides. Leave a little excess paper hanging out to make it easy for you to lift out the loaf. (Alternatively you can use a non-stick loaf liner).
  • Pulse the cashews in a food processor until coarsely chopped, then place in a large mixing bowl. Process the bread into breadcrumbs, then add to the mixing bowl.
  • Place the lentils in a fine mesh sieve and wash under running water, agitating them with your hand until the water runs clear.
  • In a pan, bring the vegetable stock and lentils to the boil, then reduce the heat and gently simmer uncovered for 15 minutes, or until the lentils have become a soft purée and all the water has been absorbed. Stir regularly towards the end of the cooking time to prevent the lentils from sticking.
  • Meanwhile, heat the oil in a large non-stick frying pan (skillet) and cook the onion and celery until they start to soften. Add the garlic, mushrooms and sage, and cook for a further three minutes. Stir in the tomato purée and flour, then remove from the heat.
  • Add the contents of the frying pan to the mixing bowl with the cashews and breadcrumbs. Add the cooked lentils, parsley and salt, and stir until thoroughly combined.
  • Spoon the mixture into the prepared tin. Gently press down and level the top. Sprinkle with pine nuts and seeds, and press them into the loaf. Spread the cranberry sauce on top. Cover with foil and bake for 30 minutes. Remove the foil and bake for a further 30 minutes. When ready, the loaf should feel firm to the touch. Leave to cool in the tin for at least 20 minutes, before turning out and slicing (it will firm up more as it cools). If you’re making it ahead of time, you can leave it in the pan until completely cooled.
  • This loaf will keep for five days in the fridge, and for weeks in the freezer. If you’re not planning on eating the loaf in one go, you can slice it and freeze it in portions. The loaf can also be served cold and makes a great sandwich filling.
Keyword Lunchbox Ideas, Vegan Christmas Dinner, Vegan Dinners, Vegan Roast Dinner, Vegan Sandwiches, Vegan Thanksgiving
Tried this recipe?Let us know how it was!

Nutritional Breakdown

N.B. The above values are estimates. The actual nutritional values will vary depending on the brands and ingredients used.

Pin for later ⬇️

Cranberry Glazed Nut Loaf

If you have any leftovers, I can highly recommend stuffing them into a sandwich or pitta bread, along with some caramelised onion chutney or sweet pickle. My family calls this our ‘Boxing Day’ sandwich. It’s delicious!!

If you make this Cranberry-Glazed Nut Loaf, I’d love to hear your feedback and any suggestions for adaptations! Tag your photos with #bitofthegoodstuff on social media – I always love to see your creations! You can also connect with me on my social media channels here: InstagramFacebook , Pinterest.   

With love,

Sharon xx

———————————-

YOU MAY ALSO LIKE…

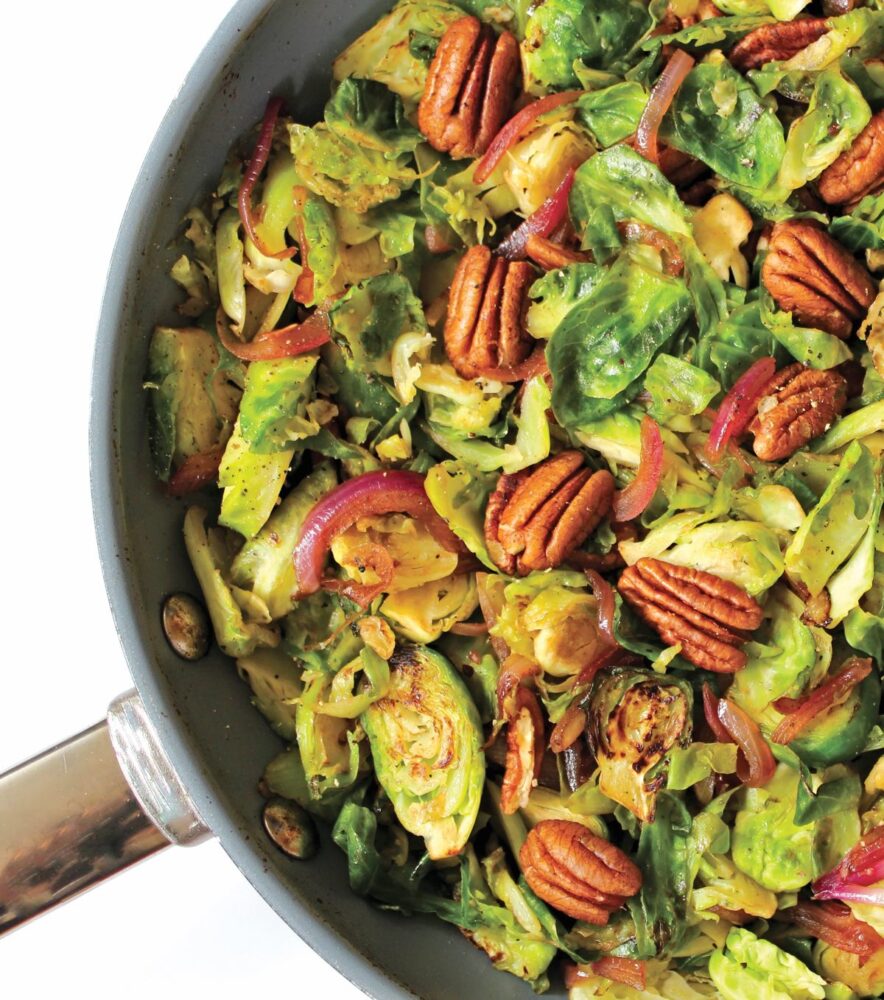
Brussels Sprout Hash with Balsamic Red Onion & Toasted Pecans

Brussel Sprout Hash

Easy Vegan ‘Camembert Cheese’

Jump to Recipe

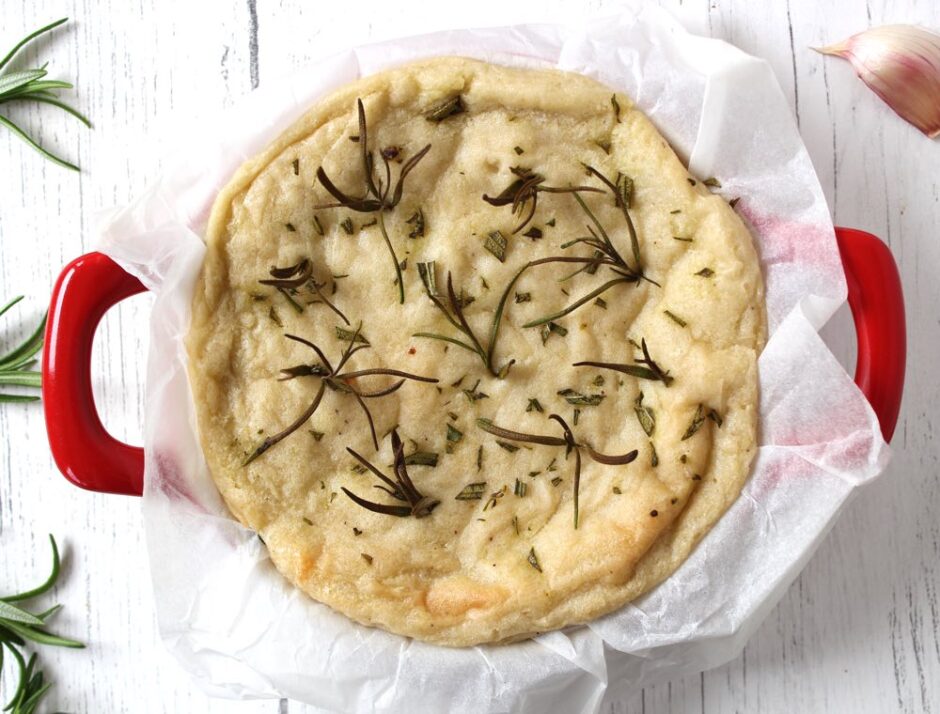
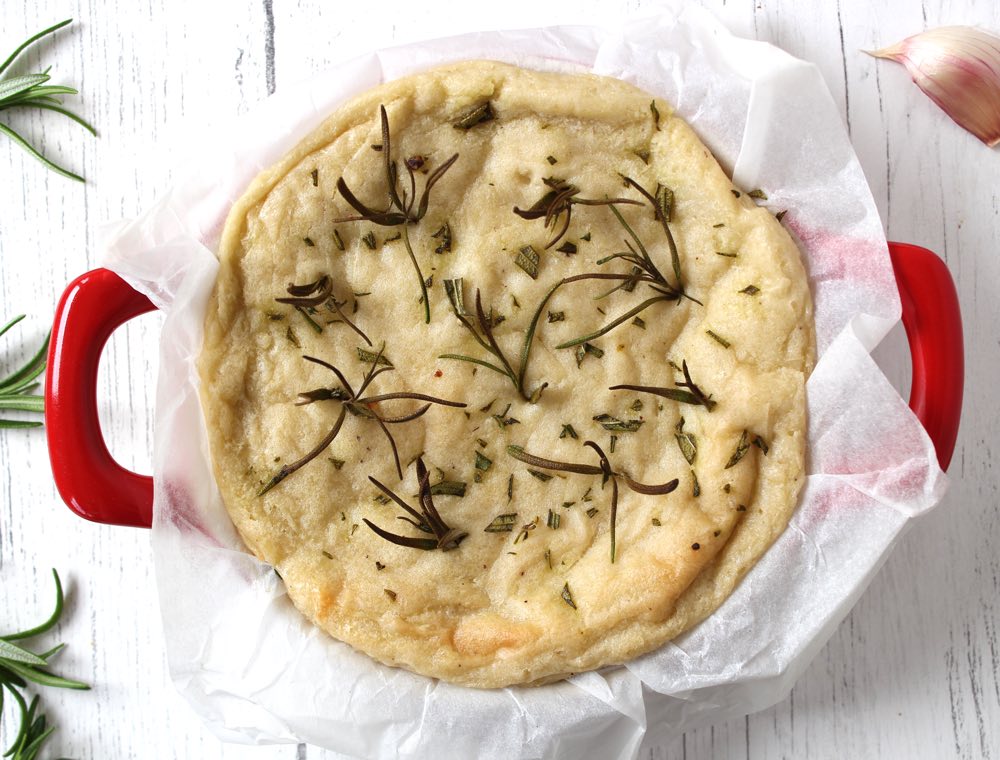
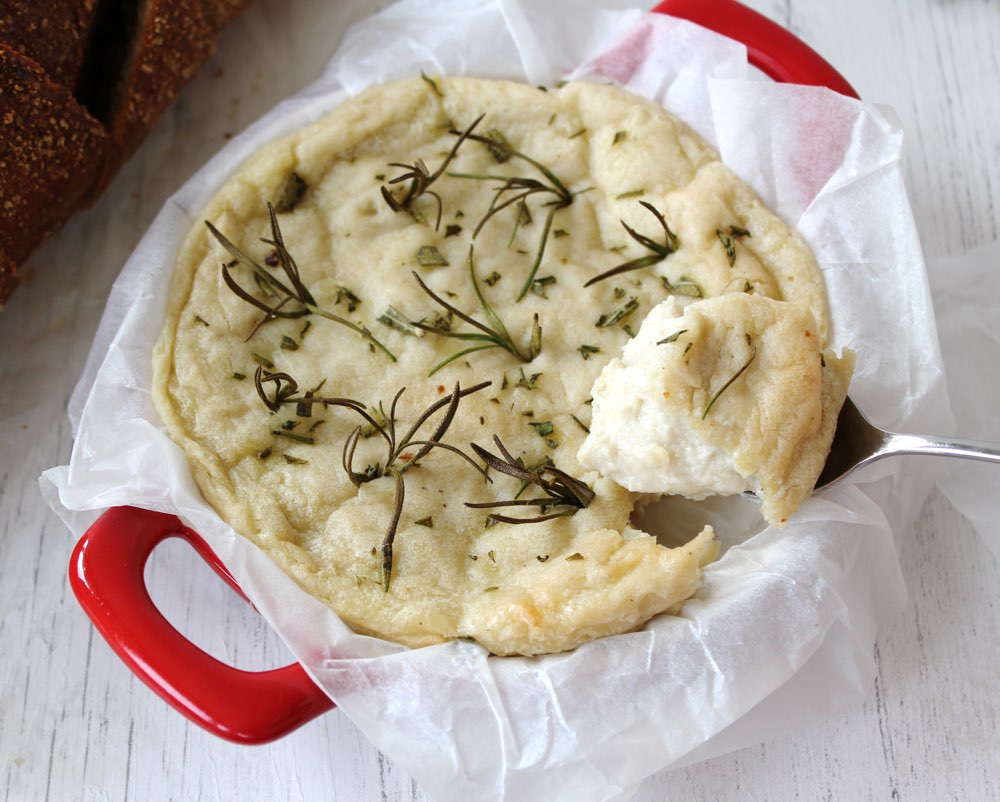
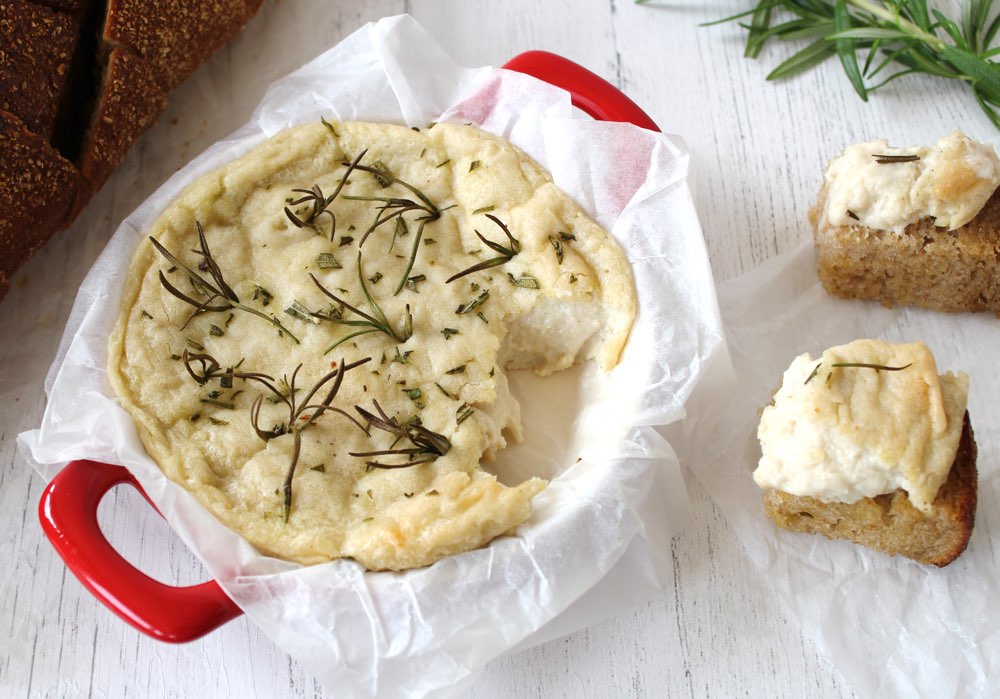
Today, I’m delighted to be sharing a recipe for a delicious vegan camembert-style cheese. When I started food blogging back in 2011, I would never have dreamed that I would be sharing such a recipe but here we are, in 2019, where it’s pretty much possible to veganise anything!! Whether you avoid dairy for ethical, dietary or environmental reasons, this creamy, cashew-based cheese is more than a worthy substitute for traditional camembert. Not only does it taste amazing, but it also has a beautiful texture. As it bakes, it forms a skin on the outside, yet remains soft and gooey in the middle.

Unlike a lot of hand-made cheeses, this one is incredibly quick and easy to make. It takes just 10 minutes hands-on time and is ready to serve in half an hour. It’s also super cheap. I calculated that this cheese cost me just 65p to make, which is way cheaper than any vegan cheeses you’ll find in the shops. 

And while it feels like an indulgent treat, it’s actually good for you! It’s rich in heart-healthy monounsaturated fats, B vitamins and a whole host of minerals, including zinc, manganese, magnesium and iron. Unlike its dairy counterpart, this plant-based camembert contains zero cholesterol as well as significantly less saturated fat. Oh, and most importantly, it’s cruelty-free… no cows were harmed in the making of this cheese 🐮❤️ It’s a winner all round!

Vegan Camembert

The inspiration for today’s recipe was the infamous ‘Camembosh’ which was featured in this month’s Vegan Life magazine (the one with the lovely Henry and Ian from BOSH! on the front cover). I’d been meaning to try this cheese ever since I’d first heard the rave reviews about it on social media, and seeing it in Vegan Life prompted me to dive into the kitchen and get stuck in.

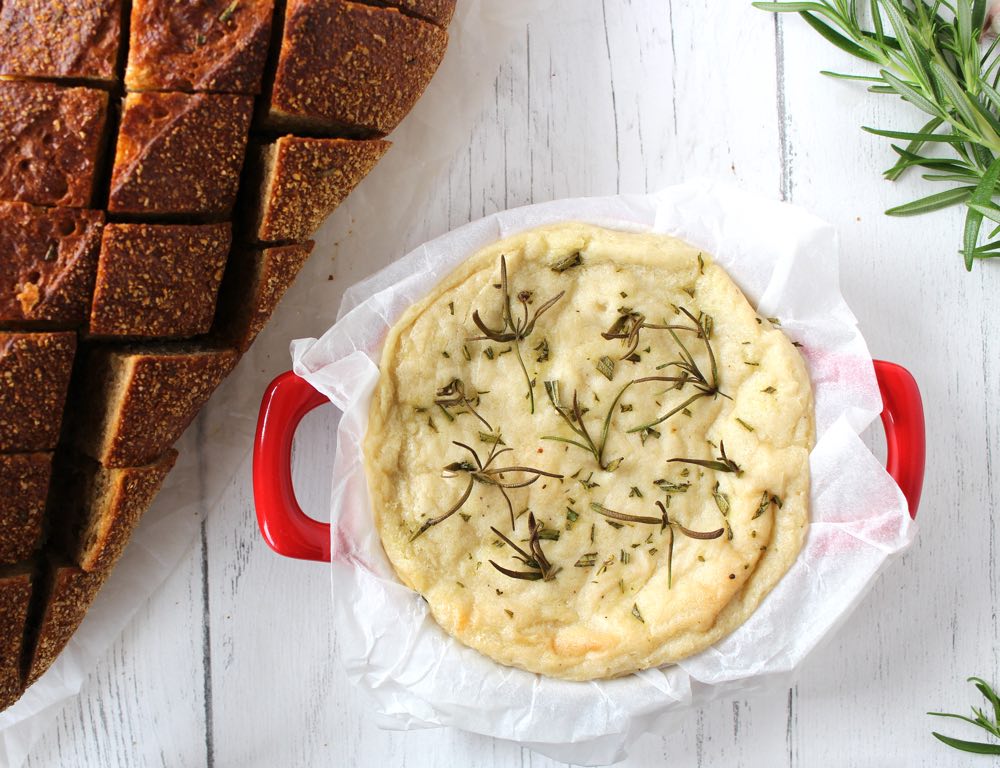
The recipe is actually very similar to the one I use for cashew ‘mozzarella’ which I make for our pizza nights. It is so easy to make! It’s simply a case of blending the ingredients, then heating them in a saucepan and stirring until they become thick and gooey. For the camembert cheese, the mixture gets transferred to a shallow dish and baked in the oven for 20 minutes until it forms a skin. And that’s it! It’s now ready to serve. If you wish, you can warm some bread in the oven at the same time, ready for dipping into the camembert.

Vegan Camembert

The recipe I’m sharing in this post is an adaptation of the Camembosh. The main tweak I’ve made is to reduce the salt. The BOSH! recipe calls for 1½ tsp salt, plus extra for seasoning. A friend who had already tried the cheese recommended reducing the salt quantity as she’d found it very salty. Heeding her advice, we initially reduced the amount to 1 tsp, but we still found it too salty, so in the second batch, we reduced it to ½ tsp. This amount proved to be perfect for us. In the recipe below, I recommend using ½ tsp salt initially, then taste test while the cheese is on the stove. You can always add extra salt at this point, if needed.

I also reduced the amount of garlic compared to the original recipe as I wanted the ‘cheesy’ aspect of the camembert to shine through. Feel free though to add more garlic if you’d prefer a more garlic-flavoured camembert.

Vegan Camembert

Recipe Card

Vegan Camembert

Easy Vegan ‘Camembert Cheese’

This creamy cashew ‘camembert’ is delicious served with warm crusty bread as a weekend treat or when you’re having friends over for ‘drinks and nibbles’. It’s also perfect for picnics, buffets and parties. Any leftovers make a great sandwich filling. We especially love it with slices of sun-dried tomato and chutney.
4.84 from 6 votes
Cook Time 20 minutes
Hands-on Time 10 minutes
Total Time 30 minutes
Course Appetizer, Lunch, Treat
Cuisine French
Servings 2

Ingredients
 

  • 75 g / ½ cup cashews (If you don’t have a power blender, first soften the cashews by soaking them in freshly boiled water for 30 minutes, then drain)
  • 150 ml / ⅔ cup water
  • 2 TBSP tapioca flour (tapioca starch)
  • 1 garlic clove peeled
  • 1 tsp apple cider vinegar
  • 1 TBSP nutritional yeast flakes with B12
  • ½ tsp salt

For Garnish

  • 1 sprig fresh rosemary (highly recommended as it imparts a wonderful flavour to the cheese)
  • freshly ground black pepper (omit if serving to children)

Instructions
 

  • Preheat the oven to 180C / 350F. Line a small shallow dish with baking paper (the dish I use measures approx 11cm x 3cm).
  • Add all the ingredients (except the rosemary and pepper) to a blender and whizz on high speed until smooth.
  • Transfer to a saucepan and cook on medium heat, stirring continuously until it is smooth and has started to thicken (about 2 minutes). Initially, as it warms up, it will go lumpy but don’t worry this is normal. Keep stirring and it will soon smoothen out. Taste test and add a touch more salt, if needed.
  • Pour into the prepared dish and smooth the top. Garnish with rosemary needles (I push some of the needles in whole and finely chop a few to sprinkle). Add some freshly ground black pepper, if desired.
  • Bake for 20 minutes, or until the cheese has formed a skin and is lightly browned round the edges. (You can also warm some bread in the oven at the same time, if you wish).
  • Serve immediately or leave to cool before transferring to an airtight container. It will keep for up to five days in the fridge. Bring to room temperature or re-heat in the oven for a few minutes before serving.

Notes

This recipe has been adapted from the BOSH! Camembosh in BISH BASH BOSH! by Henry Firth and Ian Theasby, featured in Vegan Life magazine Issue 50 (The BOSH! guys credit Ellie from Kinda Co. for the original recipe).
Keyword Dairy-Free, Gluten-Free, Lunchbox Ideas, Oil-Free, Plant-Based, Sandwiches, Vegan Buffets, Vegan Cheese, Vegan Picnics, Vegan Sandwiches
Tried this recipe?Let us know how it was!

Nutritional Breakdown

N.B. The above values are estimates. The actual nutritional values will vary depending on the brands and ingredients used.

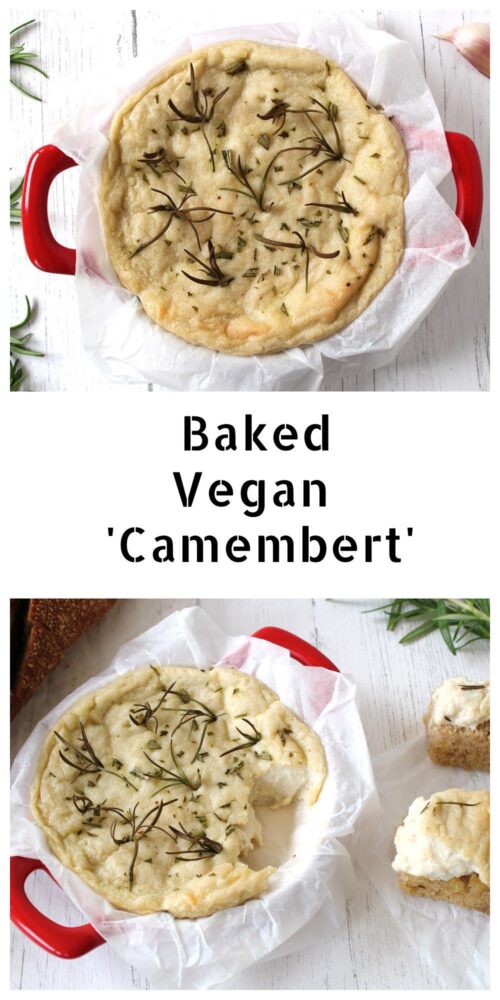
Pin for later ⬇️

Baked Vegan Camembert

If you make this Cashew ‘Camembert’, I’d love to hear your feedback and any suggestions for adaptations! Tag your photos with #bitofthegoodstuff on social media – I always love to see your creations! You can also connect with me on my social media channels here: Instagram, Facebook, Pinterest.   

With love,

Sharon xx


——————————–

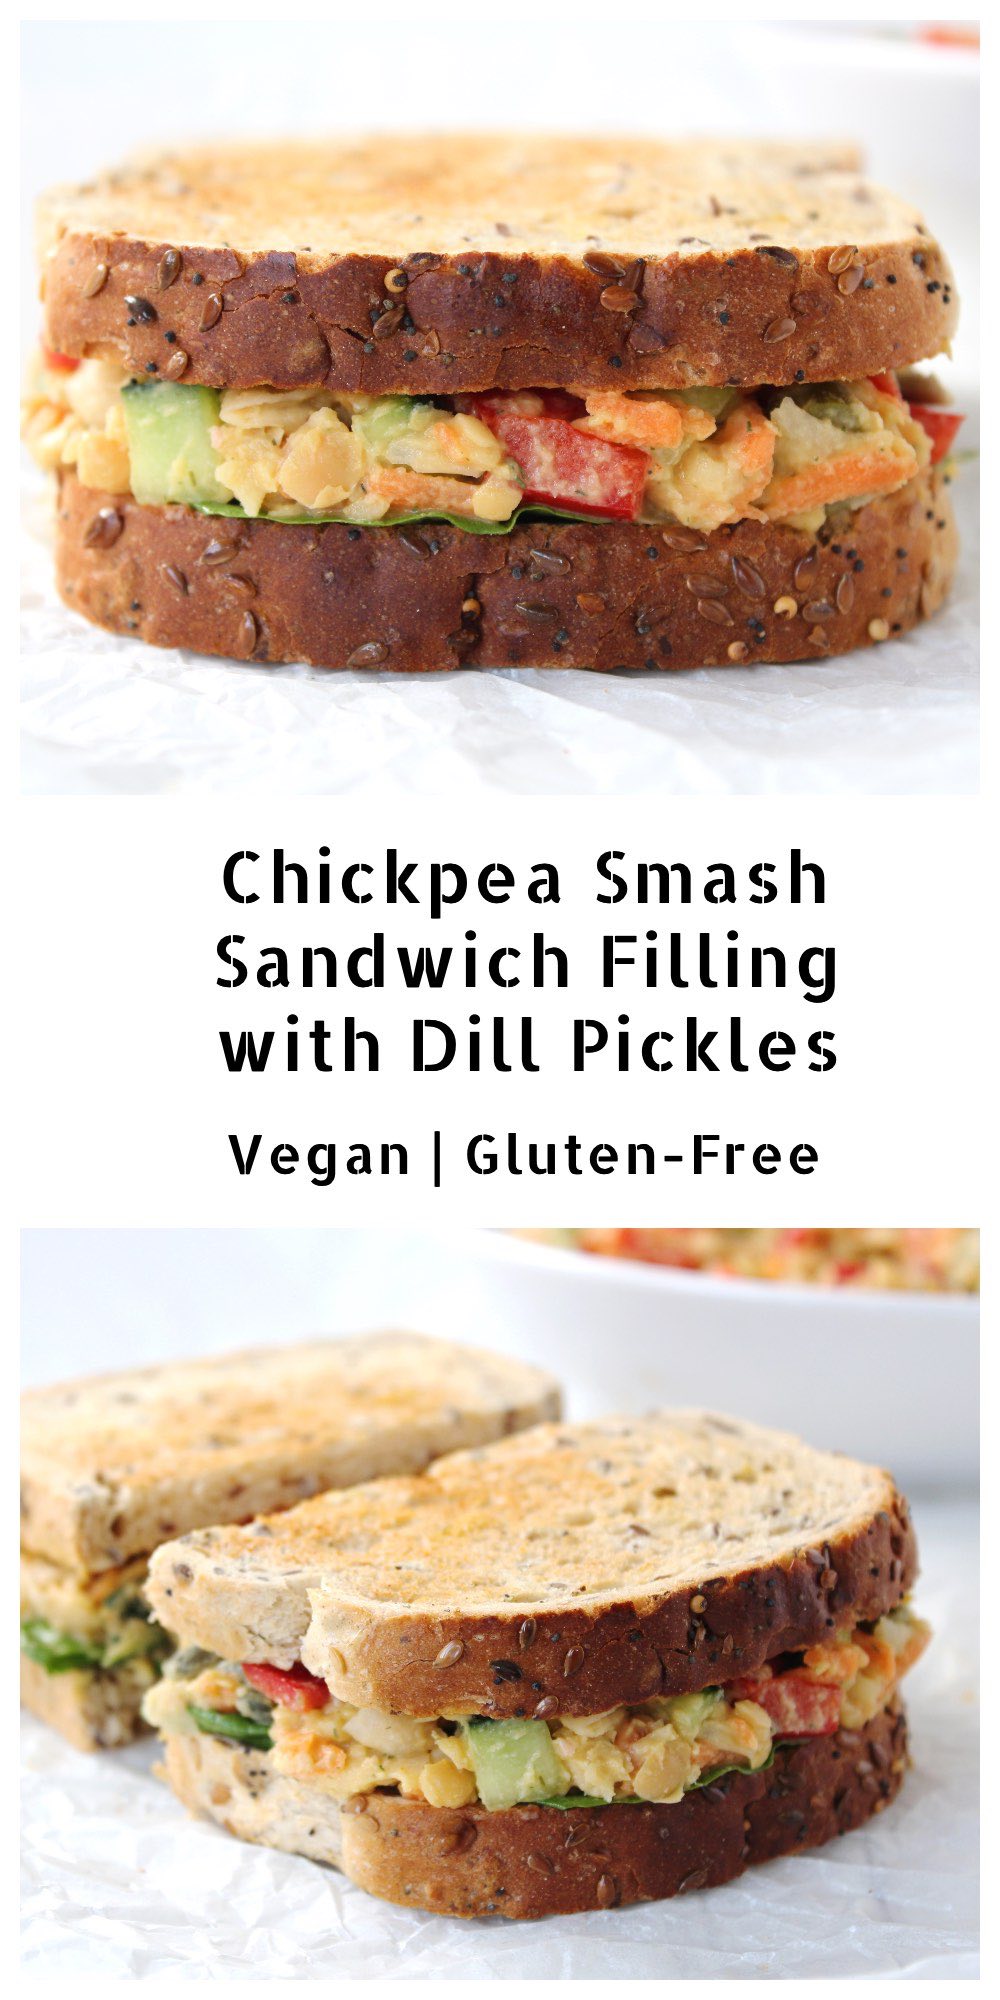
Chickpea Smash with Dill Pickles – Delicious Vegan Sandwich Filling!

Jump to Recipe

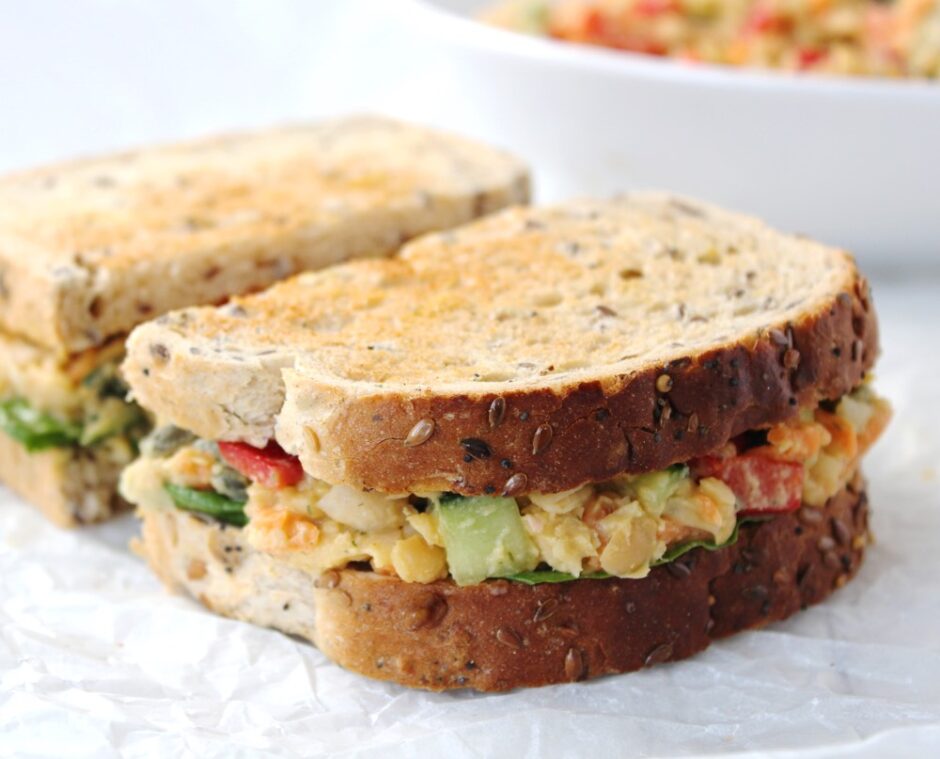
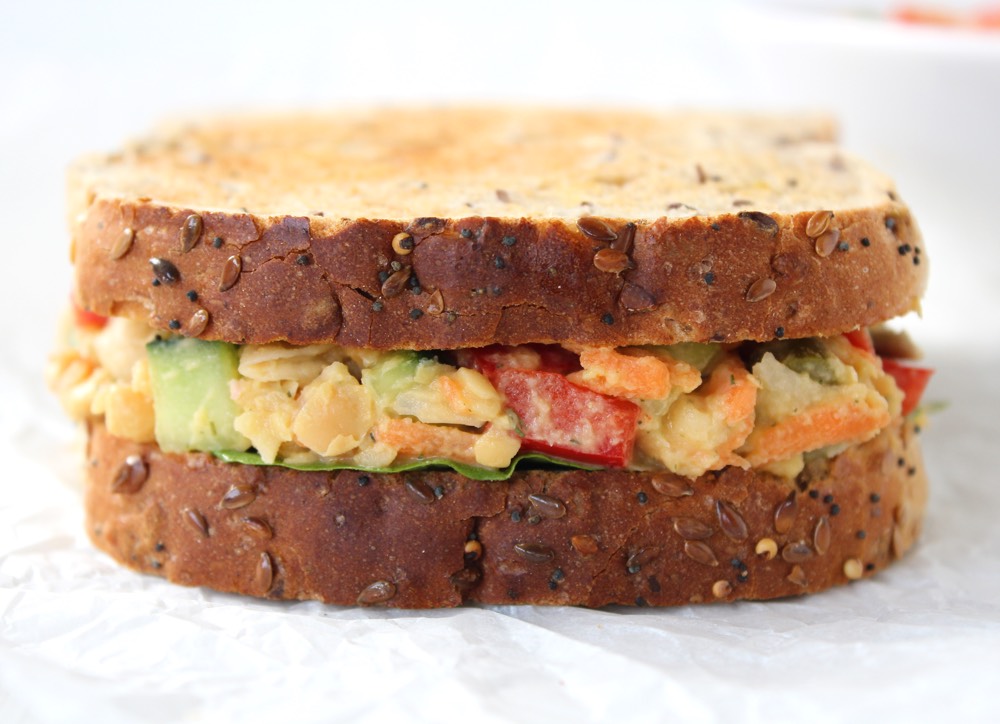
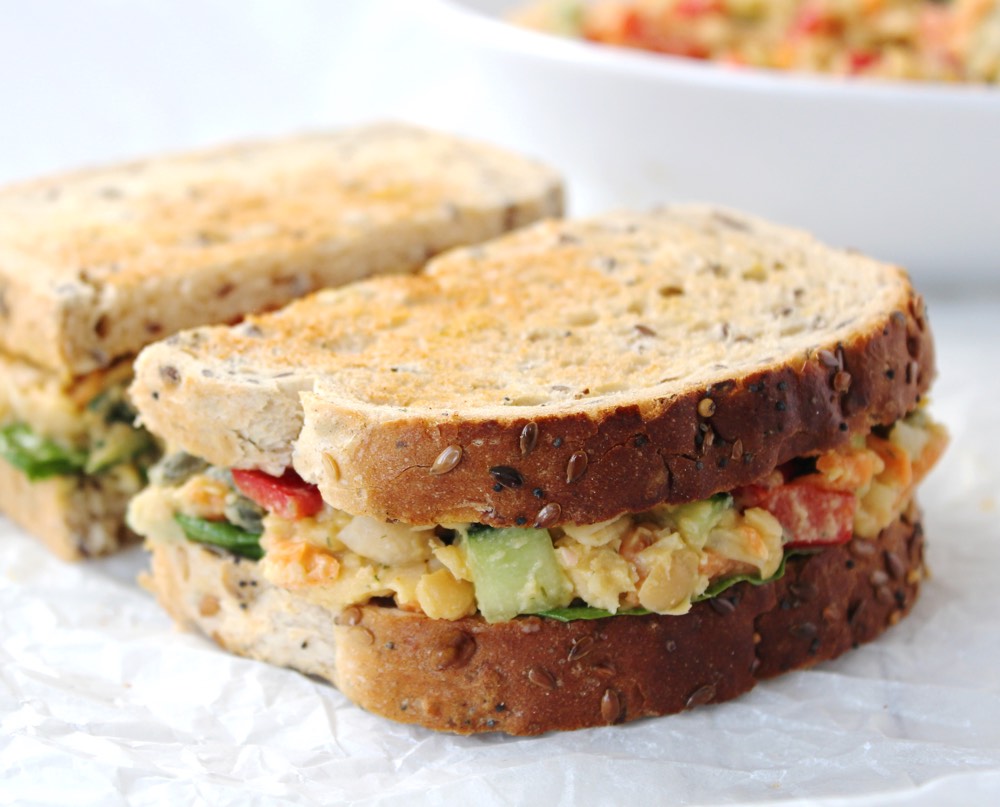
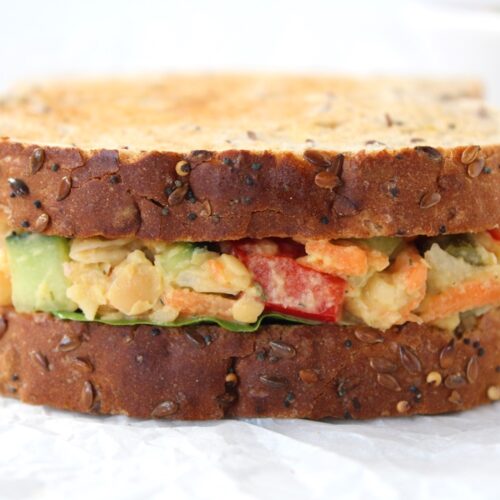
In today’s post I’m sharing a sandwich filling that is tangy, crunchy, creamy and oh so delicious! It reminds me of the Heinz Sandwich Spread that I used to love as a kid in the 80s, but this home-made version is way fresher, tastier and healthier too! 

Chickpea Smash Sandwich Filling (Vegan | Dairy-Free)

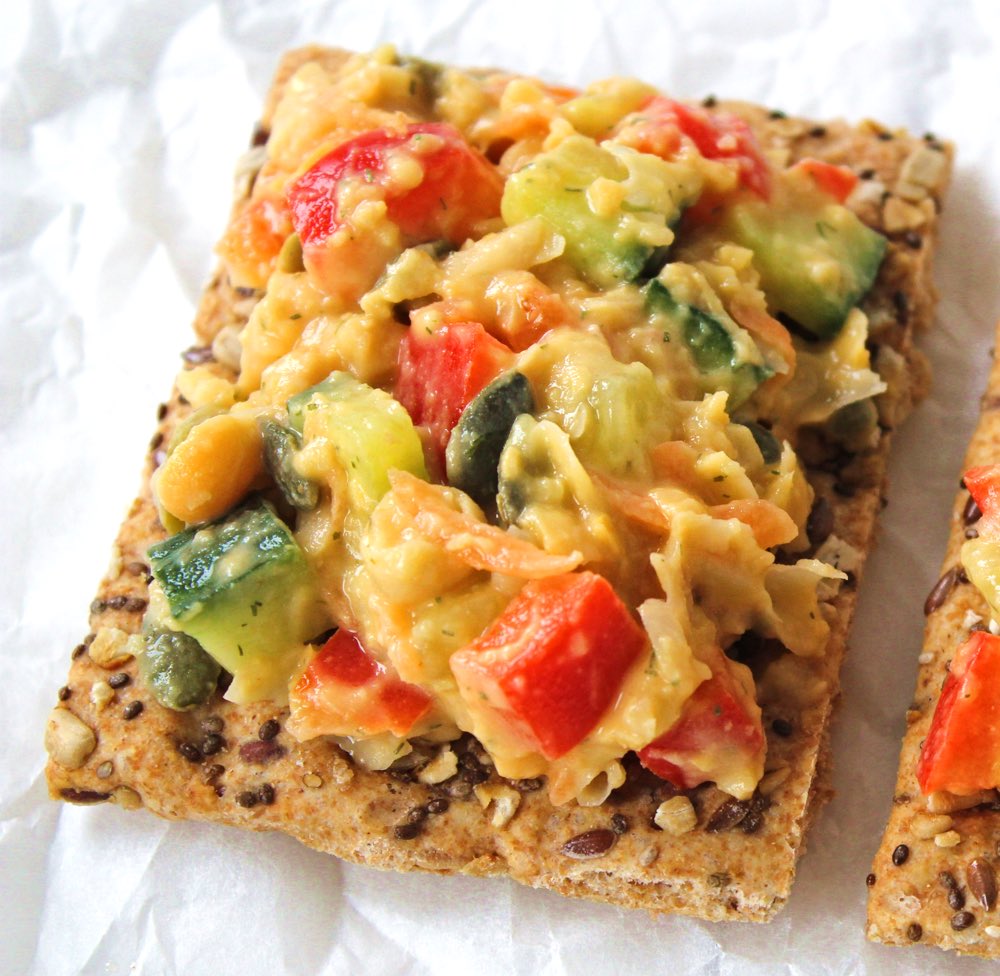
If you’re looking for a new sandwich to liven up school or work lunchboxes, I’d definitely recommend giving this recipe a try. It would also be great for picnics and buffets. As well as a sandwich filling, you can also use it as a topping for crackers. Perhaps even as a jacket potato topper too?

It’s really easy to make and takes around 12 minutes to prepare a large bowl, which will fill about five sandwiches. I tend to make one batch of chickpea smash at the start of the week, which we then use on the following days for Lucien’s school sandwiches, as well as our own.

The inspiration for today’s recipe was this Garden Veggie Chickpea Salad Sandwich from Jenn @ Peas and Crayons which I came across back in 2017, and have been making adapted versions of ever since. Jenn, in turn, credits Angela from Oh She Glows for inspiring her recipe, so it sounds like Angela is the original recipe creator. I’d like to thank both Jenn and Angela for inspiring the recipe I’m sharing today and for giving my family so much sandwich joy these past couple of years!

This recipe is highly versatile, so feel free to switch up the ingredients. I would definitely recommend keeping the dill pickles in though, as they give this recipe its signature tangy, crunchy bite. In England, dill pickles are called ‘gherkins’. It’s such a funny name isn’t it? Even funnier, my mum still calls them by their old slang name ‘Wallies’. Personally, I prefer to call them dill pickles as it sounds much more appealing to me than gherkins or wallies. How about you? What do you call them?

Recipe Card

Chickpea Smash Sandwich Filling (Vegan | Dairy-Free)

Chickpea Smash Sandwich Filling with Dill Pickles

This tangy, crunchy, creamy chickpea smash is perfect as a sandwich filling for school or work lunchboxes, as well as picnics and buffets. The quantity below fills about five sandwiches.
5 from 7 votes
Hands-on time 12 minutes
Total Time 12 minutes
Course Lunch, Snack
Servings 5

Ingredients
 

  • 400 g / 14 oz can chickpeas rinsed and drained
  • 140 g / 1 cup cucumber finely diced
  • 1 medium carrot (66g), grated
  • 1 small red bell pepper or romano pepper deseeded and finely diced
  • 75 g / ½ cup dill pickles or gherkins sliced
  • 2 TBSP pumpkin seeds
  • 4 TBSP vegan mayonnaise*
  • 1 tsp Dijon mustard
  • ¼ tsp dried dill
  • pinch of salt

Instructions
 

  • Placed the drained chickpeas in a large bowl and roughly mash with a potato masher.
  • Add all the remaining ingredients and stir through until fully combined. Taste test and adjust the seasoning to suit.
  • Stored in an airtight container in the fridge, this chickpea smash will keep for three days.

Notes

* I use this Home-Made Sweet Chilli Mayonnaise It’s so cheap and easy to make! If you prefer to use a ready-made mayonnaise, both Vegenaise and Hellmans Vegan Mayo are now available in many of the major supermarkets in the UK, as well as the independent health food shops.
 
Keyword Family Friendly, Gluten-Free, Plant-Based, Vegan Buffets, Vegan Picnics, Vegan Sandwiches, Vegan Snacks
Tried this recipe?Let us know how it was!

Nutritional Breakdown

N.B. The above values are estimates. The actual nutritional values will vary depending on the brands and ingredients used.

Pin for later ⬇️

If you make this Chickpea Smash, I’d love to hear your feedback and any suggestions for adaptations! Tag your photos with #bitofthegoodstuff on social media – I always love to see your creations! You can also connect with me on my social media channels here: InstagramFacebook, Pinterest.   

With love,

Sharon xx

——————————–