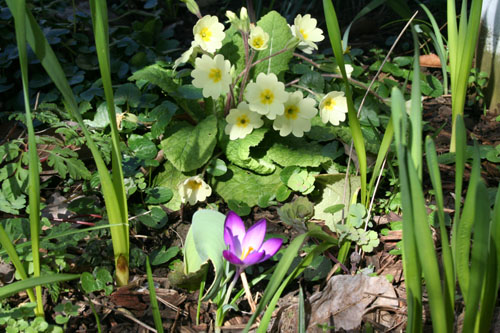
Spring is here at last! And so comes the time for Spring cleaning and de-cluttering. It’s amazing how quickly we can fill our homes, regardless of how small or large they are!
Today, I am absolutely delighted to share a guest post from Catriona Archer ♥ Based in Bath, Catriona offers hand-on practical and creative styling solutions to maximize a home or business space’s full potential. Here are some of her tried and tested de-cluttering tips to help us get going…
#1 Re-purpose / Up-cycle
Our possessions only become clutter when they no longer serve a purpose. This cushion cover was made using a dress that was no longer worn, after decluttering a client’s wardrobe, thereby re-purposing an item that held happy memories.
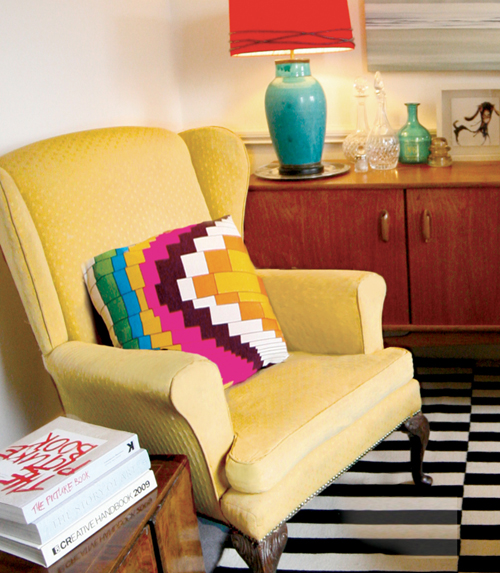
[Source: catrionaarcher.com]
#2 Keep it together!
Always store like-with-like. It’s a sure-fire way of finding what you’re looking for quickly and avoiding buying items twice (because we forgot that we had it already!) It also makes clearing away so much easier.
#3 Get creative
Storage needn’t be expensive. A row of jam jars or adapted milk cartons can be just as satisfying to look at and use as something you can buy in the shops.
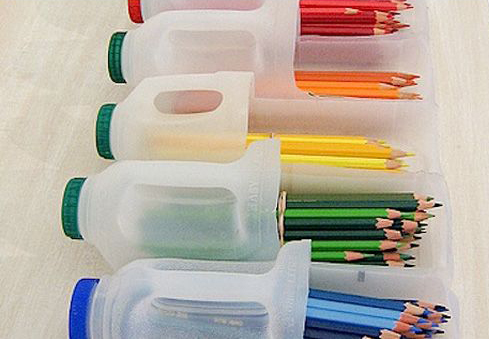
[Source: makezine.com/craft]
#4 Get personal!
Give each person in the household a storage basket or a personalised cloth-bag hung near the stairs: Any loose odds and ends belonging to that person can be deposited there. Make it a regular weekly habit for each person to clear it out and put it away!
#5 It’s behind you!
The backs of doors are a fantastic way of storing smaller items. When decluttering and styling peoples houses, I often use hanging shoe organisers on the inside of cupboard doors… Useful for small bathrooms, kitchen cleaning products, bedrooms… actually, ANYWHERE in the house can benefit from this! The beauty of it is that it is easily accessable, discreet and leaves surfaces clutter-free. Clear shoe pockets are also available, should you need to store smaller items.
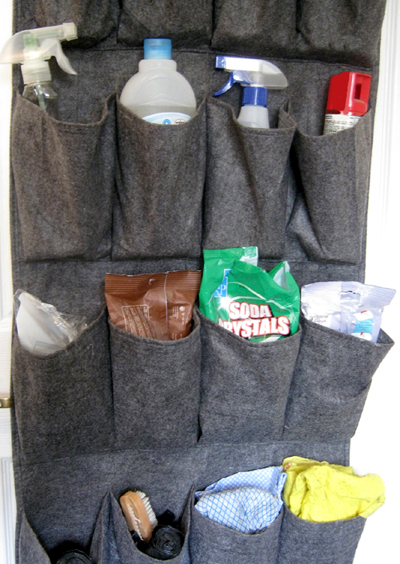
[Source: catrionaarcher.com]
#6 Maximise your Storage
Does your open and closed storage maximize the space? By simply adjusting the height of our shelves to work exactly at the right height required for the items on them, allows for extra shelves to be added and even more surface-clutter to be removed!
#7 Think Vertically
It’s amazing how much wall space is underused. The trick is to use one wall as the focal point in the room and leave another full wall empty, to give the room breathing space. Here, a simple mesh grid from a building merchants holds everything from pictures to scissors, through paper clips and S-hooks.
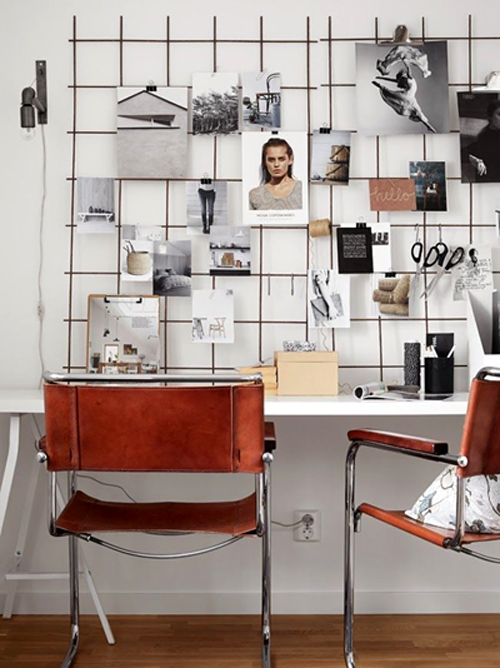
[Source: www.stilinspiration.blogspot.se]
#8 Address your Wardrobe
There’s a saying… “We wear 20% of our wardrobes 80% of the time”. We all know that tastes change over time, as does our body shape! The only way of really tackling the wardrobe and drawers is by putting like-with-like together (all jeans, all t-shirts etc.) and get a realistic idea of what you actually have. Setting aside a short, pre-set amount of time with an alarm clock (and a trusted friend if required) is the best way to make a start… I find 1 hour does the trick for the initial session. Remember: You don’t have to do it all in one go!
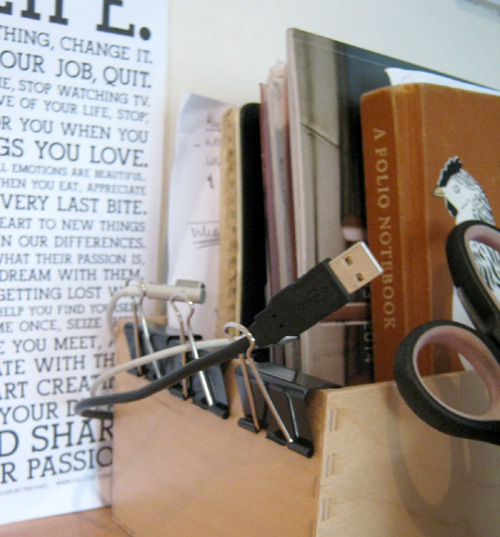
#9 Bulldog clips and Velcro
Is there anything these two bad-boys can’t do? Here is an ingenious way of using bulldog clips to organise office wires. I have also used bulldog clips to hold vinyl record covers as art-work on a living room wall (see my website gallery). Velcro is a great way of keeping items/wires off the floor and maximizing storage space on the side/bottom of a piece of furniture. Most Hardware stores now sell velcro and hooks on a glue-free, removable backing.
 [Source: catrionaarcher.com]
#10 Use it, Mend it or Lose it!
A final note… An item that served a purpose in the past becomes clutter when it no longer serves a purpose for your present and future. Mend, re-sell, organise a Swap Shop with friends, advertise it on Free-cycle.org or donate unwanted items to Charity. The satisfaction of a de-cluttered, well organised space is so rewarding and works on so many levels in improving our lives. But letting go of our attachment to certain items and allowing someone else to benefit from it is, I think, the best incentive of all.
Thank you so much Catriona for sharing your tips ♥ I’ll definitely be putting them to good use this weekend!
For full details of Catriona’s services, check out her website. You can also connect with her on Twitter @catrionaarcher.
Are you planning on a Spring clean?
Do you have any of your own ‘tried and tested’ tips?
If so, I’d love to hear them!
Have a great weekend everyone! xx


")