Herby Tofu ‘Cream Cheese’ (Easy High Protein Vegan Spread)

Jump to Recipe

First published 2019. Refreshed in July 2026.


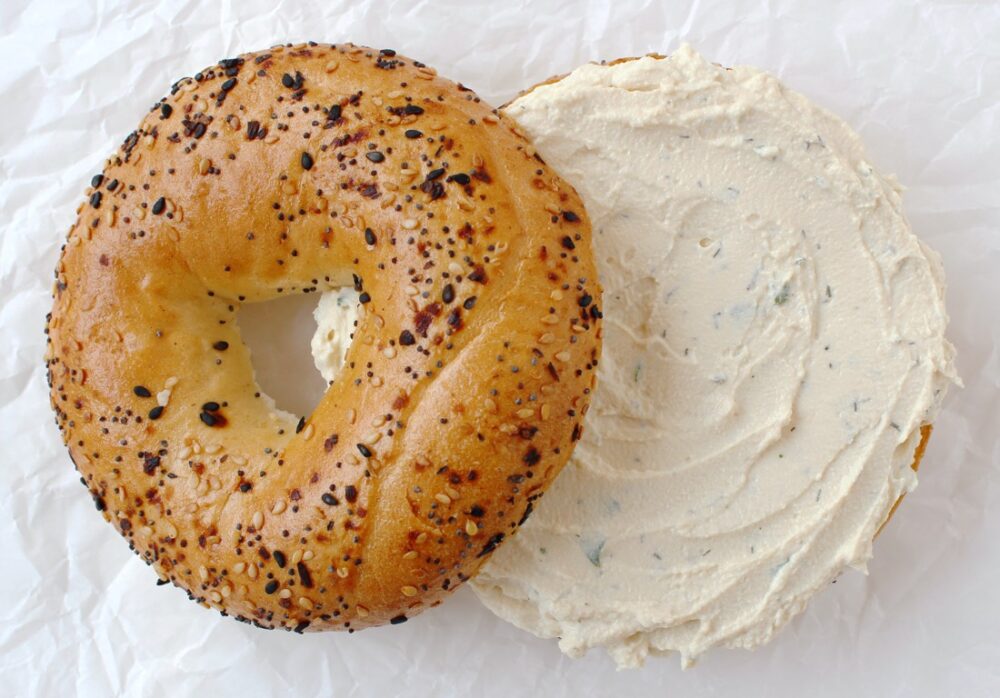
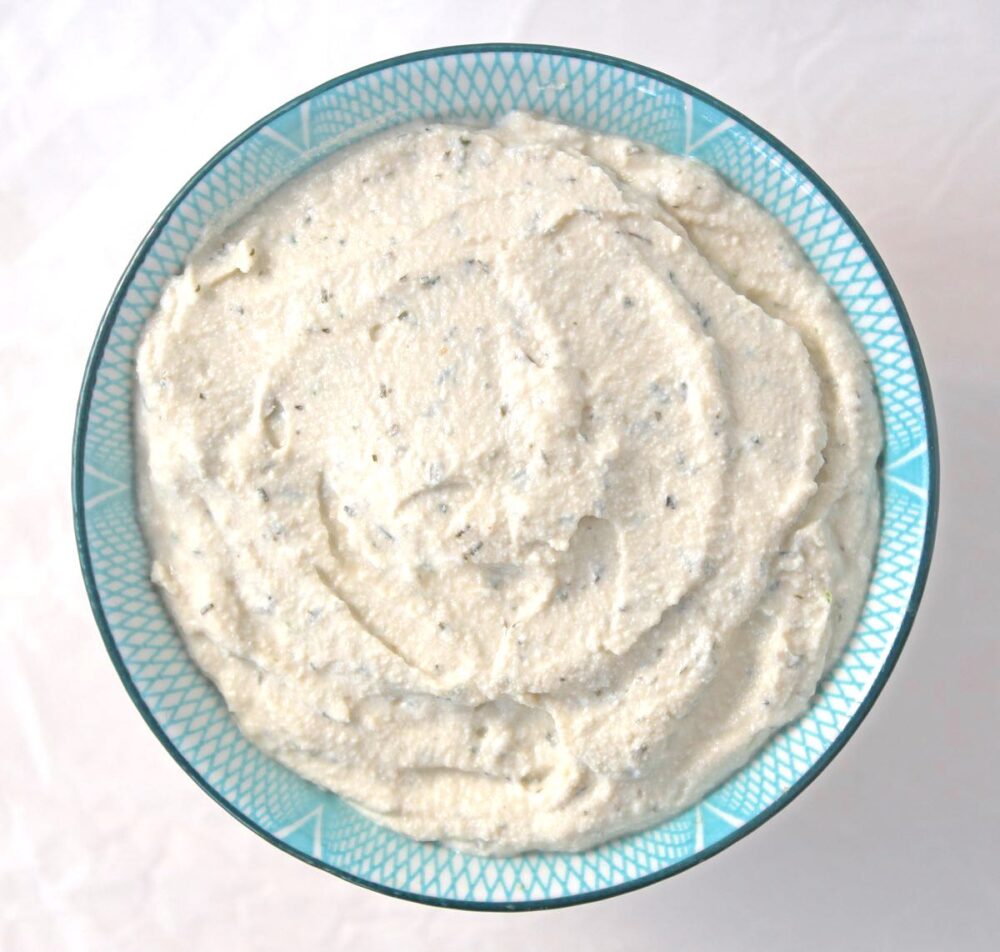
If you’re looking for a creamy vegan spread that’s quick to make, naturally high in protein and wonderfully versatile, I think you’re going to love this Herby Tofu ‘Cream Cheese’. Made with simple, everyday ingredients, it takes just 10 minutes to prepare and is perfect for bagels, toast, sandwiches and crackers.

I’ve actually been making this recipe since I first went plant-based back in 2011, long before vegan cream cheeses became widely available in UK supermarkets. It’s wonderful to see that there are now some lovely shop-bought options to choose from (Violife is a favourite!), but I still find myself coming back to this home-made version time and time again. 
Herby Tofu Cream Cheese

Made with wholesome ingredients like tofu, fresh herbs and white miso, it’s naturally high in plant protein and lower in saturated fat than many shop-bought alternatives. Knowing exactly what’s in it means I can happily slather it onto bagels and toast to my heart’s content!

One of my favourite things about this recipe is how adaptable it is. You can use whatever fresh herbs you have on hand and tweak the flavour to suit your taste. My favourite combination is fresh basil with a sprinkling of dried dill, but fresh chives with onion powder also make a delicious combination. A sprinkling of crispy onions is lovely too.

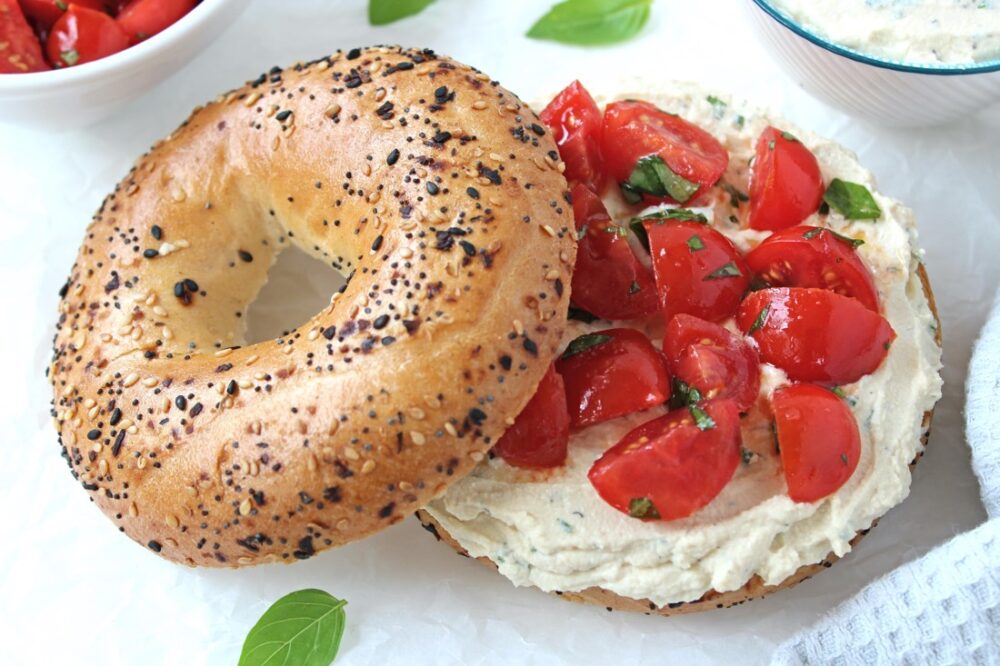
Herby Tofu Cream Cheese Bagel


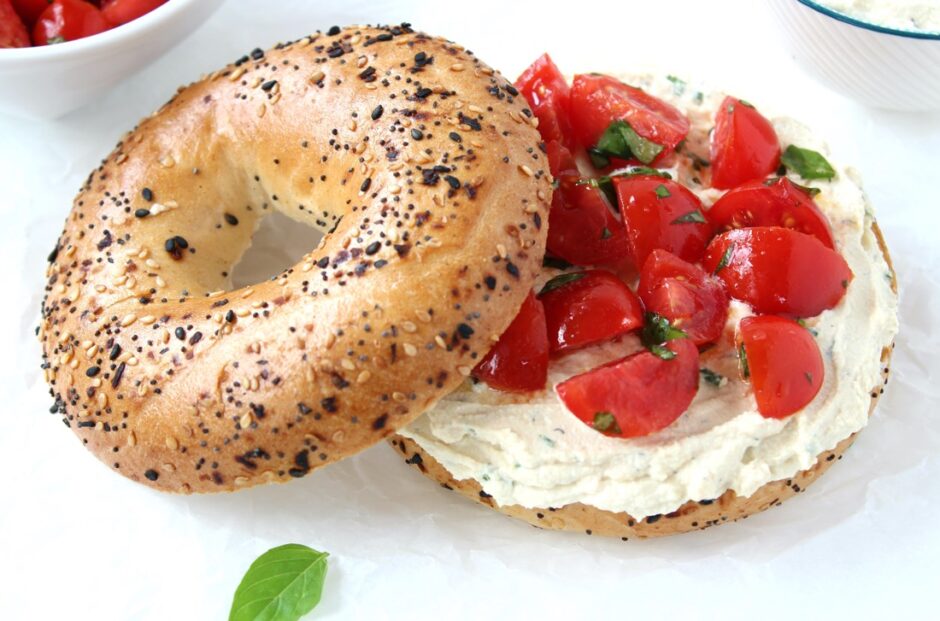
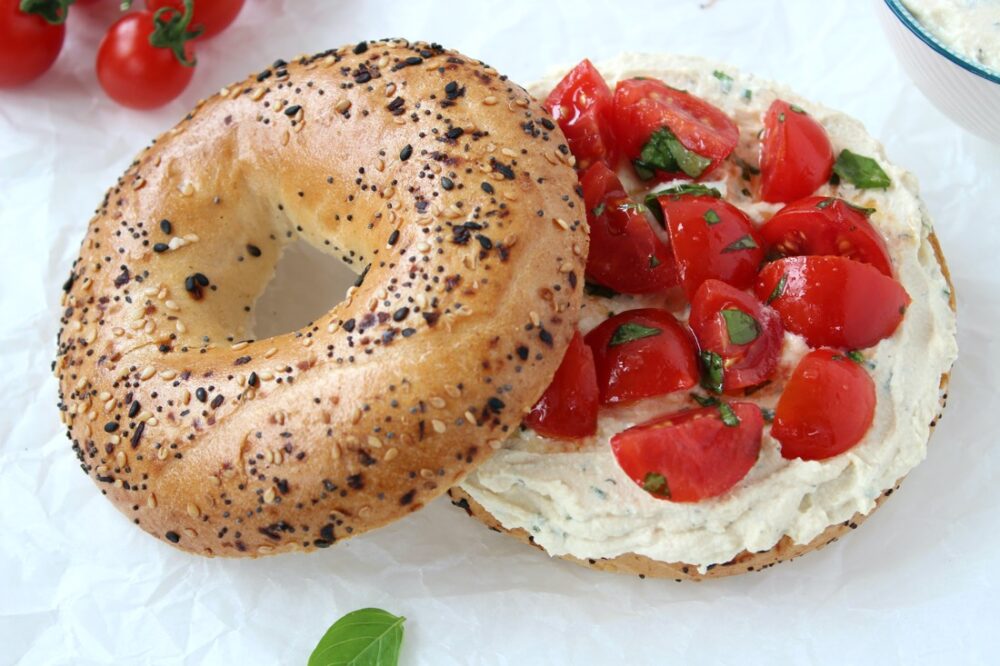
This summer, I’ve especially loved spreading this herby tofu ‘cream cheese’ onto a toasted seeded bagel or baguette, then topping it with sweet, vine-ripened cherry tomatoes, fresh basil, a drizzle of extra virgin olive oil and a pinch of salt. It’s one of those simple meals I never seem to tire of, equally perfect for a leisurely lunch or a no-cook dinner enjoyed in the garden on a warm summer evening.
Herby Tofu Cream Cheese Bagel

It also makes a fantastic sandwich filling for lunchboxes, and is one of my favourite ways to add a little extra plant protein to a packed lunch.

Quick, easy, budget-friendly and with no fancy equipment required, this Herby Tofu ‘Cream Cheese’ fits perfectly into my 3 Healthy Meals for £3 a Day series, where I share simple, quick, affordable and delicious plant-based recipes for everyday life.


Cost Breakdown

Herby Tofu ‘Cream Cheese’

  • 200g / 7 oz firm tofu (Tesco Plant Chef) – £1.26
  • ½ TBSP white miso (Miso Tasty) – 13p
  • 1 TBSP cider vinegar (Tesco) – 11p
  • 1 TBSP olive oil (Tesco) – 10p
  • 2 TBSP fresh basil (Tesco) – 9p

Served with:

  • 2 bagels (New York Bakery) – 84p

Total cost: £2.53

Cost per serving: £1.26

Prices are correct as of July 2026, and are based on Tesco prices as that’s where I currently do my main grocery shop.


The Good Stuff

Tofu forms the creamy base of this spread and is naturally rich in plant protein, healthy unsaturated fats, and minerals such as iron, calcium, and magnesium. Tofu contains beneficial compounds called isoflavones that have antioxidant and anti-inflammatory properties, and may also support hormonal balance.

Fresh herbs don’t just make this cream cheese taste vibrant and fresh – they’re also packed with protective plant compounds called polyphenols, which help support our overall health. Whether you choose basil, chives or dill, each herb brings its own unique flavour and nutritional benefits.
Herby Tofu Cream Cheese Bagel


Top Tips & FAQs

What type of tofu is best for this recipe?
Firm tofu gives the creamiest texture and is my first choice for this recipe. Here in the UK, Cauldron Authentic Tofu is one of the most widely available brands, and most supermarkets also sell their own-brand firm tofu.

Extra-firm tofu (such as Tofoo) also works well, though it creates a slightly firmer texture that can be a bit grainier. I recommend adding a touch more oil and blending for a little longer to create a silky smooth spread.

Silken tofu isn’t suitable for this recipe as it contains too much water.

Do I need to press the tofu?
No. Simply drain the tofu, give it a gentle squeeze to remove any excess water, then pat it dry with a clean tea towel or kitchen paper before blending.

What is white miso and where can I buy it?
White miso (also known as shiro miso) is a traditional Japanese fermented seasoning made from soybeans and rice. It has a milder, slightly sweeter flavour compared to other misos, making it perfect for this recipe. It adds a wonderful savoury depth (known as umami) that really brings this ‘cream cheese’ to life, while allowing the fresh herbs to shine. A little goes a long way, so just half a tablespoon is enough to transform this spread.

Here in the UK, you can find white miso in many larger supermarkets (in the Japanese section of the world food aisle), health food shops and Asian supermarkets. I often use Miso Tasty Organic White Miso, which I buy from Tesco or Waitrose.

Can I use lemon juice instead of apple cider vinegar?
Yes, you can. Lemon juice gives a slightly brighter citrus flavour, whereas I prefer the cleaner tang of apple cider vinegar. After lots of recipe testing, the vinegar version is the one I keep coming back to.

Can I make this recipe without a food processor?
Yes, absolutely! I often make it using a stick blender and bowl. It works brilliantly and is much quicker to wash up! 

Is this recipe gluten-free?
Yes, it can be! Just check your white miso is gluten-free (most are, but it’s always worth checking the label) and serve with your favourite gluten-free bread, bagels or crackers.


Recipe Card
Herby Tofu Cream Cheese Bagel

Herby Tofu ‘Cream Cheese’

This creamy, herby tofu 'cream cheese' is naturally high in protein, ready in just 10 minutes and wonderfully versatile. Try basil, chives, dill or your own favourite combination of herbs. Perfect for bagels, toast, sandwiches and crackers.
Hands-on Time 10 minutes
Total Time 10 minutes
Course Breakfast, Brunch, Light Dinner, Lunch, Lunchbox, Snack
Cuisine Plant-Based
Servings 2

Ingredients
 

  • 200 g / 7 oz firm tofu (see Notes)
  • ½ TBSP white miso
  • 1 TBSP apple cider vinegar (or substitute with fresh lemon juice)
  • 1 TBSP neutral-flavoured oil (such as light olive, rapeseed or sunflower oil)
  • ¼ tsp salt or to taste
  • 2 TBSP finely chopped fresh herbs (or more!), such as basil, chives or dill

Optional flavour add-ins

  • ¼ – ½ tsp onion powder or granules
  • ¼ – ½ tsp garlic powder or granules
  • ¼ tsp dried dill (my favourite!)

Instructions
 

  • Drain the tofu, gently squeeze out any excess water, then pat it dry with a clean tea towel or kitchen paper.
  • Break the tofu into chunks and place it in a food processor. Add the white miso, vinegar, oil and salt, then blend until smooth and creamy, stopping to scrape down the sides as needed. (Alternatively, use a stick blender and a bowl.)
  • Blend in any optional flavour add-ins, if using.
  • Taste and adjust the seasoning if needed. You may wish to add a little more salt or vinegar/lemon juice to suit your taste.
  • Fold through the chopped fresh herbs.
  • This herby tofu ‘cream cheese’ can be eaten straight away, but it is best chilled for a couple of hours to allow the flavours to meld. When chilled, the texture will also thicken up slightly.

Notes

Tofu: Firm tofu gives the creamiest texture, though extra-firm tofu works well too. If using extra-firm tofu, you may wish to add a little extra oil and blend for longer to achieve a creamier consistency.
Storage: For the best flavour and freshness, store in an airtight container in the fridge and enjoy within 2 days (or according to the storage instructions on your tofu packaging).
Keyword Budget Vegan Meals, Healthy Plant-Based Recipes, High Protein Vegan Spread, Quick Vegan Lunch, Tofu Cream Cheese, Vegan Cream Cheese
Tried this recipe?Let us know how it was!


Nutritional Breakdown

N.B. The above values are estimates and for illustration purposes only. The actual nutritional values will vary depending on the specific ingredients used. The % Reference Intake (RI) will also vary depending on your age, gender, height, BMI, level of activity and other personal variables.


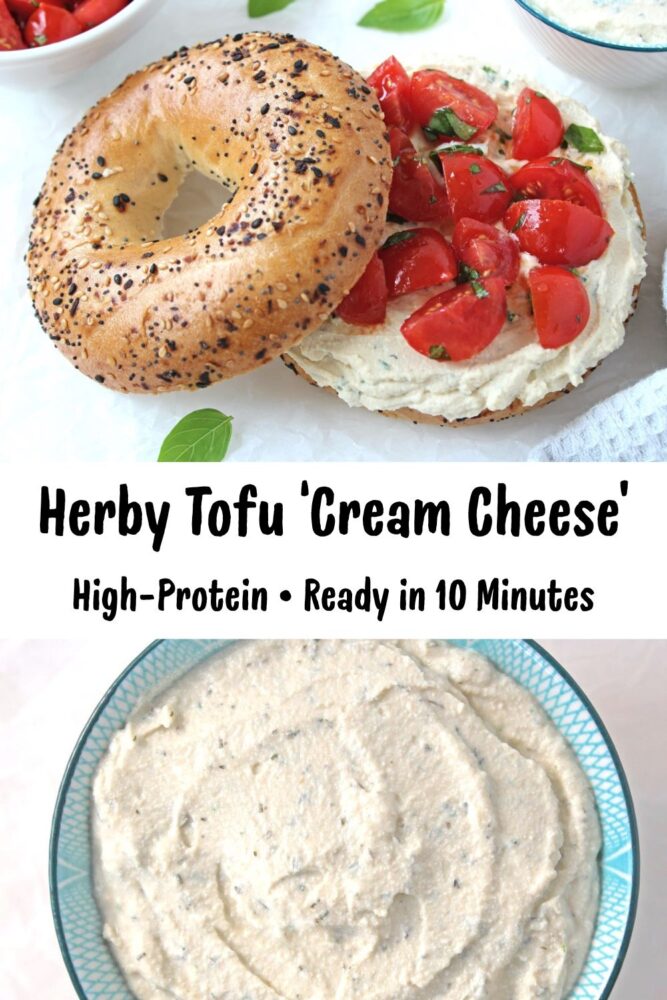
Pin for Later ⬇️
Herby Tofu Cream Cheese Pinterest Collage


More Tofu Recipes You Might Like

Tofu is such a versatile ingredient! If you enjoyed this recipe, you might like these other simple tofu creations:


If you give this Herby Tofu ‘Cream Cheese’ a try, I’d love to hear how you flavoured yours! Did you use my favourite basil and dill combination, or create your own? Let me know in the comments below. I always enjoy hearing your ideas.

And if you make this recipe, I’d love to see your creations! ❤️ Don’t forget to tag me using @goodstuffsharon or #bitofthegoodstuff on Instagram. You can also connect with me on Facebook and Pinterest.   

With love,

Sharon xx
Golden Pan-Fried Chickpeas (Quick Savoury Soup Topping)


Refreshed March 2026. Originally published 2018.

Jump to Recipe

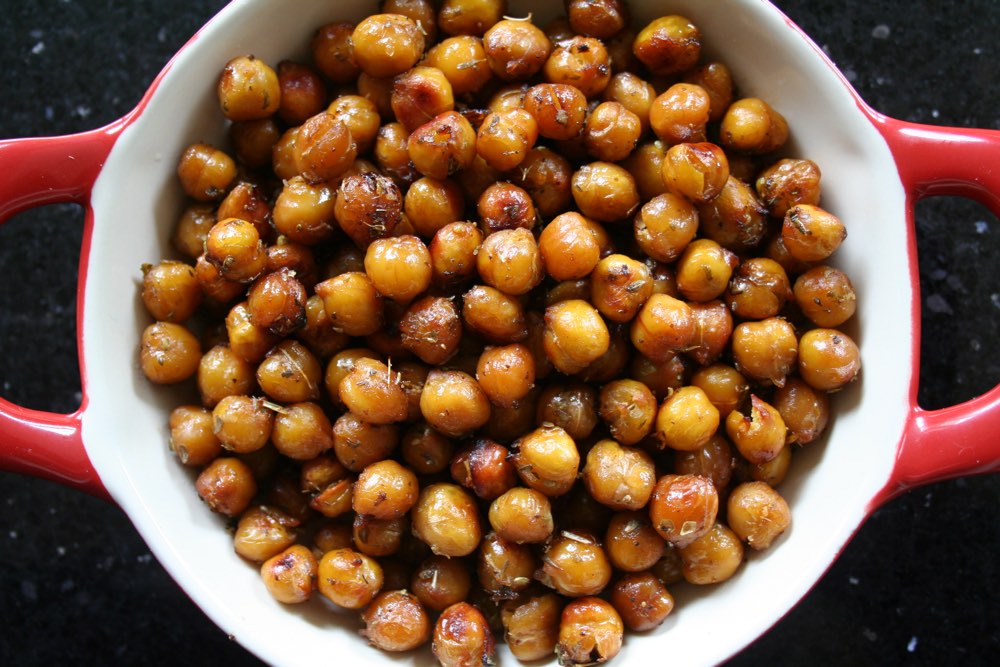
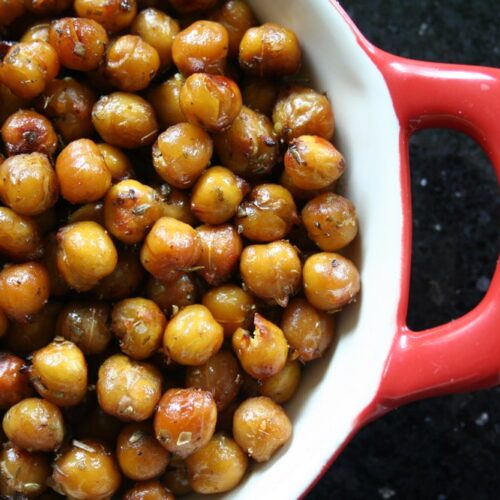
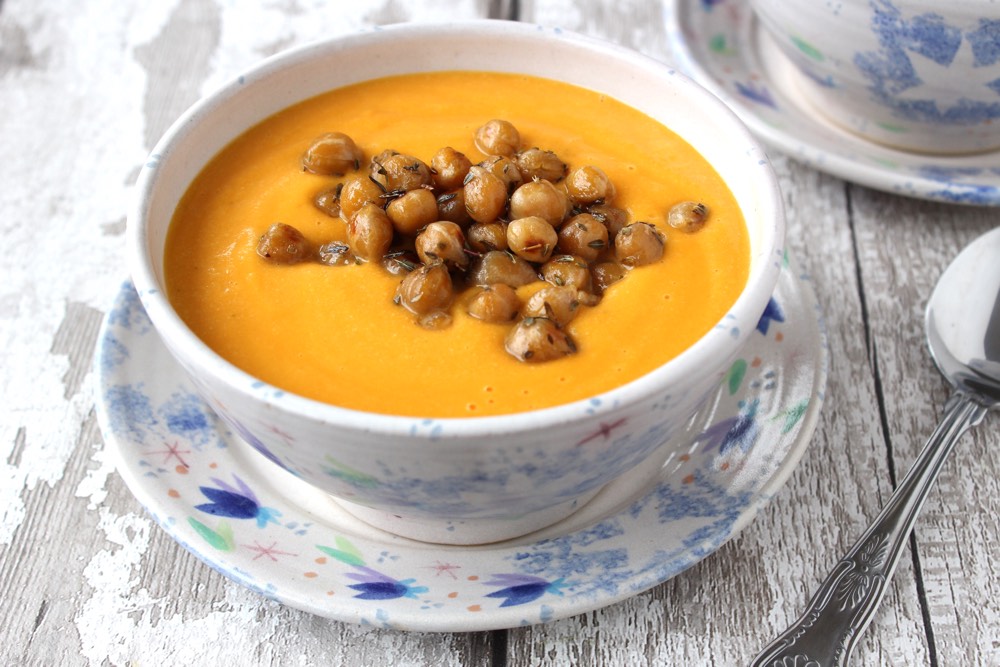
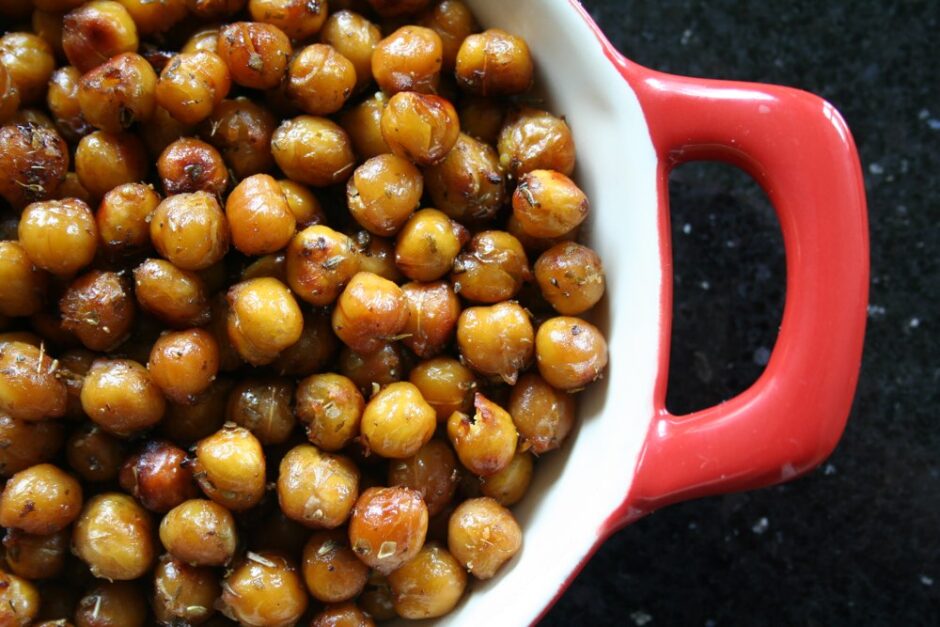
These golden pan-fried chickpeas are one of my favourite ways to transform a simple bowl of soup into a truly satisfying meal. Lightly glazed with soy sauce and a touch of maple syrup, they’re savoury, gently caramelised, and beautifully golden. We most often sprinkle them over creamy soups, such as our Cream of Mushroom Soup or Creamy Broccoli Soup, but they’re equally perfect for serving as a warm snack, straight from the pan.

Maple Glazed Chickpeas

I absolutely love chickpeas and eat them most days in some shape or form. The fact that they’re packed full of nutritional goodness makes me love them even more! They’re a good source of plant protein, dietary fibre, B vitamins and a whole array of minerals, including manganese, magnesium and iron. Chickpeas also contain an abundance of antioxidant phytonutrients, including flavonoids and phenolic acids, which boost the immune system and reduce inflammation.

Maple Glazed Chickpeas

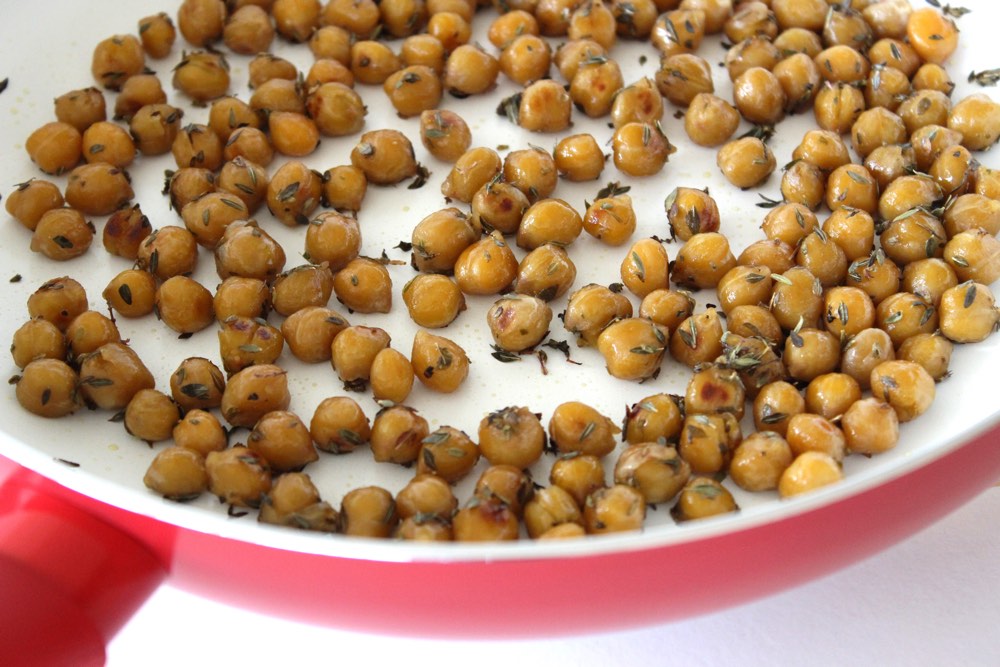
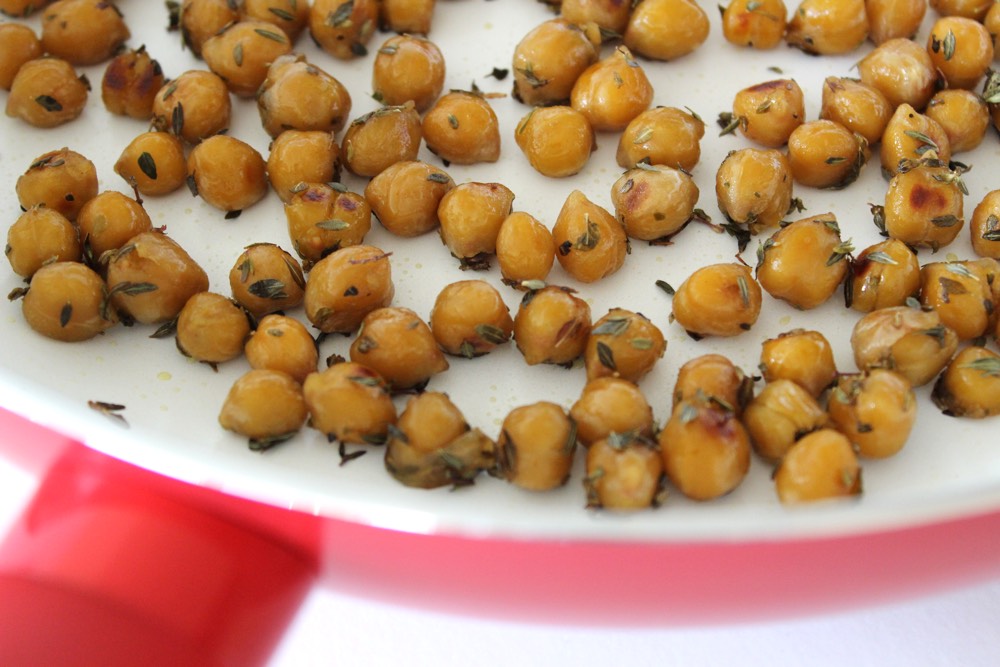
To make these golden chickpeas, you simply add the ingredients to a non-stick pan, give them a stir, then cook until the liquids have evaporated and the chickpeas are glossy and warmed through. They won’t be crunchy like oven-roasted chickpeas, but I actually prefer the texture of pan-fried chickpeas – they’re more succulent.

They’re also much quicker to make than oven-roasted chickpeas, ready in just 8 minutes. We often prepare them while the soup is cooking or warming through. They’re most delicious served fresh from the pan, when the glaze is still glossy and they have a slightly crisp exterior and a soft interior. 

Maple Glazed Chickpeas

They’re very moreish, so be warned. I probably shouldn’t admit this but one time I managed to polish off a whole panful before they’d had a chance to make their way into our soup bowls 😆

Recipe Card

Maple Glazed Chickpeas

Golden Pan-Fried Chickpeas

These golden pan-fried chickpeas are quick, easy, and nutritious, making them a perfect topping for creamy soups or a warm, savoury snack straight from the pan.
8 minutes
Total Time 8 minutes
Course Healthy Snacking, Soup Toppers
Cuisine Plant-Based, Vegan
Servings 4

Ingredients
 

  • 400 g / 14 oz can chickpeas drained and rinsed
  • ½ TBSP extra virgin olive oil
  • 1 tsp maple syrup
  • ½ TBSP low-sodium tamari or soy sauce (use tamari for a gluten-free option)
  • 1 tsp dried oregano
  • pinch of salt

Instructions
 

  • Heat the oil in a non-stick frying pan (skillet) on medium heat. Add the chickpeas and stir through to coat in the oil.
  • Stir in the maple syrup, tamari or soy sauce, dried oregano and a pinch of salt.
  • Continue cooking on medium heat, stirring regularly, until the chickpeas are golden and the liquid has evaporated, about 6–8 minutes.
  • Taste test and adjust the seasoning to suit.
  • When ready, serve immediately straight from the pan, whilst they’re still warm and glossy. 

Notes

tsp = teaspoon | TBSP = tablespoon
Storage: These chickpeas are best served fresh, straight from the pan. Leftovers can be stored in an airtight container in the fridge for up to 3 days, but they will firm up over time. Reheat gently in a pan in a splash of olive oil before serving.
Tip: If you’d like a sweeter glaze, add a little more maple syrup and reduce the tamari or soy sauce to taste.
Keyword Chickpeas, Gluten-Free Option, Healthy Snacking, Pan-Fried Chickpeas, Plant-Based, Soup Topper, Vegan
Tried this recipe?Let us know how it was!

Pin for later ⬇️

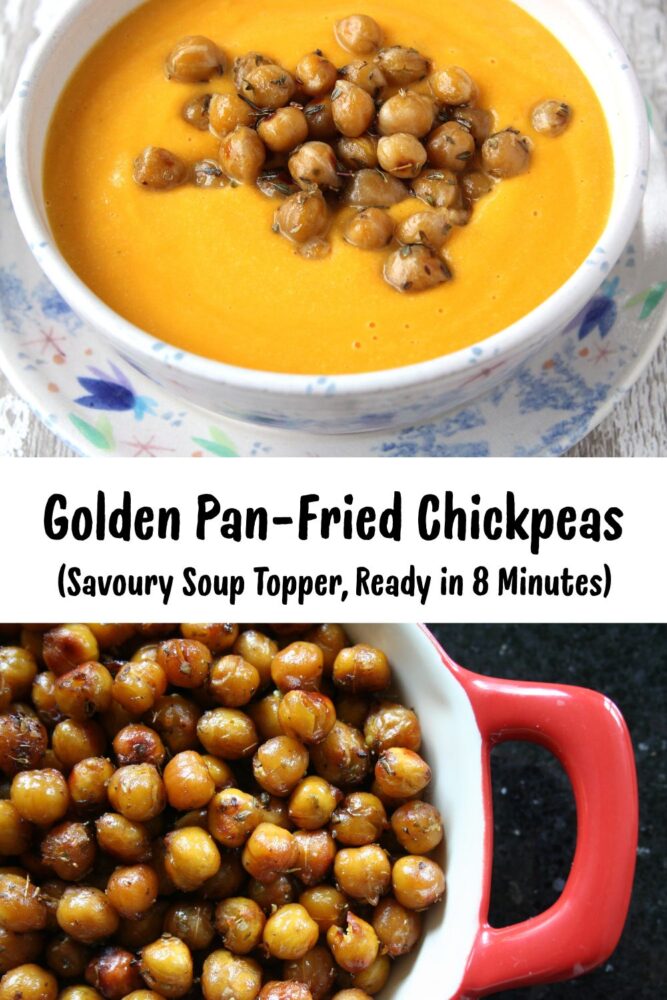
Golden Pan-Fried Chickpeas Image for Pinterest

Creamy Vegan Soups (Perfect with the Chickpea Topper)

Cream of Mushroom Soup
Creamy Broccoli Soup
Creamy Butternut Squash Soup
Lebanese Lentil Soup (Shorbat Adas)
Spiced Apple and Lentil Soup

Creamy Butternut Squash Soup


If you make these golden pan-fried chickpeas, I’d love to hear your feedback and any suggestions for adaptations! You can drop your comments in the section below. You can also connect with me over on InstagramFacebook and Pinterest. Please tag your photos with #bitofthegoodstuff on social media – I absolutely love seeing your creations! ❤️

With love,

Sharon xx

SaveSave

SaveSaveSaveSave

Lemon Coconut Energy Balls

Jump to Recipe

It is so quick and easy to make your own energy balls! It is literally a case of whizzing the ingredients together in a food processor. It also works out way cheaper than buying them from the supermarket.

As an added bonus you get to flavour them exactly to your own personal tastes!

I have already shared a few of my favourite energy ball recipes on the blog including Chocolate Orange, Cocoa Lime and Chocolate Rose (I can see a pattern running here haha) BUT the one I’m sharing today has to be my all-time favourite and – surprisingly – it contains no chocolate!

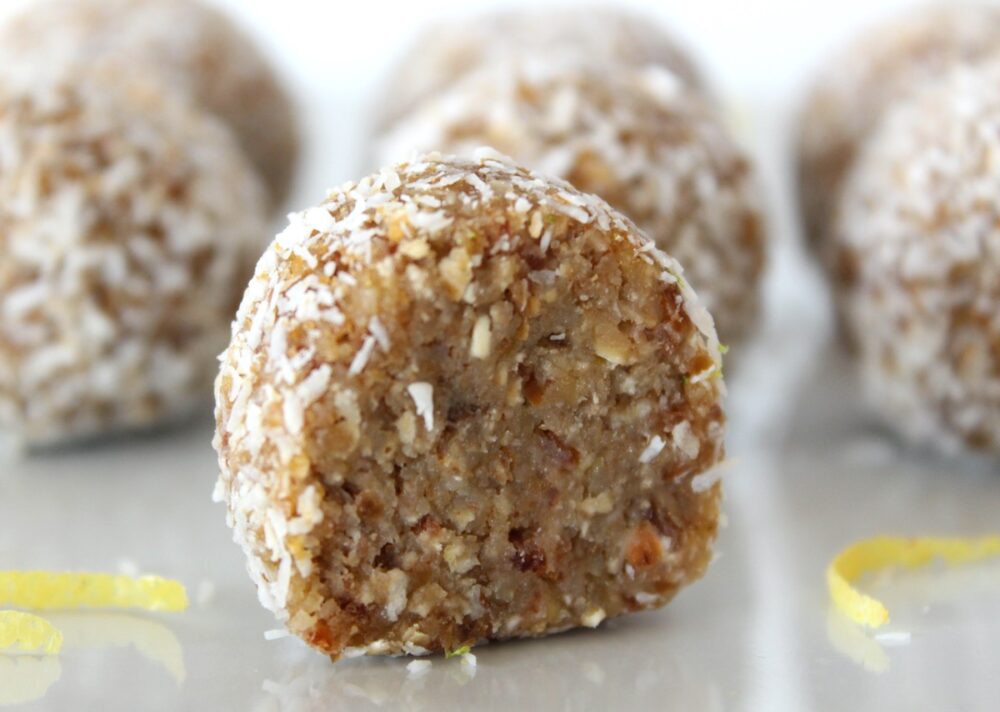
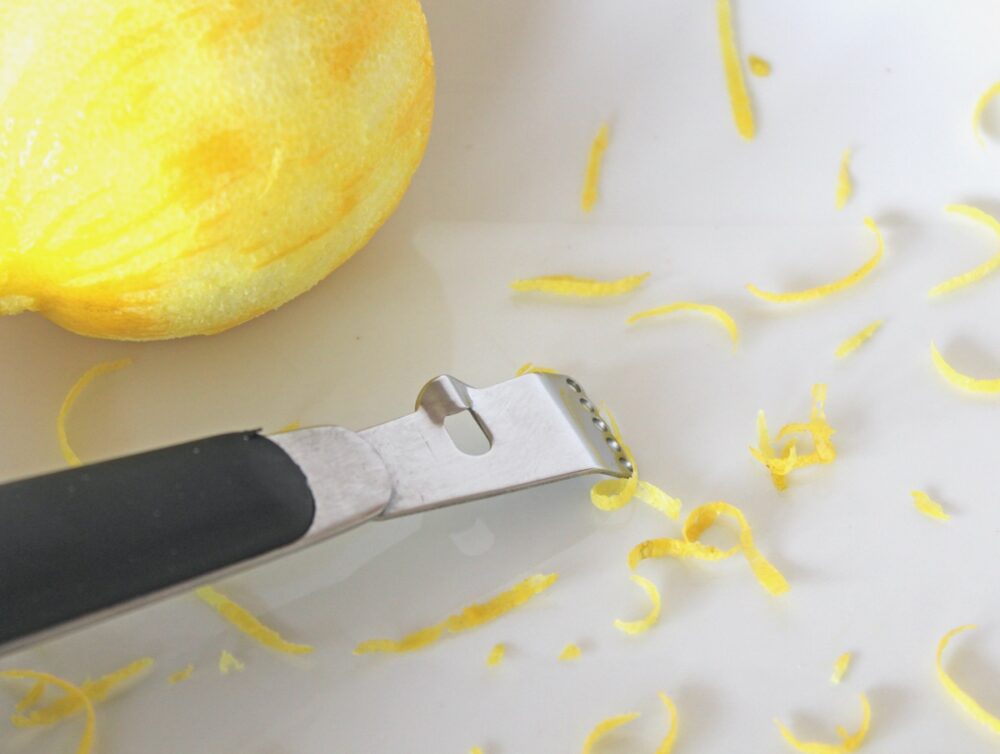
Lemon Zest

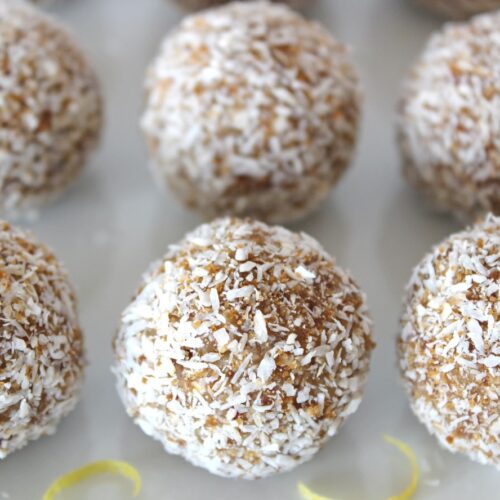
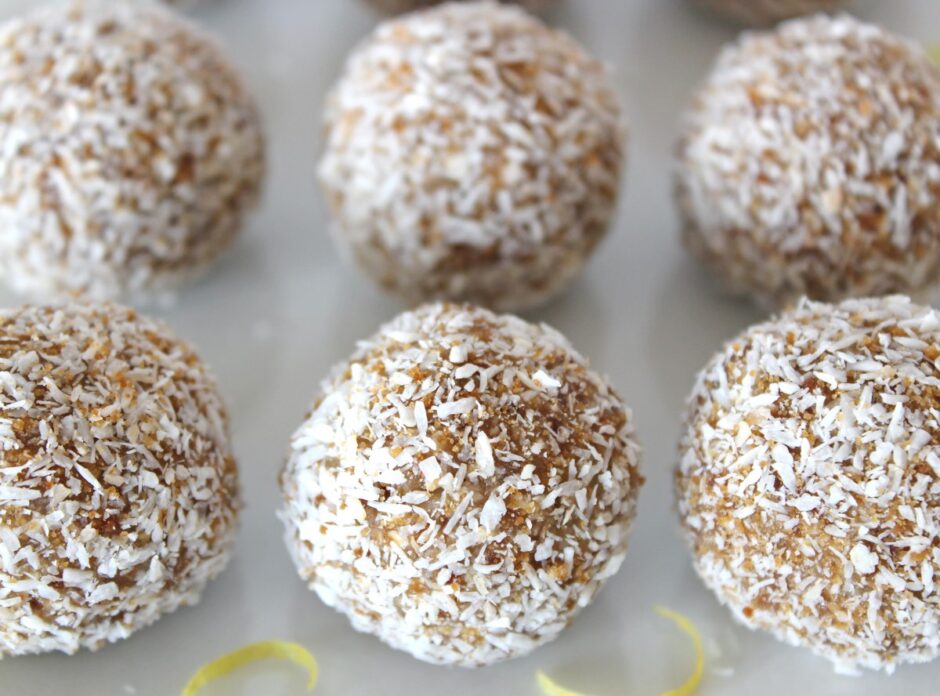
Lemon Coconut Energy Balls

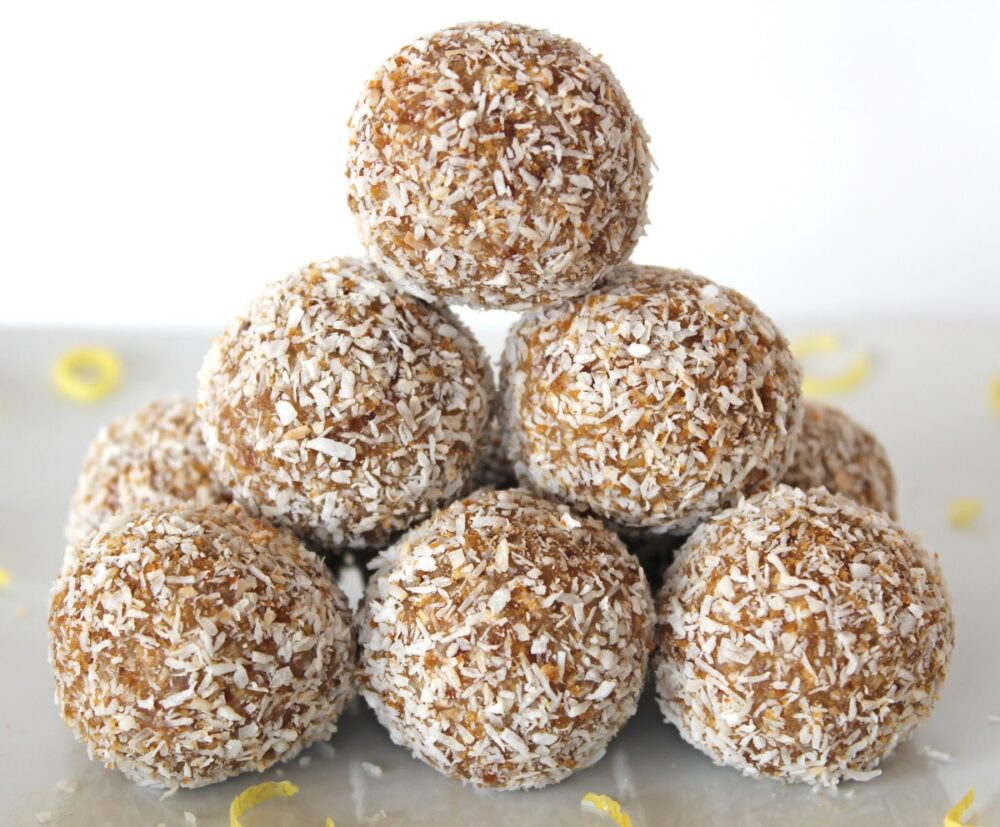
This Coconut and Lemon energy ball is so refreshing and zesty. I find it’s the perfect snack while out on a long hike, bike or run. It’s packed with wholesome ingredients such as oats, nuts and dates that help to boost and sustain energy levels. A touch of fresh lemon adds a delicious ‘zing’.

Lemon Coconut Energy Balls

Recipe Card

Lemon Coconut Energy Balls

These energy balls are so easy to make! They're compact and easy to transport, making them perfect for popping in your backpack for snacking 'on the go'.
Hands on time 15 minutes
Total Time 15 minutes
Course Snack
Servings 12 Balls

Ingredients
 

  • 22 g / ¼ cup desiccated coconut
  • 1 TBSP coconut sugar or soft brown sugar
  • 50 g / ½ cup rolled oats (quick oats, not jumbo)
  • 40 g / ¼ cup raw cashews
  • 35 g / ¼ cup walnuts
  • 120 g / ½ cup soft sticky dates (e.g. Medjool), pitted
  • ½ – 1 tsp zest from an unwaxed/ organic lemon
  • 2 TBSP freshly squeezed lemon juice
  • 1 tsp maple syrup
  • pinch of salt

Instructions
 

  • Mix together the desiccated coconut and sugar in a shallow container.
  • Place the oats, cashews and walnuts in a food processor and whiz into fine crumbs. Add the dates, lemon zest, lemon juice, maple syrup and salt. Process until the mixture comes together in a ball. Taste test and add a touch more lemon zest or sweetener, if desired.
  • Scoop level tablespoons of the mixture. Roll into balls, then roll in the sugar /coconut mixture. Repeat until all the dough is used. Chill in the refrigerator before serving (they will firm up as they chill).
  • Stored in an airtight container, these energy balls will keep for a week in the refrigerator, or for weeks in the freezer.
Keyword Dairy-Free, Energy Ball, Healthy Snacking, Plant-Based, Vegan Snacks, Wheat-Free
Tried this recipe?Let us know how it was!

Nutritional Breakdown

N.B. The above values are estimates and for illustration purposes only. The actual nutritional values will vary depending on the specific ingredients used. The % Reference Intake (RI) will also vary depending on your age, gender, height, BMI, level of activity and other personal variables.

If you make these Lemon Coconut Energy Balls, I’d love to hear your feedback and any suggestions for adaptations. Tag your photos with #bitofthegoodstuff on social media – I always love to see your creations! You can also connect with me on my social media channels here: InstagramFacebook, Pinterest.   

With love,

Chocolate Orange Energy Balls

Jump to Recipe

As many of you will know, I am a big fan of home-made energy balls. Not only are they delicious, but they also happen to be packed full of nutrient-rich ingredients such as oats, dates and nuts that help to boost our energy levels, and support good health in general. Each ball is filled with protein, heart-healthy fats, complex carbohydrates, fibre, plus a whole host of minerals and antioxidant compounds. It’s amazing just how much goodness fits inside one little ball!

Healthy AND delicious? That’s definitely my favourite kind of snack! 

Chocolate Orange Energy Balls
Continue reading “Chocolate Orange Energy Balls”

Cocoa Lime Energy Balls

Jump to Recipe

* This recipe was originally posted in March 2015. The page was updated in October 2019.

Have you ever tried making your own energy balls? It’s so easy! You simply throw all the ingredients in a food processor, whizz for a few seconds then shape the mixture into balls. It couldn’t easier! 

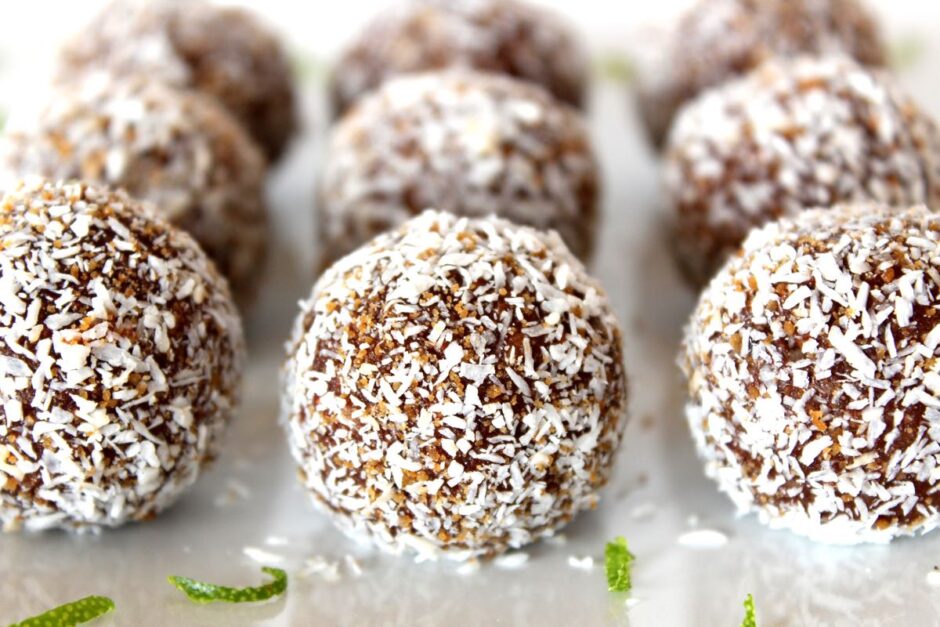
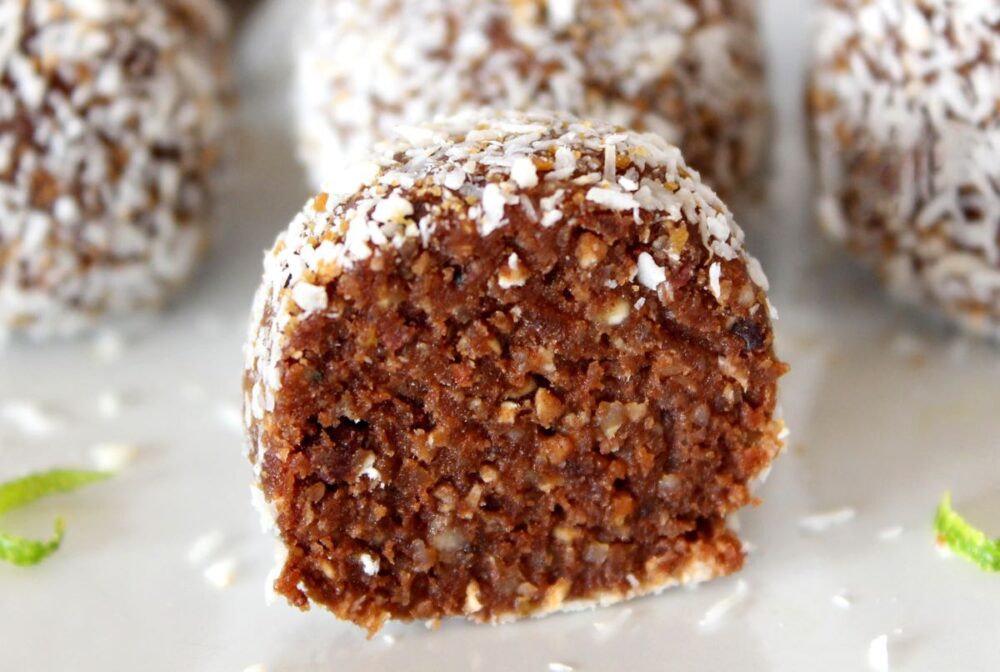
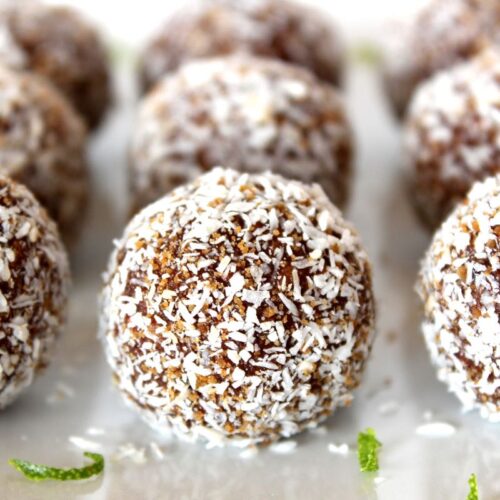
Cocoa Lime Energy Balls

What I especially love about these balls is that they taste decadent, yet they’re packed full of nutrient-rich ingredients that are not only going to increase our energy levels, but also boost our health in general. Each ball is filled with protein, heart-healthy fats, complex carbs, fibre, plus a whole host of minerals and antioxidant compounds. It’s amazing just how much goodness you can fit into one little ball!

And not only does it work out much cheaper to make your own rather than buying the branded versions, but it also means that you get to flavour them however you wish! In today’s recipe, I’m using one of my favourite flavour combinations – cocoa and lime. I love anything chocolatey, but especially when it’s combined with a citrus flavour like lime. It help cuts through the richness of the chocolate, and adds a delicious fresh, zesty taste to every bite.

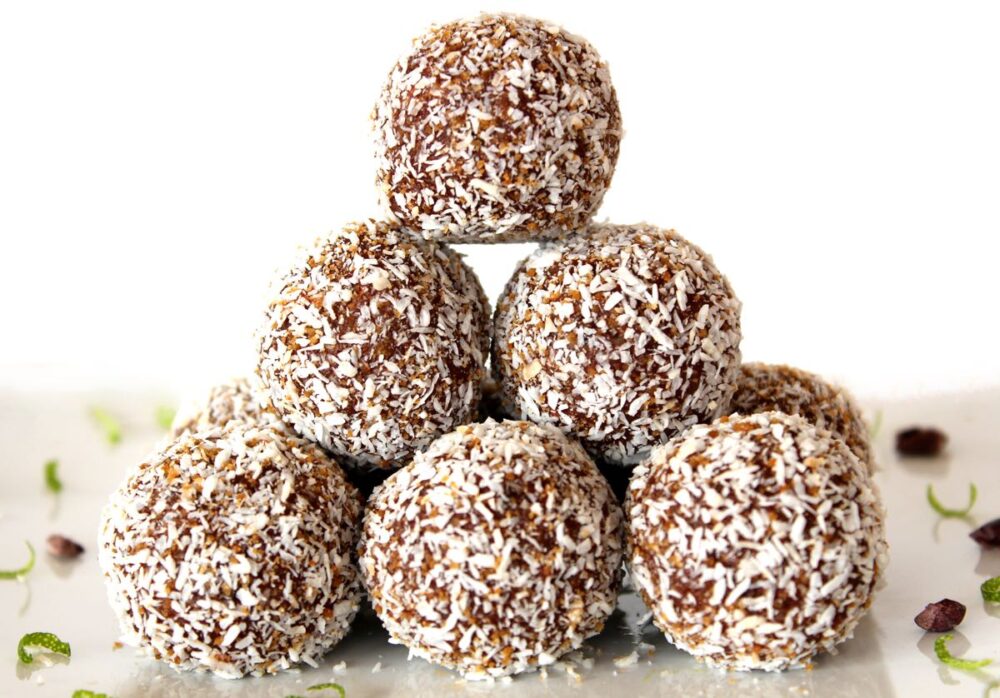
Cocoa Lime Energy Balls

Since I originally posted this recipe back in 2015, I’ve made literally hundreds of these balls to share with friends, family and vegan festival goers, and they’ve proven to be a big hit with everyone that’s tried them. Even little kids have given them a thumbs up, which has made me super happy! These balls make a great after-school snack and (provided you carefully supervise the food processor part) children could easily help you make them. They could even experiment with their own flavour combinations!

Recipe Card

Cocoa Lime Energy Ball

Cocoa Lime Energy Balls

These Cocoa Lime Energy Balls are chocolatey but not too rich, fresh and zesty thanks to the lime, and lighter than the classic energy ball as I've reduced the nuts and used oats instead. Delicious, nutrient-rich and energy boosting, these balls make the perfect snack. Their handy size makes them easy to transport and stash in your bag for snacking 'on the go'.
Hands-on Time 15 minutes
Total Time 15 minutes
Course Snack
Servings 12

Ingredients
 

  • 22 g / ¼ cup desiccated coconut
  • 1 TBSP coconut sugar
  • 50 g / ½ cup rolled oats (quick oats, not jumbo)
  • 43 g / ¼ cup cashews
  • 35 g / ¼ cup walnuts
  • 2 TBSP cacao or cocoa powder
  • 120 g / ½ cup soft sticky dates, pitted
  • ½ – 1 tsp zest from an unwaxed/organic lime
  • 2 TBSP freshly squeezed lime juice
  • 1 tsp maple syrup
  • pinch of salt
  • 2 TBSP cacao nibs, optional

Instructions
 

  • Mix together the desiccated coconut and sugar in a shallow container.
  • Place the oats, cashews and walnuts in a food processor and whizz into crumbs. Add the cacao/cocoa powder, dates, lime zest, lime juice, maple syrup and salt. Process until the dates are broken down. Add the cacao nibs, and continue processing until the mixture comes together in a ball. Taste test and add a touch more cacao/cocoa, lime zest or sweetener, if desired.
  • Scoop level tablespoons of the mixture. Roll into balls, then roll in the coconut sugar mixture. Repeat until all the dough is used. Chill in the fridge (ss they chill, they will firm up).
  • Stored in an airtight container, these energy balls will keep for a week in the fridge, or for weeks in the freezer.
Keyword Healthy Snacking, Plant-Based, Vegan Snacks
Tried this recipe?Let us know how it was!

Nutritional Breakdown

N.B. The above values are estimates. The actual nutritional values will vary depending on the brands and ingredients used.

Pin for later ⬇️

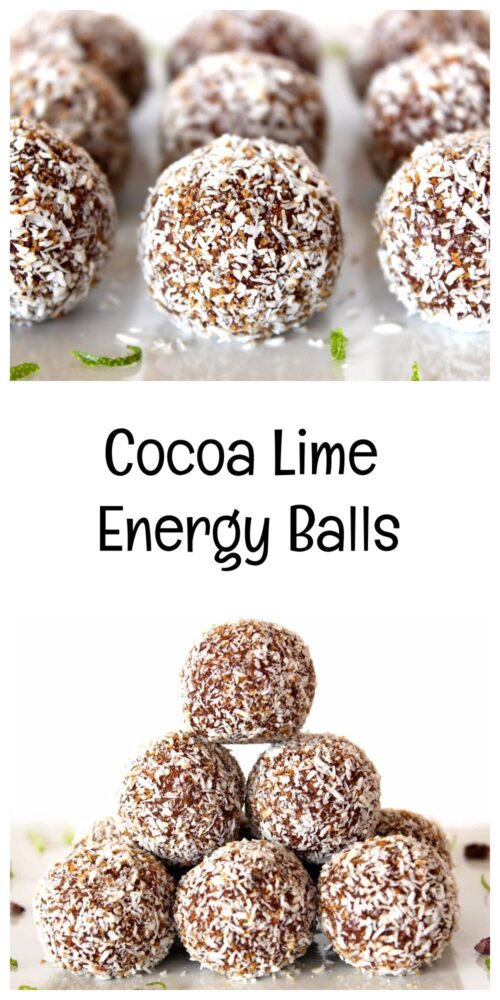
Cocoa Lime Energy Balls

If you make these Cocoa Lime Energy Balls, I’d love to hear your feedback and any suggestions for adaptations! Tag your photos with #bitofthegoodstuff on social media – I always love to see your creations! You can also connect with me on my social media channels here: InstagramFacebook, Pinterest.   

With love,

Sharon xx
——————————–

YOU MAY ALSO LIKE…

Chocolate Orange Energy Balls

Chocolate Orange Energy Balls

Chocolate Banana Ice Cream Smoothie Bowl (Dairy-Free)

Jump to Recipe

* This post was originally posted in July 2016. The page was updated in August 2019.

In the hot summer months, nothing beats a cooling bowl of ice cream smoothie for breakfast. It might sound a bit indulgent to eat ice cream for breakfast, however this is no ordinary dairy and sugar-laden ice cream. The base is a blend of frozen banana and plant milk that magically transforms into the creamiest, smoothest soft serve. This is one ice cream that you can indulge in to your heart’s content!

As well as a great warm weather breakfast option, this ice cream smoothie bowl also makes a delicious post-school and exercise snack.

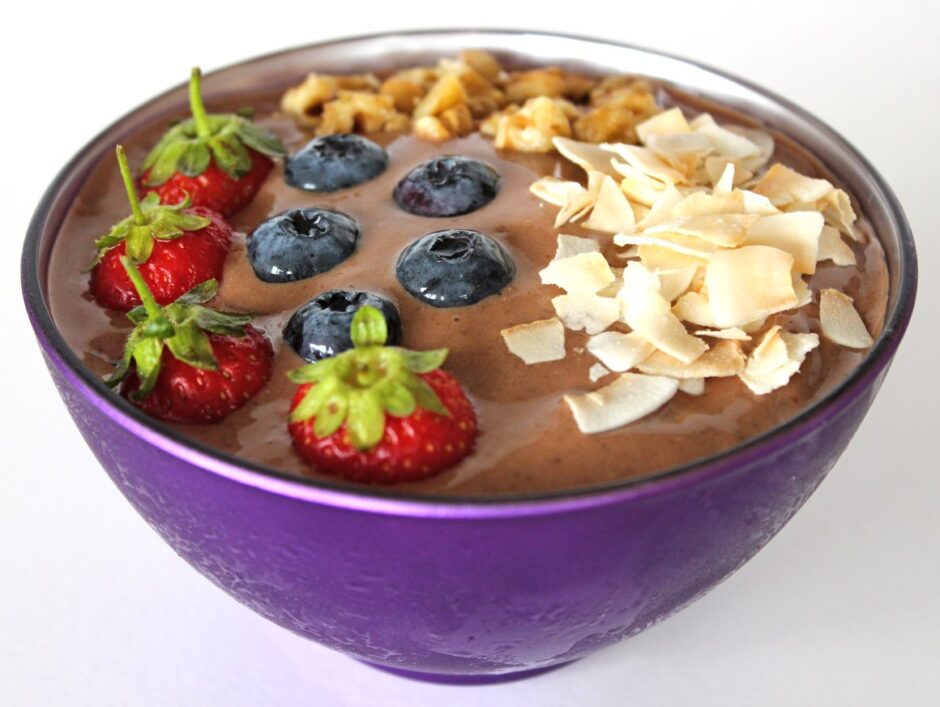
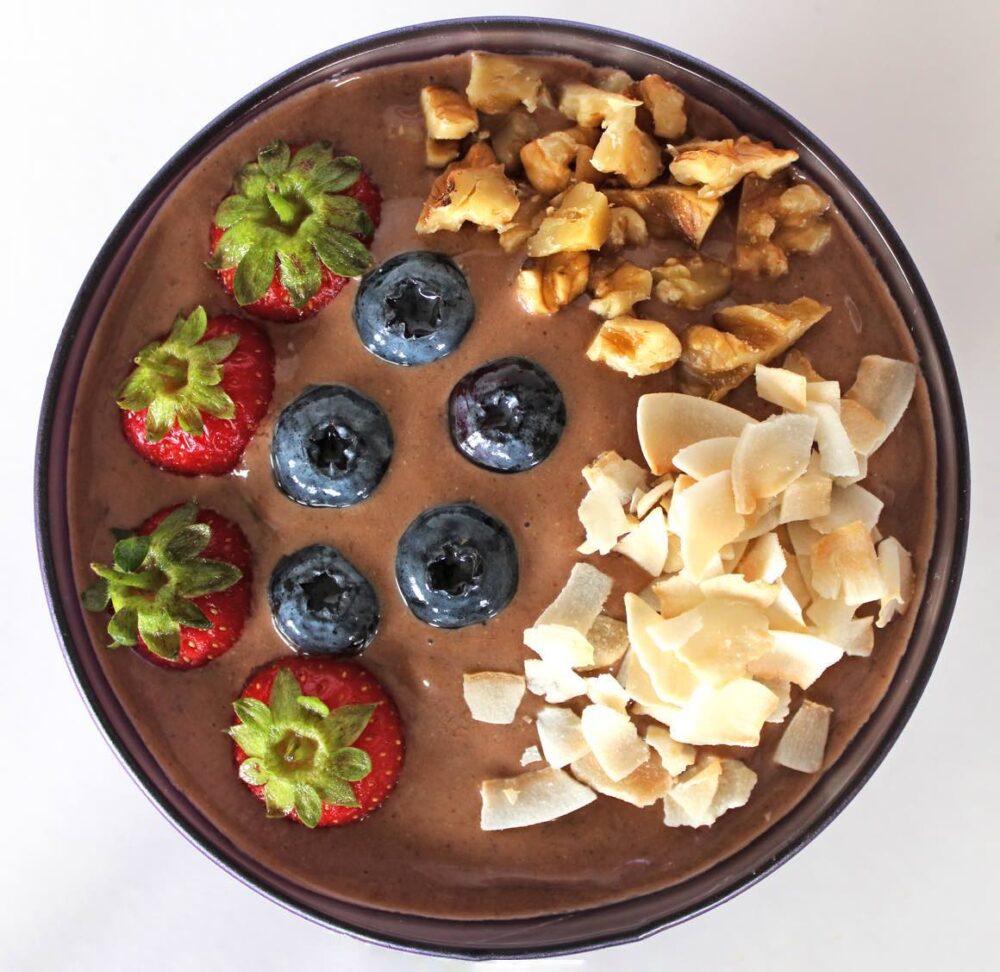
Chocolate Banana Ice Cream Smoothie Bowl (Vegan / Dairy-Free)

The chocolate version that I’m sharing today is not only one of my personal favourites, but it has also proven to be very popular with kids too! It always feels great to give kids a treat that’s delicious and healthy, and this one is packed with goodness. It contains a whole host of vitamins, minerals and antioxidants, and is especially rich in vitamins C and E, calcium, magnesium, manganese, potassium and phosphorus.

These ice cream smoothie bowls are so quick and easy to make. It’s simply a case of freezing the bananas, then whizzing the ingredients smooth in a power blender or sturdy food processor.

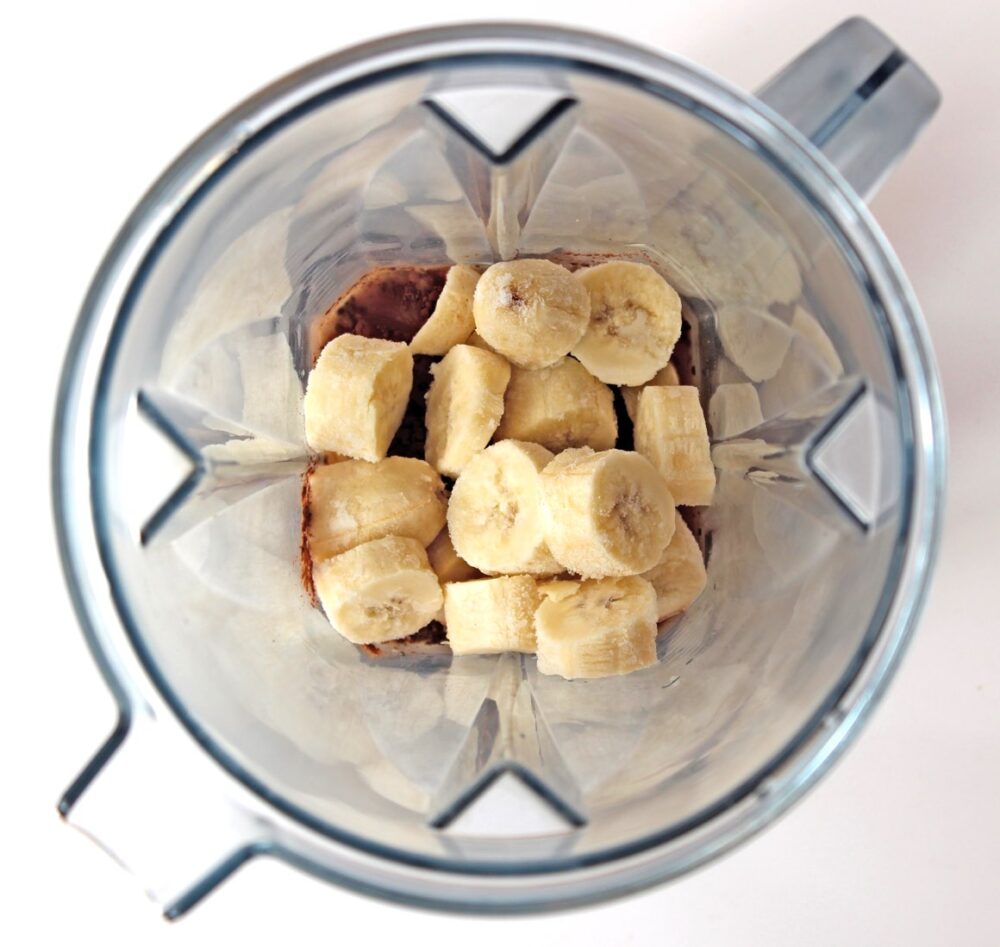
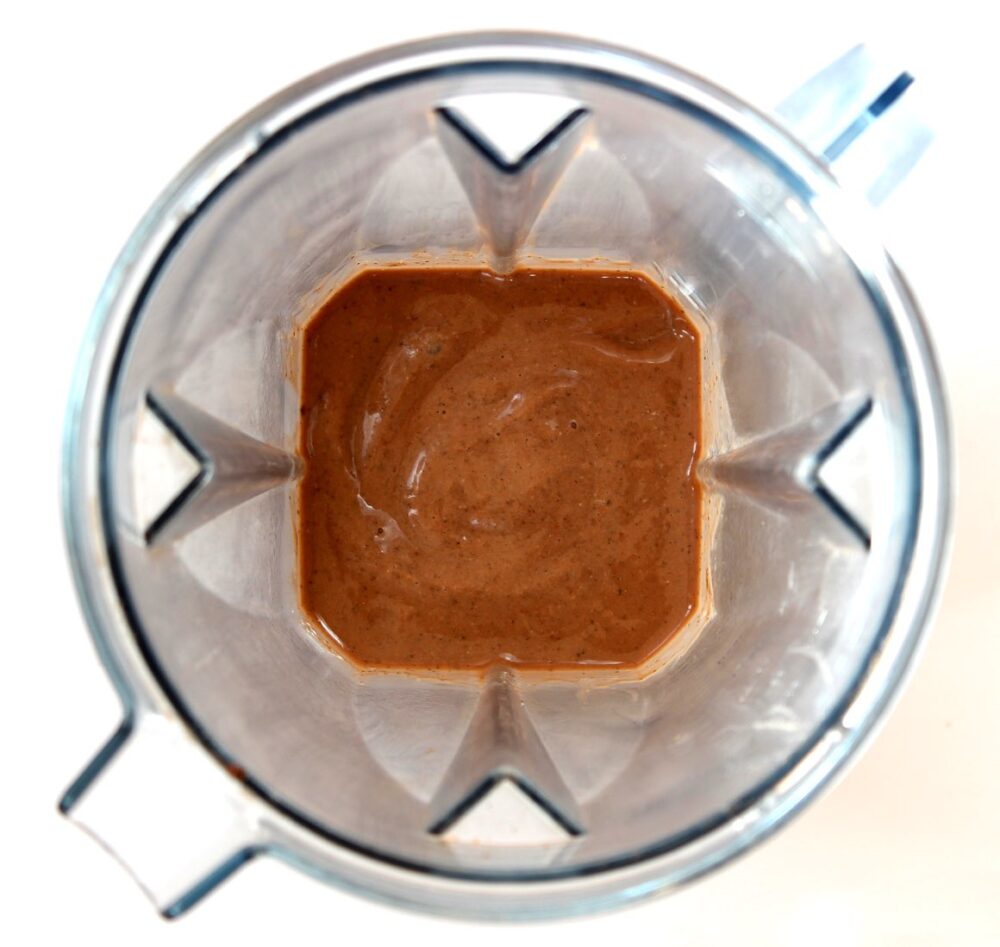
Chocolate Banana Ice Cream Making

I always like to include a tablespoon of almond butter and ground linseed (flaxseed) in my smoothie bowls for extra protein and heart-healthy fats, including omega 3. Adding these two ingredients also helps to make the bowl a more ‘complete’ breakfast and keeps me feeling full up for longer.

Recipe Card

Chocolate Banana Ice Cream Smoothie Bowl (Vegan / Dairy-Free)

Chocolate Banana Ice Cream Smoothie Bowl

This ice cream smoothie bowl is just perfect for serving for breakfast on a hot summer's day, or as a post-school or exercise snack. It tastes really decadent, yet it's packed full of goodness!
Hands-on time 5 minutes
Total Time 5 minutes
Course Breakfast, Snack
Servings 1

Ingredients
 

  • 180 ml / ¾ cup soya milk (or other plant milk)
  • 2 frozen very ripe bananas
  • 1 TBSP cacao or cocoa powder
  • 1 TBSP ground linseed (flaxseed)
  • 1 TBSP almond butter
  • ½ tsp vanilla extract

Suggested toppings:

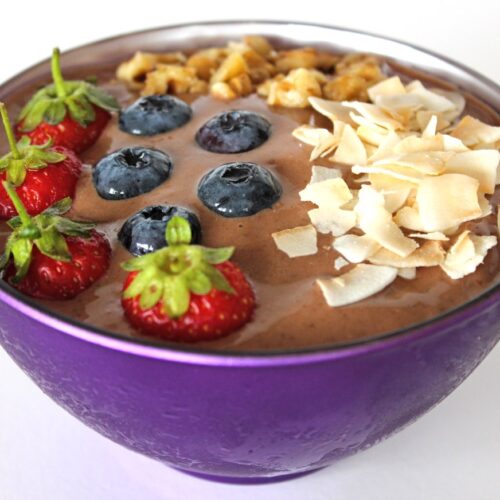
  • Fresh berries, nuts and seeds (I used strawberries, blueberries, walnuts and toasted coconut chips)

Instructions
 

  • If your house is warm, place your bowl in the freezer for a few minutes.
  • Using a sharp knife, slice the frozen bananas into coins.
  • If using a power blender: Add the milk followed by all the remaining ingredients. Using a tamper tool, push the banana onto the blades. Start blending on low then move to high speed. Add a splash more milk, if needed, to get things moving.
  • If using a food processor: Add all the ingredients and whizz until smooth. Stop now and then to scrape down the sides and redistribute the banana round the bowl.
  • Scoop the ice cream into your bowl. Add your desired toppings and serve immediately. If you are going to hold the bowl in your hands, wrap a tea towel round it to stop the ice cream from melting.
Keyword Banana Ice Cream, Family Friendly, Gluten-Free, Plant-Based, Vegan Breakfast, Vegan Snacks
Tried this recipe?Let us know how it was!

Nutritional Breakdown

N.B. The above values are estimates. The actual nutritional values will vary depending on the brands and ingredients used.

Pin for later ⬇️

Chocolate Banana Ice Cream Smoothie Bowl (Vegan / Dairy-Free)

Ice cream, parfaits, chia puddings, pancakes, waffles…. we love interchanging breakfasts and desserts in our house, and it appears that we’re not the only ones! Here are some more ‘desserts for breakfast’ ideas from some of my favourite bloggers…

Blueberry Bread Pudding Breakfast Cake by Blissful Basil

1-Hour Cinnamon Rolls with Aquafaba by Vegan Richa

Peanut Butter and Jelly Muffins by Minimalist Baker

Strawberry Cheesecake Mess by Wallflower Kitchen

Cherry-Strawberry Chia Seed Fool with Vanilla Bean Coconut Whipped Cream from Oh She Glows

Easy Peasy Pumpkin Spice Bread Pudding by Unconventional Baker

If you make this Chocolate Banana Ice Cream Smoothie Bowl (or any other recipes on my blog), I’d love to hear your feedback and any suggestions for adaptations! Tag your photos with #bitofthegoodstuff on social media – I always love to see your creations! You can also connect with me on my social media channels here: InstagramFacebookPinterest.   

With love,

Sharon xx
———————————-