* This recipe was originally posted in March 2014. The page was updated in February 2020.
It’s Shrove Tuesday tomorrow and I am really looking forward to making a big pile of my family’s favourite vegan crepes. They are so easy to make and use basic pantry ingredients. We don’t even use an egg replacer! I’ve always loved French-style crepes but I love this vegan version even more. They taste amazing and they’re cruelty-free too ❤️
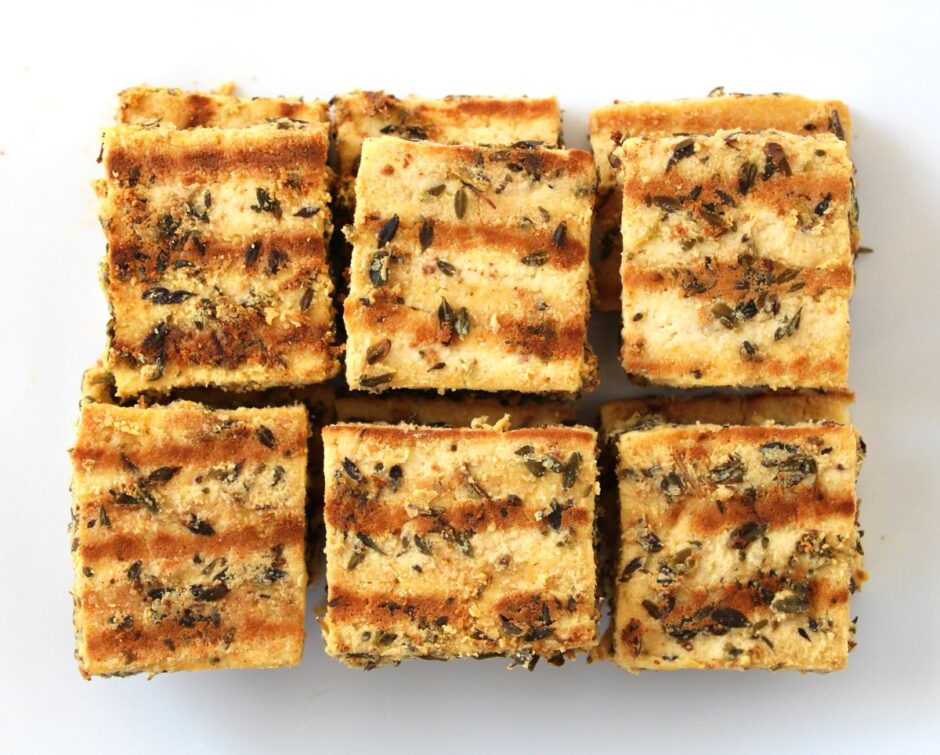
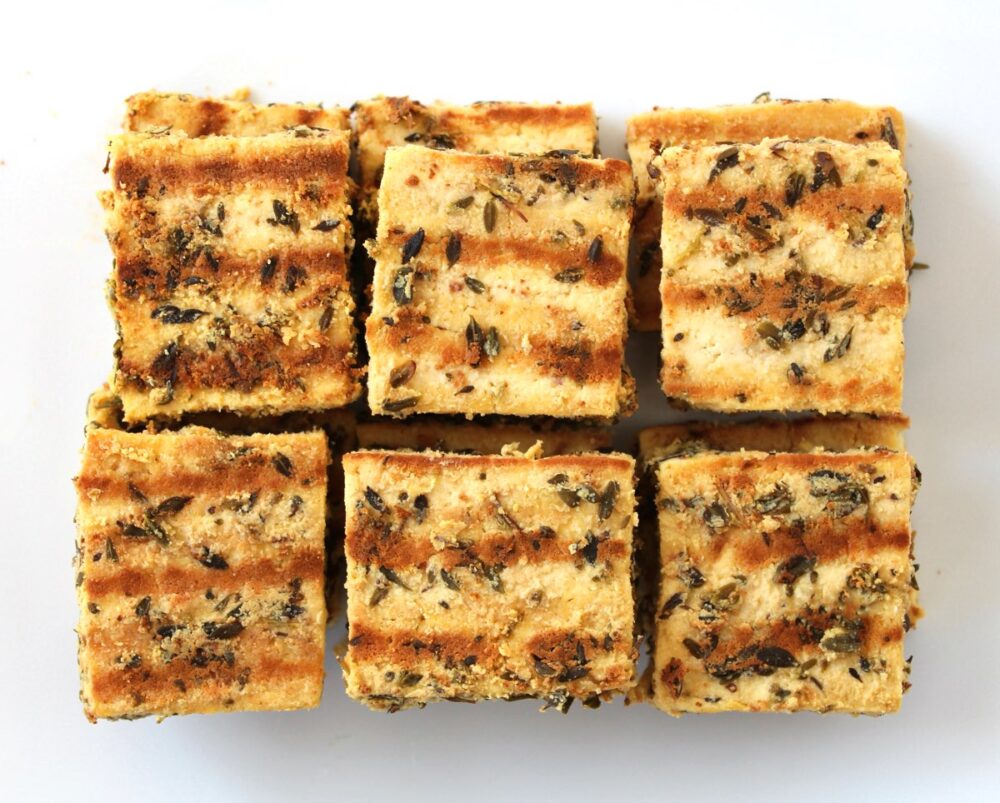
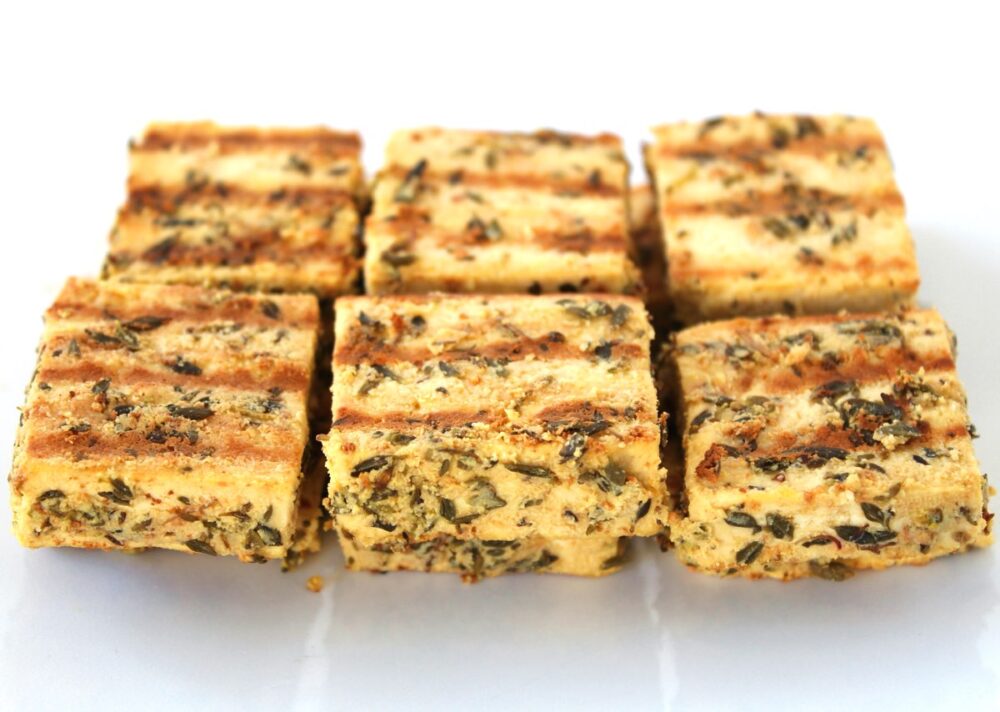
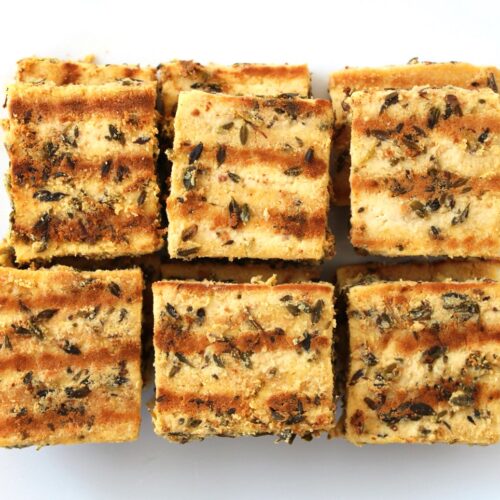
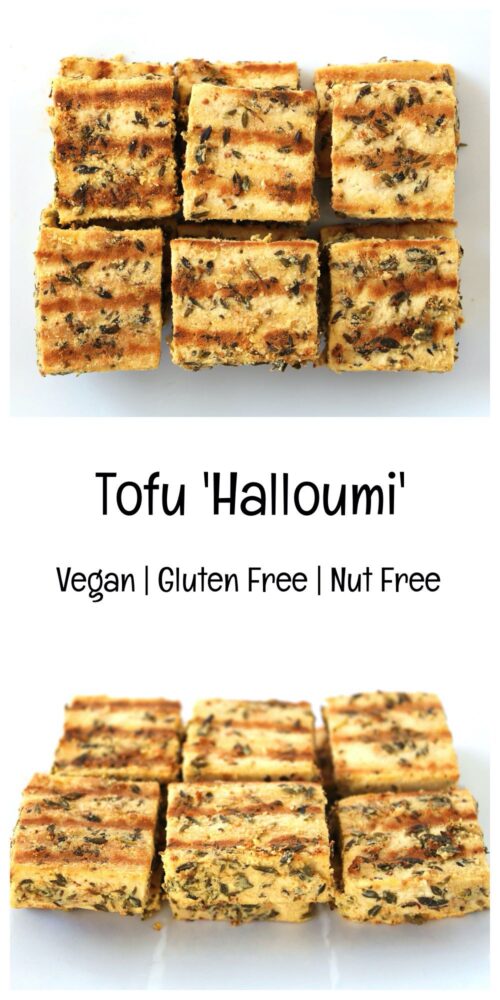
In today’s post, I’m sharing the recipe for a delicious plant-based alternative to halloumi. Simple to prepare, this Tofu ‘Halloumi’ is highly versatile. We love to add it to Greek-style salads, sandwiches, pittas, wraps and mezze platters.
It was the Greek Vegan Deli guys that first introduced me to Tofu ‘Halloumi’ back in 2018 at Bristol VegFest. It was absolutely delicious!! Since then, every time I see the Greek Deli guys at a festival, I really look forward to tucking into their Tofu ‘Halloumi’, either stuffed into a pitta or as part of one of their incredible Greek platters.
I love Greek food and halloumi used to be one of my favourite cheeses. However, once I’d tried the tofu version, I was hooked. I loved it even more than the original!
And if I’d known just how easy it is to make, I would definitely have tried making Tofu ‘Halloumi’ a long time ago!
It involves three simple steps …
Pressing the tofu
Marinating it for an hour
Then grilling it for a few minutes.
Job done!
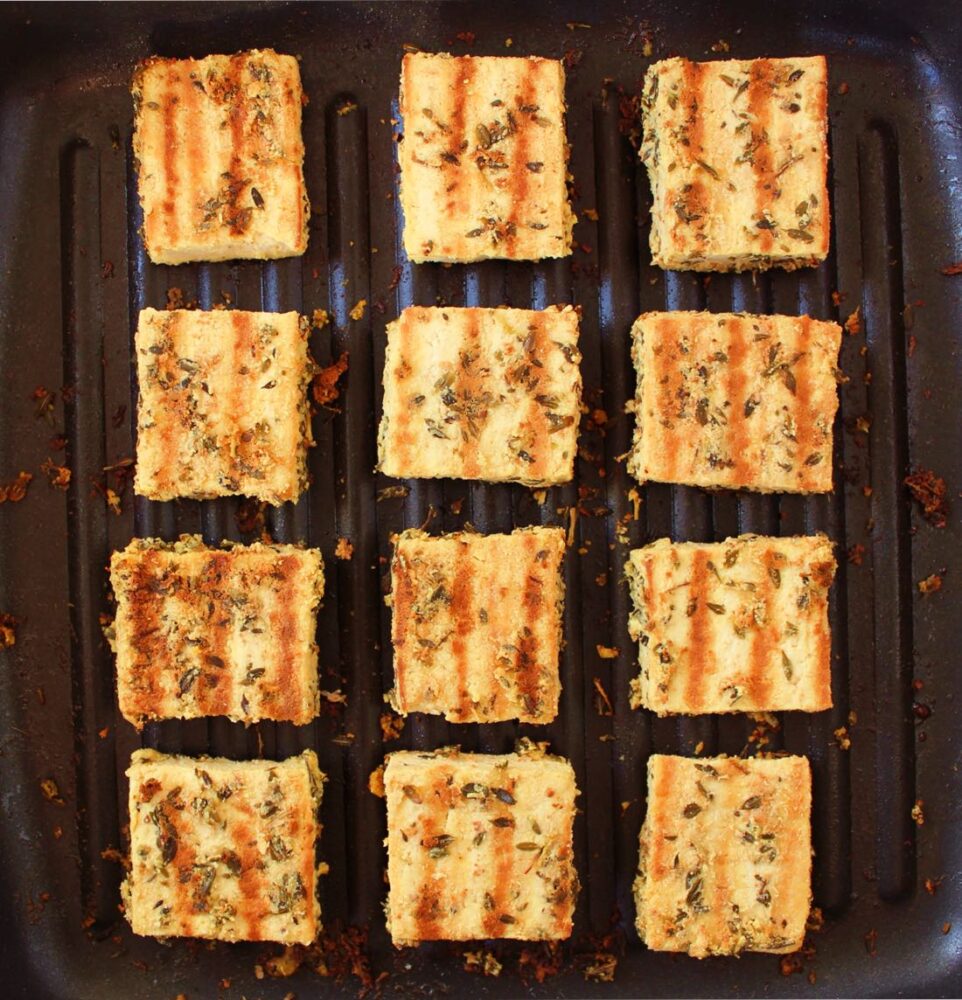
I especially love to use a griddle pan to get those beautiful grill lines.
For the marinade, I used five ingredients that are basic staples my kitchen – nutritional yeast flakes, lemon, oregano, extra virgin olive oil and salt. The resulting tofu was so flavourful. It was salty, tangy, cheesy and herby – all the flavours I associated with Greek halloumi (for Cypriot halloumi you could switch the oregano for mint instead).
Recipe Card
Prevent your screen from going dark
Tofu ‘Halloumi’
This tofu is a delicious alternative to halloumi. It can be served warm or cold, and is perfect for adding to Greek salads, sandwiches, pittas, wraps and mezze platters.
Press the tofu for 30 minutes**. Slice into ½ inch (1.3 cm) thick rectangles.
Add the nutritional yeast flakes, lemon juice, dried oregano, oil and salt to a bowl and stir until thoroughly combined. The nutritional yeast should start to dissolve into the oil.
Add the tofu to a wide, shallow container and use a pastry brush or spoon to coat both sides in the marinade (it doesn’t matter if you need to stack the tofu). Cover and leave for an hour to marinate. Alternatively you can leave it overnight in the fridge.
When ready to cook, spray a non-stick griddle pan or frying pan (skillet) with oil and pre-heat on medium-high. Add the tofu in a single layer and press down on it with a slotted turner spatula (you should hear it sizzle). Cook for 2-3 minutes until golden brown on the underside then flip over and repeat.
Stored in an airtight container, the tofu will keep for a couple of days.
Notes
* I used Cauldron Extra Firm Organic Tofu (available in the chiller cabinet in most big UK supermarkets). I like this tofu as it is set in calcium sulphate so it’s an easy way to boost our calcium levels. According to their website, Cauldron Organic Tofu contains approximately 400mg of calcium per 100g (a quarter block). **Here’s my preferred way to press tofu (since I don’t have a tofu press): Place the tofu on a rimmed baking tray. Place a chopping board on top of the tofu, followed by a heavy object to weigh it down. The water collects in a pool round the tofu. After 30 minutes, drain off the liquid. Give the tofu a quick pat with kitchen paper to soak up any residual liquid, then it’s good to go.
I’m really looking forward to seeing how you would use this Tofu ‘Halloumi’. Today, I added it to a toasted sandwich with baby leaves and shredded beetroot, sun-dried tomatoes and mayo. It was so delicious! If you make it, remember to take a photo and tag it with #bitofthegoodstuff on social media – I always love to see your creations! You can also connect with me on my social media channels here:Instagram, Facebook,Pinterest.
* This recipe was first published in December 2017. The page was updated in December 2019
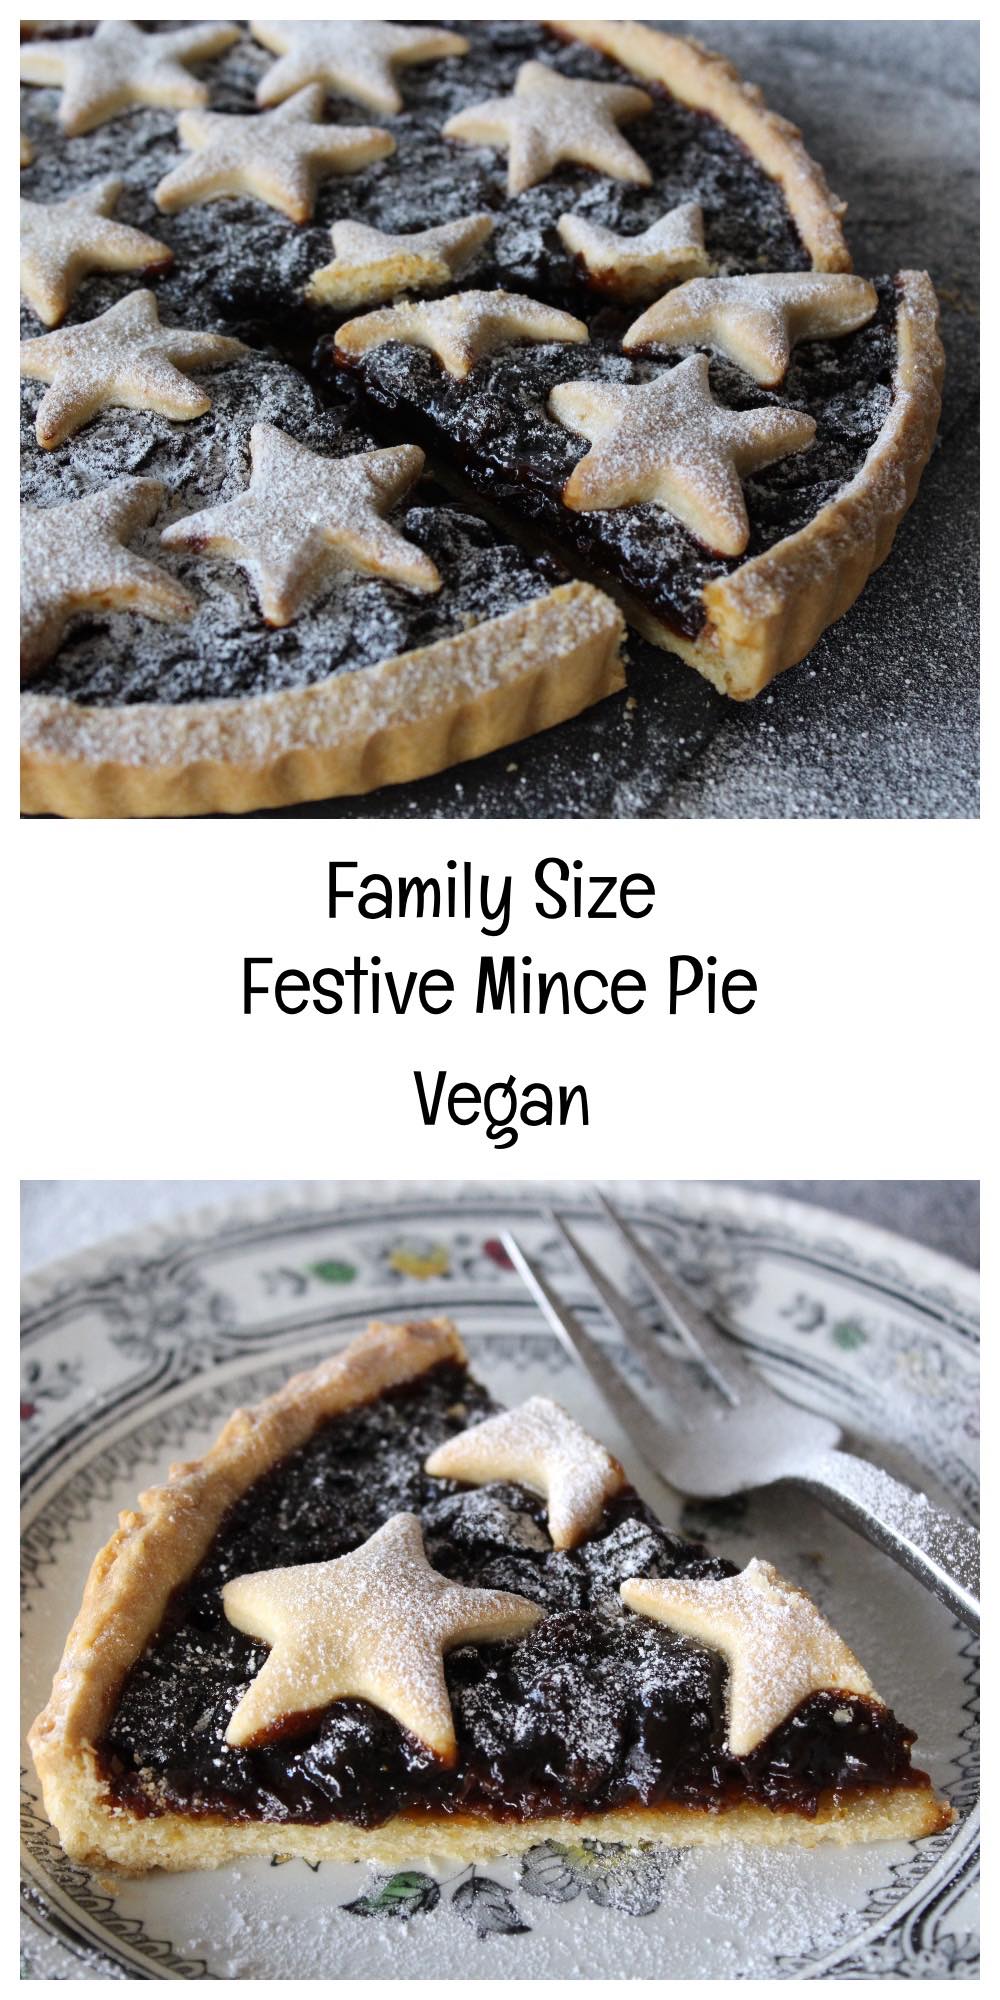
Hello everyone! I hope your preparations for the festive holiday are going well. Hopefully you’ve been a bit more organised than me. As usual, I’ve left a lot of shopping and food preparation to the last minute, so today – Christmas Eve – is going to be one very busy day for me! However, before I crack on with the preparations, I thought I would share one last recipe on the blog before 2017 comes to a close. The recipe is for a giant-sized mince pie, which is just perfect for sharing with friends and family this season. I’ve already made three of these pies in the past week, and no doubt I will making more in the lead up to the New Year.
During the festive season, my family loves to have home-made mince pies for dessert, drizzled in custard or cream. However, while they taste delicious, individual mince pies do tend to look a bit lost on dessert plates and aren’t what I would consider ‘special enough’ to serve to dinner guests. To resolve this, I’ve played around with my favourite mince pie recipe and created a family-sized pie instead, which can be sliced and served on a plate with a more appealing presentation.
It took a couple of attempts with different pastry quantities and baking methods, but I’m really pleased with how it finally turned out. The pastry is lovely and crisp; it’s robust enough to slice without crumbling and, most importantly, it has been given the thumbs up from the recipe testers in my house.
I used my favourite organic mincemeat for this pie, which is made by Meridian. For the flour, I used Doves Organic White Spelt flour. For a while now, spelt has been my flour of choice for pastry-making. Personally, I find it gives pastry a nicer taste and texture compared to plain (all purpose) flour. As an added bonus, I find that some of my friends that generally avoid gluten/wheat, can tolerate spelt. It does make me wonder whether it’s specifically modern wheat that’s causing tummy issues for a lot of people.
Recipe Card
Prevent your screen from going dark
Family-Size Festive Mince Pie [Vegan]
This giant mince pie is perfect for serving to friends and family in the festive season. It’s easy to prepare, even when making the pastry from scratch!
250g/ 1¾ cups white spelt flour or plain (all purpose) flour
100g/ ½ cup dairy-free spread/vegan butter or aroma-free coconut butter
20g/ 2 TBSP icing (confectioner’s) sugar
pinchof salt
1 – 4½TBSPchilled orange juice
Filling
410g/ 1 cup mincemeat(make sure it's suitable for vegans)
soya milkfor glaze (optional)
Suggested accompaniments
Dairy-free custard or cream
Instructions
Place the flour, dairy-free spread/vegan butter/coconut butter, icing sugar and salt in a food processor and whiz to combine. Add the orange juice through the funnel, ½ tablespoon at a time, until the mixture just starts to come together. (The amount needed will vary depending on the type of flour and butter used. I find that I need about 1-2 TBSP of juice when using dairy-free spread and about 3½-4½ TBSP when using coconut butter).
Scoop the dough together and press into a ball. Cover in cling film (plastic wrap) and rest in the fridge for 30 minutes.
Grease a 20cm / 8 inch loose-bottomed tart or quiche tin. Preheat the oven to 190c (170c fan) / 375F.
Once the dough has rested, break off a small chunk (about a fifth) and set to one side (this will be used for the star decoration). Place the remaining dough on a lightly floured surface. Arrange the cling film/plastic wrap on top and roll the dough to a thickness of about 0.3cm / ⅛ inch. Transfer the dough to the prepared tin and press into the edges and up the sides to a height of 2.5cm / 1 inch. Trim off the excess and place with the reserved dough for the stars.
Prick the dough in the base of the tin all over with a fork. Place in the pre-heated oven and bake for 20 minutes.
Five minutes before the pastry is cooked, roll out the reserved dough and cut out about 16 mini stars using a metal cutter (re-rolling the dough scraps as needed).
When the pastry case is cooked, distribute the mincemeat evenly on top, followed by the stars. Brush the stars with soya milk (if you’d like them to brown). Place in the centre of the oven and bake for 20 minutes, or until the stars are dry to the touch.
Leave to cool slightly before slicing (the pastry will firm up as it cools). Sprinkle with sieved icing sugar before serving. This tart is delicious served on its own, or with a drizzle of vegan cream or custard. Stored in an airtight container in the fridge, the tart will keep for five days.
Notes
*Alternatively, you can use shop-bought short-crust pastry (Jus-Rol is suitable for vegans)
If you make this Vegan Festive Mince Pie, I’d love to hear your feedback and any suggestions for adaptations! Tag your photos with #bitofthegoodstuff on social media – I always love to see your creations! You can also connect with me on my social media channels here: Instagram, Facebook, Pinterest.
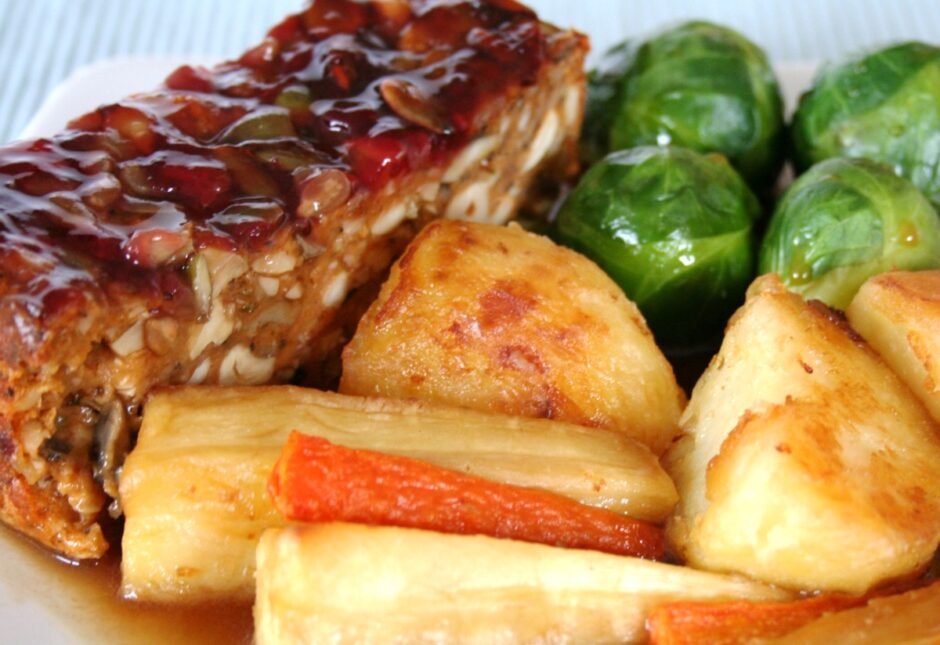
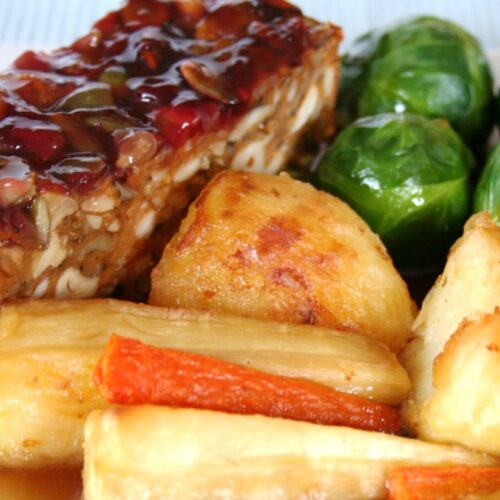
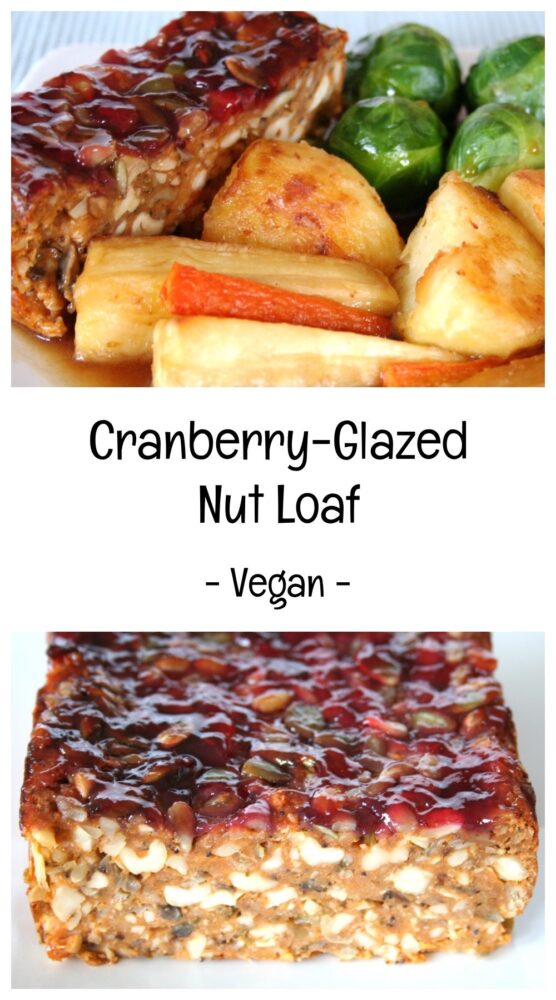
When it comes to Christmas dinner, for me, nothing can beat a nut loaf served with a big pile of roasted veggies and onion gravy ♥
My mum made me my first nut roast for Christmas when I was 12 and it was by far the best Christmas dinner I’d ever had! In contrast to turkey (which I’d always found pretty bland), the nut roast was packed with beautiful flavours and textures. Since then, I’ve always chosen to have nut loaf as the centre piece of my Christmas dinner… and for many years now, my mum has chosen it over turkey too!!
In fact, pretty much everyone I know loves a nut roast, regardless of whether they’re vegetarian, vegan or not, so this is a great meal to serve to friends and family over the Christmas holidays, or as a special Sunday roast dinner.
The nut loaf recipe I’m sharing today has be my family’s all-time favourite. It’s the one we’ve chosen as the centre piece of our Christmas dinner for the past ten years or so. We only make it at Christmas (to keep it ‘special’) and I’m already looking forward to tucking into it again this year!
Not only does it taste delicious, but it is easy to make too! It also stores really well, which means you can make the loaf a few days in advance of Christmas (or Thanksgiving) then simply heat up some slices before serving. The last thing I want to be doing in the Christmas holidays is slaving away in the kitchen and missing out on the fun, so this kind of ‘make ahead’ meal really suits me!
This Cranberry-Glazed Nut Loaf has proven to be popular with our lovely readers too. I first posted this recipe back in December 2013 and I’ve absolutely loved reading your feedback and seeing your photos on social media. Thank you so much to everyone that’s taken the time to do this. It means a lot to me!
This blog post was in desperate need of updating (especially since we moved our website to a new format this year) so I’m really happy to have finally found the time to do so. This is one recipe that I’m sure my family is going to be making for many years to come!
Recipe Card
Prevent your screen from going dark
Cranberry-Glazed Nut Loaf
This nut loaf is perfect for sharing with friends and family over the festive holidays or as the centrepiece to a Sunday roast dinner. It can be made two or three days in advance and warmed through in the oven or a microwave just before serving. It also makes a delicous sandwich filling served with caramelised onion chutney or sweet pickle.
40g/ ⅓ cup wholemeal (whole wheat pastry) flour or chapatti flour
2-3TBSPfresh parsleyfinely chopped
½tspsalt
1TBSPeach of pine nuts, pumpkin seeds and sunflower seeds
4TBSPcranberry sauce
Instructions
Preheat the oven to 190C (170C fan) / 375F.
Grease a large (3lb) loaf pan (about 24cm x 13cm x 7cm in size) and line with a strip of non-stick baking paper to cover the bottom and long sides. Leave a little excess paper hanging out to make it easy for you to lift out the loaf. (Alternatively you can use a non-stick loaf liner).
Pulse the cashews in a food processor until coarsely chopped, then place in a large mixing bowl. Process the bread into breadcrumbs, then add to the mixing bowl.
Place the lentils in a fine mesh sieve and wash under running water, agitating them with your hand until the water runs clear.
In a pan, bring the vegetable stock and lentils to the boil, then reduce the heat and gently simmer uncovered for 15 minutes, or until the lentils have become a soft purée and all the water has been absorbed. Stir regularly towards the end of the cooking time to prevent the lentils from sticking.
Meanwhile, heat the oil in a large non-stick frying pan (skillet) and cook the onion and celery until they start to soften. Add the garlic, mushrooms and sage, and cook for a further three minutes. Stir in the tomato purée and flour, then remove from the heat.
Add the contents of the frying pan to the mixing bowl with the cashews and breadcrumbs. Add the cooked lentils, parsley and salt, and stir until thoroughly combined.
Spoon the mixture into the prepared tin. Gently press down and level the top. Sprinkle with pine nuts and seeds, and press them into the loaf. Spread the cranberry sauce on top. Cover with foil and bake for 30 minutes. Remove the foil and bake for a further 30 minutes. When ready, the loaf should feel firm to the touch. Leave to cool in the tin for at least 20 minutes, before turning out and slicing (it will firm up more as it cools). If you’re making it ahead of time, you can leave it in the pan until completely cooled.
This loaf will keep for five days in the fridge, and for weeks in the freezer. If you’re not planning on eating the loaf in one go, you can slice it and freeze it in portions. The loaf can also be served cold and makes a great sandwich filling.
N.B. The above values are estimates. The actual nutritional values will vary depending on the brands and ingredients used.
Pin for later ⬇️
If you have any leftovers, I can highly recommend stuffing them into a sandwich or pitta bread, along with some caramelised onion chutney or sweet pickle. My family calls this our ‘Boxing Day’ sandwich. It’s delicious!!
If you make this Cranberry-Glazed Nut Loaf, I’d love to hear your feedback and any suggestions for adaptations! Tag your photos with #bitofthegoodstuff on social media – I always love to see your creations! You can also connect with me on my social media channels here: Instagram, Facebook , Pinterest.
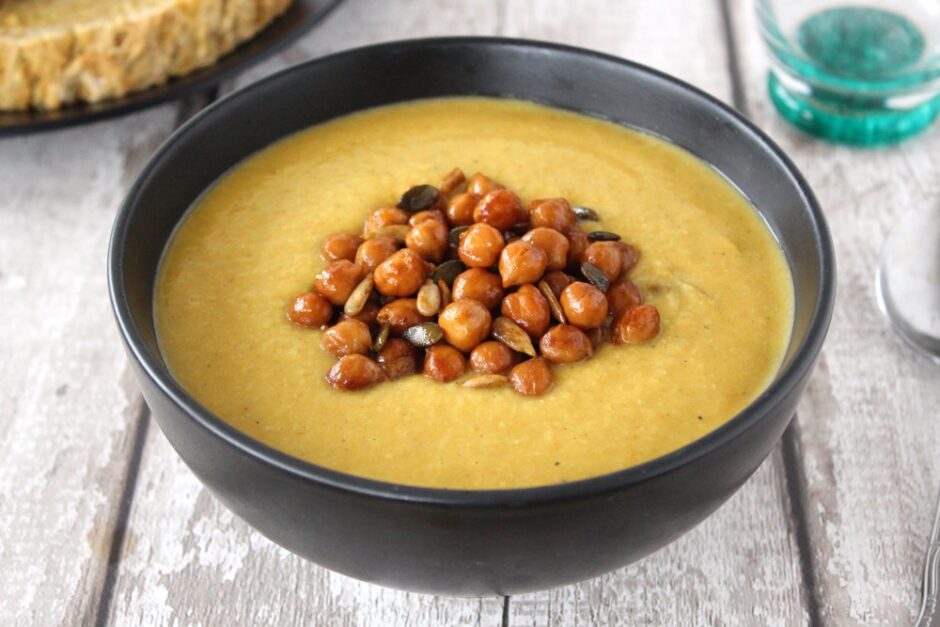
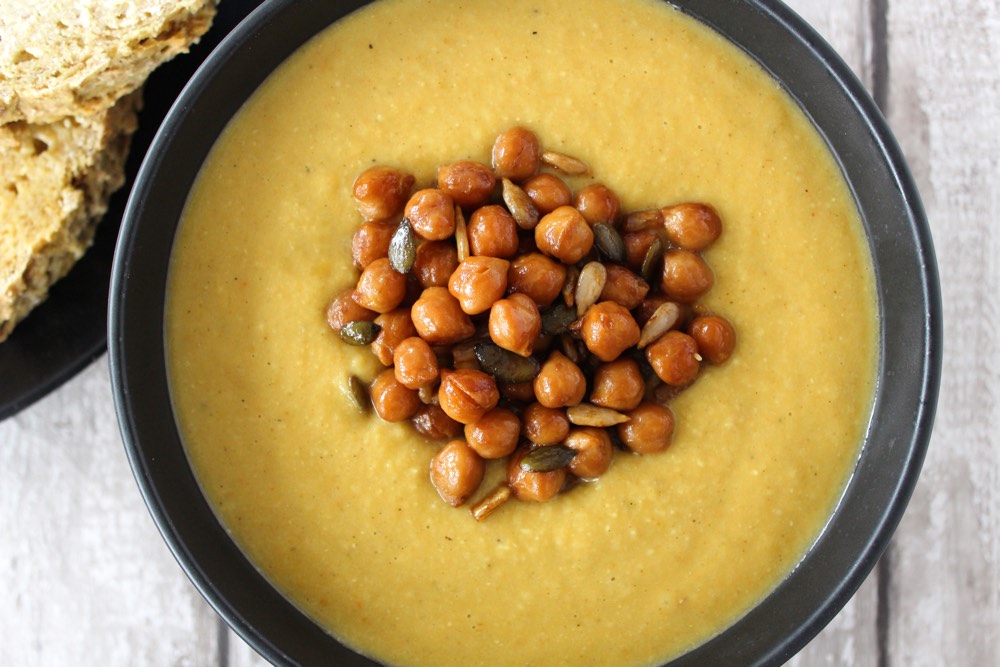
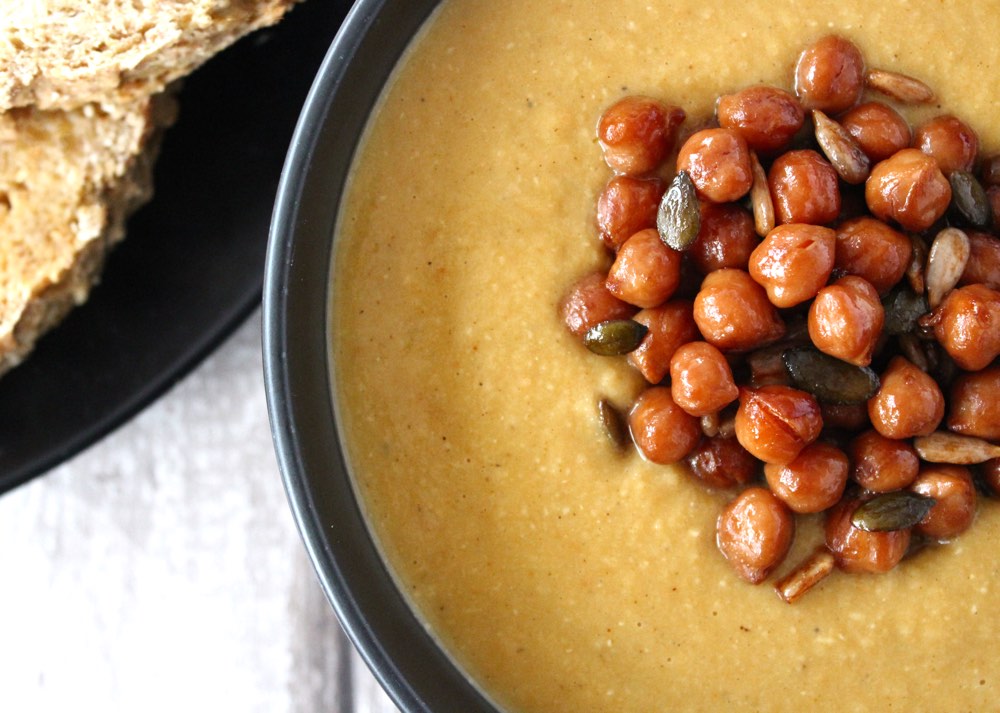
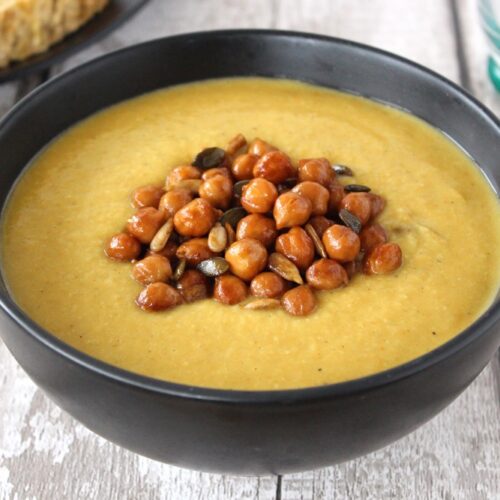
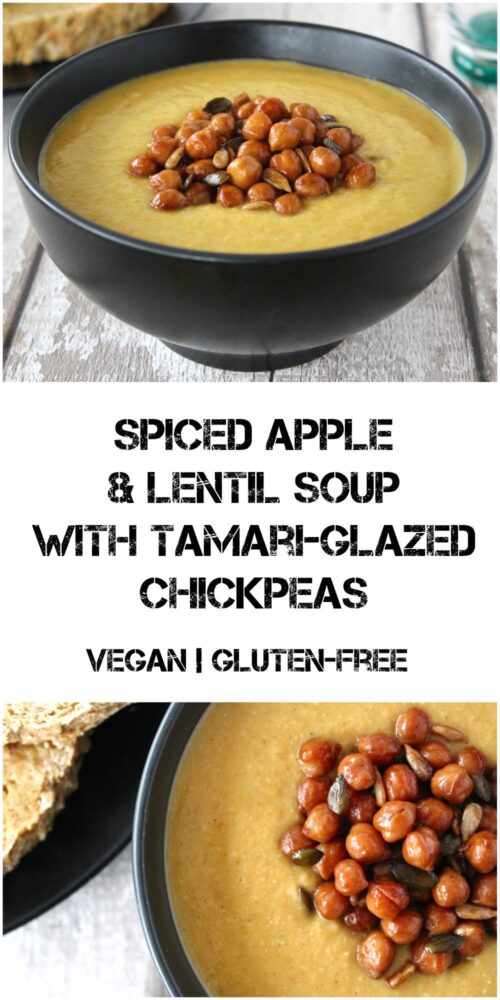
In today’s post, I’m sharing a delicious soup recipe that’s just perfect for the cold weather season. It’s creamy, filling and flavoured with spices that will warm you from the inside out. Topped with tamari-glazed chickpeas and seeds, and accompanied with a slice or two of wholegrain bread, this soup makes a wonderful evening supper or weekend lunch option. It is also budget-friendly. It cost me just £3.00 to make, which equates to 75p per portion. Bargain!
This soup is my idea of the perfect winter comfort food. As well as being tasty, warming and filling, it is also packed full of nutrients that help to keep our immune systems strong. It is rich in antioxidant vitamins A and E, as well as B vitamins and a whole host of minerals. Thanks to the lentils, chickpeas and seeds, this soup is also high in protein. Serve with a couple of slices of wholewheat bread and it provides over 27g of protein!
I love adding lots of toppings to my soups. Not only do they add interesting flavours and textures, but they also boost the nutrient profile of the soup and make it more filling. Inspired by my Creamy Butternut Squash Soup, I chose to top this soup with some chickpeas and seeds glazed in tamari soy sauce, which gave them a rich, umami flavour that complimented the spices in the soup.
Delicious!
Recipe Card
Prevent your screen from going dark
Spiced Apple and Lentil Soup with Tamari-Glazed Chickpeas
This soup is a great winter warmer. It’s creamy, filling and flavoured with warming spices. Topped with tamari-glazed chickpeas and seeds, and accompanied by a slice or two of wholegrain bread, this soup is substantial enough to serve as a main evening meal. It also makes a delicious, nutrient-rich lunch option. Pack into a wide-necked flask for a warming lunch ‘on the go’.
2medium carrotshalved lengthwise and thinly sliced
3celery stalkstrimmed and sliced
1large applecored and chopped
2tspminced garlic
2tspgaram masala
1litre vegetable stock (broth)(I use boiling water and 4 tsp vegetable bouillon powder)
130g/ ⅔ cup red lentils
70g(about ⅓ of a 200g / 7 oz block) of creamed coconutroughly chopped
saltto taste
Toppings
400g/ 14 oz can chickpeasrinsed and drained
2TBSPpumpkin seeds
2TBSPsunflower seeds
1tspolive oil
1tspmaple syrup
1tspdried oregano
½TBSPtamari soy sauce
Instructions
Gently heat the oil in a large saucepan. Add the onion, carrot, celery and apple to the pan. Stir through, cover with a lid and leave to cook on medium-low heat for 4 minutes.
Meanwhile, place the lentils in a fine mesh sieve and wash under cold running water, agitating them with your hand until the water runs clear.
Add the garlic and garam masala to the saucepan, and continue cooking for 2 minutes.
Add the vegetable stock, lentils and creamed coconut to the pan. Bring to the boil then reduce the heat, cover with a lid, and simmer for 20 minutes.
When the lentils are tender, remove the pan from the heat. Leave to cool for a few minutes then transfer to a jug blender and whizz until smooth. Depending on the size of your blender, you may need to do this in two batches. Return the soup to the pan and gently heat through before serving. Season with salt, to taste.
For the toppings: Heat the chickpeas and seeds in a large frying pan (skillet) on medium heat. Drizzle in the olive oil and stir through. Add the maple syrup and oregano and stir through. Finally add the soy sauce and continue cooking until the liquids have evaporated, stirring regularly.
This soup will keep for up to five days in the fridge. I haven’t tried it yet, but I’m pretty confident that it will freeze well too.
N.B. The above values are estimates. The actual nutritional values will vary depending on the brands and ingredients used.
Pin for later ⬇️
If you make this recipe, I’d love to hear your feedback and any suggestions for adaptations. Tag your photos with #bitofthegoodstuff on social media – I always love to see your creations! You can also connect with me on my social media channels here: Instagram, Facebook, Pinterest.
Each year, for my mum’s birthday in May, I love to challenge myself to create a new vegan cake for her. This tradition started back in 2013, when I made my first ever vegan Lemon Drizzle Cake (and, to this day, that cake remains one of the most popular recipes on my blog!!) For this year’s birthday, I decided to attempt a Coffee and Walnut Cake. It’s an oldie but a goodie (and one of my personal favourites!)
And my mum’s verdict?
She messaged me when I got home to say that this might be my best cake ever! 🤭
And coming from my mum, that is some accolade!!
My birthday was a couple of weeks after my mum’s, so I decided to remake the cake and check the recipe notes that I’d quickly scribbled on a piece of paper. Rather than starting the recipe from scratch, I’d used my trusty Chocolate Celebration Cake as a starting point, then tweaked the ingredient ratios to compensate for the coffee. It worked a charm!
Since then, I’ve made the cake three more times for friend and family celebrations (checking the recipe each time!) It’s received lots of positive feedback so I’m finally confident enough to share it on the blog.
I’m not normally a fan of cake frosting, but the coffee frosting on this cake, I love! You can use any kind of instant coffee in the frosting. In the first five cakes I made, I used Beanies flavoured coffees which came in one of my The Vegan Kind Lifestyle Subscription Boxes. The Irish Cream, Creamy Caramel and Cookie Dough flavours were especially good, and made the frosting taste even more delicious!
More recently, I’ve been using Nescafe Gold Espresso, bought from Sainsbury’s.
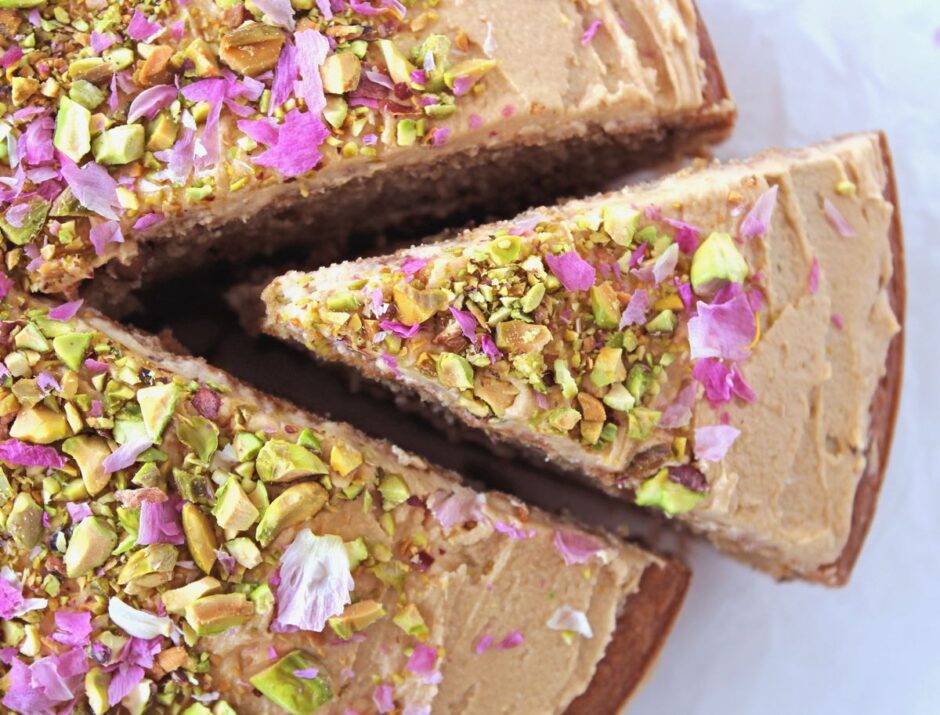
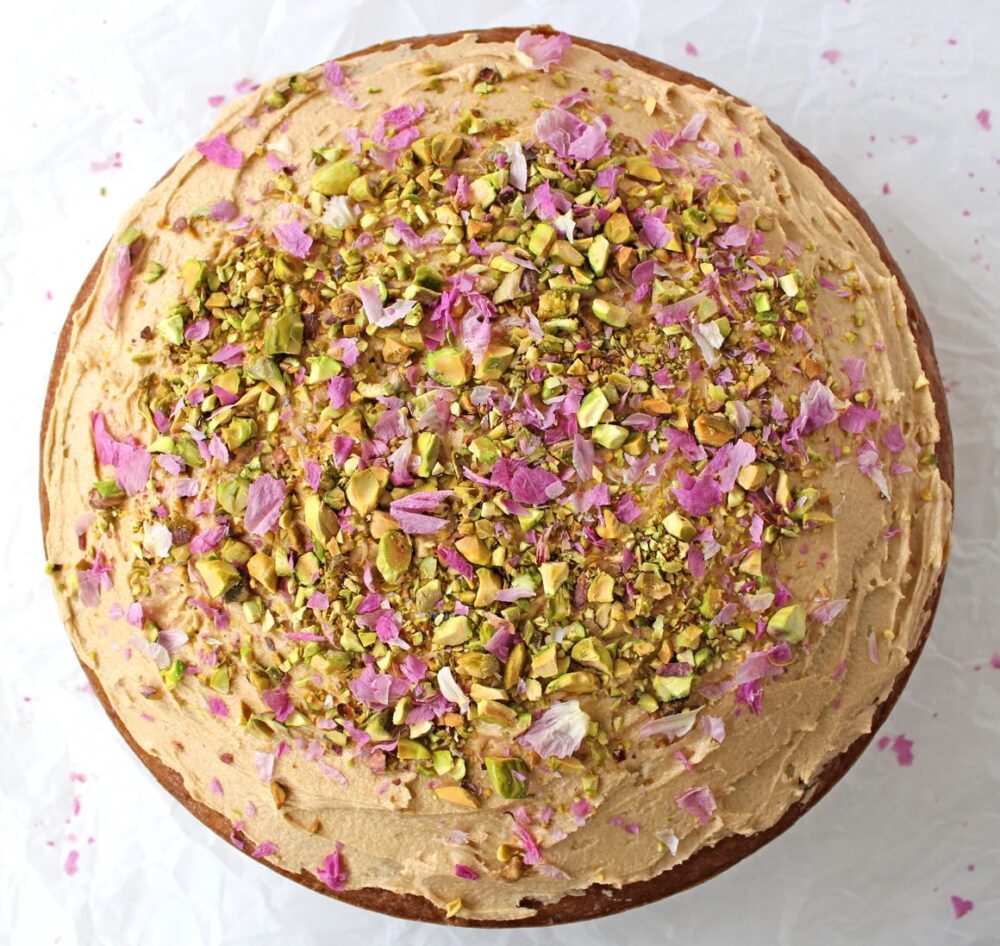
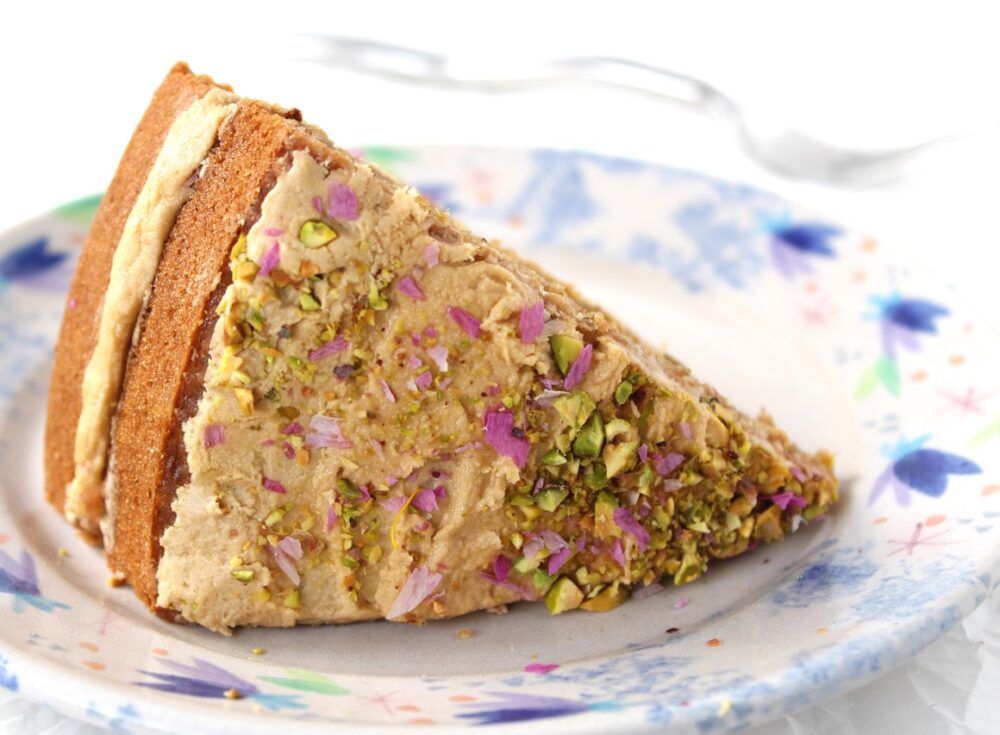
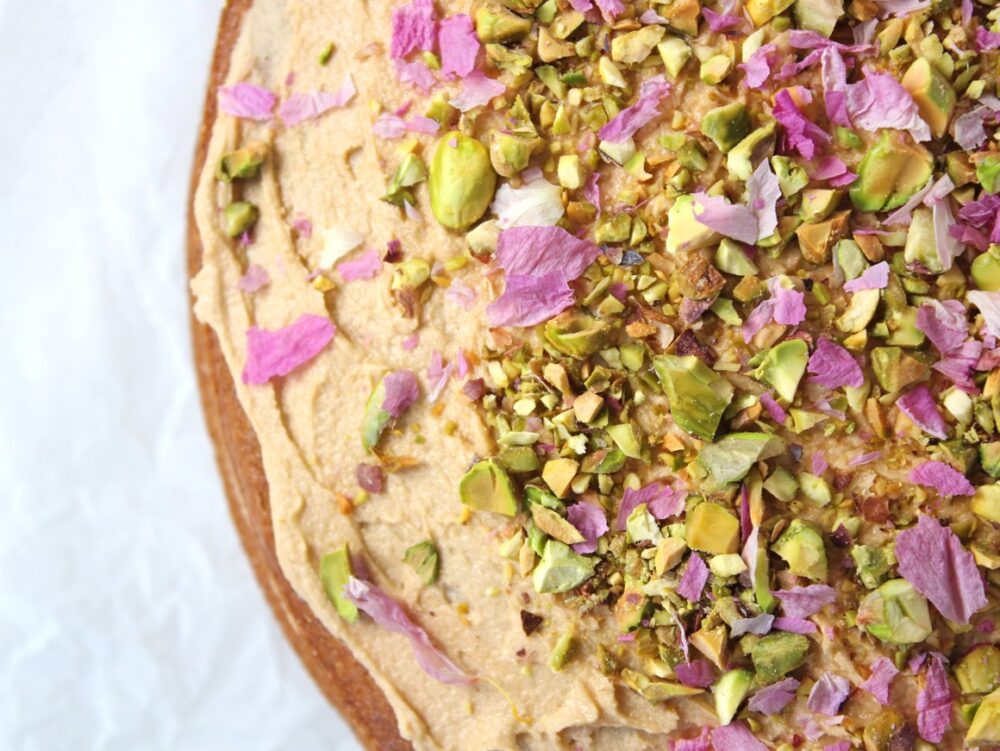
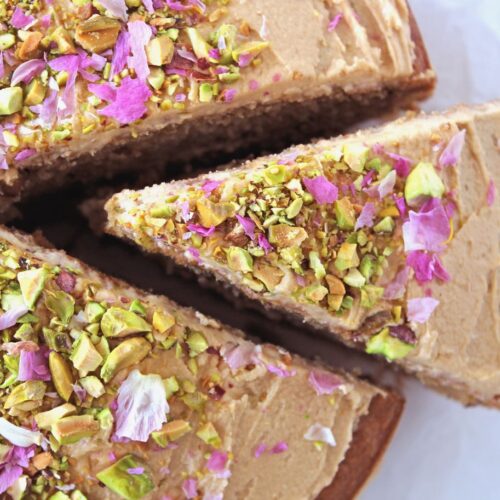
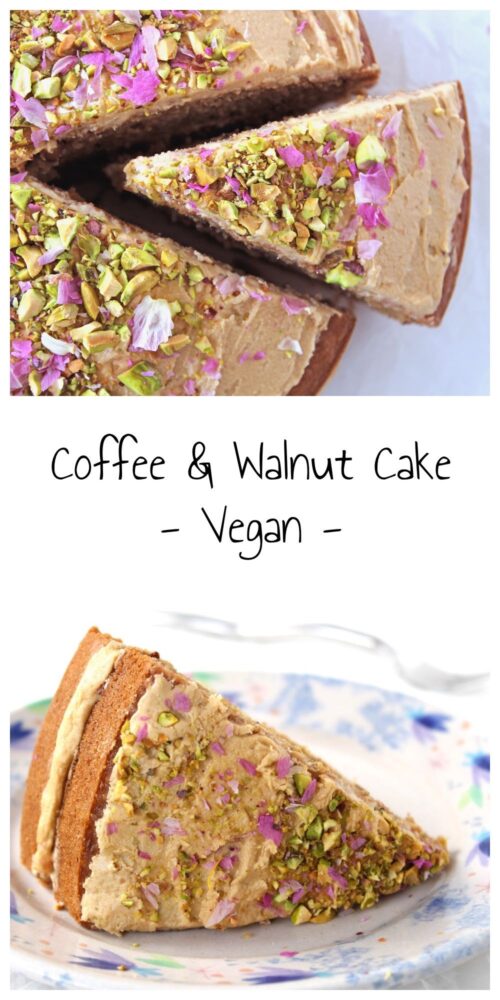
As a twist on traditional coffee and walnut cake, I decided to decorate mine with roasted pistachios and rose petals. The green and pink colours looked so pretty set against the backdrop of the coffee frosting.
If you do have roses in your garden, it’s a lovely touch to use them as decoration on your bakes. The petals you see in the photos in this post came from my friend’s garden, so every time I see them it reminds me of her (which makes me smile a lot!)
It’s really easy to dry petals for cake decoration. I’ll pop the instructions in another blog post in case you’d like to give it a try yourself.
Recipe Card
Prevent your screen from going dark
Vegan Coffee and Walnut Cake
This cake is just perfect for celebrations. It's one of my family's favourite birthday cakes! The frosting recipe detailed below is sufficient for a thin layer in the middle and the top of the cake (as shown in the picture). If you'd like a thicker frosting, I would recommend doubling the recipe.
200g/ 1½ cups fine wholemeal (whole wheat) flour or chapatti flour
1tspbaking powder
1tspbicarbonate soda (baking soda)
½tspsalt
140ml/ ⅔ cup rapeseed (canola) oil or other neutral-tasting oil
330g/ 1⅔ cups unrefined cane sugar(I used golden caster sugar)
2tspvanilla extract
110g/ 1 cup walnuts, finely chopped
Frosting
300g/ 2¼ cups icing (powdered) sugar
90g/ 6 TBSP dairy-free spread/vegan butter
1½TBSPvery strong cold coffee**
Suggested toppings
50g/ ⅓ cup unsalted roasted pistachios
handful of dried rose petals, crushed
Instructions
Preheat the oven to 180C (160C fan) / 350F. Grease the sides of two 23cm / 9 inch loose-bottomed tins and line the bottoms with non-stick baking paper.
In a large mixing bowl, whisk together the milk, coffee and vinegar, then set to one side.
In a separate bowl, add the dry ingredients (plain flour, wholemeal flour, baking powder, bicarbonate of soda and salt) and stir to combine.
Add the oil, sugar and vanilla extract to the wet ingredient bowl, and whisk until fully combined (using a hand whisk). Sieve in a third of the dry ingredients and whisk to combine. Add another third and whisk to combine. Add the last third along with any remaining wheatgerm left in the sieve. Stir through to combine (but do not over stir).
Fold in the walnuts.
Divide the batter equally between the prepared tins. Place on racks as close to the centre of the oven as possible. Bake for 40-45 minutes, until a skewer inserted into the middle comes out clean and the the cakes are springy when lightly pressed. (In my oven, I find the cake on the higher rack is ready in 40 minutes, and the cake on the lower rack often needs an extra 5 minutes).
Leave the cakes in their tins for at least an hour (they will firm up as they cool), then transfer to a wire rack.
While they’re cooling, prepare the frosting. Place the icing sugar, dairy-free spread/vegan butter and coffee in a mixing bowl. Stir with a metal spoon until it starts to combine, then beat with electric beaters (or a fork) until light and fluffy. If the frosting looks a little stiff, add a teaspoon of water and keep beating. Store the frosting in the fridge until needed.
Once the cakes are completely cooled, decorate with the frosting and assemble. Sprinkle on your toppings of choice and lightly press them into the frosting. Chill the cake before serving.
Stored in an airtight container, the cake will keep for about three days at room temperature, and up to a week in the fridge. It also freezes well.
Notes
I use 1 TBSP of instant coffee dissolved in 60ml / ¼ cup cold water
I’m really looking forward to seeing your remakes of this cake and how you choose to decorate it! 💜 Tag your photos with #bitofthegoodstuff on social media – I always love to see your creations! You can also connect with me on my social media channels here: Instagram , Facebook, Pinterest.