Chocolate Banana Ice Cream Smoothie Bowl (Dairy-Free)

Jump to Recipe

* This post was originally posted in July 2016. The page was updated in August 2019.

In the hot summer months, nothing beats a cooling bowl of ice cream smoothie for breakfast. It might sound a bit indulgent to eat ice cream for breakfast, however this is no ordinary dairy and sugar-laden ice cream. The base is a blend of frozen banana and plant milk that magically transforms into the creamiest, smoothest soft serve. This is one ice cream that you can indulge in to your heart’s content!

As well as a great warm weather breakfast option, this ice cream smoothie bowl also makes a delicious post-school and exercise snack.
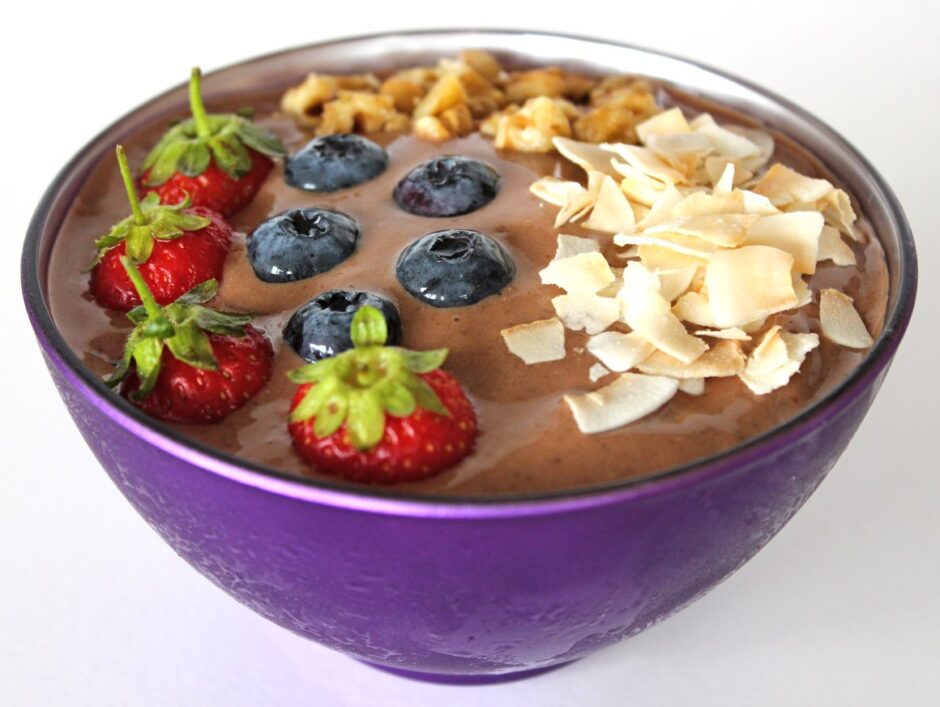
Chocolate Banana Ice Cream Smoothie Bowl (Vegan / Dairy-Free)

The chocolate version that I’m sharing today is not only one of my personal favourites, but it has also proven to be very popular with kids too! It always feels great to give kids a treat that’s delicious and healthy, and this one is packed with goodness. It contains a whole host of vitamins, minerals and antioxidants, and is especially rich in vitamins C and E, calcium, magnesium, manganese, potassium and phosphorus.

These ice cream smoothie bowls are so quick and easy to make. It’s simply a case of freezing the bananas, then whizzing the ingredients smooth in a power blender or sturdy food processor.
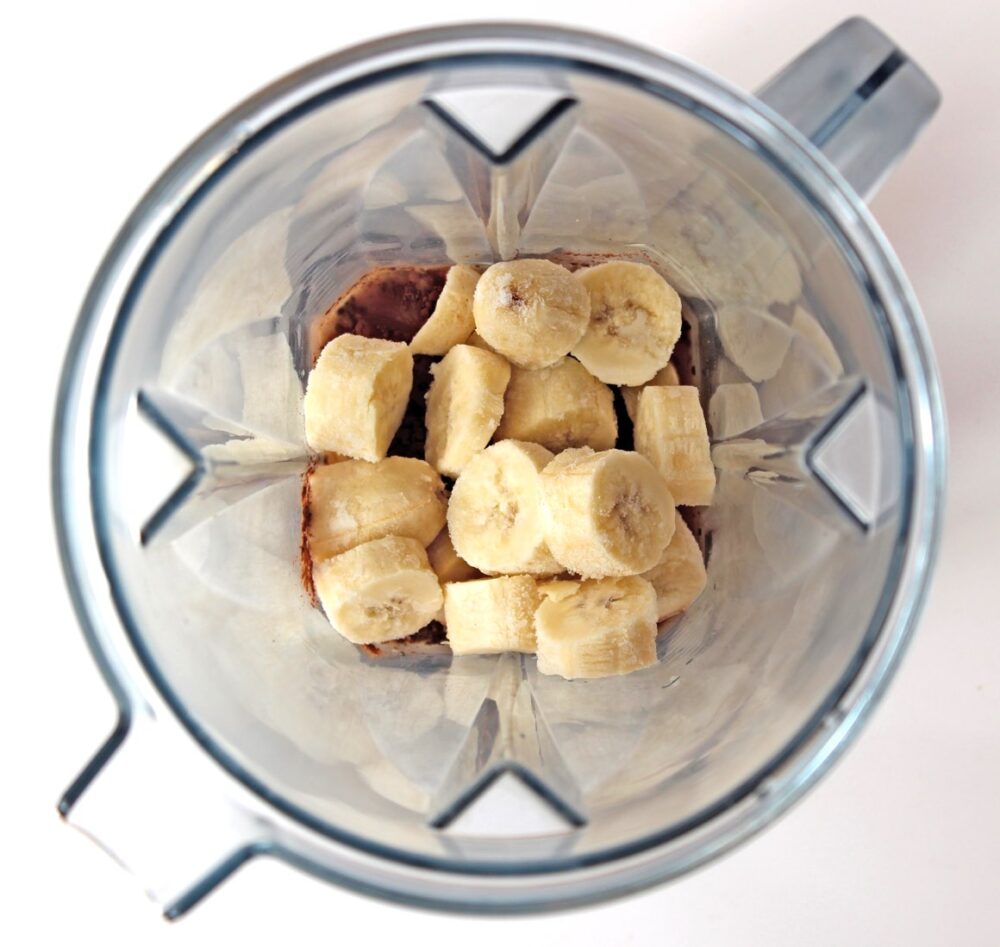
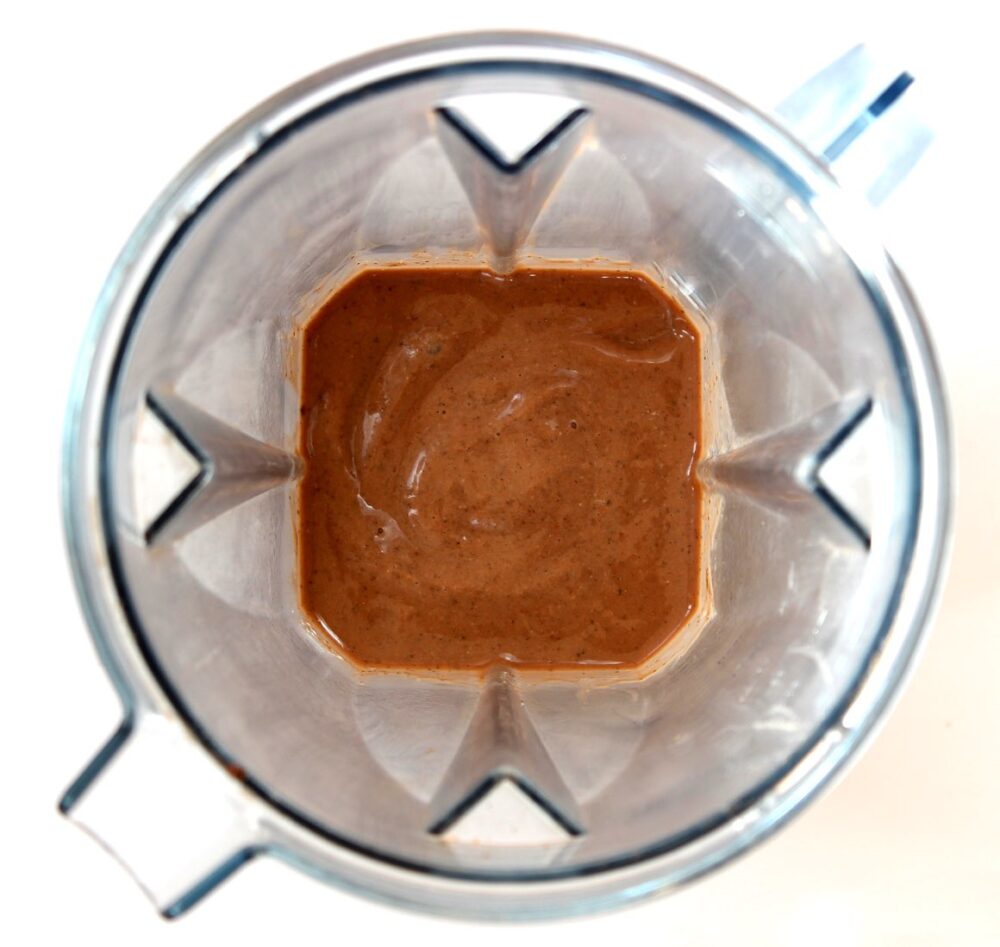
Chocolate Banana Ice Cream Making

I always like to include a tablespoon of almond butter and ground linseed (flaxseed) in my smoothie bowls for extra protein and heart-healthy fats, including omega 3. Adding these two ingredients also helps to make the bowl a more ‘complete’ breakfast and keeps me feeling full up for longer.

Recipe Card
Chocolate Banana Ice Cream Smoothie Bowl (Vegan / Dairy-Free)

Chocolate Banana Ice Cream Smoothie Bowl

This ice cream smoothie bowl is just perfect for serving for breakfast on a hot summer's day, or as a post-school or exercise snack. It tastes really decadent, yet it's packed full of goodness!
Hands-on time 5 minutes
Total Time 5 minutes
Course Breakfast, Snack
Servings 1

Ingredients
 

  • 180 ml / ¾ cup soya milk (or other plant milk)
  • 2 frozen very ripe bananas
  • 1 TBSP cacao or cocoa powder
  • 1 TBSP ground linseed (flaxseed)
  • 1 TBSP almond butter
  • ½ tsp vanilla extract

Suggested toppings:

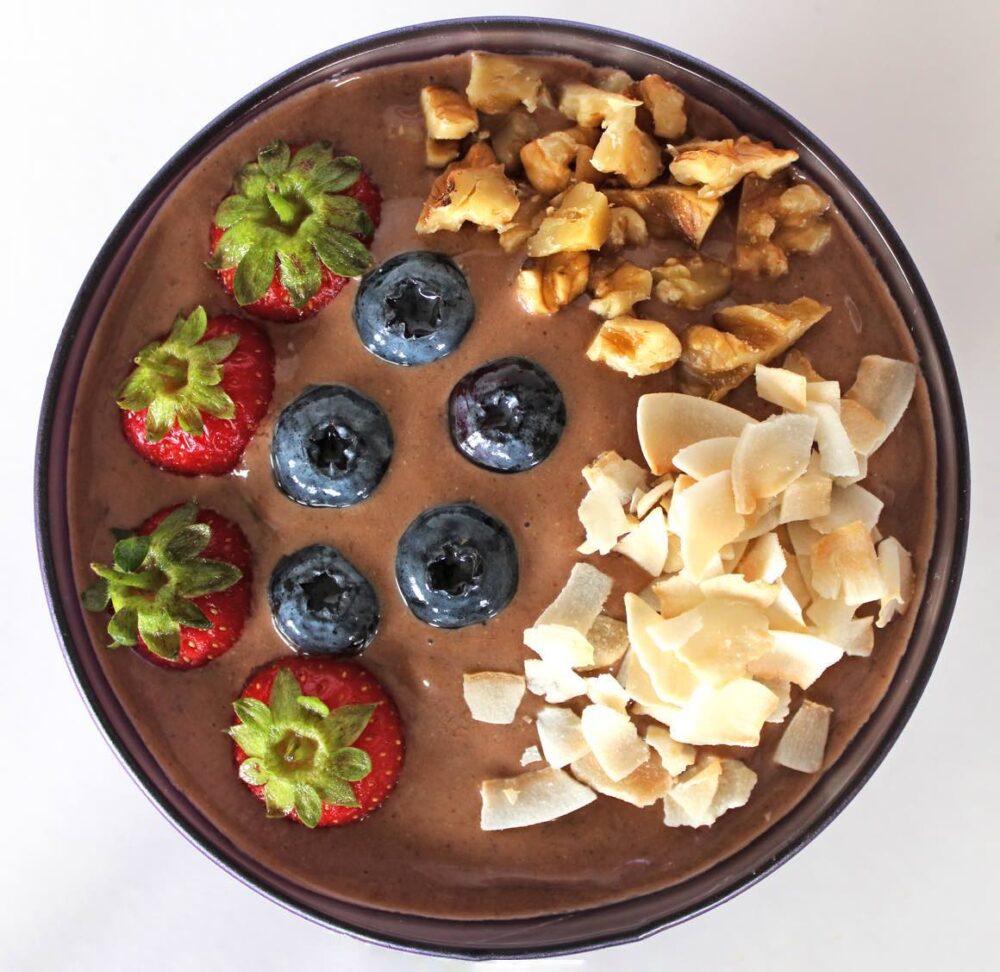
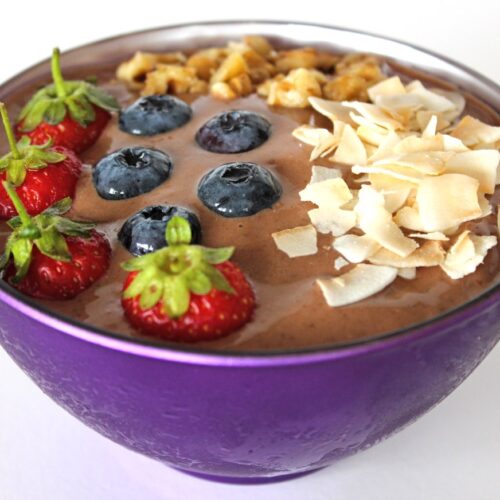
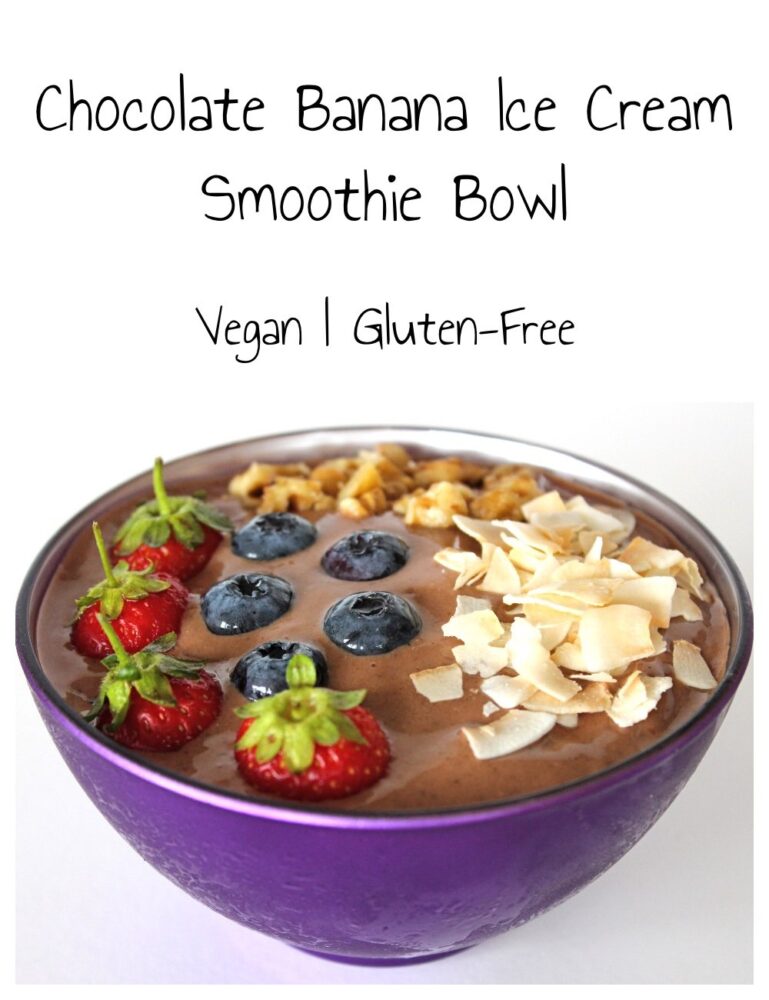
  • Fresh berries, nuts and seeds (I used strawberries, blueberries, walnuts and toasted coconut chips)

Instructions
 

  • If your house is warm, place your bowl in the freezer for a few minutes.
  • Using a sharp knife, slice the frozen bananas into coins.
  • If using a power blender: Add the milk followed by all the remaining ingredients. Using a tamper tool, push the banana onto the blades. Start blending on low then move to high speed. Add a splash more milk, if needed, to get things moving.
  • If using a food processor: Add all the ingredients and whizz until smooth. Stop now and then to scrape down the sides and redistribute the banana round the bowl.
  • Scoop the ice cream into your bowl. Add your desired toppings and serve immediately. If you are going to hold the bowl in your hands, wrap a tea towel round it to stop the ice cream from melting.
Keyword Banana Ice Cream, Family Friendly, Gluten-Free, Plant-Based, Vegan Breakfast, Vegan Snacks
Tried this recipe?Let us know how it was!

Nutritional Breakdown

N.B. The above values are estimates. The actual nutritional values will vary depending on the brands and ingredients used.

Pin for later ⬇️
Chocolate Banana Ice Cream Smoothie Bowl (Vegan / Dairy-Free)

Ice cream, parfaits, chia puddings, pancakes, waffles…. we love interchanging breakfasts and desserts in our house, and it appears that we’re not the only ones! Here are some more ‘desserts for breakfast’ ideas from some of my favourite bloggers…

Blueberry Bread Pudding Breakfast Cake by Blissful Basil

1-Hour Cinnamon Rolls with Aquafaba by Vegan Richa

Peanut Butter and Jelly Muffins by Minimalist Baker

Strawberry Cheesecake Mess by Wallflower Kitchen

Cherry-Strawberry Chia Seed Fool with Vanilla Bean Coconut Whipped Cream from Oh She Glows

Easy Peasy Pumpkin Spice Bread Pudding by Unconventional Baker

If you make this Chocolate Banana Ice Cream Smoothie Bowl (or any other recipes on my blog), I’d love to hear your feedback and any suggestions for adaptations! Tag your photos with #bitofthegoodstuff on social media – I always love to see your creations! You can also connect with me on my social media channels here: InstagramFacebookPinterest.   

With love,

Sharon xx

———————————-
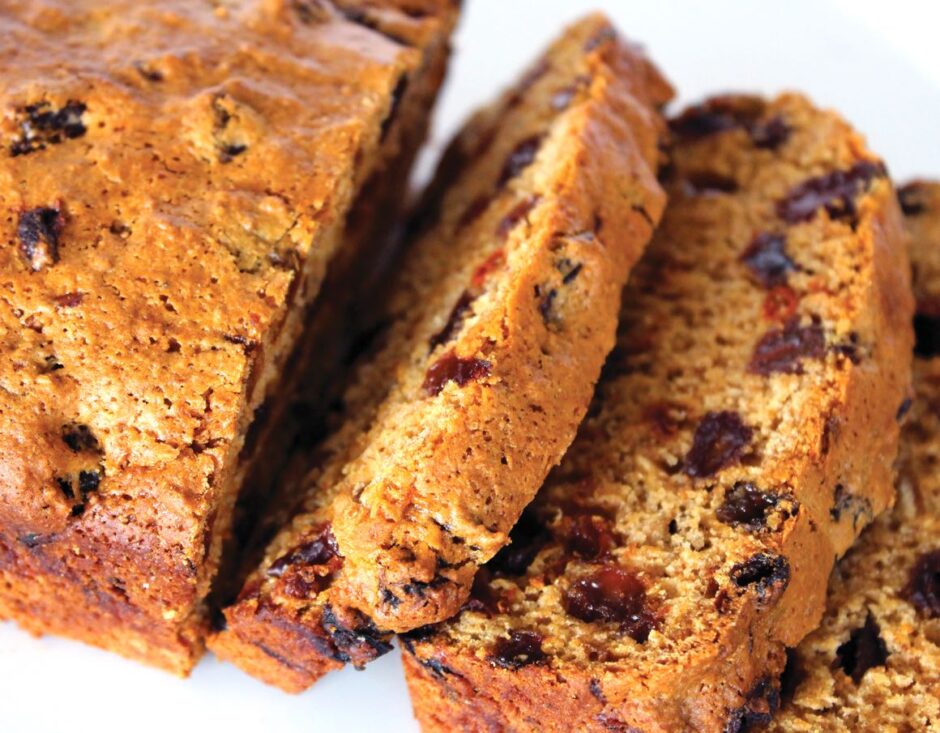
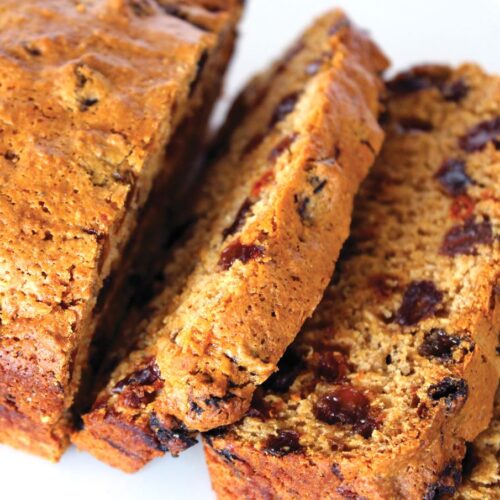
Old Fashioned English Tea Loaf (Dairy-Free / Egg-Free / Fat-Free)

Jump to Recipe

* This recipe was originally posted in March 2014. The page was updated in August 2019.

It might be old-fashioned, but tea loaf rocks! It’s perfect for serving for ‘elevenses’ or as a mid-afternoon ‘pick me up’ with a lovely cup of tea. It also makes a tasty after-school or travel snack. This is one of my all-time favourite treats for road trips!

I have my mum’s friend to thank for the recipe. I arrived at my mum’s house one day to discover this incredible smell wafting out of the kitchen. It turned out to be this tea loaf!

Back home, I couldn’t wait to have a try at making my own. The original recipe contained egg but I omitted the egg, tweaked the wet/dry ratio a little and it turned out absolutely fine. My family can’t actually tell the difference!

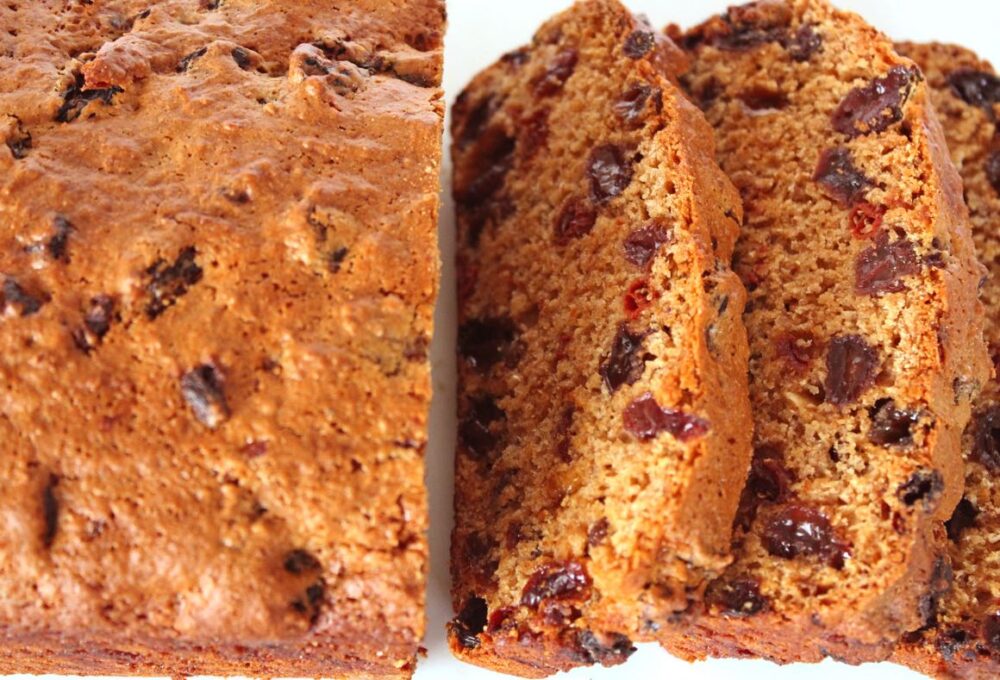
Old Fashioned English Tea Loaf (Vegan | Dairy-Free)

As cakes go, this tea loaf is pretty healthy. It’s filled with nutrient-rich dried fruits, whole grain flour, and it’s fat free!

It’s incredibly easy to make too. You simply soak the dried fruit in a cup of tea for a few hours, then mix all the ingredients together and bake.

Recipe Card

Old Fashioned English Tea Loaf (Vegan | Dairy-Free)

Old Fashioned English Tea Loaf

It might be old-fashioned, but tea loaf rocks! It's perfect for serving for 'elevenses' or as a mid-afternoon 'pick me up'. It also makes a delicious after-school and travel snack. It's incredibly easy to make. You simply soak the dried fruit in a cup of tea for a few hours, then mix all the ingredients together and bake.
5 from 9 votes
Hands-on time 10 minutes
Total Time 6 hours
Course Afternoon Tea, Dessert, Elevenses, Snack, Treat
Cuisine English
Servings 10

Ingredients
 

  • 250 ml / 1 cup strongly brewed tea
  • 225 g / 1½ cups mixed dried fruit*
  • 113 g / ½ cup unrefined cane sugar(e.g. golden caster) or coconut sugar
  • 1 TBSP marmalade or apricot jam
  • 227 g / 1⅔ cups fine wholemeal (whole wheat pastry) or chapatti flour
  • 2 tsp baking powder
  • 1 tsp ground cinnamon or mixed spice
  • 3 TBSP water

Instructions
 

  • Soak the dried fruit in the brewed tea for 4-5 hours (can be left overnight).
  • Grease a 2lb loaf pan and line the bottom with non-stick baking paper (or use a non-stick loaf liner).
  • Pre-heat the oven to 160C (160C for fan also) / 325F.
  • Tip the dried fruit and any remaining tea into a mixing bowl. Stir in the sugar and marmalade/jam. Sift in the flour, baking powder and spice. Add 3 TBSP water and stir until thoroughly combined.
  • Tip the mixture into the prepared tin and level the top.
  • Bake for 1¼ hours, or until a skewer inserted in the middle comes out clean. Leave to rest in the tin for 30 minutes or so, then transfer to a wire rack until completely cooled.
  • Stored in an airtight container, the loaf will keep for up to five days in the fridge. It also freezes well.

Notes

* I often use raisins, sultanas, goji berries, candied citrus peel.
Keyword Dairy-Free, Egg-Free, Tea Loaf, Vegan Cake, Vegan Treats
Tried this recipe?Let us know how it was!

Pin for later ⬇️

English Tea Loaf (Dairy-Free | Fat-Free | Vegan)

If you make this Tea Loaf (or any other recipes on my blog), I’d love to hear your feedback and any suggestions for adaptations! Tag your photos with #bitofthegoodstuff on social media – I always love to see your creations! You can also connect with me on my social media channels here: Instagram, FacebookPinterest.   

With love,

Sharon xx

———————————-
YOU MAY ALSO LIKE…

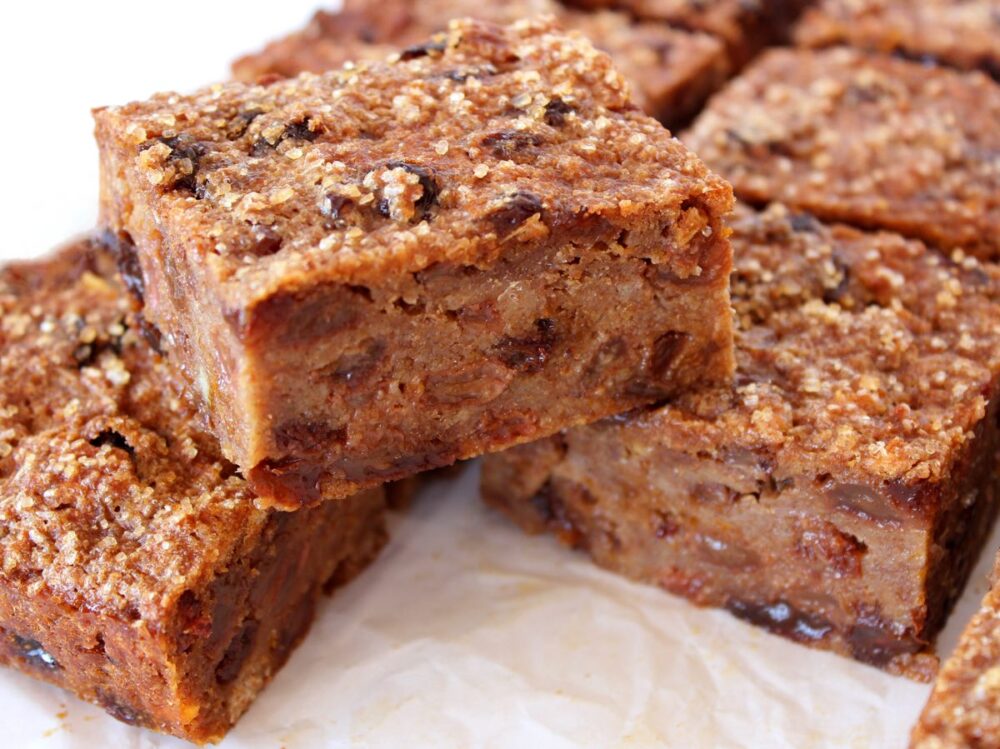
Old Fashioned English Bread Pudding

Easy Vegan ‘Camembert Cheese’

Jump to Recipe

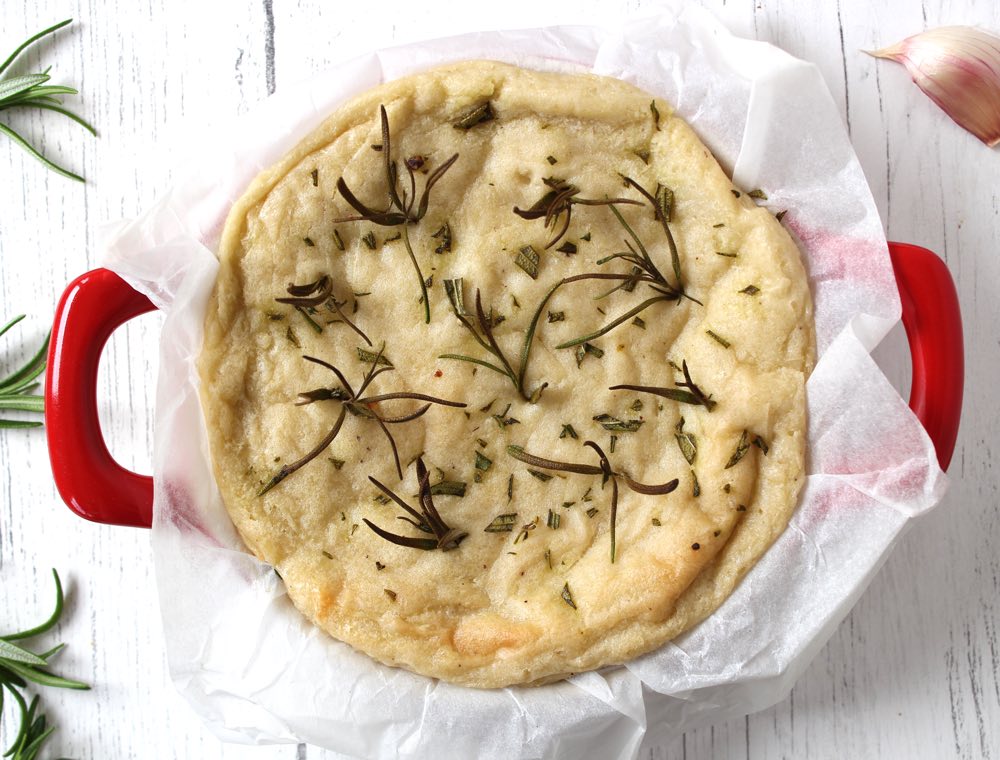
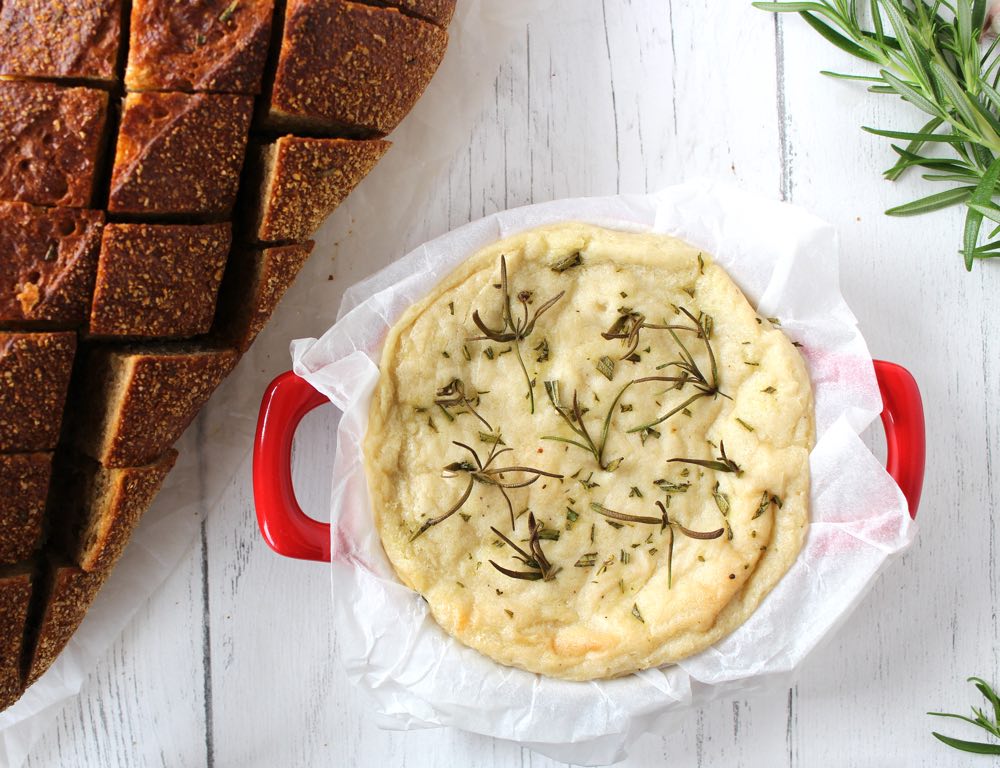
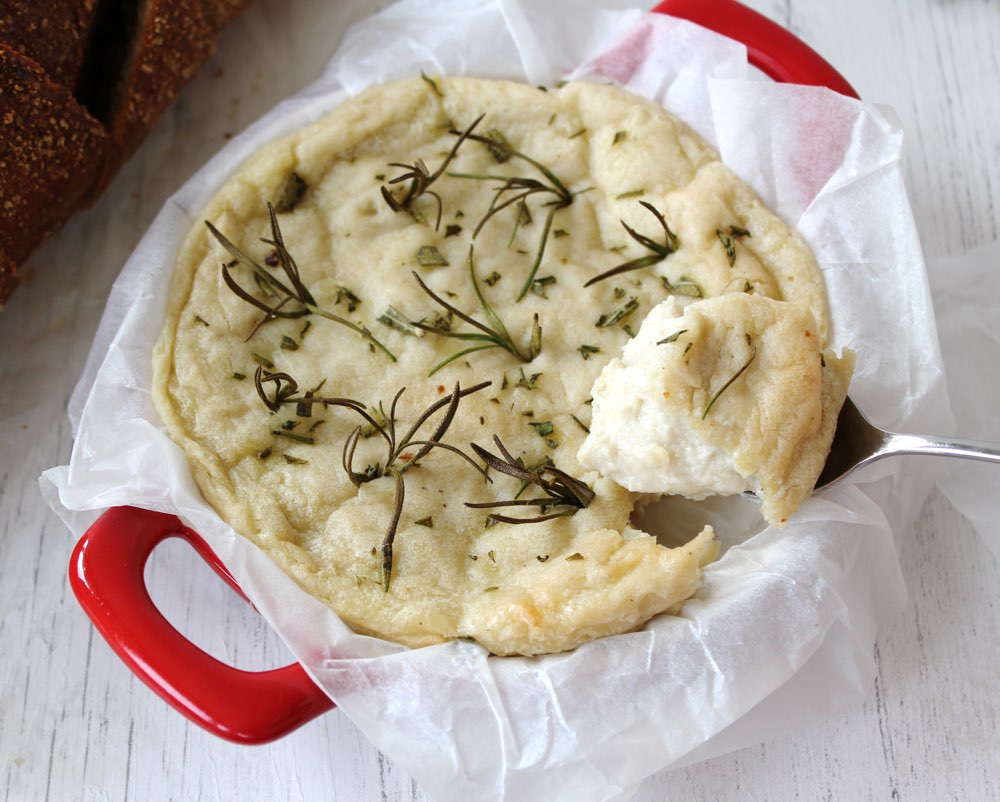
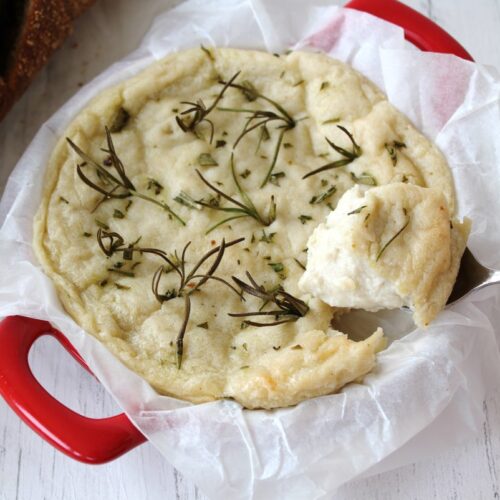
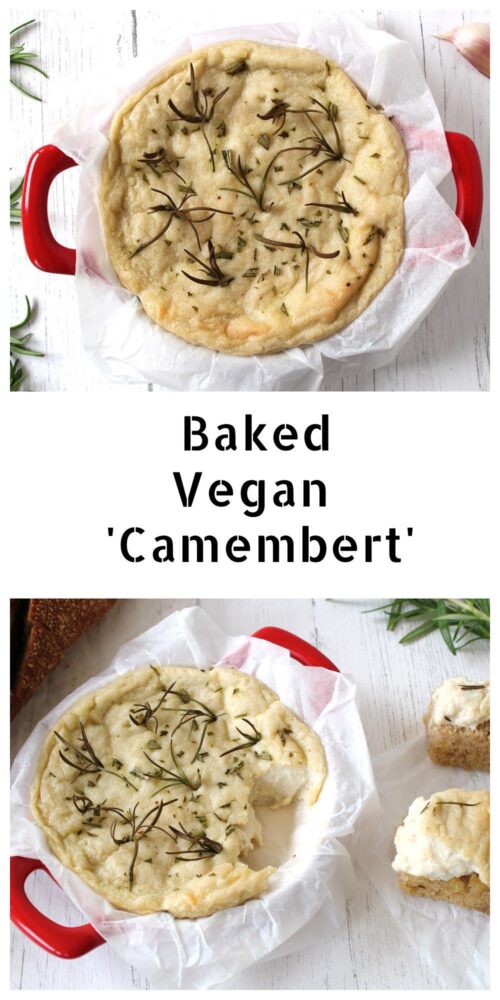
Today, I’m delighted to be sharing a recipe for a delicious vegan camembert-style cheese. When I started food blogging back in 2011, I would never have dreamed that I would be sharing such a recipe but here we are, in 2019, where it’s pretty much possible to veganise anything!! Whether you avoid dairy for ethical, dietary or environmental reasons, this creamy, cashew-based cheese is more than a worthy substitute for traditional camembert. Not only does it taste amazing, but it also has a beautiful texture. As it bakes, it forms a skin on the outside, yet remains soft and gooey in the middle.

Unlike a lot of hand-made cheeses, this one is incredibly quick and easy to make. It takes just 10 minutes hands-on time and is ready to serve in half an hour. It’s also super cheap. I calculated that this cheese cost me just 65p to make, which is way cheaper than any vegan cheeses you’ll find in the shops. 

And while it feels like an indulgent treat, it’s actually good for you! It’s rich in heart-healthy monounsaturated fats, B vitamins and a whole host of minerals, including zinc, manganese, magnesium and iron. Unlike its dairy counterpart, this plant-based camembert contains zero cholesterol as well as significantly less saturated fat. Oh, and most importantly, it’s cruelty-free… no cows were harmed in the making of this cheese 🐮❤️ It’s a winner all round!

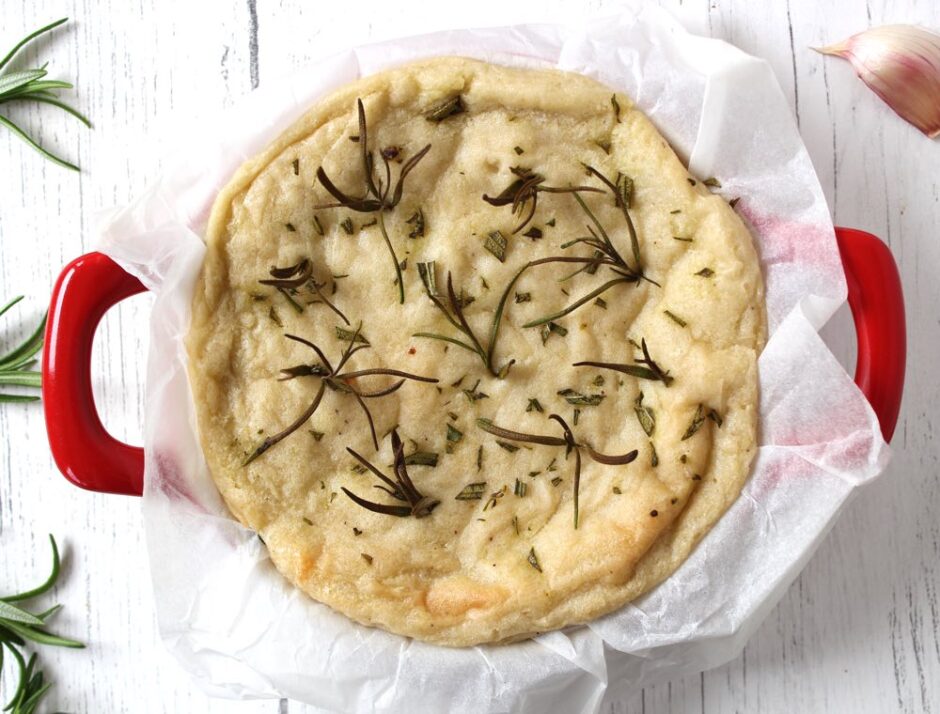
Vegan Camembert

The inspiration for today’s recipe was the infamous ‘Camembosh’ which was featured in this month’s Vegan Life magazine (the one with the lovely Henry and Ian from BOSH! on the front cover). I’d been meaning to try this cheese ever since I’d first heard the rave reviews about it on social media, and seeing it in Vegan Life prompted me to dive into the kitchen and get stuck in.

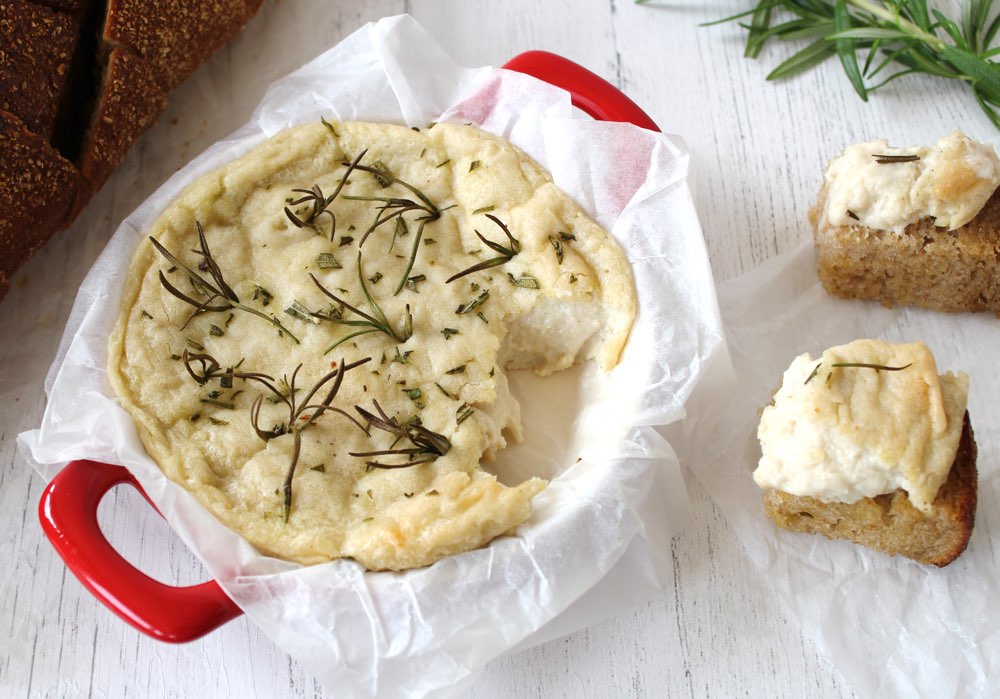
The recipe is actually very similar to the one I use for cashew ‘mozzarella’ which I make for our pizza nights. It is so easy to make! It’s simply a case of blending the ingredients, then heating them in a saucepan and stirring until they become thick and gooey. For the camembert cheese, the mixture gets transferred to a shallow dish and baked in the oven for 20 minutes until it forms a skin. And that’s it! It’s now ready to serve. If you wish, you can warm some bread in the oven at the same time, ready for dipping into the camembert.

Vegan Camembert

The recipe I’m sharing in this post is an adaptation of the Camembosh. The main tweak I’ve made is to reduce the salt. The BOSH! recipe calls for 1½ tsp salt, plus extra for seasoning. A friend who had already tried the cheese recommended reducing the salt quantity as she’d found it very salty. Heeding her advice, we initially reduced the amount to 1 tsp, but we still found it too salty, so in the second batch, we reduced it to ½ tsp. This amount proved to be perfect for us. In the recipe below, I recommend using ½ tsp salt initially, then taste test while the cheese is on the stove. You can always add extra salt at this point, if needed.

I also reduced the amount of garlic compared to the original recipe as I wanted the ‘cheesy’ aspect of the camembert to shine through. Feel free though to add more garlic if you’d prefer a more garlic-flavoured camembert.

Vegan Camembert

Recipe Card

Vegan Camembert

Easy Vegan ‘Camembert Cheese’

This creamy cashew ‘camembert’ is delicious served with warm crusty bread as a weekend treat or when you’re having friends over for ‘drinks and nibbles’. It’s also perfect for picnics, buffets and parties. Any leftovers make a great sandwich filling. We especially love it with slices of sun-dried tomato and chutney.
4.84 from 6 votes
Cook Time 20 minutes
Hands-on Time 10 minutes
Total Time 30 minutes
Course Appetizer, Lunch, Treat
Cuisine French
Servings 2

Ingredients
 

  • 75 g / ½ cup cashews (If you don’t have a power blender, first soften the cashews by soaking them in freshly boiled water for 30 minutes, then drain)
  • 150 ml / ⅔ cup water
  • 2 TBSP tapioca flour (tapioca starch)
  • 1 garlic clove peeled
  • 1 tsp apple cider vinegar
  • 1 TBSP nutritional yeast flakes with B12
  • ½ tsp salt

For Garnish

  • 1 sprig fresh rosemary (highly recommended as it imparts a wonderful flavour to the cheese)
  • freshly ground black pepper (omit if serving to children)

Instructions
 

  • Preheat the oven to 180C / 350F. Line a small shallow dish with baking paper (the dish I use measures approx 11cm x 3cm).
  • Add all the ingredients (except the rosemary and pepper) to a blender and whizz on high speed until smooth.
  • Transfer to a saucepan and cook on medium heat, stirring continuously until it is smooth and has started to thicken (about 2 minutes). Initially, as it warms up, it will go lumpy but don’t worry this is normal. Keep stirring and it will soon smoothen out. Taste test and add a touch more salt, if needed.
  • Pour into the prepared dish and smooth the top. Garnish with rosemary needles (I push some of the needles in whole and finely chop a few to sprinkle). Add some freshly ground black pepper, if desired.
  • Bake for 20 minutes, or until the cheese has formed a skin and is lightly browned round the edges. (You can also warm some bread in the oven at the same time, if you wish).
  • Serve immediately or leave to cool before transferring to an airtight container. It will keep for up to five days in the fridge. Bring to room temperature or re-heat in the oven for a few minutes before serving.

Notes

This recipe has been adapted from the BOSH! Camembosh in BISH BASH BOSH! by Henry Firth and Ian Theasby, featured in Vegan Life magazine Issue 50 (The BOSH! guys credit Ellie from Kinda Co. for the original recipe).
Keyword Dairy-Free, Gluten-Free, Lunchbox Ideas, Oil-Free, Plant-Based, Sandwiches, Vegan Buffets, Vegan Cheese, Vegan Picnics, Vegan Sandwiches
Tried this recipe?Let us know how it was!

Nutritional Breakdown

N.B. The above values are estimates. The actual nutritional values will vary depending on the brands and ingredients used.

Pin for later ⬇️

Baked Vegan Camembert

If you make this Cashew ‘Camembert’, I’d love to hear your feedback and any suggestions for adaptations! Tag your photos with #bitofthegoodstuff on social media – I always love to see your creations! You can also connect with me on my social media channels here: Instagram, Facebook, Pinterest.   

With love,

Sharon xx


——————————–

Chickpea Smash with Dill Pickles – Delicious Vegan Sandwich Filling!

Jump to Recipe

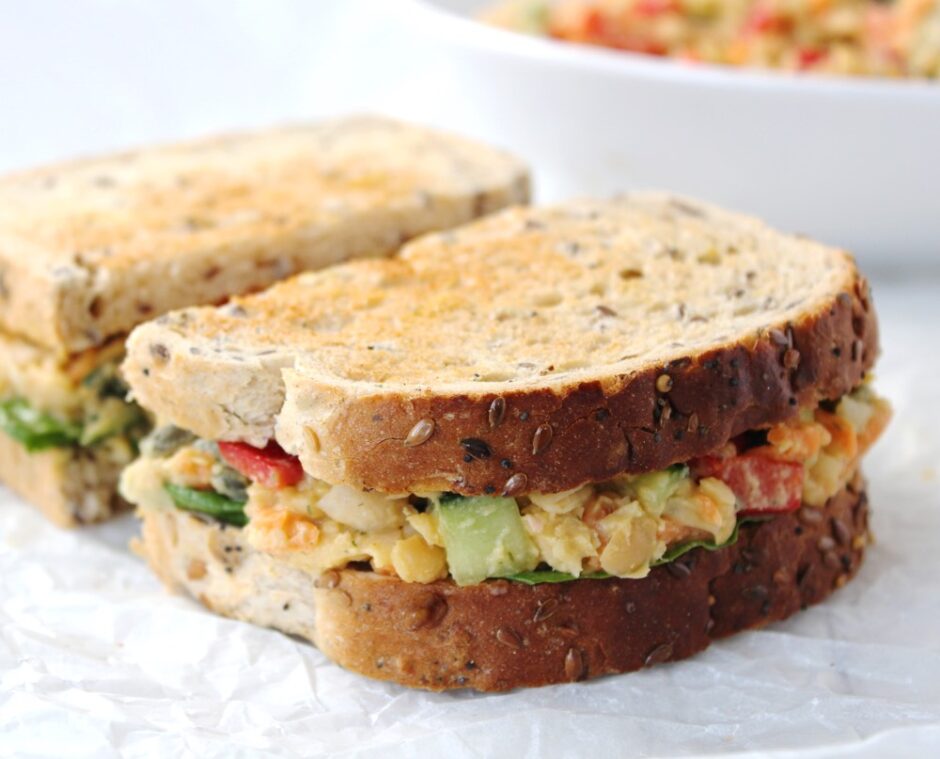
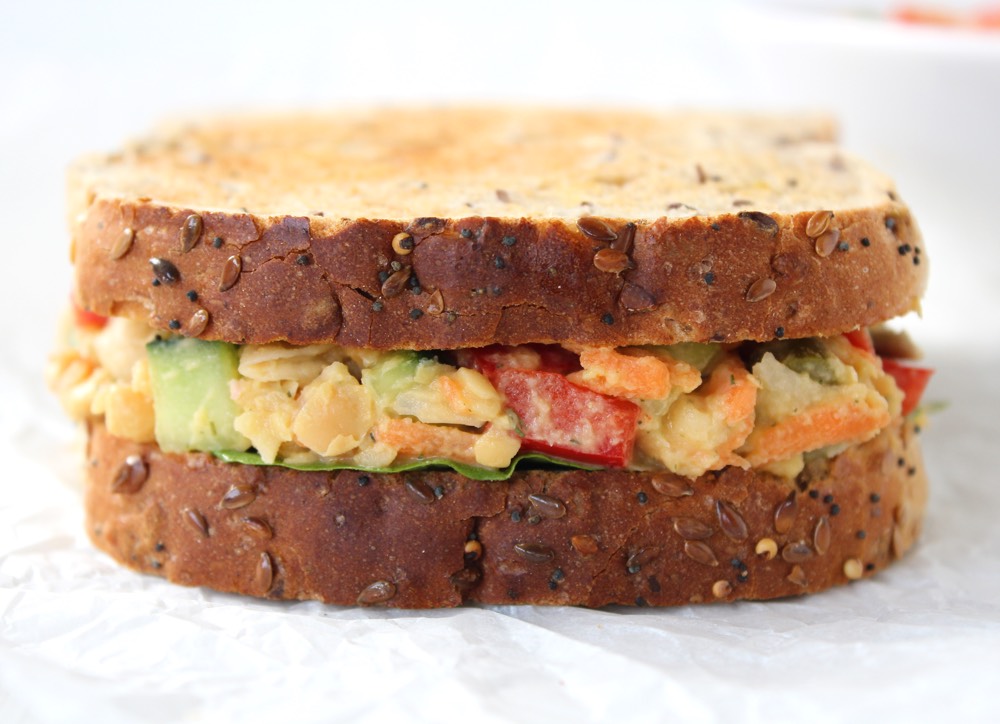
In today’s post I’m sharing a sandwich filling that is tangy, crunchy, creamy and oh so delicious! It reminds me of the Heinz Sandwich Spread that I used to love as a kid in the 80s, but this home-made version is way fresher, tastier and healthier too! 

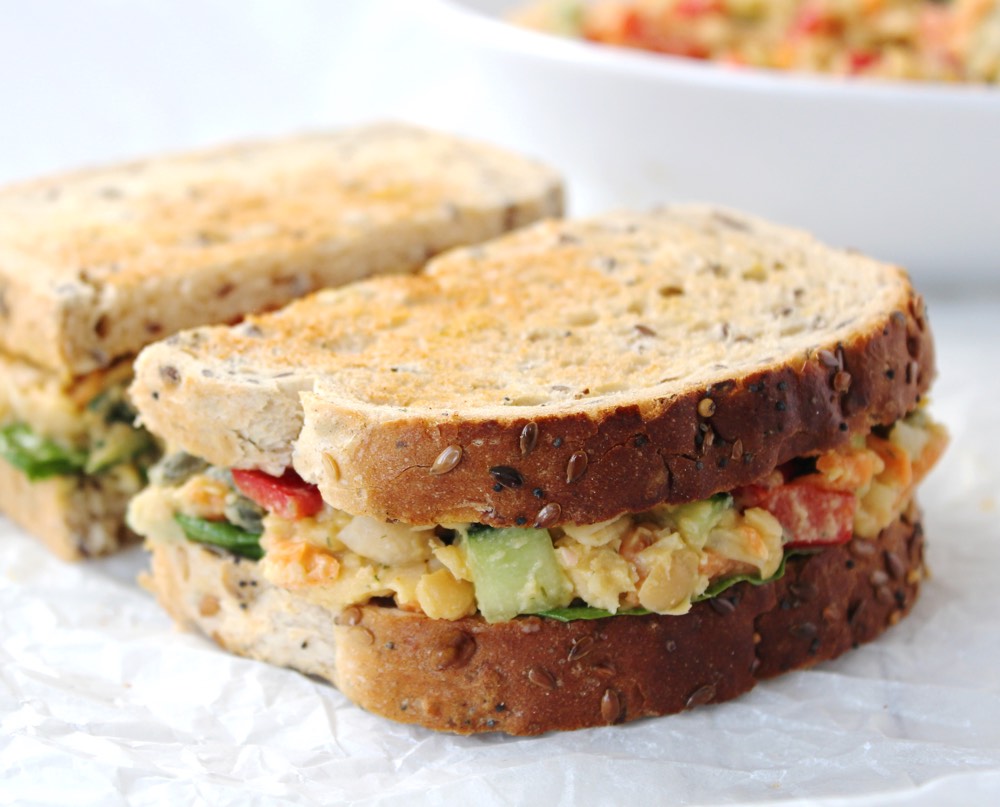
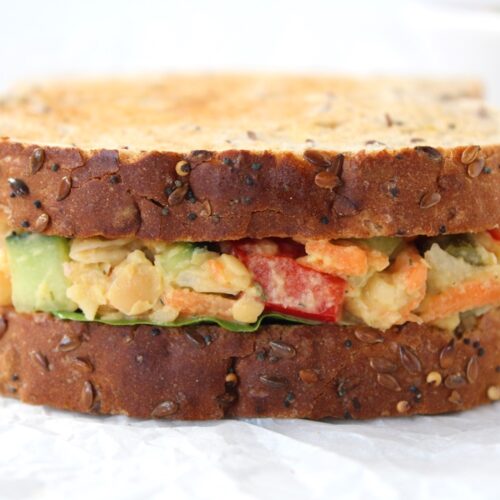
Chickpea Smash Sandwich Filling (Vegan | Dairy-Free)

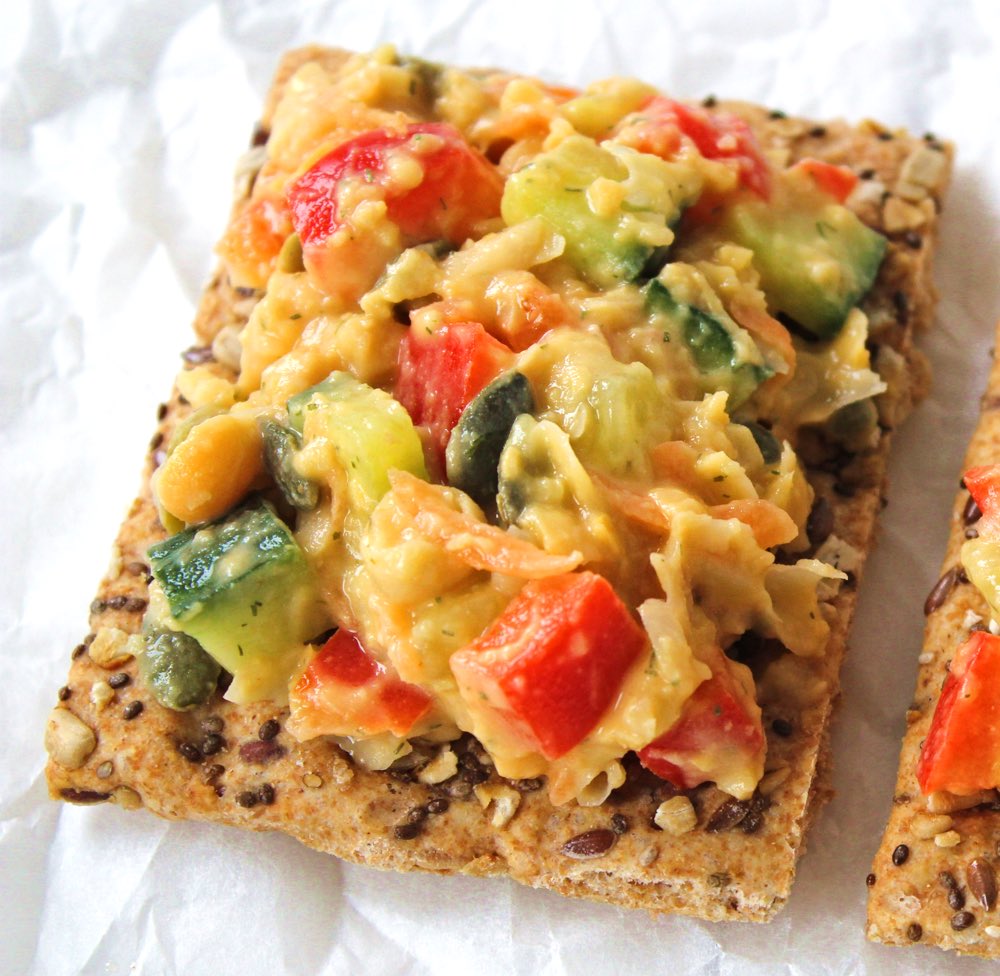
If you’re looking for a new sandwich to liven up school or work lunchboxes, I’d definitely recommend giving this recipe a try. It would also be great for picnics and buffets. As well as a sandwich filling, you can also use it as a topping for crackers. Perhaps even as a jacket potato topper too?

It’s really easy to make and takes around 12 minutes to prepare a large bowl, which will fill about five sandwiches. I tend to make one batch of chickpea smash at the start of the week, which we then use on the following days for Lucien’s school sandwiches, as well as our own.

The inspiration for today’s recipe was this Garden Veggie Chickpea Salad Sandwich from Jenn @ Peas and Crayons which I came across back in 2017, and have been making adapted versions of ever since. Jenn, in turn, credits Angela from Oh She Glows for inspiring her recipe, so it sounds like Angela is the original recipe creator. I’d like to thank both Jenn and Angela for inspiring the recipe I’m sharing today and for giving my family so much sandwich joy these past couple of years!

This recipe is highly versatile, so feel free to switch up the ingredients. I would definitely recommend keeping the dill pickles in though, as they give this recipe its signature tangy, crunchy bite. In England, dill pickles are called ‘gherkins’. It’s such a funny name isn’t it? Even funnier, my mum still calls them by their old slang name ‘Wallies’. Personally, I prefer to call them dill pickles as it sounds much more appealing to me than gherkins or wallies. How about you? What do you call them?

Recipe Card

Chickpea Smash Sandwich Filling (Vegan | Dairy-Free)

Chickpea Smash Sandwich Filling with Dill Pickles

This tangy, crunchy, creamy chickpea smash is perfect as a sandwich filling for school or work lunchboxes, as well as picnics and buffets. The quantity below fills about five sandwiches.
5 from 7 votes
Hands-on time 12 minutes
Total Time 12 minutes
Course Lunch, Snack
Servings 5

Ingredients
 

  • 400 g / 14 oz can chickpeas rinsed and drained
  • 140 g / 1 cup cucumber finely diced
  • 1 medium carrot (66g), grated
  • 1 small red bell pepper or romano pepper deseeded and finely diced
  • 75 g / ½ cup dill pickles or gherkins sliced
  • 2 TBSP pumpkin seeds
  • 4 TBSP vegan mayonnaise*
  • 1 tsp Dijon mustard
  • ¼ tsp dried dill
  • pinch of salt

Instructions
 

  • Placed the drained chickpeas in a large bowl and roughly mash with a potato masher.
  • Add all the remaining ingredients and stir through until fully combined. Taste test and adjust the seasoning to suit.
  • Stored in an airtight container in the fridge, this chickpea smash will keep for three days.

Notes

* I use this Home-Made Sweet Chilli Mayonnaise It’s so cheap and easy to make! If you prefer to use a ready-made mayonnaise, both Vegenaise and Hellmans Vegan Mayo are now available in many of the major supermarkets in the UK, as well as the independent health food shops.
 
Keyword Family Friendly, Gluten-Free, Plant-Based, Vegan Buffets, Vegan Picnics, Vegan Sandwiches, Vegan Snacks
Tried this recipe?Let us know how it was!

Nutritional Breakdown

N.B. The above values are estimates. The actual nutritional values will vary depending on the brands and ingredients used.

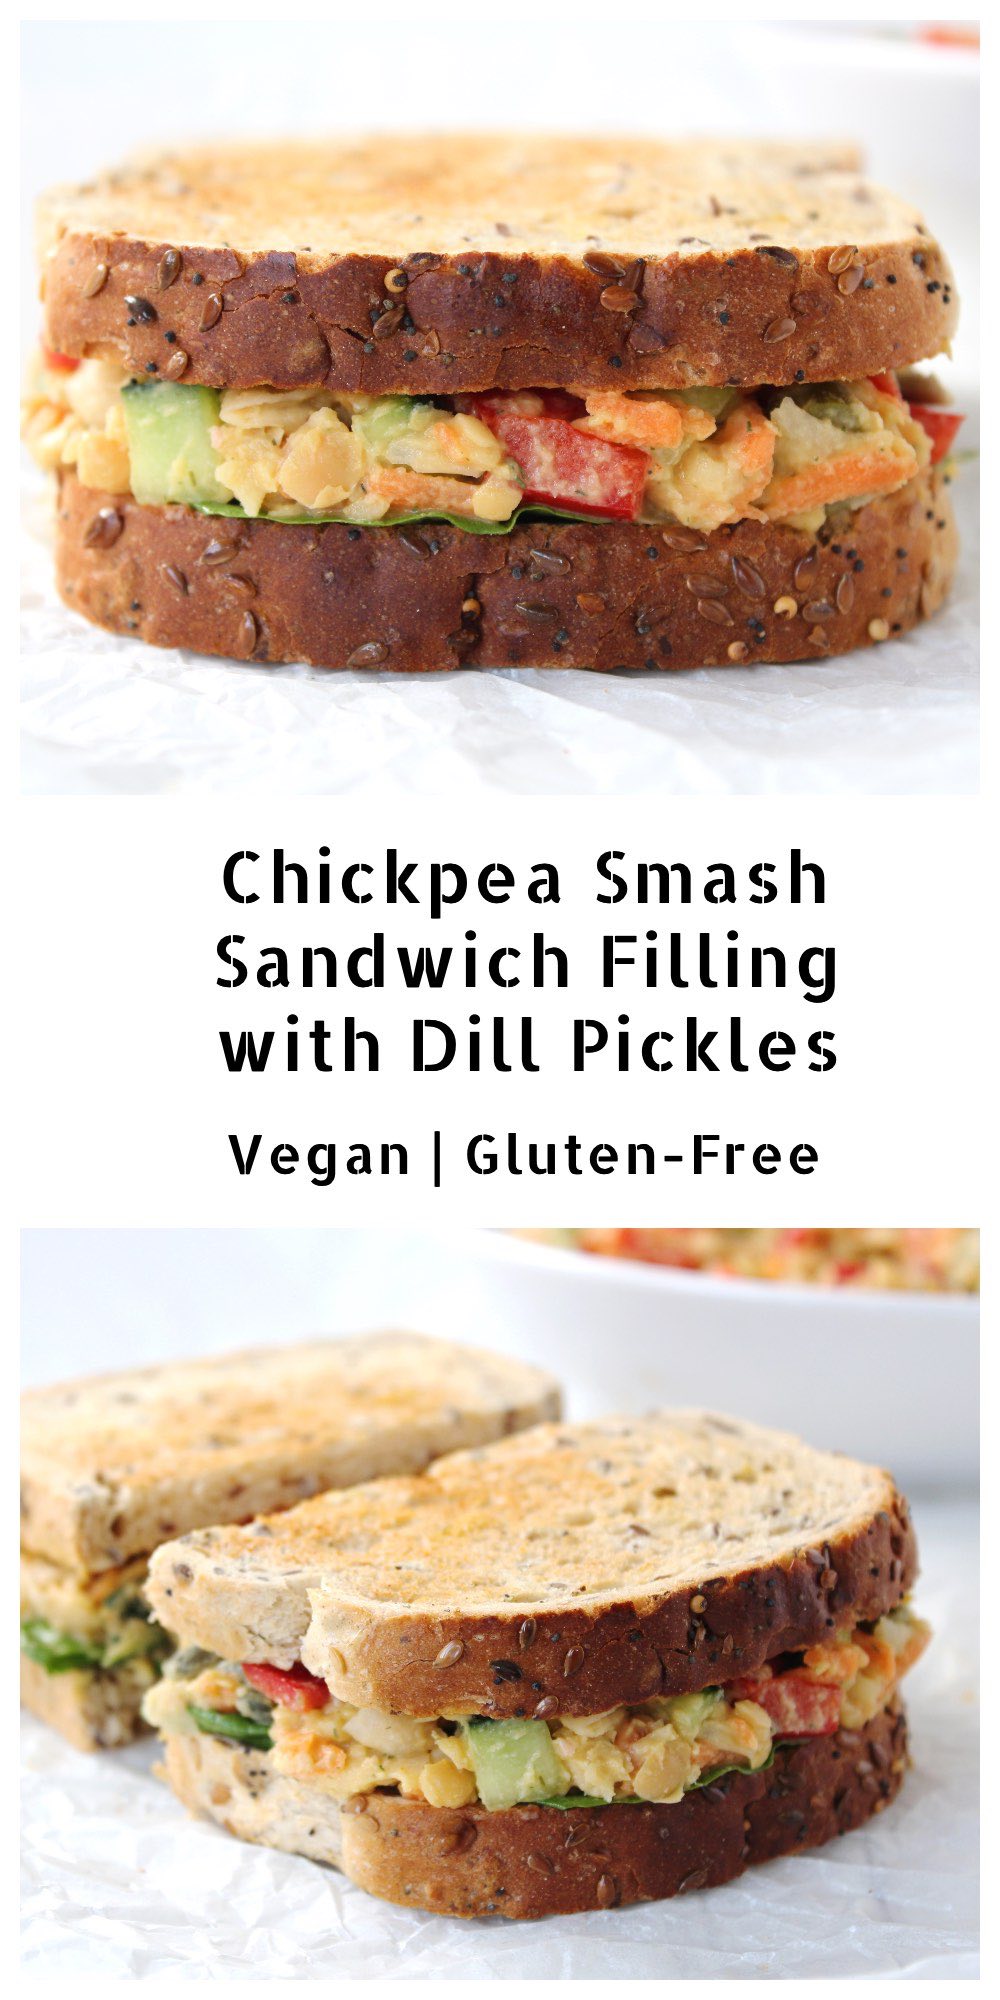
Pin for later ⬇️

If you make this Chickpea Smash, I’d love to hear your feedback and any suggestions for adaptations! Tag your photos with #bitofthegoodstuff on social media – I always love to see your creations! You can also connect with me on my social media channels here: InstagramFacebook, Pinterest.   

With love,

Sharon xx

——————————–

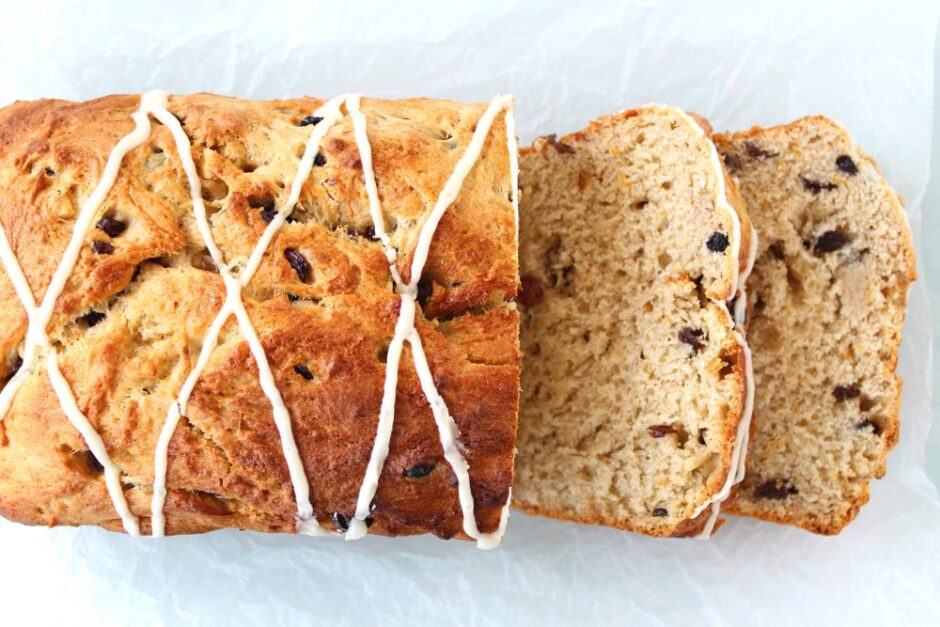
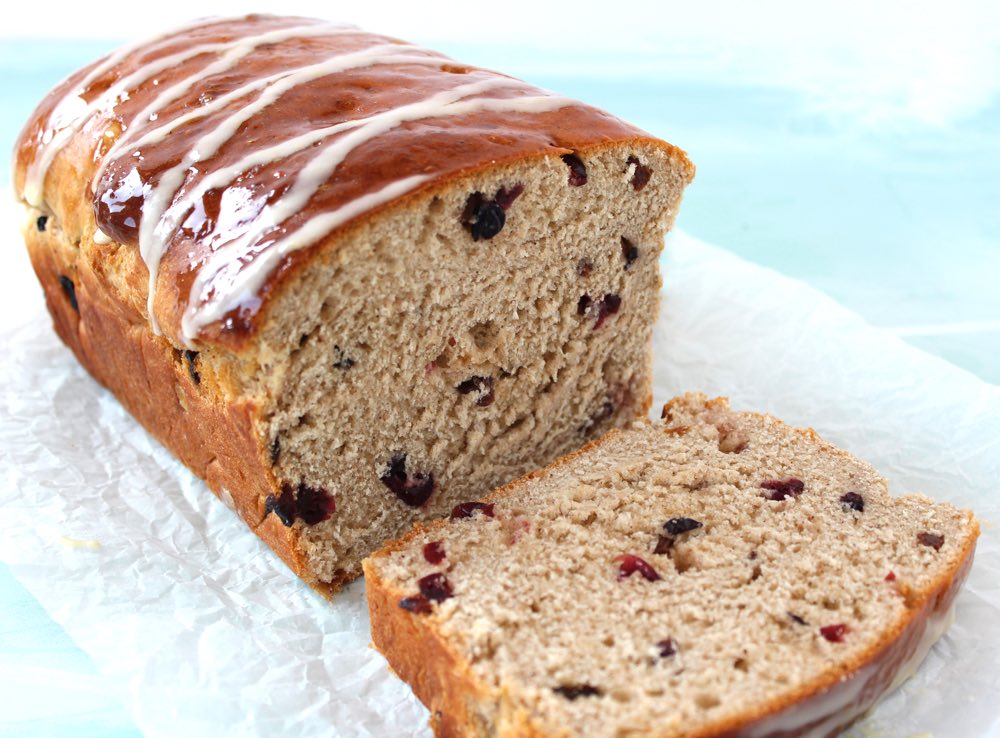
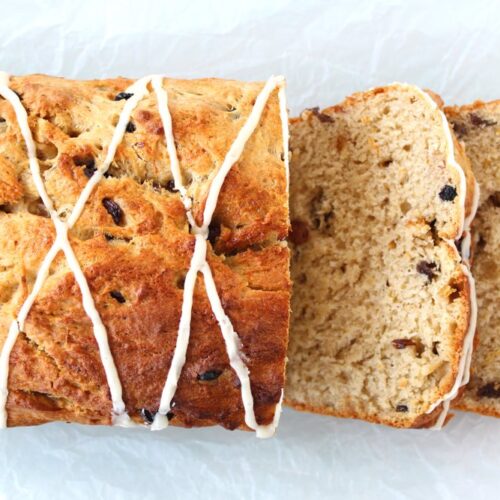
Hot Cross Bun Loaf [Vegan]

Jump to Recipe

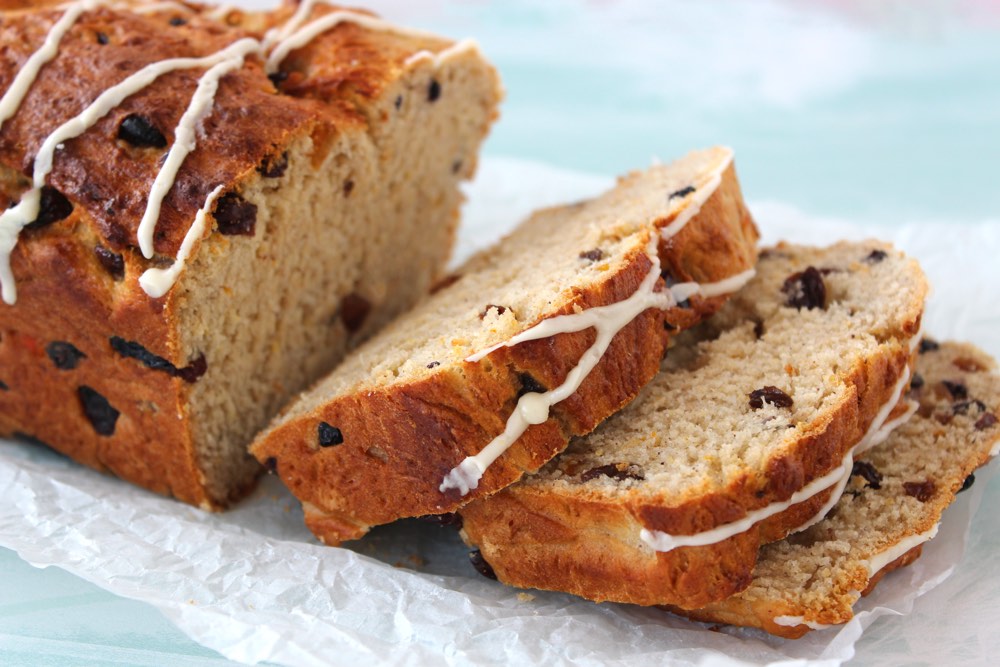
The recipe I’m sharing today is a twist on a traditional Easter favourite … it’s a Hot Cross Bun Loaf! This spiced fruity loaf is perfect for sharing with friends and family over the holidays. I’ve made three loaves already this week and no doubt I’ll be baking more in the lead up to the bank holiday weekend. It sure is a crowd pleaser. Happy holidays everyone!

Hot Cross Bun Loaf

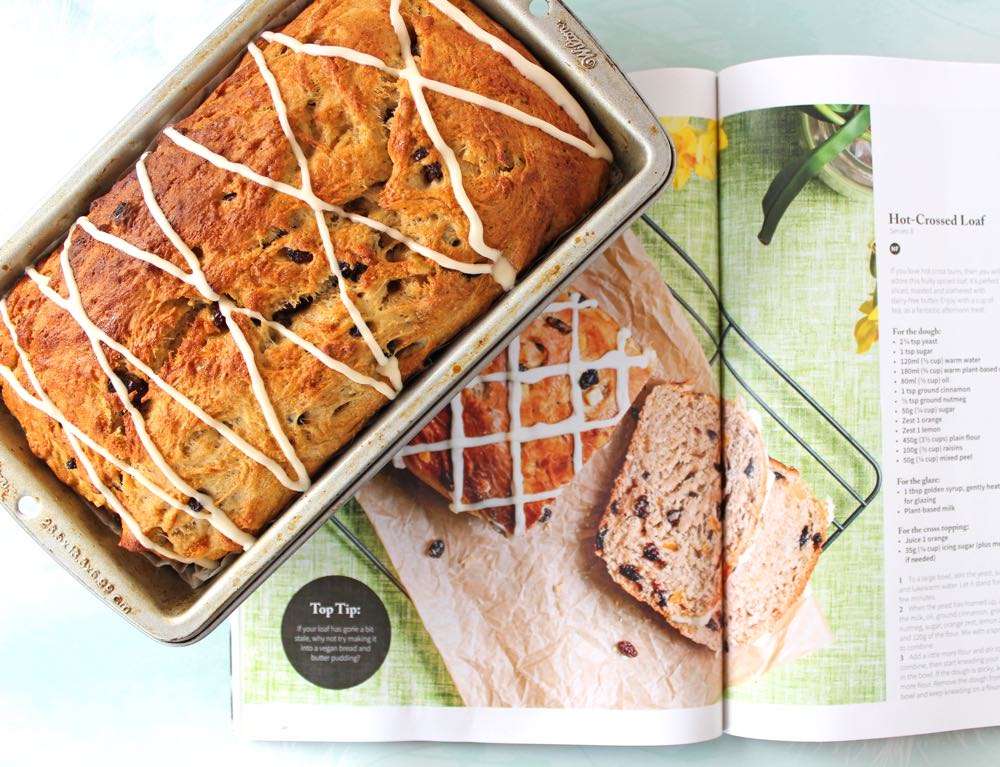
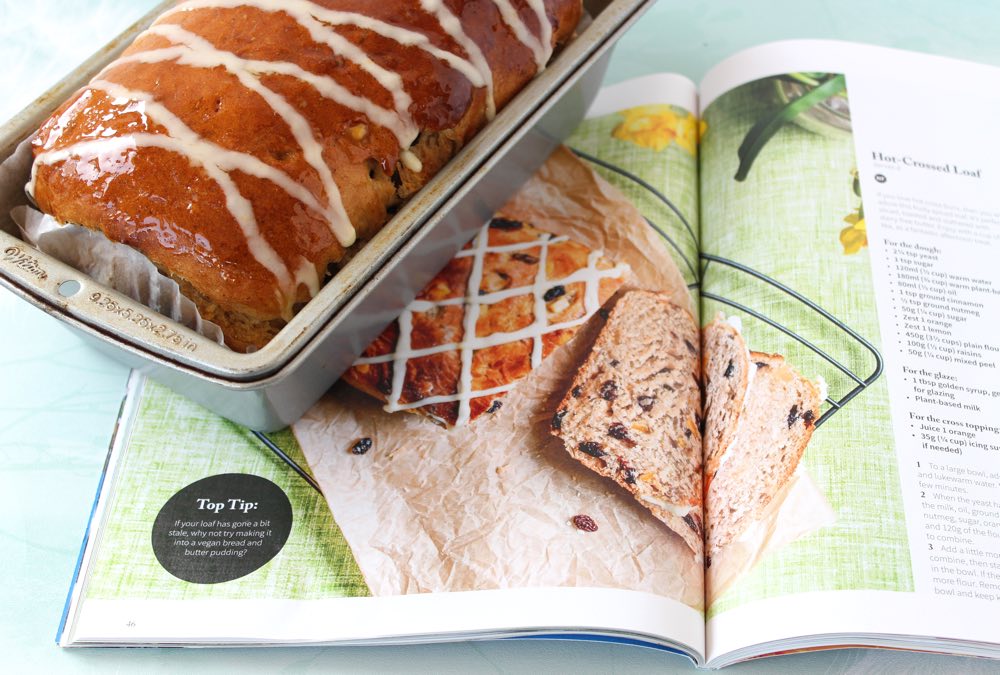
* Disclaimer: Vegan Life kindly sent me a complimentary copy of this magazine

It was the April edition of the Vegan Life magazine that inspired today’s recipe. I’m a massive fan of hot cross buns, so when I spotted the ‘Hot-Crossed Loaf’ on p47, I knew that I had to give it a try.

I was so impressed with how it turned out. There is something really satisfying about baking bread from scratch. It doesn’t take a great deal of effort either. The main challenge is being patient while the dough proves. It’s definitely worth the wait though!

Hot Cross Bun Loaf

I did tweak the original recipe a little to suit my personal tastes. Instead of nutmeg and the zest of an orange and lemon, I used a tablespoon of mixed spice and added a little salt too, to make the flavours pop.  My family was amazed at how similar the loaf tasted to hot cross buns!

I also played around with the glaze topping. Inspired by my Hot Cross Bun recipe (which I posted way back in 2014!), I tried topping one of the loaves with a glaze made of unrefined sugar and orange juice. Though a little sticky on the fingers, the glaze made the loaf beautifully shiny and tasted delicious too. In the recipe below, I’ve given the original glazing option, then added the instructions for my ‘super shiny’ glaze in the Notes section.

Hot Cross Bun Loaf
Hot Cross Bun Loaf

Recipe Card

Hot Cross Bun Loaf

Hot Cross Bun Loaf

A twist on the traditional Easter favourite, this spiced fruity loaf is perfect for sharing with friends and family over the holidays. It’s delicious served freshly baked with a cuppa, or toasted and topped with vegan butter and jam.
Recipe lightly adapted from ‘Hot Crossed Loaf’ in Vegan Life magazine, Issue 49
5 from 2 votes
Hands-on time 30 minutes
Total Time 2 hours 30 minutes
Course Afternoon Tea, Dessert, Elevenses, Treat
Cuisine English
Servings 10

Ingredients
 

For the dough:

  • 7 g / 2¼ tsp fast action (easy bake) yeast
  • 1 tsp unrefined sugar
  • 120 ml / ½ cup lukewarm water
  • 180 ml / ¾ cup lukewarm plant-based milk (I used soya milk)
  • 75 ml / ⅓ cup neutral-flavoured oil (I used rapeseed (canola) oil)
  • 1 TBSP mixed spice (or substitute with pumpkin spice)
  • 1 tsp ground cinnamon
  • ½ tsp salt
  • 50 g / ¼ cup unrefined sugar
  • 500 g / 3½ cups plain (all-purpose) flour
  • 135 g / ¾ cup mixed dried fruit (I used raisins, candied orange peel and dried cranberries)

For the glaze:

  • 1 TBSP maple syrup (or for a super shiny glaze, see Notes below)

For the cross topping:

  • 35 g / ¼ cup icing (confectioners) sugar
  • ½ TBSP fruit juice
  • 2-3 drops of orange extract

Instructions
 

  • Add the yeast, 1 tsp sugar and lukewarm water to a large mixing bowl and hand whisk to combine. Leave for a few minutes.
  • When the yeast has frothed, add the lukewarm milk, oil, mixed spice, ground cinnamon, salt and sugar to the bowl. Hand whisk to combine.
  • Add the flour, a little at a time, stirring with a spoon until it forms a dough. Transfer the dough to a floured surface and knead for about 4 minutes adding more flour, as needed, until it is smooth and no longer sticky.
  • Transfer the dough to a clean, lightly oiled bowl, cover with a tea towel and leave in a warm place for an hour, or until the dough has doubled in size. (If your house is cold, cover the bowl with a piece of foil and place in the oven at a very low temperature (40C).
  • Add the dried fruit and knead to distribute it as evenly as possible through the dough. Grease and line a large (3lb) loaf tin with non-stick baking paper (or use a non-stick loaf liner). Place the dough in the prepared tin and cover with a tea towel. Leave to prove in a warm place for another 30 minutes.
  • When the dough is almost ready, pre-heat the oven to 200C (180C fan) / 400F.
  • Brush the top of the dough with maple syrup (or skip this step if you’ve opted for the super shiny glaze option – see Notes below).
  • Bake in the centre of the oven for 30 minutes, or until golden brown on top and the bread makes a hollow sound when tapped.
  • Once the loaf has cooled, sieve the icing sugar into a bowl and add ½ TBSP fruit juice and a couple of drops of orange extract. Keep stirring until a thick icing has formed – it should be thick enough that it doesn’t drop off the spoon easily. Spoon into a piping bag and criss cross your loaf. Allow the icing to set before serving.
  • Stored in an airtight container, the loaf will keep fresh for a couple of days. After this, it is best served with some dairy-free butter. It is also delicious toasted.

Notes

For a super shiny glaze, once the loaf has baked, gently simmer 1½ TBSP unrefined sugar with 1½ TBSP fruit juice in a small saucepan, stirring regularly until the glaze has reduced and thickened. Immediately brush the glaze on top of the warm loaf, then leave to cool. If using this glaze, the maple syrup at Step 7 can be omitted.
Keyword Easter, Hot Cross Bun, Spiced Fruit Loaf, Vegan
Tried this recipe?Let us know how it was!

Nutritional Breakdown

N.B. The above values are estimates. The actual nutritional values will vary depending on the brands and ingredients used.

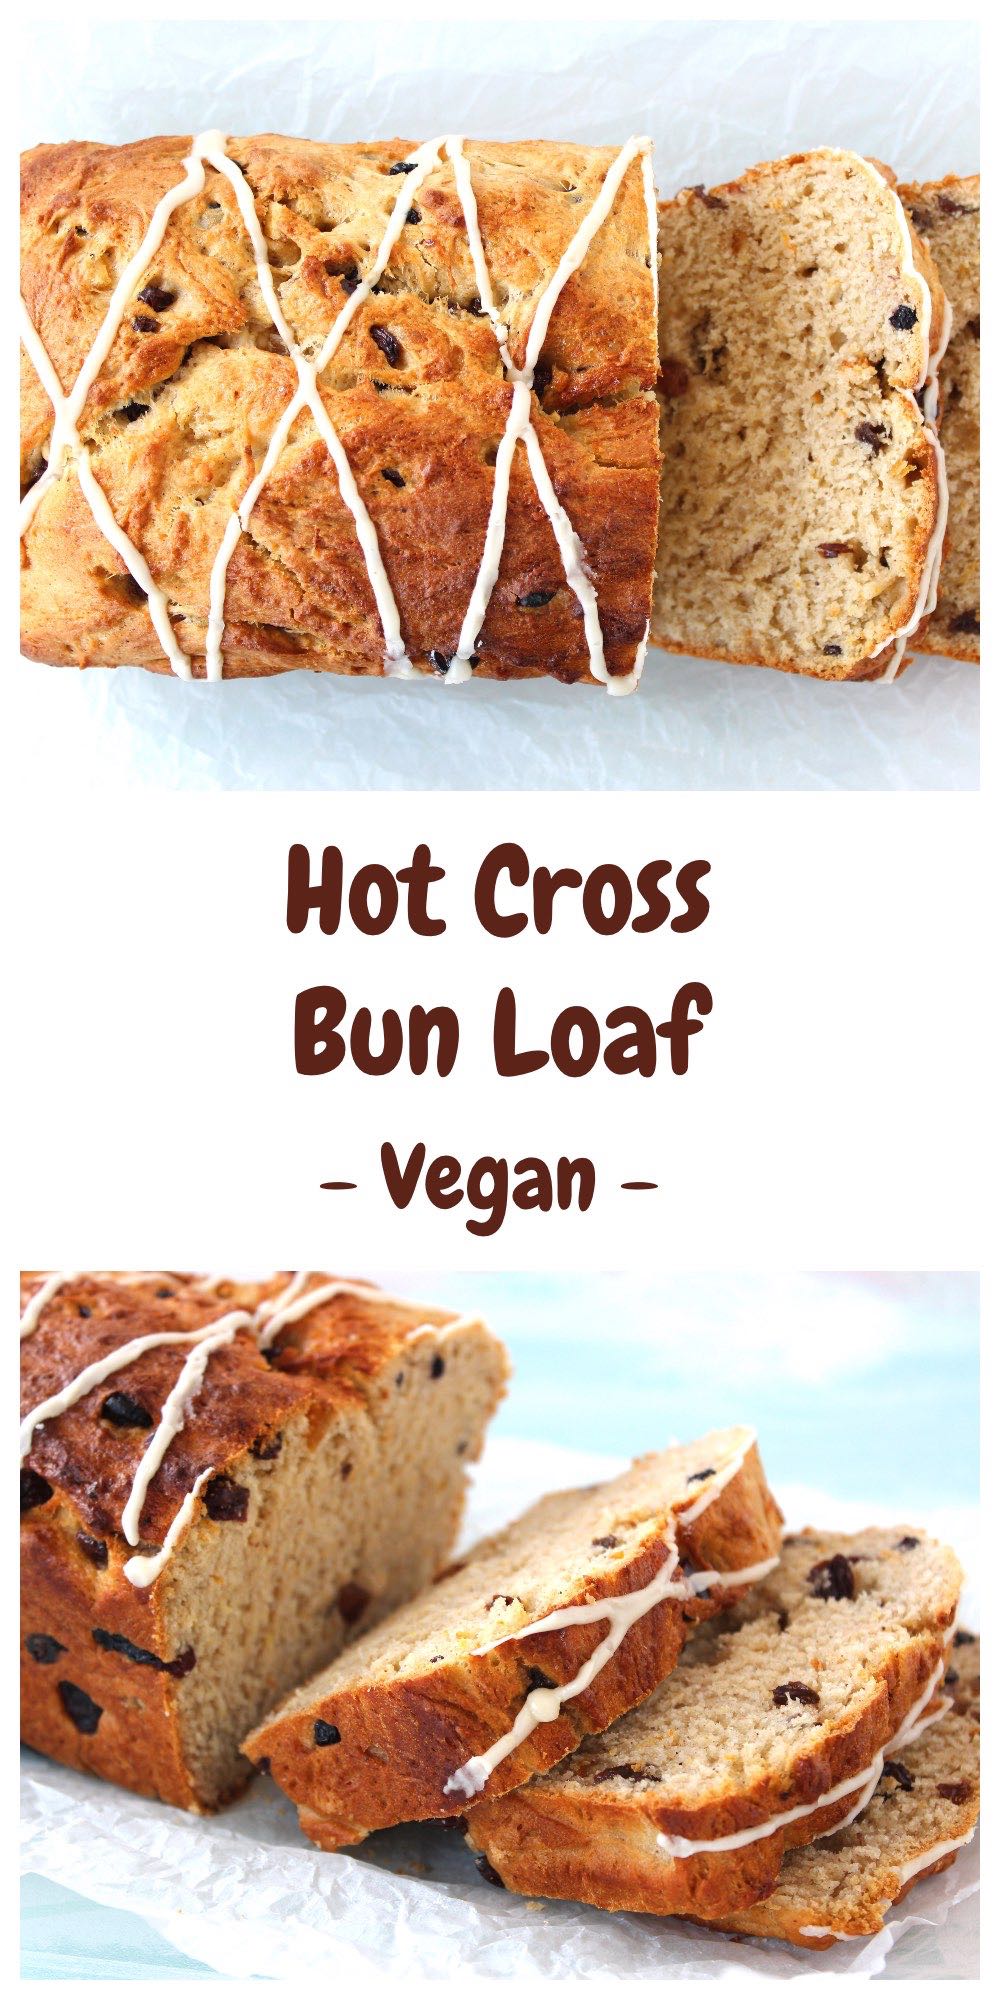
Pin for later ⬇️

Hot Cross Bun Loaf

Big thank you to Vegan Life magazine for the inspo!

If you make this Hot Cross Bun Loaf (or any other recipes on my blog), I’d love to hear your feedback and any suggestions for adaptations! Tag your photos with #bitofthegoodstuff on social media and they will find their way to me. You can also connect with me on my social media channels here: Instagram, FacebookPinterest.   

With love,

Sharon xx


Creamy Vegan Mushroom Carbonara (20 Minute Recipe)

Jump to Recipe

Hi everyone! Today, I’m sharing a delicious vegan twist on the traditional pasta dish ‘Carbonara’. It’s really easy to make and takes just 20 minutes from start to finish, making it perfect for any night when you need a quick meal on the table.

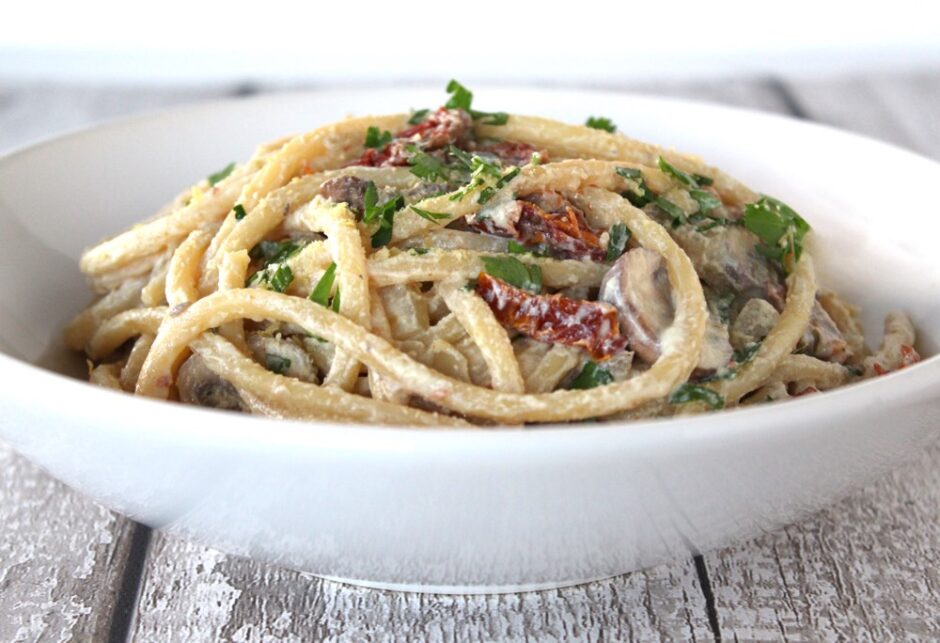
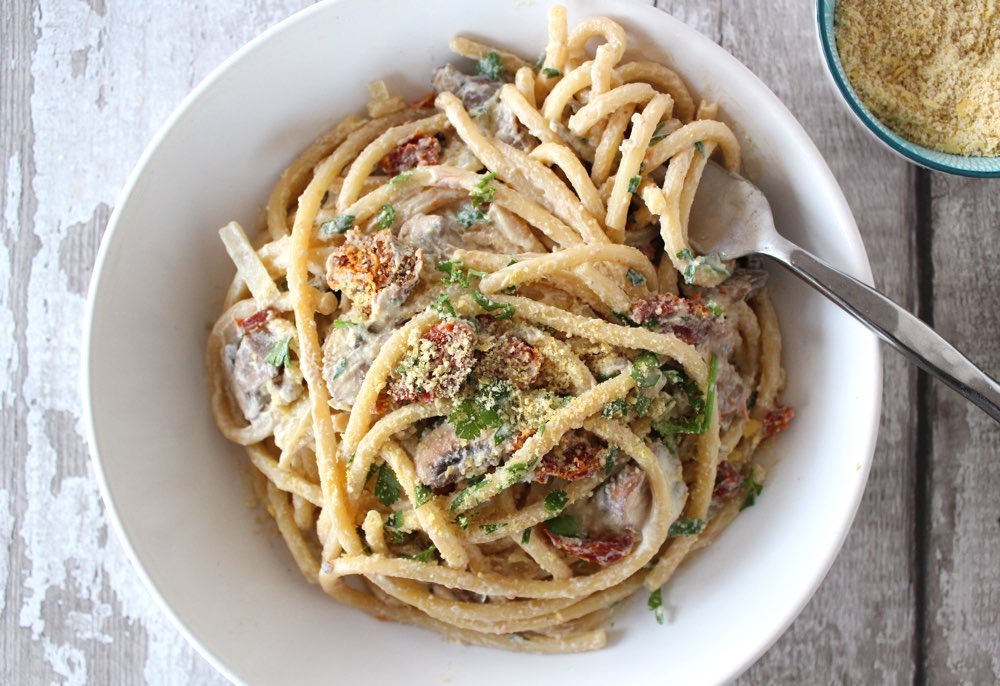
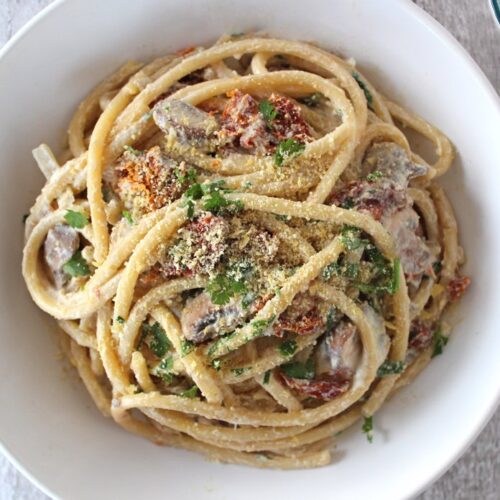
Creamy Vegan Carbonara


Carbonara is traditionally made with cheese, pork and eggs (or cream), so not vegan-friendly at all. These ingredients also make it high in saturated fat and cholesterol (so not great for heart health or waistlines either!)

In contrast, this creamy, plant-based version that I’m sharing today is actually good for you! Not only is it low in saturated fat and with zero cholesterol, but it also contains a whole host of vitamins, minerals and other plant compounds that promote good health. It is also high in protein, with each serving providing 26 grams!

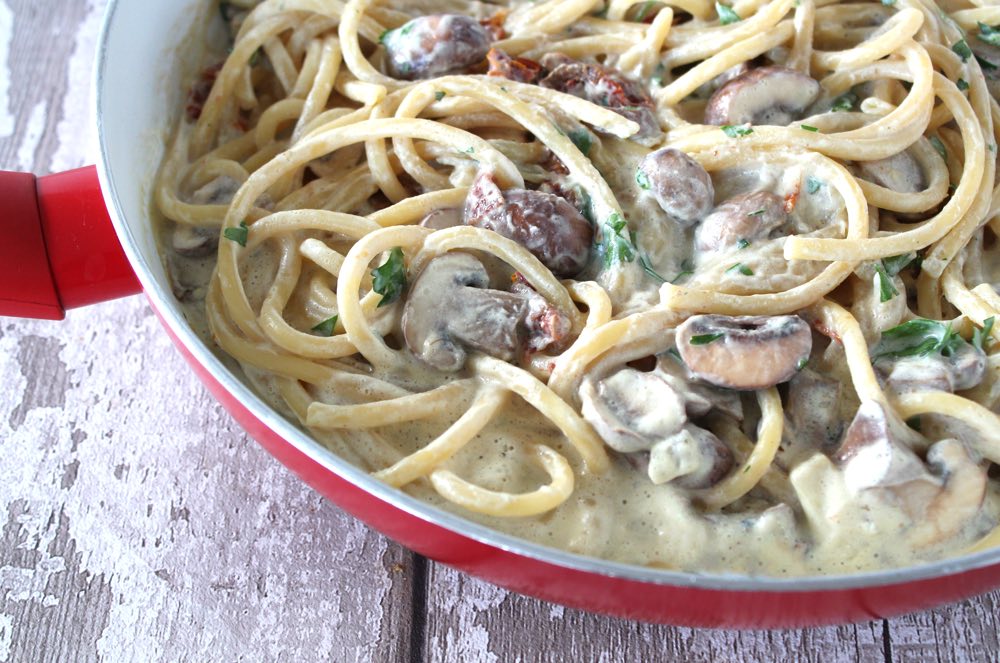
Check out how creamy this sauce is…

Creamy Vegan Carbonara

… and it doesn’t contain any cream, cheese or eggs. Amazing!!

So how do we make a carbonara sauce using plant-based ingredients? There are a number of ways to achieve this, such as blending cashews or by making a roux using flour and dairy-free vegetable spread. However, the secret ingredient we used for this carbonara was silken tofu.

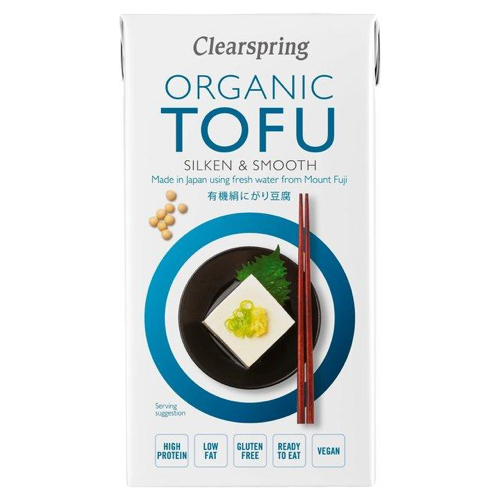
Silken tofu is much softer and creamier than regular tofu, making it ideal for blending into creamy sauces, dips and desserts. It also makes a great egg replacer for egg-centric dishes like Frittata and Spanish Omelette.

Here in the UK, silken tofu can be found in the world food section of major supermarkets (usually with the Japanese foods), as well as Asian supermarkets and health food shops.

Clearspring Silken Tofu

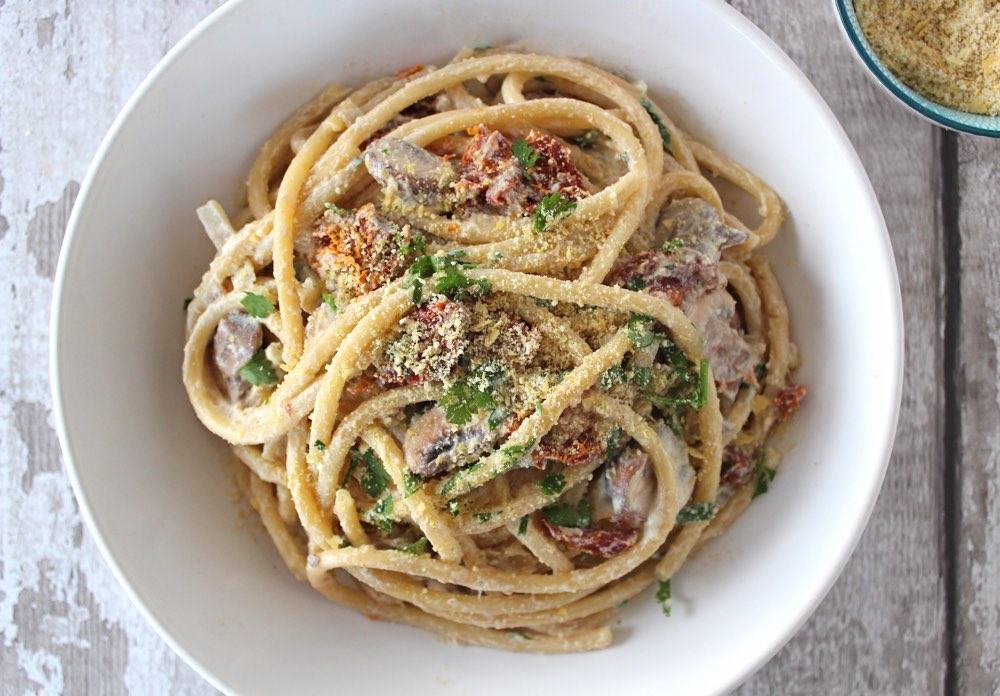
Traditional carbonara also includes pancetta (cured pork belly) or guanciale (cured pork cheeks). Incredibly, there are vegan pork alternatives, including vegan bacon lardons now available in UK supermarkets. If you’re into meaty flavours and textures, this kind of option would definitely be worth trying as a healthier, cruelty-free alternative to pork. My family opted to use slices of sun-dried tomato instead. This worked well, adding bites of rich, savoury flavour and chewy texture.

Mushrooms also work really well in this pasta dish, adding extra savouriness and chewy texture, so don’t hold back if you’re a mushroom fan. I used baby chestnut mushrooms sliced but I imagine that shiitake mushrooms would work great too.

Creamy Vegan Carbonara

While spaghetti is the most common pasta used for carbonara, you can basically use any kind of long pasta. I used bucatini, which is like spaghetti but a bit fatter and hollow. It’s great for soaking up sauces plus you can whistle through the long tubes which is a bit of a novelty.

Recipe Card

Creamy Vegan Carbonara

Creamy Vegan Mushroom Carbonara

This vegan twist on the traditional dish ‘Spaghetti Carbonara’ is perfect for any night when you need a quick, easy meal on the table. Not only will it rival its traditional counterpart when it comes to creamy deliciousness, but it beats it hands down when it comes to nutritional goodness. It’s been a big hit with our family and we hope you love it too!
5 from 1 vote
Hands-on time 20 minutes
Total Time 20 minutes
Course Main Course
Cuisine Italian
Servings 4

Ingredients
 

  • 400 g / 14 oz spaghetti, bucatini or other long pasta (use GF pasta, if needed)
  • ½ TBSP olive oil
  • 1 white onion diced
  • 1 tsp minced garlic
  • 250 g / 3½ cups mushrooms sliced
  • 300 g / 10½ oz silken tofu
  • 240 ml / 1 cup fortified soya milk or other plant milk
  • 1 tsp vegetable bouillon powder or crumbled stock cube
  • 3 TBSP nutritional yeast flakes
  • ½ TBSP white miso optional, but highly recommended as it adds a delicious umami flavour
  • 8-10 sun-dried tomatoes in oil drained and sliced
  • salt and freshly ground black pepper, to taste

Garnish

  • 4 TBSP vegan parmesan (I used home-made cashew parmesan, recipe below)
  • 2 TBSP flat leaf parsley optional

Instructions
 

  • Heat a large pan of water and cook the pasta as per the instructions on the packet.
  • Gently heat the oil in a large, deep-sided frying pan (skillet) and add the onions and garlic. Slice the mushrooms and add them to the pan. Stir through.
  • Place the silken tofu, milk, vegetable bouillon powder, nutritional yeast flakes and white miso in a blender and whizz smooth (alternatively use a bowl and stick blender). Pour the sauce into the pan with the onions and mushrooms and stir through. Continue cooking at a gentle simmer.
  • When the pasta is ready, drain and add it to the frying pan. Add the sun-dried tomatoes and stir through. Season with salt and pepper, to taste.
  • Serve in warm bowls with a sprinkling of chopped parsley and vegan parmesan. We also love to add some roasted broccoli on the side for extra goodness.
  • If you have used a wheat pasta, any leftover carbonara can be stored in the fridge for 24 hours. Re-heat in a large frying pan (skillet). Add a generous splash of plant milk to refresh the sauce. Stir regularly until heated through evenly. Alternatively, you can store the sauce separately in the fridge for 3-5 days and cook the pasta fresh.
Keyword Dairy-Free, Family Friendly, Gluten-Free Option, Plant-Based, Vegan Dinners, Vegan Pasta Dish
Tried this recipe?Let us know how it was!

Cashew ‘Parmesan’

This dairy-free ‘parmesan’ uses just two nutrient-rich ingredients which are ground together to make a cheesy, savoury condiment that’s perfect for sprinkling on pasta dishes.
5 from 1 vote
Hands-on time 5 minutes
Total Time 5 minutes

Ingredients
 

  • 40 g / ¼ cup cashews
  • 18 g / ¼ cup nutritional yeast flakes
  • pinch of salt optional

Instructions
 

  • Place the ingredients in a mini food processor or chopper and pulse into fine crumbs. Store in an airtight jar in the fridge, where it will keep for weeks.
Tried this recipe?Let us know how it was!

Nutritional Breakdown

N.B. The above values are estimates. The actual nutritional values will vary depending on the brands and ingredients used.

Products used in this recipe
Clearspring Organic Tofu – Silky and Smooth (bought from Waitrose)
Waitrose 1 Bucatini pasta
Marigold Organic Vegan Swiss Vegetable Bouillon Powder
Marigold Engevita Nutritional Yeast Flakes with B12
Miso Tasty Organic White Miso
Optimum Nutri Force Extractor Compact Blender

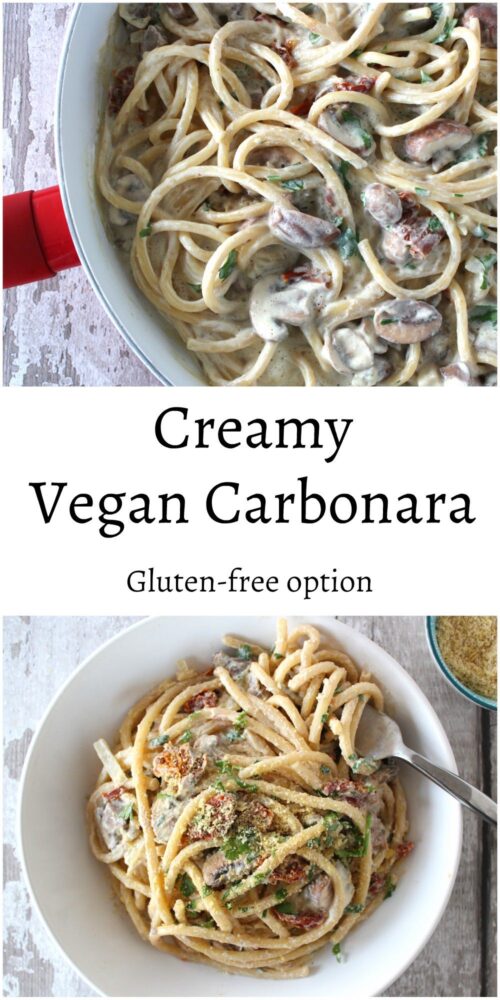
Pin for later ⬇️

Creamy Vegan Carbonara

I hope you’ve had a great start to 2019 everyone! And if you make this Creamy Vegan Carbonara, I’d love to hear your feedback and any suggestions for adaptations! Tag your photos with #bitofthegoodstuff on social media – I always love to see your creations! You can also connect with me on my social media channels here: InstagramFacebookPinterest.   

With love,

Sharon xx


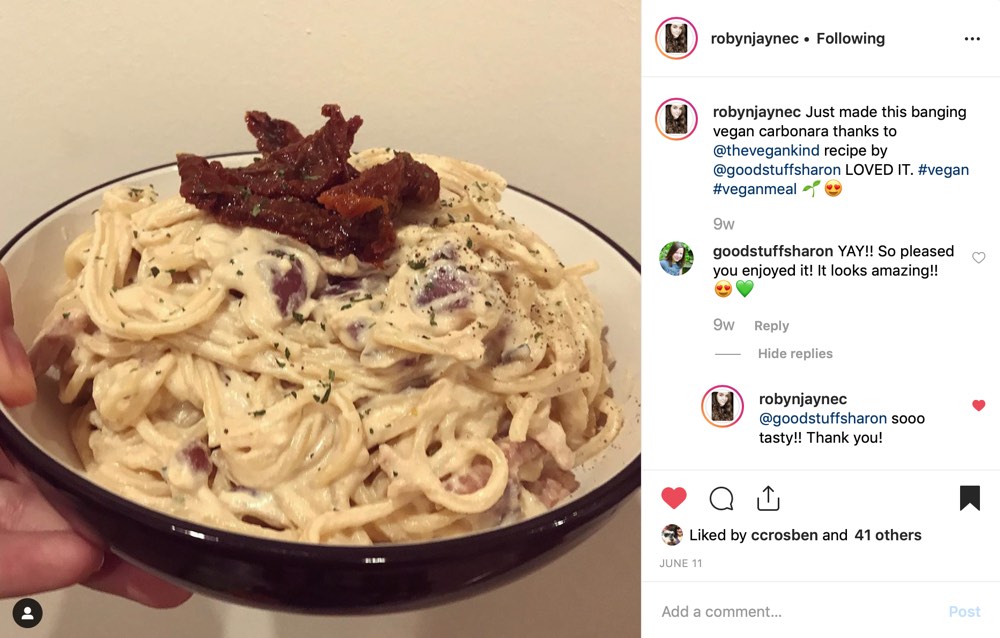
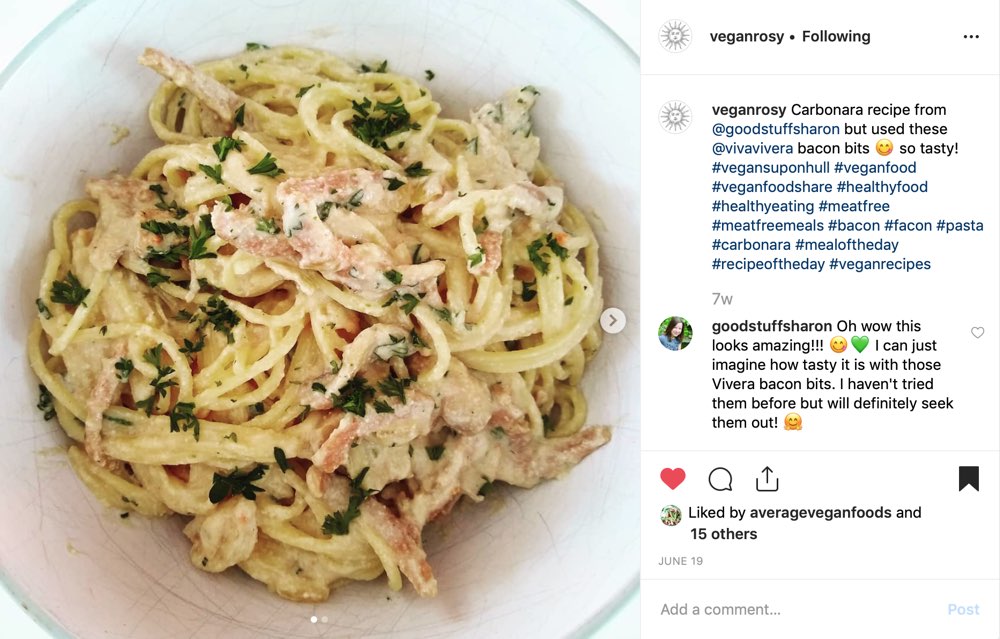
READER REMAKES 💚

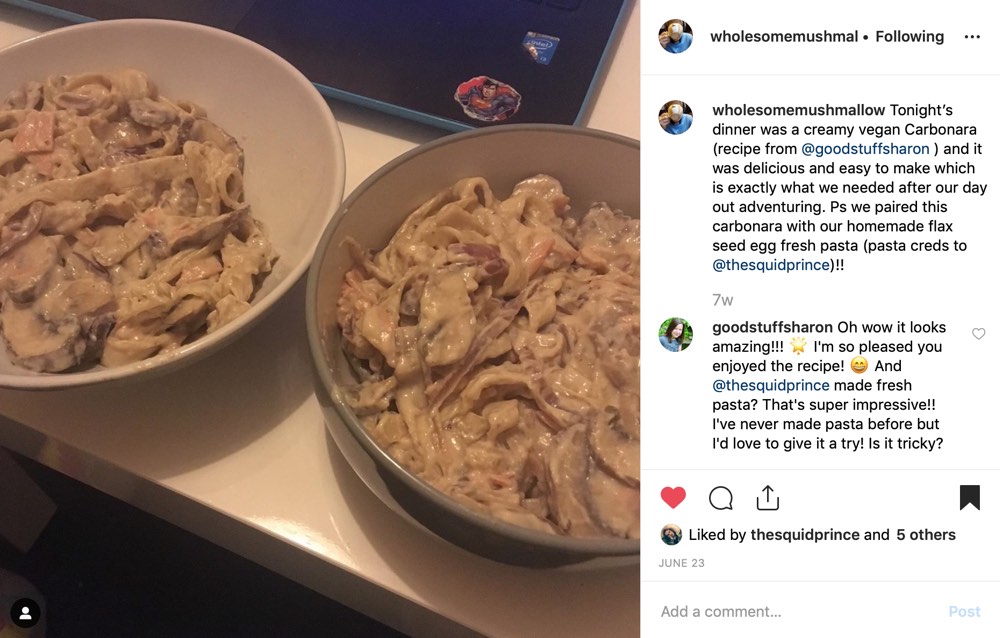
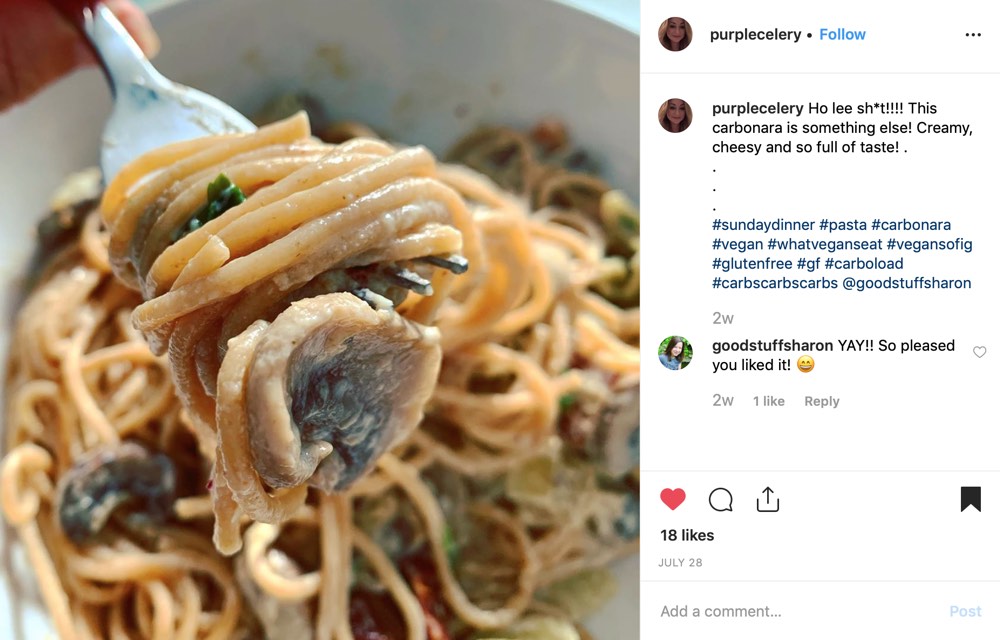
Been loving all your carbonara remakes! Here’s a selection from Instagram…

Creamy Vegan Carbonara
@robynjanynec
Creamy Vegan Carbonara
@veganrosy
Creamy Vegan Carbonara
@wholesomemushmallow
Creamy Vegan Carbonara
@purplecelery