What colour do you associate with Spring?
For me, it has got to be yellow ♥
Everywhere I look at the moment, I’m seeing this beautiful, fresh colour.
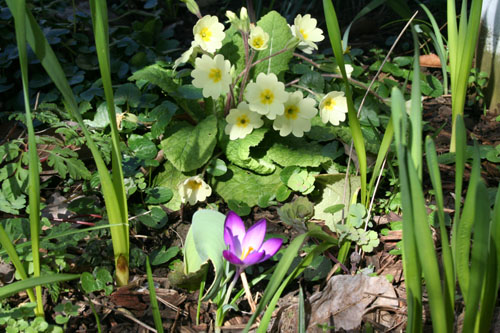
In my garden the yellow primroses are in bloom…
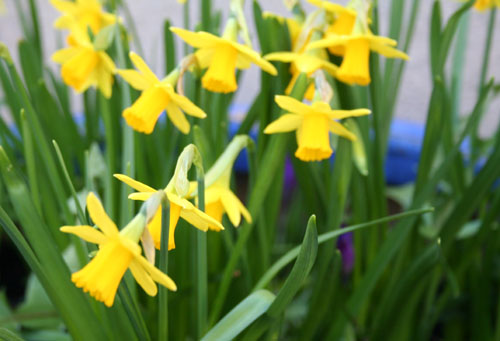
as are the sweet little narcissus.
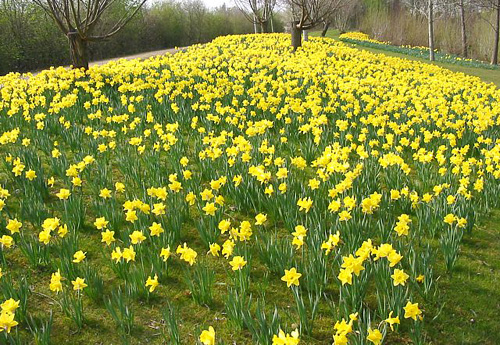
It won’t be long before the daffodils are in full bloom too 🙂
As well as being the colour of spring, yellow also happens to be my mum’s favourite colour ♥
Here in the UK, it’s Mother’s Day on Sunday. I haven’t seen my mum since Christmas so I’m really looking forward to spending the day with her. Inspired by her favourite colour, I’ve chosen to bake a Lemon Drizzle Cake to give her on Sunday as a little home-made treat.
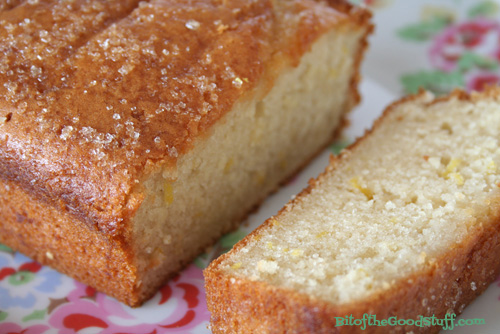
With its light texture, zingy citrus flavour and flecks of bright yellow zest, I think this is the perfect cake for this season.

Since I’m giving this cake as a gift, I haven’t ‘healthified’ it to the extreme (I’m sure my mum will appreciate that 😉 ). However, it is free from dairy and eggs, so will be suitable for anyone with those allergies.
To make the cake super zingy and moist, once it was cooked I pierced it all over with a toothpick and drizzled over the juice from a freshly squeezed lemon mixed in with a couple of tablespoons of granulated sugar (which gives the top of the cake a great, crunchy texture).
Just in case you fancied trying it for yourself, here’s how I made it:
[print_this]
Serves 8 -10
Hand on time: 15 minutes Ready in: 2 hours
Ingredients
200g / ¾ cup + 3 tbsp unrefined cane sugar (e.g. golden caster sugar)
2 TBSP maple syrup (or maple blend. I use Clarks Original).
70ml / ⅓ cup organic rapeseed (canola) oil (or other neutral-flavoured oil, like sunflower oil)
240ml / 1 cup soya milk
2 tsp apple cider vinegar
30ml / 2 TBSP freshly squeezed lemon juice
zest of 2 unwaxed/organic lemons
250g / 1¾ cups plain (all purpose) flour
2 tsp baking powder
¼ tsp salt
Drizzle
2 TBSP freshly squeezed lemon juice
2 TBSP Demerara (or turbinado) sugar
Method
1. Grease and line a 2lb loaf tin with non-stick baking paper (or use a non-stick loaf liner). Preheat the oven to 190c (170C fan) / 375F.
2. In a mixing bowl, whisk together the sugar, syrup, oil, milk, vinegar and lemon juice using a balloon whisk until fully combined. Stir in the lemon zest.
3. Sift one third of the dry ingredients (flour, baking powder, salt) into the bowl and whisk by hand to combine. Repeat with the remaining two thirds, whisking each time.
4. Tip the mixture into the prepared tin. Place on the middle shelf in the oven and bake for 50 minutes, or until a skewer inserted into the middle comes out clean.
5. Meanwhile, place 2 TBSP juice from a freshly squeezed lemon in a small bowl with the Demerara sugar. Stir to combine.
6. When the cake is baked, remove from oven and pierce all over with a toothpick or skewer. Spoon the lemon drizzle evenly over the top of the cake. Allow to cool in the tin for at least an hour (it will firm up as it cools) then transfer to a wire wrack.
7. Once completely cooled, slice and serve or transfer to an airtight container. The cake will keep up to a week in the refrigerator. It also freezes well.
[/print_this]
Have a wonderful weekend everyone ♥
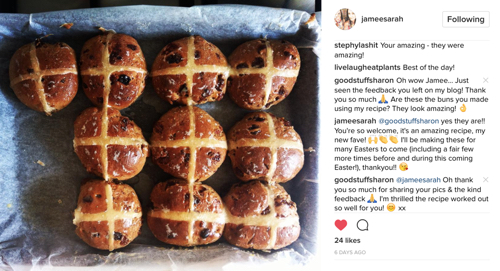
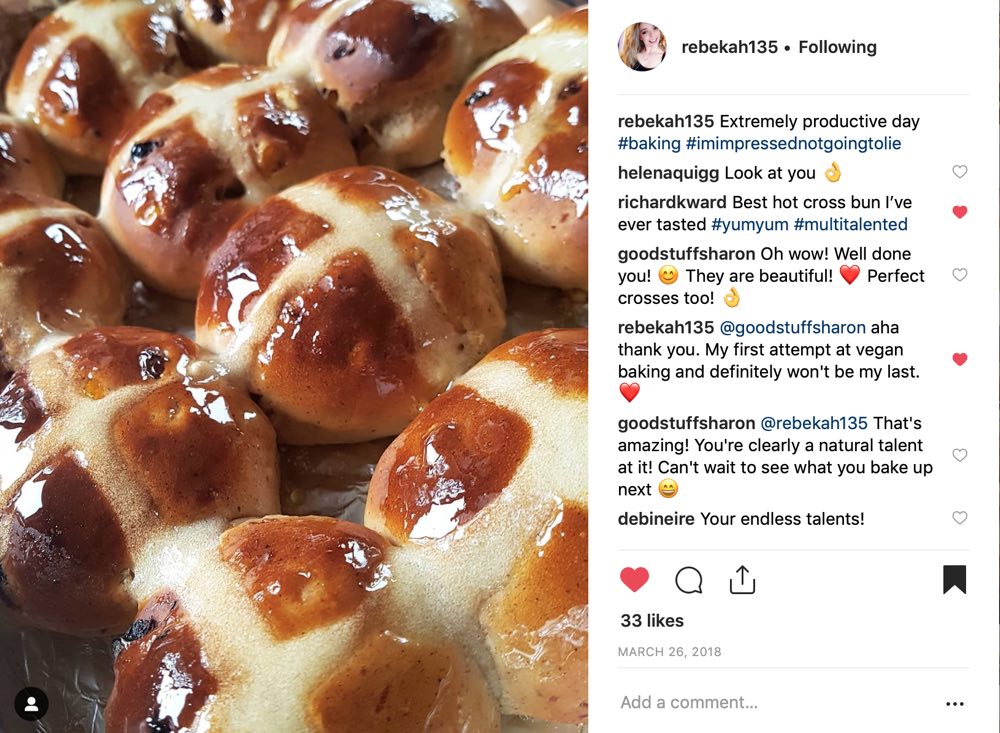
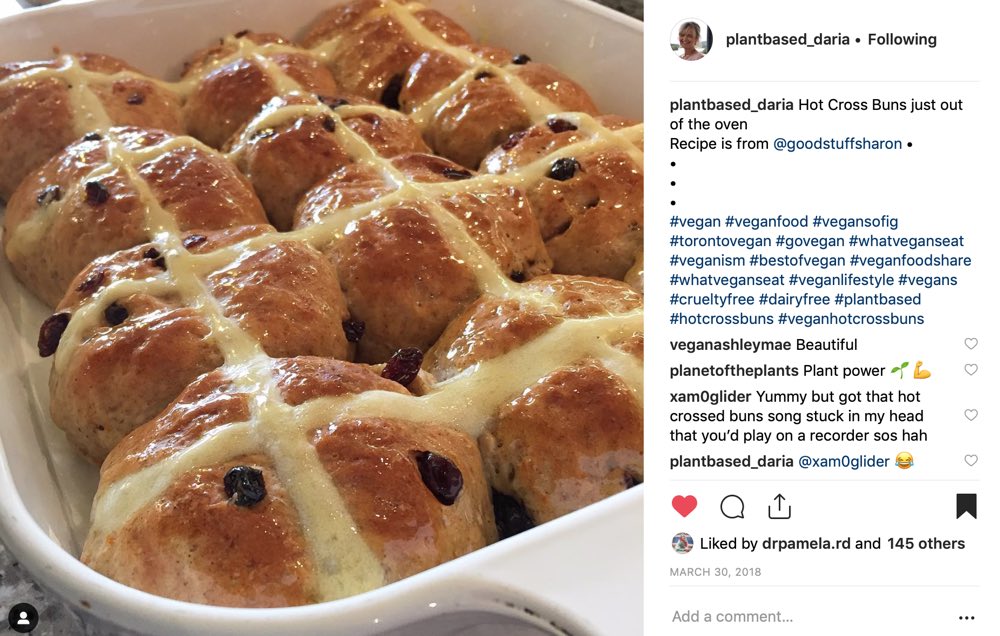
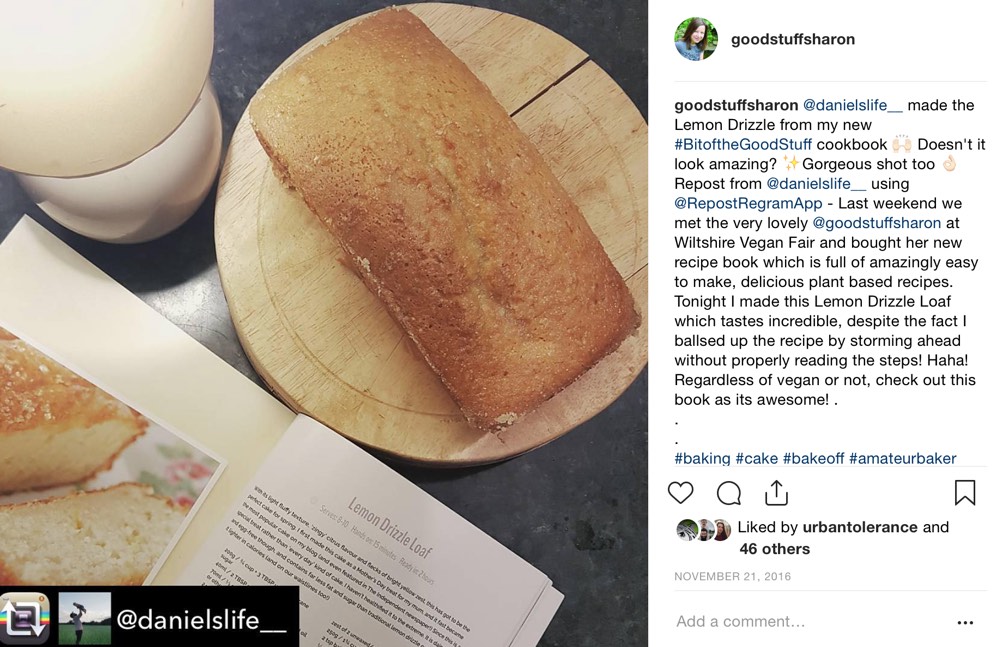
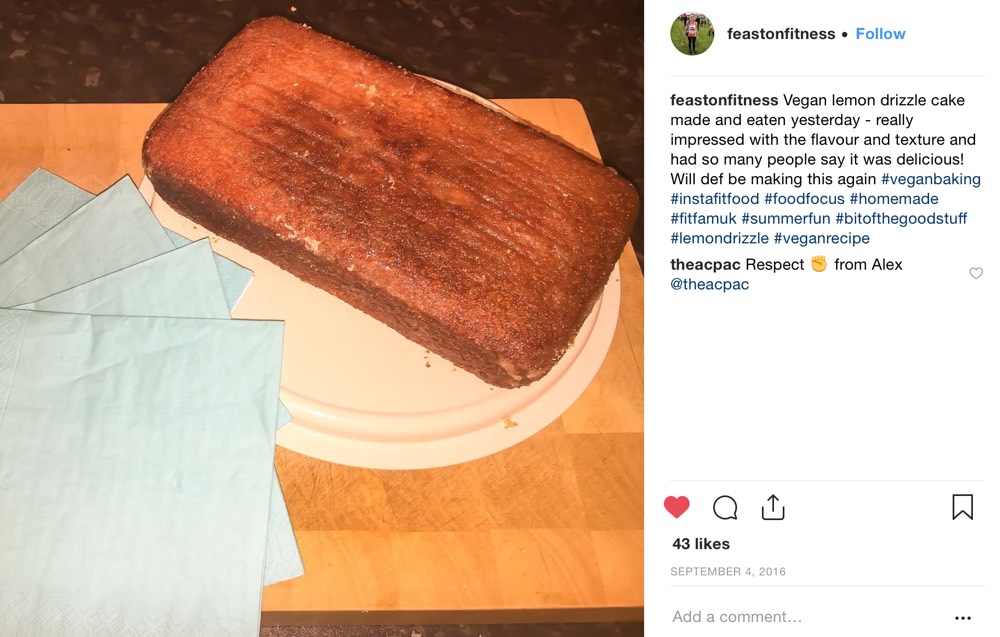
READER REMAKES ❤️
————————————————-
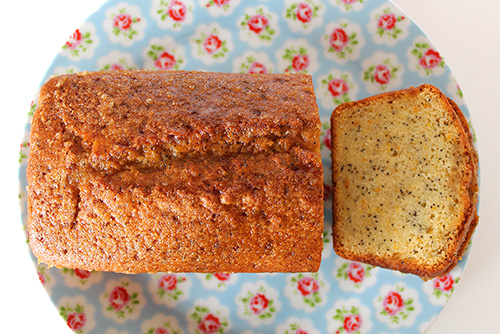
You might also like… Orange Drizzle Cake with Poppy Seeds 🍊

")