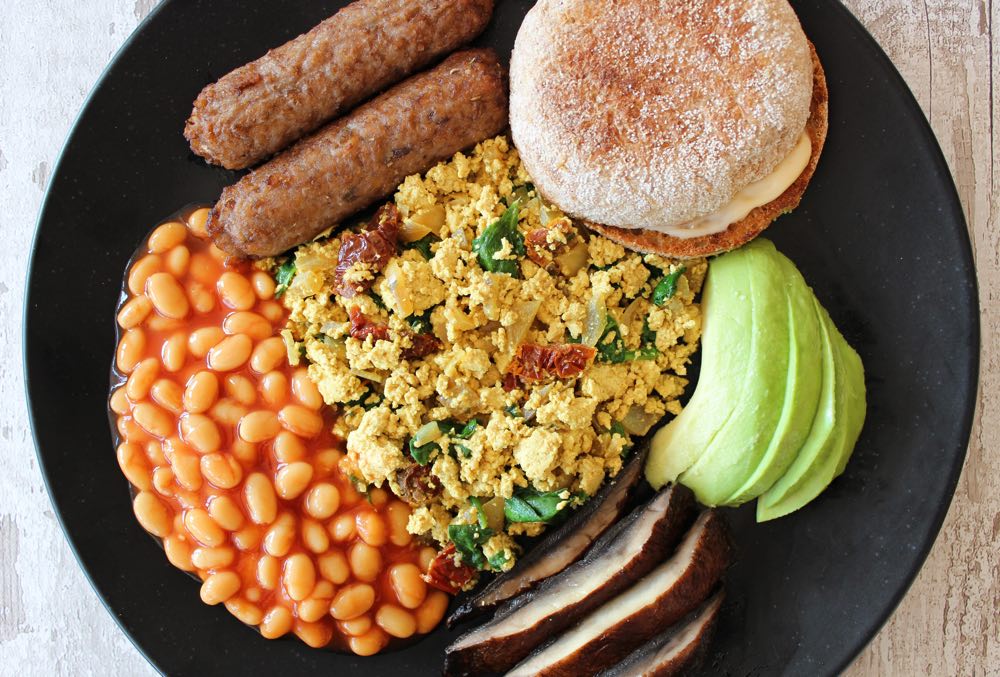
The English are famous for their all-day breakfast fry-ups, which typically feature a whole bunch of animal products – sausages, bacon, eggs and black pudding – served alongside mushrooms, tomatoes, hash browns, baked beans and fried bread. However, just because you’re passing on eating animals, this doesn’t mean you have to miss out on this traditional English culinary experience. There are so many amazing all-day veggie breakfast options available now, and they’re often far more creative and colourful (and healthy!) than the meat version.
Today I’m sharing a recipe for a delicious vegan cooked breakfast that, as the title suggests, is suitable for serving any time of day. We’ve been enjoying it as an evening meal, but it’s equally perfect as a weekend breakfast, brunch or lunch.
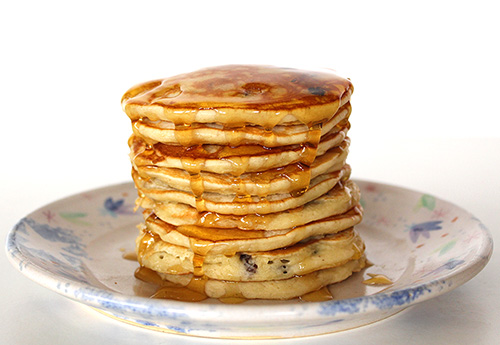
Today I’m sharing a recipe for Sultana Banana Mini Pancakes ❤️ They are quick, easy to make and use basic pantry ingredients. They’re perfect for serving as a weekend breakfast or for ‘elevenses’. Me and Lil’ L have made them three times so far and they have proven to be a big hit with the family.
Have you tried adding sultanas to pancake batter before? They work beautifully in these American-style fluffy pancakes. In fact, I loved them so much that I ended up adding more than the original recipe called for.
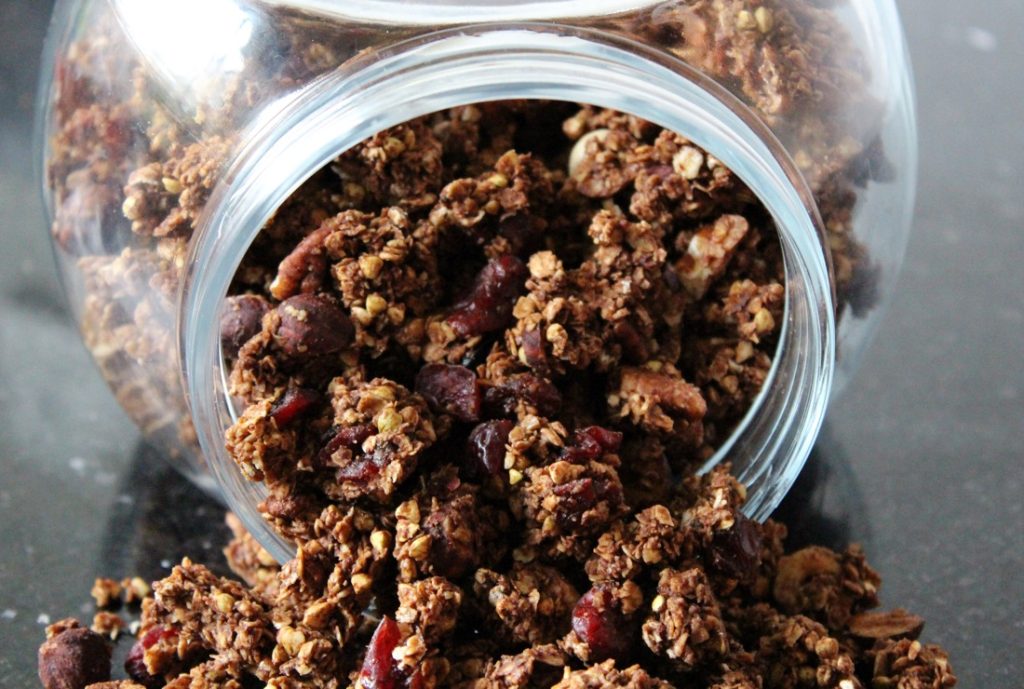
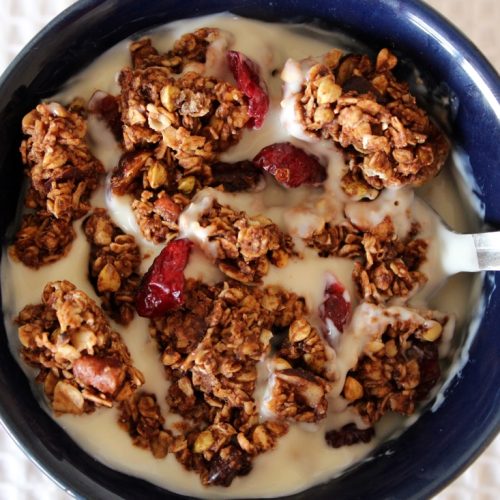
Today, I’d like to share another of my family’s favourite granola recipes. Filled with hazelnuts, pecans, cranberries and chocolatey goodness, this granola is perfect for this season.
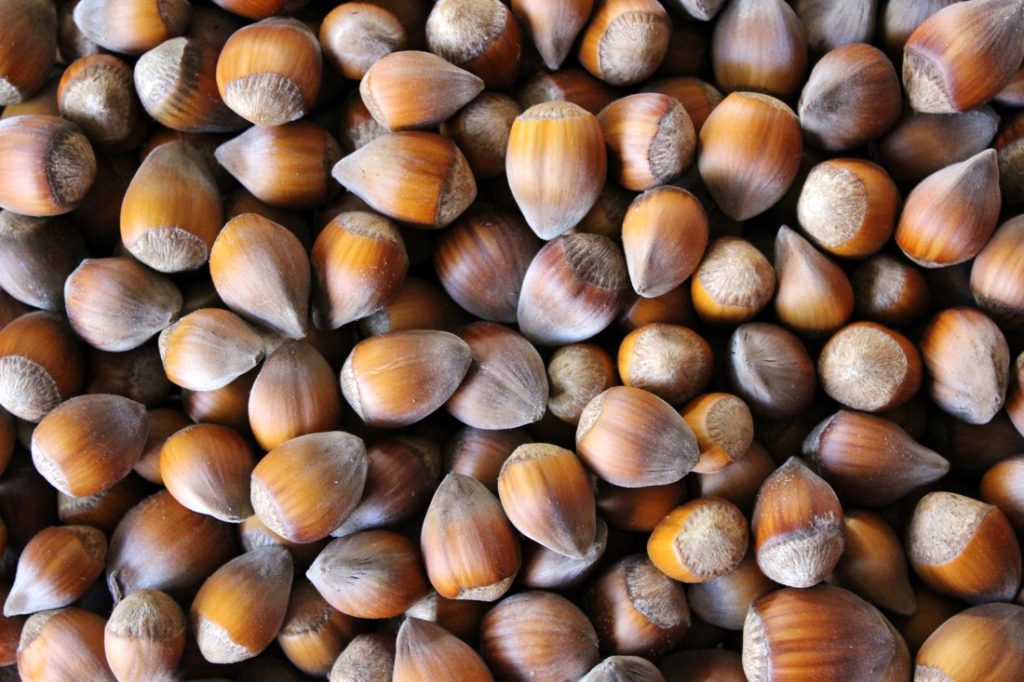
My garden is bordered by cob nut trees, and this year they produced the most amazing crop. I made a deal with the squirrels whereby I would collect nuts from the low hanging branches, and they could have the rest. They then got to work, burying nuts all over my lawn and flower beds, and in my plant pots. Invariably they forget where they’ve buried them and we end up with nut trees growing literally everywhere!
Once they’ve matured, cob nuts are very similar in taste and texture to hazelnuts, so I put them to good use in recipes, like this granola!
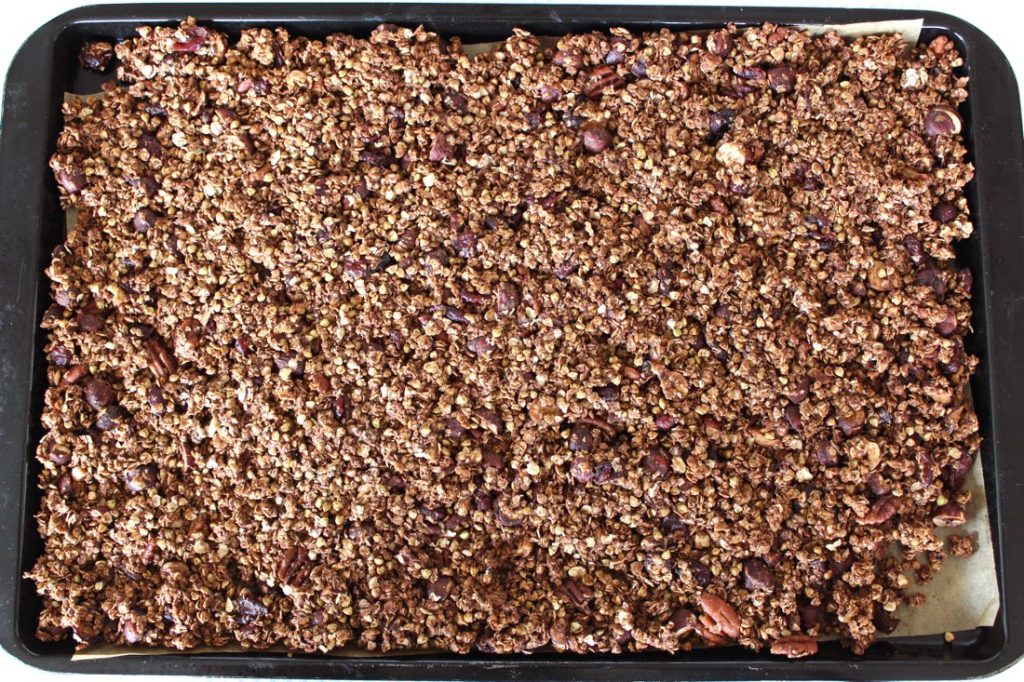
As I’ve mentioned in previous posts, Lil’ L loves home-made granola, especially when it’s formed into clusters. It’s so easy to make. You simple press down the mixture as if you’re making a thin granola bar then, once completely cooled, you break it into clusters.
As well as oats, I Iove to add buckwheat into the granola which adds some lovely crunch as well as more great nutrients. The name ‘buckwheat’ is pretty misleading as it’s actually a fruit seed and doesn’t contain any wheat at all! It is a good source of protein, dietary fibre, antioxidant phytonutrients, B vitamins and minerals. In the UK, buckwheat is currently available in some of the larger supermarkets (Tesco, Waitrose, Ocado), health food stores and online.
Our favourite sweetener for granola is maple syrup. This adds a delicious caramel-like sweetness, rather than a ‘sugary’ flavour. I use Clarks Original Maple Syrup, which is a blend of maple and carob syrups. It’s widely available in the UK, and a fair bit cheaper than pure maple syrup. I really like its flavour and consistency, which is slightly thicker than the pure grade syrup.
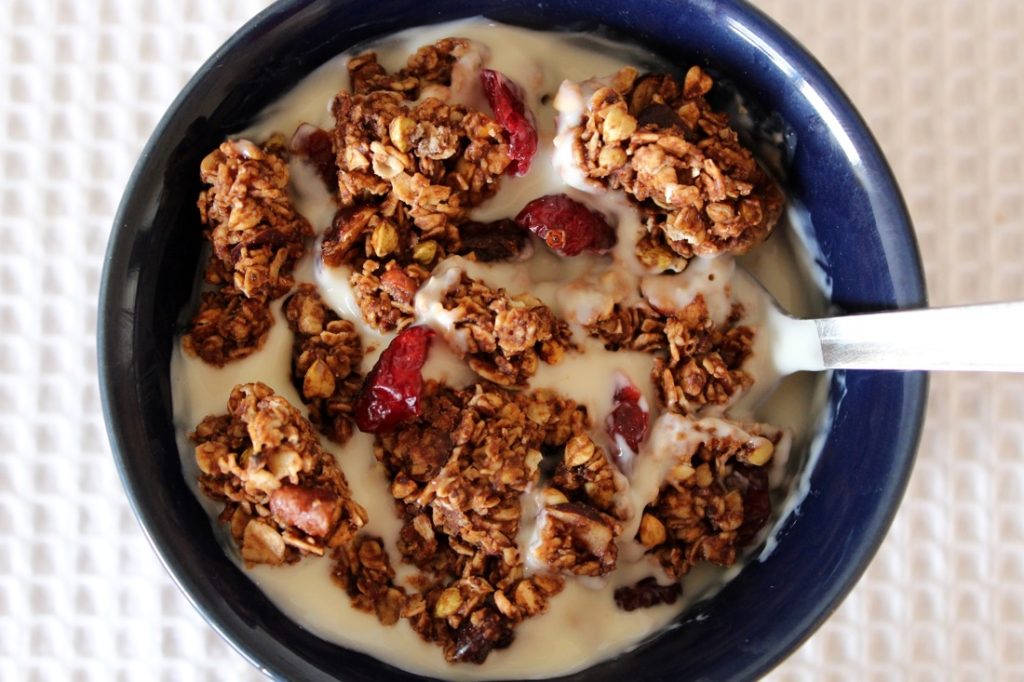
These granola clusters make wonderful breakfasts, snacks and desserts. For breakfast, we like to serve them with plant milk or non-dairy yogurt. For an omega-3 boost, I often add a light sprinkling of ground linseed and finely chopped walnuts before serving. I also sprinkle in a few extra cranberries to brighten up the bowl.
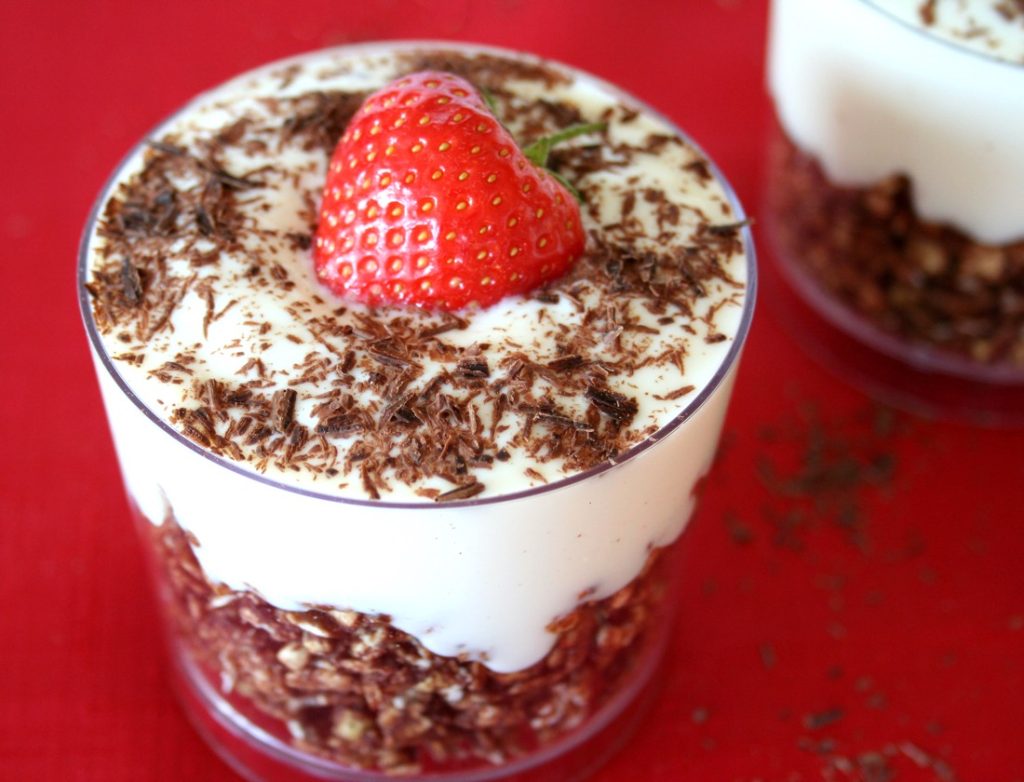
Layered with yogurt and fresh or frozen fruits, the clusters also make a delicious dessert or after-school snack. They look really fancy yet take literally seconds to throw together!
Chocolate Granola Clusters with Hazelnuts, Pecans and Dried Cranberries
These granola clusters make a wonderful breakfast, snack or dessert. For a fancy treat, layer up the granola with yogurt and fruits to make a parfait. Despite taking only seconds to prepare, it looks really beautiful and is bound to impress family and friends!
100g/ ½ cup raw buckwheat(or you can substitute with more oats)
30g/ 4 TBSP cocoa powder
30g/ 3 TBSP coconut sugar or unrefined caster sugar
¼tspsalt
75g/ ½ cup hazelnutsroughly chopped
65g/ ½ cup pecansroughly chopped
70g/ ½ cup dried cranberries(preferably sweetened with fruit juice)
150ml/ ½ cup maple syrup*
2tspvanilla extract
45g/ 3 TBSP virgin coconut oilmelted
Instructions
Preheat the oven to 150C (130C fan) / 300F. Line a large baking tray (38 x 26cm / 15 x 10 inches) with non-stick baking paper. If your coconut oil is solid, place in the oven in a heat-proof bowl for a couple of minutes until it has liquefied. Be careful when removing the bowl as it will be very hot!
In a large mixing bowl, stir together the oats, buckwheat, cocoa powder, sugar and salt. Stir in the nuts. You can also stir in the cranberries at this stage or, if you'd like to preserve their vibrant colour, add them to the granola once it's baked.
Pour in the maple syrup and vanilla extract, and stir until all the grains become coated and shiny. Add the coconut oil and stir until thoroughly combined. Spread the granola out evenly on the prepared baking tray. Press down firmly with a silicone spatula so that the mixture sticks together as if you were making a thin granola bar.
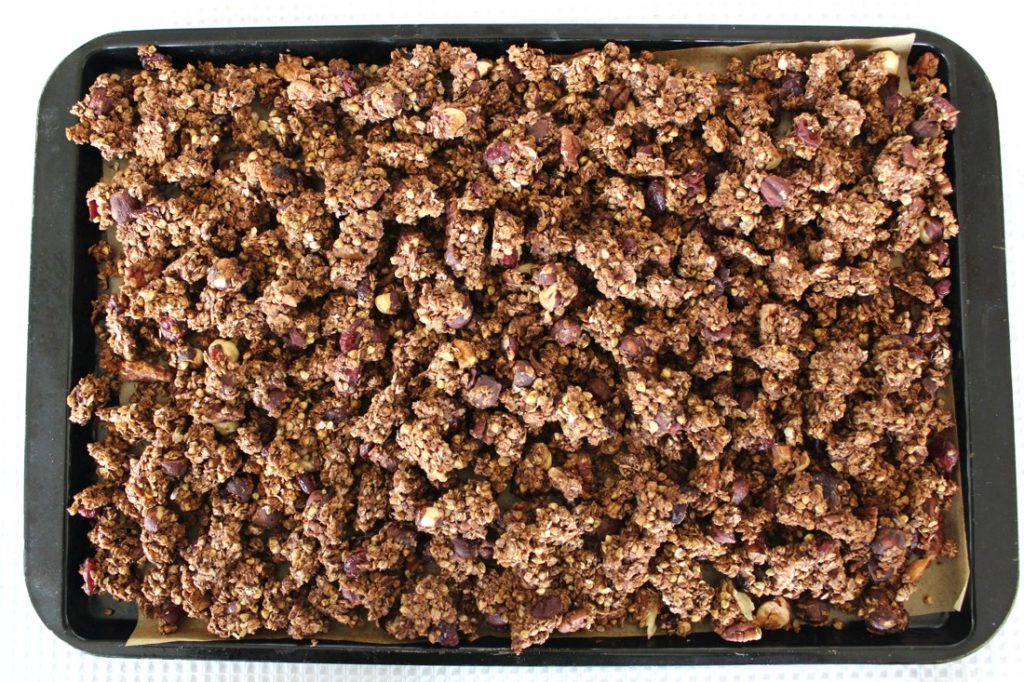
Bake for 40 minutes. Remove from the oven and leave to cool. (The granola will firm up as it cools). Once completely cooled, break up the granola. The clusters from the centre of the tray may still feel a little soft when fresh baked but I find they firm up and become crunchy over time. Stored in an airtight container in a cool place, the granola will last for weeks.
Notes
*I use Clark’s Original Maple Syrup which is blended with carob fruit syrup. It’s much cheaper than pure maple syrup and I really like its flavour!
If you make this granola, I’d love to hear your feedback and any suggestions for adaptations! Tag your photos with #bitofthegoodstuff on social media and they will find their way to me. You can also connect with me on my social media channels here:Instagram, Facebook, Pinterest.
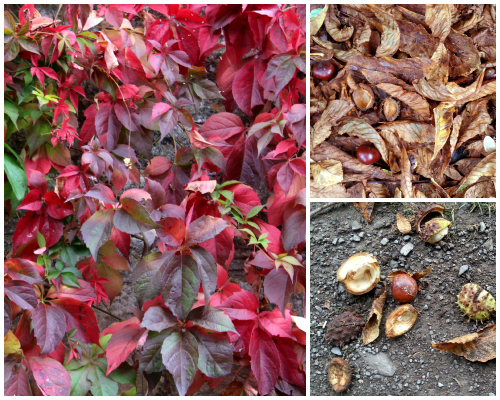
After an exceptionally warm and summer-like September and early October, Autumn has finally arrived in Bath. The Virginia creeper seems to have magically transformed overnight from lush green to vivid red, and the river and canal paths are littered with crunchy brown leaves and horse chestnuts. It most certainly is a beautiful time of year ♥
And though the weather has cooled off a little, I’m still enjoying my daily smoothies. I often have them as a breakfast or lunch on the go, so I add ingredients like nut butters and chia seeds for protein, slow-release energy and to keep hunger pangs at bay. Lil’ L also enjoys smoothies as an after-school snack.
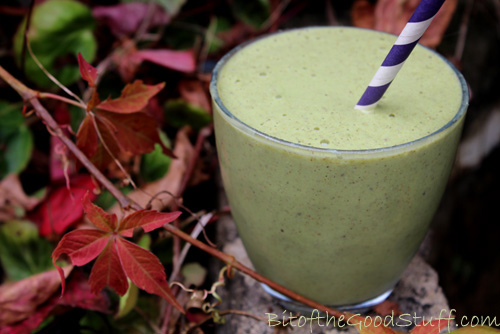
One of our current favourites is this Autumn-inspired Apple & Almond Smoothie.
The nut butter, yogurt and chia seeds add a delicious creaminess to the smoothie as well as packing in lots more nutrients. The smoothie provides a good dose of protein, fibre and heart-healthy fats (including omega 3), as well as antioxidant vitamins C and E, and trace minerals such as calcium, iron and magnesium.
And another great thing about this smoothie is that you can sneak in a handful of spinach and it doesn’t affect the taste at all!
Until recently, Lil’ L hasn’t been a fan of green smoothies. He likes his smoothies to be the ‘right’ colour. In his eyes, berry smoothies should be pink or purple, while pineapple or mango smoothies should be yellow. For him, a berry smoothie that’s bright green is just wrong. However, one day it dawned on me that I might get away with adding spinach to our usual apple and almond smoothie. Apples can be green, right?
I decided to give it a try when he arrived home from school one day. Here’s how the conversation went…
“Hi!” I call out. “I’ve made you a smoothie!”
“Great! Thanks!” he replies enthusiastically. I hand him the smoothie and there’s a pause, followed by a despondent “Oh…. it’s green”.
“Yep, it’s a green apple smoothie. Give it a try. I’m sure you’ll love it”.
With trepidation he takes a sip. “Mmm, it’s really nice!” he says with surprise. Then there’s a pause…. “So what’s making it green?”
Darn, 10 year olds are sharp. Clearly the ‘green apple’ thing won’t wash with him, so I decide to own up and tell him it’s spinach. He thinks about it for a moment then decides it doesn’t matter after all. Green or not, it tastes really good.
Hallelujah, the green smoothie hang up is finally over! In hindsight, I wish I’d introduced green smoothies when he was much younger. That way, he would have grown up thinking that green berry or tropical smoothies are normal. Never mind, he’s on board now and I’m really excited to try out lots more concoctions over the coming weeks (especially as I’ve got an awesome new blender to play with).
So if you’ve got any green smoothie phobes in the family, I highly recommend trying this one on them. Start with a small amount of spinach so it’s a delicate light green rather than scary green and see what they think (just don’t mention the spinach until they’ve given it a thumbs up 😉 ).
[print_this]
This smoothie is perfect for breakfast on the go or as a post-school or exercise snack. Unlike regular fruit smoothies, this one is a great source of slow-release energy and will keep you feeling full up for hours.
Hands-on time: 5 minutes
Serves 1 as a breakfast (or two as a snack)
1 medium organic apple, cored and chopped (no need to peel if you have a powerful, high speed blender)
1 tsp ground cinnamon
2 TBSP almond butter
1 TBSP chia seeds
handful of spinach leaves (optional)
120ml / 4 fl oz / ½ cup almond milk (or other non dairy milk)
120ml / 4 fl oz / ½ cup non dairy natural yogurt
1 tsp maple syrup, or to taste
Place all the ingredients in a blender. Pulse a few times to break up the apple, then blend on high speed until smooth. Taste test, and add more sweetener, if desired.
When I first started blogging, I recall there was a wave of health food bloggers posting recipes for ‘Healthier’ Monkey bread. I had absolutely no idea what ‘Monkey bread’ was or why it had such a funny name!
Monkey bread, also called monkey puzzle bread, sticky bread, African coffee cake, golden crown, pinch-me cake, bubbleloaf and monkey brains is a sweet, sticky, gooey pastry served in the United States for breakfast. The bread is made with pieces of sweet yeast dough which are baked in a cake pan after first being covered in melted butter, cinnamon and sugar. It is traditionally served hot so that the baked segments can be easily torn away with the fingers and eaten by hand.
Sounds yummy doesn’t it? However, traditional Monkey Bread isn’t particularly healthy. It contains A LOT of fat and sugar. In contrast, the ‘healthified’ versions often use bread or pizza dough as their base, and are glazed with healthier alternatives to butter and refined cane sugar.
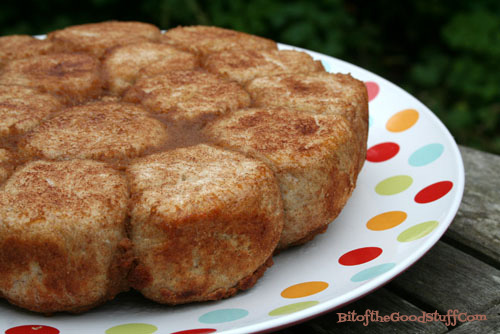
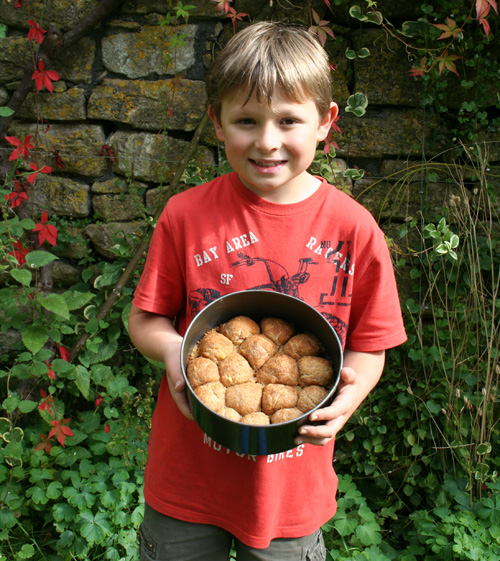
One Sunday, I decided to have a go at making some Apple and Cinnamon-Spiced Healthy Monkey Bread as a ‘special breakfast’. It was a huge hit with Lil’ L and M and, I must admit, I’m rather partial to it too.
The ‘authentic’ way to serve Monkey Bread is to invert it onto a plate…
However, we prefer to eat it straight from the pan. Hands get less messy, and you can use the balls to mop up any syrup left in the pan.
If you’re lucky enough to have a breadmaker, then this recipe requires very little effort at all. You simply throw all the dough ingredients in the machine and press a button. I’ve had my breadmaker for a couple of years now and it’s been fantastic! I reckon it’s easily paid for itself in terms of the amount of times we’ve chosen to stay in rather than going to Pizza Express!
Today, I made some Monkey Bread as an after-school treat for Lil’ L and his friend, and I made it by hand to see how it compared to the bread-maker version. To be honest, making dough by hand doesn’t require THAT much effort. It takes less than 15 minutes, which isn’t too bad at all. Plus kneading dough is great exercise for the arms.
Below I’ve given instructions for making the Monkey Bread by hand and in a breadmaker. If you’re planning to eat it for breakfast, you can easily prepare the dough the night before and chill it in the fridge. In the morning, simply remove the dough from the fridge about 20 minutes before you need to use it.
[print_this]
Makes 18-20 dough balls (serves 3-4)
Hands-on time: 10-30 minutes (depending on whether you make the dough in a breadmaker or by hand)
Dough resting time: 1 hour
Cooking time: 25-30 minutes
Dough
½ tsp fast action/easy blend yeast
300g / 11oz / 2¼ cups wholemeal (wholewheat) bread flour or chapatti flour (I use the latter)
½ tsp sea salt
170ml / 5¾ fl oz / ¾ cup lukewarm water
1 tbsp olive oil
Apple Cinnamon Syrup
1 organic apple, cored and chopped (I keep the skin on)
2 tbsp virgin coconut oil (or you could use non dairy margarine, like Pure)
2 tbsp maple or agave syrup (I often use Clark’s Original Maple Syrup)
1 tbsp coconut sugar (or brown sugar)
1 tsp ground cinnamon
Method
Prepare the dough. – In a breadmaker: Throw all the ingredients in the pan and select ‘pizza dough’. The programme should take around 45 minutes. When it signals that it’s ready, leave the dough in the machine for a further 20 minutes or so to rise. – By hand: Place the yeast, flour and salt in a large bowl. Add the warm water and oil. Mix well with a spoon, then bring it together with your hands until you have a sticky dough. Knead for 5-10 minutes, until the dough is smooth. Place the dough in a lightly oiled bowl, cover with a damp tea cloth or oiled cling film (plastic wrap), and leave in a warm place for about an hour until it has doubled in size. If your house is cool (like ours) then cover with oiled foil and leave in the oven at 40C / 100F for an hour. When the dough is ready, remove from the oven, knead for a couple more minutes then set aside.
Preheat the oven to 200C / 400F / Gas 6. Brush or spray a 23 cm / 9″ loose bottom pan with oil.
Prepare the cinnamon sugar: In a small bowl, combine the sugar and cinnamon.
Prepare the apple cinnamon syrup: First blend the apple into a smooth puree. I find the easiest way to do this is to place the apple pieces in a bowl and use a hand blender (stick / immersion blender). Place the apple puree, coconut oil, syrup, sugar and cinnamon in a small pan and gently heat until the oil has melted.
Pull off small amounts of dough and roll them into balls about 2½ cm / 1″ in diameter. Roll them in the cinnamon sugar and place in the oiled pan. Repeat until all the dough has been used. Evenly space out the balls in the pan (they will expand when baking). If you have any cinnamon sugar left over, add it to the syrup pan.
Spoon the apple cinnamon syrup evenly over the top and in between the dough balls. Place in the preheated oven and cook for 25-30 minutes.
Serve warm, either inverted onto a plate or straight from the pan.
[/print_this]
Good Hemp Seed Giveaway Results! Before I go, I’d like to announce the winners of the Good Hemp Seed Giveaway. The eligible entries were placed in chronological order and 3 winners were randomly selected using Random.org.
I’m delighted to announce that the winners are…
1. Emma 2. Samantha 3. Penniless Veggie
Please email your postal addresses and I’ll arrange for the gifts to be sent to you asap.