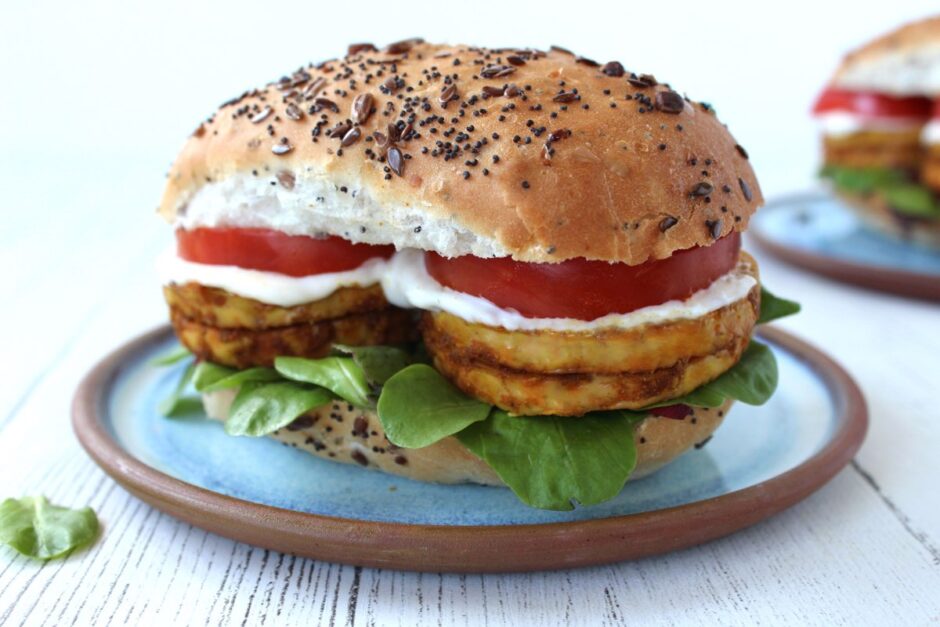
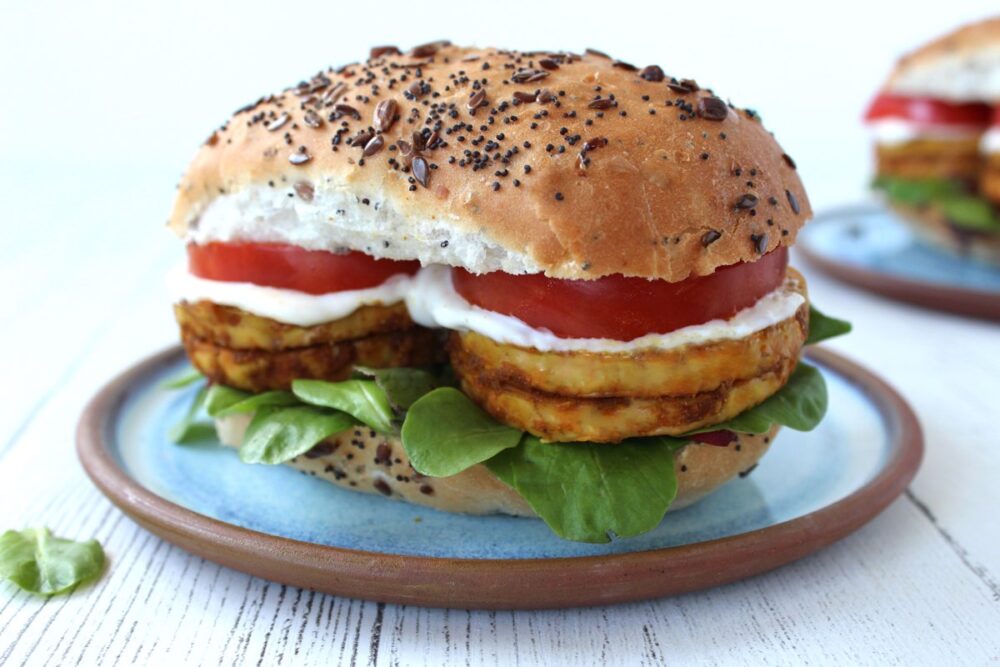
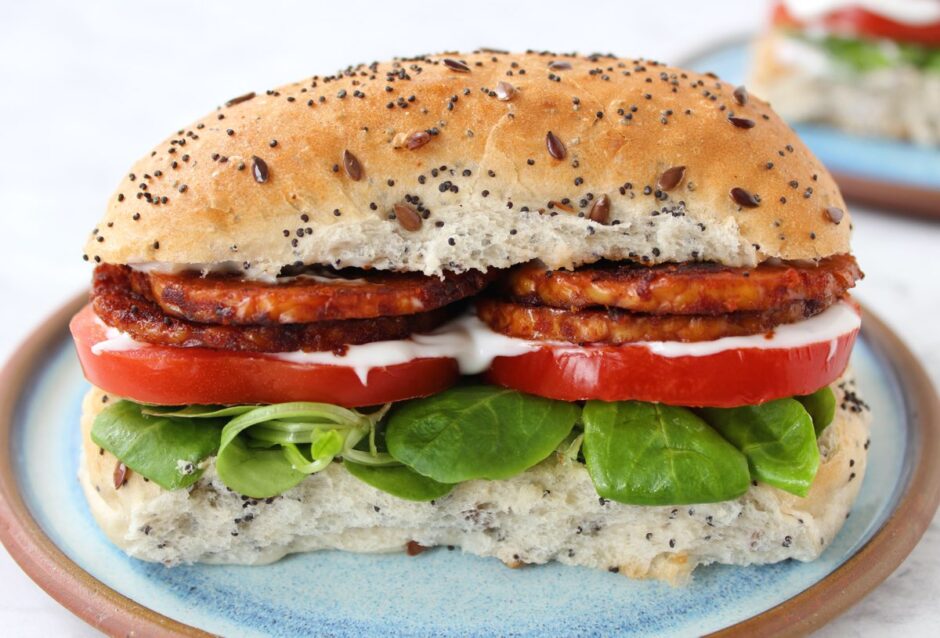
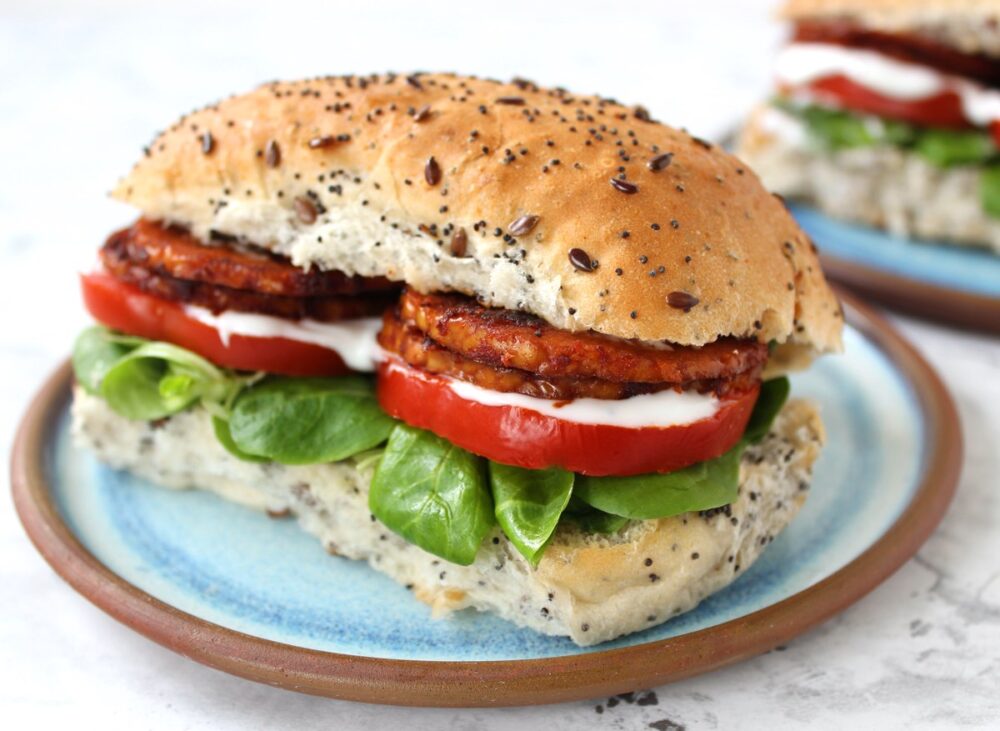
The curried tempeh I’m sharing today makes one tasty, high protein sandwich filling! For my work lunch box, I love to serve it in a seeded bap with some juicy tomato slices, diced red pepper, fresh green leaves and a dollop of vegan mayo or mango chutney. Just like tofu, I find that adding a couple of slices of tempeh to my lunchtime sandwich really helps to power me through the afternoon and keeps me feeling full for hours.
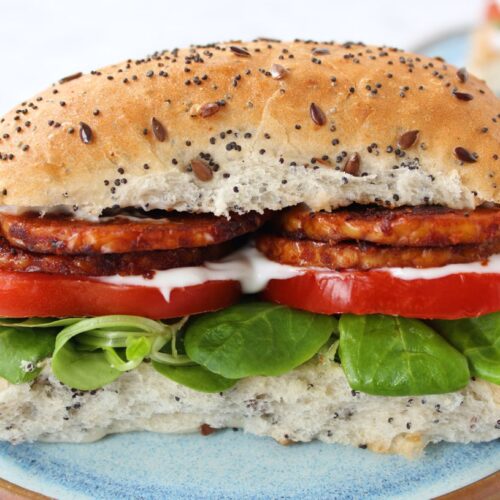
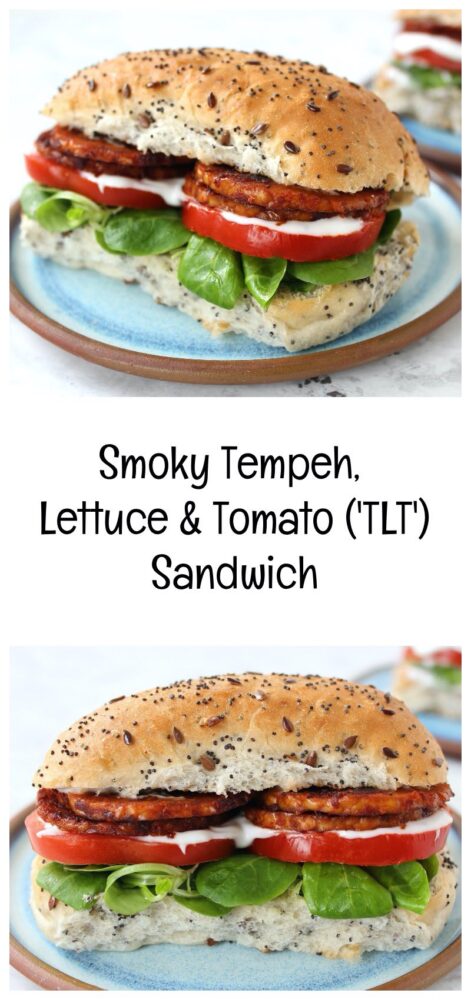
Today I’m sharing a recipe for smoky tempeh slices that are just perfect as a sandwich filling. They are super easy to make and packed full of flavour. Add some lettuce, slices of juicy tomato and a dollop of mayonnaise and you have a delicious vegan alternative to the classic BLT sandwich – the ‘TLT’ (Tempeh, Lettuce, Tomato) sandwich!
Tempeh originally hails from Indonesia and is made from whole soy beans which are fermented with a live culture and pressed into a block. This gives it a distinct texture and flavour (very different to tofu, which is made from soy bean curd). Tempeh is nutrient dense and contains an array of minerals, B vitamins and prebiotics (types of fibre that promote the growth of beneficial gut bacteria). It also happens to be a rich source of protein (100 grams of tempeh contains just over 20 grams of protein).
Here in the UK, tempeh is starting to become more widely available. I’ve been buying the Tofoo brand, which is available in my local Waitrose, Sainsbury’s and Tesco and the Plant Power Original Tempeh (from Sainsbury’s). Both can be found in the the vegetarian/vegan chilled aisle.
I must admit that until recently, I haven’t been a big fan of tempeh. I found its texture quite hard and the flavour bitter (even after steaming it). However, the recipe I’m sharing today has been a complete game changer for me. I’ve learnt that by slicing the tempeh very thinly and soaking it for a few minutes in a tasty marinade, completely transforms both its texture and flavour.
The recipe is lightly adapted from The Happy Pear’s Vegan ‘Bacon’ so a huge thank you to Steve and Dave for the inspiration, and for showing me a way to prepare tempeh that’s not only delicious but super easy too!
At the moment I can’t get enough of this smoky tempeh. It’s hard to resist eating it straight from the pan! It’s been a big hit with the rest of the family too. I hope you enjoy it as much as we do!
Recipe Card
Prevent your screen from going dark
Smoky Tempeh Sandwich Slices
These smoky tempeh slices are perfect for serving in sandwiches. Add some lettuce, slices of juicy tomato and a dollop of mayonnaise and you have a delicious vegan alternative to the classic BLT… the TLT!
2TBSPreduced salt soy sauce or tamari (for a GF option)
1TBSPtomato puree (paste)
1TBSPapple cider vinegar
1½TBSPextra virgin olive oil
2TBSPmaple syrup
1TBSPwater
Instructions
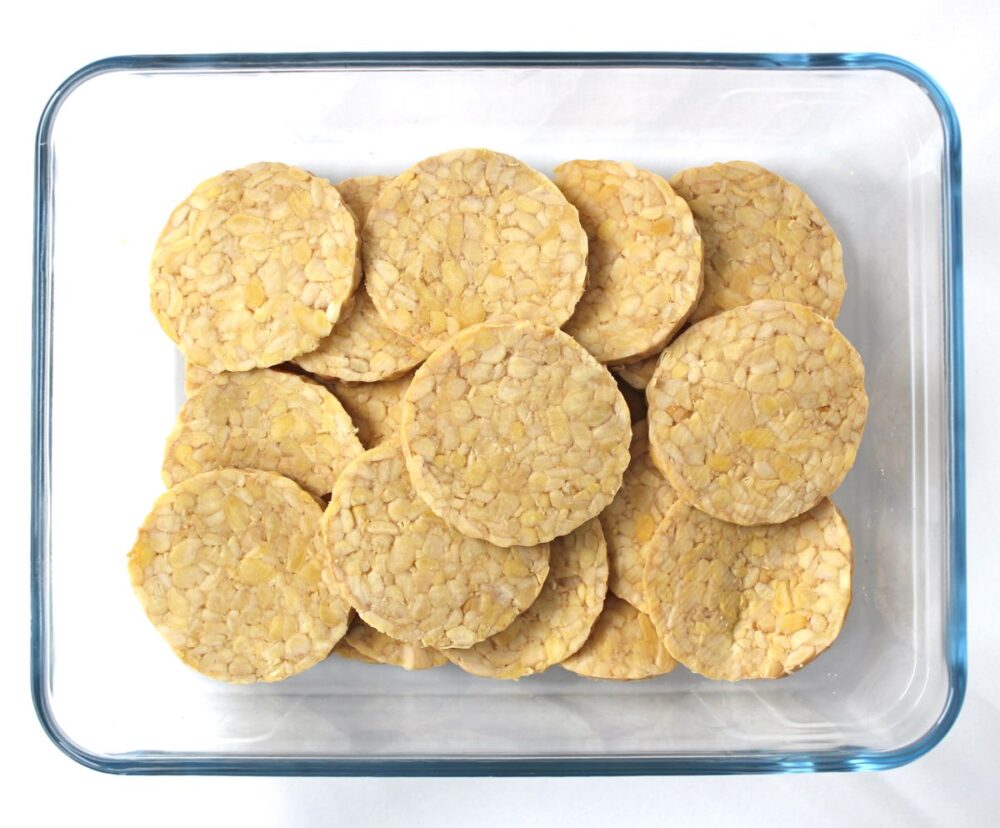
Slice the tempeh as thinly as possible and place in a wide, flat bottom dish.
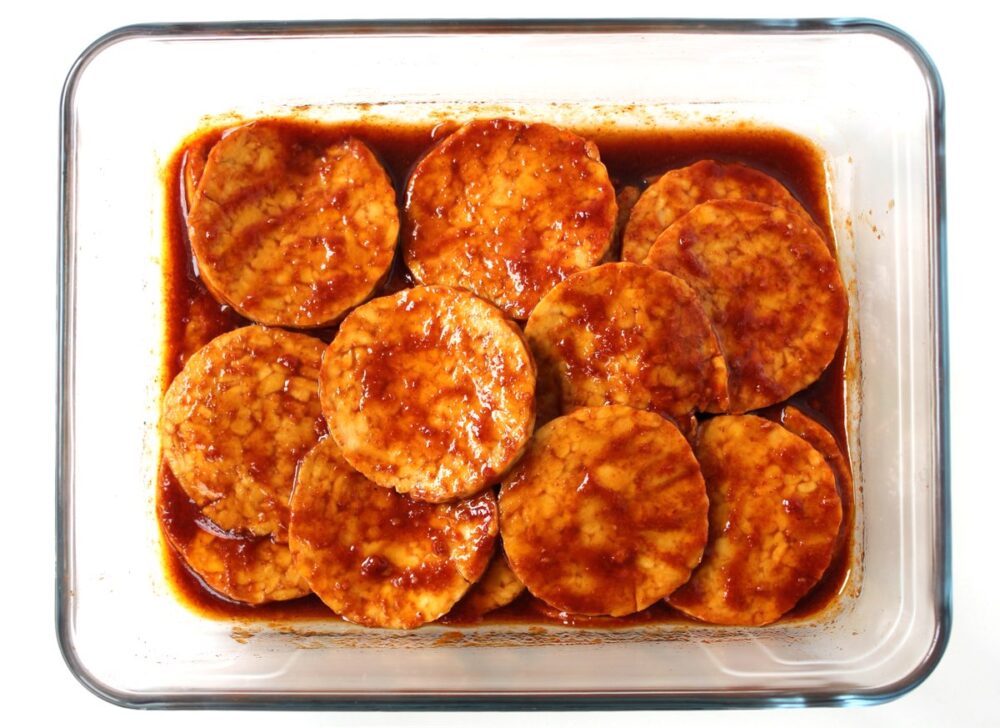
In a small bowl, whisk together all the marinade ingredients. Pour over the tempeh and stir through, making sure both sides are coated in the marinade. Leave for five minutes (can be left longer).
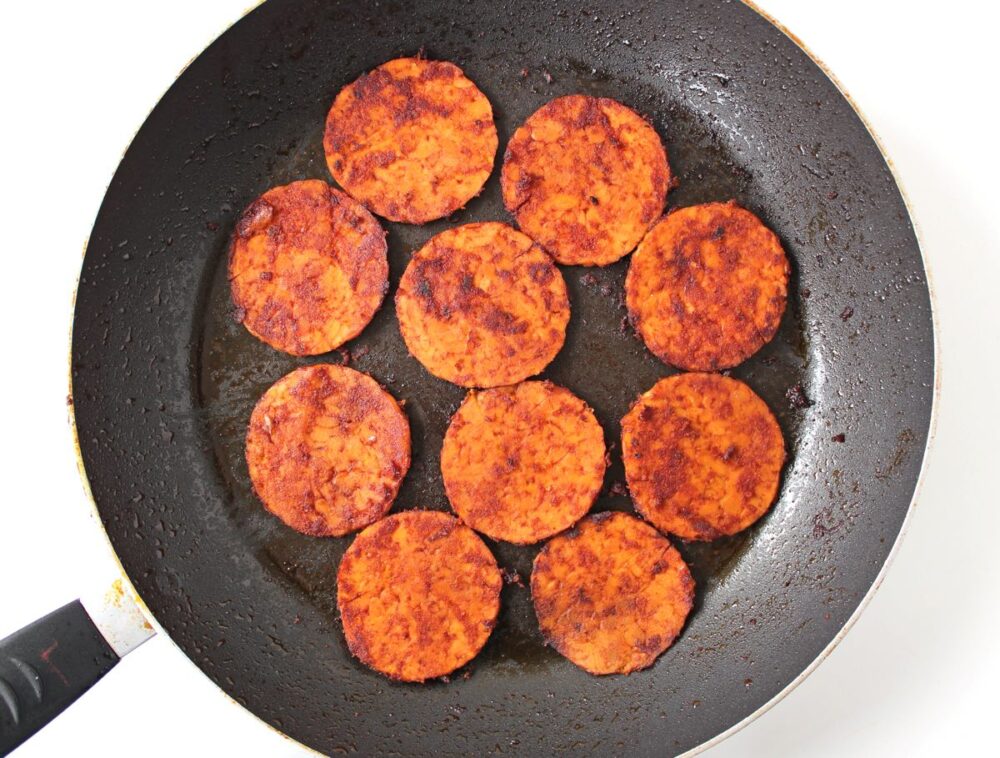
Heat a large non-stick frying pan (skillet) on medium heat. Arrange some tempeh slices in a single layer in the pan. (You can spoon some of the extra marinade onto the slices if you wish, for an even deeper flavour). Cook the tempeh, flipping regularly until it is browned on both sides and all the liquid has evaporated (I find this takes me about six minutes in total). Transfer to a plate and repeat the process with the remaining tempeh slices.
The tempeh can be eaten straight away or stored in an airtight container in the fridge for 48 hours.
Notes
* I used Tofoo tempeh, currently available in the UK from Tescos, Waitrose and Sainsbury’s (in the vegetarian/vegan chiller cabinet). Tempeh is also available from independent health food shops.The recipe is lightly adapted from The Happy Pear’s Vegan ‘Bacon’ so a huge thank you to Steve and Dave for the inspiration, and for showing me a way to prepare tempeh that’s not only delicious but super easy too!
NB: The above values are estimates and for illustration purposes only. Actual nutritional values will vary depending on the specific ingredients used. Percentage Reference Intakes (RI) will also vary depending on individual factors such as age, gender, height, BMI and activity level.
Pin for later ⬇️
If you make this Smoky Tempeh, Lettuce and Tomato Sandwich sandwich, I’d love to hear your feedback and any suggestions for adaptations! Tag your photos with #bitofthegoodstuff on social media – I always love to see your creations! You can also connect with me on my social media channels here:Instagram, Facebook, Pinterest.
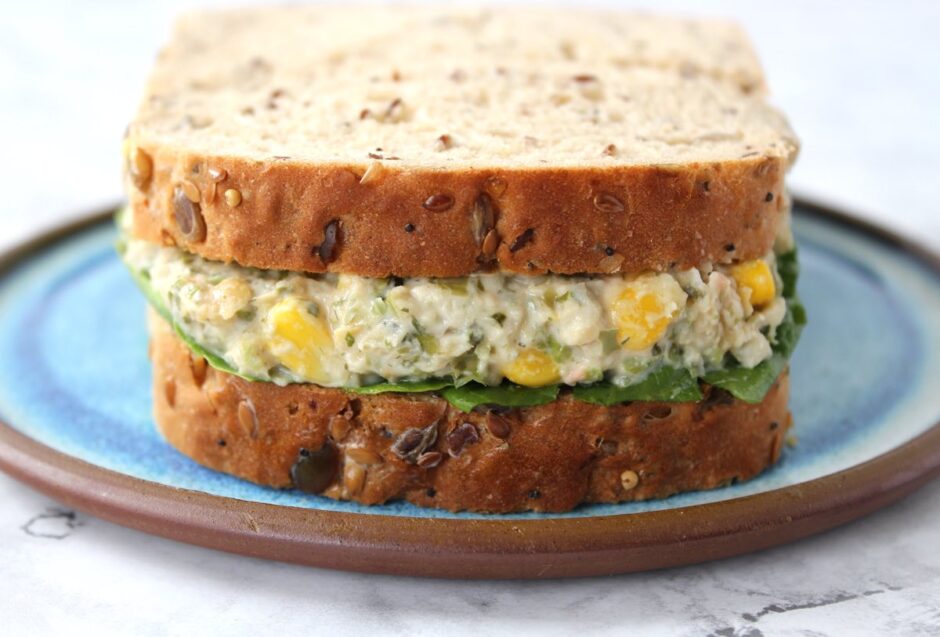
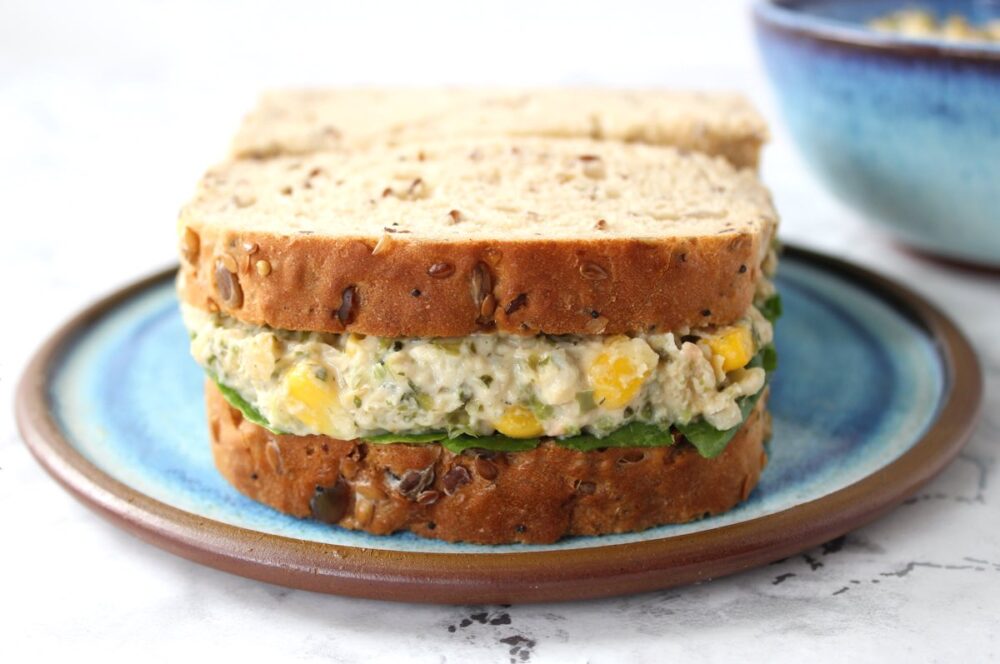
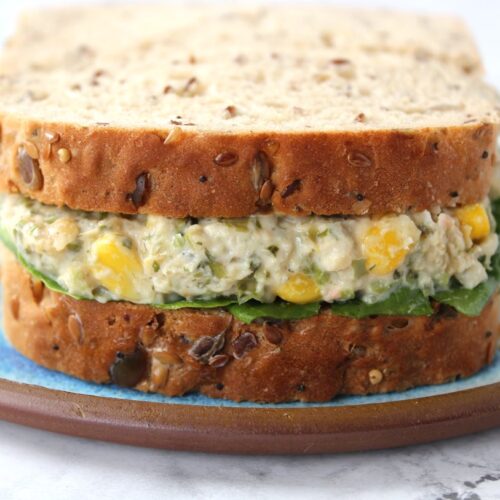
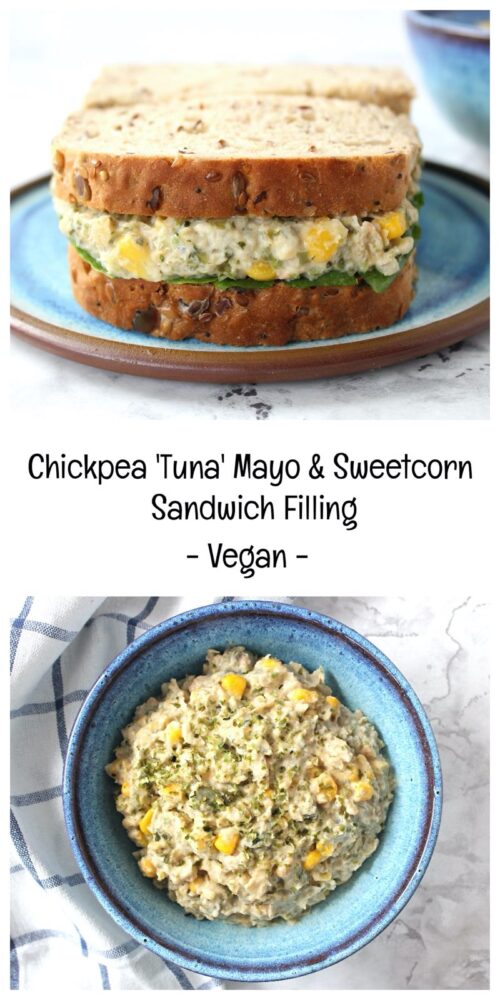
Today, I’m sharing a tasty plant-based alternative to the classic Tuna salad sandwich filling. It’s creamy, crunchy, sweet, salty and tangy! I do love to have a mixture of flavours and textures going on in my sandwiches and today’s recipe certainly fits that bill! It is really easy to make and takes less than ten minutes to prepare.
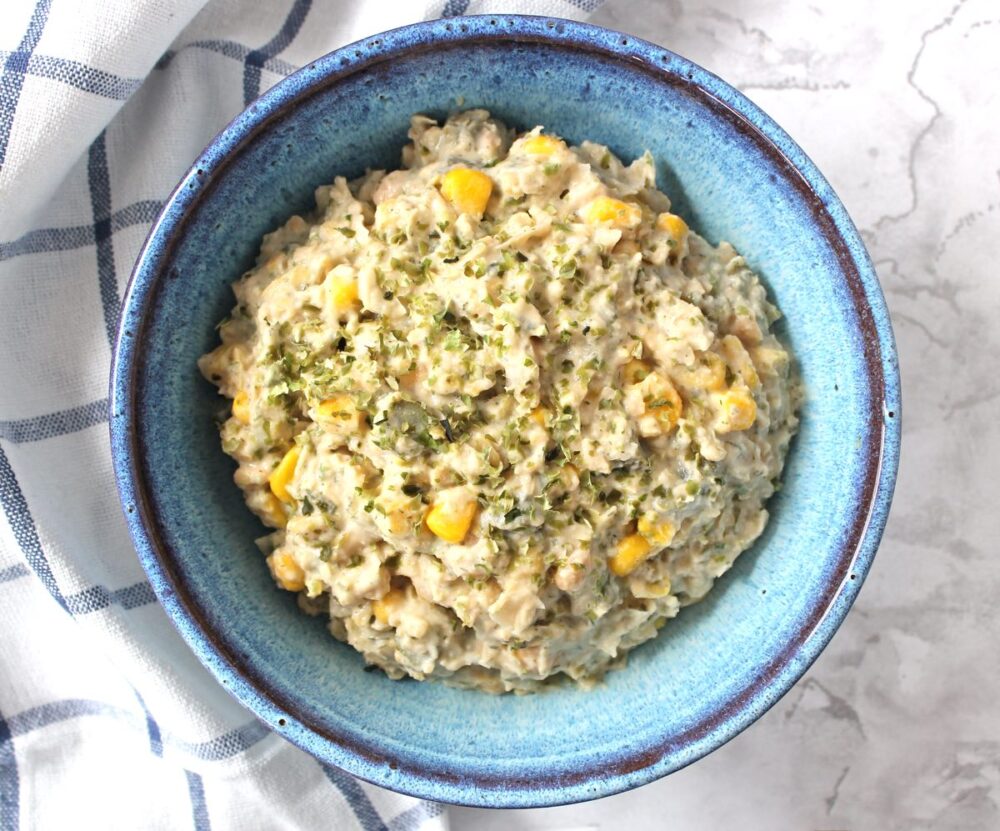
The idea of using smashed chickpeas, mayo and seaweed as a vegan alternative to tuna has been around for a while now. I don’t know who originally came up with the idea, but it’s genius! I like to add a dash of mustard, lemon juice, tahini, dill and salt into the mix as I find it really helps to make the flavours ‘dance’.
Sweetcorn is a classic addition to the Tuna salad sandwich and it lends some sweetness and texture, as well as some welcome pops of sunshine yellow. I also love to add some chopped dill pickles for crunch and tang.
Recipe Card
Prevent your screen from going dark
Chickpea ‘Tuna’ Salad Sandwich Filling
This tasty plant-based alternative to the Tuna Mayo Salad sandwich is creamy, crunchy, sweet, salty and tangy! It is really easy to make and perfect for lunchboxes.
3TBSPvegan mayonnaiseeither home-made or shop-bought*
1TBSPlight tahini
1-2TBSPfreshly squeezed lemon juice
1tspDijon mustard
2tspnori sprinkles(I use Clearspring)
½tspdried dill
¼tspsalt
50g/ ¼ cup canned sweetcorndrained
40g/ ¼ cup dill pickles (aka cornichon gherkins)chopped
Instructions
Place the chickpeas in a mixing bowl and roughly mash using a potato masher.
Add the mayonnaise, tahini, lemon juice and mustard and stir through until fully combined.
Add the dried dill, salt, sweetcorn and pickles and stir to combine. Taste test and adjust the seasoning to suit.
Store the sandwich filling in an airtight container in the fridge, where it will keep for three days.
Notes
* There are lots of options available now for vegan mayonnaise! You could either use a shop-bought mayo such as Hellmans, Vegenaise or M&S Plant Kitchen… or make you own. My ‘Quick and Easy’ Vegan Mayonnaise recipe can be found here.
NB: The above values are estimates and for illustration purposes only. Actual nutritional values will vary depending on the specific ingredients used. Percentage Reference Intakes (RI) will also vary depending on individual factors such as age, gender, height, BMI and activity level.
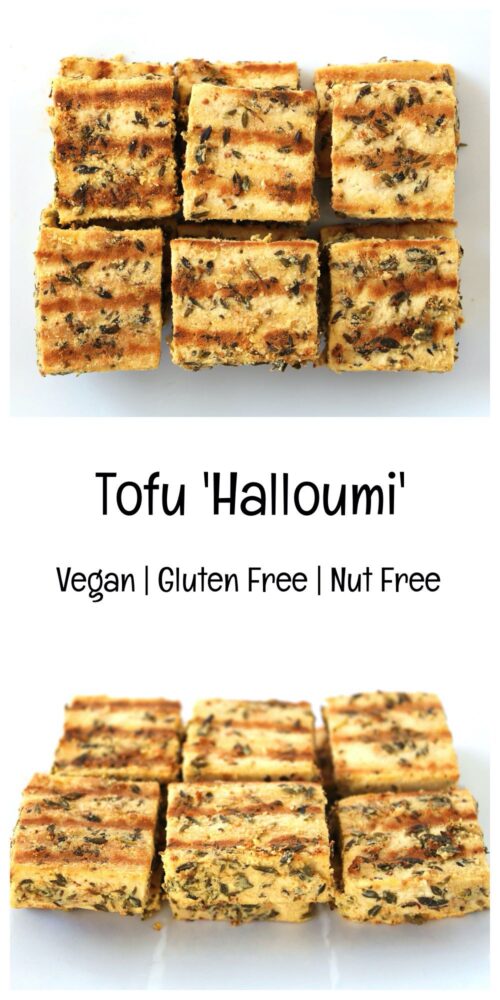
Pin for later ⬇️
If you make this Chickpea ‘Tuna’ Salad Sandwich (or any other recipes on my blog), I’d love to hear your feedback and any suggestions for adaptations! Tag your photos with #bitofthegoodstuff on social media – I always love to see your creations! You can also connect with me on my social media channels here: Instagram, Facebook, Pinterest.
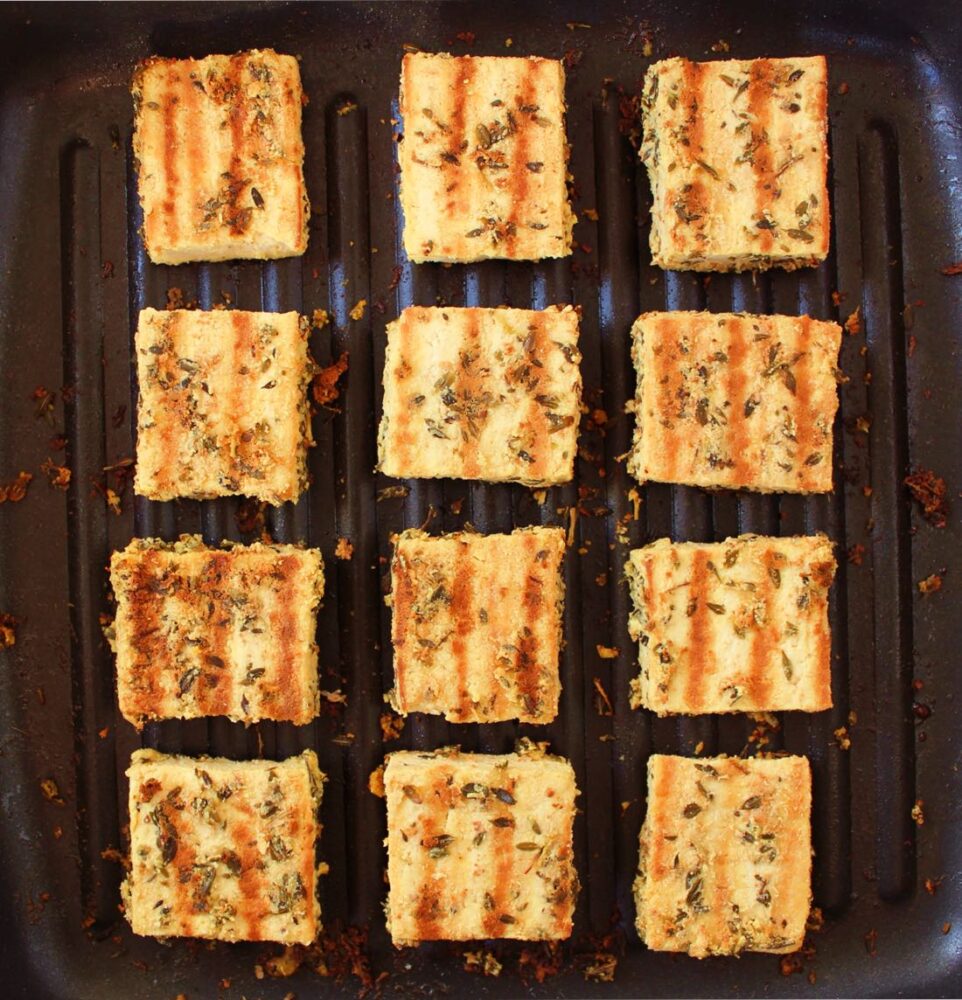
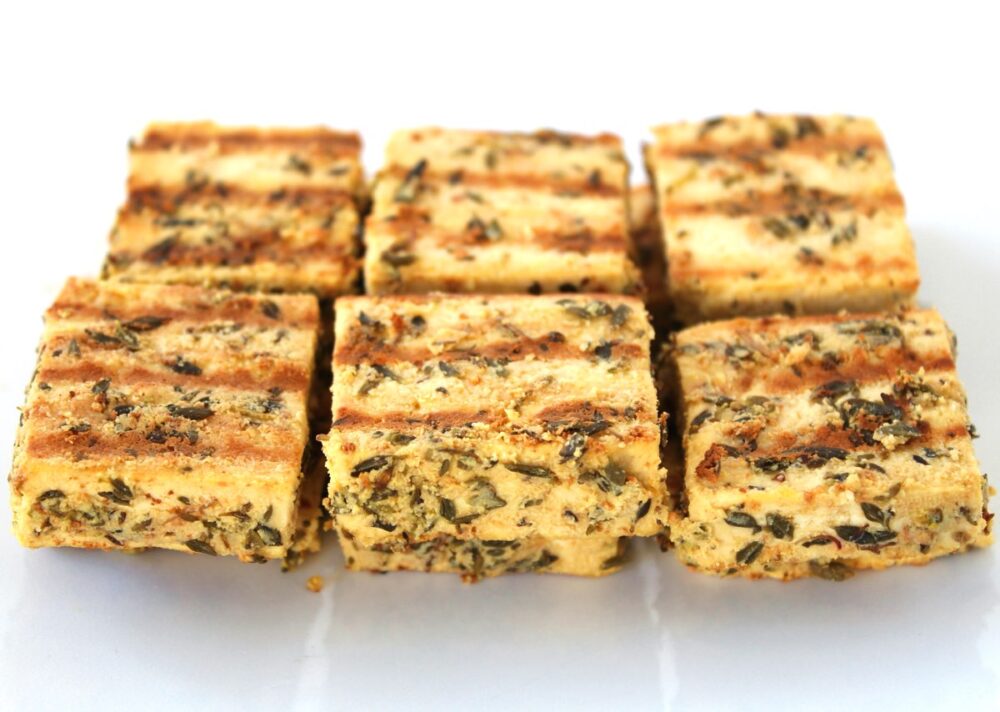
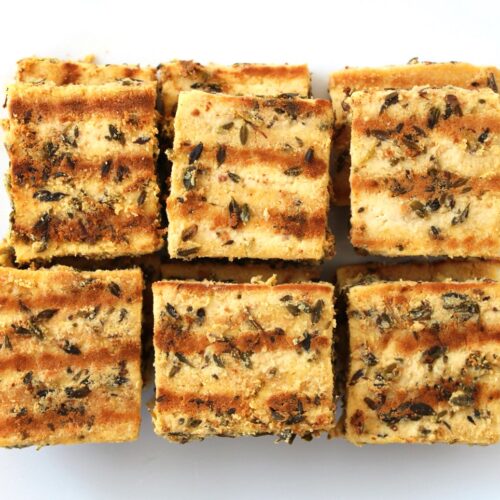
In today’s post, I’m sharing the recipe for a delicious plant-based alternative to halloumi. Simple to prepare, this Tofu ‘Halloumi’ is highly versatile. We love to add it to Greek-style salads, sandwiches, pittas, wraps and mezze platters.
It was the Greek Vegan Deli guys that first introduced me to Tofu ‘Halloumi’ back in 2018 at Bristol VegFest. It was absolutely delicious!! Since then, every time I see the Greek Deli guys at a festival, I really look forward to tucking into their Tofu ‘Halloumi’, either stuffed into a pitta or as part of one of their incredible Greek platters.
I love Greek food and halloumi used to be one of my favourite cheeses. However, once I’d tried the tofu version, I was hooked. I loved it even more than the original!
And if I’d known just how easy it is to make, I would definitely have tried making Tofu ‘Halloumi’ a long time ago!
It involves three simple steps …
Pressing the tofu
Marinating it for an hour
Then grilling it for a few minutes.
Job done!
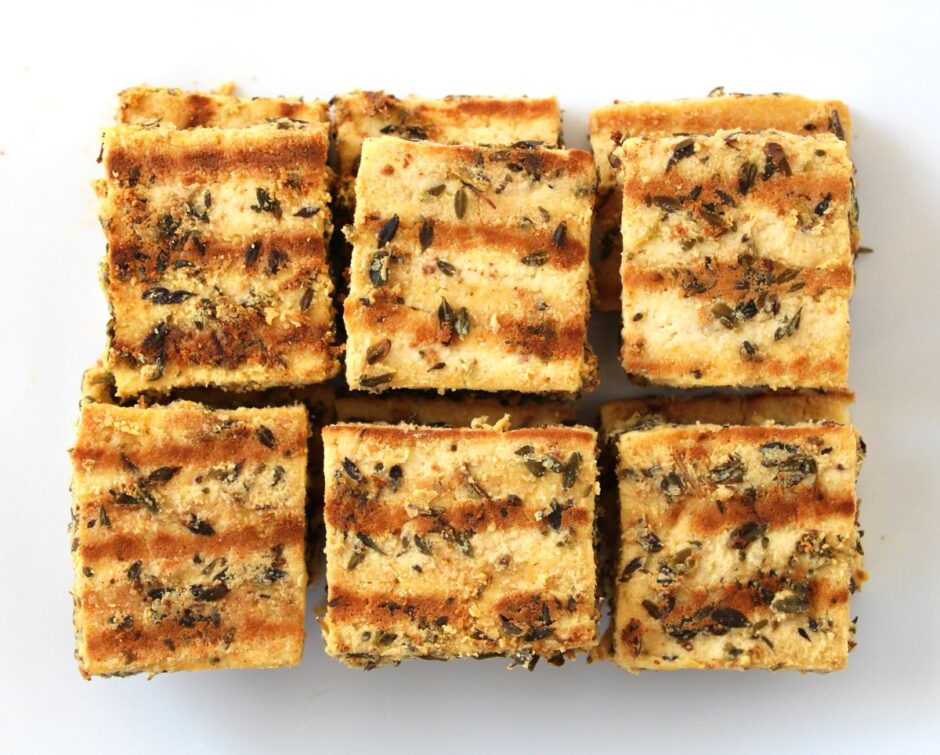
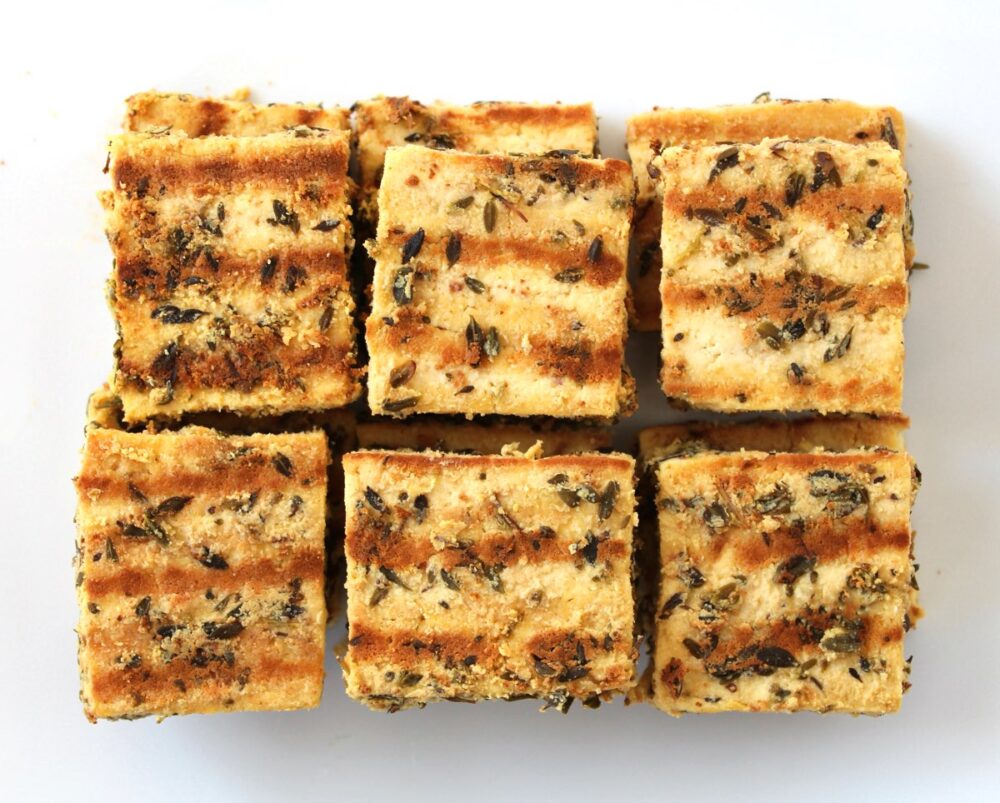
I especially love to use a griddle pan to get those beautiful grill lines.
For the marinade, I used five ingredients that are basic staples my kitchen – nutritional yeast flakes, lemon, oregano, extra virgin olive oil and salt. The resulting tofu was so flavourful. It was salty, tangy, cheesy and herby – all the flavours I associated with Greek halloumi (for Cypriot halloumi you could switch the oregano for mint instead).
Recipe Card
Prevent your screen from going dark
Tofu ‘Halloumi’
This tofu is a delicious alternative to halloumi. It can be served warm or cold, and is perfect for adding to Greek salads, sandwiches, pittas, wraps and mezze platters.
Press the tofu for 30 minutes**. Slice into ½ inch (1.3 cm) thick rectangles.
Add the nutritional yeast flakes, lemon juice, dried oregano, oil and salt to a bowl and stir until thoroughly combined. The nutritional yeast should start to dissolve into the oil.
Add the tofu to a wide, shallow container and use a pastry brush or spoon to coat both sides in the marinade (it doesn’t matter if you need to stack the tofu). Cover and leave for an hour to marinate. Alternatively you can leave it overnight in the fridge.
When ready to cook, spray a non-stick griddle pan or frying pan (skillet) with oil and pre-heat on medium-high. Add the tofu in a single layer and press down on it with a slotted turner spatula (you should hear it sizzle). Cook for 2-3 minutes until golden brown on the underside then flip over and repeat.
Stored in an airtight container, the tofu will keep for a couple of days.
Notes
* I used Cauldron Extra Firm Organic Tofu (available in the chiller cabinet in most big UK supermarkets). I like this tofu as it is set in calcium sulphate so it’s an easy way to boost our calcium levels. According to their website, Cauldron Organic Tofu contains approximately 400mg of calcium per 100g (a quarter block). **Here’s my preferred way to press tofu (since I don’t have a tofu press): Place the tofu on a rimmed baking tray. Place a chopping board on top of the tofu, followed by a heavy object to weigh it down. The water collects in a pool round the tofu. After 30 minutes, drain off the liquid. Give the tofu a quick pat with kitchen paper to soak up any residual liquid, then it’s good to go.
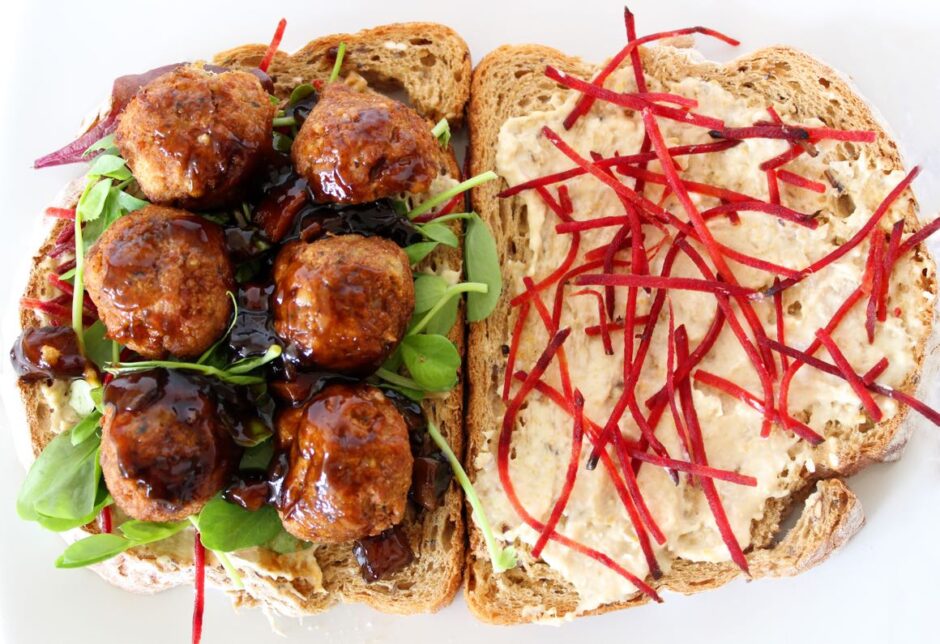
I’m really looking forward to seeing how you would use this Tofu ‘Halloumi’. Today, I added it to a toasted sandwich with baby leaves and shredded beetroot, sun-dried tomatoes and mayo. It was so delicious! If you make it, remember to take a photo and tag it with #bitofthegoodstuff on social media – I always love to see your creations! You can also connect with me on my social media channels here:Instagram, Facebook,Pinterest.
* This blog post was originally posted on October 18, 2013. The page was refreshed July 2019
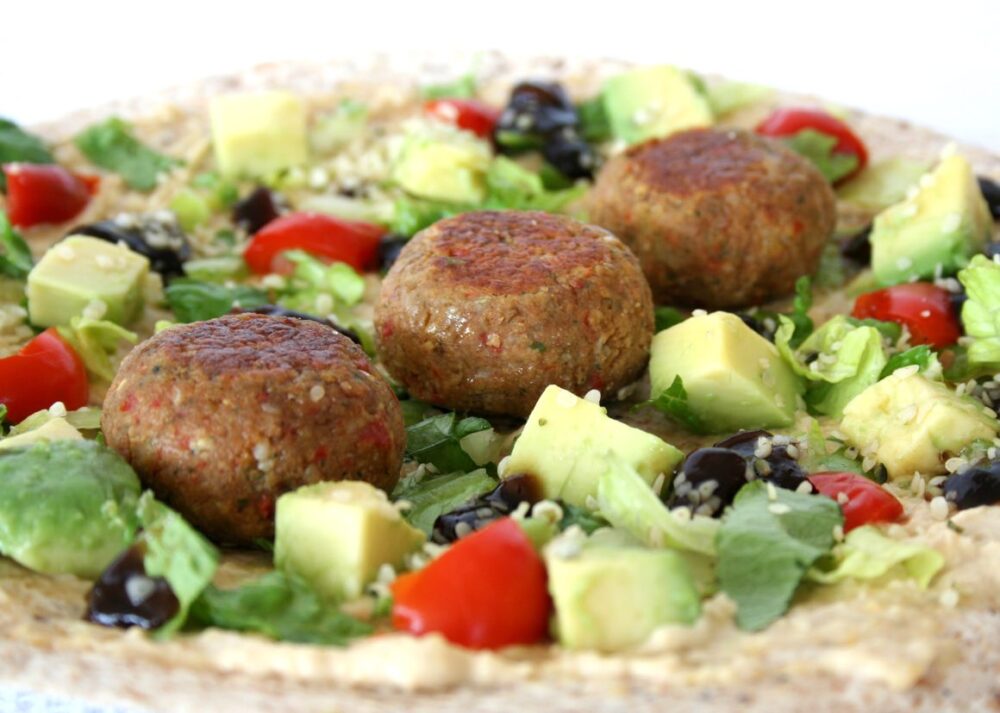
This week, one of my lovely readers emailed and asked whether I could share our recipe for falafel. I was more than happy to oblige! I know I’ve posted numerous pics of our falafel in the past, so this recipe share is way overdue.
My family are huge fans of home-made falafel. They’re so versatile! You can flavour them to suit your tastes, and they’re delicious eaten hot or cold.
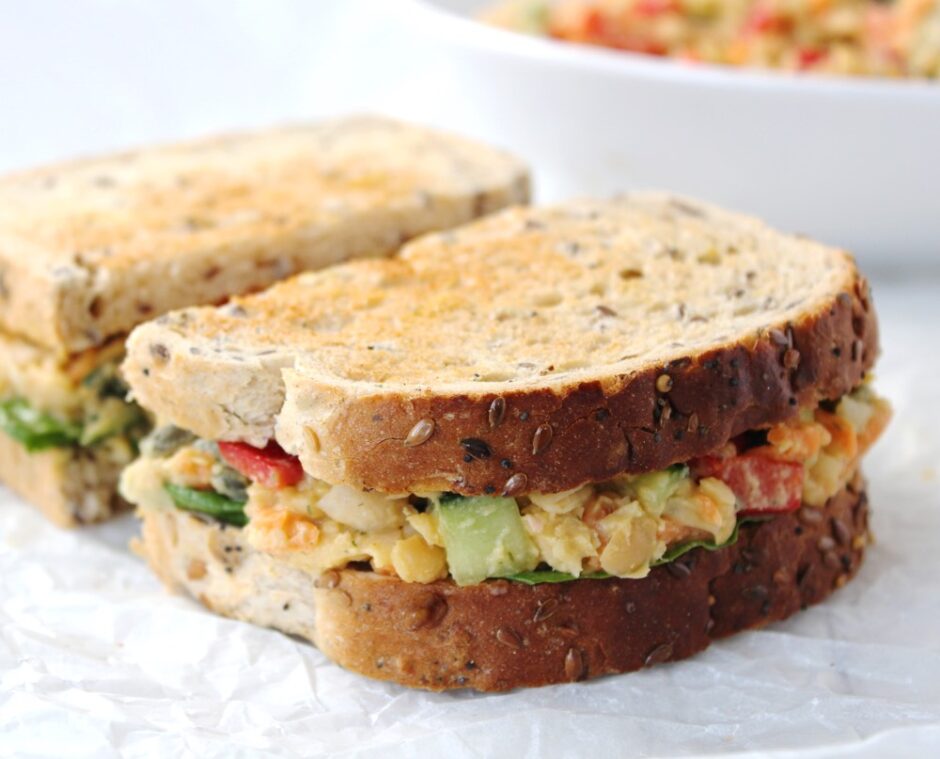
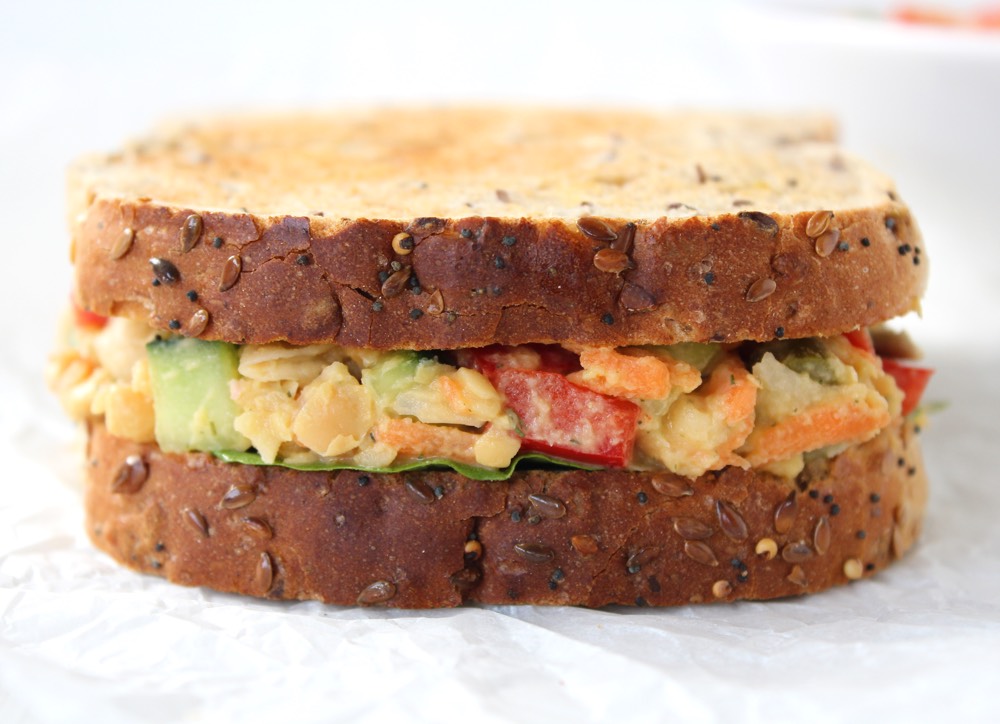
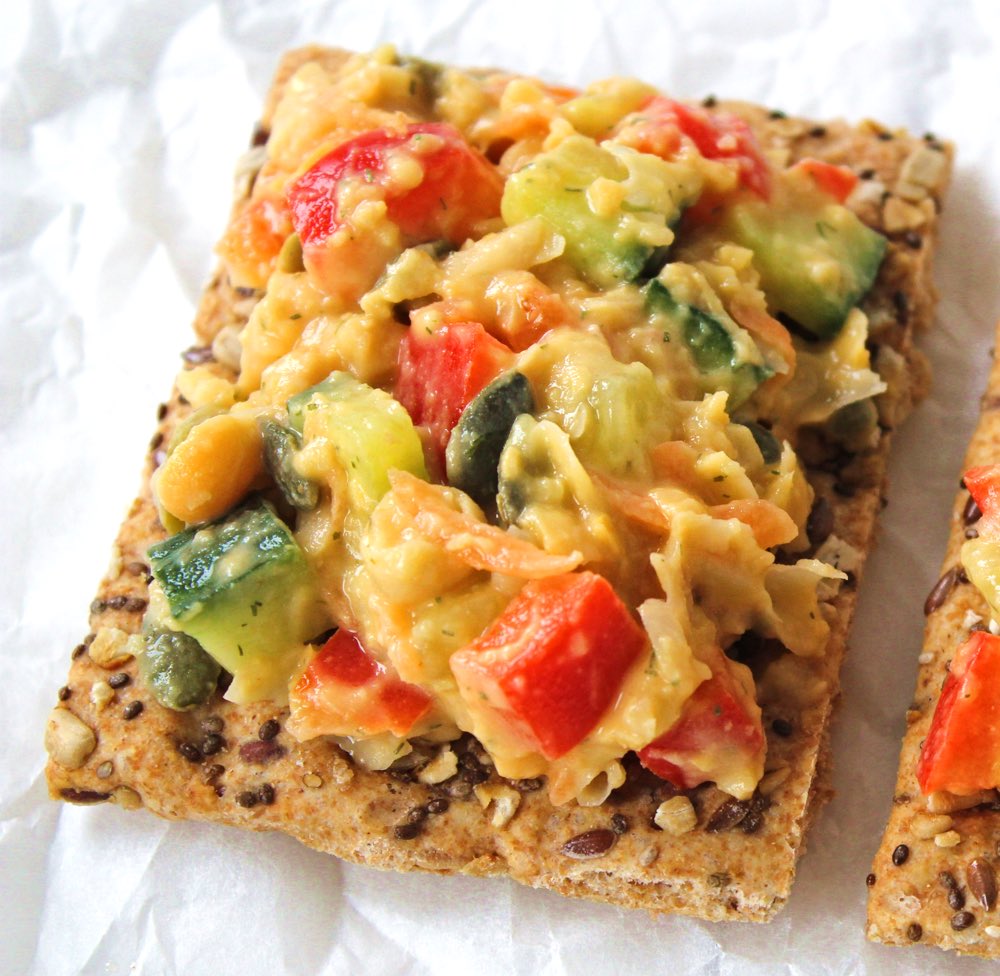
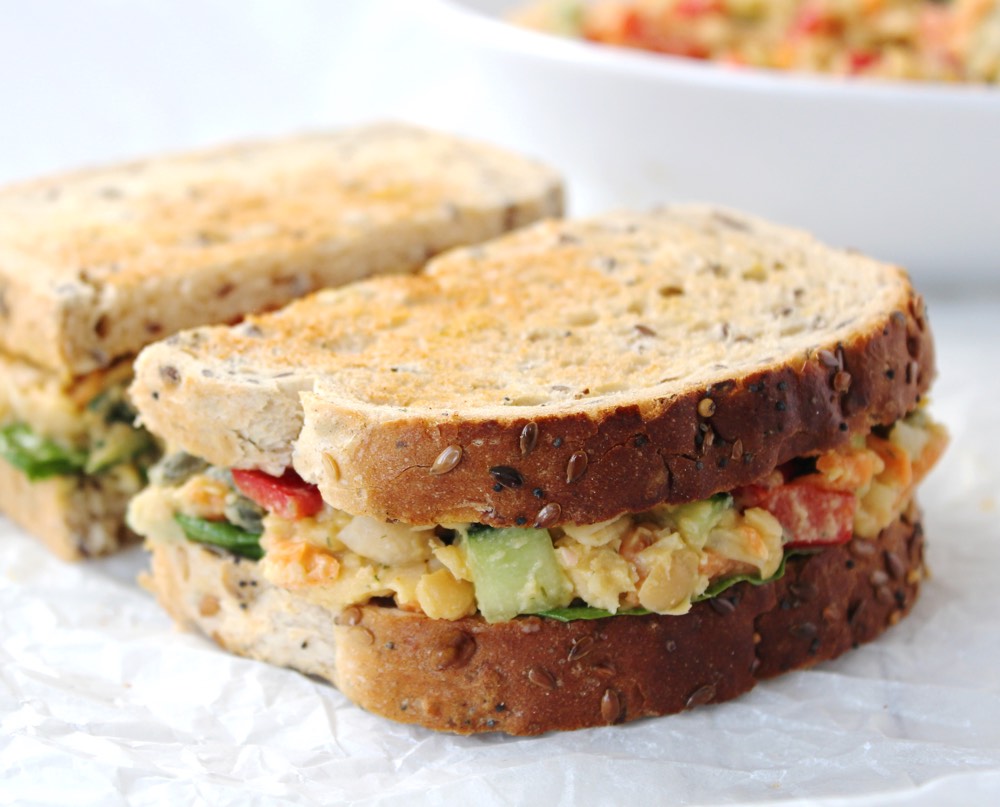
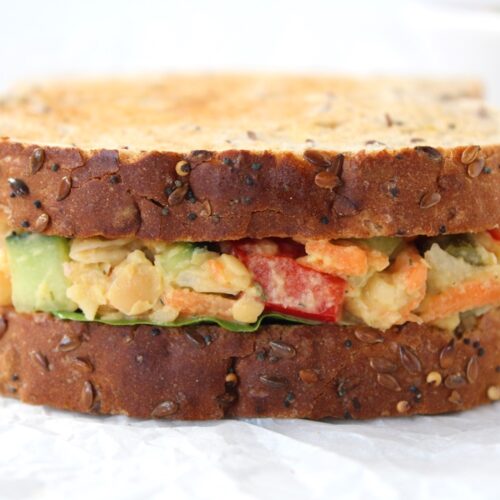
In today’s post I’m sharing a sandwich filling that is tangy, crunchy, creamy and oh so delicious! It reminds me of the Heinz Sandwich Spread that I used to love as a kid in the 80s, but this home-made version is way fresher, tastier and healthier too!
If you’re looking for a new sandwich to liven up school or work lunchboxes, I’d definitely recommend giving this recipe a try. It would also be great for picnics and buffets. As well as a sandwich filling, you can also use it as a topping for crackers. Perhaps even as a jacket potato topper too?
It’s really easy to make and takes around 12 minutes to prepare a large bowl, which will fill about five sandwiches. I tend to make one batch of chickpea smash at the start of the week, which we then use on the following days for Lucien’s school sandwiches, as well as our own.
The inspiration for today’s recipe was this Garden Veggie Chickpea Salad Sandwich from Jenn @ Peas and Crayons which I came across back in 2017, and have been making adapted versions of ever since. Jenn, in turn, credits Angela from Oh She Glows for inspiring her recipe, so it sounds like Angela is the original recipe creator. I’d like to thank both Jenn and Angela for inspiring the recipe I’m sharing today and for giving my family so much sandwich joy these past couple of years!
This recipe is highly versatile, so feel free to switch up the ingredients. I would definitely recommend keeping the dill pickles in though, as they give this recipe its signature tangy, crunchy bite. In England, dill pickles are called ‘gherkins’. It’s such a funny name isn’t it? Even funnier, my mum still calls them by their old slang name ‘Wallies’. Personally, I prefer to call them dill pickles as it sounds much more appealing to me than gherkins or wallies. How about you? What do you call them?
Recipe Card
Prevent your screen from going dark
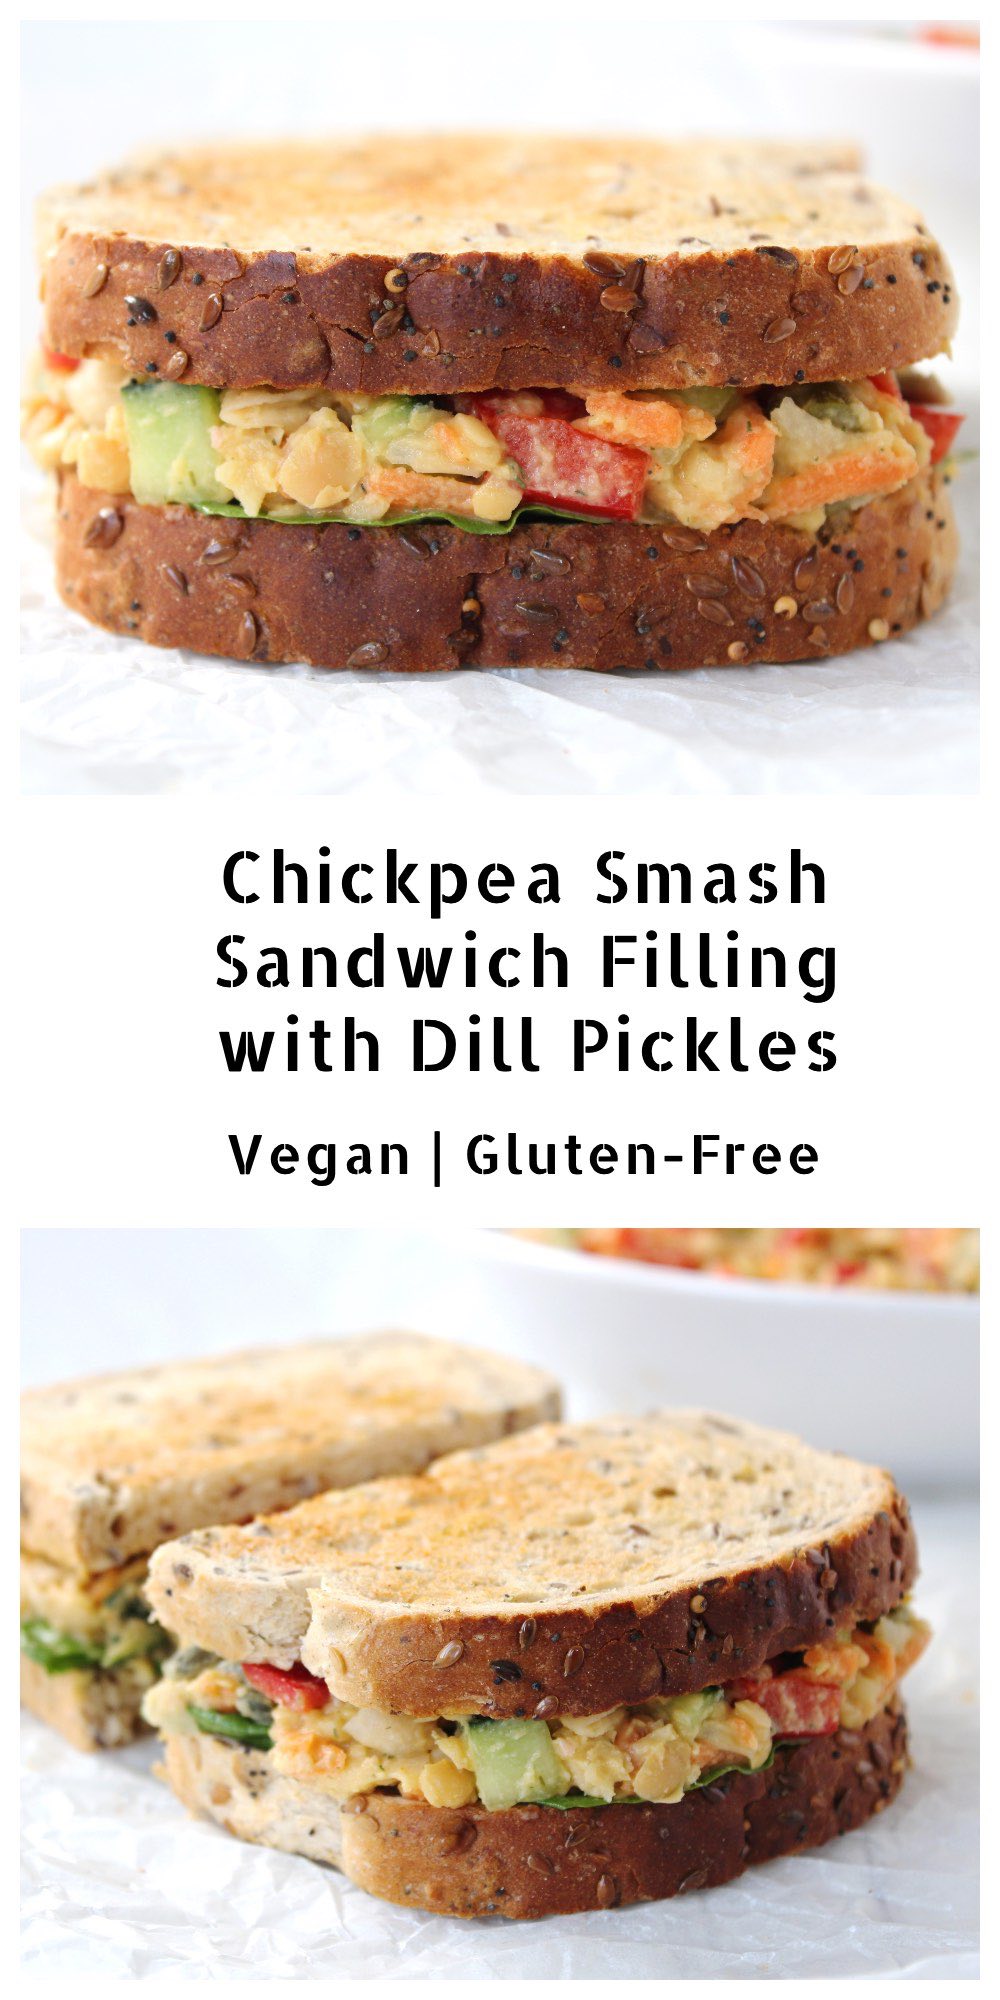
Chickpea Smash Sandwich Filling with Dill Pickles
This tangy, crunchy, creamy chickpea smash is perfect as a sandwich filling for school or work lunchboxes, as well as picnics and buffets. The quantity below fills about five sandwiches.
1small red bell pepper or romano pepperdeseeded and finely diced
75g/ ½ cup dill pickles or gherkinssliced
2TBSPpumpkin seeds
4TBSPvegan mayonnaise*
1tspDijon mustard
¼tspdried dill
pinchof salt
Instructions
Placed the drained chickpeas in a large bowl and roughly mash with a potato masher.
Add all the remaining ingredients and stir through until fully combined. Taste test and adjust the seasoning to suit.
Stored in an airtight container in the fridge, this chickpea smash will keep for three days.
Notes
* I use this Home-Made Sweet Chilli Mayonnaise It’s so cheap and easy to make! If you prefer to use a ready-made mayonnaise, both Vegenaise and Hellmans Vegan Mayo are now available in many of the major supermarkets in the UK, as well as the independent health food shops.
N.B. The above values are estimates. The actual nutritional values will vary depending on the brands and ingredients used.
Pin for later ⬇️
If you make this Chickpea Smash, I’d love to hear your feedback and any suggestions for adaptations! Tag your photos with #bitofthegoodstuff on social media – I always love to see your creations! You can also connect with me on my social media channels here:Instagram, Facebook, Pinterest.