* This recipe was originally posted in March 2014. The page was updated in August 2019.
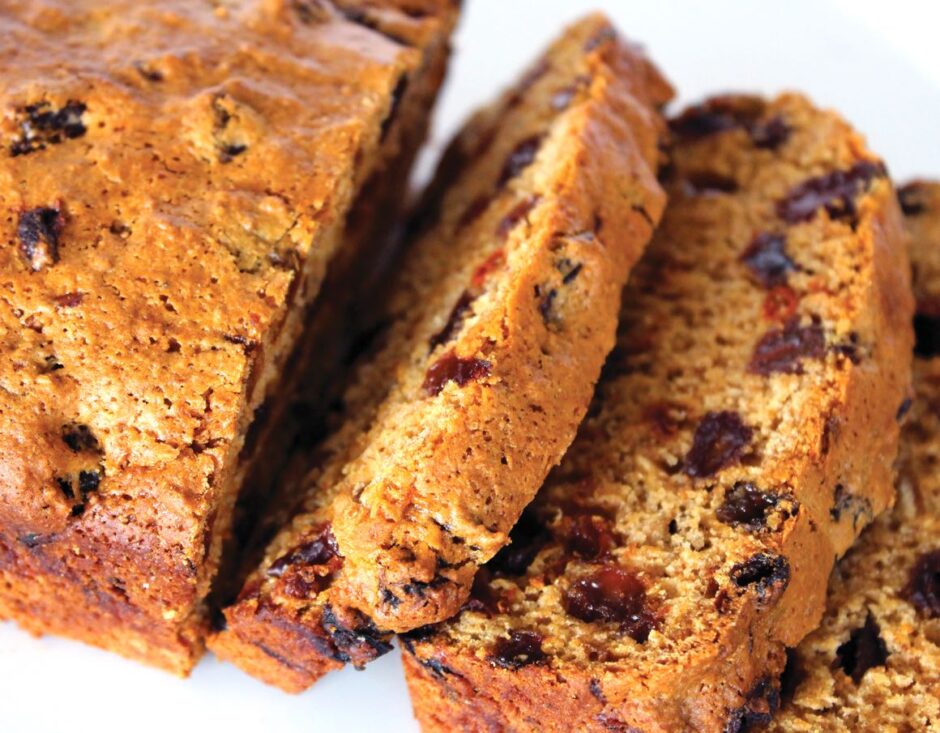
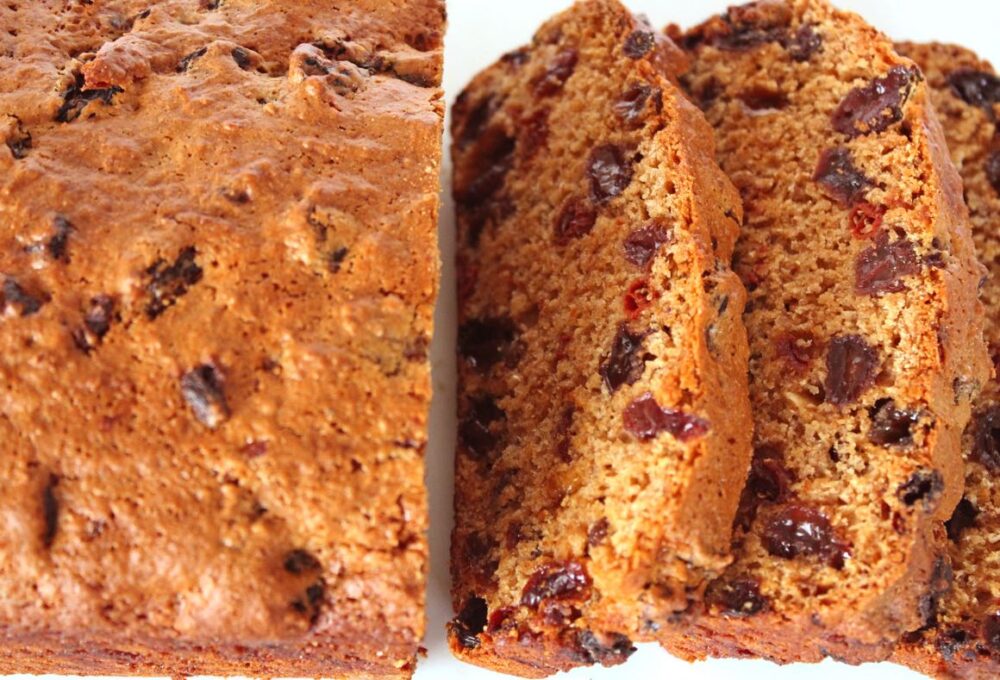
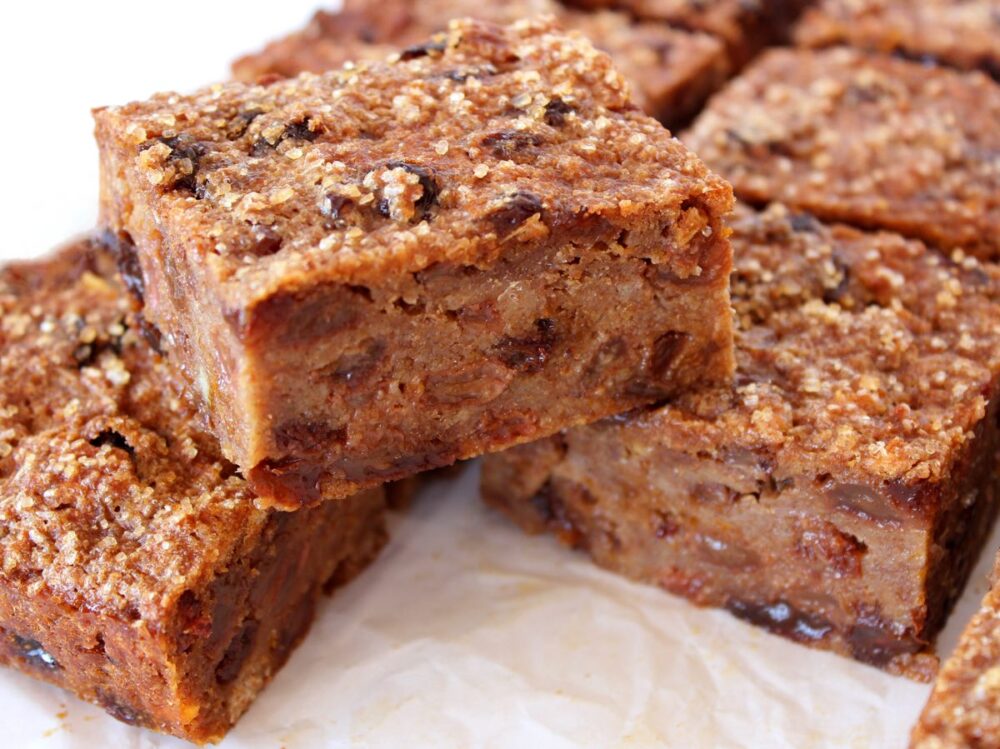
It might be old-fashioned, but tea loaf rocks! It’s perfect for serving for ‘elevenses’ or as a mid-afternoon ‘pick me up’ with a lovely cup of tea. It also makes a tasty after-school or travel snack. This is one of my all-time favourite treats for road trips!
I have my mum’s friend to thank for the recipe. I arrived at my mum’s house one day to discover this incredible smell wafting out of the kitchen. It turned out to be this tea loaf!
Back home, I couldn’t wait to have a try at making my own. The original recipe contained egg but I omitted the egg, tweaked the wet/dry ratio a little and it turned out absolutely fine. My family can’t actually tell the difference!
As cakes go, this tea loaf is pretty healthy. It’s filled with nutrient-rich dried fruits, whole grain flour, and it’s fat free!
It’s incredibly easy to make too. You simply soak the dried fruit in a cup of tea for a few hours, then mix all the ingredients together and bake.
Recipe Card
Prevent your screen from going dark
Old Fashioned English Tea Loaf
It might be old-fashioned, but tea loaf rocks! It's perfect for serving for 'elevenses' or as a mid-afternoon 'pick me up'. It also makes a delicious after-school and travel snack. It's incredibly easy to make. You simply soak the dried fruit in a cup of tea for a few hours, then mix all the ingredients together and bake.
113g/ ½ cup unrefined cane sugar(e.g. golden caster) or coconut sugar
1TBSPmarmalade or apricot jam
227g/ 1⅔ cups fine wholemeal (whole wheat pastry) or chapatti flour
2tspbaking powder
1tspground cinnamon or mixed spice
3TBSPwater
Instructions
Soak the dried fruit in the brewed tea for 4-5 hours (can be left overnight).
Grease a 2lb loaf pan and line the bottom with non-stick baking paper (or use a non-stick loaf liner).
Pre-heat the oven to 160C (160C for fan also) / 325F.
Tip the dried fruit and any remaining tea into a mixing bowl. Stir in the sugar and marmalade/jam. Sift in the flour, baking powder and spice. Add 3 TBSP water and stir until thoroughly combined.
Tip the mixture into the prepared tin and level the top.
Bake for 1¼ hours, or until a skewer inserted in the middle comes out clean. Leave to rest in the tin for 30 minutes or so, then transfer to a wire rack until completely cooled.
Stored in an airtight container, the loaf will keep for up to five days in the fridge. It also freezes well.
Notes
* I often use raisins, sultanas, goji berries, candied citrus peel.
If you make this Tea Loaf (or any other recipes on my blog), I’d love to hear your feedback and any suggestions for adaptations! Tag your photos with #bitofthegoodstuff on social media – I always love to see your creations! You can also connect with me on my social media channels here: Instagram, Facebook, Pinterest.
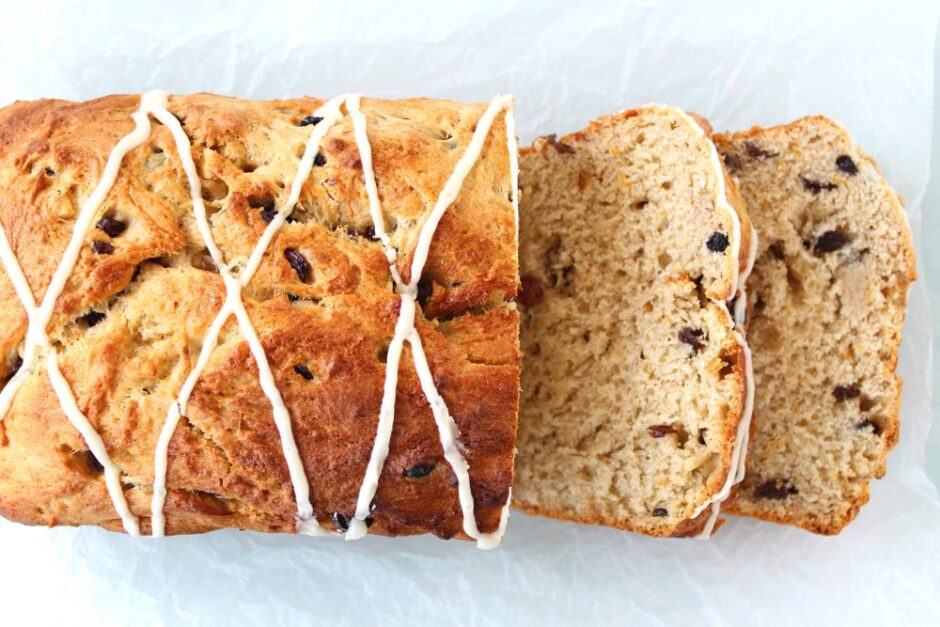
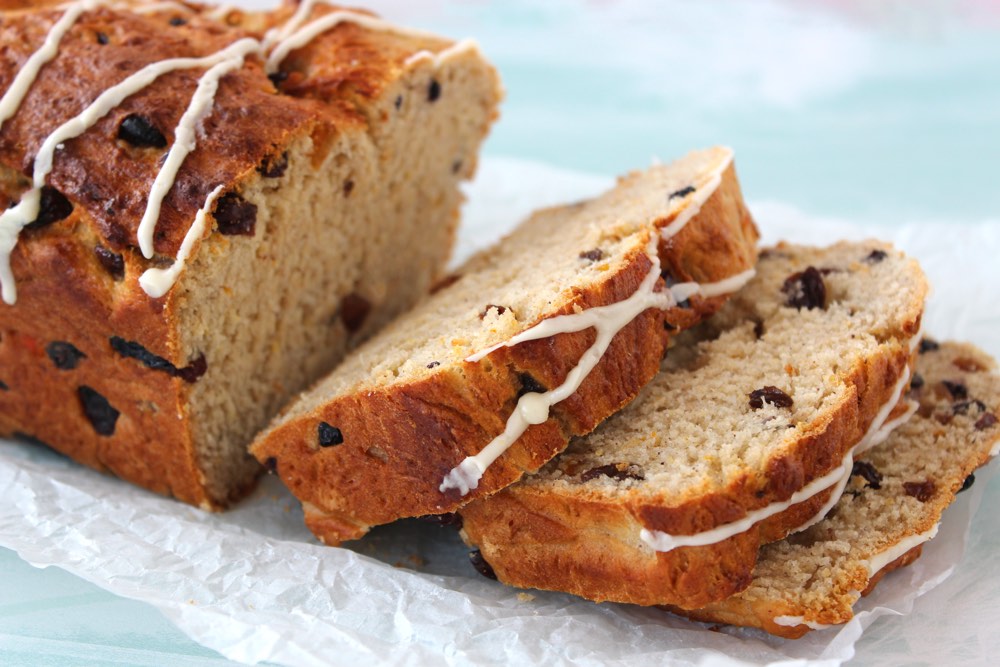
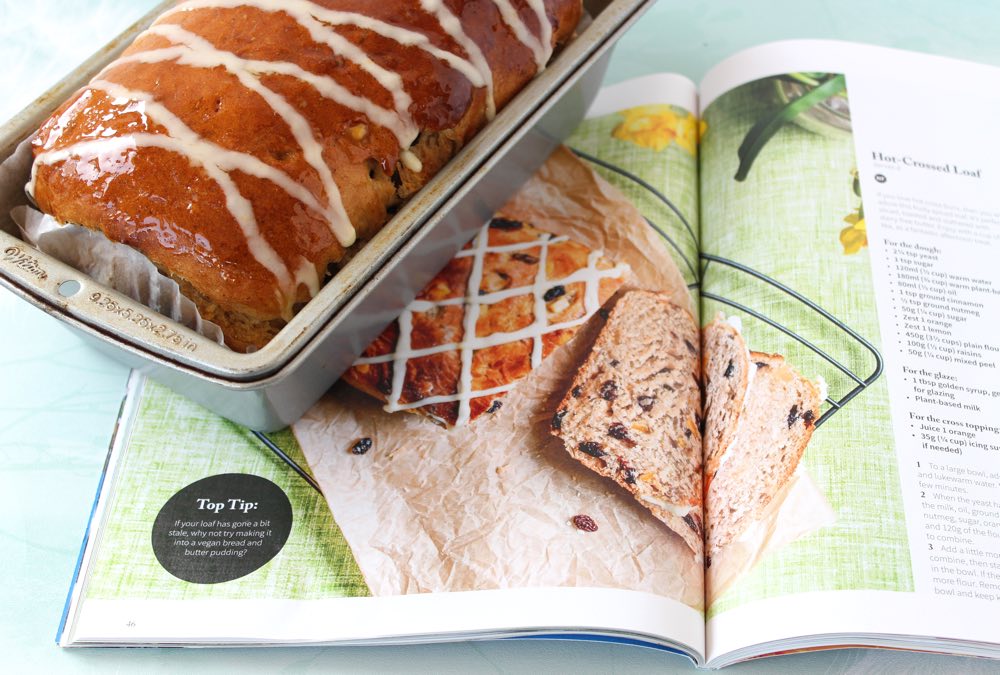
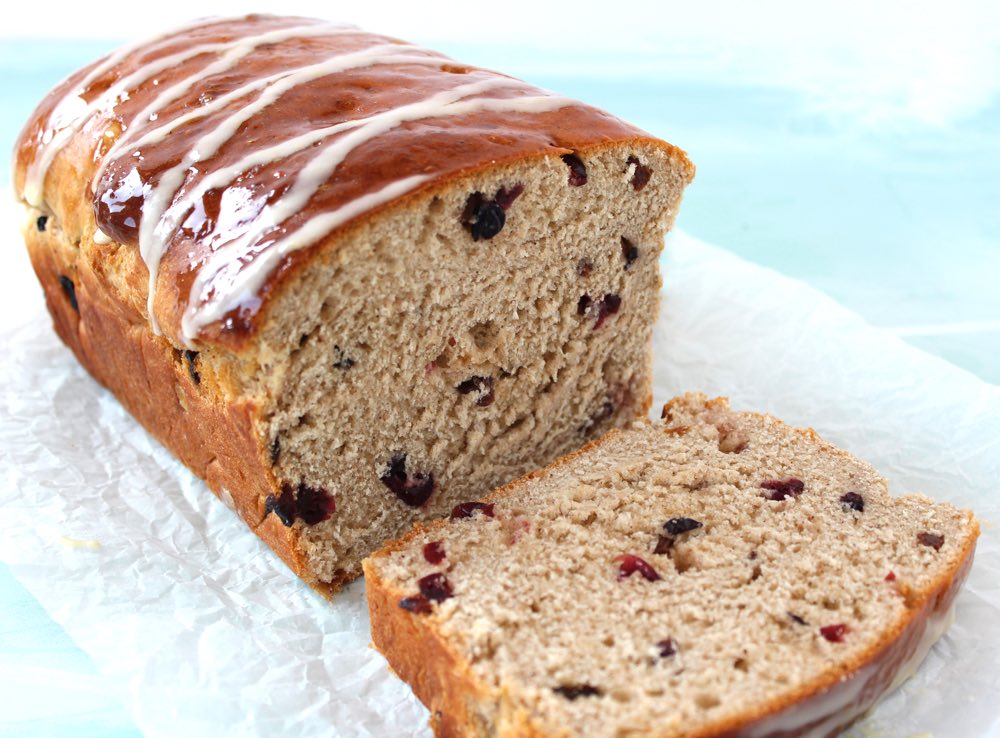
The recipe I’m sharing today is a twist on a traditional Easter favourite … it’s a Hot Cross Bun Loaf! This spiced fruity loaf is perfect for sharing with friends and family over the holidays. I’ve made three loaves already this week and no doubt I’ll be baking more in the lead up to the bank holiday weekend. It sure is a crowd pleaser. Happy holidays everyone!
* Disclaimer: Vegan Life kindly sent me a complimentary copy of this magazine
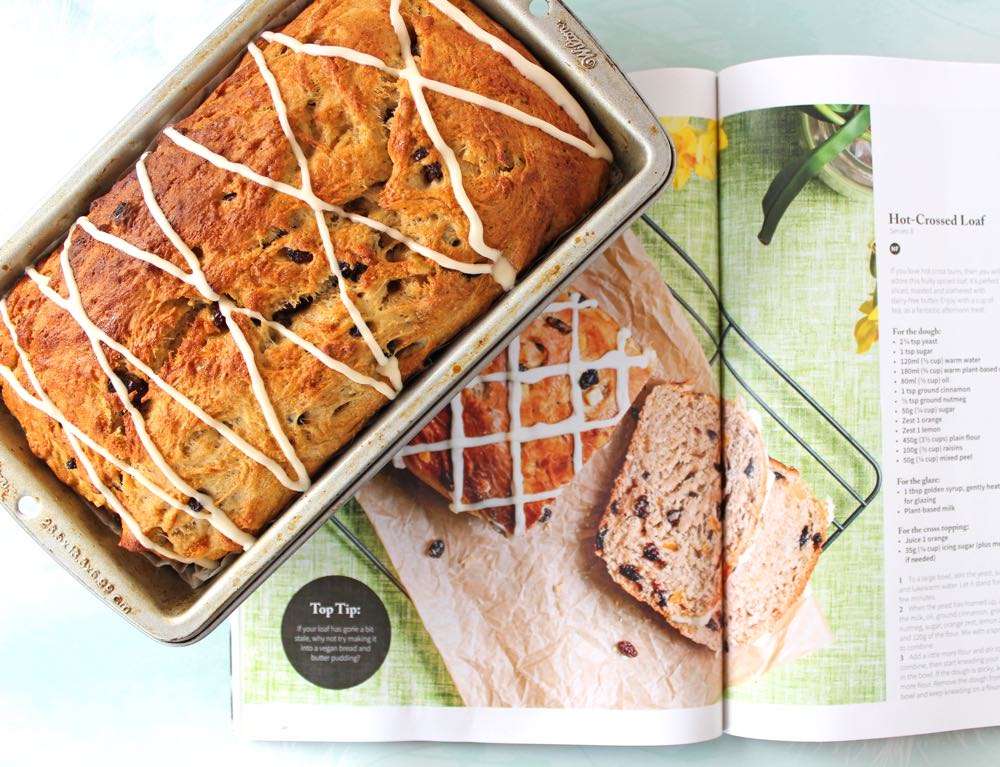
It was the April edition of the Vegan Life magazine that inspired today’s recipe. I’m a massive fan of hot cross buns, so when I spotted the ‘Hot-Crossed Loaf’ on p47, I knew that I had to give it a try.
I was so impressed with how it turned out. There is something really satisfying about baking bread from scratch. It doesn’t take a great deal of effort either. The main challenge is being patient while the dough proves. It’s definitely worth the wait though!
I did tweak the original recipe a little to suit my personal tastes. Instead of nutmeg and the zest of an orange and lemon, I used a tablespoon of mixed spice and added a little salt too, to make the flavours pop. My family was amazed at how similar the loaf tasted to hot cross buns!
I also played around with the glaze topping. Inspired by my Hot Cross Bun recipe (which I posted way back in 2014!), I tried topping one of the loaves with a glaze made of unrefined sugar and orange juice. Though a little sticky on the fingers, the glaze made the loaf beautifully shiny and tasted delicious too. In the recipe below, I’ve given the original glazing option, then added the instructions for my ‘super shiny’ glaze in the Notes section.
Recipe Card
Prevent your screen from going dark
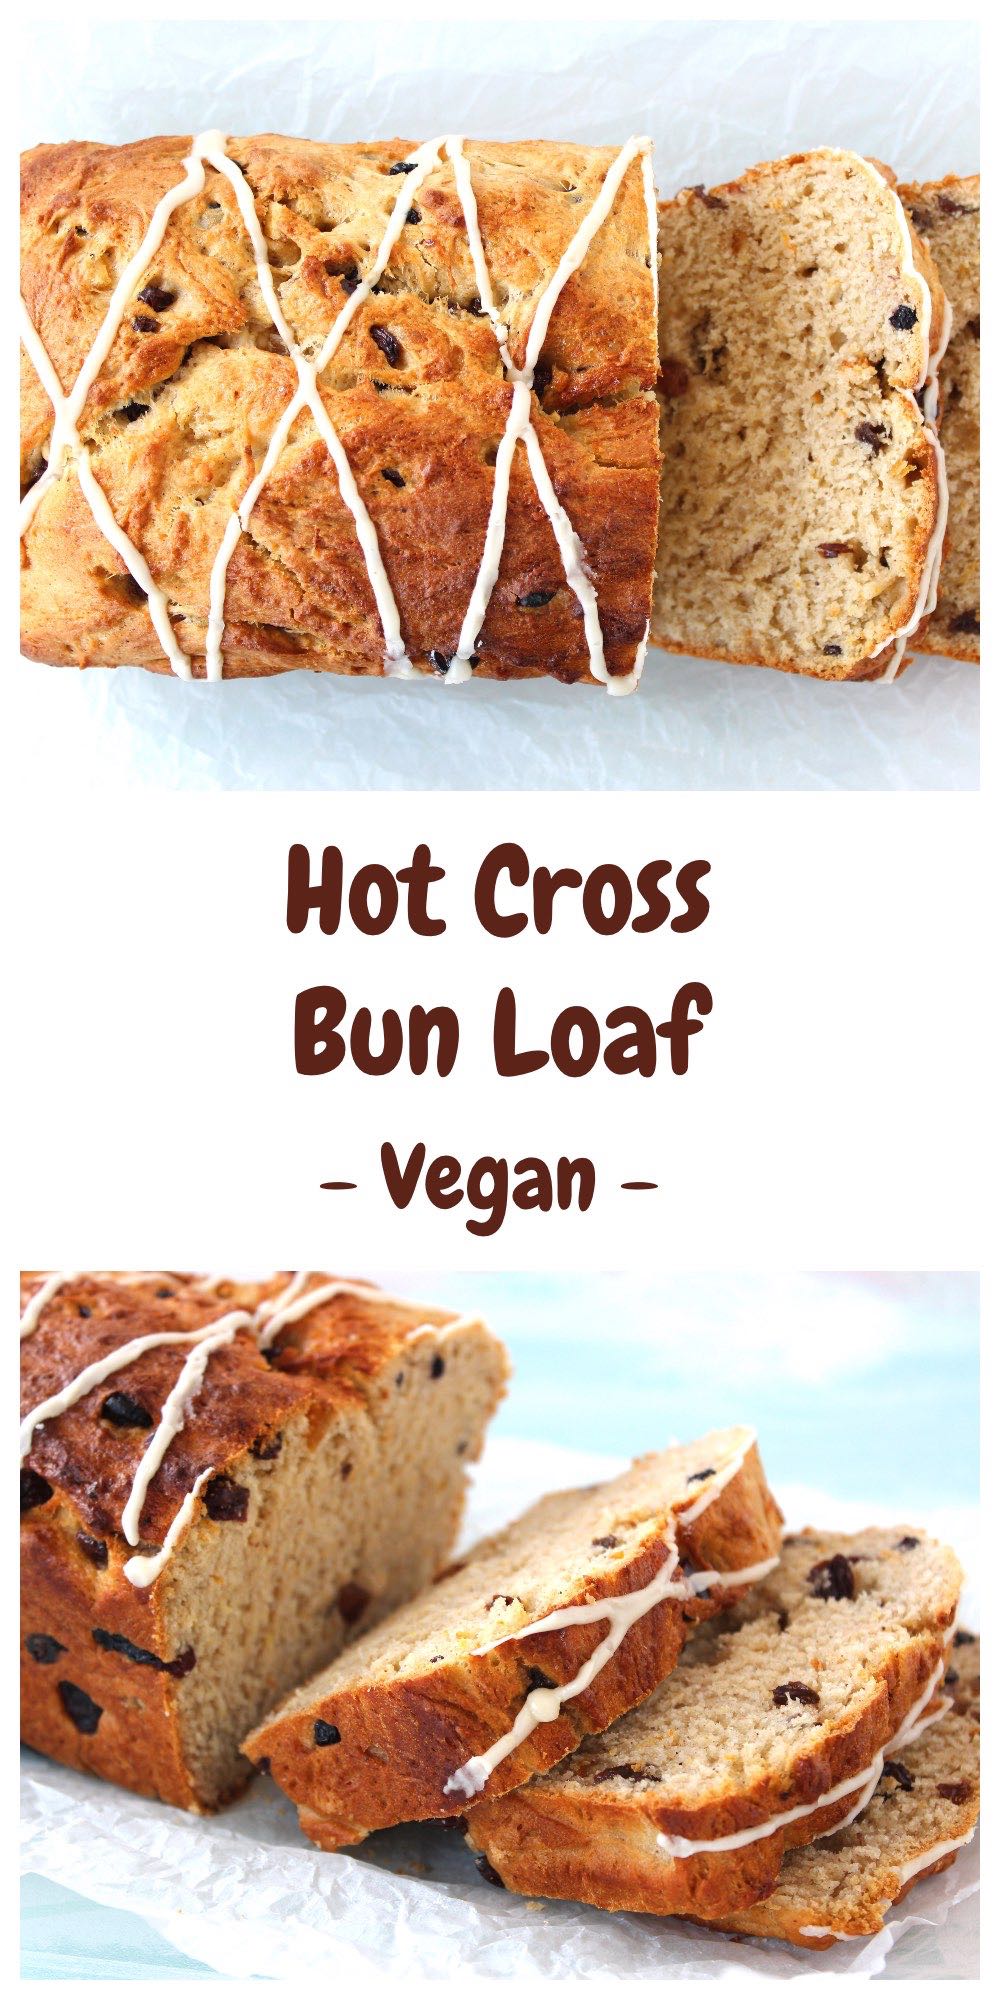
Hot Cross Bun Loaf
A twist on the traditional Easter favourite, this spiced fruity loaf is perfect for sharing with friends and family over the holidays. It’s delicious served freshly baked with a cuppa, or toasted and topped with vegan butter and jam.Recipe lightly adapted from ‘Hot Crossed Loaf’ in Vegan Life magazine, Issue 49
180ml/ ¾ cup lukewarm plant-based milk(I used soya milk)
75ml/ ⅓ cup neutral-flavoured oil(I used rapeseed (canola) oil)
1TBSPmixed spice(or substitute with pumpkin spice)
1tspground cinnamon
½tspsalt
50g/ ¼ cup unrefined sugar
500g/ 3½ cups plain (all-purpose) flour
135g/ ¾ cup mixed dried fruit(I used raisins, candied orange peel and dried cranberries)
For the glaze:
1TBSPmaple syrup(or for a super shiny glaze, see Notes below)
For the cross topping:
35g/ ¼ cup icing (confectioners) sugar
½TBSPfruit juice
2-3drops of orange extract
Instructions
Add the yeast, 1 tsp sugar and lukewarm water to a large mixing bowl and hand whisk to combine. Leave for a few minutes.
When the yeast has frothed, add the lukewarm milk, oil, mixed spice, ground cinnamon, salt and sugar to the bowl. Hand whisk to combine.
Add the flour, a little at a time, stirring with a spoon until it forms a dough. Transfer the dough to a floured surface and knead for about 4 minutes adding more flour, as needed, until it is smooth and no longer sticky.
Transfer the dough to a clean, lightly oiled bowl, cover with a tea towel and leave in a warm place for an hour, or until the dough has doubled in size. (If your house is cold, cover the bowl with a piece of foil and place in the oven at a very low temperature (40C).
Add the dried fruit and knead to distribute it as evenly as possible through the dough. Grease and line a large (3lb) loaf tin with non-stick baking paper (or use a non-stick loaf liner). Place the dough in the prepared tin and cover with a tea towel. Leave to prove in a warm place for another 30 minutes.
When the dough is almost ready, pre-heat the oven to 200C (180C fan) / 400F.
Brush the top of the dough with maple syrup (or skip this step if you’ve opted for the super shiny glaze option – see Notes below).
Bake in the centre of the oven for 30 minutes, or until golden brown on top and the bread makes a hollow sound when tapped.
Once the loaf has cooled, sieve the icing sugar into a bowl and add ½ TBSP fruit juice and a couple of drops of orange extract. Keep stirring until a thick icing has formed – it should be thick enough that it doesn’t drop off the spoon easily. Spoon into a piping bag and criss cross your loaf. Allow the icing to set before serving.
Stored in an airtight container, the loaf will keep fresh for a couple of days. After this, it is best served with some dairy-free butter. It is also delicious toasted.
Notes
For a super shiny glaze, once the loaf has baked, gently simmer 1½ TBSP unrefined sugar with 1½ TBSP fruit juice in a small saucepan, stirring regularly until the glaze has reduced and thickened. Immediately brush the glaze on top of the warm loaf, then leave to cool. If using this glaze, the maple syrup at Step 7 can be omitted.
Keyword Easter, Hot Cross Bun, Spiced Fruit Loaf, Vegan
N.B. The above values are estimates. The actual nutritional values will vary depending on the brands and ingredients used.
Pin for later ⬇️
Big thank you to Vegan Life magazine for the inspo! ✨
If you make this Hot Cross Bun Loaf (or any other recipes on my blog), I’d love to hear your feedback and any suggestions for adaptations! Tag your photos with #bitofthegoodstuff on social media and they will find their way to me. You can also connect with me on my social media channels here:Instagram, Facebook, Pinterest.
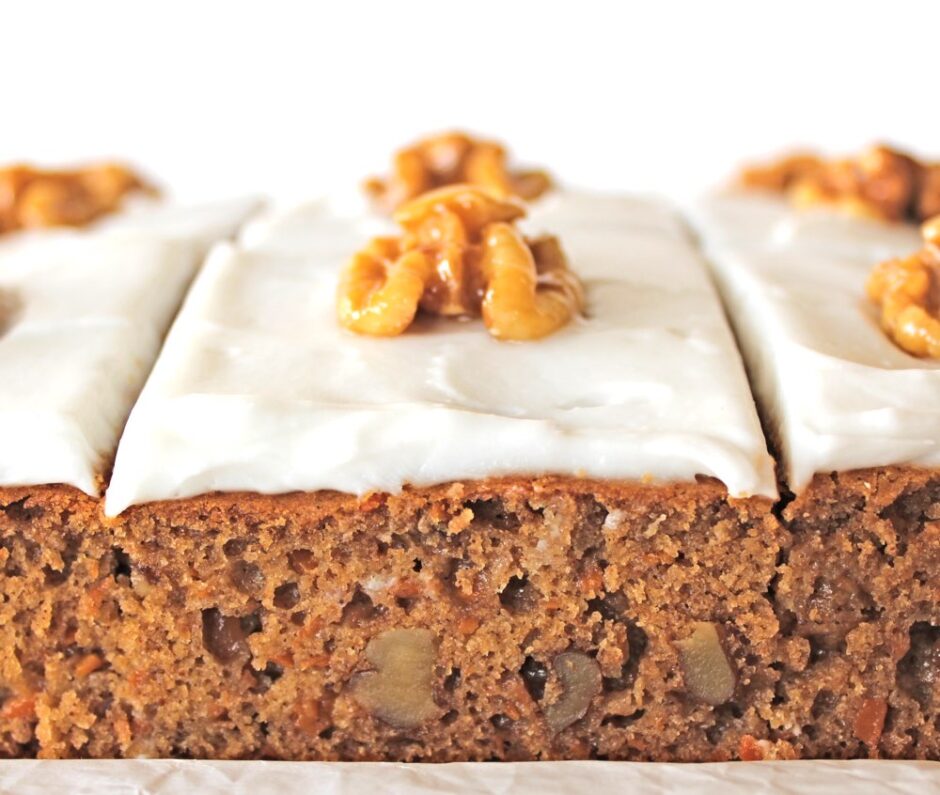
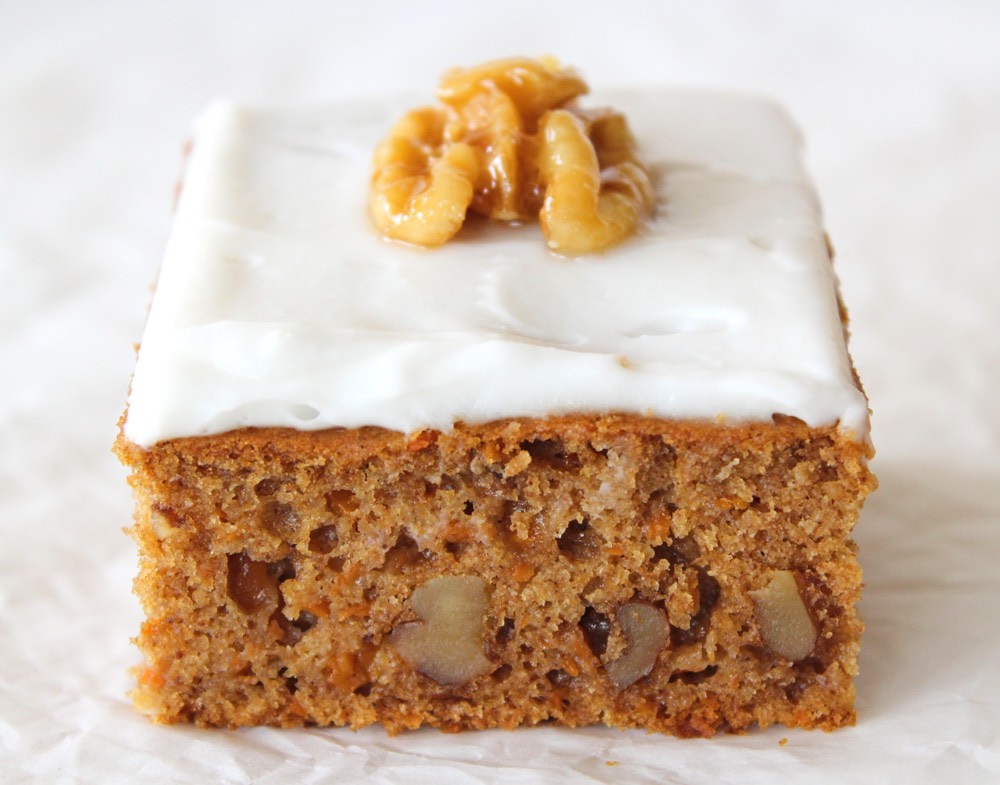
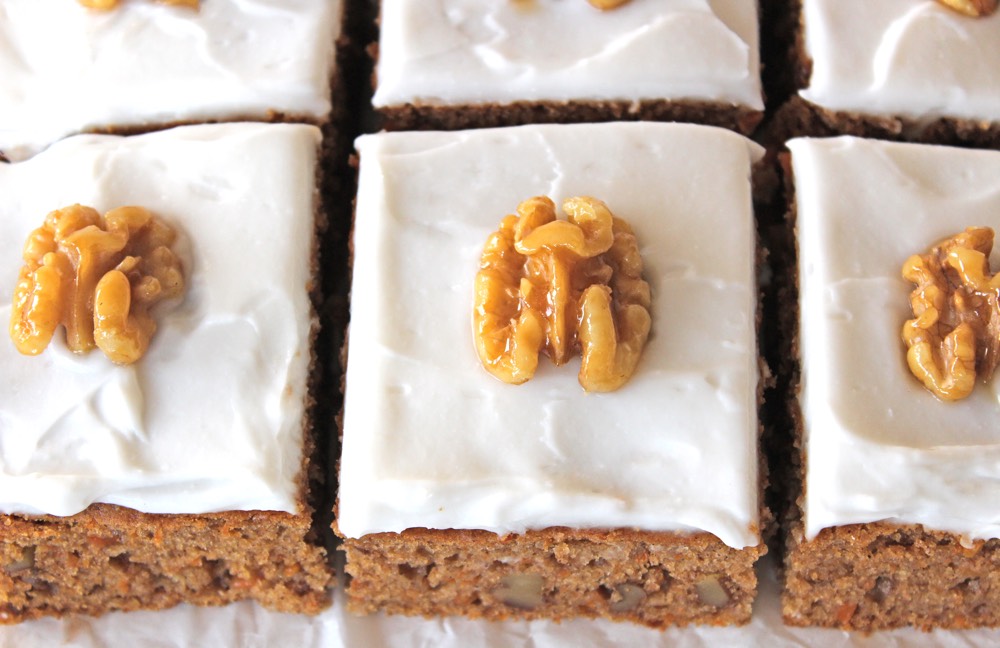
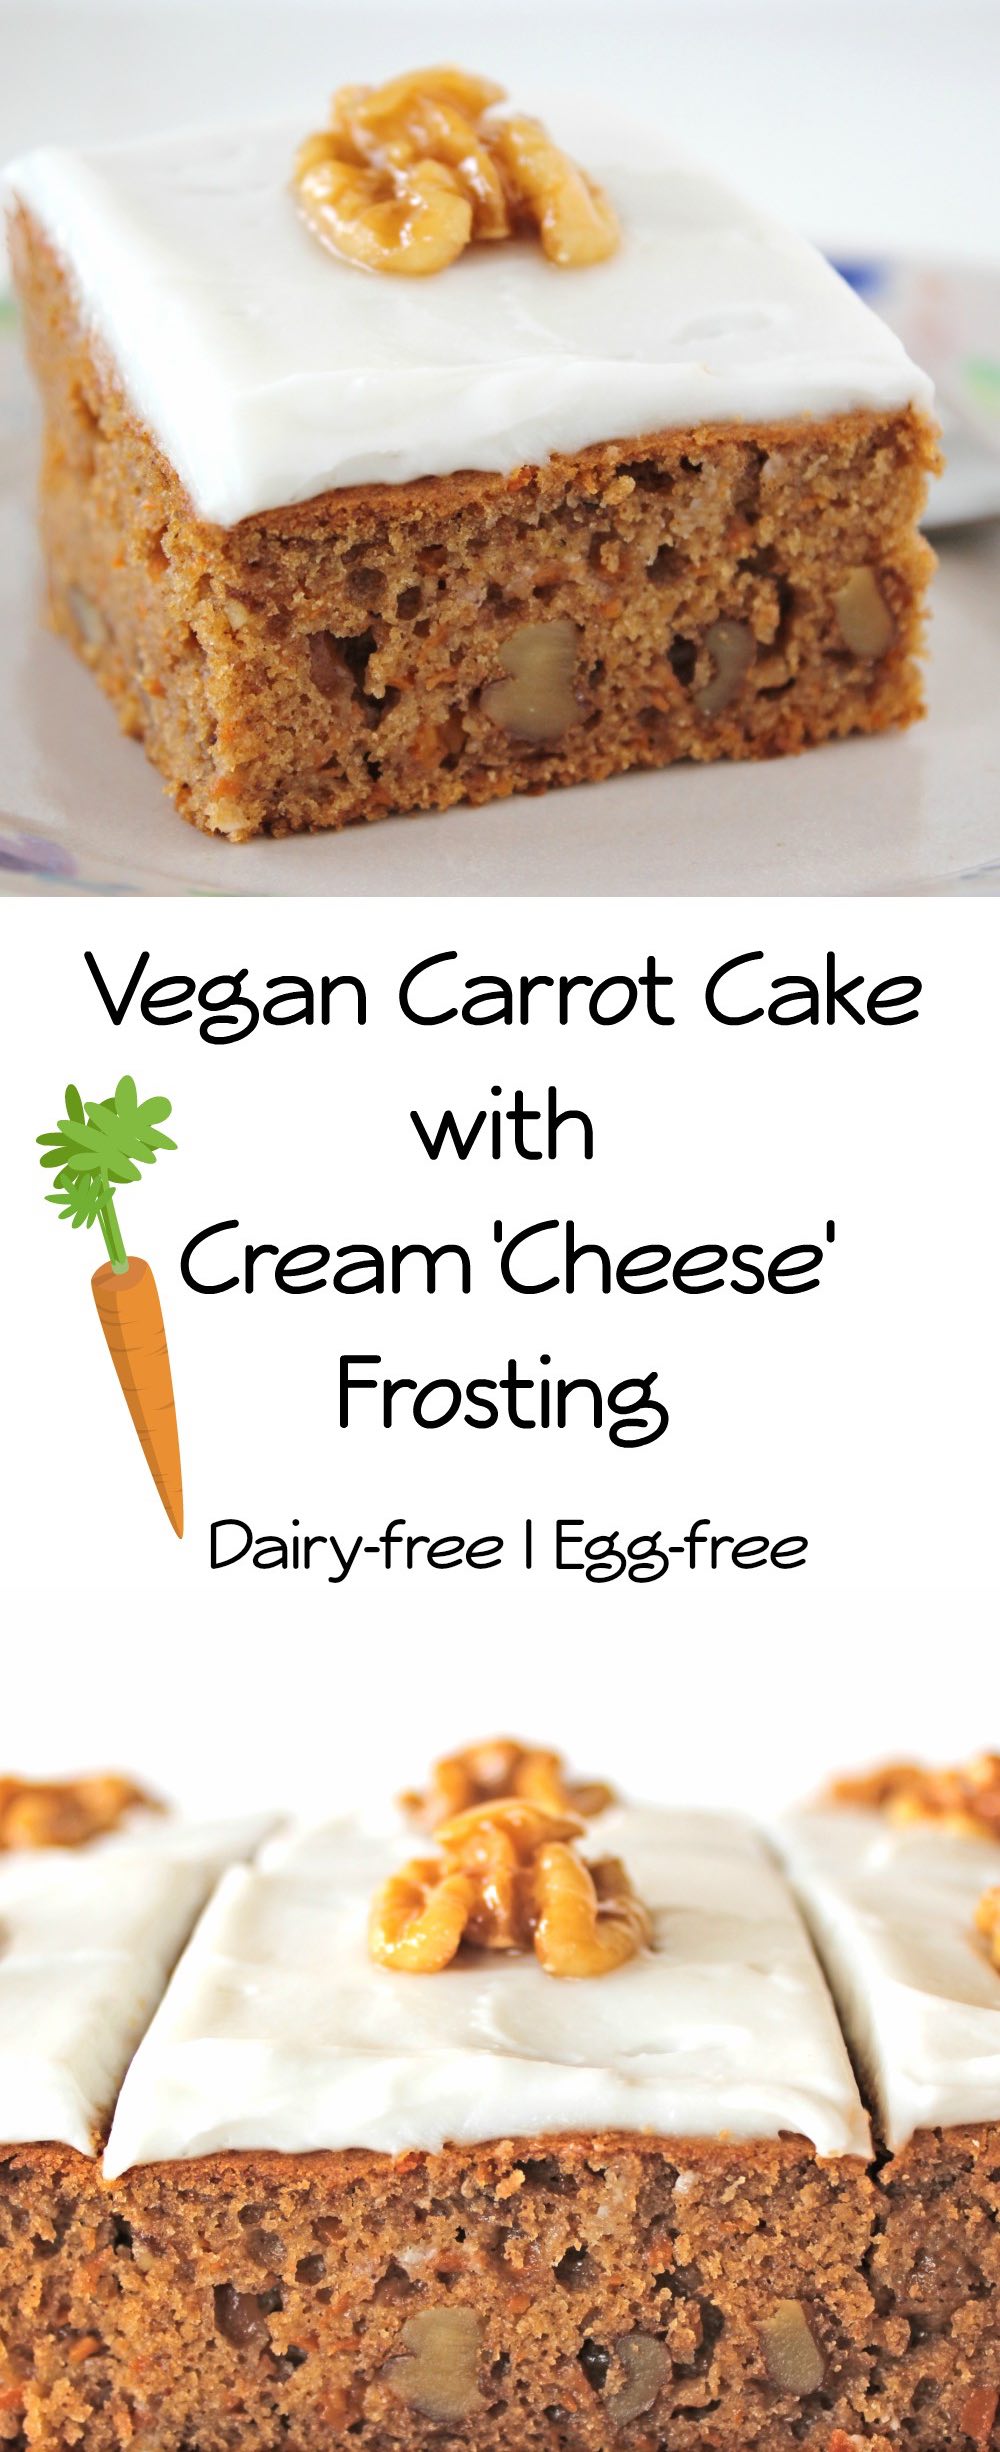
Today, I’m finally publishing my recipe for vegan carrot cake. It contains no dairy or eggs, yet tastes just as good (if not better!) than its traditional counterpart. This was the cake that I chose to bake for my mum’s and father-in-law’s birthdays this year and I’m pleased to say, it went down a treat!
I must admit, this recipe has been a long time coming (the culmination of about two years’ worth of experimenting!) Carrot cake is one of my all-time favourites so I was determined to keep experimenting until I’d created a vegan version that replicated the one of my childhood memories. I had set the bar high!
My family were very willing cake testers and gave positive feedback on all the various versions I created but, for me, they were never quite right. The main issue that I needed to nail was the texture. If you’re a carrot cake connoisseur, you’ll know that it has a very specific texture. It isn’t like a traditional ‘light and fluffy’ sponge cake. It’s a lot more dense and moist; almost fudge-like.
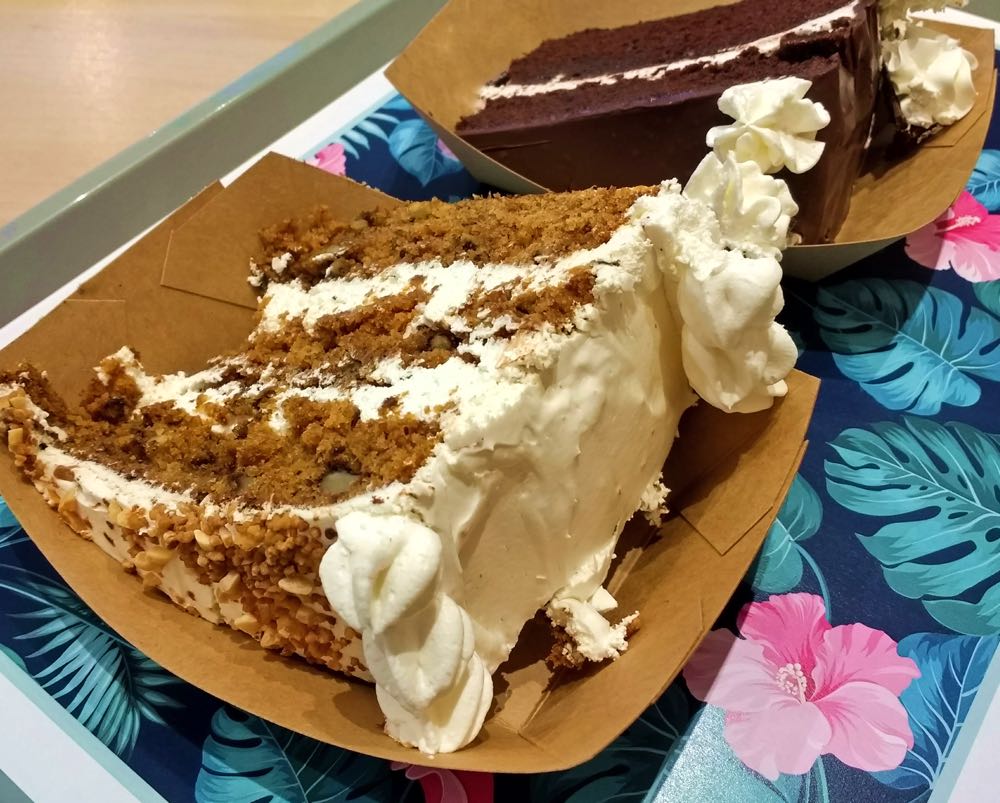
It had been at least 20 years since I’d eaten a traditional carrot cake so my reference point was pretty old (and with questionable reliability!) but this Easter I finally got to indulge in carrot cake once more; and at the most unexpected of places… the vegan fast food joint ‘Vurger’ in Valencia, Spain.
After we’d ordered our burgers and were making our way to the seating area, I caught sight of a glass cabinet filled with the most incredible-looking cakes. Each one was at least three layers tall and covered in the most beautiful frosting. There were a selection of flavours on offer, including double chocolate, chocolate cherry, and carrot cake. Much to our delight, we discovered that another vegan fast food joint called ‘Aloha’ also stocked these beautiful cakes. My family ended up going to Vurger and Aloha three times, just so we could try out all the cakes!
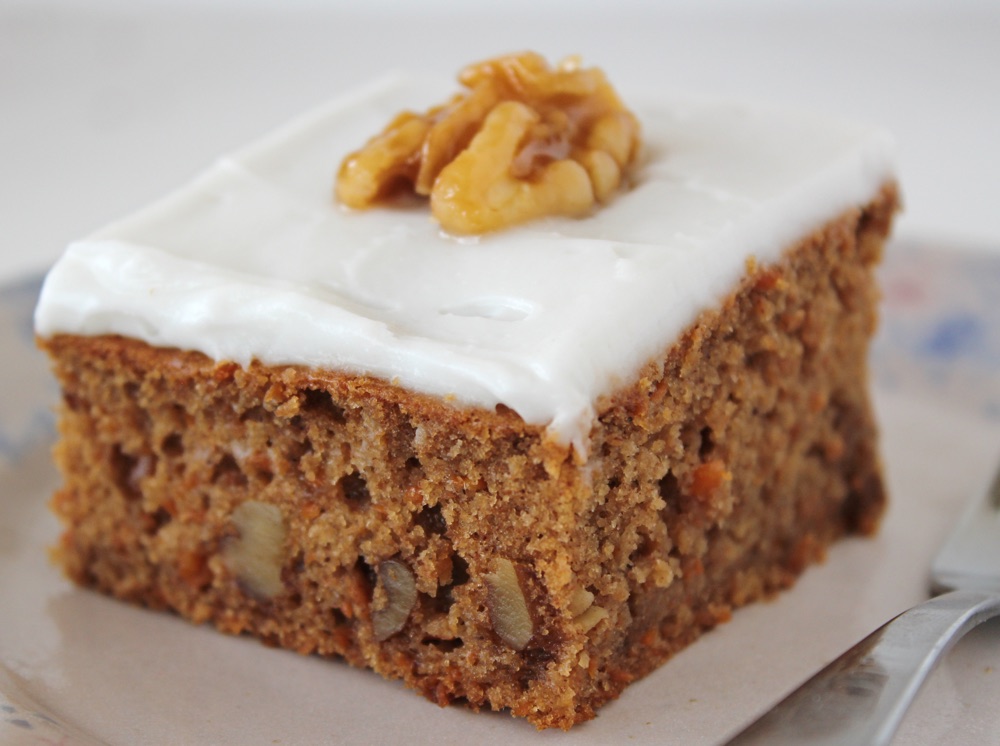
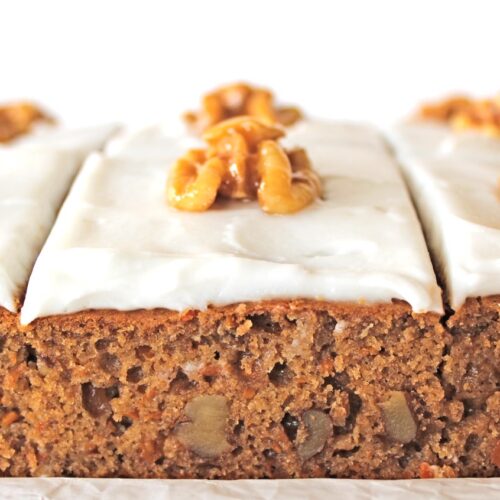
Filled with fresh memories of how carrot cake should taste, as soon as I returned home I dusted off my scribbled experiments and enthusiastically set to work on ‘perfecting’ my recipe. I experimented with different ratios of wet/dry ingredients, varying ratios of carrots and nuts, different shape tins and baking times, and finally came up with a recipe that I’m 100% happy with. It might not be to everyone’s taste but, for me, this cake is just spot on flavour and texture-wise. It’s dense and moist, with plenty of carrot and walnuts for added layers of texture. It’s not sugary sweet, but instead flavoured with beautiful, warming spices.
Cream cheese frosting is the perfect topping for this cake. A few years ago, it was difficult to find vegan cream cheese here in the UK (let alone a great-tasting one!); however lately there’s been an explosion of dairy-free ‘cheeses’ entering our shops. When it comes to vegan cheese, everyone’s tastes differ so it’s worth trying a few and seeing which one most appeals to your taste buds. Two of my personal favourites are Violife Creamy Original and Tofutti Creamy Smooth Original. These have a very subtle cheese flavour, with a lovely creamy texture, making it perfect for cake frosting. I’ve also used Sheese Creamy Original and Tesco Free From Soft Cheese for topping carrot cake. These two have a stronger cheese flavour so need a touch more icing sugar to balance the flavours.
Recipe Card
Prevent your screen from going dark
Vegan Carrot Cake with Cream Cheese Frosting
For me, this recipe epitomises everything that I love about carrot cake. It’s dense and moist, with a generous amount of carrots and walnuts. It's not sugary-sweet, but beautifully flavoured with warming spices. It’s had great feedback from my friends and family. I hope you enjoy it too!
80ml/ ¼ cup syrup of choice(I use maple syrup or coconut blossom syrup)
100ml/ ½ cup neutral-flavoured oil(I use rapeseed (canola) oil, grapeseed oil or sunflower oil
240g/ 2 cups carrotgrated
140g/ 1 cup plain (all purpose) flour
140g/ 1 cup fine wholemeal (whole wheat) flour or chapatti flour
1½tspbaking powder
½tspbicarbonate of soda (baking soda)
½tspsalt
2tspmixed spice or pumpkin spice
1tspground cinnamon
50g/ ½ cup walnutschopped
Vegan Cream Cheese Frosting
1tub vegan cream cheese (around 200g / 7 oz)
2½ – 5TBSPicing (confectioners) sugar
Maple-Glazed Walnuts
9walnut halves
1TBSPmaple syrup
Instructions
Grease a 21 cm x 21 cm / 8” x 8” square baking pan and line with non-stick baking paper. Preheat the oven to 180C (160C fan) / 350F.
Grate the carrots either using a box grater or mini chopper. Roughly chop the walnuts.
Whisk together the soya milk and vinegar in a large mixing bowl using a hand whisk or fork. Add the sugar, syrup and oil. Continue whisking until fully combined.
In a separate bowl, add the flours, baking powder, bicarbonate of soda, salt, mixed spice and cinnamon. Stir through to combine.
Fold the dry ingredients into the wet ingredients. Add the grated carrot and chopped walnuts and stir through until evenly distributed.
Transfer the mixture to the prepared tin. Using a spatula, distribute the mixture evenly in the tin and smooth the top. Place in the centre of the oven and bake for 45 minutes, or until a skewer inserted through the middle comes out clean and the top of the cake is springy to the touch.
Leave the cake in the tin for at least an hour, or until completely cool (it will continue to firm up as it cools), then peel off the baking paper and transfer to a chopping board. Using a bread knife, trim the four edges of the cake to neaten them up.
Meanwhile, place the cream cheese in a bowl. Sieve in the icing sugar, then beat using electric beaters until just combined (do not over-beat, otherwise the cheese may become runny). Taste test and add more sieved sugar, if desired. Beat once more to combine. Store the cream cheese in the fridge until needed.
Preheat a frying pan (skillet) on a medium-high heat. Add the walnuts and dry fry for 2 minutes, stirring continuously. Add the maple syrup and continue stirring for about 3 minutes, until the nuts are fully coated and the syrup has caramelised and become very sticky. Space out the nuts on a piece of non-stick baking paper. As they cool, the nuts will firm up and become shiny. Store in an airtight container in the fridge until ready to use.
Once the cake is completely cooled, distribute the cream cheese over the top of the cake using a knife. Slice the cake into squares, add the maple-glazed walnuts, then chill the cake in the fridge until ready to serve.
This cake will keep for up to five days in the fridge. It is also freezable (without the frosting). The cream cheese frosting is best added on the day that it is to be served as the lighter coloured cheeses (like Violife, Tofutti) can discolour over time.
This recipe is being submitted to the Suma Blogger’s Network. Big shout out to the lovely people at Suma who supplied the ingredients I used to create this recipe.
Ingredients from Suma (available from independent health food shops in the UK):
If you make this Carrot Cake, I’d love to hear your feedback and any suggestions for adaptations! Tag your photos with #bitofthegoodstuff on social media – I always love to see your creations! You can also connect with me on my social media channels here: Instagram, Facebook, Pinterest.
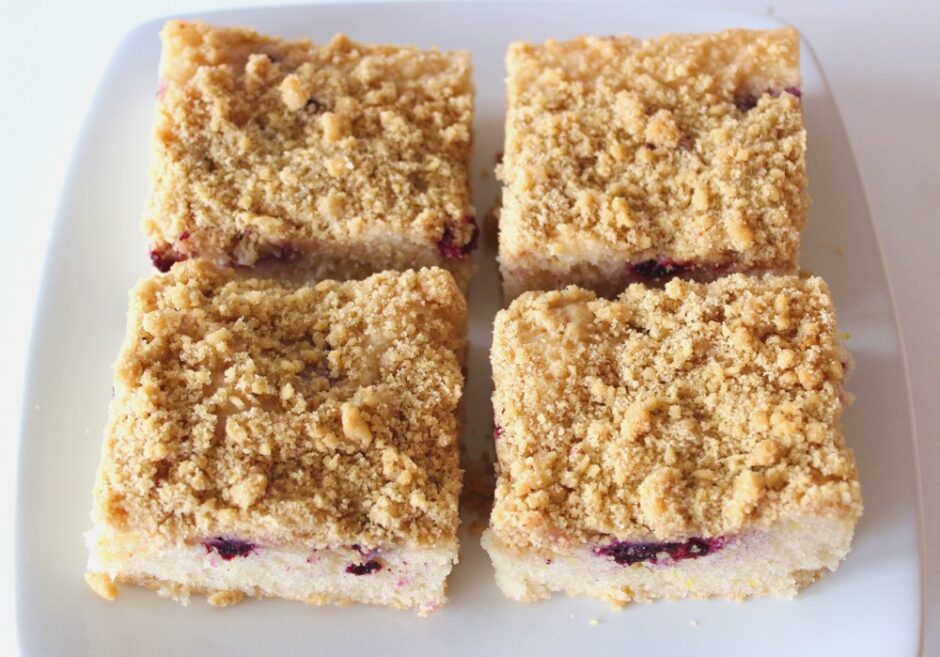
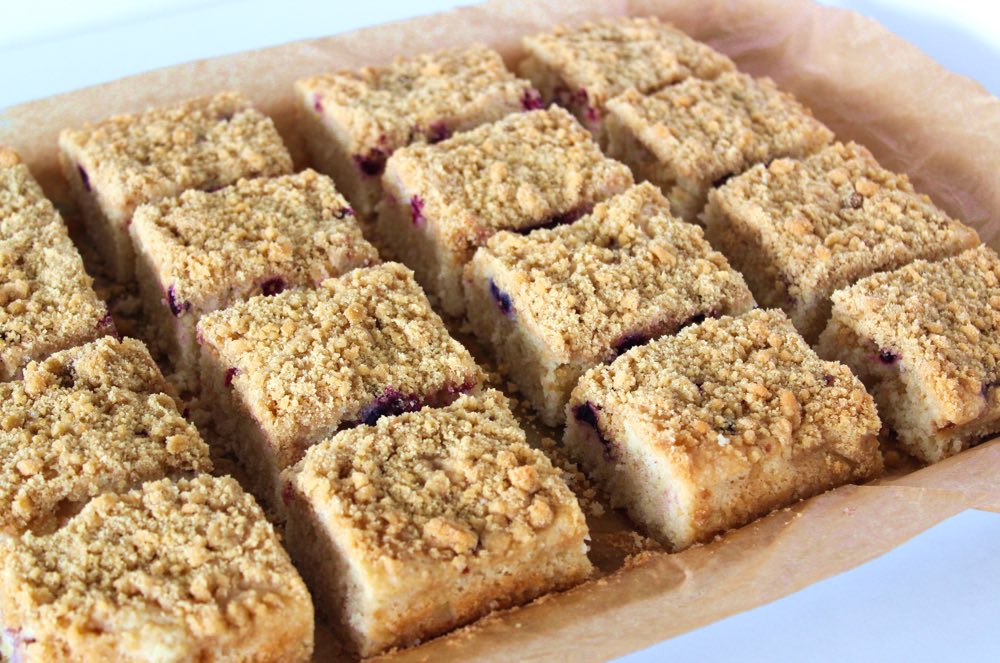
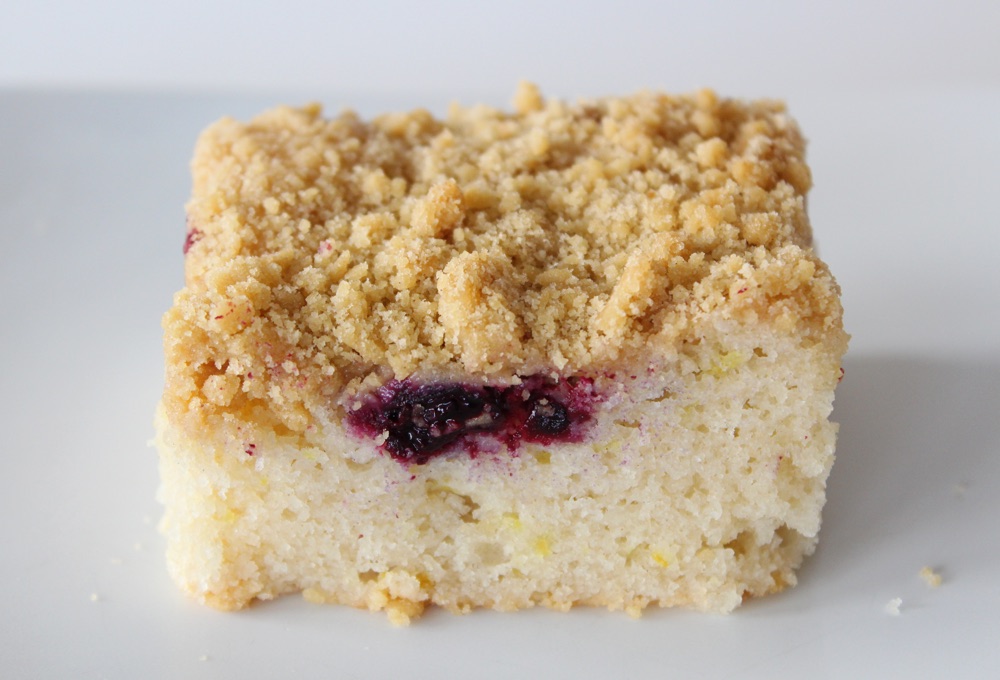
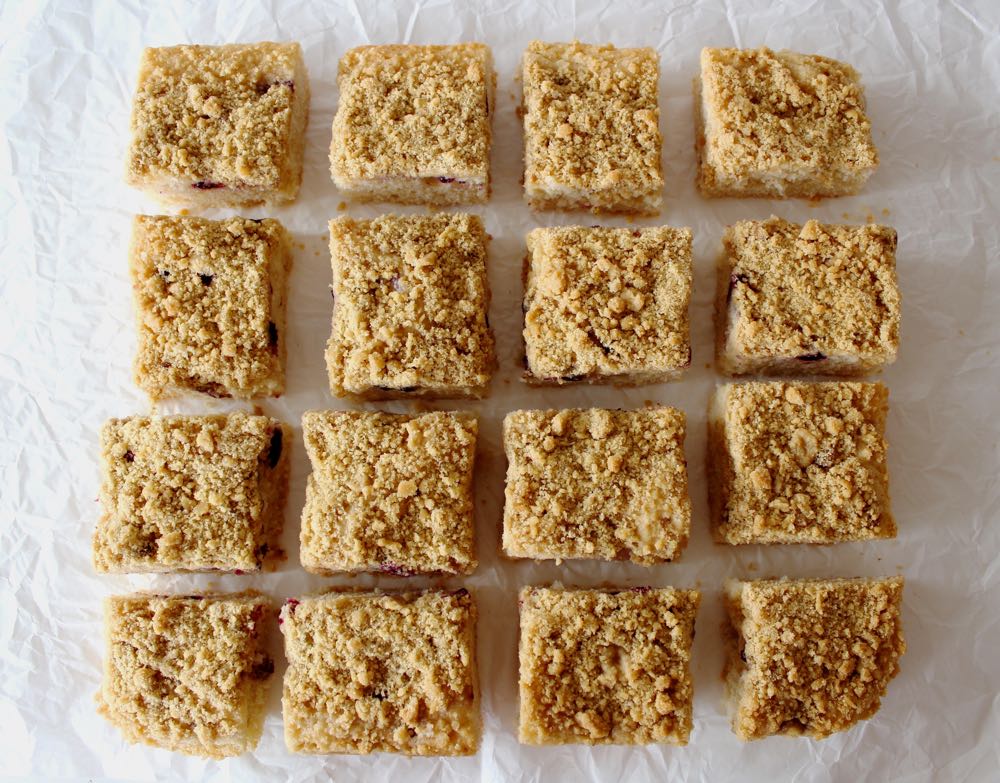
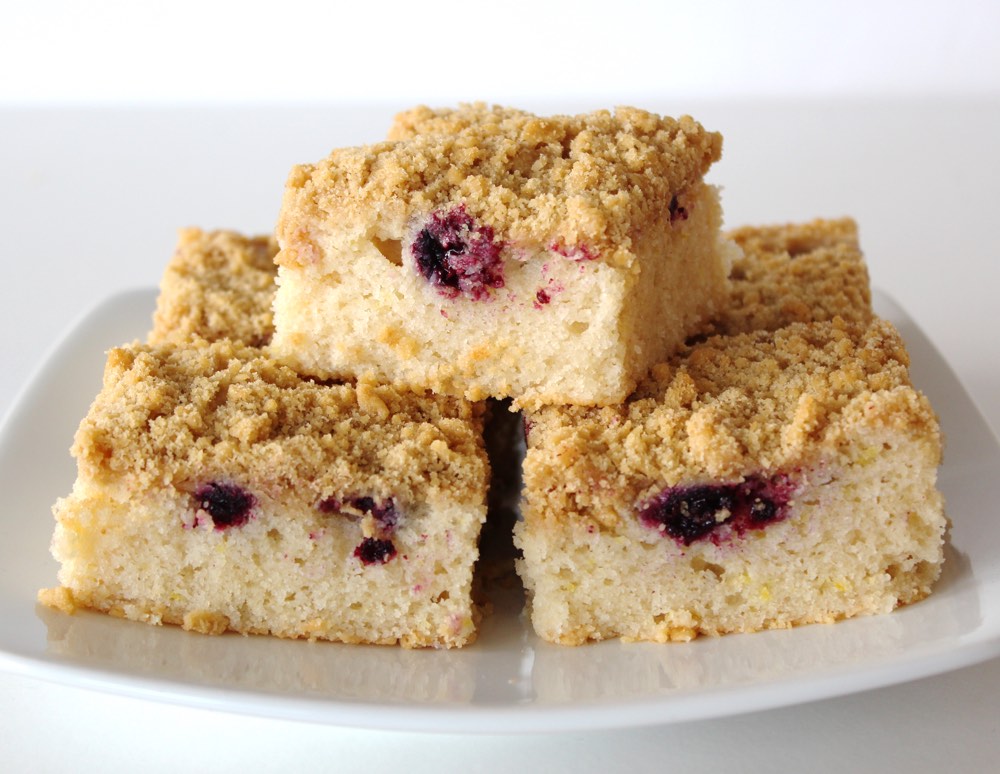
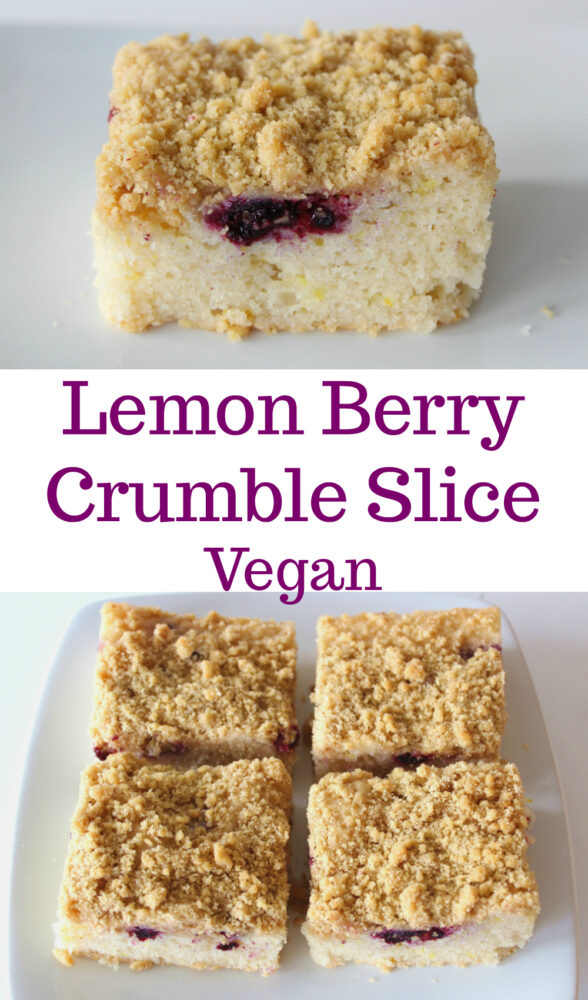
In today’s post, I’m sharing a recipe for a delicious baked treat – Lemon Berry Crumble Slices. These slices consist of a fluffy lemon sponge, studded with juicy berries and topped with crumble. They use basic pantry ingredients and are simple to make, yet they’re bound to impress your family and friends!
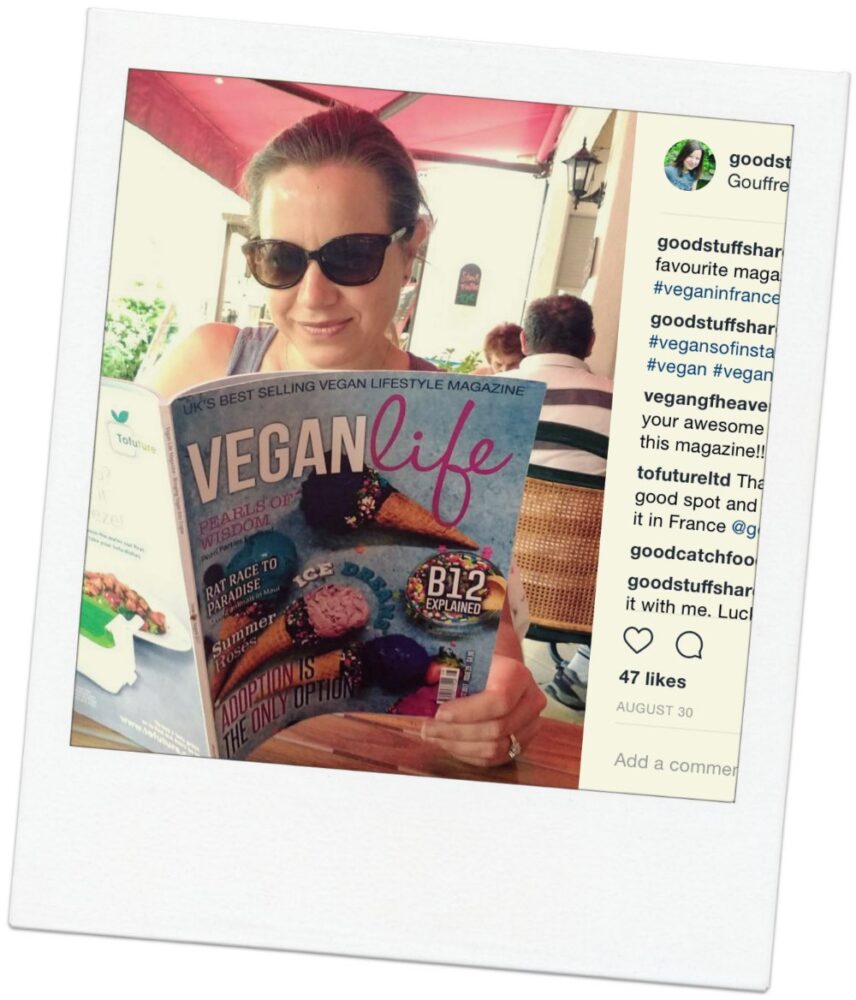
The August edition of the Vegan Life magazine landed on my doorstep just before we set off on our family summer vacation, so I tucked it into my luggage and looked forward to reading it when we arrived in the Dordogne.
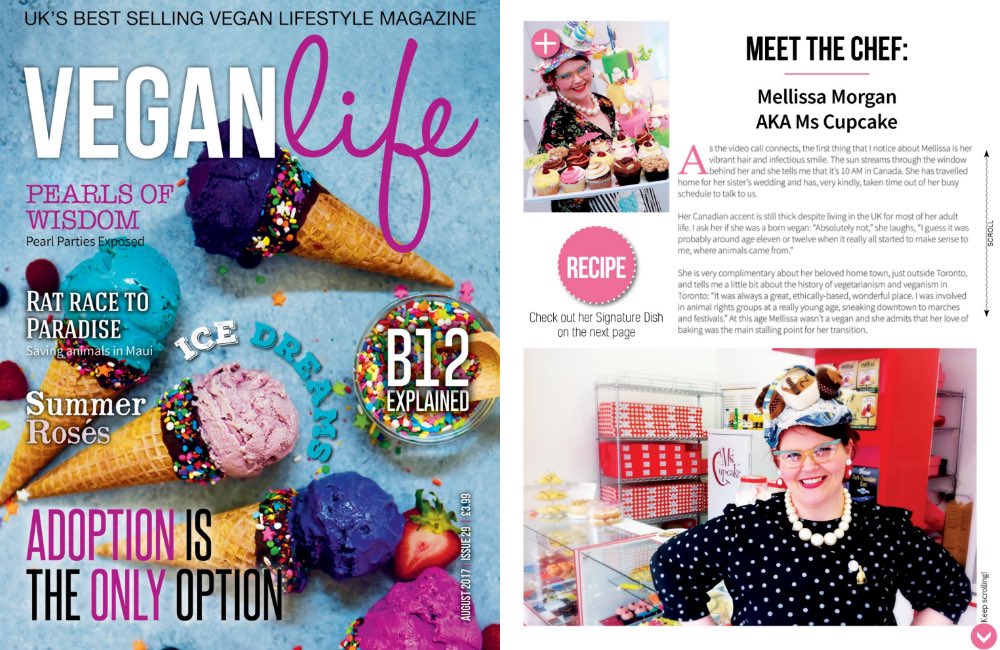
One of the first articles that caught my eye was an interview with Mellissa Morgan (aka Ms Cupcake). Canadian born, Mellissa now lives in London and runs the infamous Ms Cupcake bakery in Brixton. I love Mellissa’s kooky, fun style and vivacious character. Whenever I see photos of her (especially in those wacky cupcake hats!), they always bring a smile to my face.
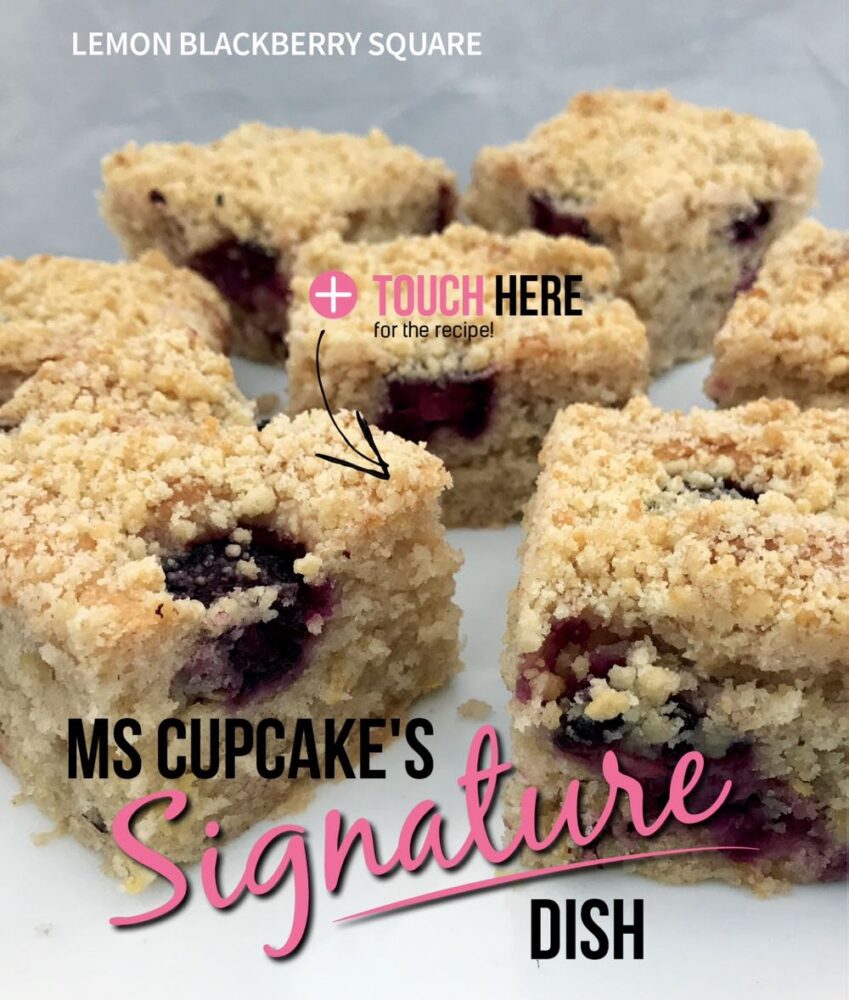
Along with the interview, Mellissa also shares her Signature Dish… the Lemon Blackberry Square. It sounded delicious and, since I’d never tried a crumble-topped sponge before, I was intrigued to find out how it would taste. I bookmarked the page and when we arrived back in England, I headed into the kitchen and got baking.
This cake is baked in a large rectangular pan; what we would call a ‘Traybake’ here in the UK. (I’m not sure if they’re called the same elsewhere). I love traybakes as they’re a convenient way to bake a large amount of cake in one go, so perfect for parties, buffets, cake sales, or when you want to stock the freezer with cake ready for friend and family visits.
I’ve made this traybake twice already this month, and it’s been a huge hit with everyone that’s tried it. The sponge layer is light and fluffy, with a beautiful, zesty lemon flavour. I would never have thought of putting crumble on top of sponge, but it works really well, especially with that layer of juicy berries in-between. The first time I made the cake, I didn’t feel that there was quite enough berries so second time round, I increased the quantities. Also, on Mellissa’s suggestion, I doubled the quantity of crumble. Like her, I’m a crumble-lover, and this was definitely a good move! Below, I share Mellissa’s recipe with my light adaptations.
This recipe has been lightly adapted from Ms Cupcake’s Signature Dish published in Vegan Life magazine Issue 29. It’s a delicious treat, consisting of a zesty lemon sponge studded with juicy summer fruits (berries, cherries, blackcurrants) and topped with crumble. It yields a large quantity of cake, so perfect for parties, buffets, cake sales or when you want to stock your freezer with cake ready for friend and family visits.
200g/ 1½ cups plain (all-purpose) or self-raising flour
100g/ ½ cup brown or demerara sugar
100g/ ½ cup dairy-free spread / vegan butter
Cake mix
450g/ 3¼ cups self-raising flour
200g/ 1 cup unrefined sugar(I used golden caster sugar)
zest of 2 unwaxed/organic lemons
⅓tspbicarbonate of soda (baking soda)
1tspvanilla extract
300ml/ 1¼ cups soya milk
200ml/ 1 cup sunflower oilor other flavourless oil
80ml/ ⅓ cup freshly squeezed lemon juice
145g/ 1 cup fresh or frozen blackberries, blackcurrants and/or cherries. (I used Sainsbury’s Frozen Black Forest Fruits)
Instructions
Line a 33cm x 23cm (13” x 9”) baking pan with non-stick baking paper. Preheat the oven to 180C (160C fan) / 350F.
Make the crumble: In a bowl, mix together the flour and sugar. Rub in the dairy-free spread/vegan butter using your finger tips. Set to one side.
In a separate bowl, add the flour, sugar, lemon zest and bicarbonate of soda, and stir through to combine.
Add the vanilla extract, soya milk, oil and lemon juice to the dry ingredients and stir until thoroughly combined (but do not over mix). Spoon the mixture into the prepared tin.
Slice any large berries into halves or quarters. Distribute the fruit evenly in the pan and lightly press them into the cake batter.
Sprinkle the crumble evenly on top.
Bake for 30 minutes, or until a skewer inserted through the middle comes out clean.
Leave the cake in the tin until completely cool, then slice. I divide mine into 20 slices, measuring 7cm x 6cm.
Stored in the refrigerator, the cake will keep for up to 5 days. It also freezes well.
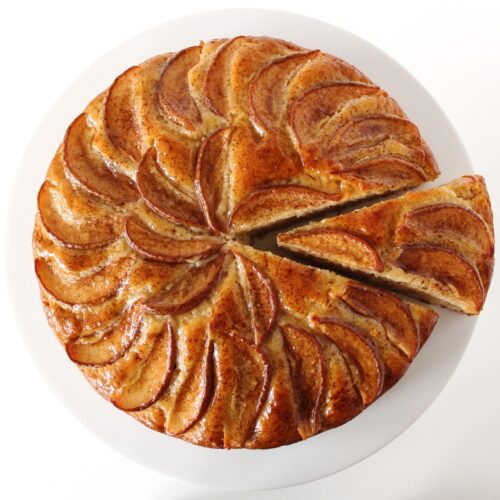
In today’s post, I’m sharing a recipe for a delicious Pear and Yogurt Cake. While simple to make, this cake looks pretty impressive with its glistening pear and cinnamon-speckled top. The cake itself has a beautifully moist, light and fluffy texture and is flavoured with hints of vanilla and almonds.
I know some people with gluten sensitivities are able to tolerate spelt flour and this cake works just perfectly with white spelt flour. Otherwise regular plain (all-purpose) flour or even a combination of half white/plain flour and half wholemeal or chapatti flour works great.
The inspiration for this cake was a visit during May half-term break to one of my favourite cafes in Bristol – Roll for the Soul. This community-run cafe also houses a cycle workshop and event space. It has a great atmosphere and lovely food and coffee, so I highly recommend a visit if you’re in the area [UPDATE: Sadly Roll for the Soul closed down in September 2017 ]
Roll for the Soul is in one of my favourite districts of Bristol. We often head over there to check out the street art. One of my favourite street artists is Silent Hobo and I actually bumped into him a few weeks ago at Montpelier Railway station where he was putting the finishing touches to this mural. Isn’t it beautiful?
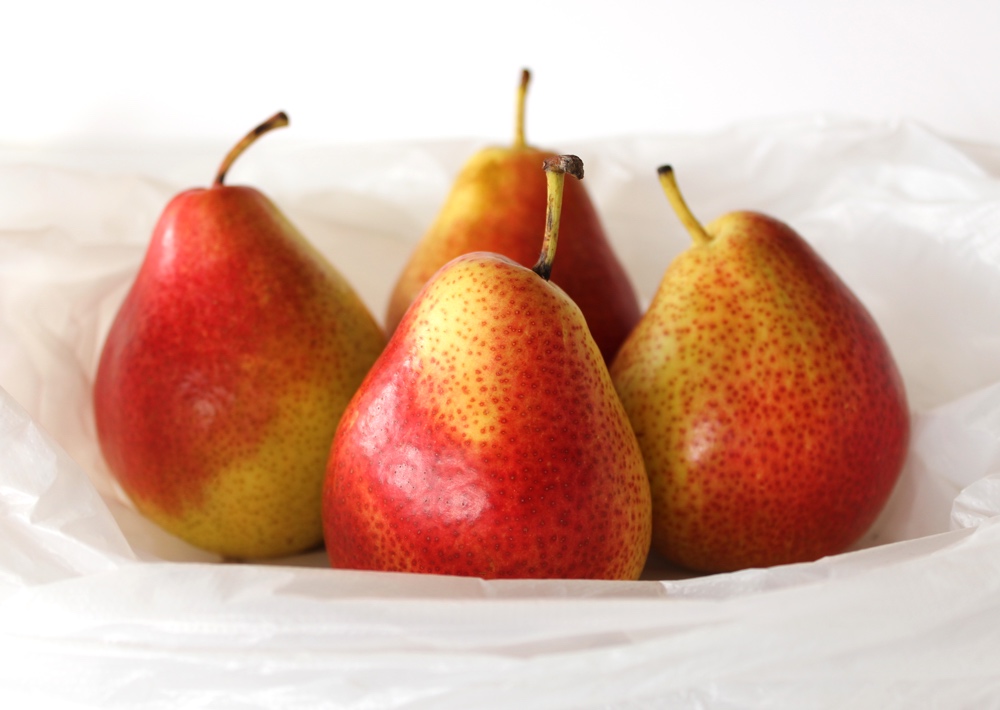
Last week, at Roll for the Soul, I had my first-ever slice of Pear Cake and it was so delicious that I couldn’t wait to try re-creating it at home. Back in Bath, I headed to the fruit & veg market stall in Kingsmead Square where I spotted these beauties which would be just perfect for topping a cake.
I’m pretty sure the Pear Cake I had at Roll for the Soul had a hint of almonds, so I decided to use my Orange & Almond Cake recipe (a reader favourite!) as the basis for creating my Pear Cake. I switched the milk for yogurt, reduced the amount of ground almonds to give it a more ‘spongy’ texture and tweaked the wet/dry ingredient ratio. The resulting cake turned out beautifully!
It slices well too. It can be picked up but, for me, this is the kind of cake that’s best eaten with a fork. Far more elegant that way!
Just in case it was a fluke or ‘beginner’s luck’, I made two more cakes to check the recipe. Again, both cakes came out perfect so I’m now happy to release the recipe into the world. I hope you have as much success with it as I have.
Recipe Card
Prevent your screen from going dark
Pear and Yogurt Cake (Dairy-Free / Egg-Free / Vegan)
This cake is simple to make, but looks pretty impressive with its glistening pear and cinnamon-speckled top. I’m sure it will wow your friends and family! It would be a great cake to take along to a dinner party or for afternoon tea.
250ml/ 1 cup natural/plain soya yogurt(I use Alpro)
2tspapple cider vinegar
100g/ ½ cup golden caster (unrefined cane) sugar
80ml/ ¼ cup maple syrup or maple blend.(I often use Clarks Original).
100ml/ ½ cup organic rapeseed, canola oil or other neutral-tasting oil
1tspalmond extract
1tspvanilla extract
Dry ingredients
280g/ 2 cups white spelt flour(or substitute with plain (all-purpose) flour or half plain flour and half wholemeal (wholewheat) flour)
1½tspbaking powder
½tspbicarbonate of soda (baking soda)
½tspsalt
50g/ ½ cup ground almonds (almond meal)
Topping
1-2ripe pears
generous pinch of ground cinnamon
Glaze
2TBSPunrefined sugar
4TBSPwater
¼tspvanilla extract
1tspcornflour (corn starch)
Instructions
Preheat the oven to 180C (160C fan) / 350F. Grease a 23cm / 9 inch cake tin and line the bottom with non-stick baking paper.
In a large mixing bowl, whisk together all the wet ingredients. Taste test and add a touch more almond extract, if desired.
In a separate bowl, mix together all the dry ingredients except the ground almonds.
Slice the pears ready for the topping. To do this, I slice the pears into halves, then quarters. Using a sharp knife, scoop out the core. Place the pears cut side down on a chopping board, and slice into even-sized thin slices.
Sift the dry ingredients into the wet ingredient bowl and stir through to combine (but do not overmix). Add the ground almonds and stir through.
Tip the batter into the prepared tin and use a silicone spatula to distribute it evenly. Arrange the pear slices on top, then add a light sprinkle of ground cinnamon.
Place on the centre rack in the oven and bake for 50-55 minutes, or until a skewer inserted through the middle comes out clean.
While the cake is cooling, prepare the glaze. In a small bowl, mix 1 TBSP water with the cornflour until dissolved. Add the remaining water, sugar and vanilla extract to a small pan over medium heat. Once the sugar has dissolved, whisk in the cornflour paste. Gently bring to the boil, whisking continuously. When the mixture has thickened slightly remove from the heat.
Use a silicone pastry brush to lightly coat the top in the glaze (you won’t need to use all the glaze). Leave the cake in the tin until it has completely cooled (it will firm up as it cools), then transfer to an airtight container. The cake will keep for 5 days in the refrigerator. It also freezes well.
I’m sharing this recipe with the Suma Blogger’s Network. Big thank you to the lovely people at Suma for supporting Bit of the Good Stuff and for supplying ingredients for my kitchen experiments.
If you bake this Pear and Yogurt cake, I’d love to hear your feedback and any suggestions for adaptations. Tag your photos with #bitofthegoodstuff on social media – I always love to see your creations! You can also connect with me on my social media channels here: Instagram, Facebook, Pinterest.
Back in 2013, I shared the recipe for a Lemon Drizzle Cake that I baked for my mum for Mother’s Day. It proved to be a big hit with my readers and, four years later, it’s still one of the most popular recipes on my blog!
Though I made it specifically with my mum in mind, the Lemon Drizzle quickly became my husband’s favourite cake. It’s the one he’s requested every birthday… even though his birthday is a week before Christmas and Lemon Drizzle feels like a Spring-time cake (well, to me anyway!) Recently, however, I made an adaptation of the Lemon Drizzle and, after tasting it, my husband declared that THIS one may just be his new favourite!
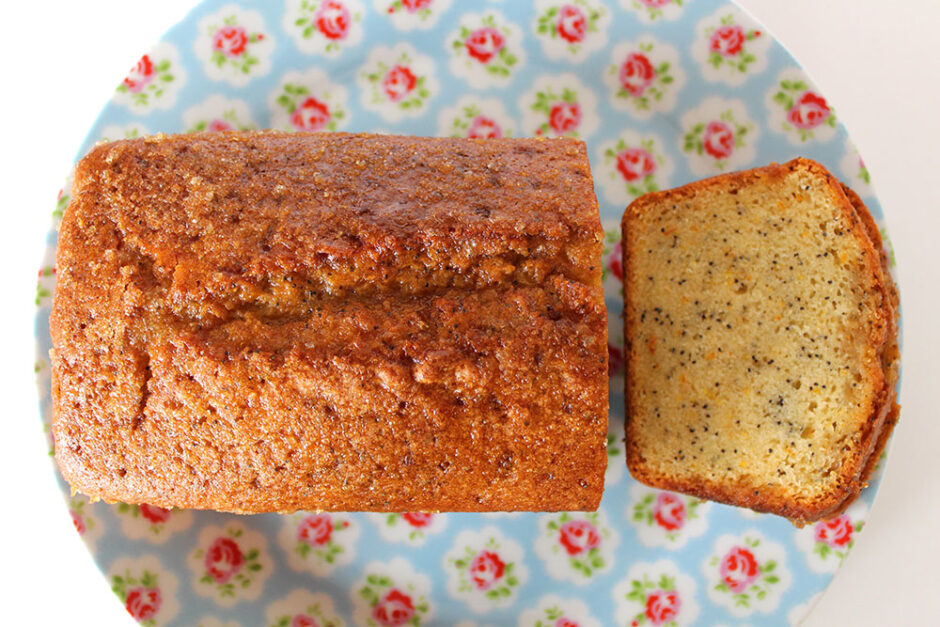
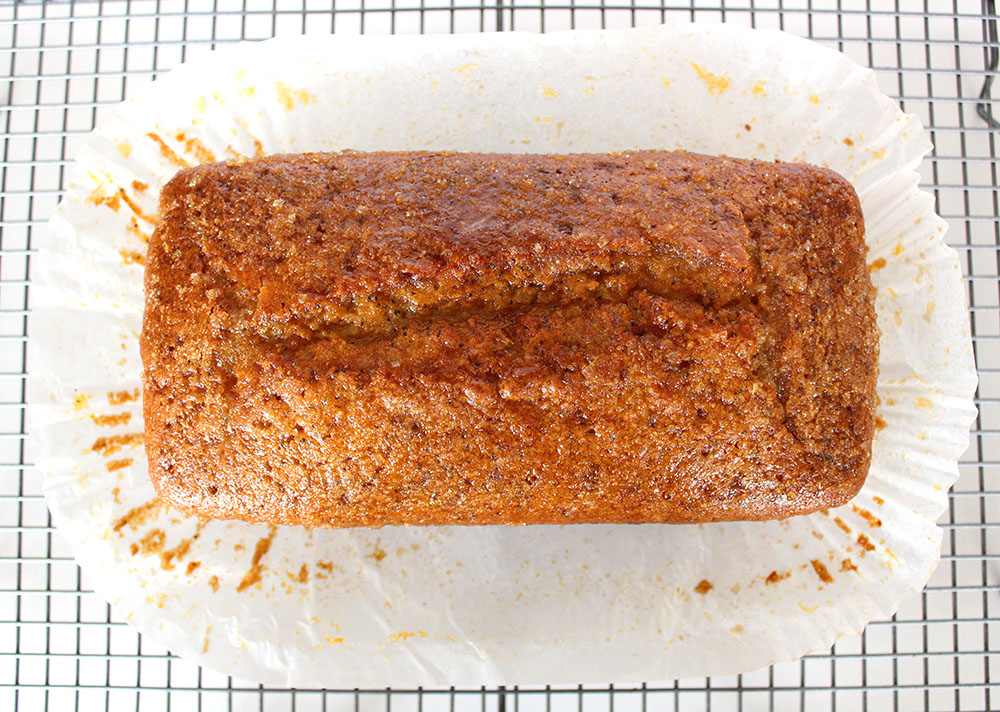
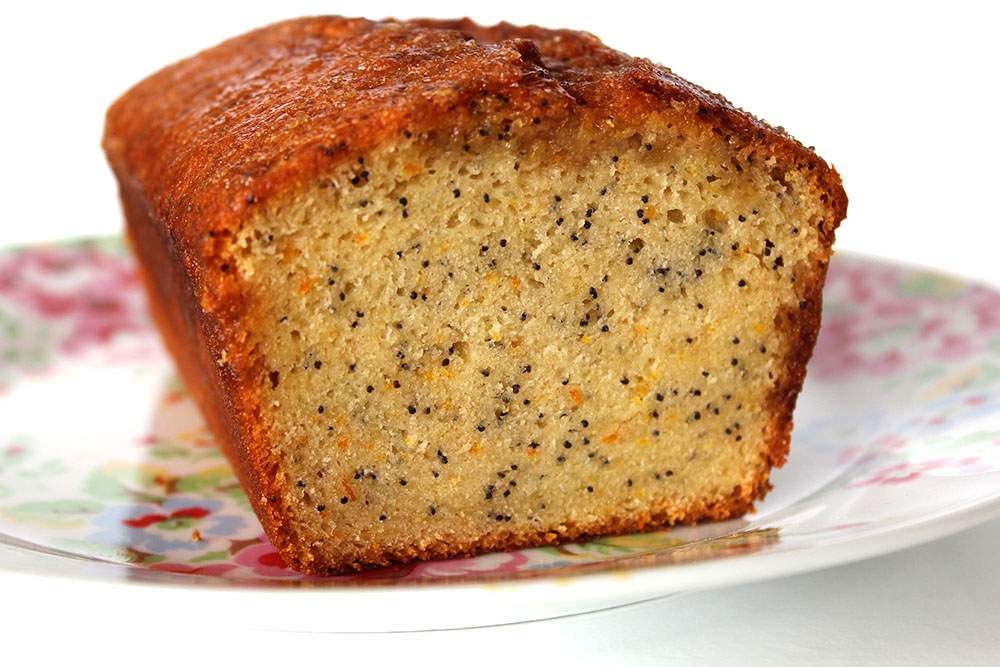
With a few little tweaks, I transformed the Lemon Drizzle into an Orange Drizzle speckled with poppy seeds It still has the beautiful, moist consistency and light texture, but the flavour is of course orange rather than lemon. Rather than ‘zingy’ like the Lemon Drizzle, this one is more sweet and fruity. It reminds me of summer and sunshine. So maybe Lemon Drizzle will be my spring-time cake, and Orange Drizzle will be the summer-time version. But, of course, you can eat it whenever you like. I know we’ll be eating it in December 😉
Oh, and this cakes smells amazing as it’s baking. It fills the house with this beautiful orangey aroma!
I’ve made this cake at least five times in the past few weeks. I’ve given it as gifts, taken it on our travels when visiting family, and shared it with friends on coffee mornings. It’s always received great compliments. It’s also been road-tested and approved by my mum. I took it to her on our last visit to Dorset and she really enjoyed it! When I got home, she’d already emailed asking for the recipe.
Wonderfully moist and citrus-kissed, this vegan orange drizzle cake with poppy seeds is simple to make using pantry staples. Tangy, sweet, and freezer-friendly—perfect for sharing, gifting, or enjoying anytime!
200g/ ¾ cup + 3 TBSP unrefined cane sugar(I use golden caster sugar)
40g/ 2 TBSP maple syrup
70g/ ⅓ cup organic rapeseed (canola) oil or other neutral-flavoured oil
240ml/ 1 cup soya milk
2tspapple cider vinegar
1tsporange extract
30ml/ 2 TBSP freshly squeezed orange juice
zest of 1 unwaxed/organic orange
250g/ 1¾ cups white spelt flour or plain (all purpose) flour
2tspbaking powder
1/4tspsalt
1TBSPpoppy seeds
Drizzle
2TBSPfreshly squeezed orange juice
2TBSPDemerara or turbinado sugar
Instructions
Grease and line a 2lb loaf tin with non-stick baking paper (or use a non-stick loaf liner). Preheat the oven to 190C (170C fan) / 375F.
In a mixing bowl, whisk together the sugar, syrup, oil, milk, vinegar, orange extract and orange juice until fully combined. Stir in the orange zest.
Sieve one third of the dry ingredients (flour, baking powder, salt) into the bowl and whisk to combine. Repeat with the remaining two thirds, whisking each time. Stir in the poppy seeds.
Tip the mixture into the prepared tin. Place on the middle shelf in the oven and bake for 50 minutes, or until a skewer inserted into the middle comes out clean.
Whisk together the drizzle ingredients. When the cake is baked, pierce all over with a skewer. Distribute the drizzle evenly over the top of the cake. Allow to cool in the tin for at least an hour (it will firm up as it cools), then transfer to a wire rack.
Once completely cooled, slice and serve or transfer to an airtight container. The cake will keep for a week in the refrigerator (I find it tastes even better a day or two after it’s been baked!) It also freezes really well.
Here in the UK, it’s Mother’s Day on Sunday so, if anyone would like to bake their mums a cake, this Orange Drizzle would be a great option (or you could go for the trusty Lemon Drizzle).