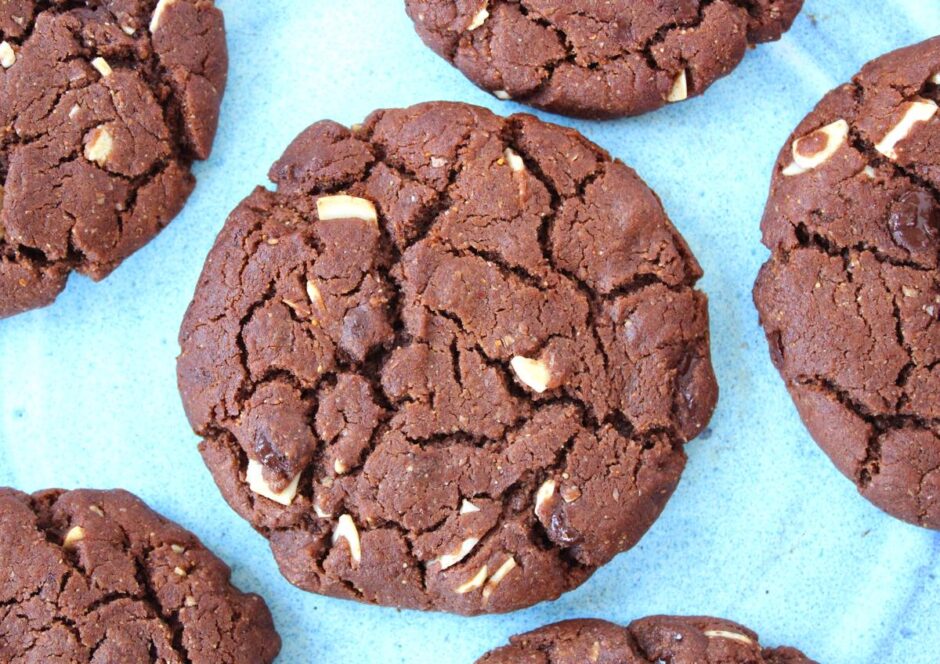
Happy Easter everyone! Today, I’m excited to be sharing with you the recipe for Pret’s world famous Dark Chocolate and Almond Butter Cookie! 🍪 This has to be one of the best cafe cookies available, and one of my personal favourites! Fresh from the oven, this decadent chocolate cookie is crunchy on the outer edge, gooey in the middle with melting chunks of dark chocolate and crunchy almond pieces throughout. It’s so good!
* This recipe was originally posted in March 2014. The page was updated in February 2020.
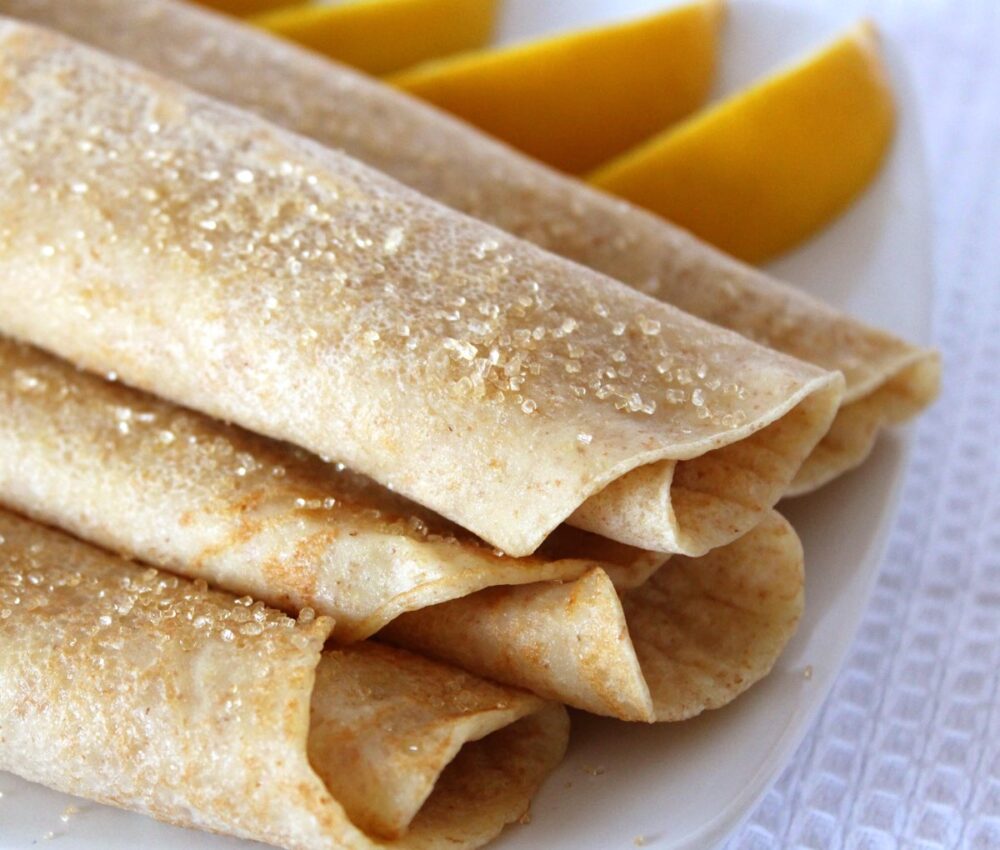
It’s Shrove Tuesday tomorrow and I am really looking forward to making a big pile of my family’s favourite vegan crepes. They are so easy to make and use basic pantry ingredients. We don’t even use an egg replacer! I’ve always loved French-style crepes but I love this vegan version even more. They taste amazing and they’re cruelty-free too ❤️
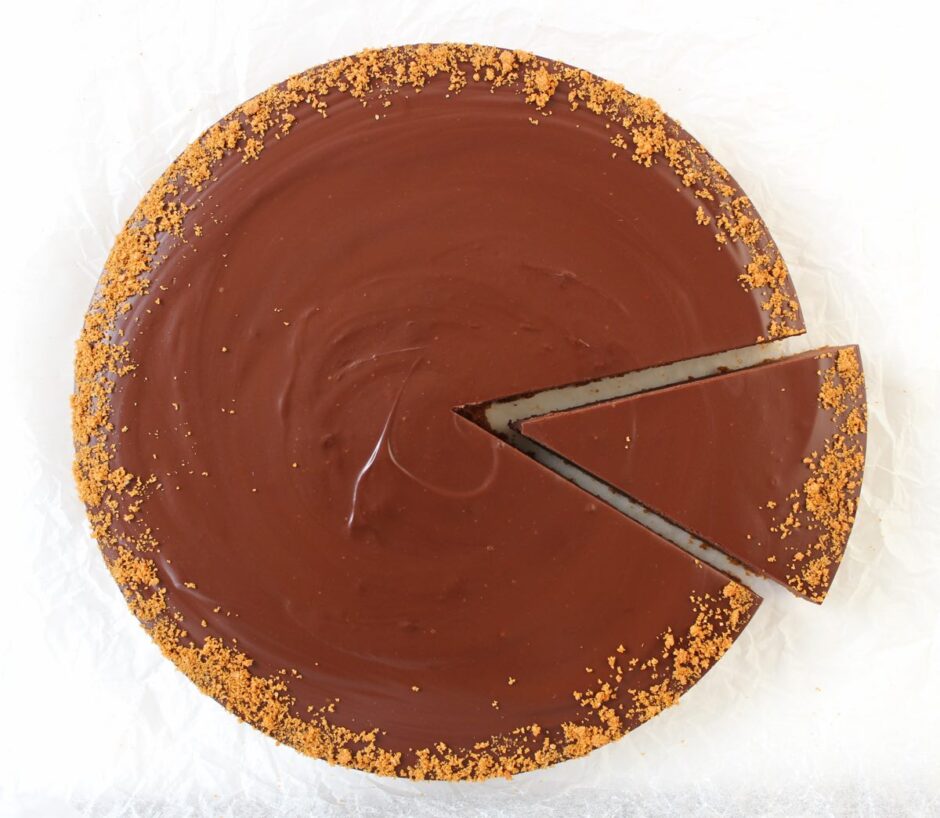
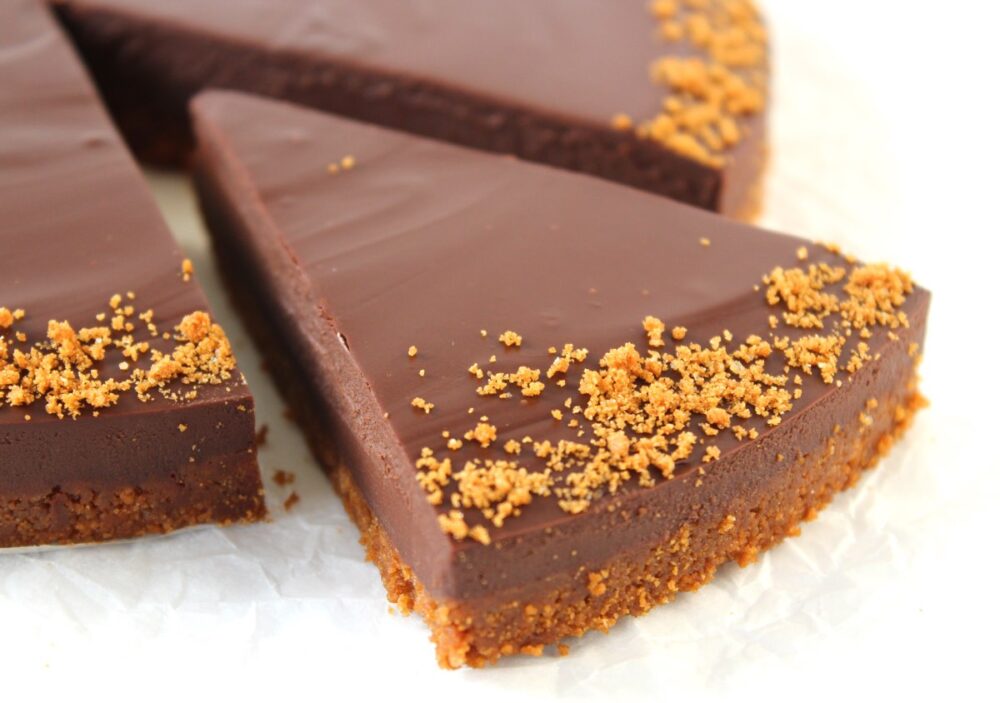
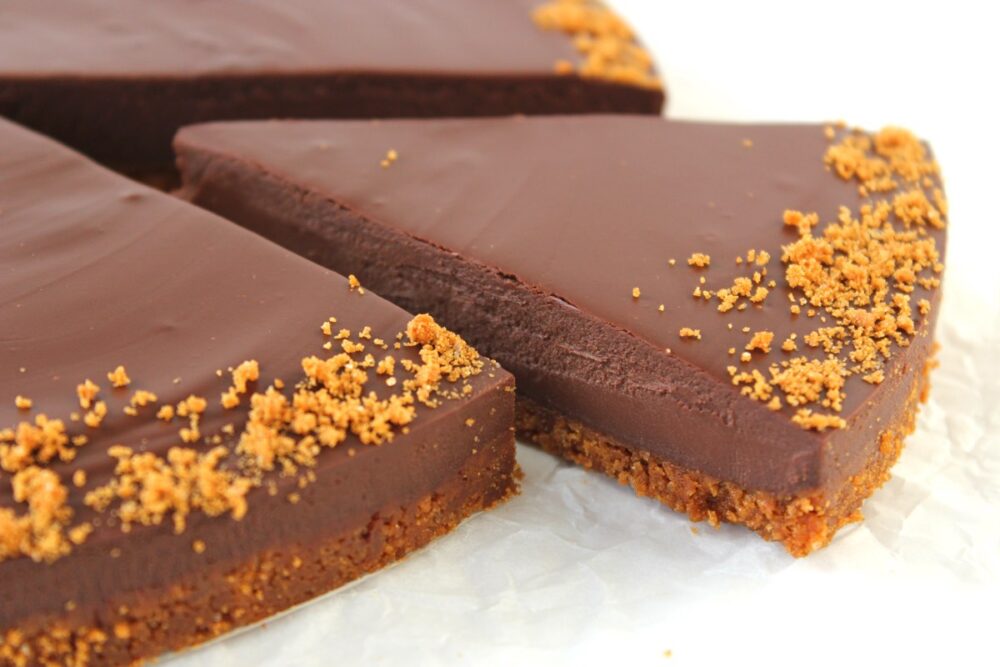
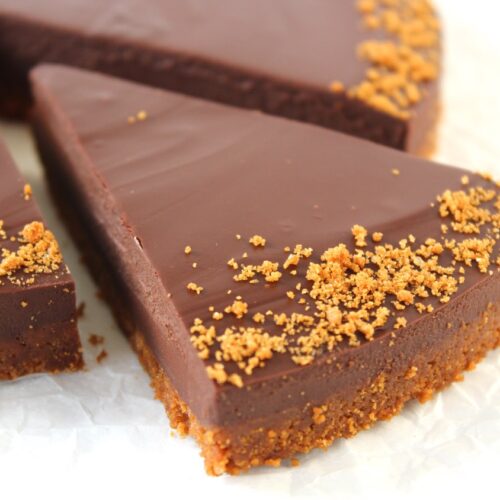
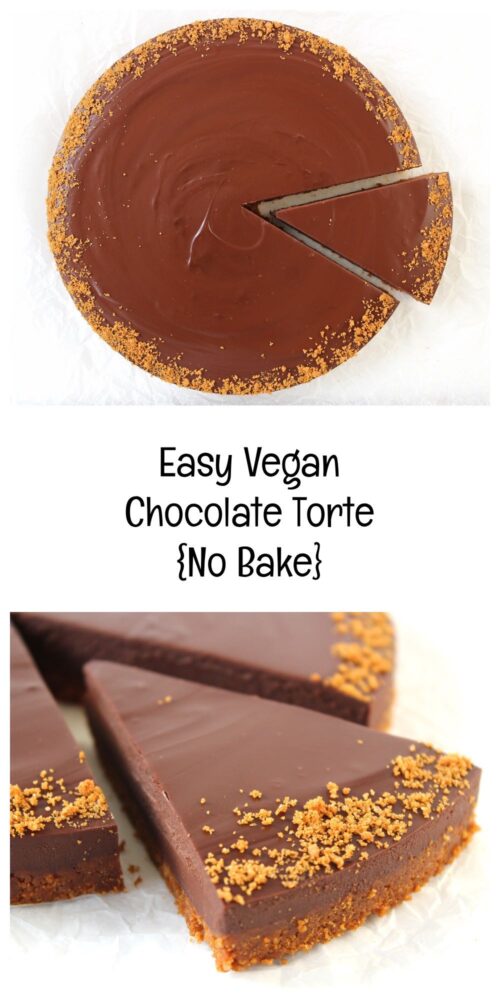
If you’re looking for a special occasion dessert that is super easy to make but has the ‘wow’ factor, then today’s recipe is for you! It’s a rich chocolate torte, consisting of a silky smooth ganache set on top of a biscuit base. There is no baking involved and it only takes around 20 minutes to prepare. The hardest part is waiting for it to set before you can dive in!
The inspiration for today’s recipe was a Dark Chocolate & Coconut Tart that I spotted in this month’s Vegan Life magazine. It looked so decadent and inviting! As I love playing around with recipes and creating my own take on them, I decided to switch the pastry for a biscuit base (to make it a ‘no bake’ recipe) and I experimented with different ingredients for the chocolate filling. I’m not personally a big fan of the chocolate coconut flavour, so I opted to use soya cream instead of coconut milk, and it worked really well!
For the biscuit base (aka cookies for our overseas friends!) I chose to use Lotus Biscoff biscuits. The sweet caramel flavour of these biscuits worked beautifully with the rich dark chocolate ganache. I added a little sprinkle of Biscoff crumbs on top to finish off the torte and it looked so pretty… like little flecks of gold!
If you’re gluten-free, you can easily switch the Lotus biscuits for a gluten-free biscuit/cookie instead. One of my favourites are the Nairn’s Gluten Free Biscuit Breaks and I think their Stem Ginger Biscuit could work well in this recipe. I’ll definitely have to give it a try.
I made this torte to share with friends and family over the festive holidays and so far, it’s going down a treat. Everyone that’s tried it has given it a big thumbs up!
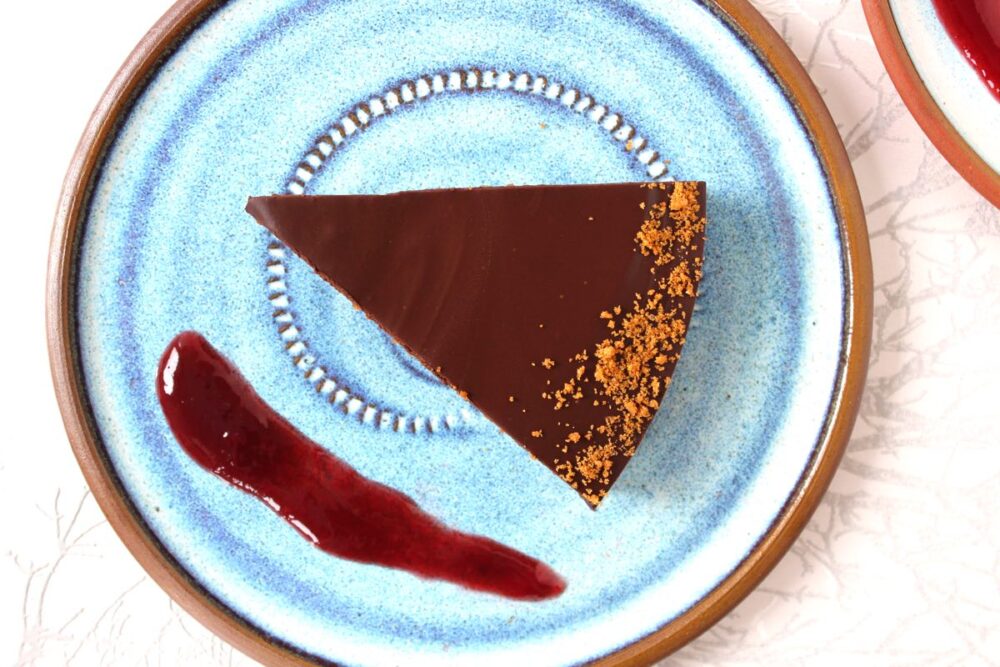
It is pretty rich and filling, so be sure to slice modestly. (The recipe below will easily serve twelve). I love to serve the torte with some fruit compote on the side. The fruit helps to cut through the richness of the chocolate. Cherry or raspberry compote are my favourites as I find their flavours pair really well with chocolate. Adding the compote also helps to ‘dress’ the serving plate (though I really need to work on my plating skills! 😂)
Recipe Card
Prevent your screen from going dark
Easy Vegan Chocolate Torte [No Bake]
This vegan chocolate torte is perfect for special occasions. It is really easy to make but looks impressive! It is rich, so a little goes a long way. I love to serve it with some compote on the side as the fruit helps cut through the richness of the chocolate. Cherry and raspberry are my favourites.
175gLotus Biscoff biscuits(or other vegan biscuits/cookies like digestives or ginger nuts. Use GF biscuits/cookies if needed)
75g/ 5 TBSP vegetable spread/vegan butter
Filling
300g/ 10½ oz dairy-free dark chocolate*chopped into small pieces
250ml/ 8½ fl oz soya cream**(or other plant-based cream)
1tspvanilla extract(or use some orange extract if you’d like to make a chocolate orange torte)
Suggested Decorations
Lotus Biscoff biscuit crumbs
Suggested Accompaniments
cherry or raspberry compote
Instructions
Line the bottom of a loose-bottomed 20 cm / 8 inch flan tin with non-stick baking paper.
Whizz the biscuits in a food processor until they resemble sand (alternatively place them in a sealed bag and bash with a rolling pin). Transfer to a mixing bowl.
Gently melt the vegetable spread/vegan butter in a saucepan. Pour into the mixing bowl with the biscuit crumbs and stir through until thoroughly combined. Transfer to the tin and press down firmly using the back of a metal spoon. Place in the fridge while you prepare the chocolate.
Gently heat the cream in a medium size saucepan. When it starts to simmer, remove from the heat. Stir in the vanilla extract and the chocolate. Continue stirring until the chocolate has fully melted. Taste test and add a touch more extract or some liquid sweetener, if needed.
Pour the chocolate filling over the biscuit base and tap the tin on the worktop to remove any air bubbles. Refrigerate until solid (about 1½ hours).
I like to decorate the torte with a sprinkling of Lotus biscuit crumbs round the edge and some cherry or raspberry compote on the side.
The torte will keep for 5 days in the fridge. It is also freezes well.
Notes
* I used Waitrose Belgian Dark Chocolate made with 72% cocoa.** I used Alpro Single Soya Cream. Readers have also had success using oat cream and coconut cream.
If you make this Easy Vegan Chocolate Torte, I’d love to hear your feedback and any suggestions for adaptations! Tag your photos with #bitofthegoodstuff on social media – I always love to see your creations! You can also connect with me on my social media channels here: Instagram, Facebook, Pinterest.
With love,
Sharon xx
P.S. A huge thank you to everyone who has left a comment or review on this recipe! Your feedback honestly means the world to me, and I love hearing about the creative twists and adaptations you’ve tried. It’s also so helpful for others in the community who come to make this torte, so please do keep sharing your experiences — I truly appreciate it! ❤️
* This recipe was first published in December 2017. The page was updated in December 2019
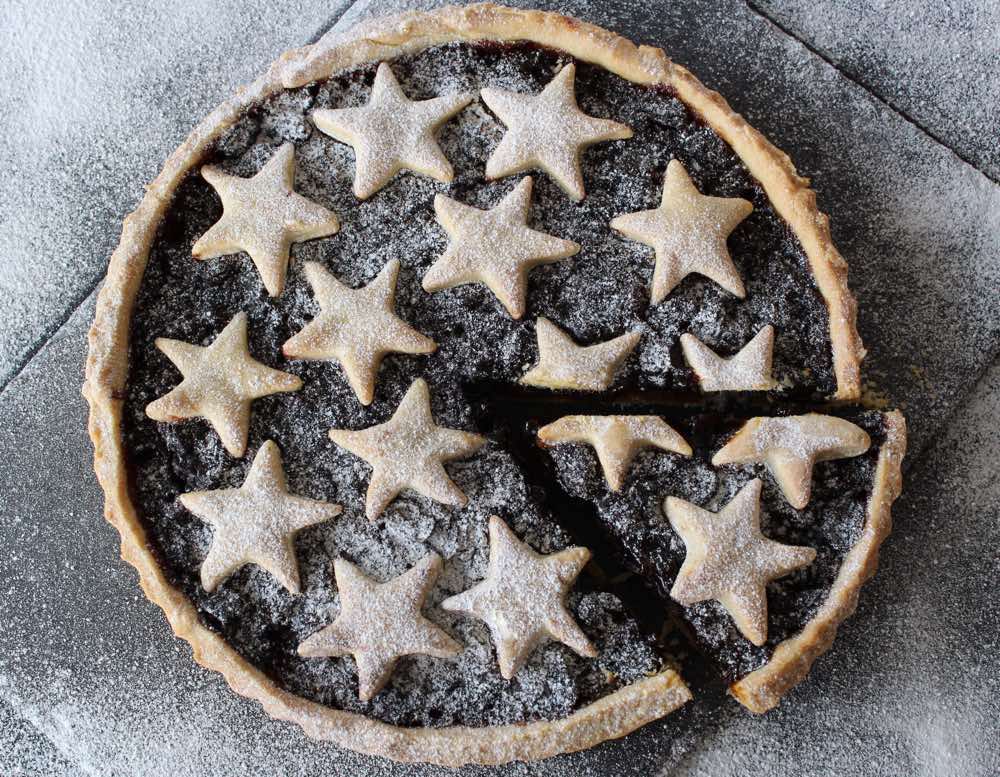
Hello everyone! I hope your preparations for the festive holiday are going well. Hopefully you’ve been a bit more organised than me. As usual, I’ve left a lot of shopping and food preparation to the last minute, so today – Christmas Eve – is going to be one very busy day for me! However, before I crack on with the preparations, I thought I would share one last recipe on the blog before 2017 comes to a close. The recipe is for a giant-sized mince pie, which is just perfect for sharing with friends and family this season. I’ve already made three of these pies in the past week, and no doubt I will making more in the lead up to the New Year.
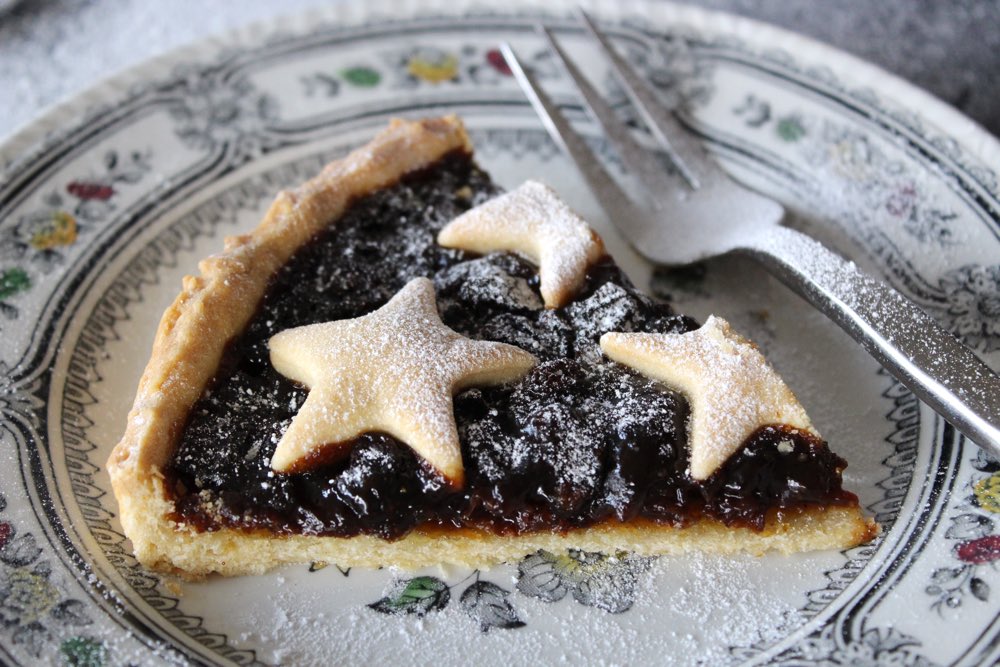
During the festive season, my family loves to have home-made mince pies for dessert, drizzled in custard or cream. However, while they taste delicious, individual mince pies do tend to look a bit lost on dessert plates and aren’t what I would consider ‘special enough’ to serve to dinner guests. To resolve this, I’ve played around with my favourite mince pie recipe and created a family-sized pie instead, which can be sliced and served on a plate with a more appealing presentation.
It took a couple of attempts with different pastry quantities and baking methods, but I’m really pleased with how it finally turned out. The pastry is lovely and crisp; it’s robust enough to slice without crumbling and, most importantly, it has been given the thumbs up from the recipe testers in my house.
I used my favourite organic mincemeat for this pie, which is made by Meridian. For the flour, I used Doves Organic White Spelt flour. For a while now, spelt has been my flour of choice for pastry-making. Personally, I find it gives pastry a nicer taste and texture compared to plain (all purpose) flour. As an added bonus, I find that some of my friends that generally avoid gluten/wheat, can tolerate spelt. It does make me wonder whether it’s specifically modern wheat that’s causing tummy issues for a lot of people.
Recipe Card
Prevent your screen from going dark
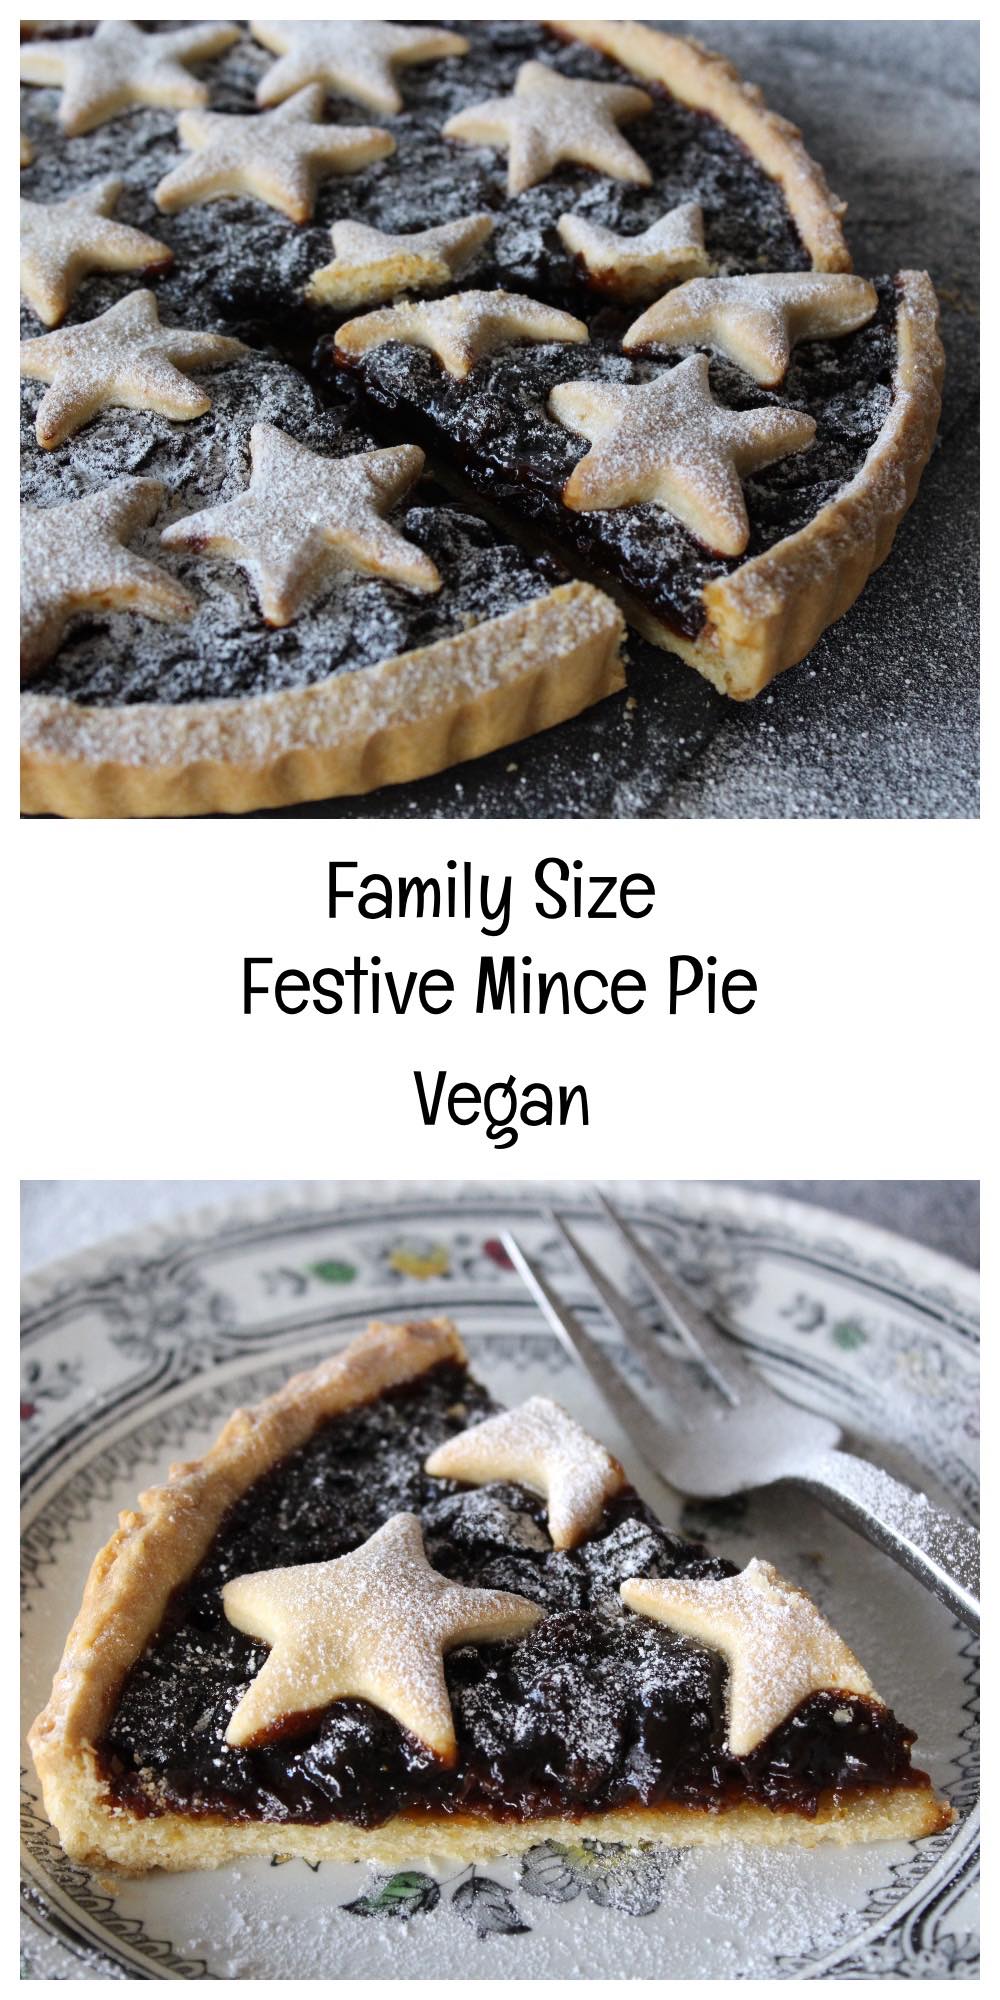
Family-Size Festive Mince Pie [Vegan]
This giant mince pie is perfect for serving to friends and family in the festive season. It’s easy to prepare, even when making the pastry from scratch!
250g/ 1¾ cups white spelt flour or plain (all purpose) flour
100g/ ½ cup dairy-free spread/vegan butter or aroma-free coconut butter
20g/ 2 TBSP icing (confectioner’s) sugar
pinchof salt
1 – 4½TBSPchilled orange juice
Filling
410g/ 1 cup mincemeat(make sure it's suitable for vegans)
soya milkfor glaze (optional)
Suggested accompaniments
Dairy-free custard or cream
Instructions
Place the flour, dairy-free spread/vegan butter/coconut butter, icing sugar and salt in a food processor and whiz to combine. Add the orange juice through the funnel, ½ tablespoon at a time, until the mixture just starts to come together. (The amount needed will vary depending on the type of flour and butter used. I find that I need about 1-2 TBSP of juice when using dairy-free spread and about 3½-4½ TBSP when using coconut butter).
Scoop the dough together and press into a ball. Cover in cling film (plastic wrap) and rest in the fridge for 30 minutes.
Grease a 20cm / 8 inch loose-bottomed tart or quiche tin. Preheat the oven to 190c (170c fan) / 375F.
Once the dough has rested, break off a small chunk (about a fifth) and set to one side (this will be used for the star decoration). Place the remaining dough on a lightly floured surface. Arrange the cling film/plastic wrap on top and roll the dough to a thickness of about 0.3cm / ⅛ inch. Transfer the dough to the prepared tin and press into the edges and up the sides to a height of 2.5cm / 1 inch. Trim off the excess and place with the reserved dough for the stars.
Prick the dough in the base of the tin all over with a fork. Place in the pre-heated oven and bake for 20 minutes.
Five minutes before the pastry is cooked, roll out the reserved dough and cut out about 16 mini stars using a metal cutter (re-rolling the dough scraps as needed).
When the pastry case is cooked, distribute the mincemeat evenly on top, followed by the stars. Brush the stars with soya milk (if you’d like them to brown). Place in the centre of the oven and bake for 20 minutes, or until the stars are dry to the touch.
Leave to cool slightly before slicing (the pastry will firm up as it cools). Sprinkle with sieved icing sugar before serving. This tart is delicious served on its own, or with a drizzle of vegan cream or custard. Stored in an airtight container in the fridge, the tart will keep for five days.
Notes
*Alternatively, you can use shop-bought short-crust pastry (Jus-Rol is suitable for vegans)
If you make this Vegan Festive Mince Pie, I’d love to hear your feedback and any suggestions for adaptations! Tag your photos with #bitofthegoodstuff on social media – I always love to see your creations! You can also connect with me on my social media channels here: Instagram, Facebook, Pinterest.
* This recipe was originally posted in March 2015. The page was updated in October 2019.
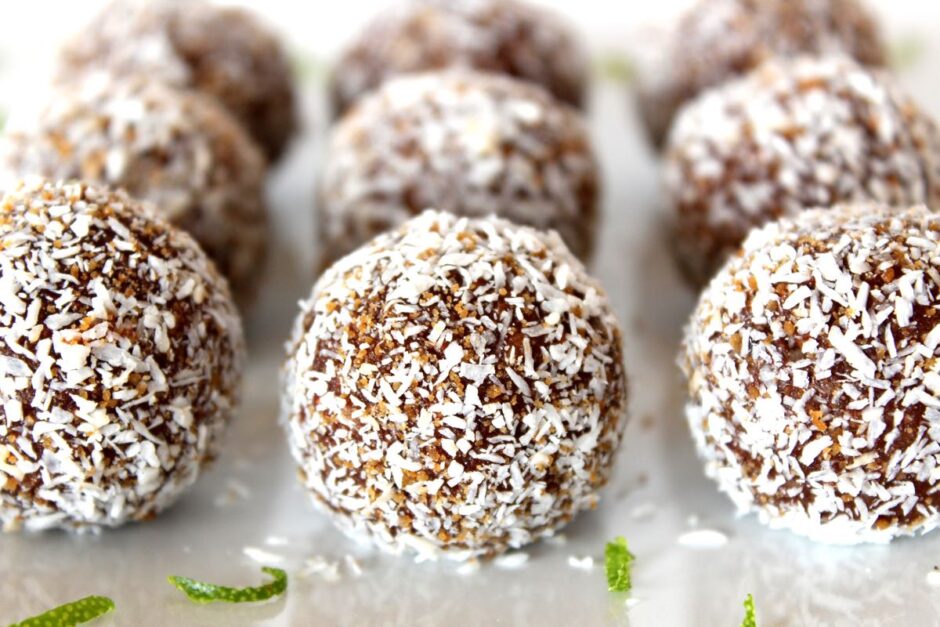
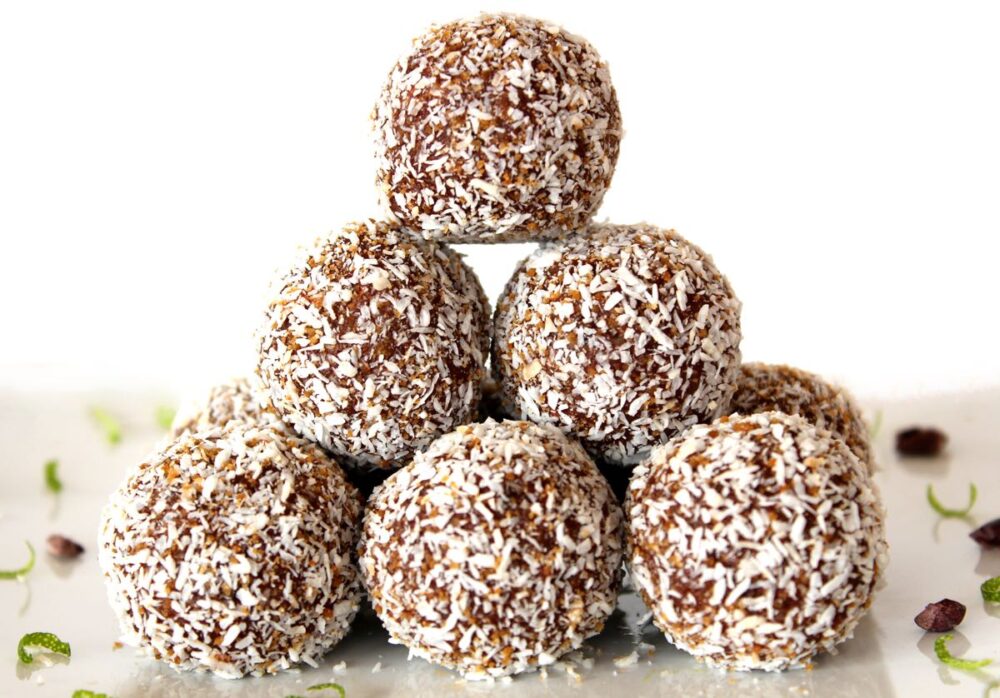
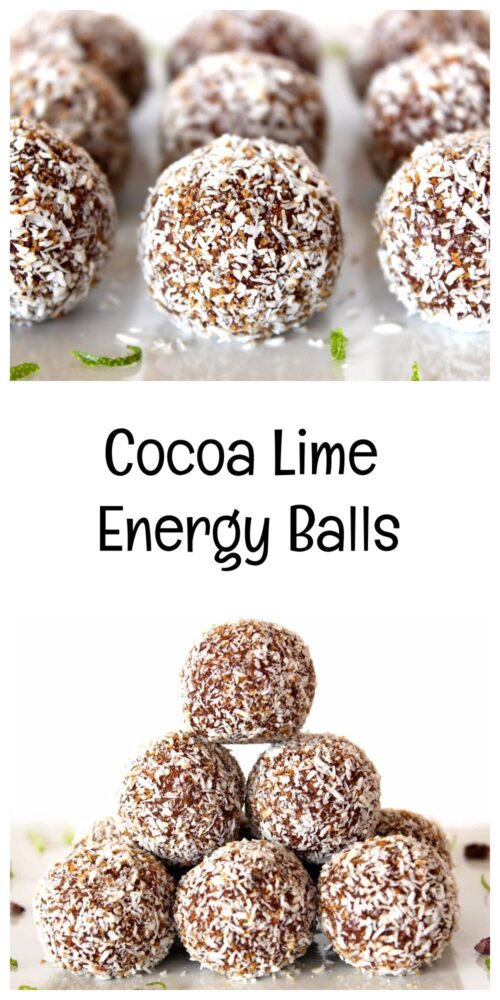
Have you ever tried making your own energy balls? It’s so easy! You simply throw all the ingredients in a food processor, whizz for a few seconds then shape the mixture into balls. It couldn’t easier!
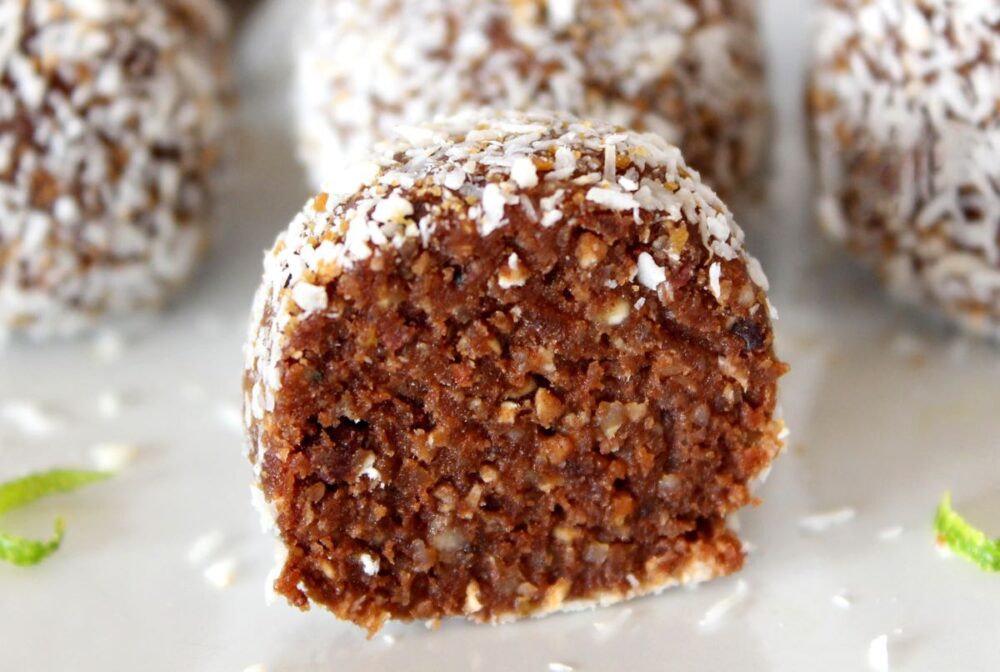
What I especially love about these balls is that they taste decadent, yet they’re packed full of nutrient-rich ingredients that are not only going to increase our energy levels, but also boost our health in general. Each ball is filled with protein, heart-healthy fats, complex carbs, fibre, plus a whole host of minerals and antioxidant compounds. It’s amazing just how much goodness you can fit into one little ball!
And not only does it work out much cheaper to make your own rather than buying the branded versions, but it also means that you get to flavour them however you wish! In today’s recipe, I’m using one of my favourite flavour combinations – cocoa and lime. I love anything chocolatey, but especially when it’s combined with a citrus flavour like lime. It help cuts through the richness of the chocolate, and adds a delicious fresh, zesty taste to every bite.
Since I originally posted this recipe back in 2015, I’ve made literally hundreds of these balls to share with friends, family and vegan festival goers, and they’ve proven to be a big hit with everyone that’s tried them. Even little kids have given them a thumbs up, which has made me super happy! These balls make a great after-school snack and (provided you carefully supervise the food processor part) children could easily help you make them. They could even experiment with their own flavour combinations!
Recipe Card
Prevent your screen from going dark
Cocoa Lime Energy Balls
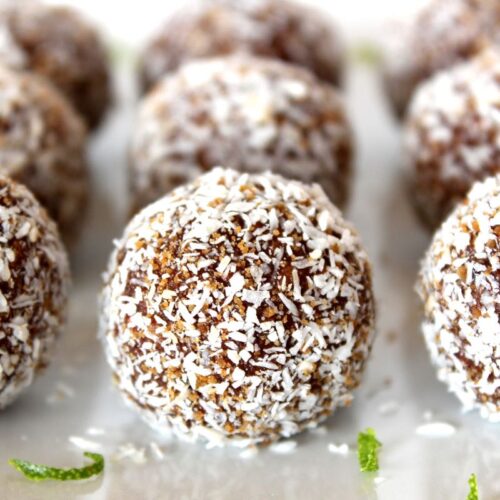
These Cocoa Lime Energy Balls are chocolatey but not too rich, fresh and zesty thanks to the lime, and lighter than the classic energy ball as I've reduced the nuts and used oats instead. Delicious, nutrient-rich and energy boosting, these balls make the perfect snack. Their handy size makes them easy to transport and stash in your bag for snacking 'on the go'.
Mix together the desiccated coconut and sugar in a shallow container.
Place the oats, cashews and walnuts in a food processor and whizz into crumbs. Add the cacao/cocoa powder, dates, lime zest, lime juice, maple syrup and salt. Process until the dates are broken down. Add the cacao nibs, and continue processing until the mixture comes together in a ball. Taste test and add a touch more cacao/cocoa, lime zest or sweetener, if desired.
Scoop level tablespoons of the mixture. Roll into balls, then roll in the coconut sugar mixture. Repeat until all the dough is used. Chill in the fridge (ss they chill, they will firm up).
Stored in an airtight container, these energy balls will keep for a week in the fridge, or for weeks in the freezer.
N.B. The above values are estimates. The actual nutritional values will vary depending on the brands and ingredients used.
Pin for later ⬇️
If you make these Cocoa Lime Energy Balls, I’d love to hear your feedback and any suggestions for adaptations! Tag your photos with #bitofthegoodstuff on social media – I always love to see your creations! You can also connect with me on my social media channels here: Instagram, Facebook, Pinterest.
Each year, for my mum’s birthday in May, I love to challenge myself to create a new vegan cake for her. This tradition started back in 2013, when I made my first ever vegan Lemon Drizzle Cake (and, to this day, that cake remains one of the most popular recipes on my blog!!) For this year’s birthday, I decided to attempt a Coffee and Walnut Cake. It’s an oldie but a goodie (and one of my personal favourites!)
And my mum’s verdict?
She messaged me when I got home to say that this might be my best cake ever! 🤭
And coming from my mum, that is some accolade!!
My birthday was a couple of weeks after my mum’s, so I decided to remake the cake and check the recipe notes that I’d quickly scribbled on a piece of paper. Rather than starting the recipe from scratch, I’d used my trusty Chocolate Celebration Cake as a starting point, then tweaked the ingredient ratios to compensate for the coffee. It worked a charm!
Since then, I’ve made the cake three more times for friend and family celebrations (checking the recipe each time!) It’s received lots of positive feedback so I’m finally confident enough to share it on the blog.
I’m not normally a fan of cake frosting, but the coffee frosting on this cake, I love! You can use any kind of instant coffee in the frosting. In the first five cakes I made, I used Beanies flavoured coffees which came in one of my The Vegan Kind Lifestyle Subscription Boxes. The Irish Cream, Creamy Caramel and Cookie Dough flavours were especially good, and made the frosting taste even more delicious!
More recently, I’ve been using Nescafe Gold Espresso, bought from Sainsbury’s.
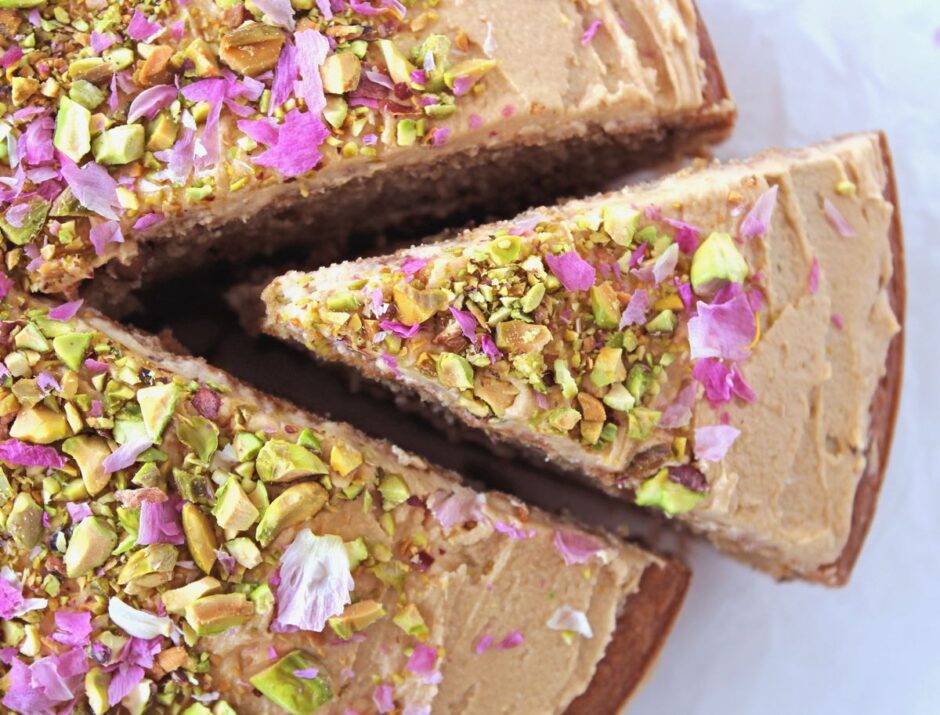
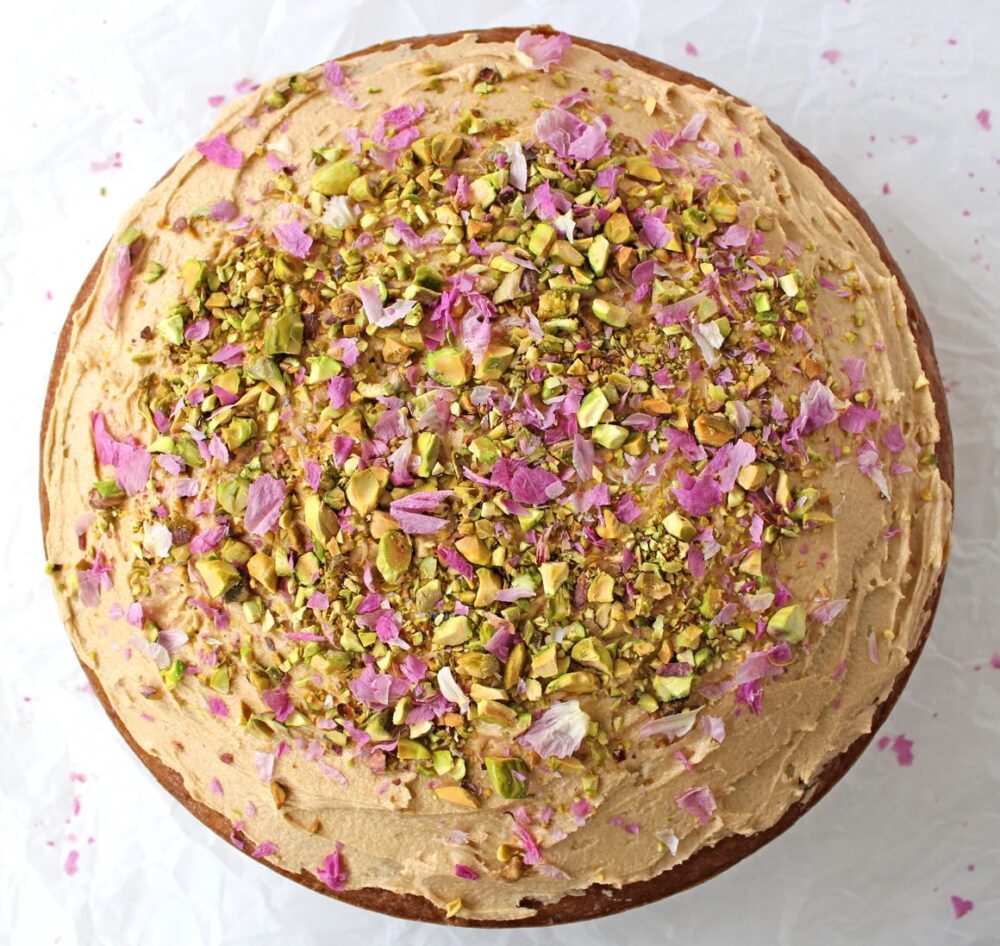
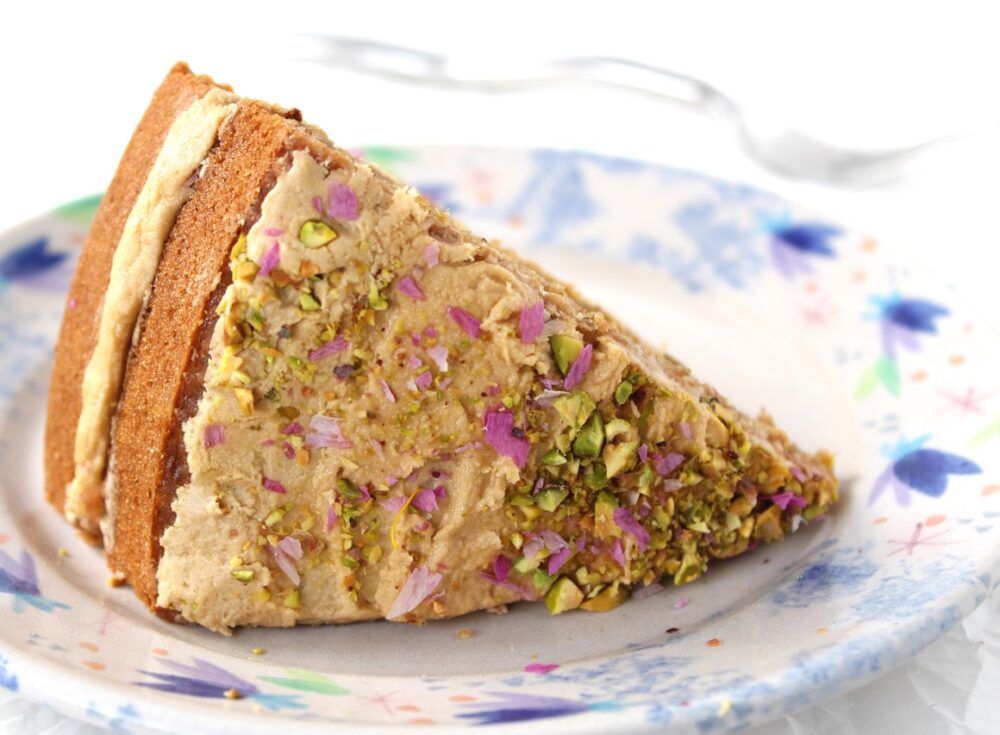
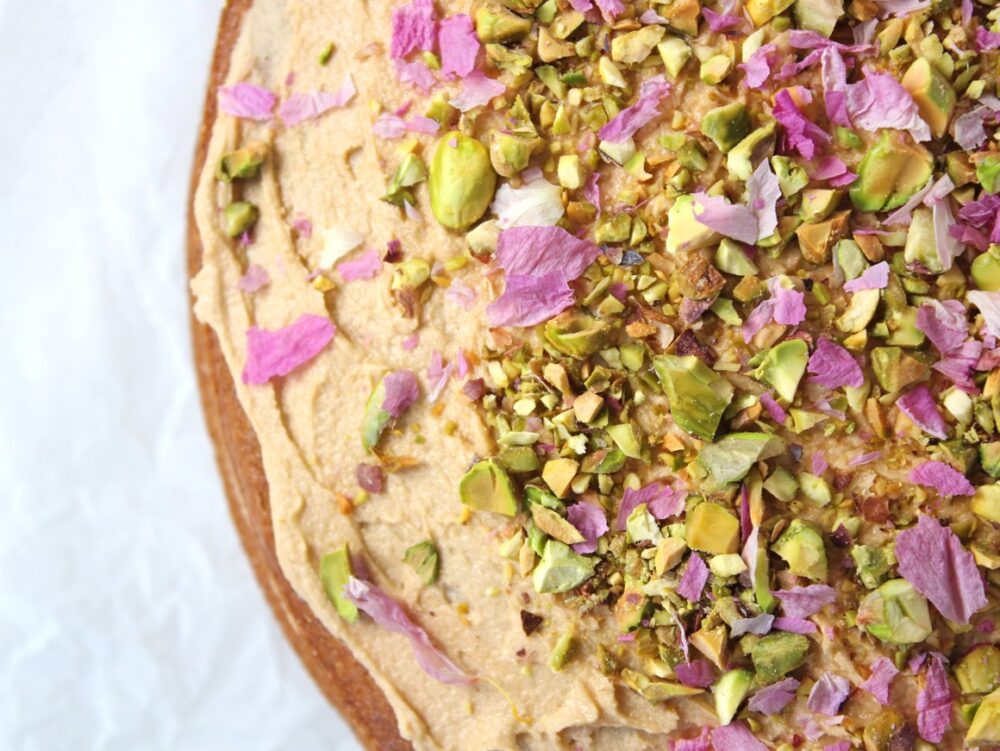
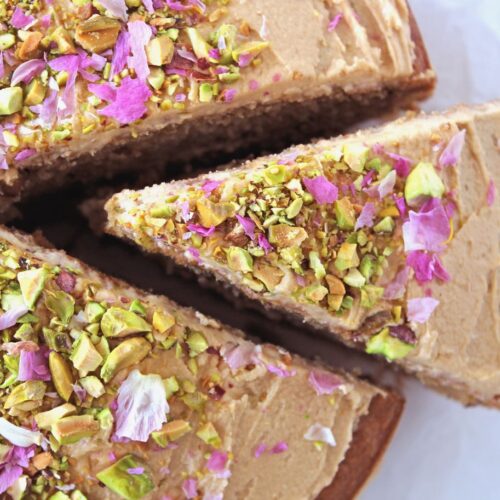
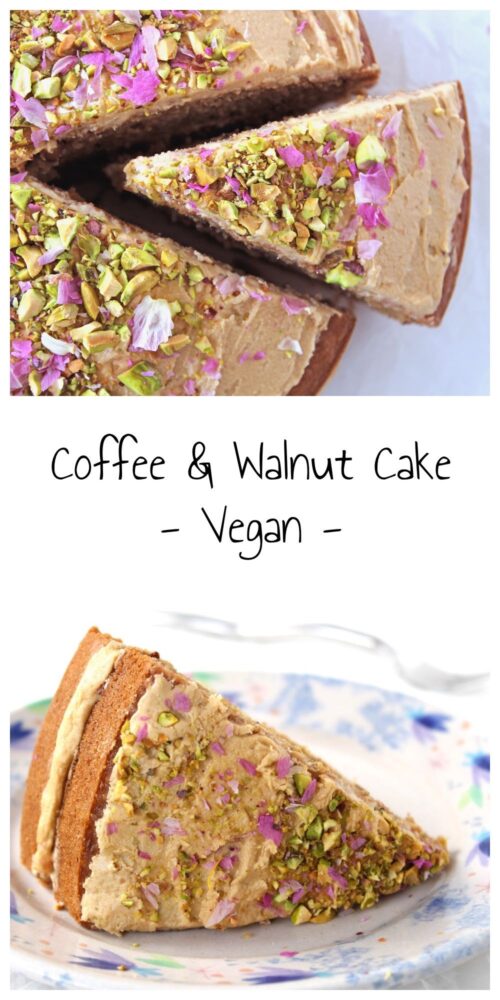
As a twist on traditional coffee and walnut cake, I decided to decorate mine with roasted pistachios and rose petals. The green and pink colours looked so pretty set against the backdrop of the coffee frosting.
If you do have roses in your garden, it’s a lovely touch to use them as decoration on your bakes. The petals you see in the photos in this post came from my friend’s garden, so every time I see them it reminds me of her (which makes me smile a lot!)
It’s really easy to dry petals for cake decoration. I’ll pop the instructions in another blog post in case you’d like to give it a try yourself.
Recipe Card
Prevent your screen from going dark
Vegan Coffee and Walnut Cake
This cake is just perfect for celebrations. It's one of my family's favourite birthday cakes! The frosting recipe detailed below is sufficient for a thin layer in the middle and the top of the cake (as shown in the picture). If you'd like a thicker frosting, I would recommend doubling the recipe.
200g/ 1½ cups fine wholemeal (whole wheat) flour or chapatti flour
1tspbaking powder
1tspbicarbonate soda (baking soda)
½tspsalt
140ml/ ⅔ cup rapeseed (canola) oil or other neutral-tasting oil
330g/ 1⅔ cups unrefined cane sugar(I used golden caster sugar)
2tspvanilla extract
110g/ 1 cup walnuts, finely chopped
Frosting
300g/ 2¼ cups icing (powdered) sugar
90g/ 6 TBSP dairy-free spread/vegan butter
1½TBSPvery strong cold coffee**
Suggested toppings
50g/ ⅓ cup unsalted roasted pistachios
handful of dried rose petals, crushed
Instructions
Preheat the oven to 180C (160C fan) / 350F. Grease the sides of two 23cm / 9 inch loose-bottomed tins and line the bottoms with non-stick baking paper.
In a large mixing bowl, whisk together the milk, coffee and vinegar, then set to one side.
In a separate bowl, add the dry ingredients (plain flour, wholemeal flour, baking powder, bicarbonate of soda and salt) and stir to combine.
Add the oil, sugar and vanilla extract to the wet ingredient bowl, and whisk until fully combined (using a hand whisk). Sieve in a third of the dry ingredients and whisk to combine. Add another third and whisk to combine. Add the last third along with any remaining wheatgerm left in the sieve. Stir through to combine (but do not over stir).
Fold in the walnuts.
Divide the batter equally between the prepared tins. Place on racks as close to the centre of the oven as possible. Bake for 40-45 minutes, until a skewer inserted into the middle comes out clean and the the cakes are springy when lightly pressed. (In my oven, I find the cake on the higher rack is ready in 40 minutes, and the cake on the lower rack often needs an extra 5 minutes).
Leave the cakes in their tins for at least an hour (they will firm up as they cool), then transfer to a wire rack.
While they’re cooling, prepare the frosting. Place the icing sugar, dairy-free spread/vegan butter and coffee in a mixing bowl. Stir with a metal spoon until it starts to combine, then beat with electric beaters (or a fork) until light and fluffy. If the frosting looks a little stiff, add a teaspoon of water and keep beating. Store the frosting in the fridge until needed.
Once the cakes are completely cooled, decorate with the frosting and assemble. Sprinkle on your toppings of choice and lightly press them into the frosting. Chill the cake before serving.
Stored in an airtight container, the cake will keep for about three days at room temperature, and up to a week in the fridge. It also freezes well.
Notes
I use 1 TBSP of instant coffee dissolved in 60ml / ¼ cup cold water
I’m really looking forward to seeing your remakes of this cake and how you choose to decorate it! 💜 Tag your photos with #bitofthegoodstuff on social media – I always love to see your creations! You can also connect with me on my social media channels here: Instagram , Facebook, Pinterest.