Old Fashioned English Bread Pudding (Dairy Free / Egg Free / Vegan)

Jump to Recipe

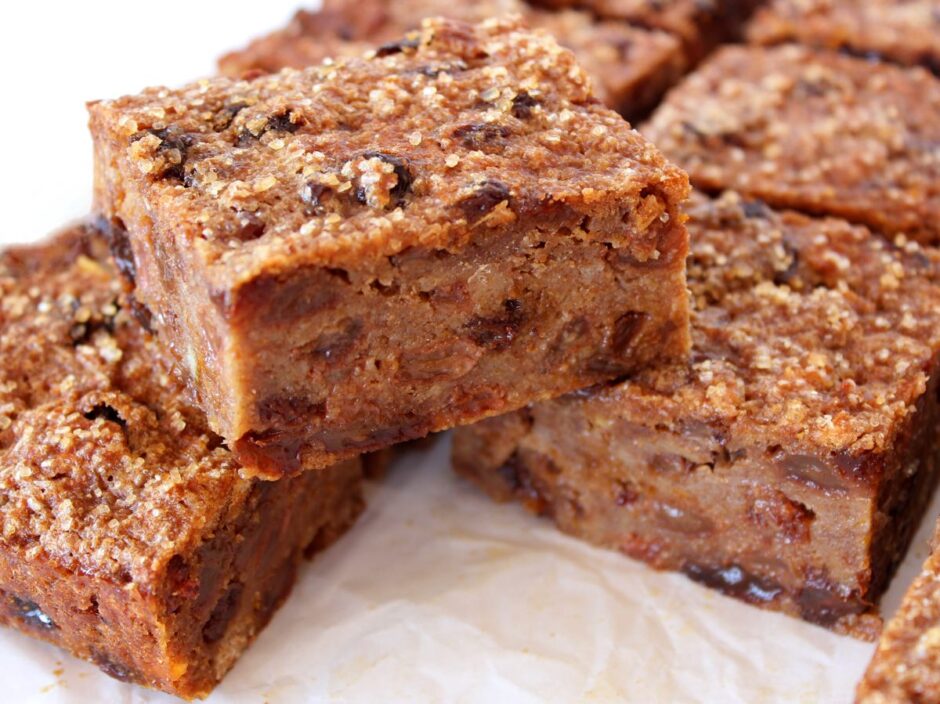
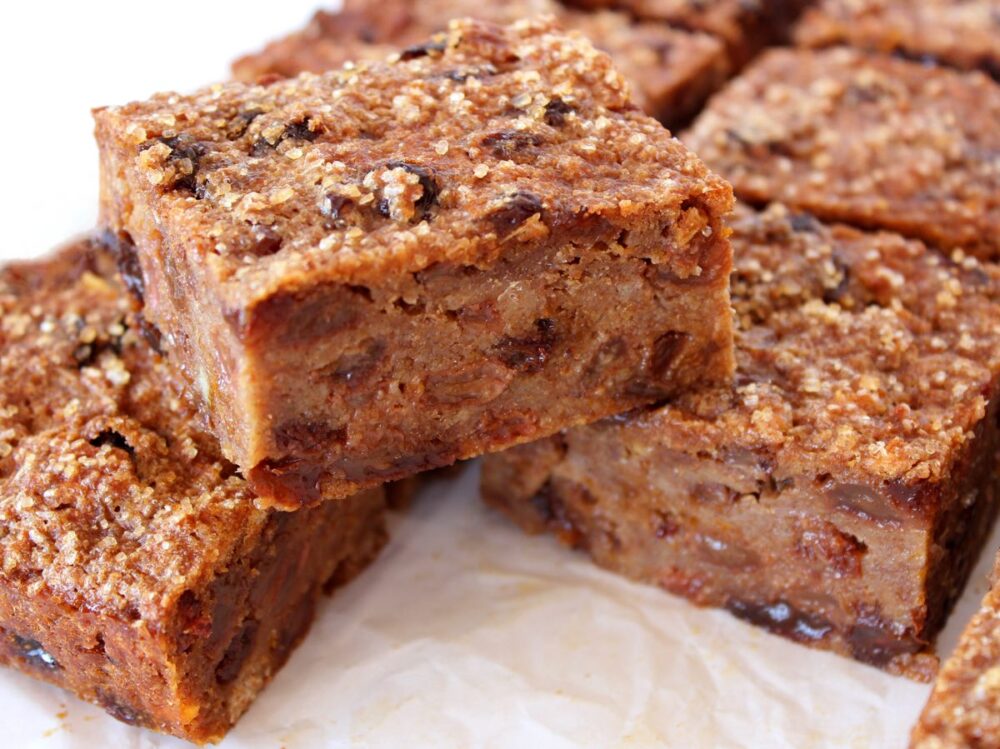
Today I’m delighted to be sharing the recipe for one of my favourite childhood treats – Old Fashioned English Bread Pudding. Its name certainly doesn’t do it justice though, as it tastes nothing like bread nor would I describe it as a pudding! Instead, it is more like a sweet, dense fruit cake. It is delicious served with a hot cuppa, and also makes a fantastic energy-boosting snack to stash in your backpacks for hikes and bike rides. I think this year, all of us have been spending a lot more time outdoors and we definitely need some tasty snacks to keep us fuelled and put a spring in our step. This bread pudding definitely fits that bill!

When I first went vegan, I thought that I was going to have to forego this favourite treat of mine, but it turns out that it was really easy to ‘veganise’ my family’s traditional bread pudding recipe. It was simply a case of switching the cow’s milk for plant milk (I use soya), switching the butter for oil, and ditching the egg. I honestly couldn’t tell the difference from the original. I was absolutely over the moon that my beloved bread pudding was back on the menu.

Old Fashioned English Bread Pudding (Vegan | Dairy-Free)

When I was selling my cookbook at local fairs, I would often take some trays of bread pudding to display on our stall, and they would go in a flash. It was a running joke that the bread pudding was our top sales person as people would often buy a slice, then come back to buy the book specifically for that bread pudding recipe!

Since my cookbook is almost out of print,  I thought it would be useful to share the recipe here on the blog, so everyone can enjoy a slice or two of this tasty treat.
Old Fashioned English Bread Pudding (Vegan | Dairy-Free)

It is really easy to make and super cheap too! It is traditionally made with stale bread, but as bread never hangs around long enough in my house to go stale, I buy a cheap loaf of wholemeal bread instead. The supermarkets’ own brand medium-sliced bread only costs about 60p and you need less than a whole loaf to make 16 slices of bread pudding, making it an absolute bargain!

Recipe Card
Old Fashioned English Bread Pudding

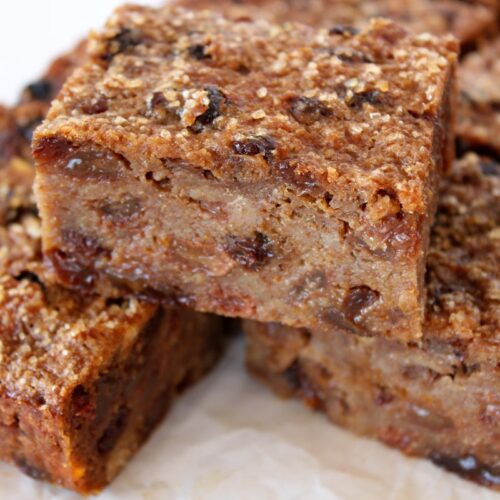
Its name certainly doesn't do it justice, as bread pudding neither tastes like bread nor would I class it as a pudding! It's more like a sweet, dense fruit cake. It is delicious served with a cuppa and also makes a fantastic energy-boosting snack for hikes and bike rides. It's super filling, so be sure to cut those squares a modest size!
4.70 from 10 votes
Cook Time 2 hours
Hands-on Time 20 minutes
Course Snack, Treat
Cuisine English
Servings 16

Ingredients
 

  • 500 g / 17½ oz wholemeal (whole wheat) bread
  • 600 ml / 2½ cups soya milk
  • 1 TBSP mixed spice
  • ½ TBSP ground cinnamon (or more mixed spice)
  • 500 g / 3½ cups mixed dried fruit e.g. sultanas, raisins, candied citrus peel
  • zest of 1 unwaxed/organic lemon
  • zest of 1 unwaxed/organic orange
  • 50 ml / ¼ cup neutral-flavoured oil (I use organic rapeseed (canola) oil)
  • 100 g / ½ cup unrefined ('golden') caster sugar or coconut sugar
  • 2 TBSP Demerara or turbinado sugar

Instructions
 

  • Crumble the bread into a large mixing bowl. Pour in the milk and continue crumbling the bread until it has completely broken down. Stir in the mixed spice, cinnamon and dried fruits. Set aside for 30 minutes.
  • Preheat the oven to 180C (160C fan) / 350F. Grease and line a 20cm / 8 inch square baking tin with non-stick baking paper. Leave some paper overhanging the edges for easy removal.
  • Add the citrus zest, oil and sugar to the mixing bowl. Stir until thoroughly combined, then tip into the prepared tin. Press down and level with a spatula. Sprinkle the Demerara sugar evenly on top. Bake for 1½ hours, or until a skewer inserted through the middle comes out clean. Leave to cool completely, then remove from the tin and slice.
  • Stored in an airtight container in the fridge, the bread pudding will keep for a week. It also freezes well.
Keyword Dairy-Free, Plant-Based, Vegan, Vegan Bread Pudding, Vegan Snacks, Vegan Treats
Tried this recipe?Let us know how it was!

Pin for later ⬇️

Old Fashioned English Bread Pudding

If you make this Old Fashioned English Bread Pudding, I’d love to hear your feedback and any suggestions for adaptations! Tag your photos with #bitofthegoodstuff on social media – I always love to see your creations! You can also connect with me on my social media channels here: Instagram, Facebook, Pinterest.   

With love,

Sharon xx

———————————-

YOU MAY ALSO LIKE…

Old Fashioned English Tea Loaf

Old Fashioned English Tea Loaf (Vegan | Dairy-Free)
Chocolate Orange Energy Balls

Jump to Recipe

As many of you will know, I am a big fan of home-made energy balls. Not only are they delicious, but they also happen to be packed full of nutrient-rich ingredients such as oats, dates and nuts that help to boost our energy levels, and support good health in general. Each ball is filled with protein, heart-healthy fats, complex carbohydrates, fibre, plus a whole host of minerals and antioxidant compounds. It’s amazing just how much goodness fits inside one little ball!

Healthy AND delicious? That’s definitely my favourite kind of snack! 

Chocolate Orange Energy Balls
Continue reading “Chocolate Orange Energy Balls”

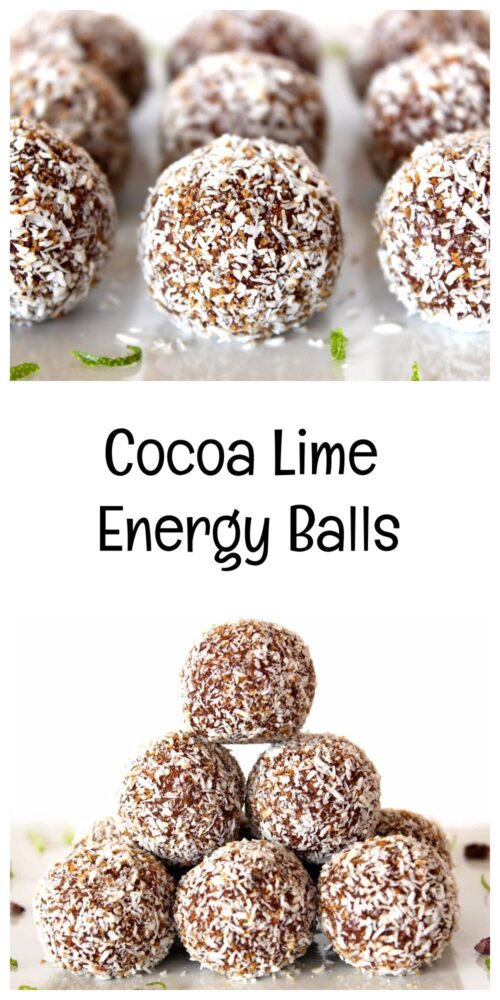
Cocoa Lime Energy Balls

Jump to Recipe

* This recipe was originally posted in March 2015. The page was updated in October 2019.

Have you ever tried making your own energy balls? It’s so easy! You simply throw all the ingredients in a food processor, whizz for a few seconds then shape the mixture into balls. It couldn’t easier! 

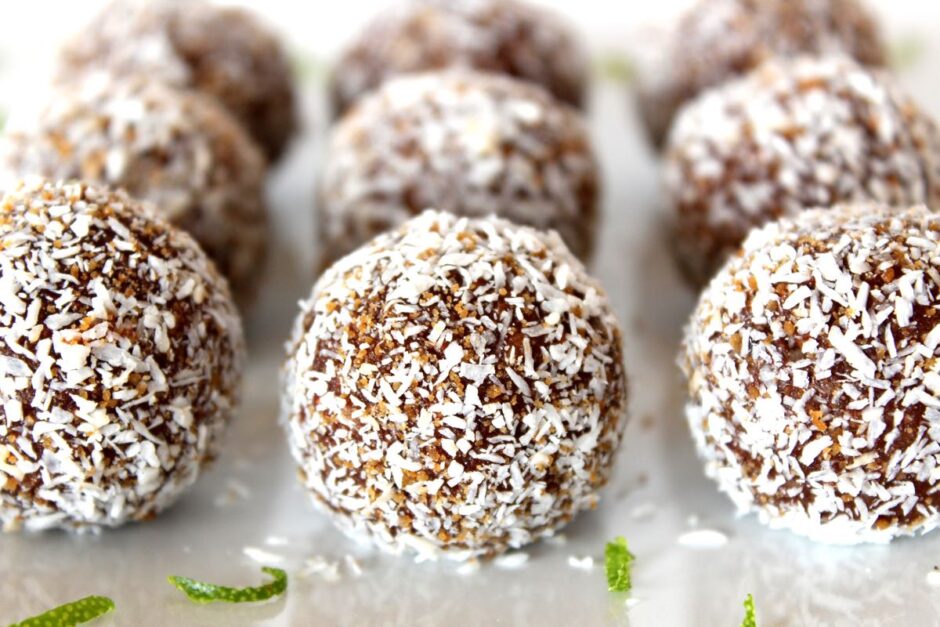
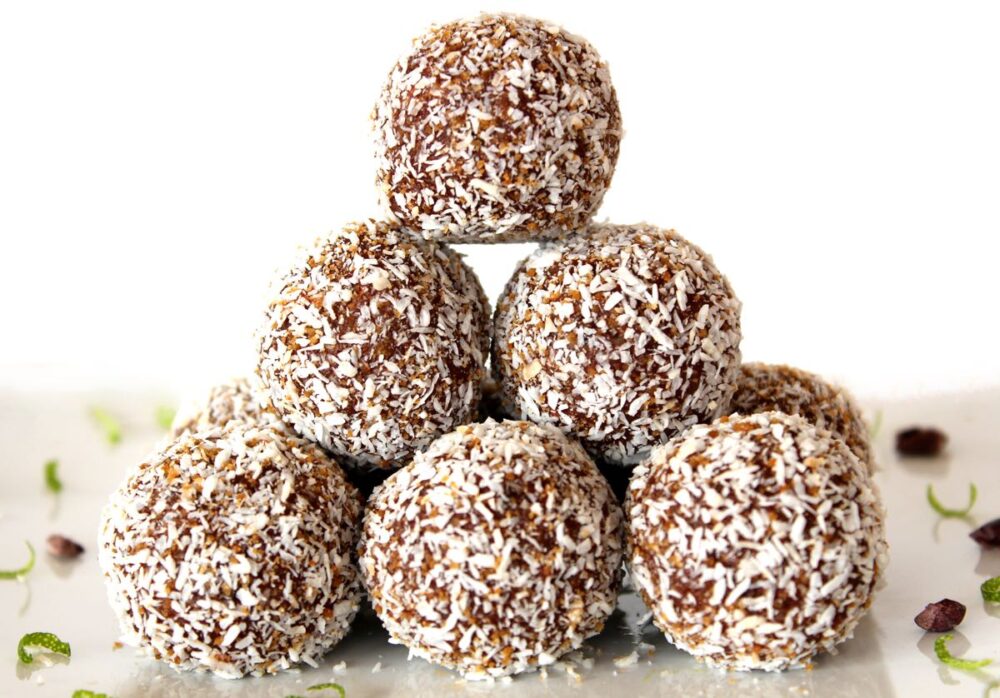
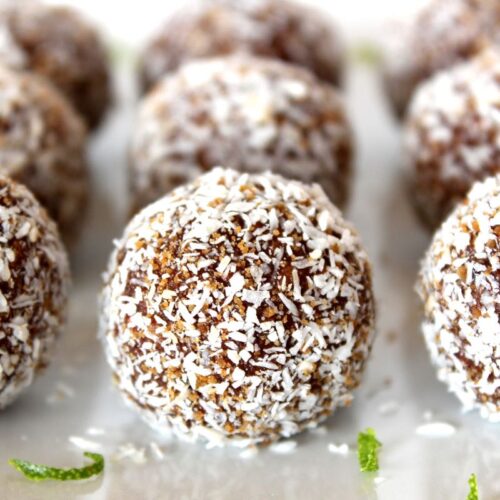
Cocoa Lime Energy Balls

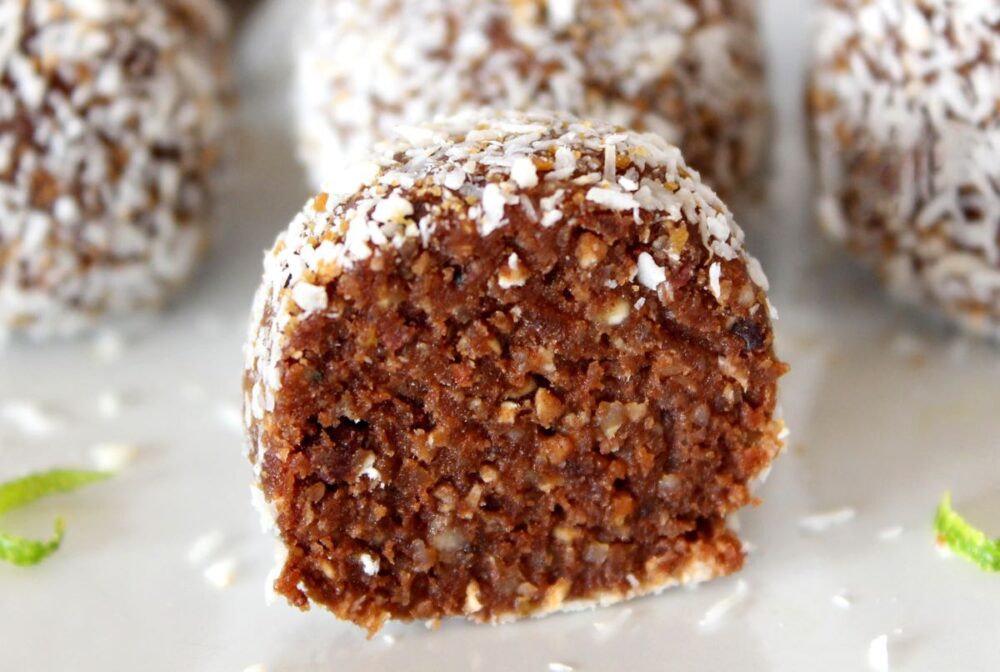
What I especially love about these balls is that they taste decadent, yet they’re packed full of nutrient-rich ingredients that are not only going to increase our energy levels, but also boost our health in general. Each ball is filled with protein, heart-healthy fats, complex carbs, fibre, plus a whole host of minerals and antioxidant compounds. It’s amazing just how much goodness you can fit into one little ball!

And not only does it work out much cheaper to make your own rather than buying the branded versions, but it also means that you get to flavour them however you wish! In today’s recipe, I’m using one of my favourite flavour combinations – cocoa and lime. I love anything chocolatey, but especially when it’s combined with a citrus flavour like lime. It help cuts through the richness of the chocolate, and adds a delicious fresh, zesty taste to every bite.

Cocoa Lime Energy Balls

Since I originally posted this recipe back in 2015, I’ve made literally hundreds of these balls to share with friends, family and vegan festival goers, and they’ve proven to be a big hit with everyone that’s tried them. Even little kids have given them a thumbs up, which has made me super happy! These balls make a great after-school snack and (provided you carefully supervise the food processor part) children could easily help you make them. They could even experiment with their own flavour combinations!

Recipe Card

Cocoa Lime Energy Ball

Cocoa Lime Energy Balls

These Cocoa Lime Energy Balls are chocolatey but not too rich, fresh and zesty thanks to the lime, and lighter than the classic energy ball as I've reduced the nuts and used oats instead. Delicious, nutrient-rich and energy boosting, these balls make the perfect snack. Their handy size makes them easy to transport and stash in your bag for snacking 'on the go'.
Hands-on Time 15 minutes
Total Time 15 minutes
Course Snack
Servings 12

Ingredients
 

  • 22 g / ¼ cup desiccated coconut
  • 1 TBSP coconut sugar
  • 50 g / ½ cup rolled oats (quick oats, not jumbo)
  • 43 g / ¼ cup cashews
  • 35 g / ¼ cup walnuts
  • 2 TBSP cacao or cocoa powder
  • 120 g / ½ cup soft sticky dates, pitted
  • ½ – 1 tsp zest from an unwaxed/organic lime
  • 2 TBSP freshly squeezed lime juice
  • 1 tsp maple syrup
  • pinch of salt
  • 2 TBSP cacao nibs, optional

Instructions
 

  • Mix together the desiccated coconut and sugar in a shallow container.
  • Place the oats, cashews and walnuts in a food processor and whizz into crumbs. Add the cacao/cocoa powder, dates, lime zest, lime juice, maple syrup and salt. Process until the dates are broken down. Add the cacao nibs, and continue processing until the mixture comes together in a ball. Taste test and add a touch more cacao/cocoa, lime zest or sweetener, if desired.
  • Scoop level tablespoons of the mixture. Roll into balls, then roll in the coconut sugar mixture. Repeat until all the dough is used. Chill in the fridge (ss they chill, they will firm up).
  • Stored in an airtight container, these energy balls will keep for a week in the fridge, or for weeks in the freezer.
Keyword Healthy Snacking, Plant-Based, Vegan Snacks
Tried this recipe?Let us know how it was!

Nutritional Breakdown

N.B. The above values are estimates. The actual nutritional values will vary depending on the brands and ingredients used.

Pin for later ⬇️

Cocoa Lime Energy Balls

If you make these Cocoa Lime Energy Balls, I’d love to hear your feedback and any suggestions for adaptations! Tag your photos with #bitofthegoodstuff on social media – I always love to see your creations! You can also connect with me on my social media channels here: InstagramFacebook, Pinterest.   

With love,

Sharon xx

——————————–

YOU MAY ALSO LIKE…

Chocolate Orange Energy Balls

Chocolate Orange Energy Balls

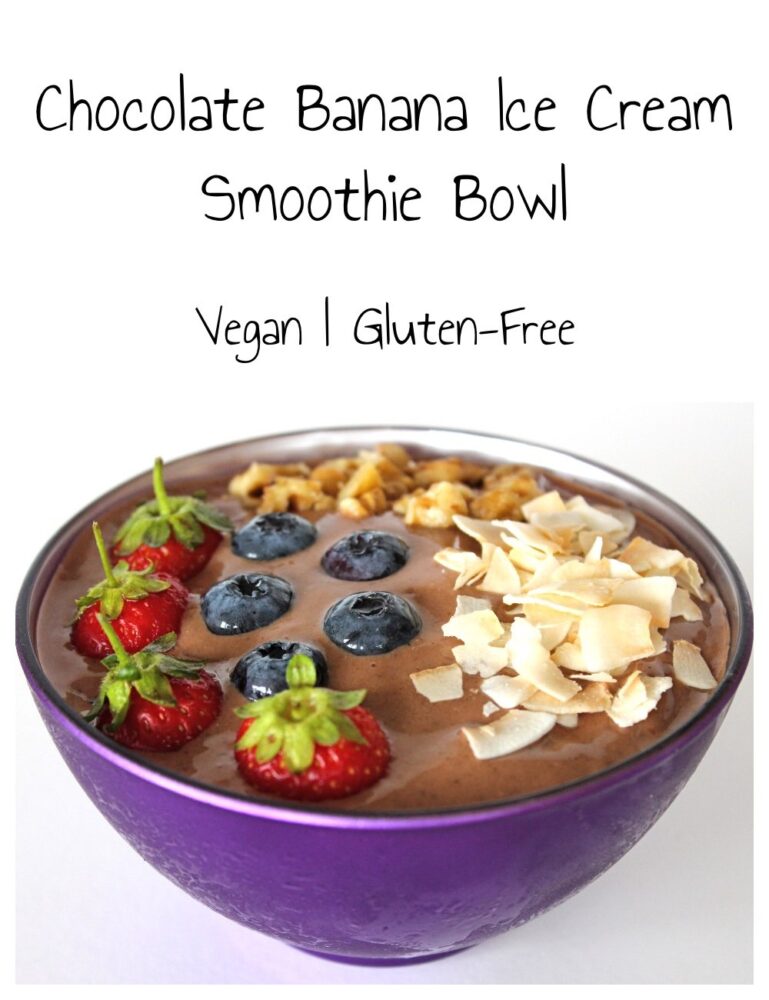
Chocolate Banana Ice Cream Smoothie Bowl (Dairy-Free)

Jump to Recipe

* This post was originally posted in July 2016. The page was updated in August 2019.

In the hot summer months, nothing beats a cooling bowl of ice cream smoothie for breakfast. It might sound a bit indulgent to eat ice cream for breakfast, however this is no ordinary dairy and sugar-laden ice cream. The base is a blend of frozen banana and plant milk that magically transforms into the creamiest, smoothest soft serve. This is one ice cream that you can indulge in to your heart’s content!

As well as a great warm weather breakfast option, this ice cream smoothie bowl also makes a delicious post-school and exercise snack.

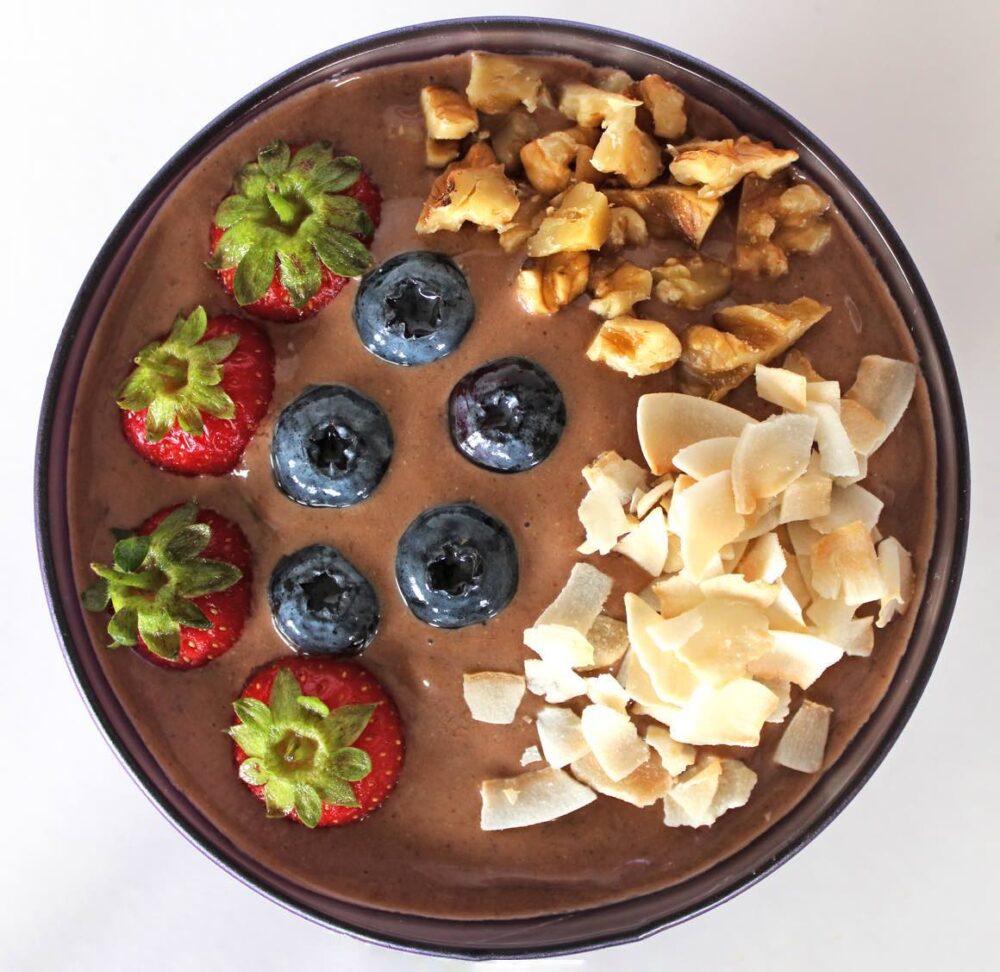
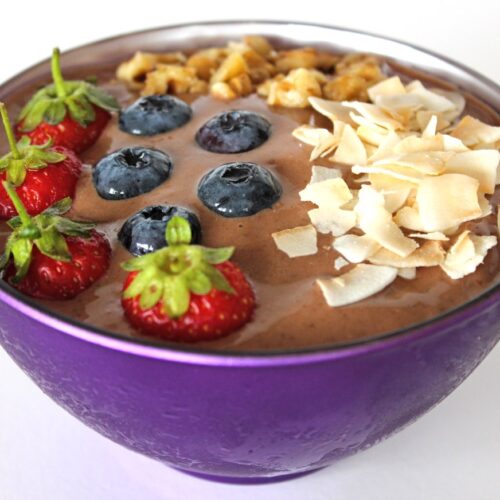
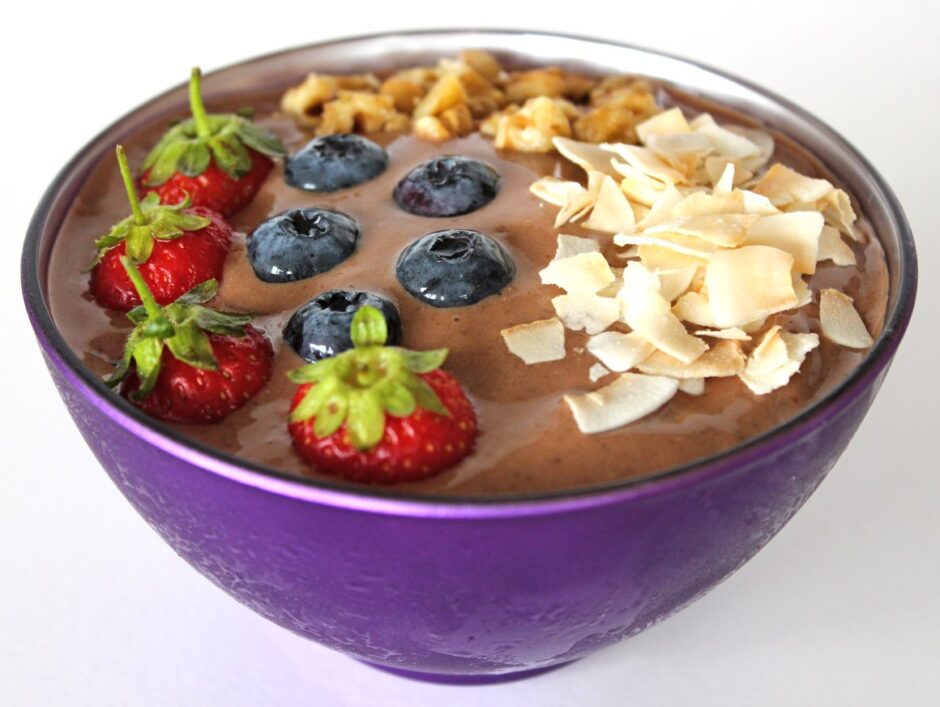
Chocolate Banana Ice Cream Smoothie Bowl (Vegan / Dairy-Free)

The chocolate version that I’m sharing today is not only one of my personal favourites, but it has also proven to be very popular with kids too! It always feels great to give kids a treat that’s delicious and healthy, and this one is packed with goodness. It contains a whole host of vitamins, minerals and antioxidants, and is especially rich in vitamins C and E, calcium, magnesium, manganese, potassium and phosphorus.

These ice cream smoothie bowls are so quick and easy to make. It’s simply a case of freezing the bananas, then whizzing the ingredients smooth in a power blender or sturdy food processor.

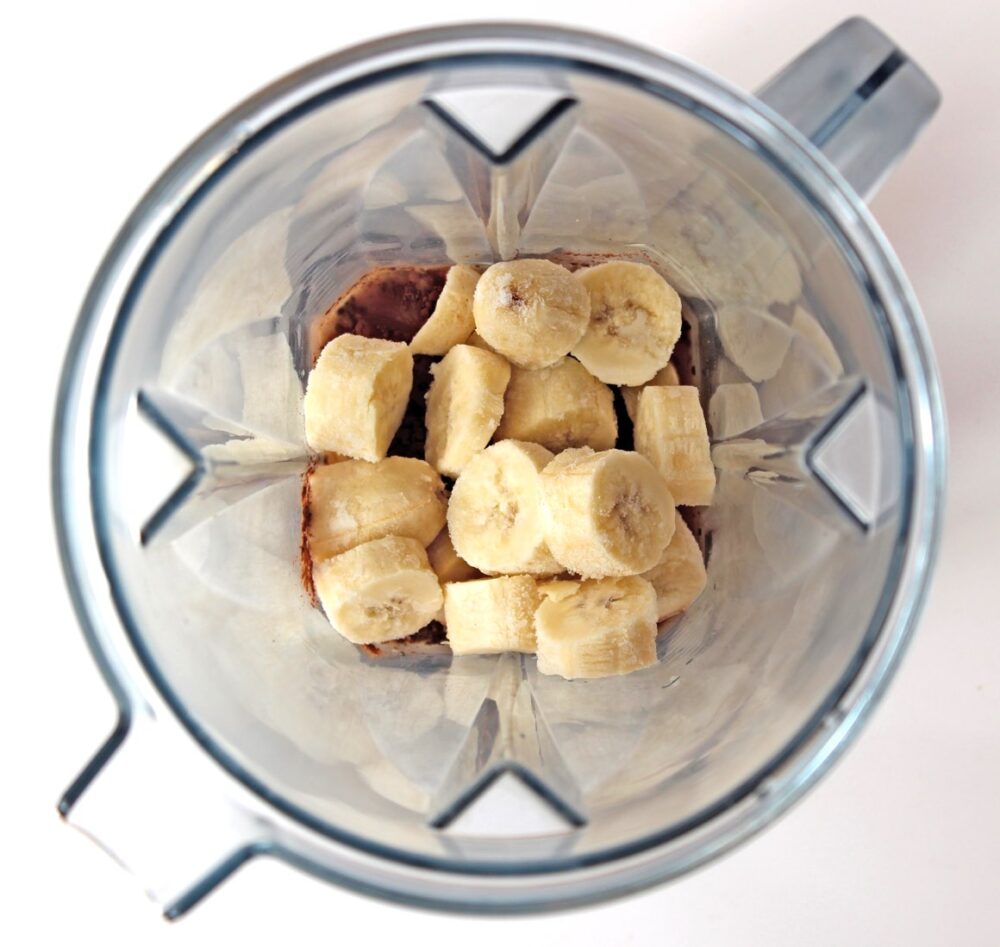
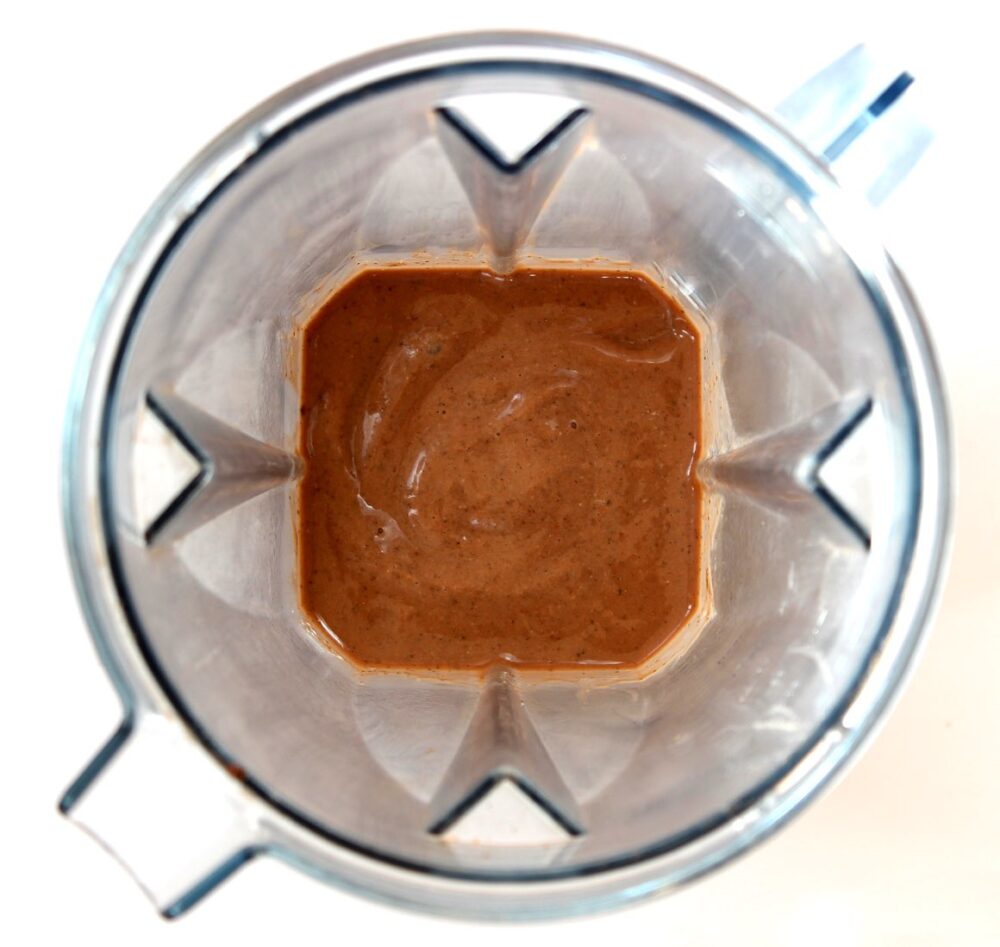
Chocolate Banana Ice Cream Making

I always like to include a tablespoon of almond butter and ground linseed (flaxseed) in my smoothie bowls for extra protein and heart-healthy fats, including omega 3. Adding these two ingredients also helps to make the bowl a more ‘complete’ breakfast and keeps me feeling full up for longer.

Recipe Card

Chocolate Banana Ice Cream Smoothie Bowl (Vegan / Dairy-Free)

Chocolate Banana Ice Cream Smoothie Bowl

This ice cream smoothie bowl is just perfect for serving for breakfast on a hot summer's day, or as a post-school or exercise snack. It tastes really decadent, yet it's packed full of goodness!
Hands-on time 5 minutes
Total Time 5 minutes
Course Breakfast, Snack
Servings 1

Ingredients
 

  • 180 ml / ¾ cup soya milk (or other plant milk)
  • 2 frozen very ripe bananas
  • 1 TBSP cacao or cocoa powder
  • 1 TBSP ground linseed (flaxseed)
  • 1 TBSP almond butter
  • ½ tsp vanilla extract

Suggested toppings:

  • Fresh berries, nuts and seeds (I used strawberries, blueberries, walnuts and toasted coconut chips)

Instructions
 

  • If your house is warm, place your bowl in the freezer for a few minutes.
  • Using a sharp knife, slice the frozen bananas into coins.
  • If using a power blender: Add the milk followed by all the remaining ingredients. Using a tamper tool, push the banana onto the blades. Start blending on low then move to high speed. Add a splash more milk, if needed, to get things moving.
  • If using a food processor: Add all the ingredients and whizz until smooth. Stop now and then to scrape down the sides and redistribute the banana round the bowl.
  • Scoop the ice cream into your bowl. Add your desired toppings and serve immediately. If you are going to hold the bowl in your hands, wrap a tea towel round it to stop the ice cream from melting.
Keyword Banana Ice Cream, Family Friendly, Gluten-Free, Plant-Based, Vegan Breakfast, Vegan Snacks
Tried this recipe?Let us know how it was!

Nutritional Breakdown

N.B. The above values are estimates. The actual nutritional values will vary depending on the brands and ingredients used.

Pin for later ⬇️

Chocolate Banana Ice Cream Smoothie Bowl (Vegan / Dairy-Free)

Ice cream, parfaits, chia puddings, pancakes, waffles…. we love interchanging breakfasts and desserts in our house, and it appears that we’re not the only ones! Here are some more ‘desserts for breakfast’ ideas from some of my favourite bloggers…

Blueberry Bread Pudding Breakfast Cake by Blissful Basil

1-Hour Cinnamon Rolls with Aquafaba by Vegan Richa

Peanut Butter and Jelly Muffins by Minimalist Baker

Strawberry Cheesecake Mess by Wallflower Kitchen

Cherry-Strawberry Chia Seed Fool with Vanilla Bean Coconut Whipped Cream from Oh She Glows

Easy Peasy Pumpkin Spice Bread Pudding by Unconventional Baker

If you make this Chocolate Banana Ice Cream Smoothie Bowl (or any other recipes on my blog), I’d love to hear your feedback and any suggestions for adaptations! Tag your photos with #bitofthegoodstuff on social media – I always love to see your creations! You can also connect with me on my social media channels here: InstagramFacebookPinterest.   

With love,

Sharon xx

———————————-

Chocolate Granola Clusters with Hazelnuts, Pecans and Cranberries

Jump to Recipe

Today, I’d like to share another of my family’s favourite granola recipes. Filled with hazelnuts, pecans, cranberries and chocolatey goodness, this granola is perfect for this season.

My garden is bordered by cob nut trees, and this year they produced the most amazing crop. I made a deal with the squirrels whereby I would collect nuts from the low hanging branches, and they could have the rest. They then got to work, burying nuts all over my lawn and flower beds, and in my plant pots. Invariably they forget where they’ve buried them and we end up with nut trees growing literally everywhere!

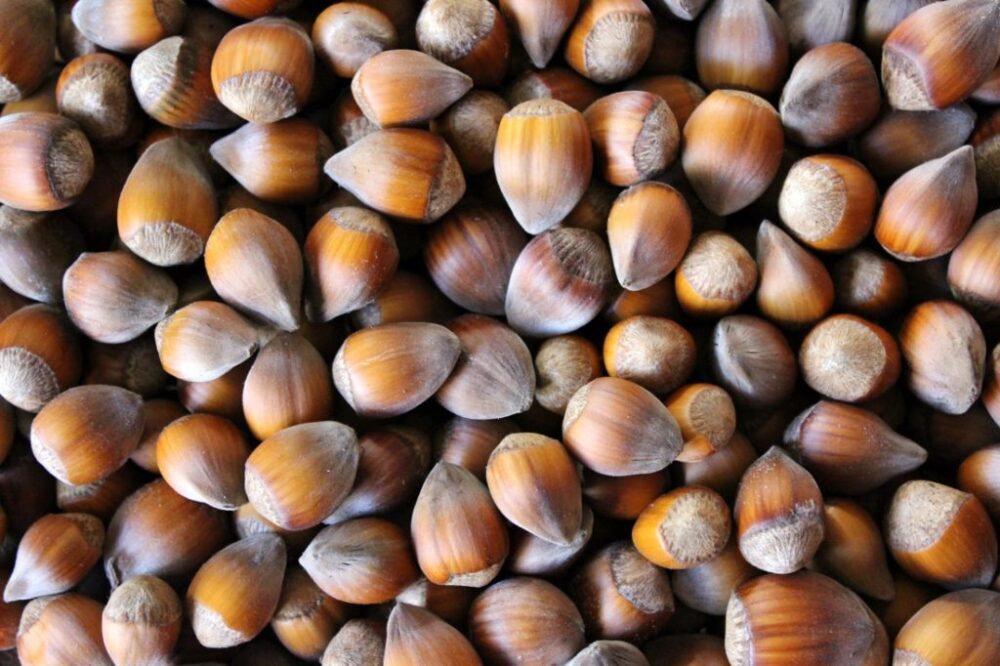
Cob Nuts

Once they’ve matured, cob nuts are very similar in taste and texture to hazelnuts, so I put them to good use in recipes, like this granola!

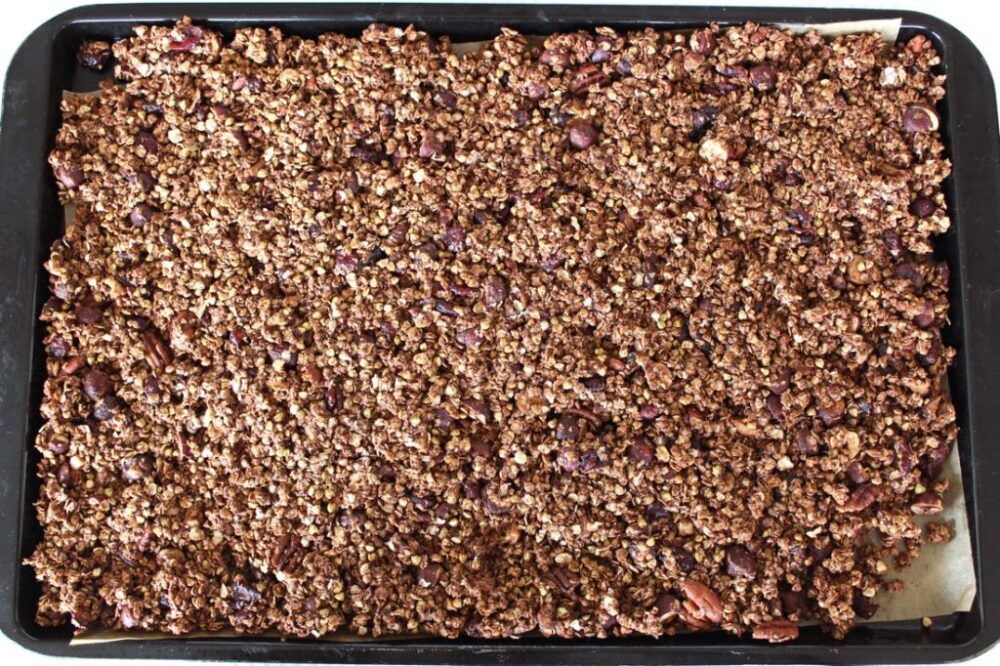
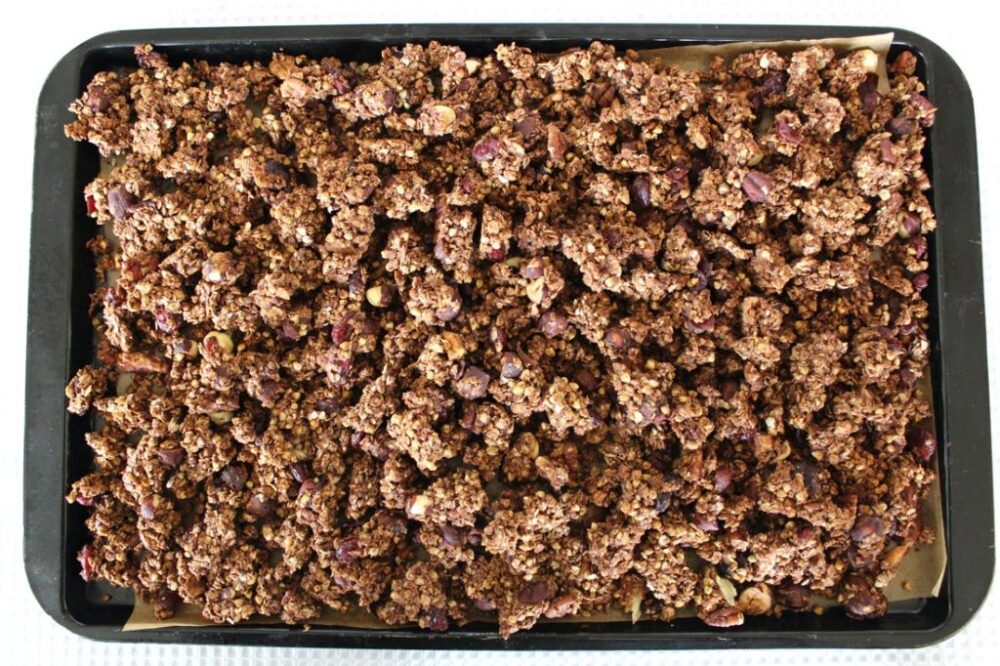
As I’ve mentioned in previous posts, Lil’ L loves home-made granola, especially when it’s formed into clusters. It’s so easy to make. You simple press down the mixture as if you’re making a thin granola bar then, once completely cooled, you break it into clusters.

Choclate Granola Clusters on Tray

As well as oats, I Iove to add buckwheat into the granola which adds some lovely crunch as well as more great nutrients. The name ‘buckwheat’ is pretty misleading as it’s actually a fruit seed and doesn’t contain any wheat at all! It is a good source of protein, dietary fibre, antioxidant phytonutrients, B vitamins and minerals. In the UK, buckwheat is currently available in some of the larger supermarkets (Tesco, Waitrose, Ocado), health food stores and online.

Chocolate Granola Clusters Tray

Our favourite sweetener for granola is maple syrup. This adds a delicious caramel-like sweetness, rather than a ‘sugary’ flavour. I use Clarks Original Maple Syrup, which is a blend of maple and carob syrups. It’s widely available in the UK, and a fair bit cheaper than pure maple syrup. I really like its flavour and consistency, which is slightly thicker than the pure grade syrup.

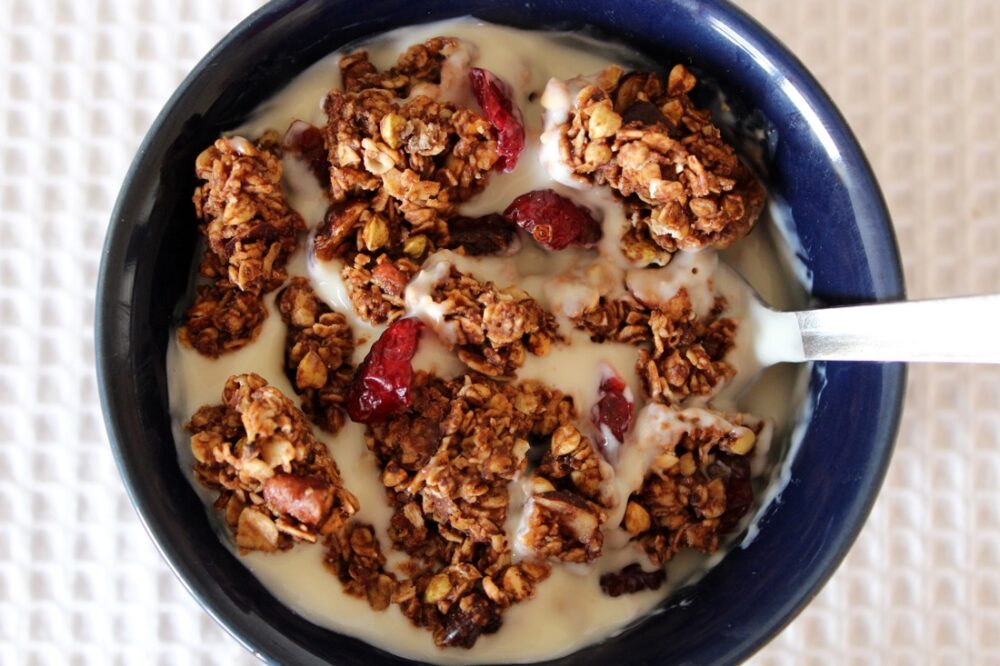
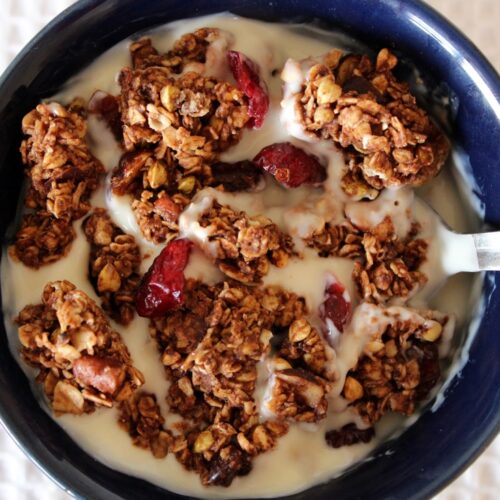
These granola clusters make wonderful breakfasts, snacks and desserts. For breakfast, we like to serve them with plant milk or non-dairy yogurt. For an omega-3 boost, I often add a light sprinkling of ground linseed and finely chopped walnuts before serving. I also sprinkle in a few extra cranberries to brighten up the bowl.

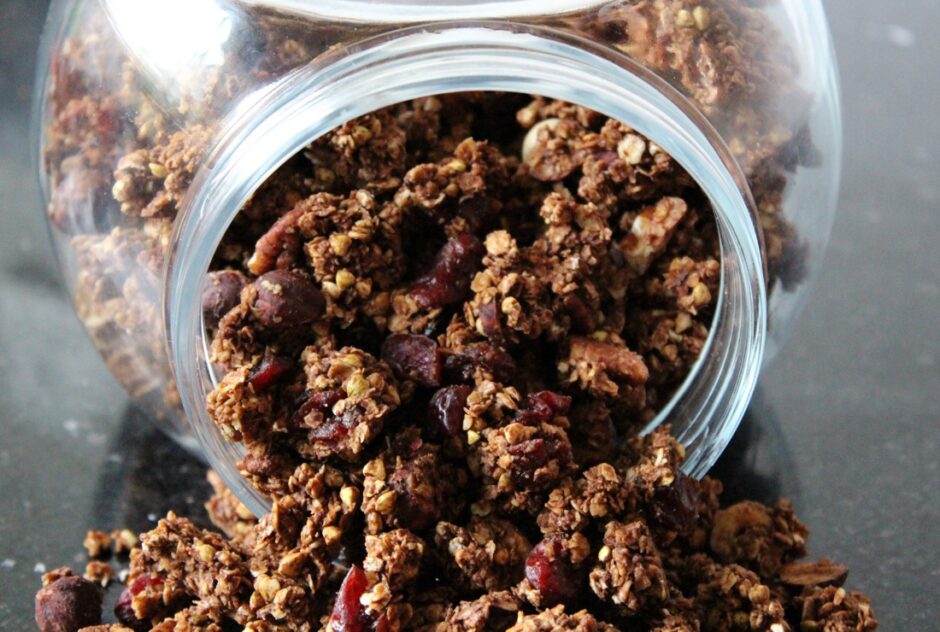
Chocolate Hazelnut Granola Clusters with Cranberries

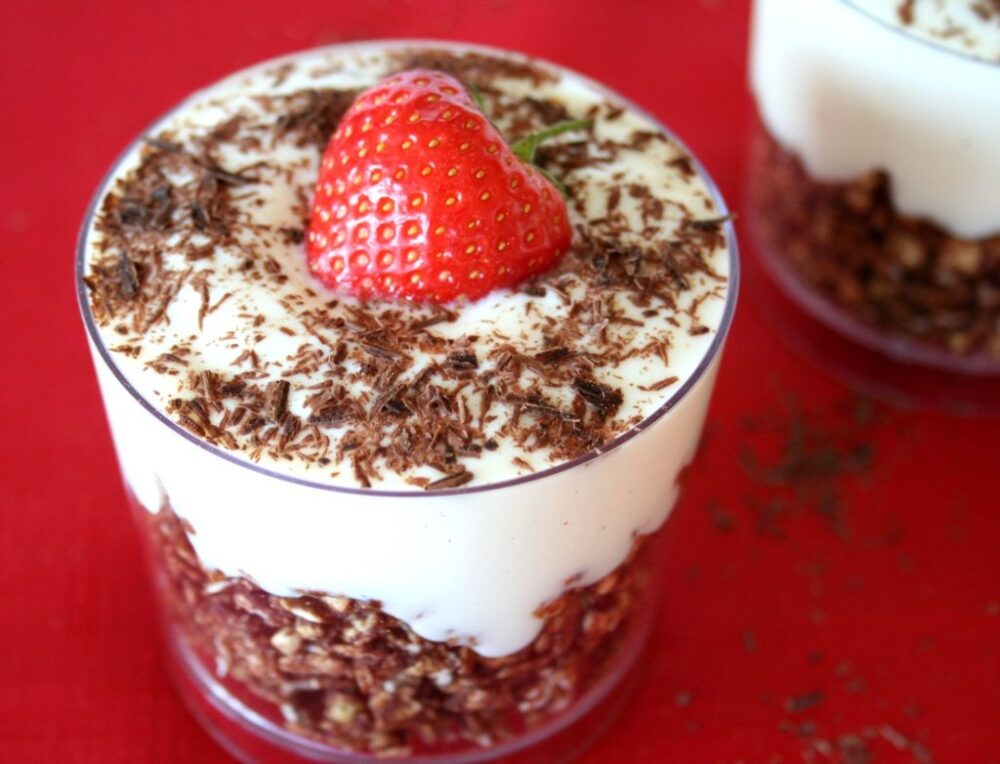
Layered with yogurt and fresh or frozen fruits, the clusters also make a delicious dessert or after-school snack. They look really fancy yet take literally seconds to throw together!

Strawberry Chocolate Granola and Yoghurt Parfait

Recipe Card

Chocolate Hazelnut Granola Clusters with Cranberries

Chocolate Granola Clusters with Hazelnuts, Pecans and Dried Cranberries

These granola clusters make a wonderful breakfast, snack or dessert. For a fancy treat, layer up the granola with yogurt and fruits to make a parfait. Despite taking only seconds to prepare, it looks really beautiful and is bound to impress family and friends!
Hands on time: 10 minutes
Total Time 1 hour
Course Breakfast, Dessert, Snack
Servings 10

Ingredients
 

  • 300 g / 3 cups rolled oats
  • 100 g / ½ cup raw buckwheat (or you can substitute with more oats)
  • 30 g / 4 TBSP cocoa powder
  • 30 g / 3 TBSP coconut sugar or unrefined caster sugar
  • ¼ tsp salt
  • 75 g / ½ cup hazelnuts roughly chopped
  • 65 g / ½ cup pecans roughly chopped
  • 70 g / ½ cup dried cranberries (preferably sweetened with fruit juice)
  • 150 ml / ½ cup maple syrup*
  • 2 tsp vanilla extract
  • 45 g / 3 TBSP virgin coconut oil melted

Instructions
 

  • Preheat the oven to 150C (130C fan) / 300F. Line a large baking tray (38 x 26cm / 15 x 10 inches) with non-stick baking paper. If your coconut oil is solid, place in the oven in a heat-proof bowl for a couple of minutes until it has liquefied. Be careful when removing the bowl as it will be very hot!
  • In a large mixing bowl, stir together the oats, buckwheat, cocoa powder, sugar and salt. Stir in the nuts. You can also stir in the cranberries at this stage or, if you'd like to preserve their vibrant colour, add them to the granola once it's baked.
  • Pour in the maple syrup and vanilla extract, and stir until all the grains become coated and shiny. Add the coconut oil and stir until thoroughly combined. Spread the granola out evenly on the prepared baking tray. Press down firmly with a silicone spatula so that the mixture sticks together as if you were making a thin granola bar.
  • Bake for 40 minutes. Remove from the oven and leave to cool. (The granola will firm up as it cools). Once completely cooled, break up the granola. The clusters from the centre of the tray may still feel a little soft when fresh baked but I find they firm up and become crunchy over time. Stored in an airtight container in a cool place, the granola will last for weeks.

Notes

*I use Clark’s Original Maple Syrup which is blended with carob fruit syrup. It’s much cheaper than pure maple syrup and I really like its flavour!
Keyword Easy Vegan Desserts, Home-made Granola, Vegan Breakfast, Vegan Snacks
Tried this recipe?Let us know how it was!

If you make this granola, I’d love to hear your feedback and any suggestions for adaptations! Tag your photos with #bitofthegoodstuff on social media – I always love to see your creations! You can also connect with me on my social media channels here: InstagramFacebookPinterest.   

With love

Sharon xx