Tofu ‘Halloumi’

Jump to Recipe

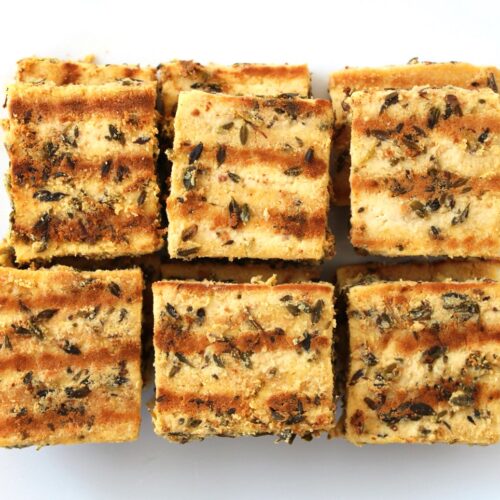
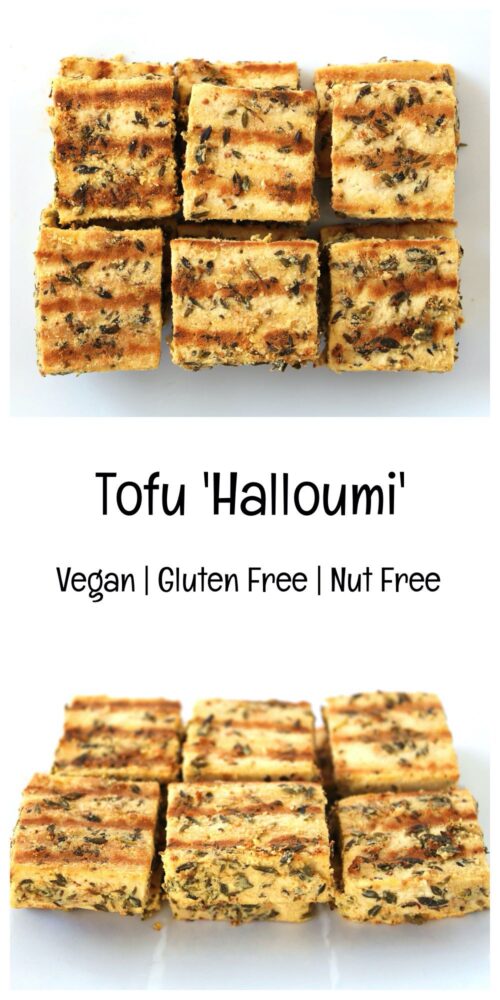
In today’s post, I’m sharing the recipe for a delicious plant-based alternative to halloumi. Simple to prepare, this Tofu ‘Halloumi’ is highly versatile. We love to add it to Greek-style salads, sandwiches, pittas, wraps and mezze platters. 
Tofu Halloumi

It was the Greek Vegan Deli guys that first introduced me to Tofu ‘Halloumi’ back in 2018 at Bristol VegFest. It was absolutely delicious!! Since then, every time I see the Greek Deli guys at a festival, I really look forward to tucking into their Tofu ‘Halloumi’, either stuffed into a pitta or as part of one of their incredible Greek platters. 

I love Greek food and halloumi used to be one of my favourite cheeses. However, once I’d tried the tofu version, I was hooked. I loved it even more than the original!

And if I’d known just how easy it is to make, I would definitely have tried making Tofu ‘Halloumi’ a long time ago!

It involves three simple steps …

  1. Pressing the tofu
  2. Marinating it for an hour
  3. Then grilling it for a few minutes.

Job done!

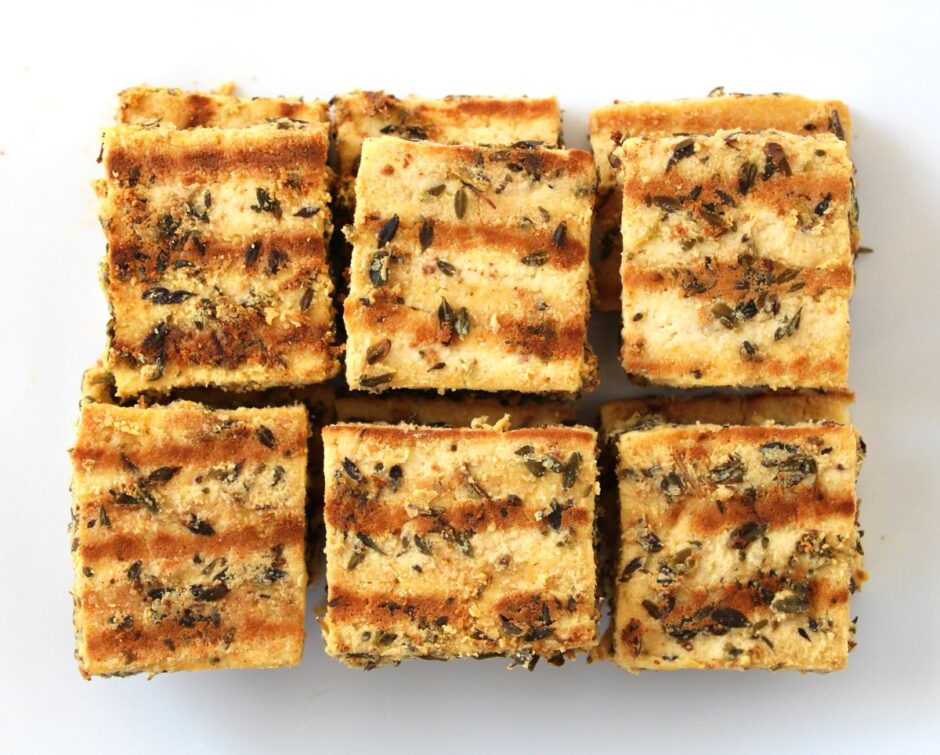
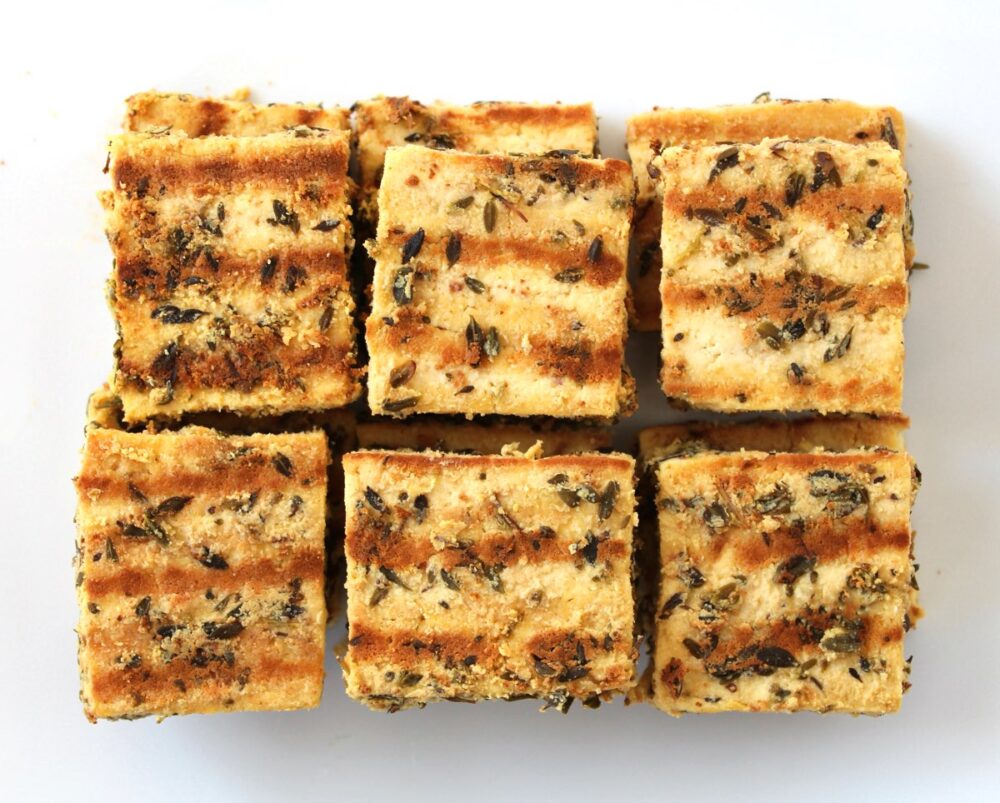
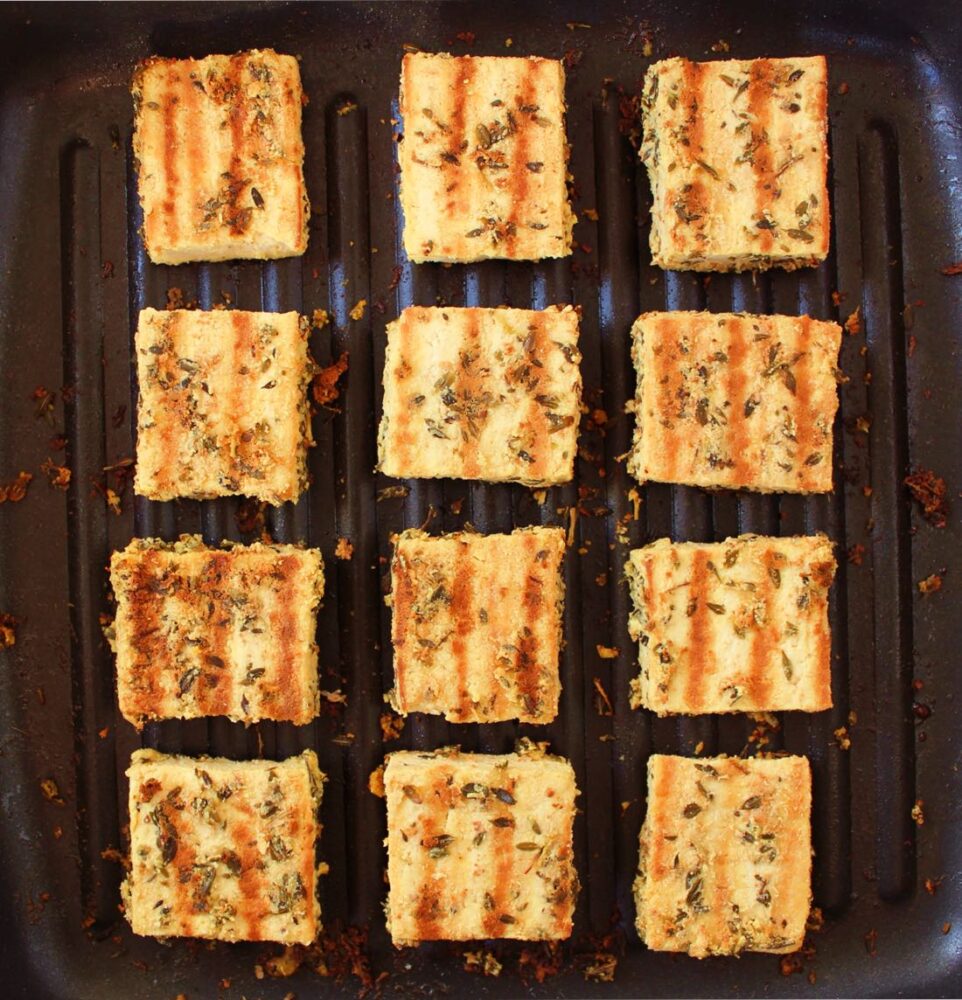
I especially love to use a griddle pan to get those beautiful grill lines.
Tofu Halloumi

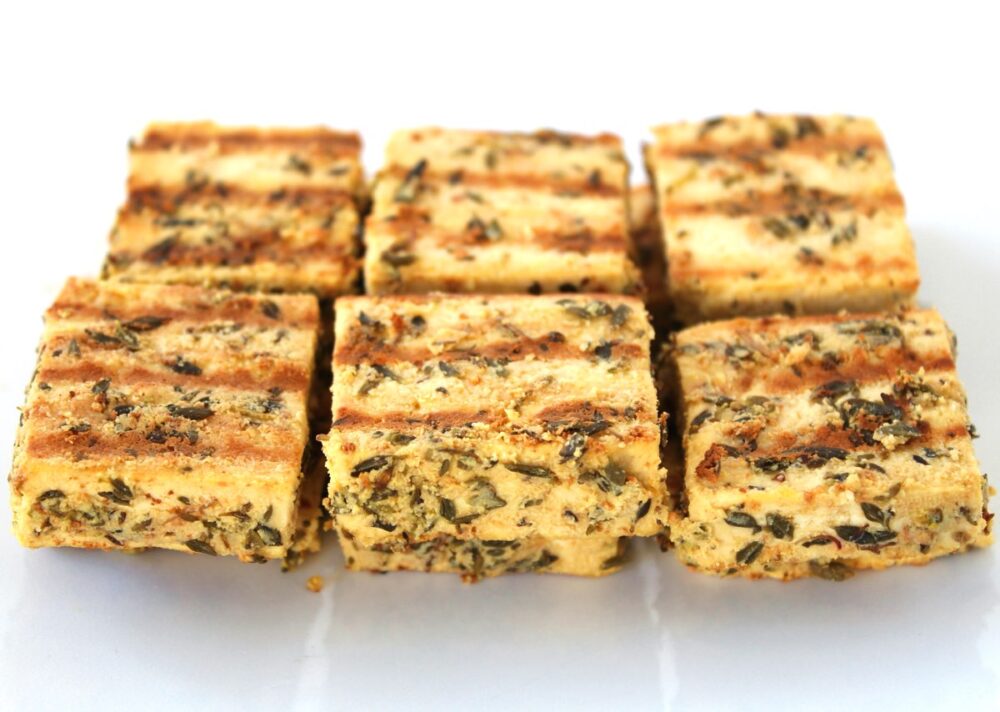
For the marinade, I used five ingredients that are basic staples my kitchen – nutritional yeast flakes, lemon, oregano, extra virgin olive oil and salt. The resulting tofu was so flavourful. It was salty, tangy, cheesy and herby – all the flavours I associated with Greek halloumi (for Cypriot halloumi you could switch the oregano for mint instead).
Tofu Halloumi

Recipe Card

Tofu Halloumi

Tofu ‘Halloumi’

This tofu is a delicious alternative to halloumi. It can be served warm or cold, and is perfect for adding to Greek salads, sandwiches, pittas, wraps and mezze platters.
5 from 3 votes
Hands-on Time 18 minutes
Total Time 2 hours
Course Appetizer, Dinner, Lunch, Salad
Cuisine Mediterranean, Middle East
Servings 3

Ingredients
 

  • 1 block (about 400g / 14 oz) of super firm tofu*
  • 4 TBSP nutritional yeast flakes
  • 2 TBSP fresh lemon juice
  • 1 TBSP dried oregano
  • 1 TBSP extra virgin olive oil
  • ½ tsp salt

Instructions
 

  • Press the tofu for 30 minutes**. Slice into ½ inch (1.3 cm) thick rectangles.
  • Add the nutritional yeast flakes, lemon juice, dried oregano, oil and salt to a bowl and stir until thoroughly combined. The nutritional yeast should start to dissolve into the oil.
  • Add the tofu to a wide, shallow container and use a pastry brush or spoon to coat both sides in the marinade (it doesn’t matter if you need to stack the tofu). Cover and leave for an hour to marinate. Alternatively you can leave it overnight in the fridge.
  • When ready to cook, spray a non-stick griddle pan or frying pan (skillet) with oil and pre-heat on medium-high. Add the tofu in a single layer and press down on it with a slotted turner spatula (you should hear it sizzle). Cook for 2-3 minutes until golden brown on the underside then flip over and repeat.
  • Stored in an airtight container, the tofu will keep for a couple of days.

Notes

* I used Cauldron Extra Firm Organic Tofu (available in the chiller cabinet in most big UK supermarkets). I like this tofu as it is set in calcium sulphate so it’s an easy way to boost our calcium levels. According to their website, Cauldron Organic Tofu contains approximately 400mg of calcium per 100g (a quarter block). 
**Here’s my preferred way to press tofu (since I don’t have a tofu press): Place the tofu on a rimmed baking tray. Place a chopping board on top of the tofu, followed by a heavy object to weigh it down. The water collects in a pool round the tofu. After 30 minutes, drain off the liquid. Give the tofu a quick pat with kitchen paper to soak up any residual liquid, then it’s good to go.
Keyword Easy Vegan Meals, Gluten-Free, Plant-Based, Vegan Lunchbox Ideas, Vegan Sandwiches
Tried this recipe?Let us know how it was!

Pin for later ⬇️

Tofu Halloumi

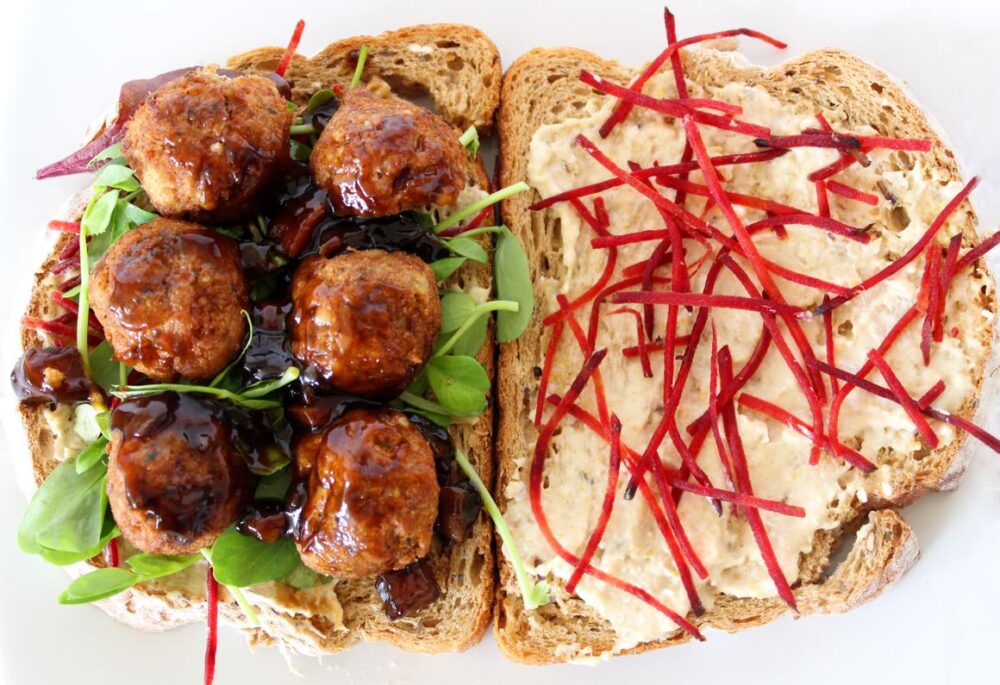
I’m really looking forward to seeing how you would use this Tofu ‘Halloumi’. Today, I added it to a toasted sandwich with baby leaves and shredded beetroot, sun-dried tomatoes and mayo. It was so delicious! If you make it, remember to take a photo and tag it with #bitofthegoodstuff on social media – I always love to see your creations! You can also connect with me on my social media channels here: Instagram, Facebook, Pinterest.    

With love,

Sharon xx

——————————–
Easy Vegan Chocolate Torte [No Bake]

Jump to Recipe

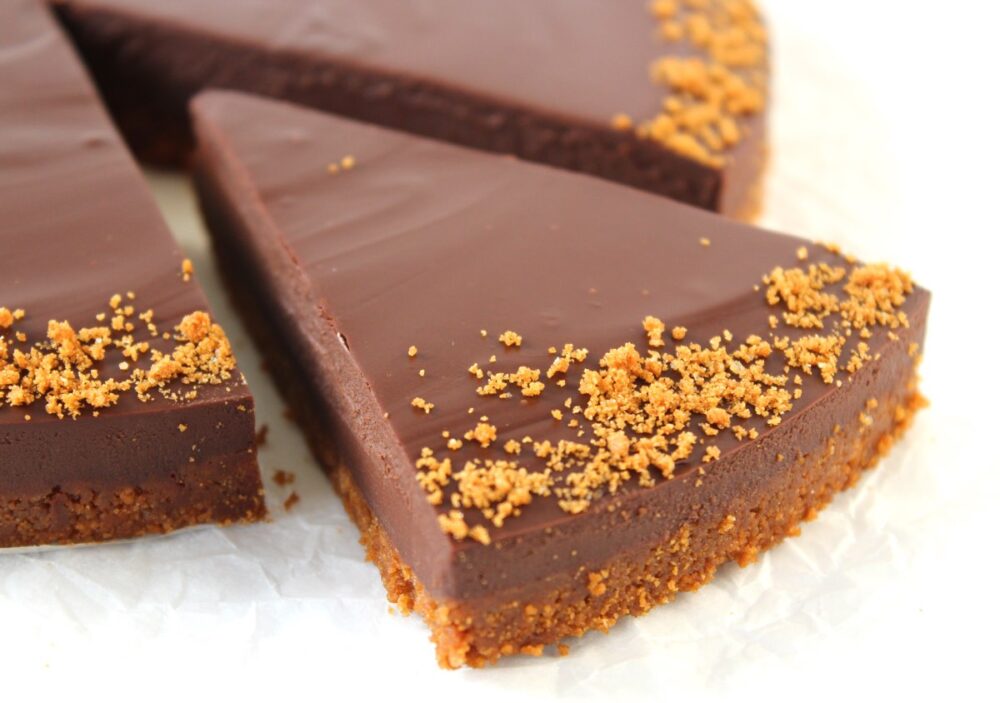
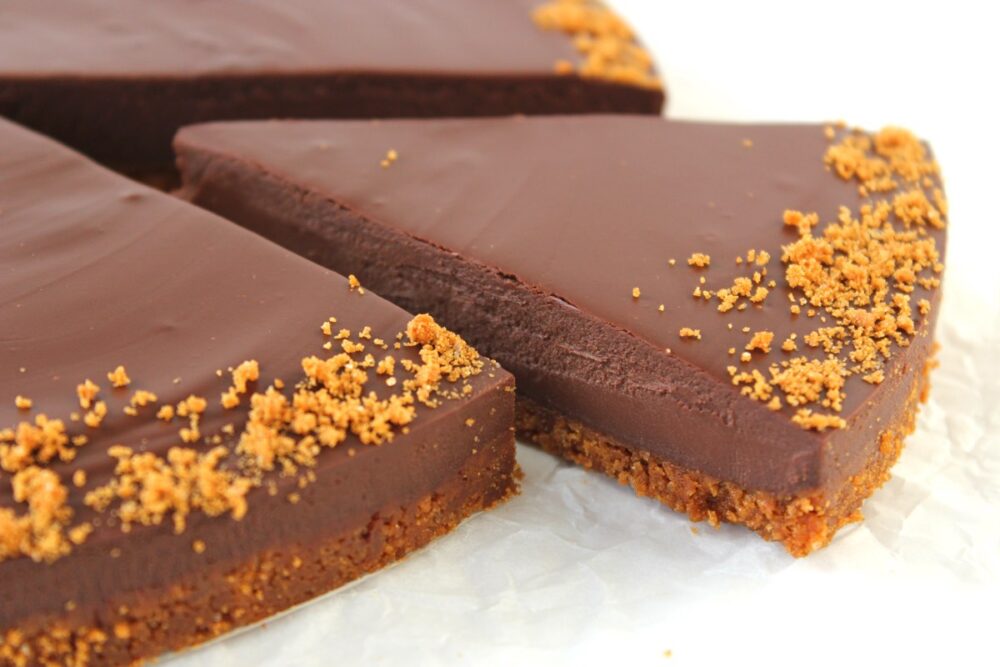
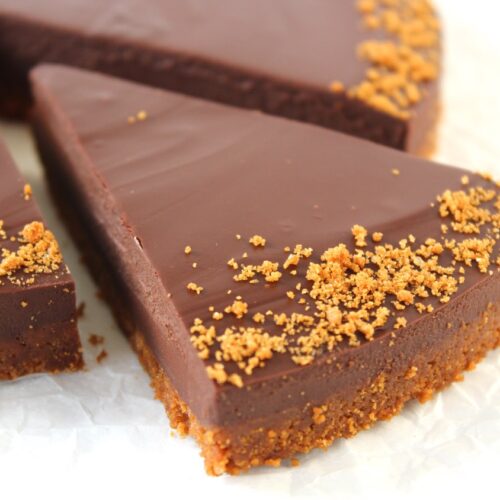
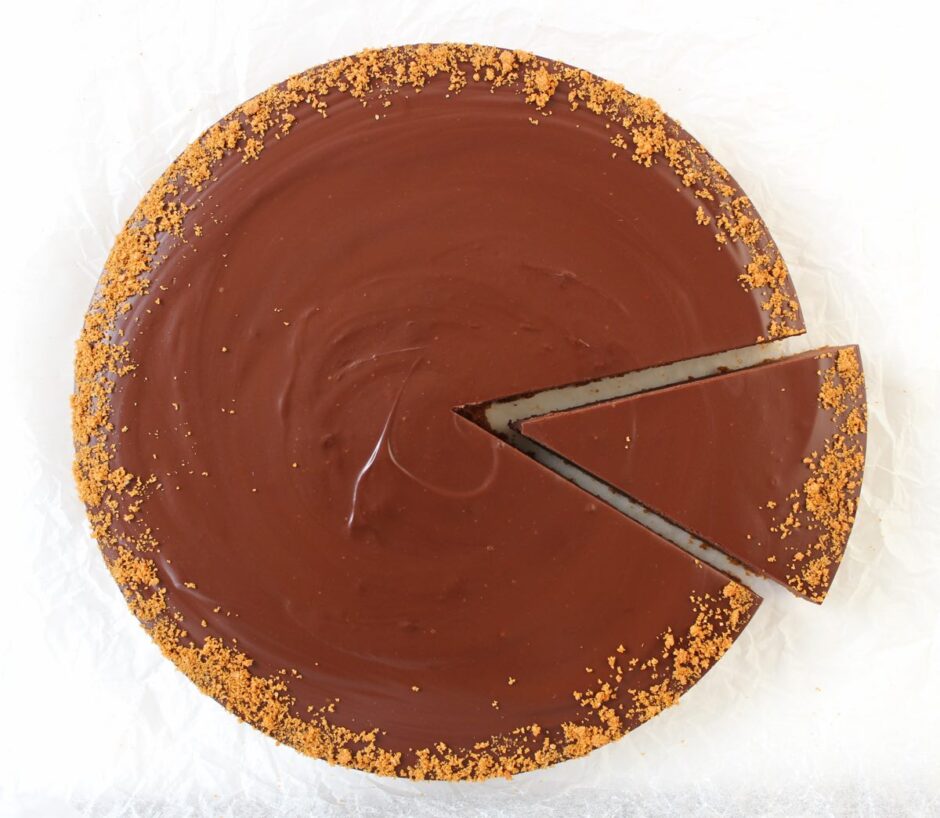
If you’re looking for a special occasion dessert that is super easy to make but has the ‘wow’ factor, then today’s recipe is for you! It’s a rich chocolate torte, consisting of a silky smooth ganache set on top of a biscuit base. There is no baking involved and it only takes around 20 minutes to prepare. The hardest part is waiting for it to set before you can dive in!

Easy Vegan Chocolate Torte

The inspiration for today’s recipe was a Dark Chocolate & Coconut Tart that I spotted in this month’s Vegan Life magazine. It looked so decadent and inviting! As I love playing around with recipes and creating my own take on them, I decided to switch the pastry for a biscuit base (to make it a ‘no bake’ recipe) and I experimented with different ingredients for the chocolate filling. I’m not personally a big fan of the chocolate coconut flavour, so I opted to use soya cream instead of coconut milk, and it worked really well! 

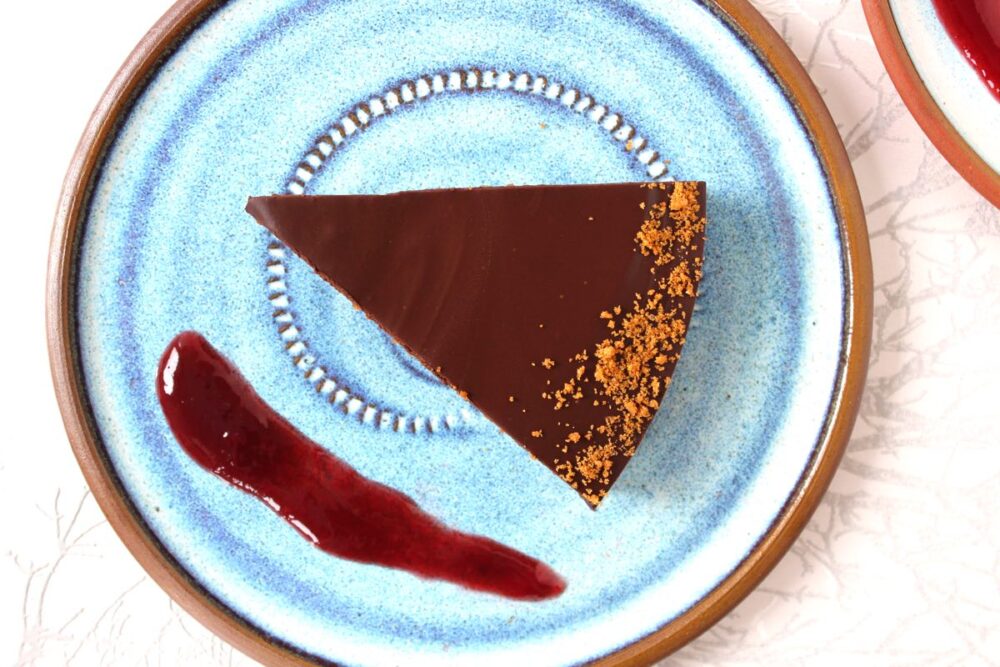
For the biscuit base (aka cookies for our overseas friends!) I chose to use Lotus Biscoff biscuits. The sweet caramel flavour of these biscuits worked beautifully with the rich dark chocolate ganache. I added a little sprinkle of Biscoff crumbs on top to finish off the torte and it looked so pretty… like little flecks of gold! 

Easy Vegan Chocolate Torte

If you’re gluten-free, you can easily switch the Lotus biscuits for a gluten-free biscuit/cookie instead. One of my favourites are the Nairn’s Gluten Free Biscuit Breaks and I think their Stem Ginger Biscuit could work well in this recipe. I’ll definitely have to give it a try.

I made this torte to share with friends and family over the festive holidays and so far, it’s going down a treat. Everyone that’s tried it has given it a big thumbs up!

Easy Vegan Chocolate Torte 5

It is pretty rich and filling, so be sure to slice modestly. (The recipe below will easily serve twelve). I love to serve the torte with some fruit compote on the side. The fruit helps to cut through the richness of the chocolate. Cherry or raspberry compote are my favourites as I find their flavours pair really well with chocolate. Adding the compote also helps to ‘dress’ the serving plate (though I really need to work on my plating skills! 😂)

Easy Vegan Chocolate Torte 8

Recipe Card

Easy Vegan Chocolate Torte

Easy Vegan Chocolate Torte [No Bake]

This vegan chocolate torte is perfect for special occasions. It is really easy to make but looks impressive! It is rich, so a little goes a long way. I love to serve it with some compote on the side as the fruit helps cut through the richness of the chocolate. Cherry and raspberry are my favourites.
4.79 from 28 votes
Hands-on Time 20 minutes
Total Time 2 hours
Course Dessert, Treat
Cuisine French
Servings 12

Ingredients
 

Base

  • 175 g Lotus Biscoff biscuits (or other vegan biscuits/cookies like digestives or ginger nuts. Use GF biscuits/cookies if needed)
  • 75 g / 5 TBSP vegetable spread/vegan butter

Filling

  • 300 g / 10½ oz dairy-free dark chocolate* chopped into small pieces
  • 250 ml / 8½ fl oz soya cream** (or other plant-based cream)
  • 1 tsp vanilla extract (or use some orange extract if you’d like to make a chocolate orange torte)

Suggested Decorations

  • Lotus Biscoff biscuit crumbs

Suggested Accompaniments

  • cherry or raspberry compote

Instructions
 

  • Line the bottom of a loose-bottomed 20 cm / 8 inch flan tin with non-stick baking paper.
  • Whizz the biscuits in a food processor until they resemble sand (alternatively place them in a sealed bag and bash with a rolling pin). Transfer to a mixing bowl.
  • Gently melt the vegetable spread/vegan butter in a saucepan. Pour into the mixing bowl with the biscuit crumbs and stir through until thoroughly combined. Transfer to the tin and press down firmly using the back of a metal spoon. Place in the fridge while you prepare the chocolate.
  • Gently heat the cream in a medium size saucepan. When it starts to simmer, remove from the heat. Stir in the vanilla extract and the chocolate. Continue stirring until the chocolate has fully melted. Taste test and add a touch more extract or some liquid sweetener, if needed.
  • Pour the chocolate filling over the biscuit base and tap the tin on the worktop to remove any air bubbles. Refrigerate until solid (about 1½ hours).
  • I like to decorate the torte with a sprinkling of Lotus biscuit crumbs round the edge and some cherry or raspberry compote on the side.
  • The torte will keep for 5 days in the fridge. It is also freezes well.

Notes

* I used Waitrose Belgian Dark Chocolate made with 72% cocoa.
** I used Alpro Single Soya Cream. Readers have also had success using oat cream and coconut cream.
Keyword Easy Vegan Desserts, Gluten-Free Option, Vegan Chocolate Dessert, Vegan Treats
Tried this recipe?Let us know how it was!

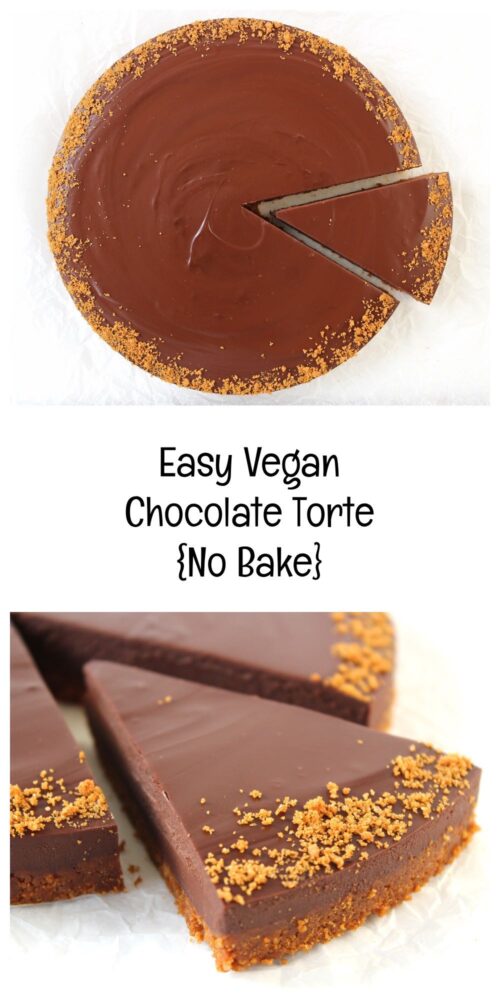
Pin for later ⬇️

Easy Vegan Chocolate Torte

If you make this Easy Vegan Chocolate Torte, I’d love to hear your feedback and any suggestions for adaptations! Tag your photos with #bitofthegoodstuff on social media – I always love to see your creations! You can also connect with me on my social media channels here: InstagramFacebook, Pinterest.   

With love,

Sharon xx

P.S. A huge thank you to everyone who has left a comment or review on this recipe! Your feedback honestly means the world to me, and I love hearing about the creative twists and adaptations you’ve tried. It’s also so helpful for others in the community who come to make this torte, so please do keep sharing your experiences — I truly appreciate it! ❤️

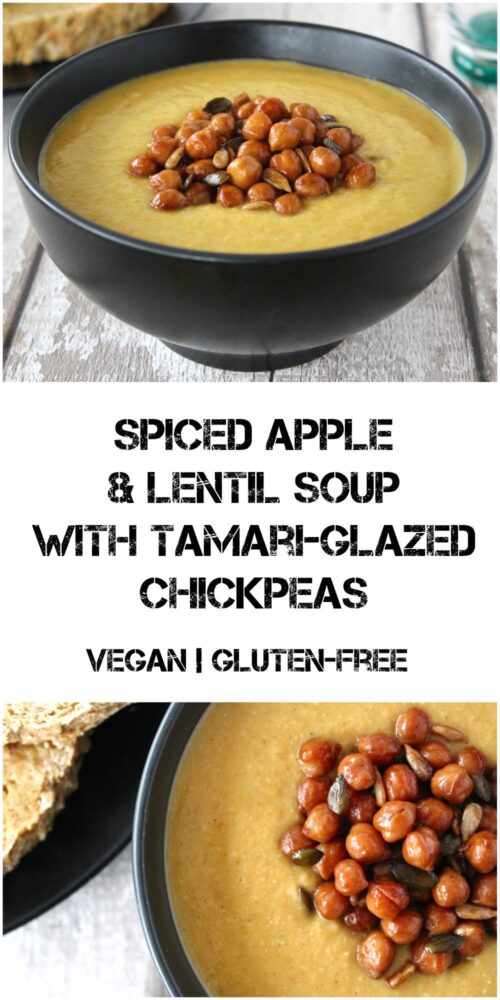
Spiced Apple and Lentil Soup with Tamari-Glazed Chickpeas

Jump to Recipe

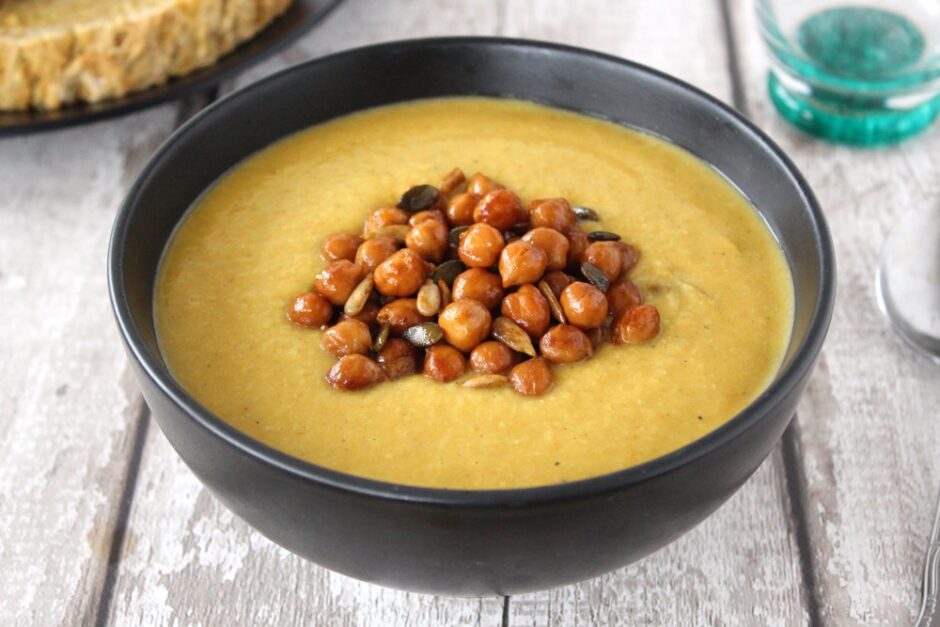
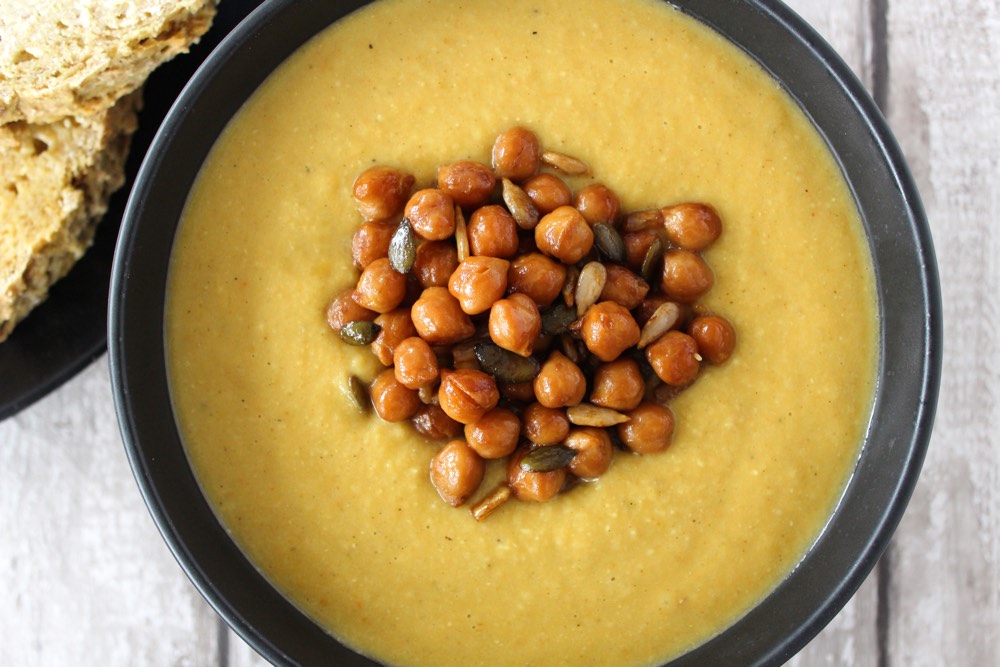
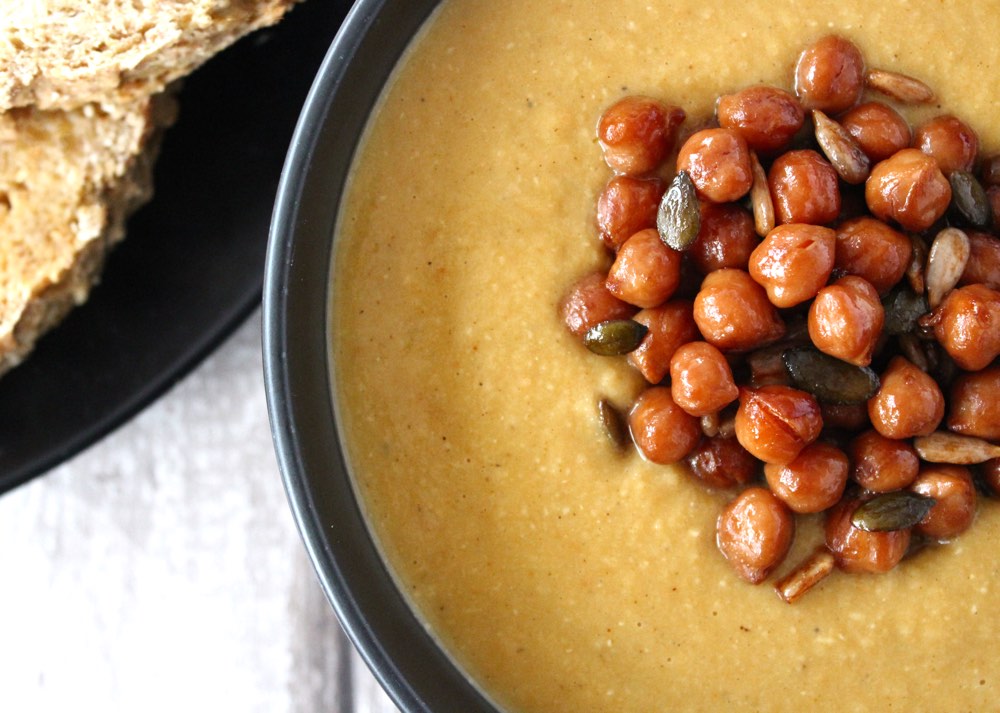
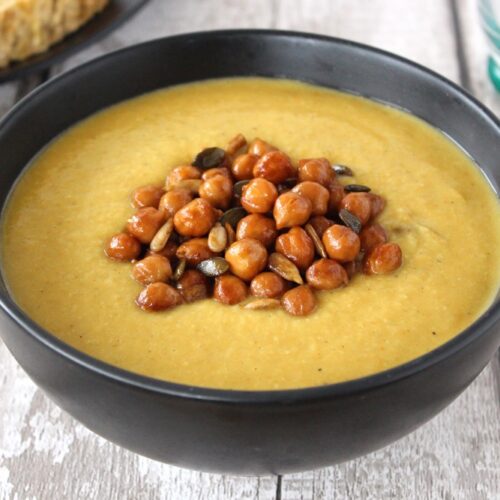
In today’s post, I’m sharing a delicious soup recipe that’s just perfect for the cold weather season. It’s creamy, filling and flavoured with spices that will warm you from the inside out. Topped with tamari-glazed chickpeas and seeds, and accompanied with a slice or two of wholegrain bread, this soup makes a wonderful evening supper or weekend lunch option. It is also budget-friendly. It cost me just £3.00 to make, which equates to 75p per portion. Bargain!

This soup is my idea of the perfect winter comfort food. As well as being tasty, warming and filling, it is also packed full of nutrients that help to keep our immune systems strong. It is rich in antioxidant vitamins A and E, as well as B vitamins and a whole host of minerals. Thanks to the lentils, chickpeas and seeds, this soup is also high in protein. Serve with a couple of slices of wholewheat bread and it provides over 27g of protein!

Spiced Apple and Red Lentil Soup

I love adding lots of toppings to my soups. Not only do they add interesting flavours and textures, but they also boost the nutrient profile of the soup and make it more filling. Inspired by my Creamy Butternut Squash Soup, I chose to top this soup with some chickpeas and seeds glazed in tamari soy sauce, which gave them a rich, umami flavour that complimented the spices in the soup.

Delicious!

Spiced Apple and Red Lentil Soup

Recipe Card

Spiced Apple and Lentil Soup with Tamari-Glazed Chickpeas

This soup is a great winter warmer. It’s creamy, filling and flavoured with warming spices. Topped with tamari-glazed chickpeas and seeds, and accompanied by a slice or two of wholegrain bread, this soup is substantial enough to serve as a main evening meal. It also makes a delicious, nutrient-rich lunch option. Pack into a wide-necked flask for a warming lunch ‘on the go’.
Hands-on Time 25 minutes
Total Time 35 minutes
Course Dinner, Lunch, Soup, Supper
Cuisine Indian
Servings 4

Ingredients
 

  • 1 TBSP olive oil
  • 1 large onion chopped
  • 2 medium carrots halved lengthwise and thinly sliced
  • 3 celery stalks trimmed and sliced
  • 1 large apple cored and chopped
  • 2 tsp minced garlic
  • 2 tsp garam masala
  • 1 litre vegetable stock (broth) (I use boiling water and 4 tsp vegetable bouillon powder)
  • 130 g / ⅔ cup red lentils
  • 70 g (about ⅓ of a 200g / 7 oz block) of creamed coconut roughly chopped
  • salt to taste

Toppings

  • 400 g / 14 oz can chickpeas rinsed and drained
  • 2 TBSP pumpkin seeds
  • 2 TBSP sunflower seeds
  • 1 tsp olive oil
  • 1 tsp maple syrup
  • 1 tsp dried oregano
  • ½ TBSP tamari soy sauce

Instructions
 

  • Gently heat the oil in a large saucepan. Add the onion, carrot, celery and apple to the pan. Stir through, cover with a lid and leave to cook on medium-low heat for 4 minutes.
  • Meanwhile, place the lentils in a fine mesh sieve and wash under cold running water, agitating them with your hand until the water runs clear.
  • Add the garlic and garam masala to the saucepan, and continue cooking for 2 minutes.
  • Add the vegetable stock, lentils and creamed coconut to the pan. Bring to the boil then reduce the heat, cover with a lid, and simmer for 20 minutes.
  • When the lentils are tender, remove the pan from the heat. Leave to cool for a few minutes then transfer to a jug blender and whizz until smooth. Depending on the size of your blender, you may need to do this in two batches. Return the soup to the pan and gently heat through before serving. Season with salt, to taste.
  • For the toppings: Heat the chickpeas and seeds in a large frying pan (skillet) on medium heat. Drizzle in the olive oil and stir through. Add the maple syrup and oregano and stir through. Finally add the soy sauce and continue cooking until the liquids have evaporated, stirring regularly.
  • This soup will keep for up to five days in the fridge. I haven’t tried it yet, but I’m pretty confident that it will freeze well too.
Keyword Budget Vegan Meals, Easy Vegan Meals, Family Friendly, Gluten-Free, Student Vegan Meals, Vegan Dinners, Vegan Lunch
Tried this recipe?Let us know how it was!

Nutritional Breakdown

N.B. The above values are estimates. The actual nutritional values will vary depending on the brands and ingredients used.

Pin for later ⬇️

Spiced Apple and Lentil Soup

If you make this recipe, I’d love to hear your feedback and any suggestions for adaptations. Tag your photos with #bitofthegoodstuff on social media – I always love to see your creations! You can also connect with me on my social media channels here: Instagram, Facebook, Pinterest.   

With love,

Sharon xx

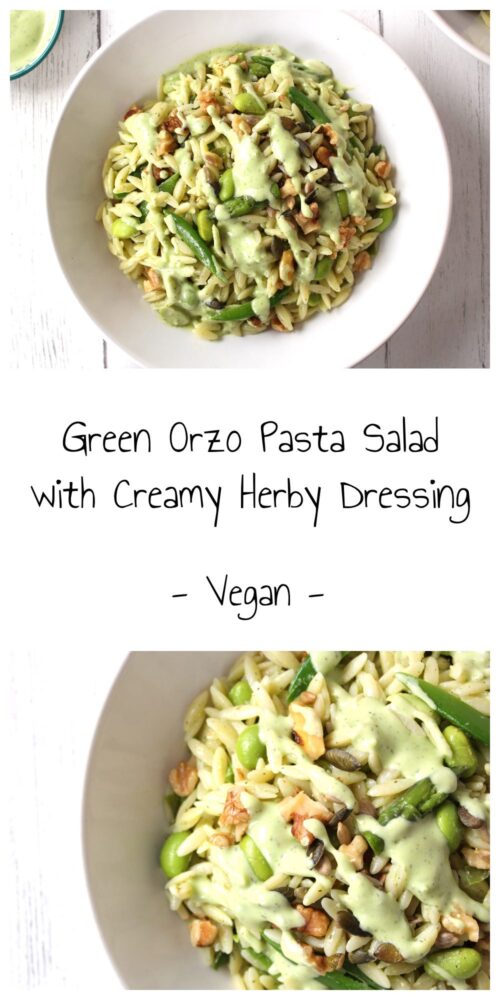
Green Orzo Pasta Salad with Creamy Herby Dressing (30 Minute Recipe)

Jump to Recipe

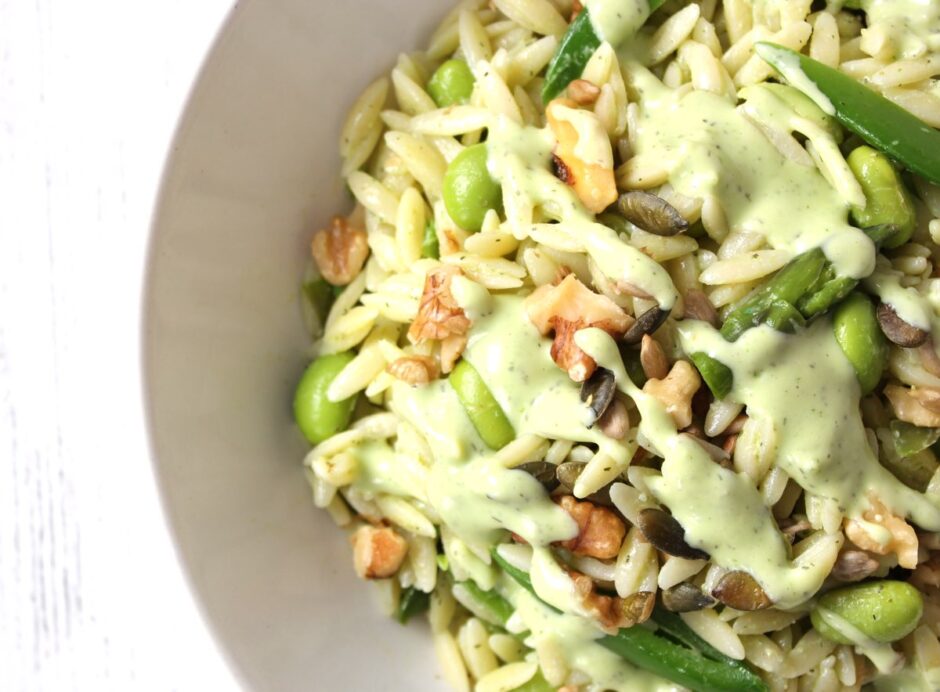
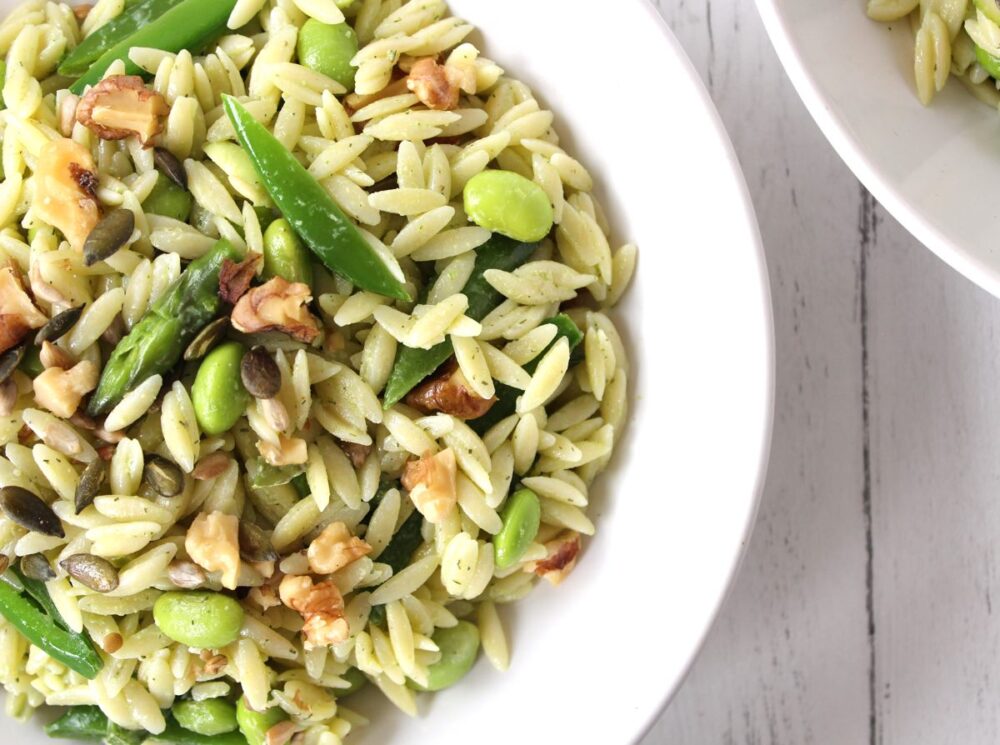
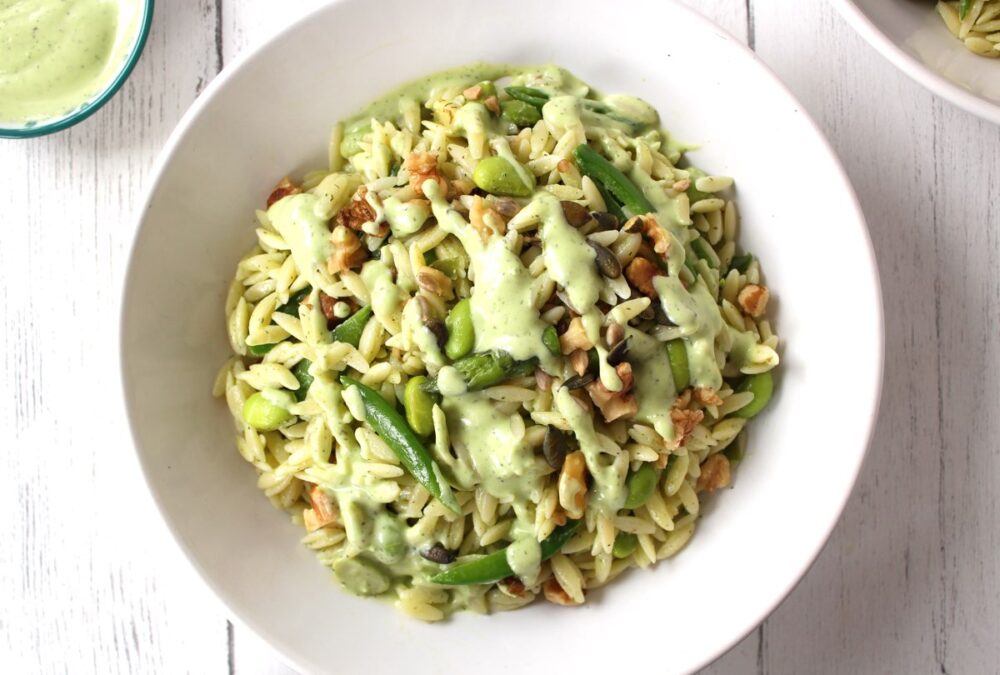
In today’s post, I’m sharing a delicious Green Orzo Pasta Salad that my family has been loving lately. It’s perfect for serving as a main meal on a warm summer’s evening, but would also make a great addition to work or school lunchboxes. It’s really easy to make and ready in 30 minutes or less.

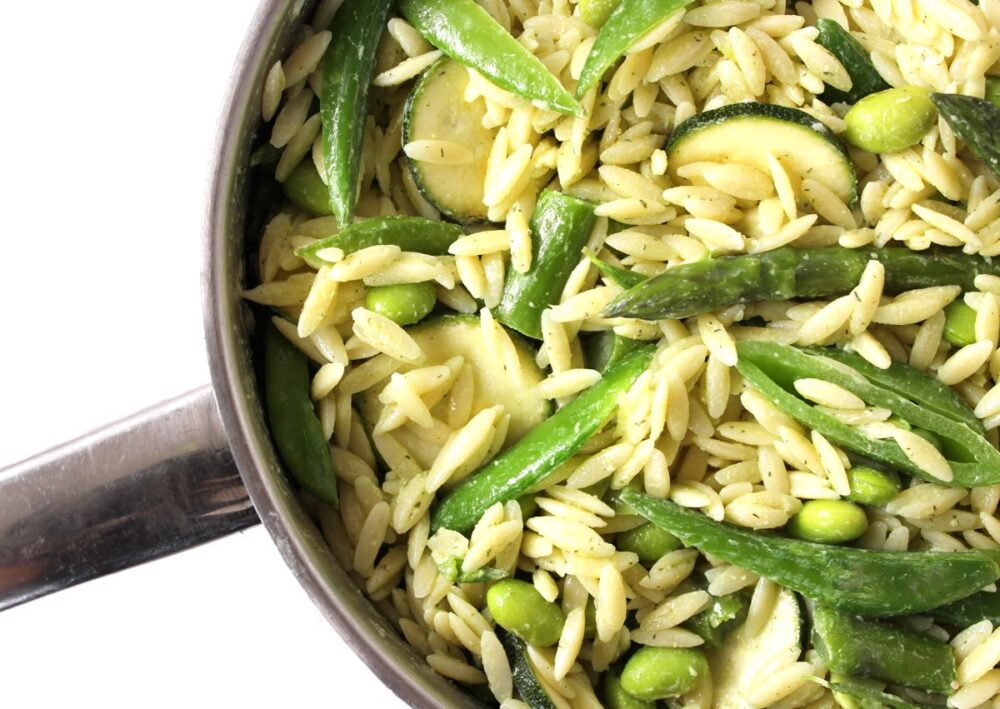
Orzo is the pasta of choice for this dish. In appearance, it looks like giant grains of rice! It feels much lighter than regular pastas, making it perfect for salads.

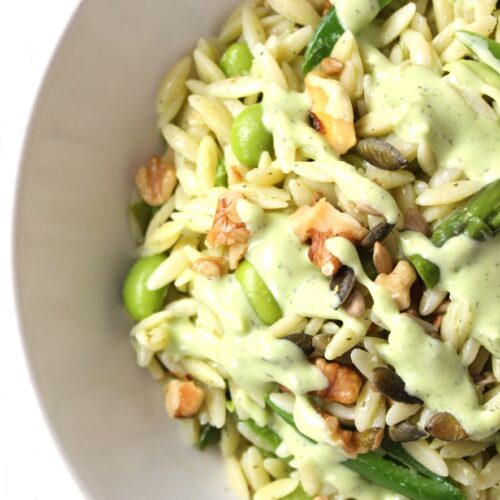
Green Orzo Pasta Salad

Asparagus spears, sugar snap peas, courgette and edamame beans give this dish a beautiful green hue and fresh taste. They are very lightly cooked or served raw, so that they retain their vibrant colours and nutrients. 

Green Orzo Pasta Salad (Vegan)

The pasta is coasted in a creamy, herby dressing that’s made with non-dairy yogurt, extra virgin olive oil and fresh green herbs. Not only does it taste amazing on pasta, but it’s also far healthier than traditional creamy salad dressings.

Green Orzo Pasta Salad (Vegan)

This pasta salad is packed full of nutritional goodness. It’s a rich source of protein, dietary fibre, heart healthy fats, antioxidants and a whole array of vitamins (A, B, C, E, K) and minerals (including iron, magnesium, potassium, selenium and zinc). This is a meal that’s going to leave you feeling energised and ‘zinging’ on the inside!!

Recipe Card

Green Orzo Pasta Salad (Vegan)

Green Orzo Pasta Salad with Creamy Herby Dressing

This delicious, creamy pasta salad is fresh, vibrant and packed full of nutritional goodness! It’s perfect for serving in the summer months as a main meal or lunchtime option. It’s really easy to make and comes together in 30 minutes or less.
Hands-on Time 30 minutes
Total Time 30 minutes
Course Lunch, Main Course, Salad
Cuisine Mediterranean
Servings 4

Ingredients
 

  • 400 g / 14 oz orzo pasta
  • 200 g / 7 oz asparagus trimmed* and chopped
  • 150 g / 1½ cups sugar snap peas trimmed
  • 160 g / 1 cup edamame beans (I use frozen)
  • 1 medium courgette (zucchini) thinly sliced

For the creamy herby dressing:

  • 250 g / 1 cup plain dairy-free yogurt (I used Alpro plain)
  • 2 tbsp extra virgin olive oil
  • 1 tsp Dijon mustard
  • small handful (about 5 g) basil leaves
  • small handful (about 5 g) flat leaf parsley leaves
  • ½ tsp dried dill
  • ½ tsp garlic granules
  • ¼ tsp salt

For garnish:

  • 50 g / ½ cup toasted walnuts
  • 2 TBSP toasted sunflower seeds
  • 2 TBSP toasted pumpkin seeds
  • freshly ground black pepper, to taste

Instructions
 

  • Prepare two pans of boiling water. In one pan, cook the pasta until al dente (about 9 minutes). Drain and rinse the pasta under cold running water, then transfer it back to the pan.
  • In the second pan, boil the asparagus, sugar snap peas and edamame beans for a maximum of two minutes (until they are just tender). Drain and rinse under cold running water to stop them cooking and to help retain their vibrant colour. If you’re feeling fancy, slice the sugar snap peas diagonally to expose the cute peas inside.
  • Place all the dressing ingredients in a blender or mini food processor and whizz until smooth. Taste test and adjust the seasoning to suit.
  • If the nuts and seeds aren’t already toasted, place them in a dry frying pan (skillet) on medium heat and cook for a couple of minutes, stirring regularly until the walnuts become fragrant and the seeds start to brown or pop.
  • Add the vegetables and beans to the pasta pan. Pour three quarters of the dressing in and stir through to coat. Transfer to bowls and drizzle on the remaining dressing. Add a sprinkling of toasted nuts and seeds, some freshly ground black pepper and serve.
  • Any leftovers will keep in the fridge for three days. They make a great lunchbox option!

Notes

* To trim the asparagus, simply take the end of the asparagus between your thumb and forefinger and bend until it breaks. The asparagus will automatically break where the woody part ends and the fresh, juicy asparagus begins.
Recipe lightly adapted from the Green Orzo Pasta Salad in Vegan Life magazine, Issue 54
Keyword Lunchbox Ideas, Pasta salad, Plant-Based, Vegan Dinners, Vegan Lunch
Tried this recipe?Let us know how it was!

Nutritional Breakdown

N.B. The above values are estimates. The actual nutritional values will vary depending on the brands and ingredients used.

Pin for later ⬇️

Green Orzo Pasta Salad (Vegan)

If you make this Green Orzo Pasta Salad, I’d love to hear your feedback and any suggestions for adaptations! Tag your photos with #bitofthegoodstuff on social media – I always love to see your creations! You can also connect with me on my social media channels here: InstagramFacebook, Pinterest.   

With love,

Sharon xx

———————————-

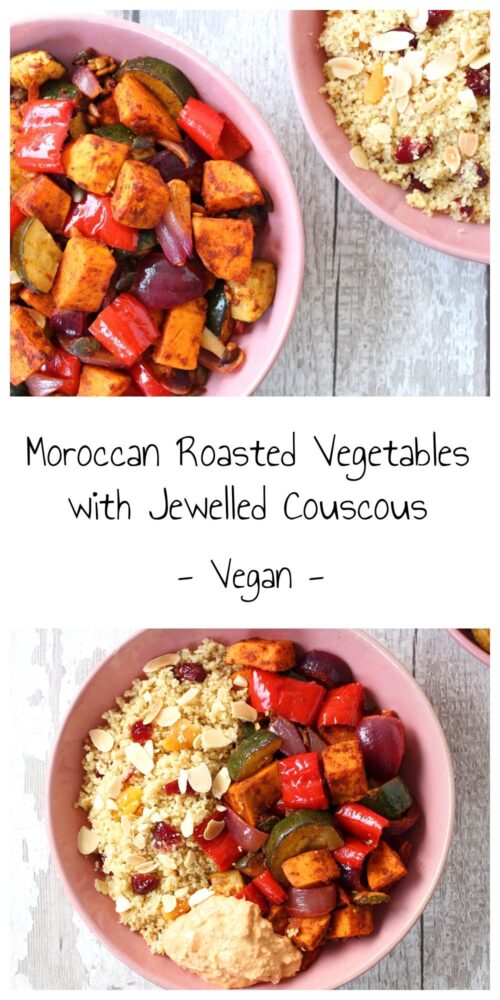
Moroccan Roasted Vegetables with Jewelled Couscous

Jump to Recipe

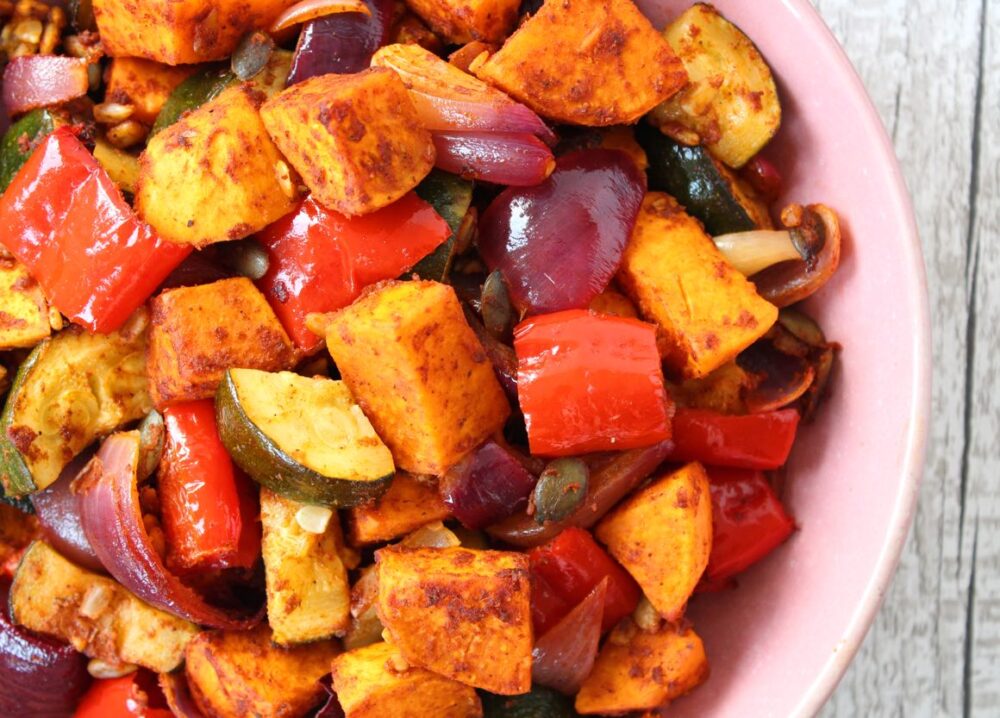
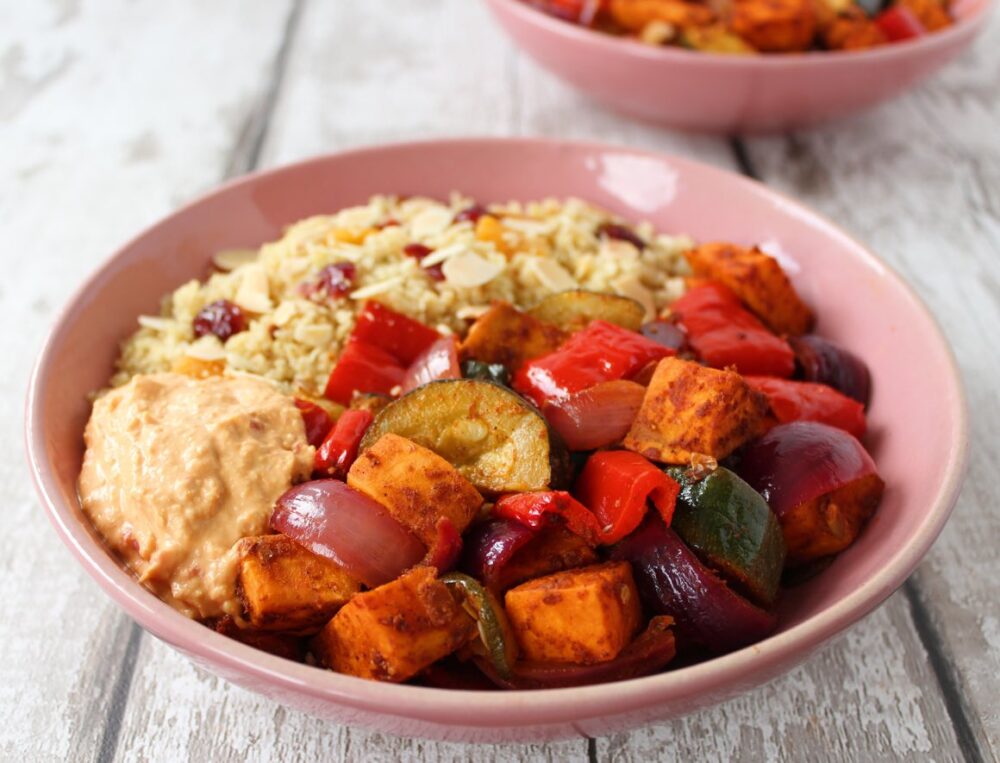
In today’s post, I’m sharing a Moroccan-inspired dinner that my family has been loving lately. It’s super easy to make, highly adaptable and a great make-ahead option. These past couple of weeks have been scorching hot in the UK, so we’ve really enjoyed this dish at room temperature. It’s equally delicious served hot or cold.

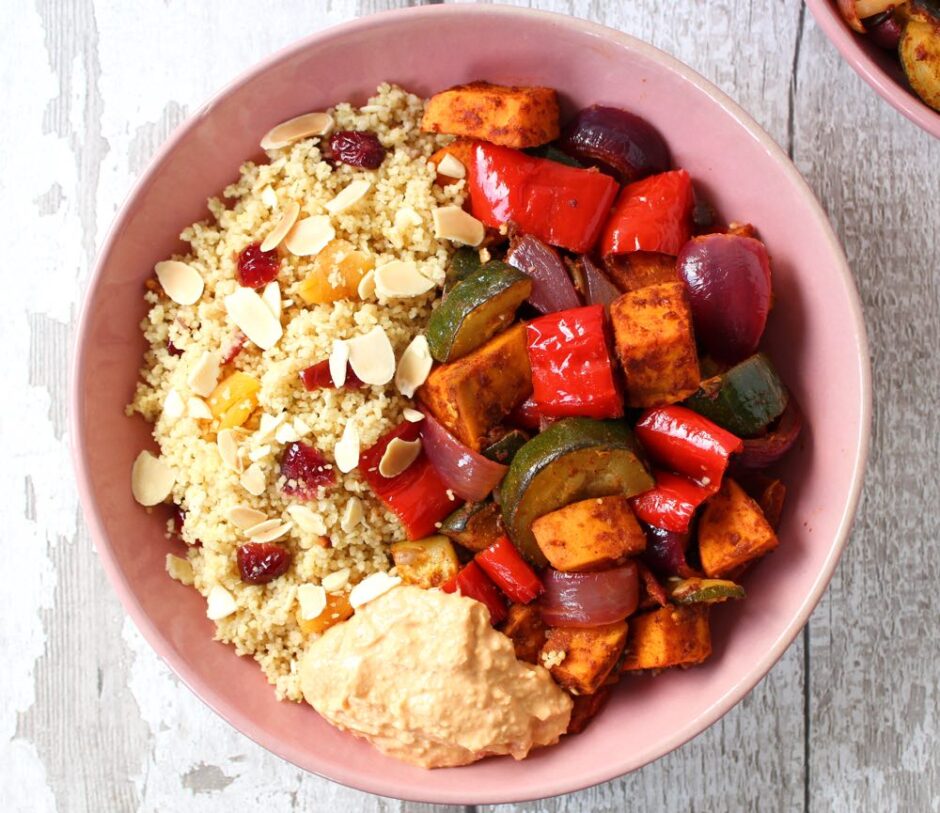
Moroccan Roasted Vegetables with Jewelled Couscous

Check out all those beautiful colours!!

And those vibrant colours are an indication of all the wonderful health-boosting antioxidants and phytonutrients in this dish. It is especially rich in carotenoids (which give the sweet potato and bell pepper their vivid orange and red hue), vitamin C and vitamin E.

This is one of those meals that leaves me feeling incredibly energised and fantastic on the inside!

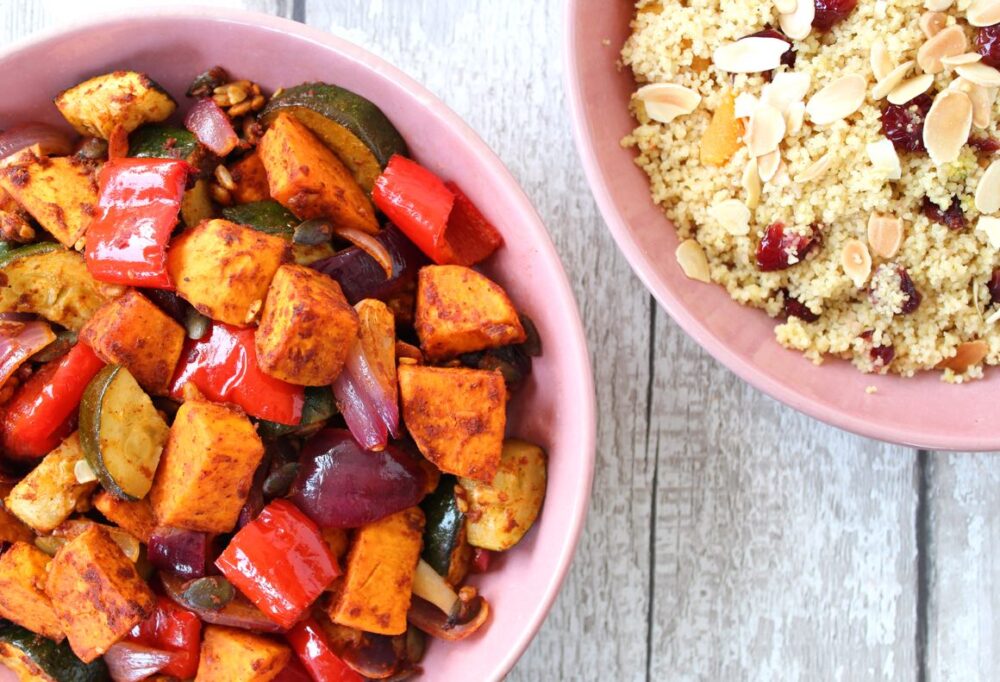
Moroccan Roasted Vegetables

The inspiration for this dinner was a recipe that featured in this month’s Vegan Life magazine for ‘Jewelled Cous Cous with Harissa Roasted Vegetables’. I’ve tried Harissa paste a few times in the past, but I personally find it way too spicy… I can literally feel my lips and throat burning even with the tiniest amount.

Since I’m a complete wimp when it comes to handling chilli heat, instead of using Harissa, I created my own spice blend mix which has the aromatic flavours that I associate with Moroccan cuisine, but is mild enough for me (and, by default, children!)

Moroccan Roasted Vegetables with Jewelled Couscous

Recipe Card

Moroccan Roasted Vegetables with Jewelled Couscous

Moroccan Roasted Vegetables with Jewelled Couscous

Sharon
This Moroccan-inspired dinner is packed full of colour and flavour. I’ve made it mild enough to serve to all family members, but feel free to add some Harissa paste if you like heat. It is equally delicious served hot or cold, and is a great make-ahead option. Be sure to add a dollop of hummus to your bowls before serving. It’s the perfect complement to the dish and is great for holding the couscous together on your fork!
5 from 1 vote
Hands-on time 20 minutes
Total Time 40 minutes
Course Lunch, Main Course
Cuisine Moroccan
Servings 4

Ingredients
 

Spice blend for the roasted vegetables

  • 2 TBSP tomato puree (paste)
  • TBSP olive oil
  • juice of 1 lime
  • 2 tsp minced garlic
  • 2 tsp ground cumin
  • 1 tsp Ras el hanout
  • 1 tsp ground cinnamon

Roasted Vegetables

  • 2 sweet potatoes (450g) peeled and cut into 2 cm / ¾ inch cubes
  • 2 courgettes (zucchini) (400g) sliced lengthwise then into 1.5 cm / ½ inch half moons
  • 2 sweet romano or red bell peppers (200g) deseeded and sliced
  • 2 red onions (200g) sliced into wedges
  • ¼ tsp salt
  • oil for spraying the roasting tins
  • 2 TBSP pumpkin seeds
  • 2 TBSP sunflower seeds

Jewelled Couscous

  • 250 g / 1⅓ cups couscous (preferably whole wheat)
  • 8 dried apricots (44g) diced
  • 4 TBSP dried cranberries (38g) (preferably sweetened with fruit juice)
  • 480 ml / 2 cups boiling vegetable stock (broth) (I use water and 2 tsp vegetable bouillon powder)
  • ½ TBSP extra virgin olive oil

Garnish

  • 4 TBSP toasted flaked almonds
  • 8 TBSP hummus

Instructions
 

  • Preheat the oven to 200C (180C fan) / 400F.
  • In a mixing bowl, combine all the spice blend ingredients. Add the chopped vegetables and stir through to coat.
  • Lightly spray two roasting tins with oil and arrange the veggies in a single layer. Lightly sprinkle with salt. Roast for 25-30 minutes, or until the sweet potato is cooked through. Give them a stir half way through the cooking time. At this point, sprinkle in the pumpkin and sunflower seeds.
  • Ten minutes before the veggies are ready, place the couscous, apricots and cranberries in a heat-proof bowl. Pour the boiling hot stock on top, cover with a plate and leave for 7 minutes. Drizzle on ½ TBSP olive oil and fluff up with a fork.
  • Divide the couscous and roasted veggies between four bowls. Add a large dollop of hummus to each bowl, sprinkle some flaked almonds on top for garnish and serve.
  • Any leftovers can be stored in the fridge for three days. They’re delicious eaten hot or cold, and make a great lunchbox option! The roasted veggies are also freezable.

Notes

Recipe adapted from ‘Jewelled Cous Cous with Harissa Roasted Vegetables’ in Issue 52 of Vegan Life magazine.
Keyword Couscous, Family Friendly, Lunchbox Ideas, Plant-Based, Roasted Vegetables, Vegan Dinners, Vegan Lunch
Tried this recipe?Let us know how it was!

Nutritional Breakdown

N.B. The above values are estimates. The actual nutritional values will vary depending on the brands and ingredients used.

Pin for later ⬇️

Moroccan Roasted Vegetables with Jewelled Couscous

If you make this Moroccan Roasted Vegetables with Jewelled Couscous (or any other recipes on my blog), I’d love to hear your feedback and any suggestions for adaptations! Tag your photos with #bitofthegoodstuff on social media – I always love to see your creations! You can also connect with me on my social media channels here: InstagramFacebookPinterest.   

With love,

Sharon xx

———————————-

YOU MAY ALSO LIKE…

Moroccan-Spiced Falafel

Falafel Sandwich


Hot Cross Bun Loaf [Vegan]

Jump to Recipe

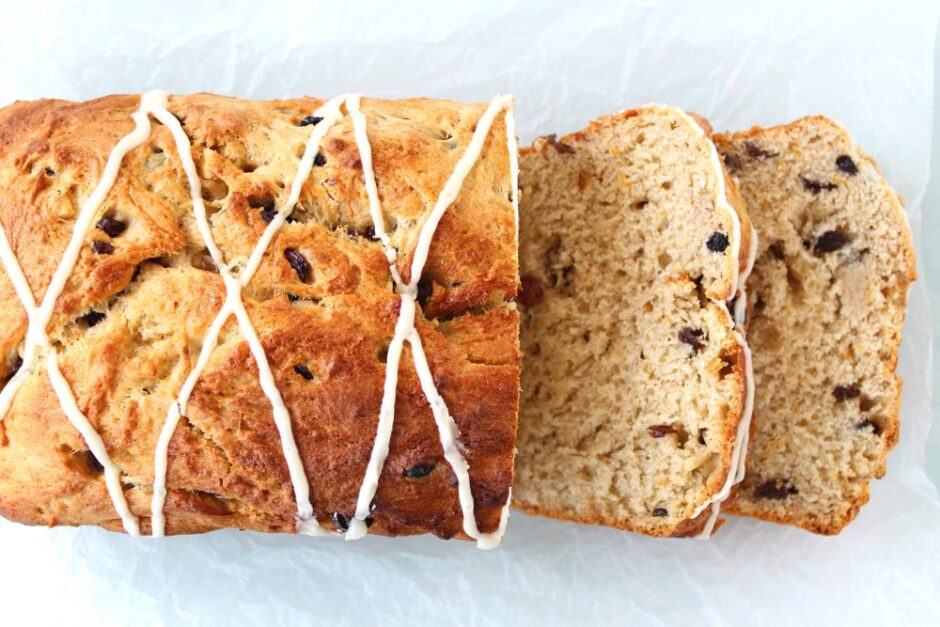
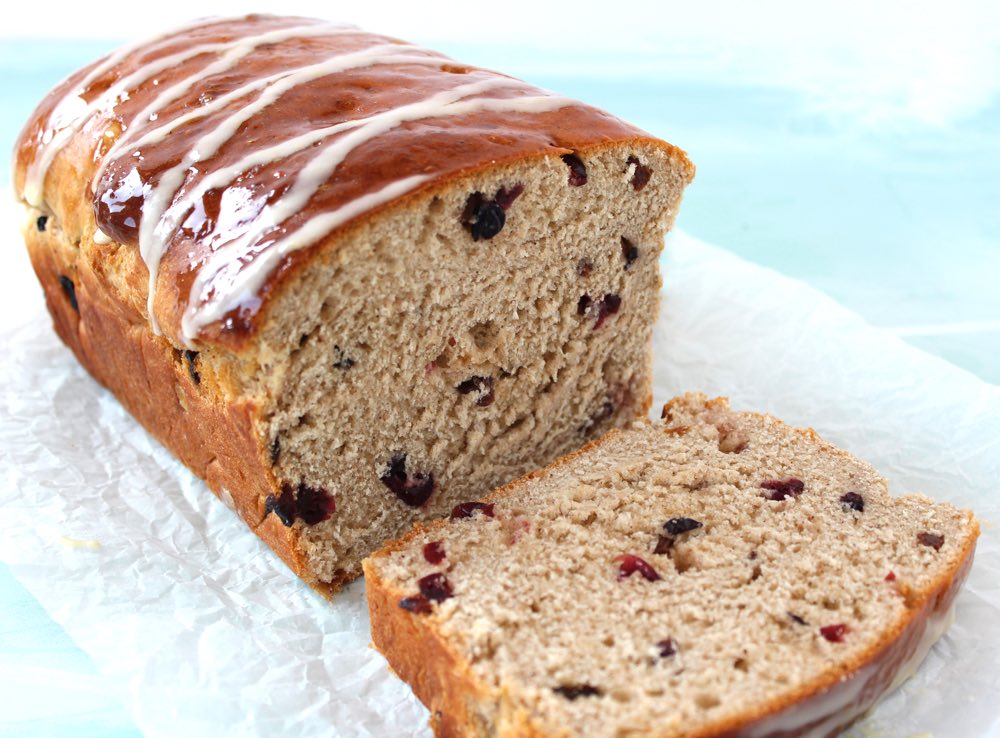
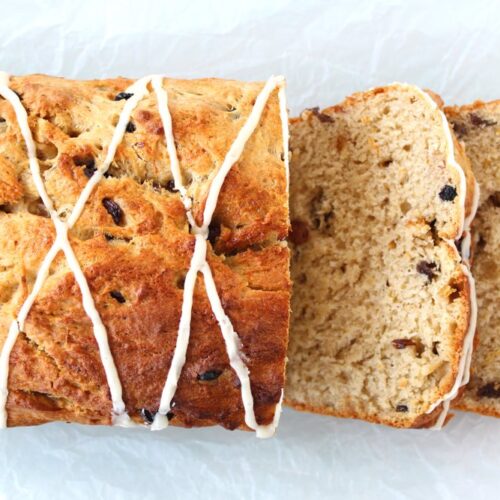
The recipe I’m sharing today is a twist on a traditional Easter favourite … it’s a Hot Cross Bun Loaf! This spiced fruity loaf is perfect for sharing with friends and family over the holidays. I’ve made three loaves already this week and no doubt I’ll be baking more in the lead up to the bank holiday weekend. It sure is a crowd pleaser. Happy holidays everyone!

Hot Cross Bun Loaf

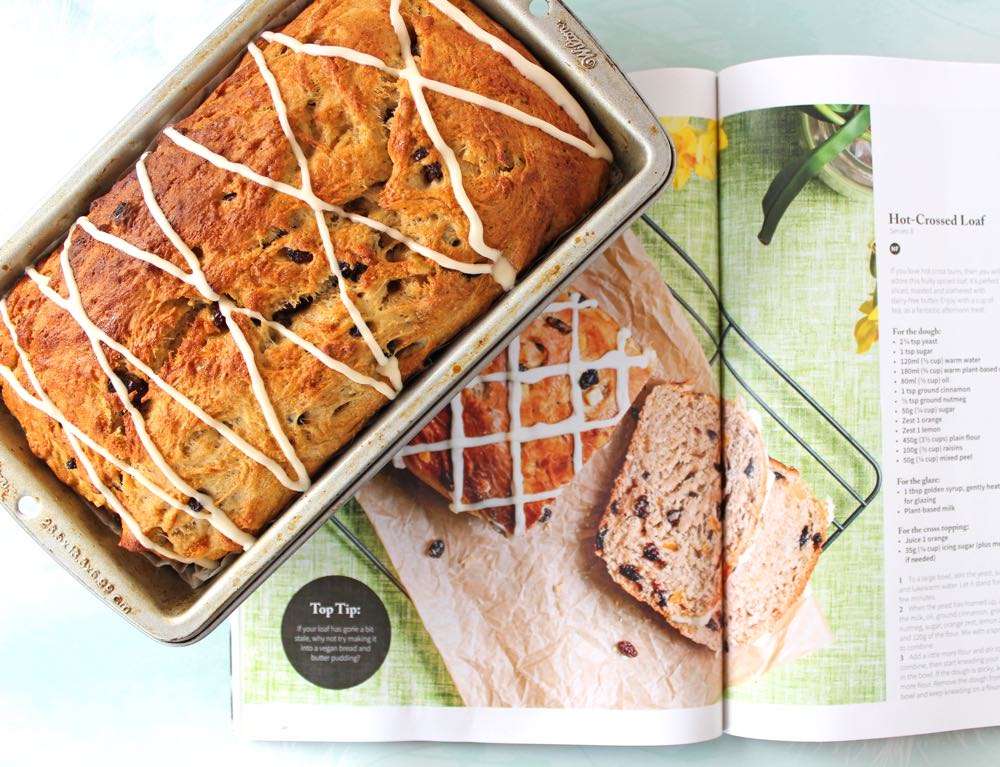
* Disclaimer: Vegan Life kindly sent me a complimentary copy of this magazine

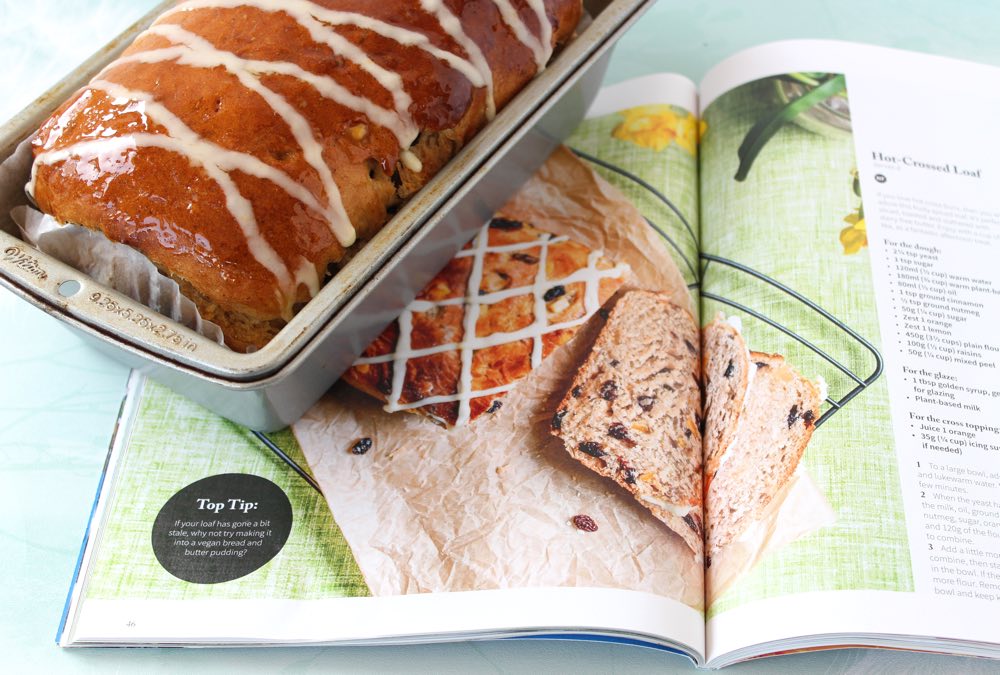
It was the April edition of the Vegan Life magazine that inspired today’s recipe. I’m a massive fan of hot cross buns, so when I spotted the ‘Hot-Crossed Loaf’ on p47, I knew that I had to give it a try.

I was so impressed with how it turned out. There is something really satisfying about baking bread from scratch. It doesn’t take a great deal of effort either. The main challenge is being patient while the dough proves. It’s definitely worth the wait though!

Hot Cross Bun Loaf

I did tweak the original recipe a little to suit my personal tastes. Instead of nutmeg and the zest of an orange and lemon, I used a tablespoon of mixed spice and added a little salt too, to make the flavours pop.  My family was amazed at how similar the loaf tasted to hot cross buns!

I also played around with the glaze topping. Inspired by my Hot Cross Bun recipe (which I posted way back in 2014!), I tried topping one of the loaves with a glaze made of unrefined sugar and orange juice. Though a little sticky on the fingers, the glaze made the loaf beautifully shiny and tasted delicious too. In the recipe below, I’ve given the original glazing option, then added the instructions for my ‘super shiny’ glaze in the Notes section.

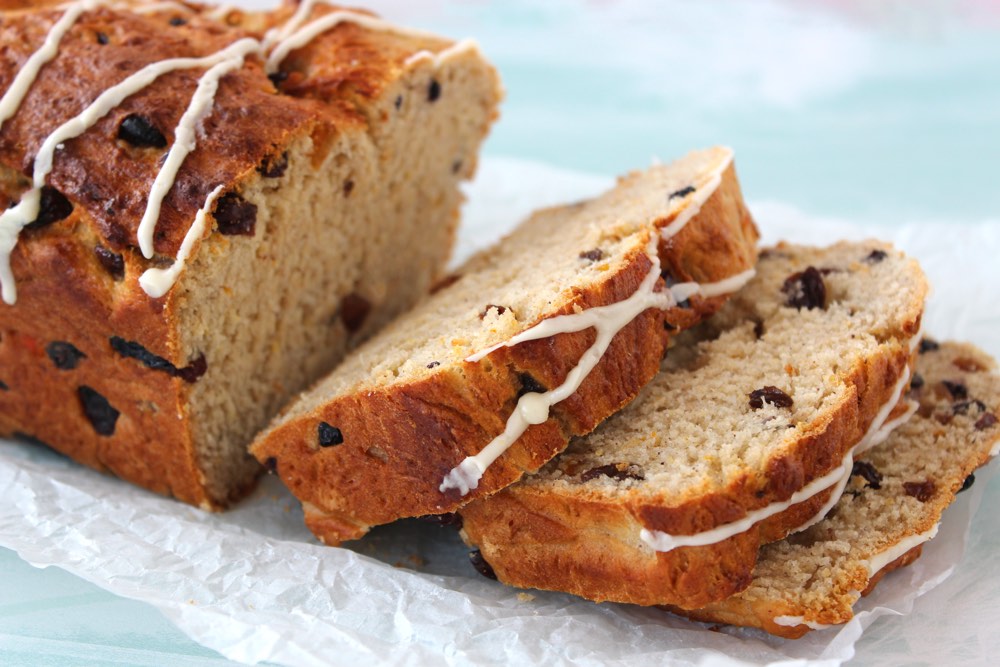
Hot Cross Bun Loaf
Hot Cross Bun Loaf

Recipe Card

Hot Cross Bun Loaf

Hot Cross Bun Loaf

A twist on the traditional Easter favourite, this spiced fruity loaf is perfect for sharing with friends and family over the holidays. It’s delicious served freshly baked with a cuppa, or toasted and topped with vegan butter and jam.
Recipe lightly adapted from ‘Hot Crossed Loaf’ in Vegan Life magazine, Issue 49
5 from 2 votes
Hands-on time 30 minutes
Total Time 2 hours 30 minutes
Course Afternoon Tea, Dessert, Elevenses, Treat
Cuisine English
Servings 10

Ingredients
 

For the dough:

  • 7 g / 2¼ tsp fast action (easy bake) yeast
  • 1 tsp unrefined sugar
  • 120 ml / ½ cup lukewarm water
  • 180 ml / ¾ cup lukewarm plant-based milk (I used soya milk)
  • 75 ml / ⅓ cup neutral-flavoured oil (I used rapeseed (canola) oil)
  • 1 TBSP mixed spice (or substitute with pumpkin spice)
  • 1 tsp ground cinnamon
  • ½ tsp salt
  • 50 g / ¼ cup unrefined sugar
  • 500 g / 3½ cups plain (all-purpose) flour
  • 135 g / ¾ cup mixed dried fruit (I used raisins, candied orange peel and dried cranberries)

For the glaze:

  • 1 TBSP maple syrup (or for a super shiny glaze, see Notes below)

For the cross topping:

  • 35 g / ¼ cup icing (confectioners) sugar
  • ½ TBSP fruit juice
  • 2-3 drops of orange extract

Instructions
 

  • Add the yeast, 1 tsp sugar and lukewarm water to a large mixing bowl and hand whisk to combine. Leave for a few minutes.
  • When the yeast has frothed, add the lukewarm milk, oil, mixed spice, ground cinnamon, salt and sugar to the bowl. Hand whisk to combine.
  • Add the flour, a little at a time, stirring with a spoon until it forms a dough. Transfer the dough to a floured surface and knead for about 4 minutes adding more flour, as needed, until it is smooth and no longer sticky.
  • Transfer the dough to a clean, lightly oiled bowl, cover with a tea towel and leave in a warm place for an hour, or until the dough has doubled in size. (If your house is cold, cover the bowl with a piece of foil and place in the oven at a very low temperature (40C).
  • Add the dried fruit and knead to distribute it as evenly as possible through the dough. Grease and line a large (3lb) loaf tin with non-stick baking paper (or use a non-stick loaf liner). Place the dough in the prepared tin and cover with a tea towel. Leave to prove in a warm place for another 30 minutes.
  • When the dough is almost ready, pre-heat the oven to 200C (180C fan) / 400F.
  • Brush the top of the dough with maple syrup (or skip this step if you’ve opted for the super shiny glaze option – see Notes below).
  • Bake in the centre of the oven for 30 minutes, or until golden brown on top and the bread makes a hollow sound when tapped.
  • Once the loaf has cooled, sieve the icing sugar into a bowl and add ½ TBSP fruit juice and a couple of drops of orange extract. Keep stirring until a thick icing has formed – it should be thick enough that it doesn’t drop off the spoon easily. Spoon into a piping bag and criss cross your loaf. Allow the icing to set before serving.
  • Stored in an airtight container, the loaf will keep fresh for a couple of days. After this, it is best served with some dairy-free butter. It is also delicious toasted.

Notes

For a super shiny glaze, once the loaf has baked, gently simmer 1½ TBSP unrefined sugar with 1½ TBSP fruit juice in a small saucepan, stirring regularly until the glaze has reduced and thickened. Immediately brush the glaze on top of the warm loaf, then leave to cool. If using this glaze, the maple syrup at Step 7 can be omitted.
Keyword Easter, Hot Cross Bun, Spiced Fruit Loaf, Vegan
Tried this recipe?Let us know how it was!

Nutritional Breakdown

N.B. The above values are estimates. The actual nutritional values will vary depending on the brands and ingredients used.

Pin for later ⬇️

Hot Cross Bun Loaf

Big thank you to Vegan Life magazine for the inspo!

If you make this Hot Cross Bun Loaf (or any other recipes on my blog), I’d love to hear your feedback and any suggestions for adaptations! Tag your photos with #bitofthegoodstuff on social media and they will find their way to me. You can also connect with me on my social media channels here: Instagram, FacebookPinterest.   

With love,

Sharon xx