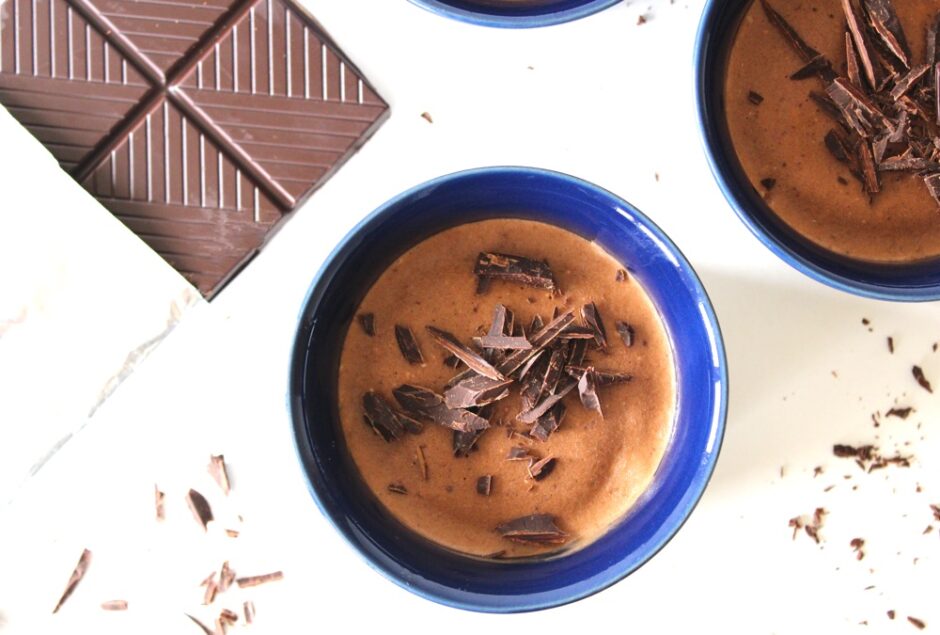
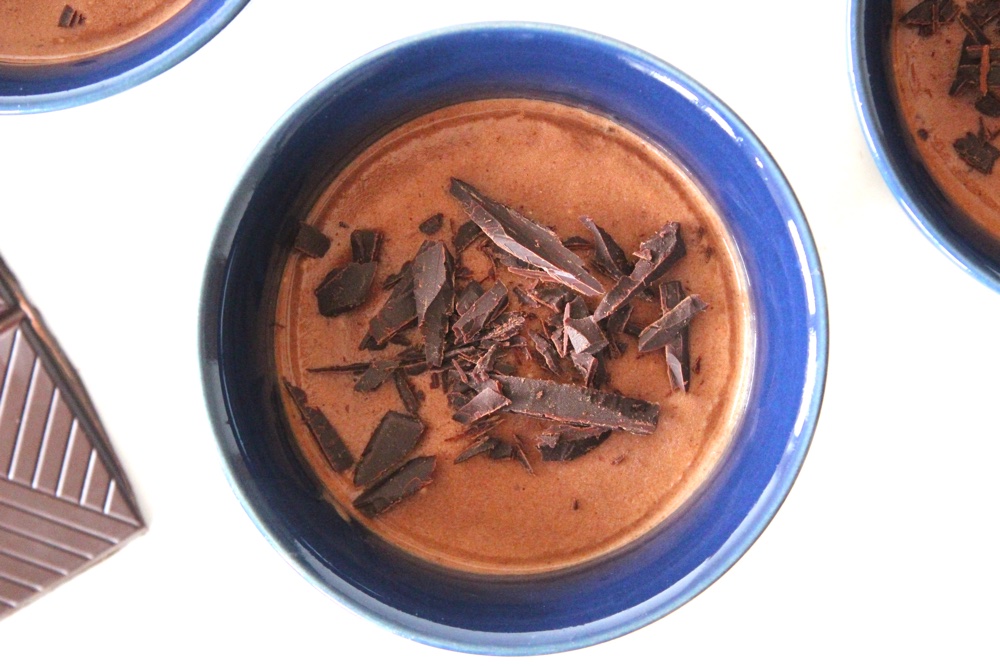
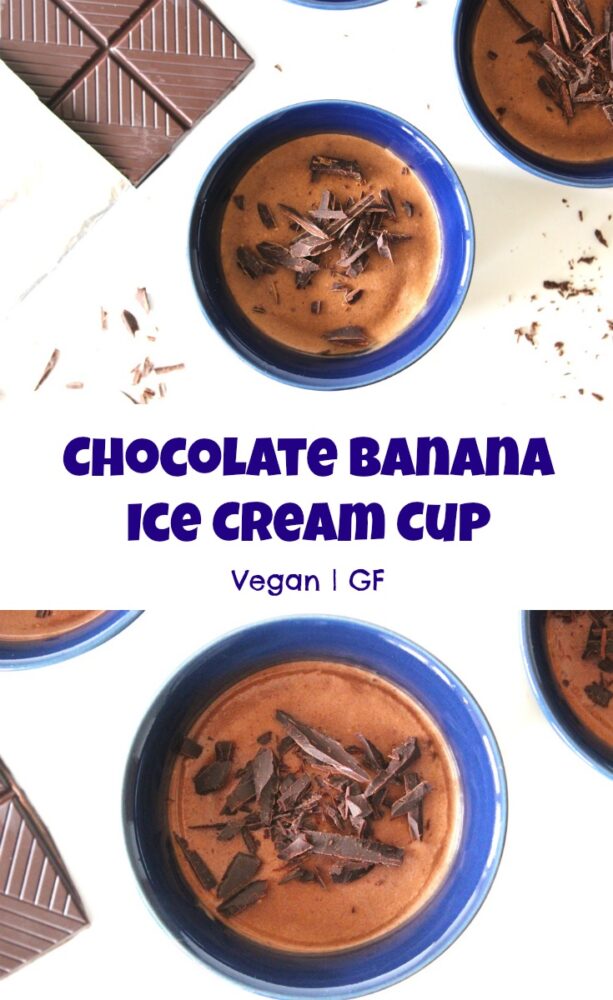
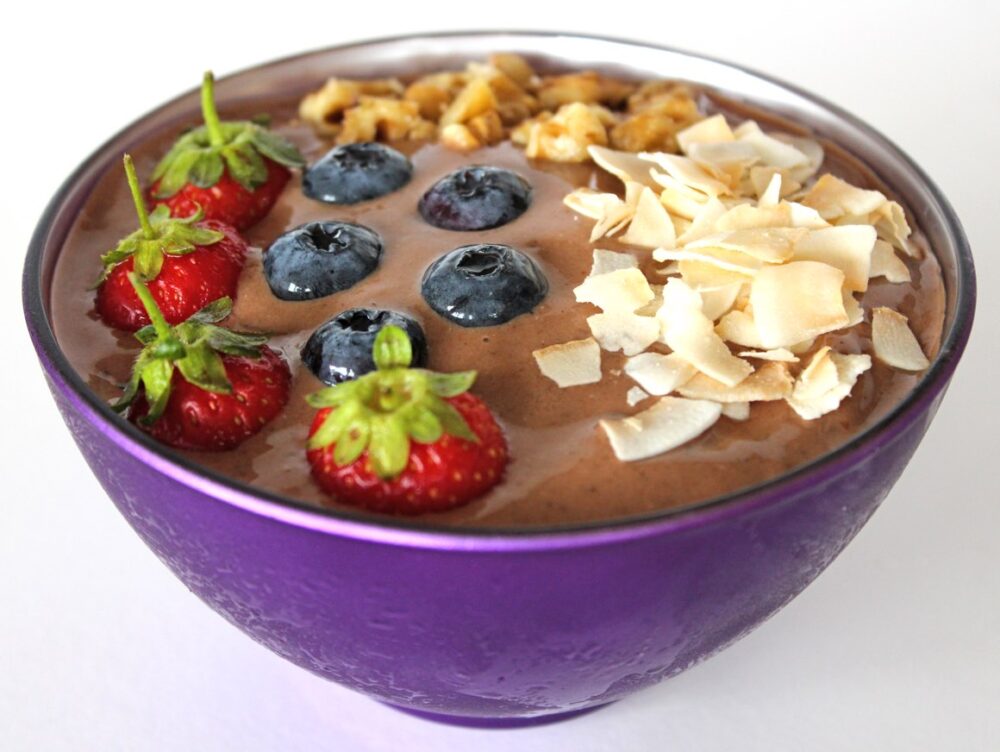
I love making chocolate banana ice cream! (aka ‘Nicecream’) It’s so simple and cheap to make (costing literally a few pence per serving), yet it feels like a real treat. It also happens to be packed full of healthy ingredients, including an array of minerals and antioxidant goodness.
I’ve been making banana ice cream for a few years now, and have learnt a few tricks along the way to make the process even quicker and easier. For example, I used to slice the bananas into discs and arrange them in single layers in freezer bags prior to freezing, however I’ve since discovered that whole bananas can easily be sliced from frozen using a sharp knife! These days, I simply pop whole bananas in the freezer stacked in plastic containers with a layer of parchment paper in between to stop them sticking together.
For ice cream desserts, I’ve also learnt to reduce the amount of milk that I add to the bananas so that it can be served instantly as soft-serve. When I’m in the mood for banana ice cream, the last thing I want to do is wait two hours for it to freeze.
For a more ‘grown up’ banana ice cream dessert, I love the idea of adding some strong coffee into the blend to create a mocha flavour. You could even serve it in an Espresso Cup to make it look extra fancy. If serving to children, however, it’s probably best to forego the coffee otherwise they may be up all night buzzing from the caffeine!
One of my personal favourite (kid-friendly) additions to banana ice cream is nut butters. Almond, hazelnut and peanut butters all add a gorgeous flavour as well as lending some extra creaminess to the blend.
Recipe Card
Prevent your screen from going dark
Chocolate Banana Ice Cream Cups
These chocolate banana ice cream cups are simple and cheap to make, yet they look and taste decadent. They contain lots of healthy goodness, including an array of minerals and antioxidants. Both kid- and adult-approved, these cups make a great dessert.
Whiz the bananas in a food processor to break them up. Add the remaining ingredients and blend for a couple of minutes until smooth. Stop now and then to scrape down the sides. For a while it may look like it’s not going to blend smooth but be patient, it will! Taste test and add a touch more sweetener, if desired.
Divide between four ramekins. Decorate with dark chocolate. Serve immediately as soft serve, or place in the freezer to firm up. If left for two hours or more, the ice cream will freeze solid so leave at room temperature for 15 minutes before serving to allow it time to soften.
As well as banana ice cream for dessert, I love eating it for breakfast too! You’ll find one of my all-time favourite ice cream breakfast bowls – banana, mango, cinnamon and chia – on page 33 of the Bit of the Good Stuff cookbook. I’ve made this bowl so many times already this summer! I find it’s the perfect cool-down breakfast after a hot morning run.
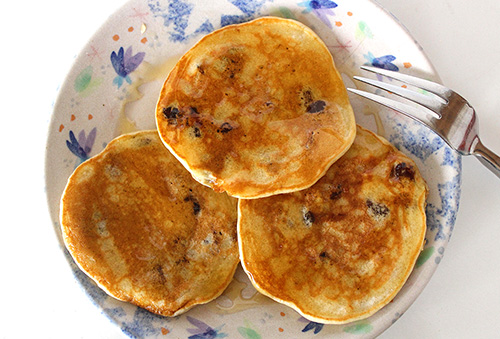
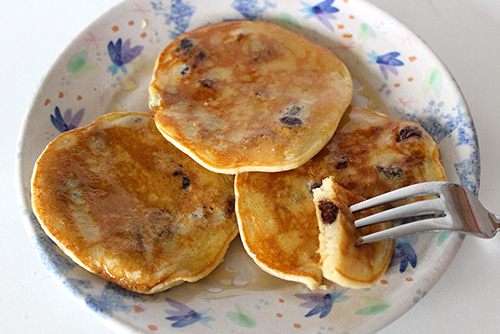
Today I’m sharing a recipe for Sultana Banana Mini Pancakes ❤️ They are quick, easy to make and use basic pantry ingredients. They’re perfect for serving as a weekend breakfast or for ‘elevenses’. Me and Lil’ L have made them three times so far and they have proven to be a big hit with the family.
Have you tried adding sultanas to pancake batter before? They work beautifully in these American-style fluffy pancakes. In fact, I loved them so much that I ended up adding more than the original recipe called for.
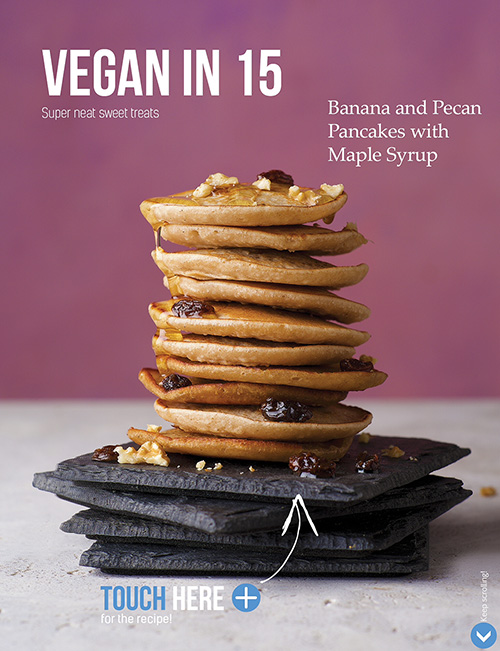
The original recipe is from Kate Ford’s new cookbook ‘Vegan in 15’ and was published in this month’s Vegan Life magazine.
Check out that cute pancake stack!
* Disclaimer: Vegan Life kindly sent me a complimentary copy of this magazine
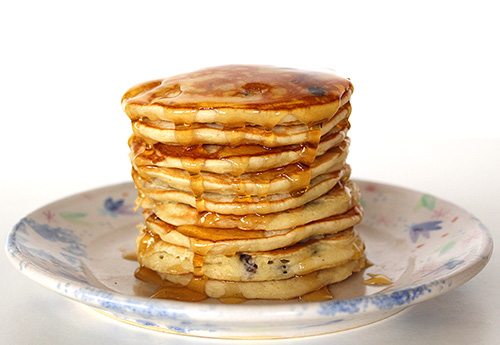
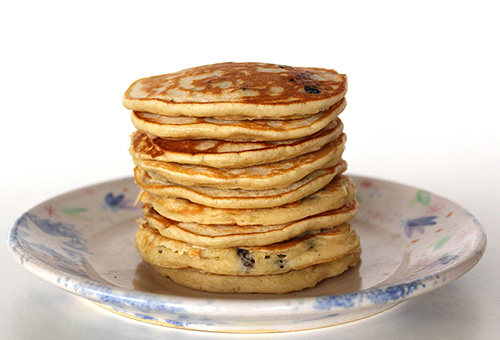
And below is my little pancake stack, before the obligatory drizzle of maple syrup. As you can see, I still haven’t learnt the art of food styling 😊 I still just plonk the food on a plate or in a bowl and click the shoot button on the camera.
Well at least you know how they will turn out when you make them, and the pancakes themselves look pretty similar to the ones above, don’t you think? I just need to work on the presentation.
I did tweak Kate’s pancake recipe ever so slightly, increasing the quantity of sultanas (as we were enjoying them so much!) and omitting the nuts from the batter (so we could keep them as an option for sprinkling on top instead). I found that the flour conversion from grams into cups in the Vegan Life magazine was slightly off (according to my scales and cups anyhow!) so I’ve taken this into account in the recipe I share below.
I usually get nine pancakes out of the batter, which means three pancakes each for me and the boys.
As soon as the photoshoot was over, you can guess where these three ended up.
Recipe Card
Prevent your screen from going dark
Sultana Banana Mini Pancakes (Vegan)
These mini pancakes are perfect for serving as a weekend breakfast or for ‘elevenses’. The recipe is lightly adapted from the Banana and Pecan Pancakes recipe in Kate Ford’s Vegan in 15. We love these pancakes with sultanas in the batter and chopped nuts as an optional topping, but feel free to add 2 TBSP chopped pecans into the batter as per the original recipe.
150ml/ ⅔ cup soya, nut or oat milk (I use fortified soya milk)
120g/ 1 scant cup self-raising flour
1tspmaple syrupplus extra for drizzling
pinchof salt
4TBSPsultanas
neutral-flavoured oil for fryingI use organic rapeseed (canola oil or sunflower oil)
Optional topping
chopped walnuts or pecans
Instructions
In a blender or food processor, blitz the banana, milk, flour, syrup and salt into a smooth batter. Pour into a jug and stir in the sultanas.
If possible, use two frying pans (skillets) to halve the cooking time. Brush the bottom of the pan with oil and heat on medium heat. To check the pan is hot enough, flick a few drops of water into the pan. If they sizzle, the pan’s ready.
Pour the batter into three separate circles to create mini pancakes (I use my ice cream scoop – one scoop per pancake). Cook for a minute or so until the underneath is golden brown, then flip over and cook for a further minute. Pop them in a warm oven while you prepare the remaining pancakes.
Drizzle with syrup, sprinkle on some chopped nuts (if desired) and serve.
These pancakes will keep for 3 days in the refrigerator. Gently heat through before serving.
Back in 2013, I shared the recipe for a Lemon Drizzle Cake that I baked for my mum for Mother’s Day. It proved to be a big hit with my readers and, four years later, it’s still one of the most popular recipes on my blog!
Though I made it specifically with my mum in mind, the Lemon Drizzle quickly became my husband’s favourite cake. It’s the one he’s requested every birthday… even though his birthday is a week before Christmas and Lemon Drizzle feels like a Spring-time cake (well, to me anyway!) Recently, however, I made an adaptation of the Lemon Drizzle and, after tasting it, my husband declared that THIS one may just be his new favourite!
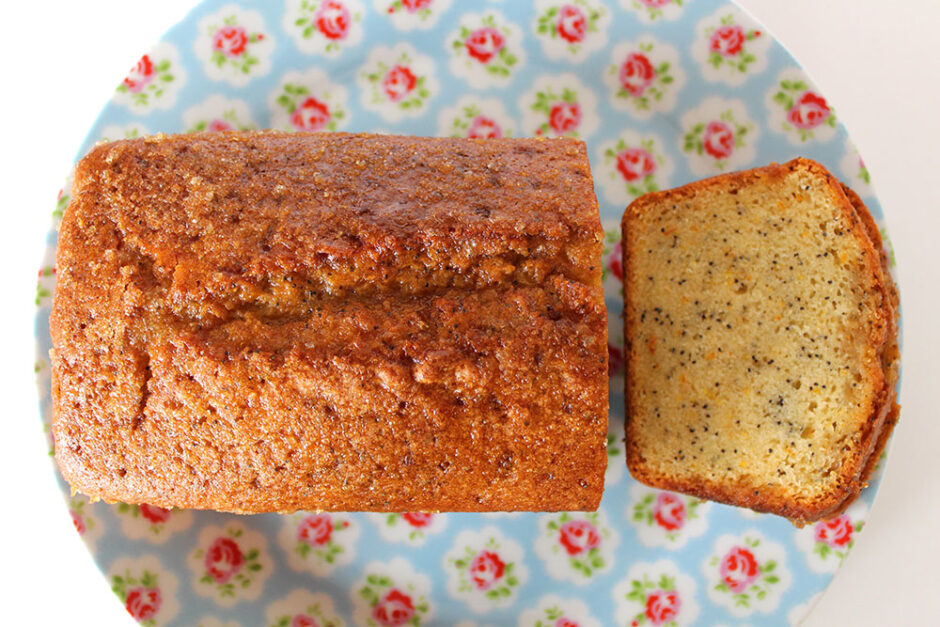
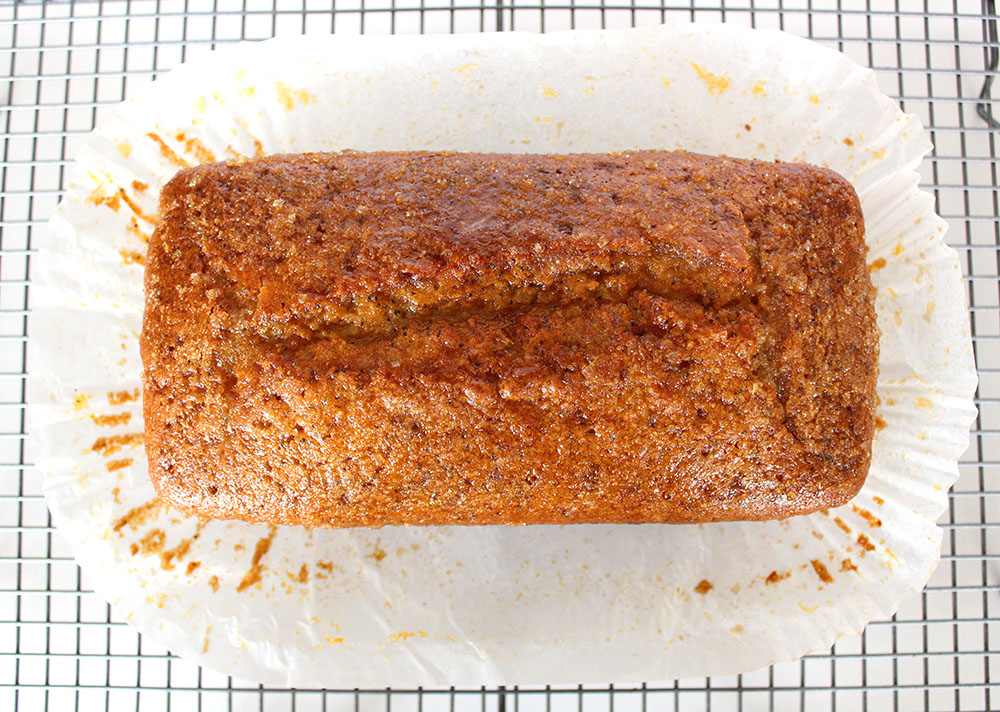
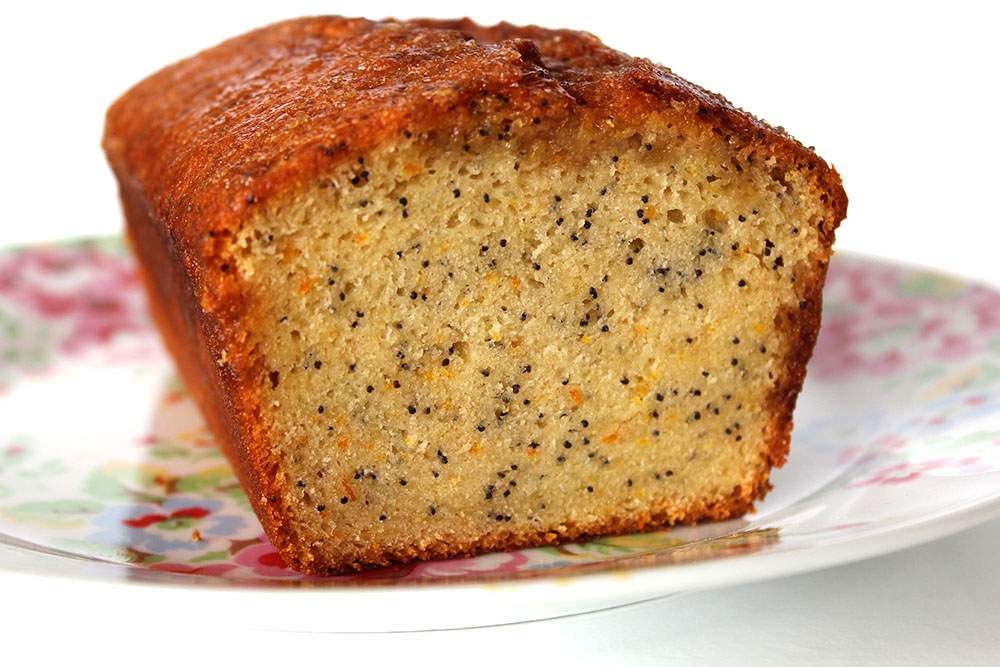
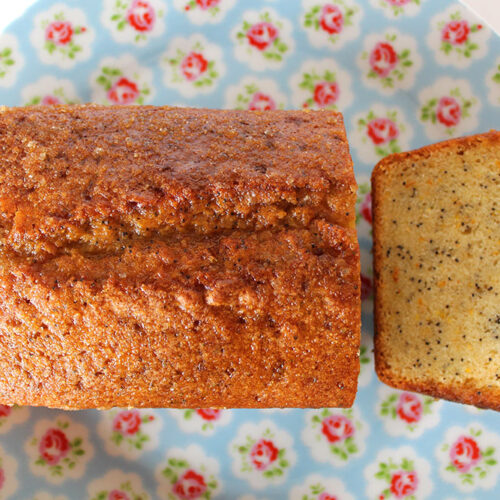
With a few little tweaks, I transformed the Lemon Drizzle into an Orange Drizzle speckled with poppy seeds It still has the beautiful, moist consistency and light texture, but the flavour is of course orange rather than lemon. Rather than ‘zingy’ like the Lemon Drizzle, this one is more sweet and fruity. It reminds me of summer and sunshine. So maybe Lemon Drizzle will be my spring-time cake, and Orange Drizzle will be the summer-time version. But, of course, you can eat it whenever you like. I know we’ll be eating it in December 😉
Oh, and this cakes smells amazing as it’s baking. It fills the house with this beautiful orangey aroma!
I’ve made this cake at least five times in the past few weeks. I’ve given it as gifts, taken it on our travels when visiting family, and shared it with friends on coffee mornings. It’s always received great compliments. It’s also been road-tested and approved by my mum. I took it to her on our last visit to Dorset and she really enjoyed it! When I got home, she’d already emailed asking for the recipe.
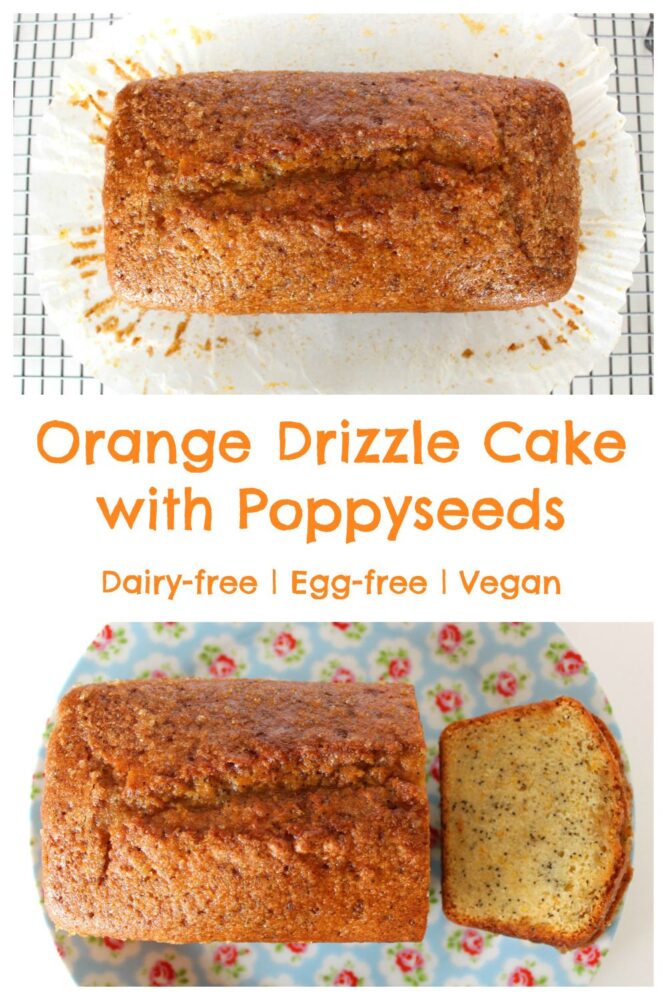
Wonderfully moist and citrus-kissed, this vegan orange drizzle cake with poppy seeds is simple to make using pantry staples. Tangy, sweet, and freezer-friendly—perfect for sharing, gifting, or enjoying anytime!
200g/ ¾ cup + 3 TBSP unrefined cane sugar(I use golden caster sugar)
40g/ 2 TBSP maple syrup
70g/ ⅓ cup organic rapeseed (canola) oil or other neutral-flavoured oil
240ml/ 1 cup soya milk
2tspapple cider vinegar
1tsporange extract
30ml/ 2 TBSP freshly squeezed orange juice
zest of 1 unwaxed/organic orange
250g/ 1¾ cups white spelt flour or plain (all purpose) flour
2tspbaking powder
1/4tspsalt
1TBSPpoppy seeds
Drizzle
2TBSPfreshly squeezed orange juice
2TBSPDemerara or turbinado sugar
Instructions
Grease and line a 2lb loaf tin with non-stick baking paper (or use a non-stick loaf liner). Preheat the oven to 190C (170C fan) / 375F.
In a mixing bowl, whisk together the sugar, syrup, oil, milk, vinegar, orange extract and orange juice until fully combined. Stir in the orange zest.
Sieve one third of the dry ingredients (flour, baking powder, salt) into the bowl and whisk to combine. Repeat with the remaining two thirds, whisking each time. Stir in the poppy seeds.
Tip the mixture into the prepared tin. Place on the middle shelf in the oven and bake for 50 minutes, or until a skewer inserted into the middle comes out clean.
Whisk together the drizzle ingredients. When the cake is baked, pierce all over with a skewer. Distribute the drizzle evenly over the top of the cake. Allow to cool in the tin for at least an hour (it will firm up as it cools), then transfer to a wire rack.
Once completely cooled, slice and serve or transfer to an airtight container. The cake will keep for a week in the refrigerator (I find it tastes even better a day or two after it’s been baked!) It also freezes really well.
Here in the UK, it’s Mother’s Day on Sunday so, if anyone would like to bake their mums a cake, this Orange Drizzle would be a great option (or you could go for the trusty Lemon Drizzle).
I absolutely love this time of year, with the trees full of blossom and the wisteria out in flower. Not only does it look stunning, but it smells glorious too! Here in Bath, the weather is finally starting to warm up and we’ve actually managed a few meals in the garden this past week. Our dinners have definitely shifted to lighter dishes, and I’m looking forward to sharing some of our favourites over the coming weeks.
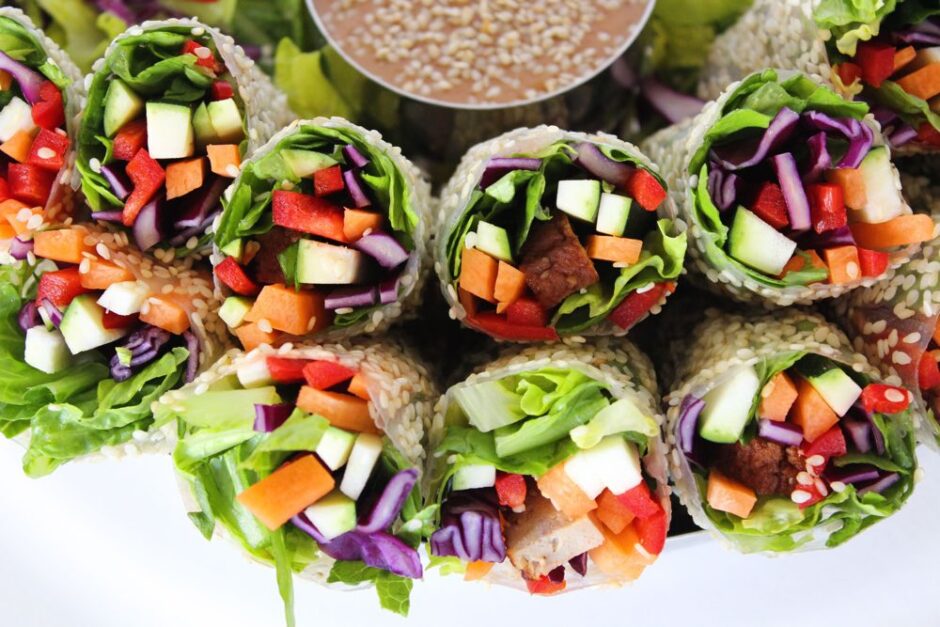
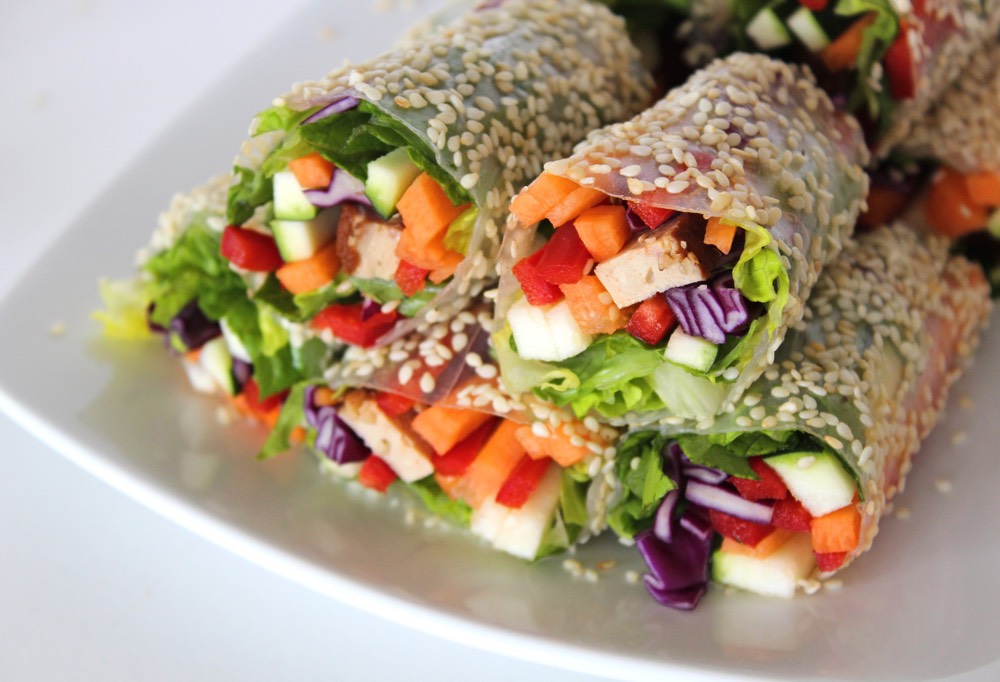
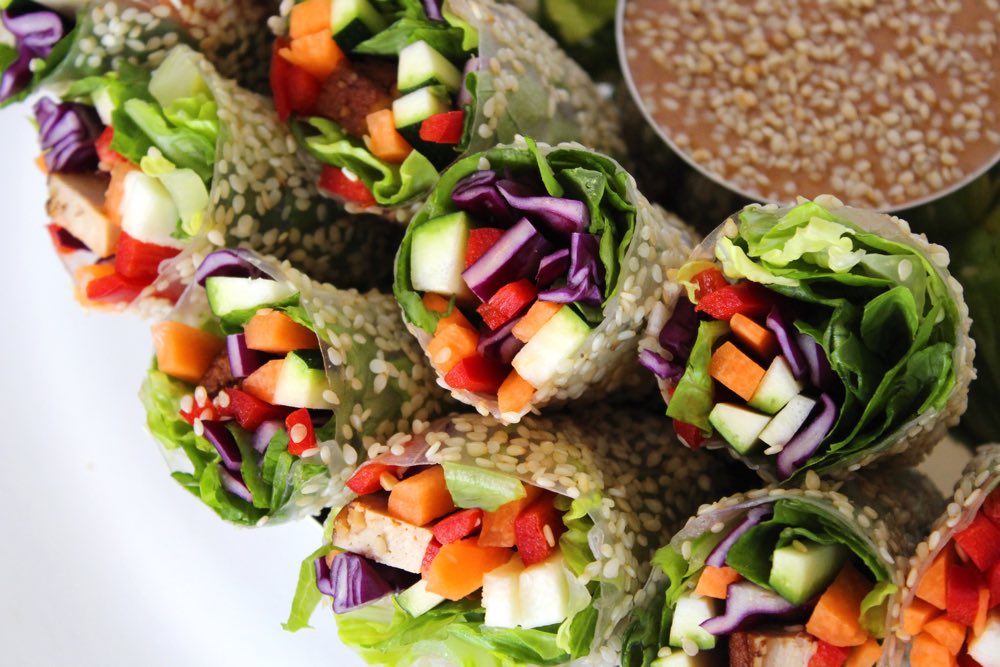
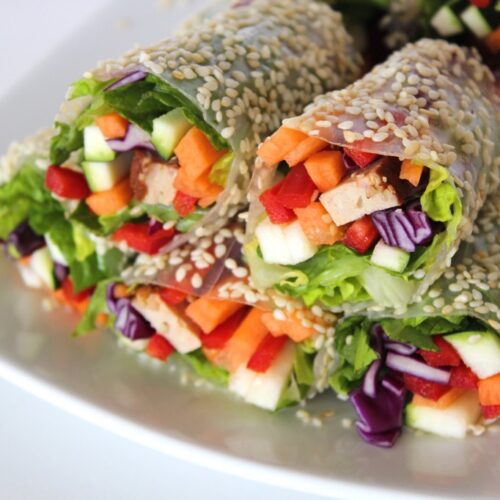
The rolls are a vegan twist on the classic Vietnamese summer roll. Instead of meat or prawns, the rolls are filled with a rainbow of fresh veggies, making them both visually beautiful and delicious.
My family loves Vietnamese summer rolls! We typically eat them as a light evening meal, enjoyed out in the garden, but they’re also great for buffets and picnics. We like to add strips of smoked or marinated tofu into the rolls for protein. When accompanied with a peanut dipping sauce, they’re surprisingly filling!
Have you ever tried making rice paper rolls before? I find that they fall into the category of ‘easy when you know how’. The first time I tried to make them, I got myself in a real tangle with the rice paper. I soaked it for too long then it folded in on itself and was beyond saving.
I was determined not to be defeated by a rice paper though, so I did some research and discovered that with a couple of easy steps, rolling is a cinch. I found this 37 second YouTube tutorial especially helpful.
I’ve rolled countless rolls now, and my only failure was that initial one. My rolls aren’t very neat (neatness isn’t a forte of mine!) but the rolls work. They taste good. And most importantly, Lil’ L loves them. I’ll keep working on the neatness.
Learning from my past mistakes, I thought I’d put together a step-by-step guide on how to successfully roll rice papers. Even if it helps one person out, I’ll be more than delighted.
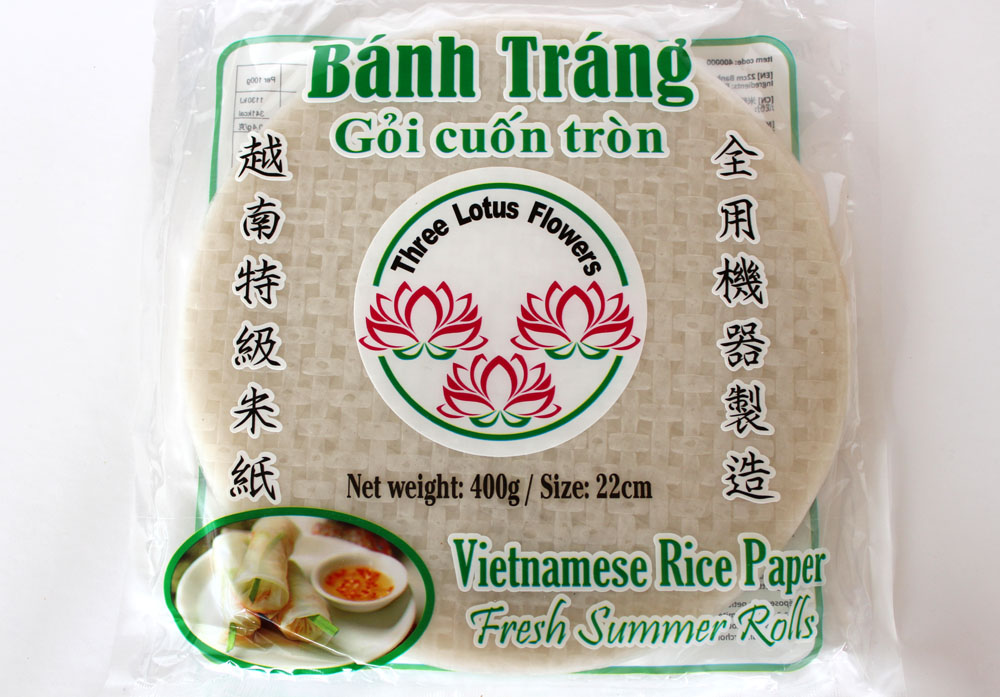
So firstly, we need some rice papers…
You’ll find them widely available in oriental supermarkets. I buy Vietnamese Banh Trang from Hai Na Oriental Supermarket in Union Street in Bath. You get about 45 papers (22cm / 8½ inches in diameter) in a pack for £1.89, which is great value. Waitrose and Ocado also sell Blue Dragon Spring Roll Wrappers.
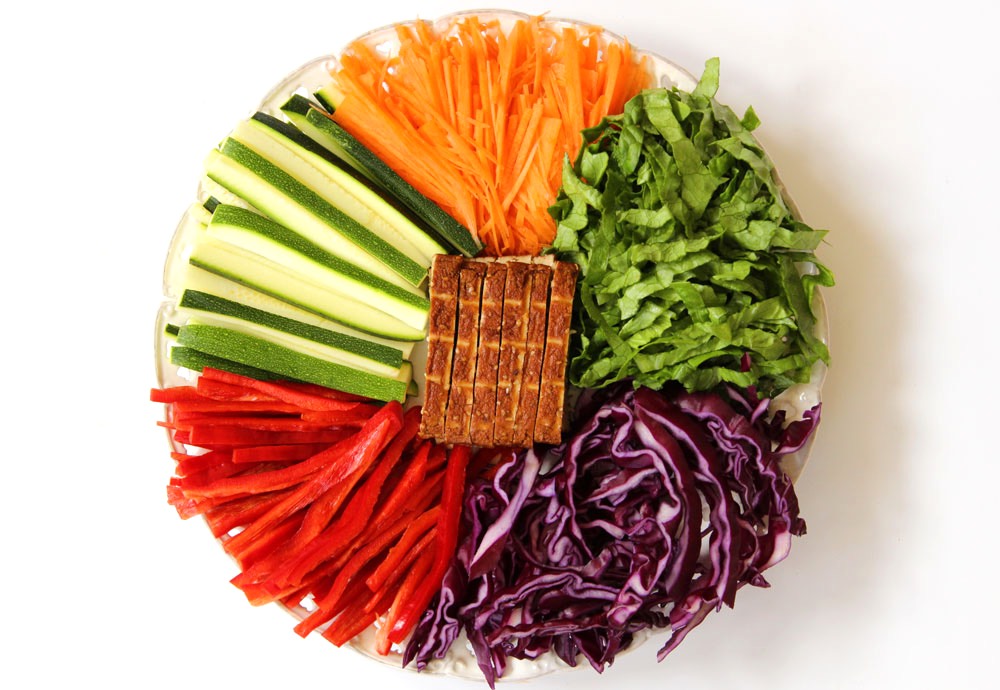
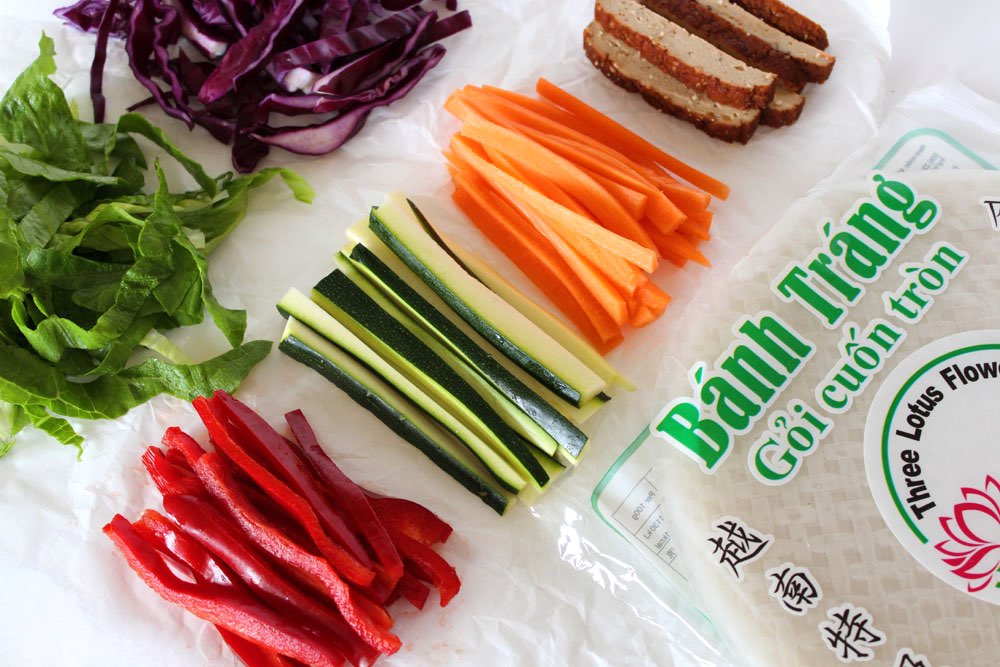
It’s important to prep all the ingredients before you start rolling (known as ‘mise-en-place’ if you happen to be French… or a chef!) I typically use a large carrot, small courgette (zucchini), sweet pointed romano pepper, some red cabbage and a romaine lettuce. For a protein kick, I add in strips of organic smoked or marinated tofu.
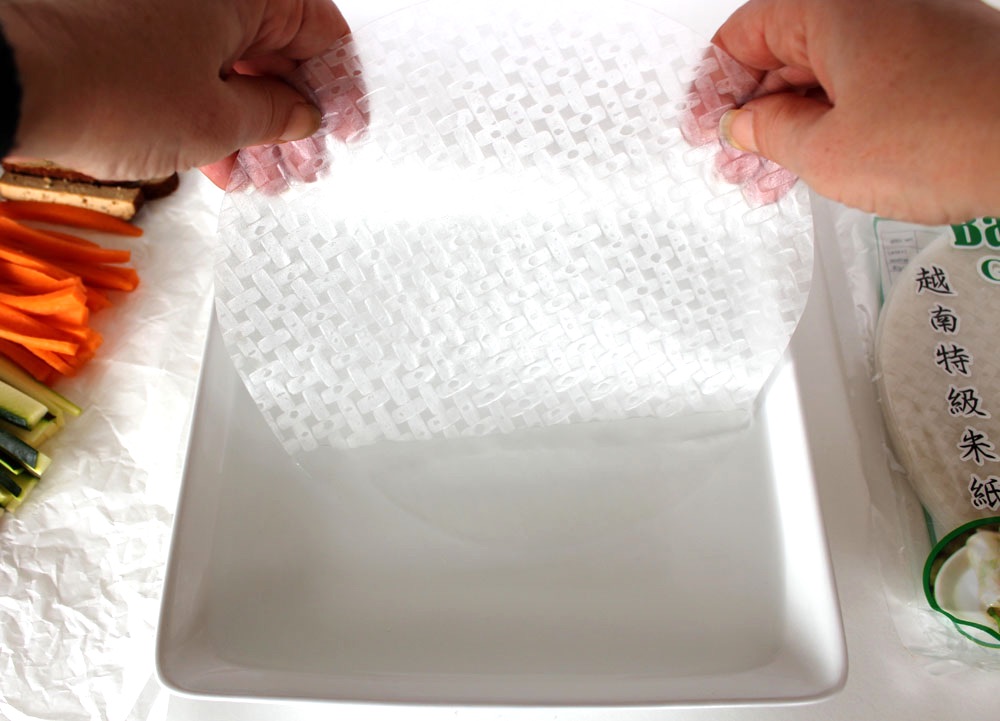
Once everything is ready, prepare a bowl of warm water. It doesn’t matter what kind of container you use, as long as it’s big enough to fit your rice paper.
Want to know something funny? To take the shot below I ended up pressing the shutter with my nose!! How ridiculous is that? You only dip for a second so no time to set up the timer!
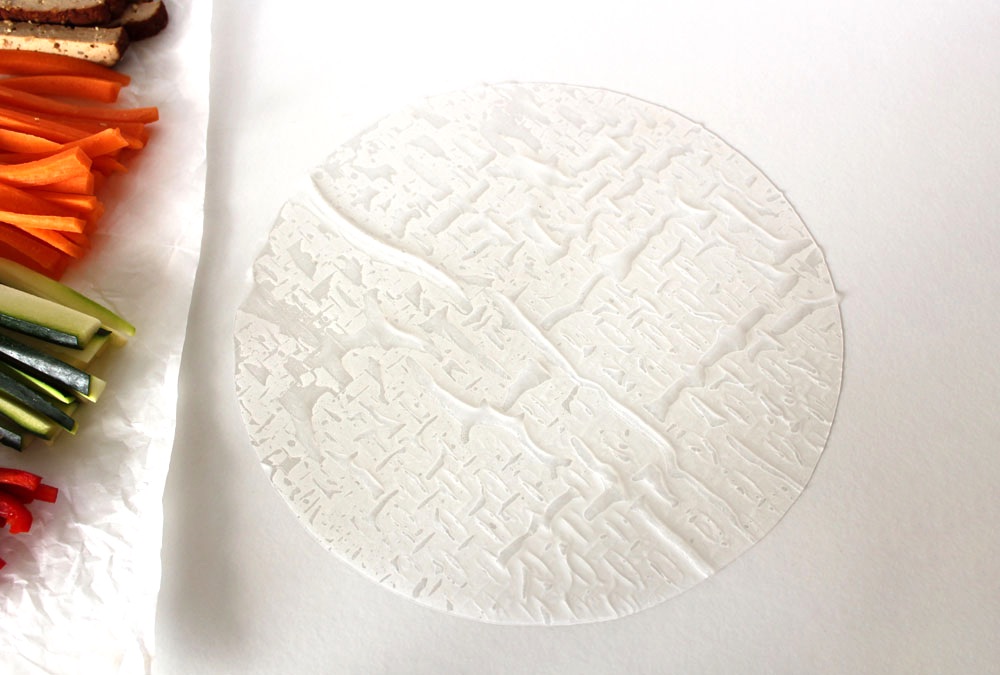
Anyway, back to the guide… Take a rice paper in both hands and dip half of it in the water. Quickly keep turning the paper in the water (like you’re turning a steering wheel) until the whole paper is wet. Shake off the excess water and lay the paper on a plastic chopping board or smooth work top (not wood as it sticks!) The paper is still quite firm when I remove it from the water but it continues to soften up as it absorbs the moisture. (I find that if you dip it for too long, it goes gloopy and impossible to control).
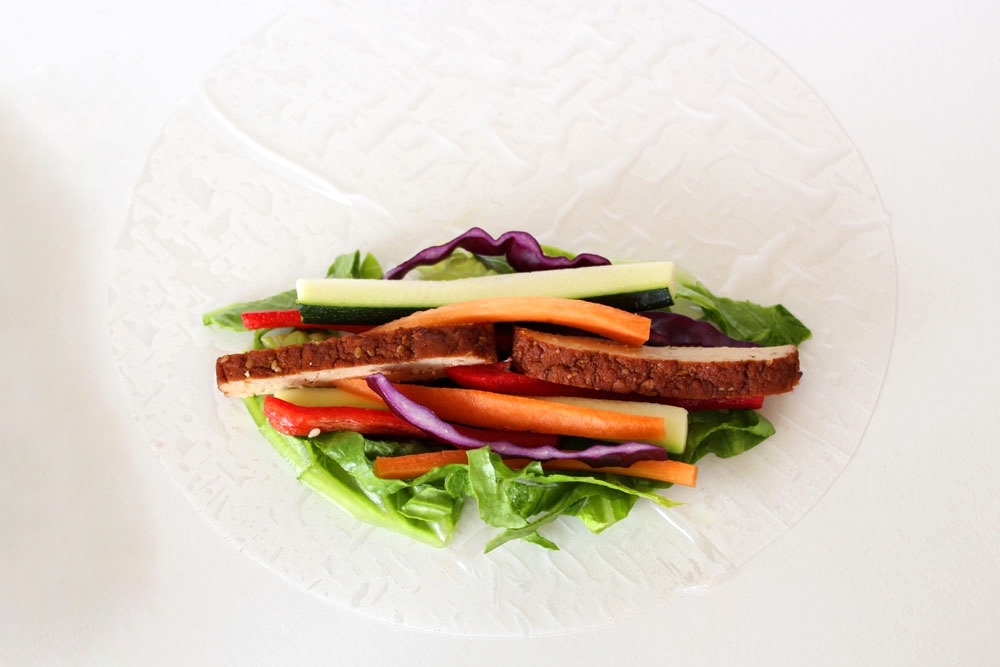
Arrange your veggies on one half of the rice paper, leaving a border either side. You want to make sure that there are no sharp edges poking out as the rice papers are delicate and easily tear.
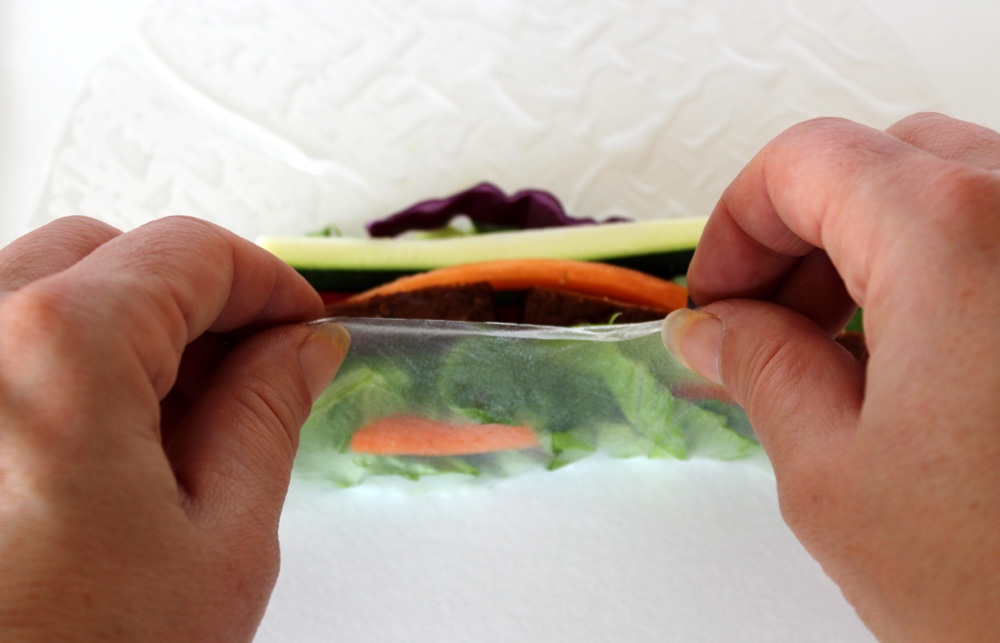
Squash the filling together then start rolling. Gently pull the rice paper up and over the vegetables, tuck in the edges as you roll. Try to keep it as tight as you can (like you’re rolling a burrito). Here comes another nose shutter shot!
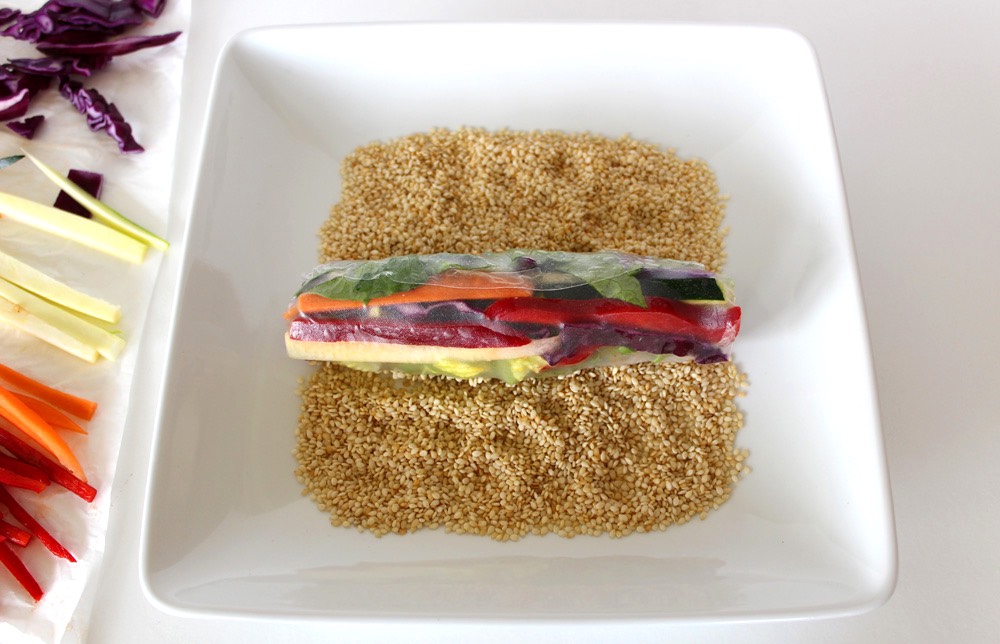
One thing that surprised me when I first made Vietnamese rolls is that they are sticky! I never saw this mentioned in recipes, so I googled it and, yes, they are meant to be sticky. Some people recommend wrapping each roll in cling film (plastic wrap) to stop them sticking together but I didn’t like the idea of the plastic waste (plus Mark was worried that he’d accidentally eat the cling film) so I found a way to get round the stickiness… roll them in toasted sesame seeds!
Not only do the rolls feel much nicer to hold when they’re covered in seeds, but the sesame coating actually boosts their nutritional profile too. Sesame seeds are nutritional powerhouses.
Once rolled and seeded, place the roll on a plate and repeat the process. I make eight rolls for four people, but if your rice papers are smaller than mine, you may want to roll more.
Just before serving, I cut the rolls in half. I give everyone their own little dipping bowl for the peanut sauce (so they can double dip to their heart’s content), then it’s time to tuck in!
Recipe Card
Prevent your screen from going dark
Vietnamese Summer Rolls (Vegan Style!) with Peanut Dipping Sauce
These Vietnamese summer rolls make a delicious light meal. Below I’ve listed the veggies that I normally use for the filling, but feel free to switch them up. The rolls are best eaten within 4 hours of being made so that they stay fresh. Any longer and the papers may start to dry out and crack.
1sweet pointed romano pepper or bell pepperdeseeded and finely sliced
1small courgettezucchini, finely sliced
120g/ 1½ cups red cabbagefinely sliced
1romaine lettucesliced into ribbons
200g/ 7 oz smoked or marinated tofuthinly sliced
8rice papersspring roll wrappers or more, depending on their size
75g/ ½ cup toasted sesame seeds
Peanut Dipping Sauce
115g/ ½ cup natural smooth peanut butter
2TBSPtamari or low-sodium soy sauce
1TBSPwhite vinegar
1TBSPmaple syrup
60ml/ ¼ cup warm water
2tspfresh gingerfinely grated (or substitute with ½ tsp ground ginger)
Sesame seedsfor garnish
Instructions
Chop the veggies and tofu into thin slices.
Tip the sesame seeds onto a large plate.
Fill a wide bowl with warm water.
Working with one rice paper at a time, take the paper in both hands and dip half of it in the warm water. Quickly rotate the paper for a few seconds (like turning a steering wheel) until the whole paper has been submerged in the water. Shake off the excess water, then lay the rice paper on a plastic chopping board or worktop (don’t use a wooden board as it will stick). The paper will continue to soften up as it absorbs moisture.
Arrange your veggies on one half of the rice paper, leaving a border either side. I use a few ribbons of lettuce, a few strands of red cabbage, then 2-4 strips each of tofu, carrot, pepper and courgette. Make sure that there are no sharp edges poking out as the rice papers are delicate and easily tear. Squash the filling together then start rolling.
Gently pull the rice paper over the filling. Tuck in the edges as you roll. Try to keep it as tight as you can (like you’re rolling a burrito).
Roll the summer roll in sesame seeds. Shake off the excess seeds and set the roll to one side. Repeat the process. I make eight rolls for four people, but if your rice papers are smaller than mine, you may want to roll more. Just before serving, cut the rolls into two.
To make the dipping sauce: place all the ingredients in a bowl and whisk together with a fork. Add a splash more water, if needed, to reach desired consistency. Taste test and adjust the vinegar, sweetness, ginger levels if desired. I give everyone their own little dipping bowl so they can double dip to their heart’s content! Just before serving, sprinkle on some sesame seeds for garnish.
If you make these Vietnamese Summer Rolls, I’d love to hear your feedback and any suggestions for adaptations. Leave a comment below or tag your photos with #bitofthegoodstuff on social media – I always love to see your creations! You can also connect with me on my social media channels here: Instagram, Facebook, Pinterest.