Bit of the Good Stuff’s Gourmet Goa Burger

Jump to Recipe

Happy New Year everyone! So here we are, in the year 2020. Wow! When I was little, 2020 seemed so futuristic. I imagined we would all be wearing shiny silver suits and flying around on hover boards. Well, the reality hasn’t matched up with my predictions, but life on planet Earth sure feels a bit crazy right now.

And when things start to feel a bit too crazy in the big wide world, I find it helpful to focus on the things that I can personally do (however small) to help bring about positive change. This month, I am supporting people that are giving Veganuary a try, whether they have pledged to go full vegan for the month or are dipping their toes into the world of plant-based eating. It feels an absolute honour to be part of a person’s journey as they start to make the transition towards this more planet, animal and human health-friendly lifestyle 💚

Over 300,000 people have already signed up to take part in this year’s Veganuary, which is incredible! And that includes one of my personal heroes… Brian May! I’ve been following his vegan journey on Instagram and it’s wonderful to hear how much he’s enjoying it.

I especially love this passage that Brian wrote on Day 13 of #Veganuary…

One person going Vegan for a month is a very small thing. But from small seeds big peaceful oak trees grow. Our grandchildren will need them.

Brian May

All of us really can make a difference! And if you’ve been considering joining in Veganuary but feel you may have missed the boat, it’s not too late! You can still sign the pledge on the Veganuary website. And if you’d like some personalised plant-based nutrition coaching to help you along the way, don’t hesitate to get in touch. I would be delighted to help you!

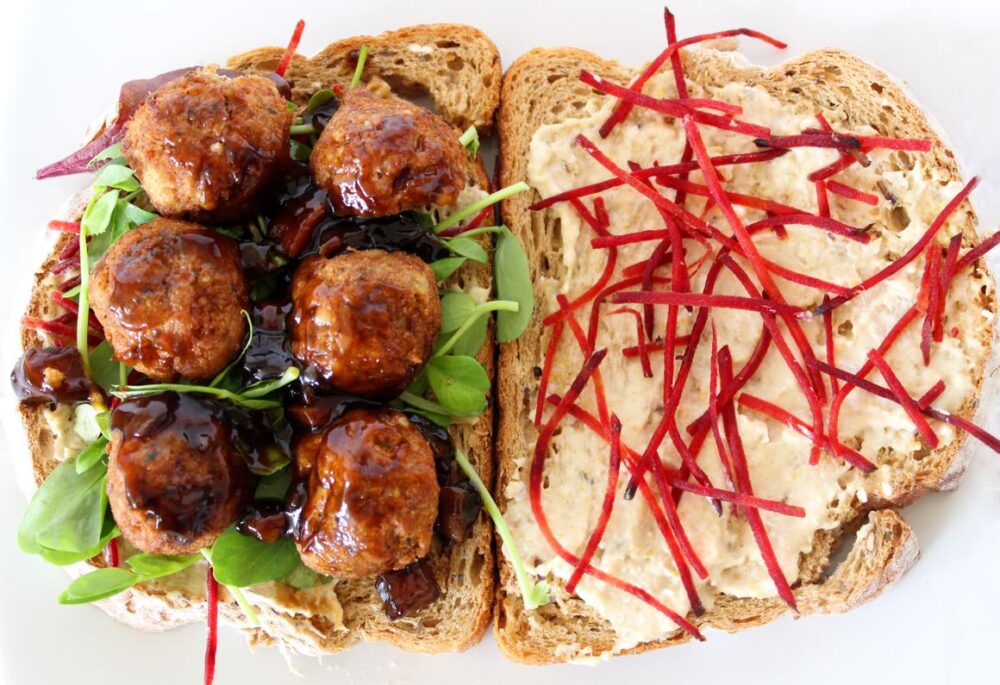
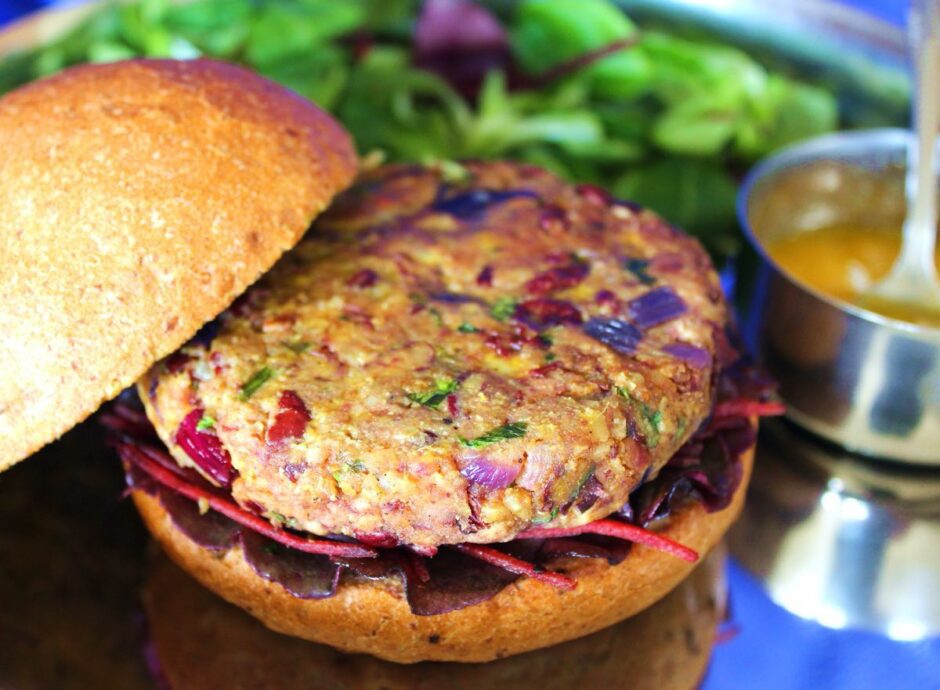
So after that long introduction, let’s get onto a recipe! I thought I would kick start blogging in 2020 by sharing one of my family’s all-time favourite burger recipes which features in the Bit of the Good Stuff Cookbook – the Gourmet Goa Burger. This recipe has proven popular with our lovely readers too. In fact, one reader that I met at a vegan festival asked me if I would sign this page of the cookbook for her mum as it was her mum’s favourite burger recipe!
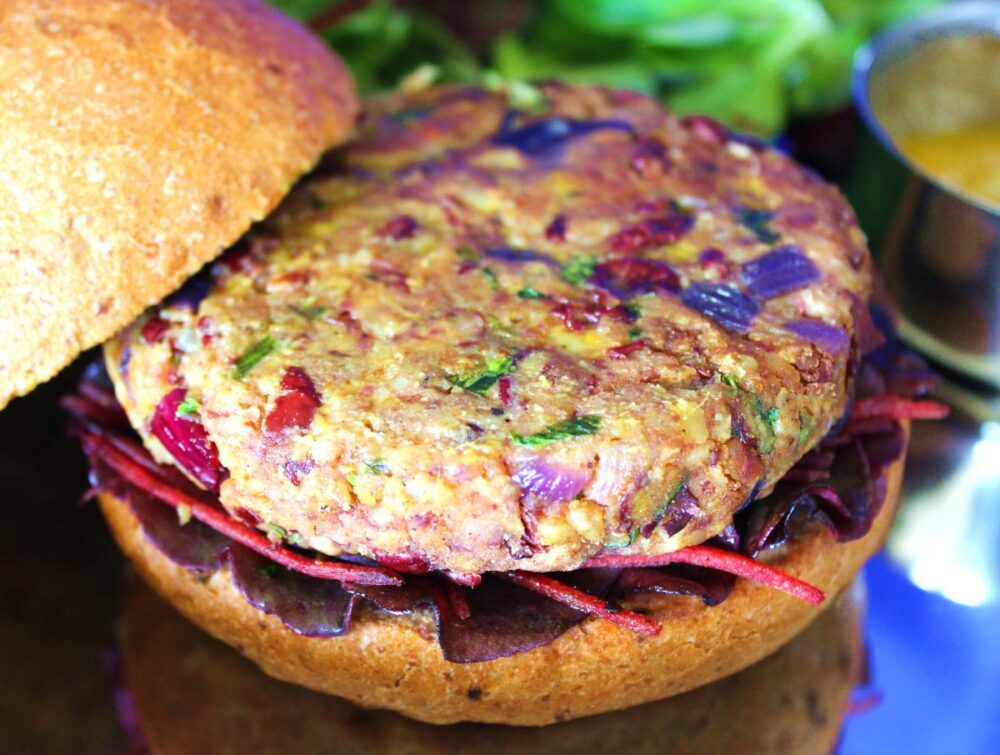
Gourmet Goa Burger (Vegan)

These burgers are flavoured with warming Indian spices and have a beautiful texture, thanks to the addition of cashews and oats. Some home-made burgers can be a bit soft and mushy, but not these ones!

And what I especially love about these burgers is that they are so quick and easy to make! You can make them from scratch in 30 minutes or less! In the time it takes to pre-heat our oven and cook the fries for our Friday night dinner, we’ve made the burgers and washed up too.

Fresh, tasty, healthy AND quick to make. Now that’s my idea of the perfect fast food!

Recipe Card
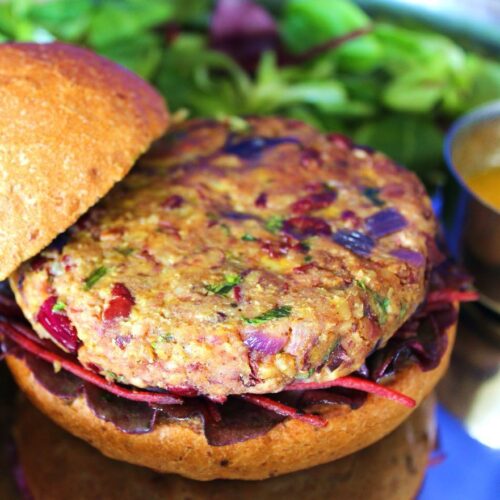
Gourmet Goa Burger (Vegan)

Once you’ve had a taste of home-made burgers, you’ll never want to go back to the store-bought version. They taste so much fresher, plus you an adjust the seasoning to suit your own personal tastes. My family loves to serve these Indian-spiced burgers in toasted buns with colourful salad leaves and a generous spoonful of sweet pickle, mango chutney or vegan mayonnaise.
Hands-on Time 30 minutes
Total Time 30 minutes
Course Dinner, Lunch, Main Course
Cuisine Indian
Servings 4

Ingredients
 

  • 1 TBSP olive oil divided
  • 1 medium red onion (130g) finely diced
  • 2 tsp minced garlic
  • 1 TBSP mild curry paste*
  • 1 TBSP natural peanut butter (or tahini)
  • 75 g / ½ cup cashews
  • 400 g / 14 oz can kidney beans rinsed and thoroughly drained
  • 50 g / ½ cup rolled porridge oats (quick oats, not jumbo**)
  • 2 TBSP fresh coriander leaves (cilantro) roughly chopped
  • ½ tsp salt

Instructions
 

  • Gently heat ½ TBSP oil in a large non-stick frying pan (skillet) and cook the onion for 4 minutes. Add the garlic and curry paste and cook for another minute. Stir in the peanut butter then remove the pan from the heat.
  • Roughly chop the nuts either using a knife with a curved blade or by pulsing them in a food processor.
  • Place the beans in a mesh sieve. Rinse under cold water then shake to remove all the water droplets.
  • Tip the beans into a large mixing bowl and roughly mash using a potato masher. Add the contents of the frying pan, along with the chopped nuts, oats, coriander leaves and salt. Stir until thoroughly combined. Press some mixture between your fingers. It should stick together. If if feels a little dry, add a touch more peanut butter or tahini and stir through. Taste the burger mixture and adjust the seasoning to suit.
  • Divide the mixture into four equal size balls. Firmly press the mixture together in your hands, then place on a chopping board and shape into patties.
  • Coat the bottom of the frying pan with the remaining oil and cook the burgers on medium-low heat for 6 minutes on each side, or until browned.
  • Stored in an airtight container, the burgers will keep for up to three days in the refrigerator. They also freeze well.

Notes

* I use Pataks Mild or Korma curry paste. If you prefer, or you can substitute curry paste with 1 teaspoon of good quality curry powder.
** I usually use Quaker Traditional Rolled Oats
Keyword Budget Vegan Meals, Easy Vegan Meals, Family Friendly, Gluten-Free Option, Plant-Based, Vegan Burger
Tried this recipe?Let us know how it was!

Nutritional Breakdown

N.B. The above values are estimates. The actual nutritional values will vary depending on the brands and ingredients used.

Pin for later ⬇️
Gourmet Goa Burger (Vegan)

If you make these burgers, I’d love to hear your feedback and any suggestions for adaptations! Tag your photos with #bitofthegoodstuff on social media – I always love to see your creations! You can also connect with me on my social media channels here: InstagramFacebookPinterest.   

With love,

Sharon xx

——————-
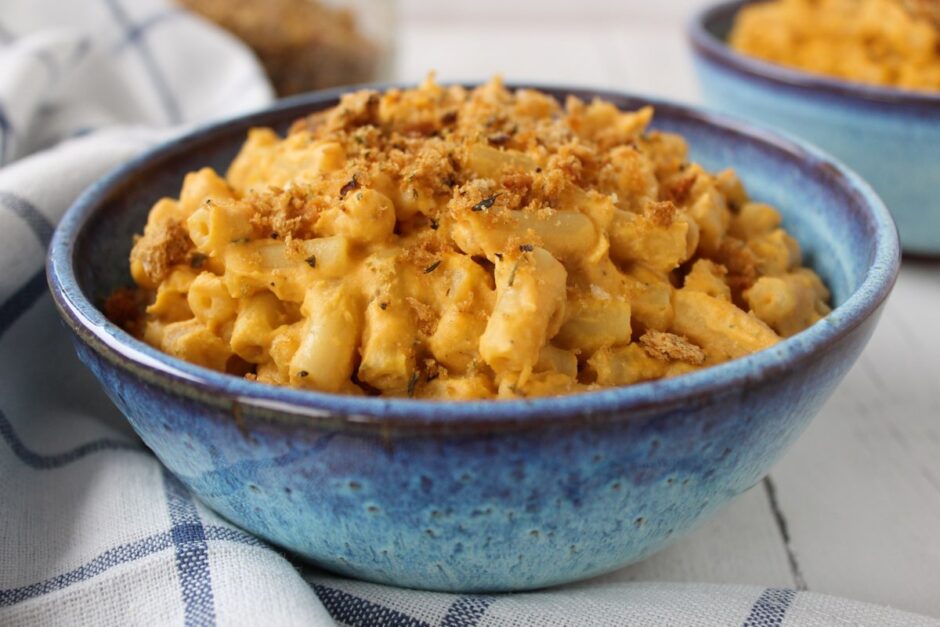
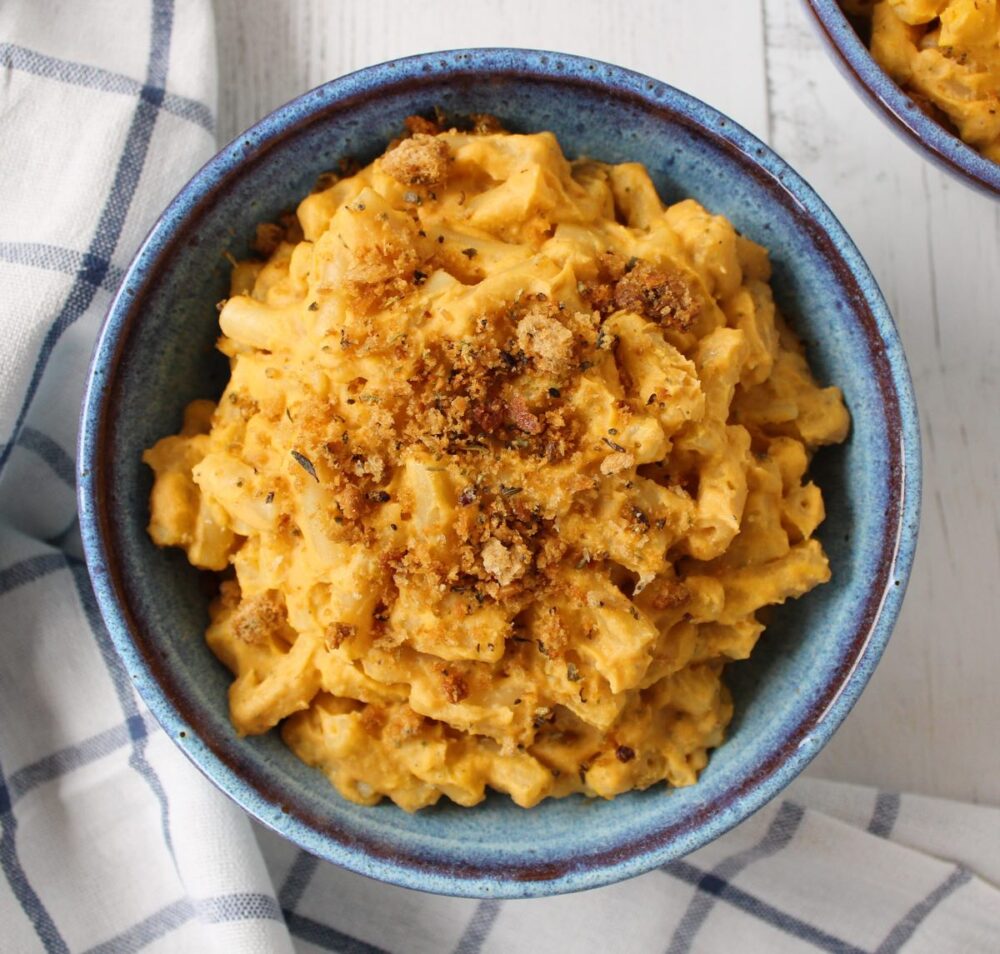
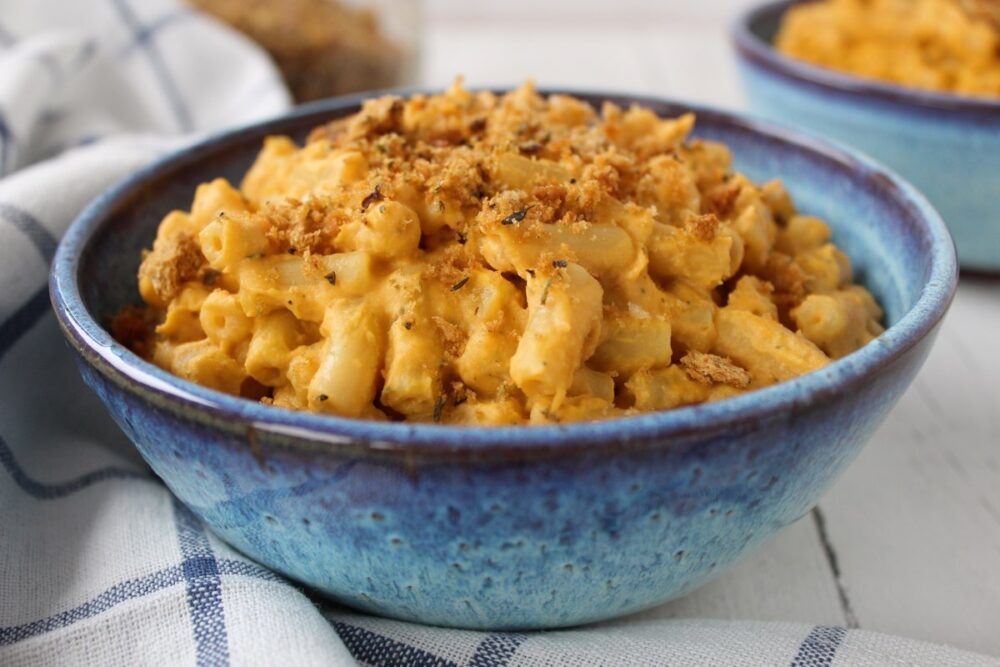
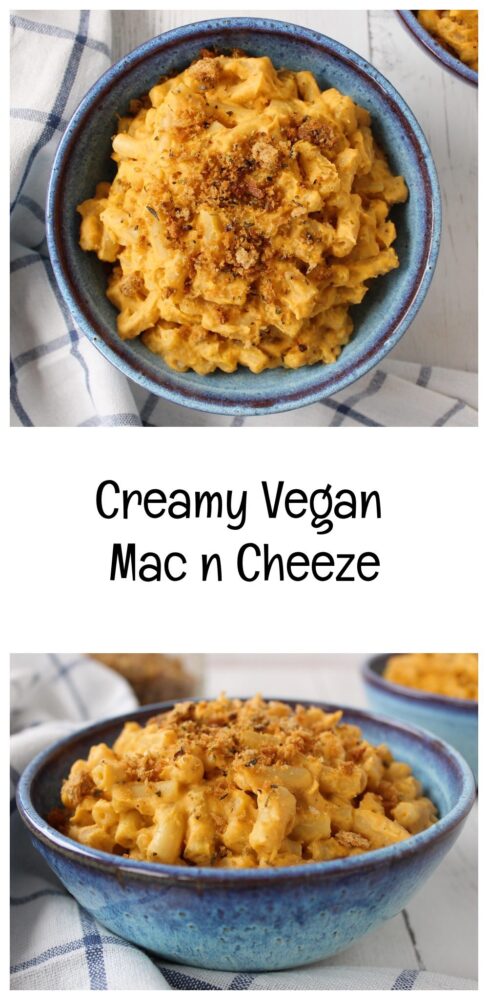
Creamy Vegan Mac and Cheeze (30 minute recipe)

Jump to Recipe

I’m so excited to be sharing today’s recipe with you… it’s for a creamy vegan Mac and Cheeze that’s really simple and quick to make. When I first made the sauce, I was amazed at how good it tasted, especially considering how basic the ingredients are (and that it doesn’t contain any cheese!) I had a hard time stopping myself from spooning the whole lot into my mouth straight from the blender!

And not only is it delicious, but it’s healthy too! For me, this Mac and Cheese is comfort food at its finest. It’s been a winner with my family and I hope you enjoy it too!

Vegan Macaroni Cheese

There are a number of ways to make plant-based alternatives to dairy cheese sauce. For example, you can blend potatoes or squash with vegetable broth, or you can make a béchamel-style sauce with plant milk and vegan ‘cheese’. Over the years, I’ve experimented with them all, however to this day, blended cashews remains my favourite (it’s the one I use for the cauliflower Mac ‘n’ Cheeze recipe in my cookbook).

It is also probably the easiest vegan ‘cheese’ sauce to make. It’s simply a case of throwing the ingredients in a high speed blender and whizzing smooth.

Vegan Macaroni Cheese

And what I especially love about this sauce is that it tastes decadent and creamy, yet it’s packed full of nutritional goodness! Cashews are a great source of heart-healthy monounsaturated fats, plus they provide protein, fibre and minerals, such as magnesium and manganese. 

Another secret ingredient in the sauce is carrot. Not only does the carrot enhance the colour and flavour of the sauce, but it provides an abundance of antioxidant betacarotene (which the body converts into vitamin A).

The savoury ‘cheesy’ flavour in the sauce comes from nutritional yeast flakes, which also happens to have an amazing nutrient profile. It’s especially rich in protein, B vitamins and zinc. Here in the UK, the most common brand of nutritional yeast flakes available in our larger supermarkets and health food shops is the Marigold Engevita Nutritional Yeast Flakes.

The onion powder also adds an incredible ‘cheesy onion’ flavour. It’s amazing stuff! Sadly, at present, onion powder isn’t available in UK supermarkets, but you can buy it from independent health food shops or online. (I buy mine from the zero waste jars in Harvest, Bath).

For this dish, a pasta tube or twist is best as it helps hold onto the sauce. You could either use a wheat pasta or one of the many gluten-free pastas now available.

Recipe Card

Vegan Macaroni Cheese

Vegan Mac and Cheeze

This vegan Mac and Cheeze is really simple and quick to make. Not only is it delicious, but it’s also packed full of nutritional goodness. For me, this is comfort food at its finest!
Hands-on Time 15 minutes
Total Time 25 minutes
Course Dinner
Cuisine American
Servings 4

Ingredients
 

Cheese sauce

  • 135 g / 1 cup cashews
  • 160 g / 1 cup of carrot thinly sliced
  • 240 ml / 1 cup water
  • 28 g / ½ cup nutritional yeast flakes
  • 2 tsp cider vinegar
  • 2 tsp onion powder
  • ½ tsp salt

Pasta

  • 400 g / 14 oz pasta

Instructions
 

  • Place the cashews in a heat proof bowl. Pour on boiling hot water and leave for 10 minutes to soften, then drain.
  • In a large pan, steam the carrot for 10 minutes, or until just soft (the thinner you slice the carrot, the quicker it will cook).
  • Remove the steamer from the pan, top up with boiling water and cook the pasta until al dente. Drain and return the pasta to the pan.
  • Meanwhile, place the cashews and 1 cup of water in a high speed blender and whizz until smooth. Add the remaining sauce ingredients – the cooked carrot, nutritional yeast, vinegar, onion powder and salt – and blend until silky smooth. Taste test, and add a touch more seasoning if desired.
  • Pour the sauce into a small saucepan and gently heat through, stirring regularly. Once the pasta is cooked, drain it and return it to the pan. Add the sauce and stir through.
  • Serve the pasta in warm bowls alongside your favourite green veggies*.
  • Any leftover sauce can be stored in the fridge for up to five days. It is also freezable. It thickens up over time, so whisk in a splash more water when re-heating.

Notes

*My family’s favourite greens to serve with this dish are either roasted broccoli or Cavolo Nero (aka Lacinato kale), mushrooms and onions sautéed in soy sauce. We prepare the side dish while the carrots are steaming.
Keyword Dairy-Free, Easy Vegan Meals, Family Friendly, Gluten-Free Option, Oil-Free, Vegan Dinners, Vegan Pasta Dish
Tried this recipe?Let us know how it was!

Nutritional Breakdown

N.B. The above values are estimates. The actual nutritional values will vary depending on the brands and ingredients used.

Pin for later ⬇️

Creamy Vegan Macaroni Cheeze

If you make this Creamy Vegan Mac and Cheese (or any other recipes on our blog), I’d love to hear your feedback and any suggestions for adaptations! Tag your photos with #bitofthegoodstuff on social media – I always love to see your creations! You can also connect with me on my social media channels here: InstagramFacebookPinterest.   

With love,

Sharon xx

———————————-

Creamy Broccoli Soup (Vegan | Dairy Free)

Jump to Recipe

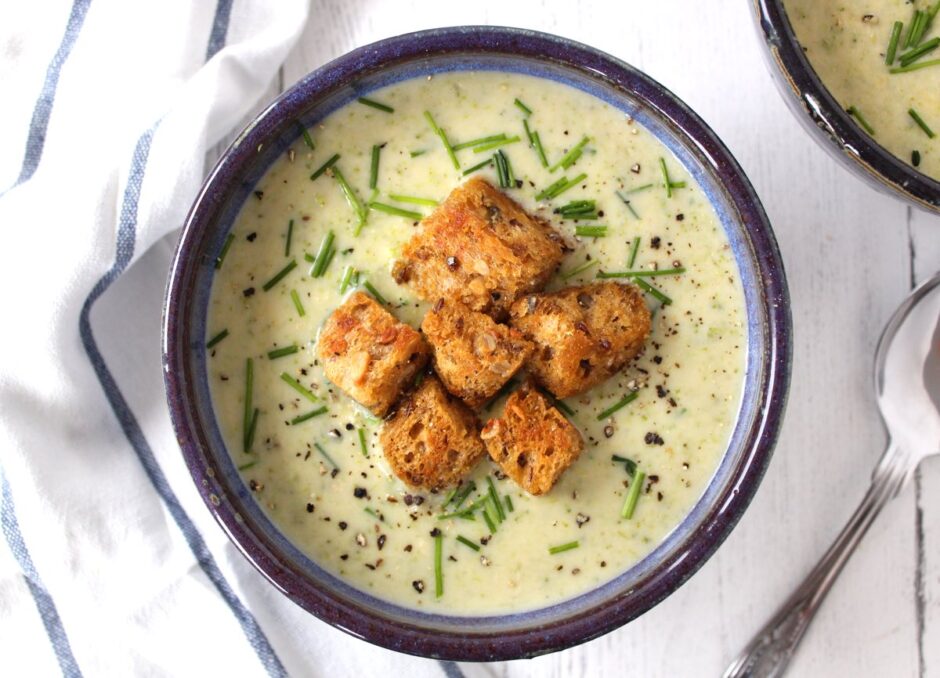
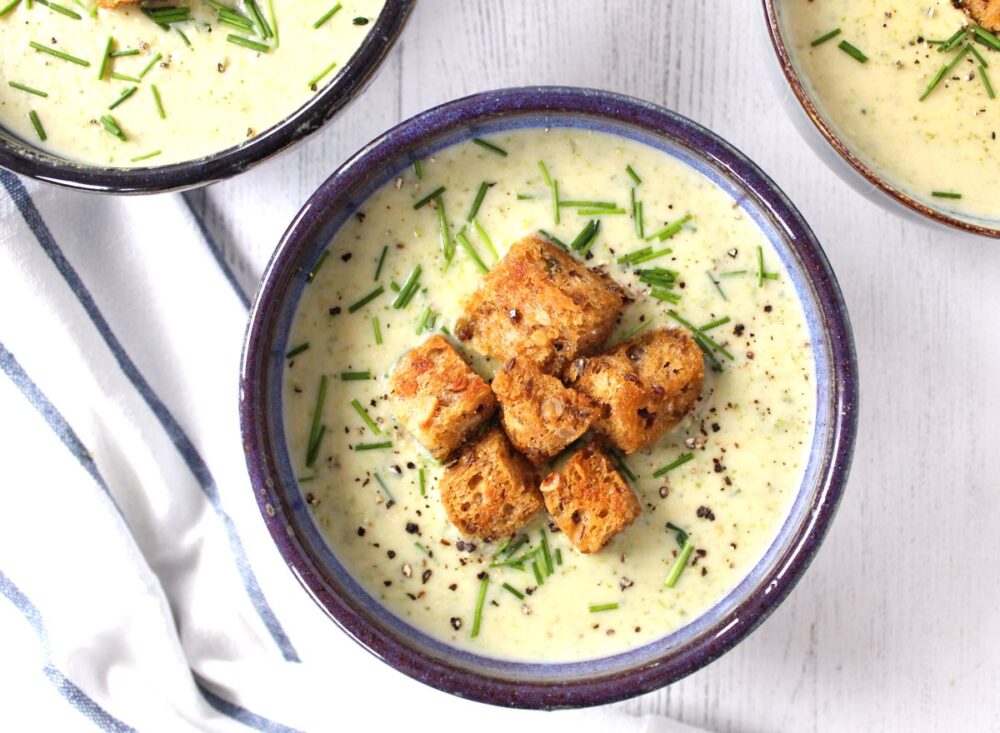
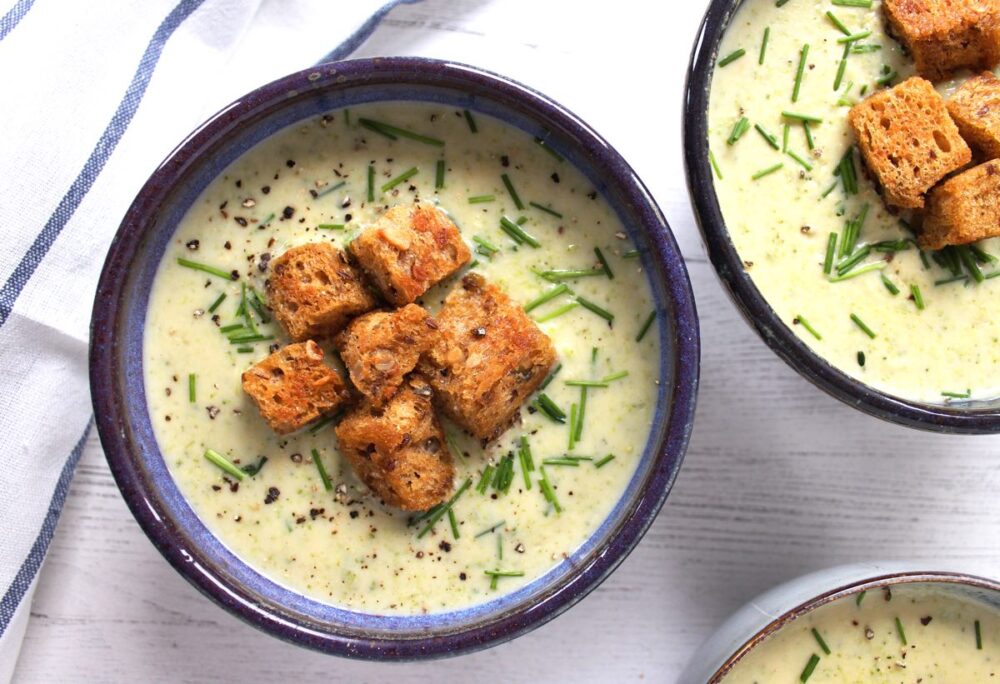
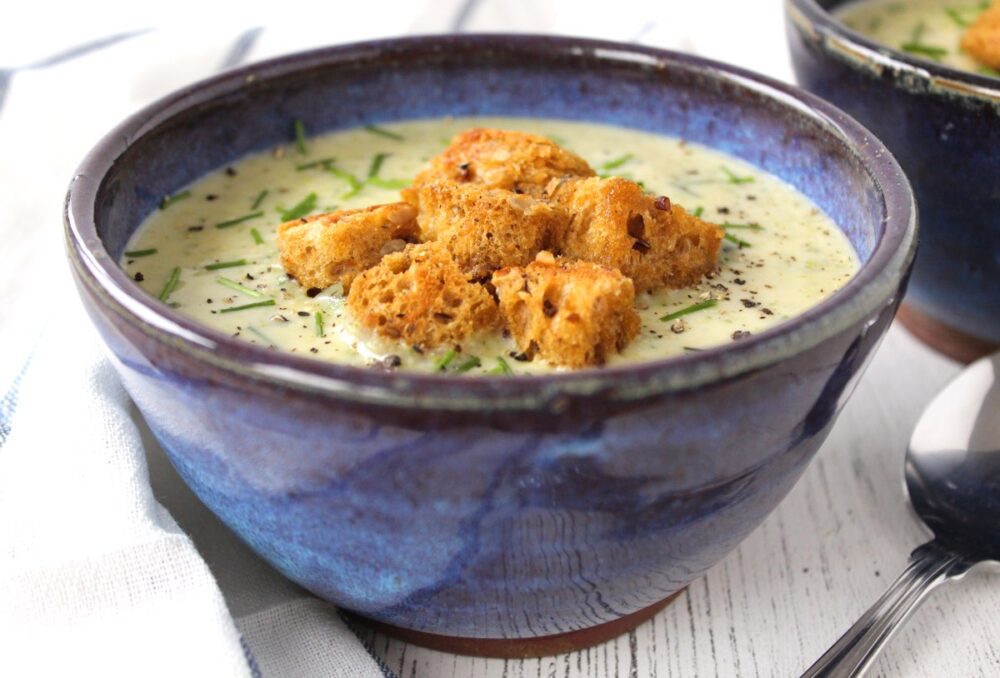
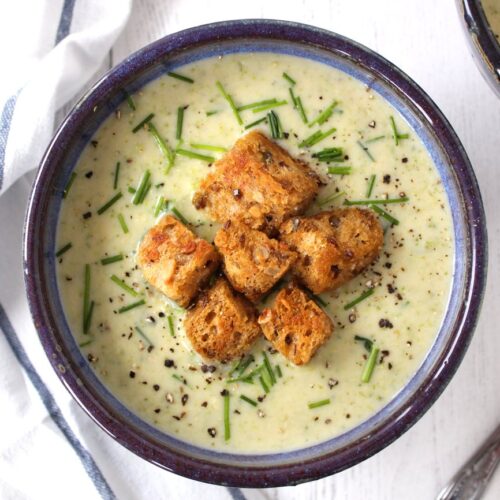
In today’s post, I’m sharing the recipe for a delicious broccoli soup that my family has been loving lately. This is the kind of soup that I crave in the winter months. It’s thick and creamy, and packed full of immune-boosting nutrients.

It’s quick to make from scratch, making it handy for those weeknights when you need dinner on the table in thirty minutes or less. It’s super cheap too. I calculated that it cost me £2.83 to make, which works out at just 94p per portion!

Creamy Vegan Broccoli Soup

As we know, all vegetables are super foods but if we did have to rank them, broccoli would be up there as one of the ‘super stars’ of the veg world. It contains protein, lots of dietary fibre and is packed full of vitamins, antioxidants and phytonutrients that promote good health and a strong immune system. It is an especially rich source of vitamins A, C and K.

Another ‘star’ ingredient of this soup is nutritional yeast. Not only does it lend the soup a delicious savoury ‘cheesy’ flavour, but it also has a fantastic nutritional profile. I most often use the Marigold Engevita Nutritional Yeast Flakes with added B12 which is a rich source of B vitamins and zinc. I used to have to buy it online, but it’s recently become more widely available in UK health food shops and supermarkets (including my local branch of Waitrose, on the Free From aisle).

Creamy Vegan Broccoli Soup

The inspiration for today’s recipe was November’s Vegan Life magazine, which came with a Vegan Christmas supplement, filled with recipe ideas for the festive season. A Creamy Broccoli Soup featured in the ‘Starters’ section of the Christmas supplement and though it would definitely make a delicious starter for a festive three-course meal, I also thought that with a little bit of tweaking it could make a wonderful weeknight dinner too…

Creamy Vegan Broccoli Soup

And it most certainly does! Since I first made the recipe, I’ve made it at least twice more to serve as a weeknight meal (that’s three times in one month!!) and I’m already looking forward to making it again!

Recipe Card

Creamy Vegan Broccoli Soup

Creamy Broccoli Soup (Vegan | Dairy-Free)

This soup is thick and creamy, delicious and packed full of immune-boosting nutrients. It’s quick to make from scratch, making it handy for those weeknights when you need dinner on the table in 30 minutes or less.
Hands-on Time 20 minutes
Total Time 30 minutes
Course Dinner, Lunch, Main Course, Soup, Starter, Supper
Servings 3

Equipment

  • Saucepan
  • Hand blender or jug blender

Ingredients
 

  • 3 TBSP dairy-free spread/butter
  • 50 g / ⅓ cup flour (I use wholemeal)
  • 480 ml / 2 cups soya milk
  • 1 TBSP white miso
  • 1 heaped tsp Dijon mustard
  • 1 tsp onion powder
  • 1 tsp garlic granules
  • 24 g / ½ cup nutritional yeast flakes
  • 420 ml / 1¾ cups hot vegetable stock (broth)
  • 500 g / 5 cups broccoli florets (I use frozen)

Suggested toppings

  • Chopped chives
  • Freshly ground black pepper
  • Home-Made Croutons or Maple-Glazed Chickpeas {see Notes below}

Instructions
 

  • Melt the dairy-free spread/butter in a large saucepan over medium-low heat. Add the flour, stirring continuously until a paste forms. Continue cooking for 2 minutes, stirring regularly.
  • Gradually add the milk to the pan, whisking continuously to avoid any lumps forming.
  • Stir in the dijon mustard, white miso, onion powder, garlic granules and nutritional yeast.
  • Gradually add the vegetable stock, whisking continuously until fully combined.
  • Add the broccoli florets. Bring to the boil, then reduce the heat, cover partially with a lid and simmer for 10 minutes or until the broccoli is tender. Stir now and then to prevent the sauce from sticking to the bottom of the pan.
  • Blend with a hand/immersion blender or in a jug blender until you reach your desired level of smoothness. The hand blender is great if you would like to keep some chunks of broccoli for texture. Alternatively, a power blender will allow you to achieve a silky smooth soup. My family loves it both ways!
  • Serve in warm bowls with your toppings of choice.
  • This soup will keep for up to five days in the fridge. It will thicken as it chills so add a touch more liquid on re-heating, if needed. If you’re using frozen broccoli, the soup is best served straight away as the instructions on the packet often state ‘do not reheat’.

Notes

Here’s how I made my crispy home-made croutons: Coat the bottom of a frying pan (skillet) with extra virgin olive oil. Heat on medium heat. Cut some multigrain bread into cubes then add them to the pan and stir through until the bread is coated in the oil on all sides. Continue frying, stirring regularly until the cubes are golden and crispy. Tip onto kitchen paper to drain any excess oil before serving.
I often serve this soup with Golden Pan-Fried Chickpeas as a topper. I pan fry the chickpeas while the soup is simmering. 
Keyword Budget Vegan Meals, Dairy-Free, Easy Vegan Meals, Family Friendly, Plant-Based, Student Vegan Meals, Vegan Dinners, Vegan Lunch
Tried this recipe?Let us know how it was!

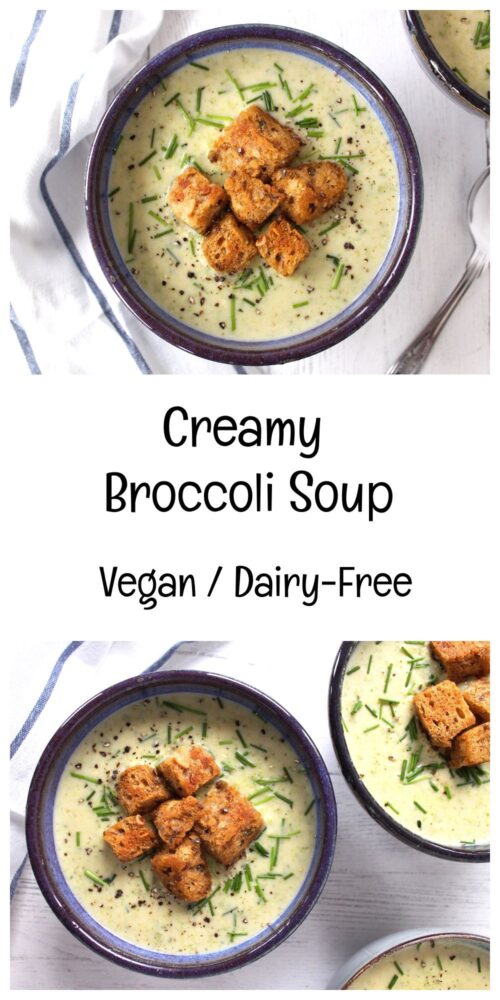
Pin for later ⬇️

Creamy Vegan Broccoli Soup

If you make this Creamy Broccoli Soup, I’d love to hear your feedback and any suggestions for adaptations! Tag your photos with #bitofthegoodstuff on social media – I always love to see your creations! You can also connect with me on my social media channels here: InstagramFacebook, Pinterest.   

With love,

Sharon xx

———————————-


Moroccan Fruity Couscous

Jump to Recipe

* This post was originally published in July 2013. The page was updated in August 2019.

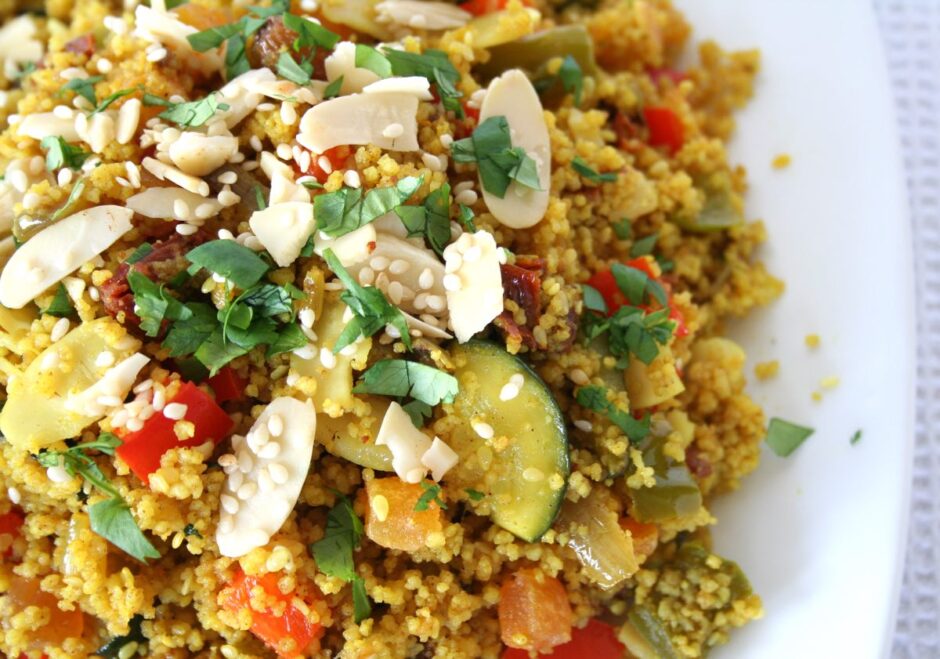
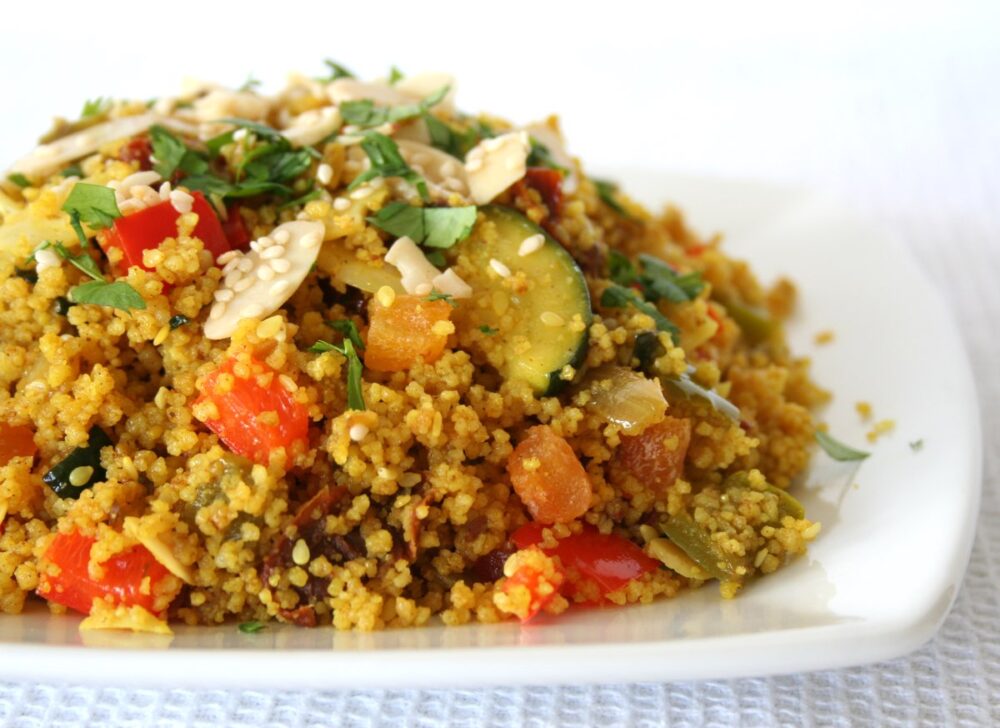
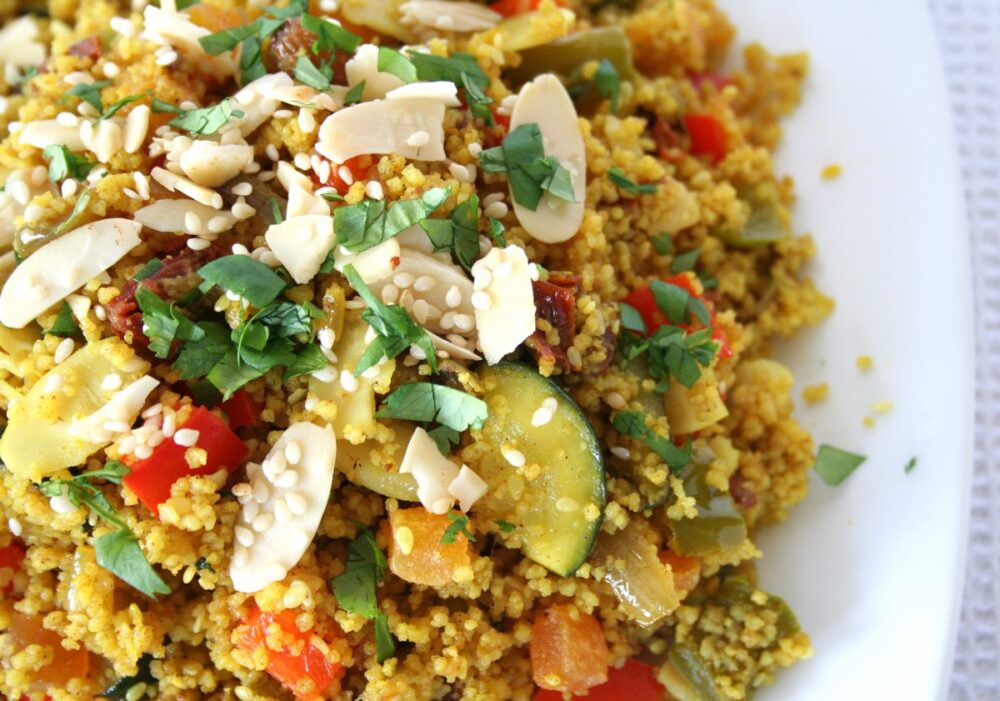
Today I’d like to share another one of my family’s current favourite dishes – Moroccan Fruity Couscous. This is such a pretty dish, full of flavour and ready in just 20 minutes!

Moroccan Fruity Couscous

It makes a lovely summer weekend lunch or speedy weeknight supper. It’s equally delicious served hot or cold, making it perfect for al fresco dining, picnics and buffets. As a main meal, we love to serve it with strips of warm pitta or garlic bread, some baby salad leaves and a large dollop of hummus. Moroccan-spiced or roasted red pepper hummus is especially good!

Moroccan Fruity Couscous

July 30 2013 – I made this dish for dinner last night, and was intending to blog it in the evening and join in Meatless Monday. However, after a day of thunder, lightening and heavy rain, the weather had finally cleared by 7pm and the three of us were itching to get outside and make the most of the ‘best part of the day’. Our short stroll turned into a 6 mile circular walk along the Kennet & Avon Canal & across Bath City centre. It was such a beautiful evening! Everything smelt so fresh after the rainfall, and the late sun was making everything sparkle.

Kennet and Avon Canal by Sydney Gardens in Bath

So here’s the recipe, a day late but I’m sure you’ll forgive me 😉

Recipe Card

Moroccan Fruity Couscous

Moroccan Fruity Couscous

Sharon
This gently spiced, fruity couscous makes a lovely summer weekend lunch or speedy weeknight supper. As a main meal, we like to serve it with strips of warm pitted bread or garlic bread, baby salad leaves and a large dollop of hummus. I've kept it mild enough for children, but feel free to spice it up with some chilli.
Hands-on time 20 minutes
Total Time 20 minutes
Course Lunch, Main Course, Supper
Cuisine Moroccan
Servings 4

Ingredients
 

  • 245 g / 1⅓ cups couscous, preferably whole wheat
  • 8 sun-dried tomatoes in olive oil drained and sliced
  • 8 dried apricots chopped
  • 30 g / 3 TBSP dried cranberries or sultanas
  • 480 ml / 2 cups boiling hot vegetable stock (broth)
  • 1 TBSP olive oil divided
  • 1 medium onion (140g) finely chopped
  • 2-3 garlic cloves minced
  • 1 bell pepper (190g) deseeded and diced (or use a mix of different coloured pepper pieces to make it extra vibrant!)
  • 1 medium courgette (zucchini) (240g) quartered lengthwise and sliced
  • 1 tsp ground cumin
  • ½ – 1 tsp sweet paprika
  • ½ tsp ground cinnamon
  • ¼ tsp ground ginger
  • ¼ tsp ground turmeric
  • small handful of fresh coriander leaves (cilantro)or parsley roughly chopped
  • salt to taste

Garnish

  • 4 TBSP toasted flaked almonds
  • 2 TBSP toasted sesame seeds

Instructions
 

  • Place the couscous, sun-dried tomatoes, dried apricots and cranberries/sultanas in a heat-proof bowl. Pour the boiling hot stock on top, cover with a plate and leave for 7 minutes. Drizzle on ½ TBSP olive oil (or oil from the jar of sun-dried tomatoes) and fluff up with a fork.
  • Meanwhile, heat ½ TBSP oil in a large frying pan (skillet) on medium heat and cook the onion, garlic, bell pepper and courgette for a couple of minutes. Stir in the dried spices, reduce the heat to medium-low and continue cooking for 5 minutes. If the vegetables start to stick, add a splash of water to the pan.
  • Once ready, tip the couscous into the pan along with the fresh herbs. Gently stir through to combine. Season with salt, to taste.
  • Divide between four bowls. Sprinkles on the nuts and seeds and serve.
  • Any leftovers can be stored in the fridge for three days. They’re great for packing into lunchboxes as an alternative to sandwiches. Be sure to add a dollop of hummus to the bowl. It helps the couscous stick together!

Notes

Super Speedy Version
To save on chopping time, substitute the fresh vegetables with a bag of frozen grilled Mediterranean vegetables.
Keyword Buffets, Couscous, Lunchbox Ideas, Plant-Based, Vegan Dinners, Vegan Lunch, Vegan Picnics, Vegan Supper
Tried this recipe?Let us know how it was!

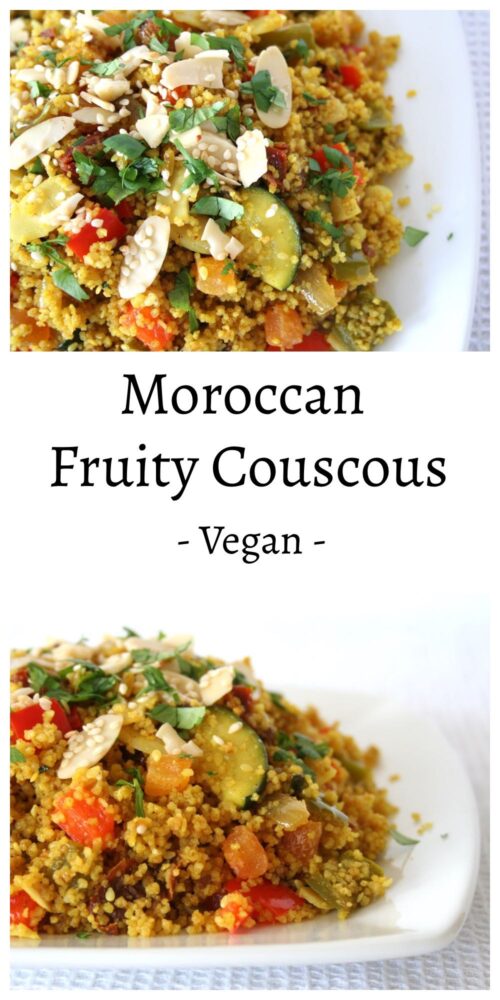
Pin for later ⬇️

Moroccan Fruity Couscous

If you make this Moroccan Fruity Couscous (or any other recipes on my blog), I’d love to hear your feedback and any suggestions for adaptations! Tag your photos with #bitofthegoodstuff on social media – I always love to see your creations! You can also connect with me on my social media channels here:
InstagramFacebookPinterest.   

With love,

Sharon xx

———————————-

YOU MAY ALSO LIKE…

Moroccan-Spiced Falafel

Falafel Sandwich

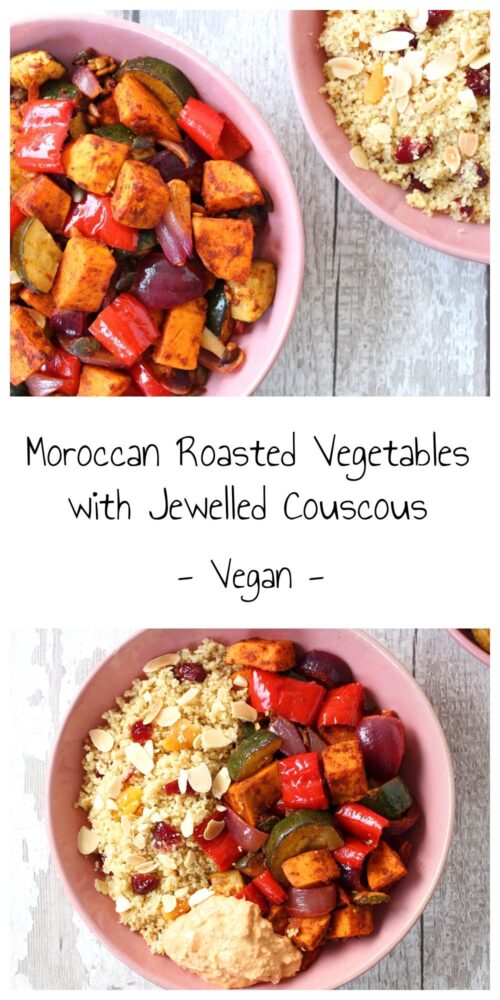
Moroccan Roasted Vegetables with Jewelled Couscous

Jump to Recipe

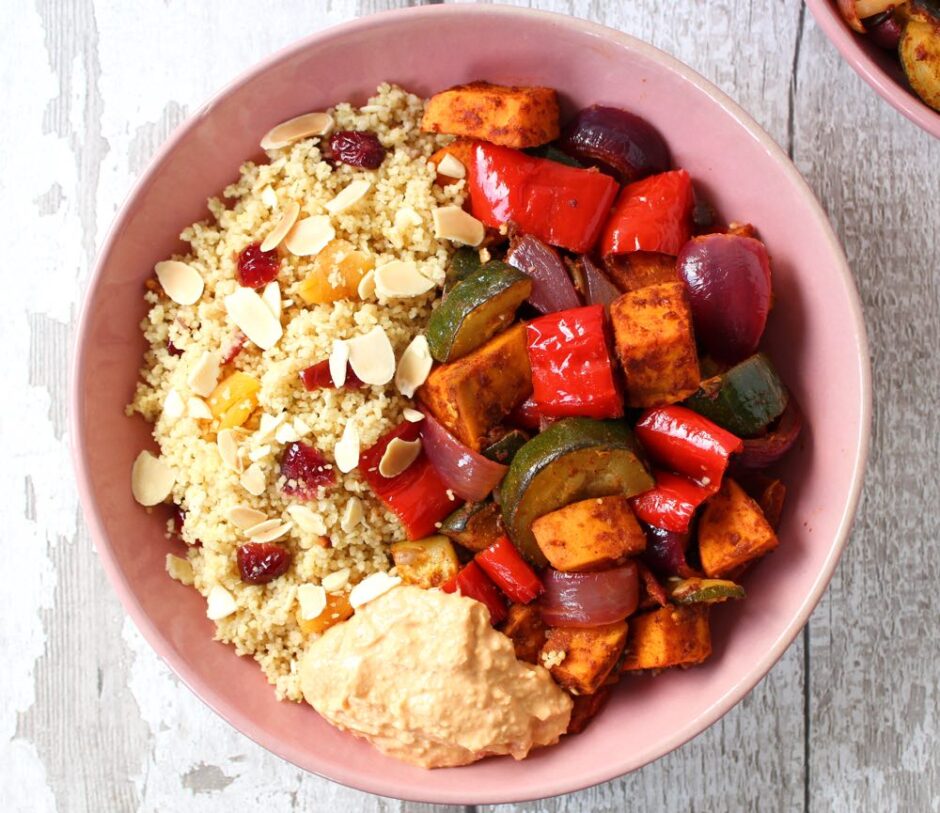
In today’s post, I’m sharing a Moroccan-inspired dinner that my family has been loving lately. It’s super easy to make, highly adaptable and a great make-ahead option. These past couple of weeks have been scorching hot in the UK, so we’ve really enjoyed this dish at room temperature. It’s equally delicious served hot or cold.

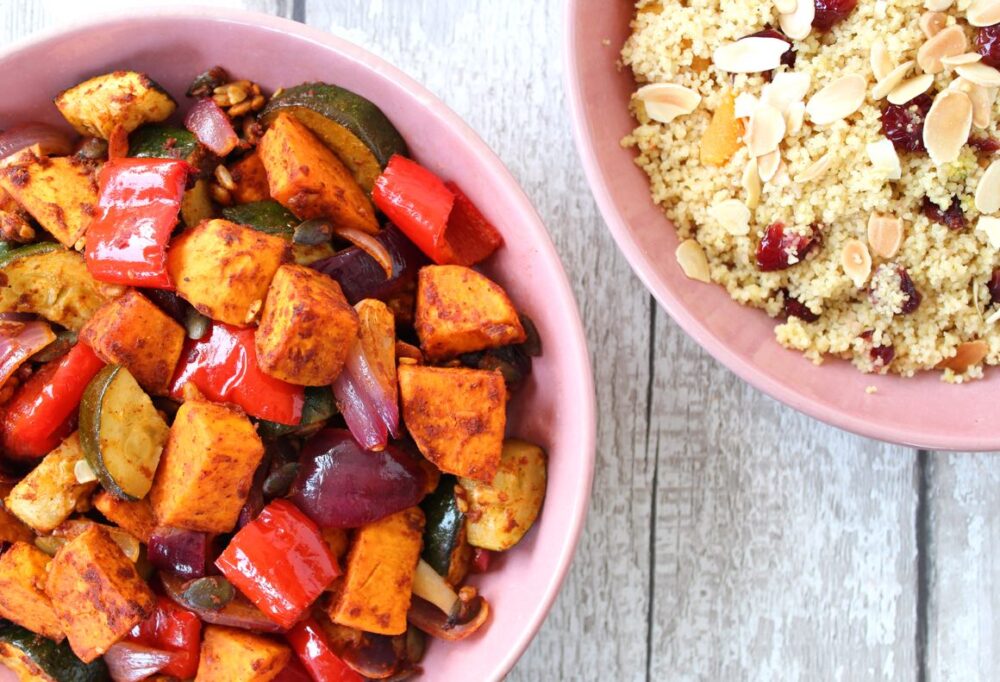
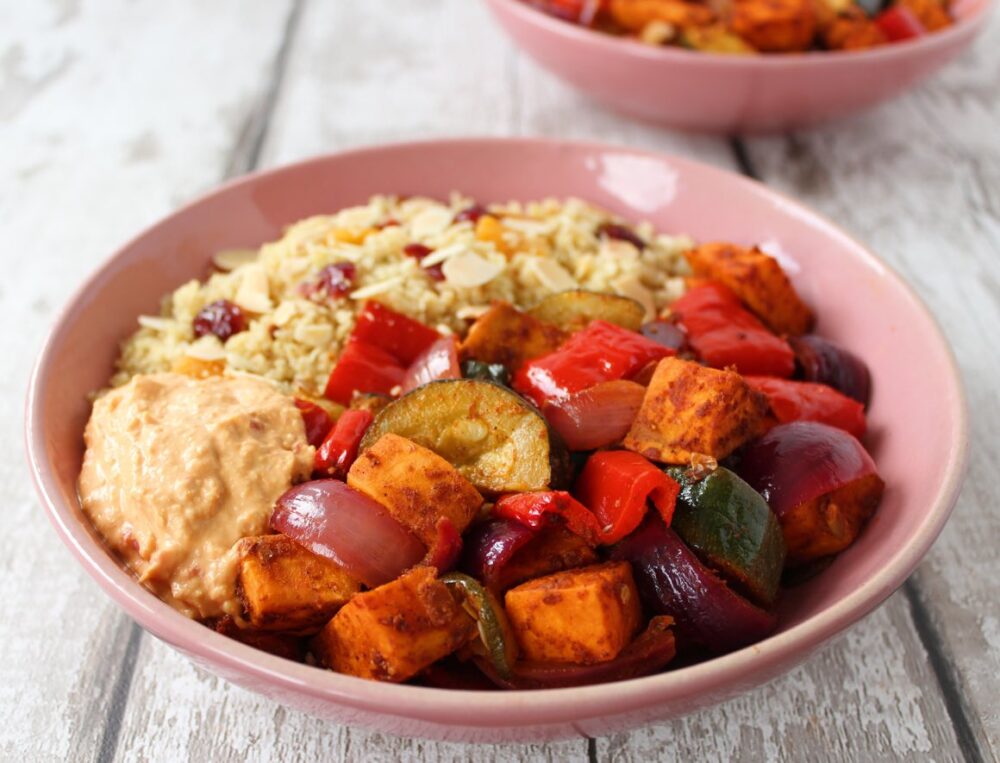
Moroccan Roasted Vegetables with Jewelled Couscous

Check out all those beautiful colours!!

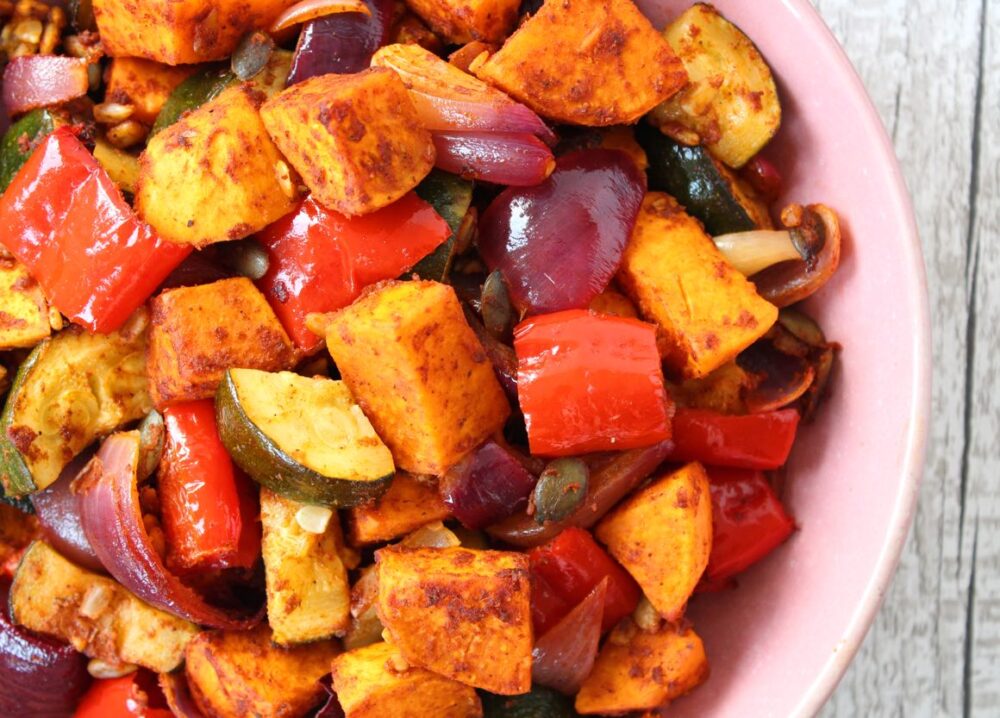
And those vibrant colours are an indication of all the wonderful health-boosting antioxidants and phytonutrients in this dish. It is especially rich in carotenoids (which give the sweet potato and bell pepper their vivid orange and red hue), vitamin C and vitamin E.

This is one of those meals that leaves me feeling incredibly energised and fantastic on the inside!

Moroccan Roasted Vegetables

The inspiration for this dinner was a recipe that featured in this month’s Vegan Life magazine for ‘Jewelled Cous Cous with Harissa Roasted Vegetables’. I’ve tried Harissa paste a few times in the past, but I personally find it way too spicy… I can literally feel my lips and throat burning even with the tiniest amount.

Since I’m a complete wimp when it comes to handling chilli heat, instead of using Harissa, I created my own spice blend mix which has the aromatic flavours that I associate with Moroccan cuisine, but is mild enough for me (and, by default, children!)

Moroccan Roasted Vegetables with Jewelled Couscous

Recipe Card

Moroccan Roasted Vegetables with Jewelled Couscous

Moroccan Roasted Vegetables with Jewelled Couscous

Sharon
This Moroccan-inspired dinner is packed full of colour and flavour. I’ve made it mild enough to serve to all family members, but feel free to add some Harissa paste if you like heat. It is equally delicious served hot or cold, and is a great make-ahead option. Be sure to add a dollop of hummus to your bowls before serving. It’s the perfect complement to the dish and is great for holding the couscous together on your fork!
5 from 1 vote
Hands-on time 20 minutes
Total Time 40 minutes
Course Lunch, Main Course
Cuisine Moroccan
Servings 4

Ingredients
 

Spice blend for the roasted vegetables

  • 2 TBSP tomato puree (paste)
  • TBSP olive oil
  • juice of 1 lime
  • 2 tsp minced garlic
  • 2 tsp ground cumin
  • 1 tsp Ras el hanout
  • 1 tsp ground cinnamon

Roasted Vegetables

  • 2 sweet potatoes (450g) peeled and cut into 2 cm / ¾ inch cubes
  • 2 courgettes (zucchini) (400g) sliced lengthwise then into 1.5 cm / ½ inch half moons
  • 2 sweet romano or red bell peppers (200g) deseeded and sliced
  • 2 red onions (200g) sliced into wedges
  • ¼ tsp salt
  • oil for spraying the roasting tins
  • 2 TBSP pumpkin seeds
  • 2 TBSP sunflower seeds

Jewelled Couscous

  • 250 g / 1⅓ cups couscous (preferably whole wheat)
  • 8 dried apricots (44g) diced
  • 4 TBSP dried cranberries (38g) (preferably sweetened with fruit juice)
  • 480 ml / 2 cups boiling vegetable stock (broth) (I use water and 2 tsp vegetable bouillon powder)
  • ½ TBSP extra virgin olive oil

Garnish

  • 4 TBSP toasted flaked almonds
  • 8 TBSP hummus

Instructions
 

  • Preheat the oven to 200C (180C fan) / 400F.
  • In a mixing bowl, combine all the spice blend ingredients. Add the chopped vegetables and stir through to coat.
  • Lightly spray two roasting tins with oil and arrange the veggies in a single layer. Lightly sprinkle with salt. Roast for 25-30 minutes, or until the sweet potato is cooked through. Give them a stir half way through the cooking time. At this point, sprinkle in the pumpkin and sunflower seeds.
  • Ten minutes before the veggies are ready, place the couscous, apricots and cranberries in a heat-proof bowl. Pour the boiling hot stock on top, cover with a plate and leave for 7 minutes. Drizzle on ½ TBSP olive oil and fluff up with a fork.
  • Divide the couscous and roasted veggies between four bowls. Add a large dollop of hummus to each bowl, sprinkle some flaked almonds on top for garnish and serve.
  • Any leftovers can be stored in the fridge for three days. They’re delicious eaten hot or cold, and make a great lunchbox option! The roasted veggies are also freezable.

Notes

Recipe adapted from ‘Jewelled Cous Cous with Harissa Roasted Vegetables’ in Issue 52 of Vegan Life magazine.
Keyword Couscous, Family Friendly, Lunchbox Ideas, Plant-Based, Roasted Vegetables, Vegan Dinners, Vegan Lunch
Tried this recipe?Let us know how it was!

Nutritional Breakdown

N.B. The above values are estimates. The actual nutritional values will vary depending on the brands and ingredients used.

Pin for later ⬇️

Moroccan Roasted Vegetables with Jewelled Couscous

If you make this Moroccan Roasted Vegetables with Jewelled Couscous (or any other recipes on my blog), I’d love to hear your feedback and any suggestions for adaptations! Tag your photos with #bitofthegoodstuff on social media – I always love to see your creations! You can also connect with me on my social media channels here: InstagramFacebookPinterest.   

With love,

Sharon xx

———————————-

YOU MAY ALSO LIKE…

Moroccan-Spiced Falafel

Falafel Sandwich


Moroccan-Spiced Falafel

Jump to Recipe

* This blog post was originally posted on October 18, 2013. The page was refreshed July 2019

This week, one of my lovely readers emailed and asked whether I could share our recipe for falafel. I was more than happy to oblige! I know I’ve posted numerous pics of our falafel in the past, so this recipe share is way overdue.

My family are huge fans of home-made falafel. They’re so versatile! You can flavour them to suit your tastes, and they’re delicious eaten hot or cold.

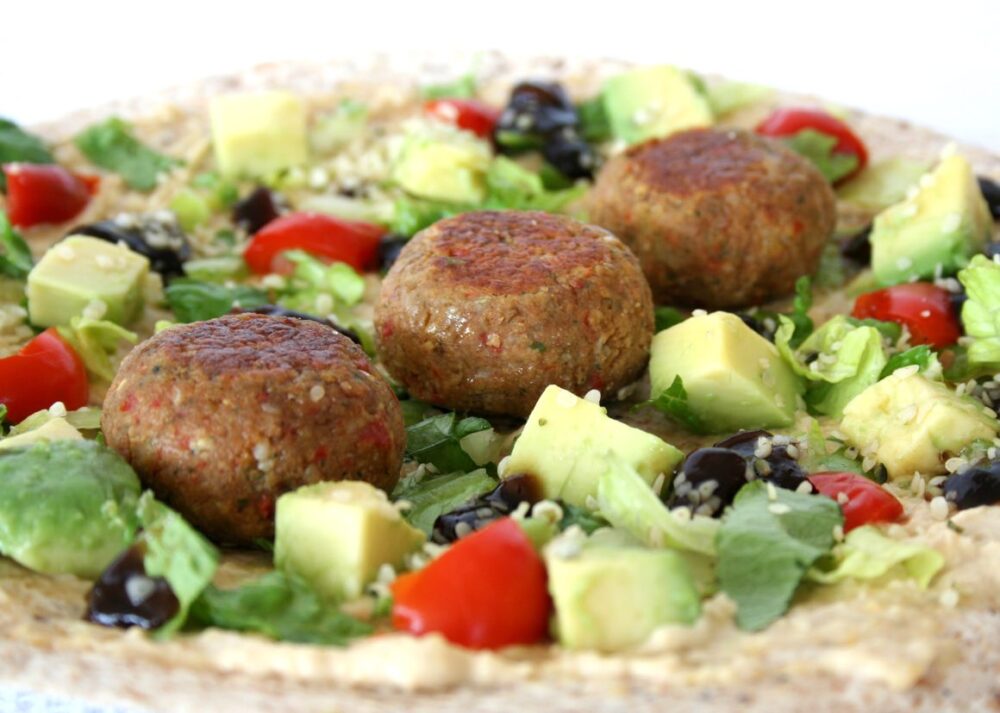
Falafel Wrap
Continue reading “Moroccan-Spiced Falafel”