As many of you will know, I am a big fan of home-made energy balls. Not only are they delicious, but they also happen to be packed full of nutrient-rich ingredients such as oats, dates and nuts that help to boost our energy levels, and support good health in general. Each ball is filled with protein, heart-healthy fats, complex carbohydrates, fibre, plus a whole host of minerals and antioxidant compounds. It’s amazing just how much goodness fits inside one little ball!
Healthy AND delicious? That’s definitely my favourite kind of snack!
* This recipe was originally posted in March 2015. The page was updated in October 2019.
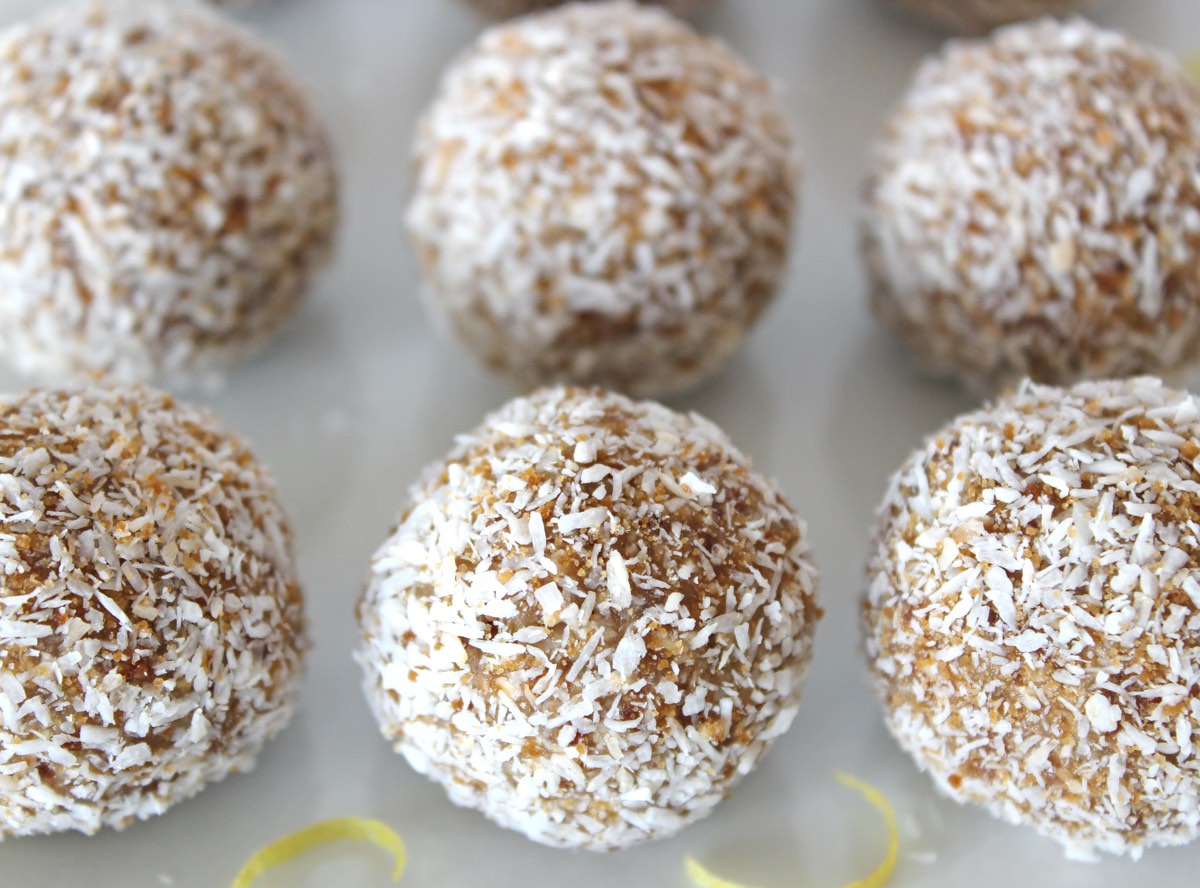
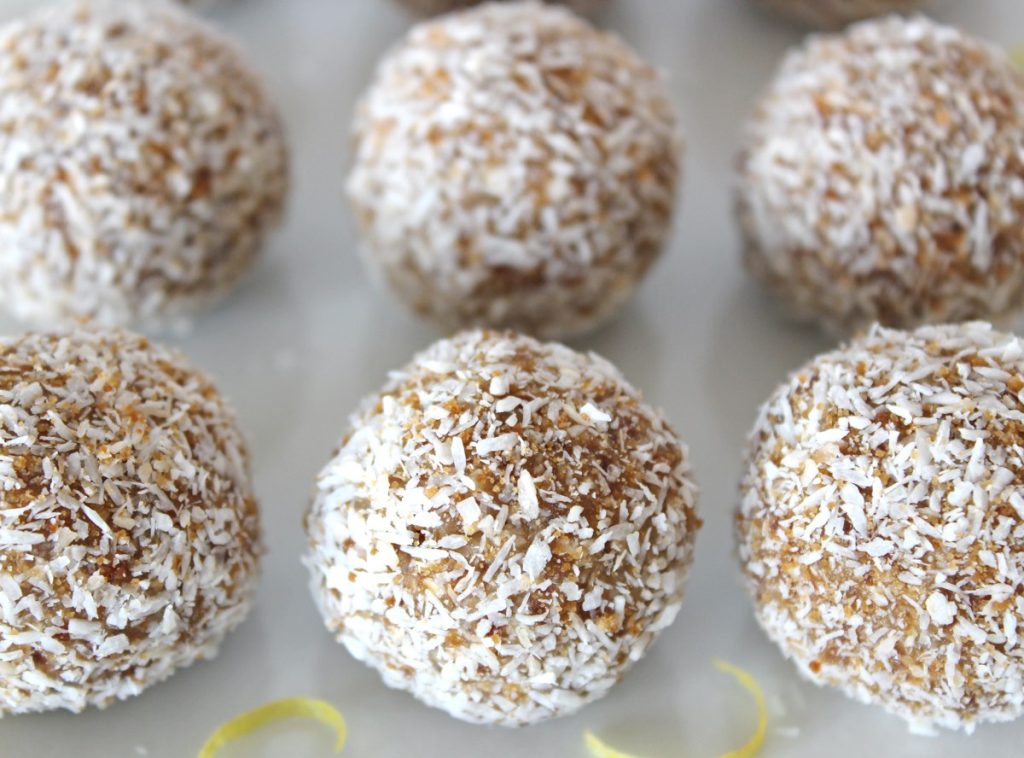
Have you ever tried making your own energy balls? It’s so easy! You simply throw all the ingredients in a food processor, whizz for a few seconds then shape the mixture into balls. It couldn’t easier!
What I especially love about these balls is that they taste decadent, yet they’re packed full of nutrient-rich ingredients that are not only going to increase our energy levels, but also boost our health in general. Each ball is filled with protein, heart-healthy fats, complex carbs, fibre, plus a whole host of minerals and antioxidant compounds. It’s amazing just how much goodness you can fit into one little ball!
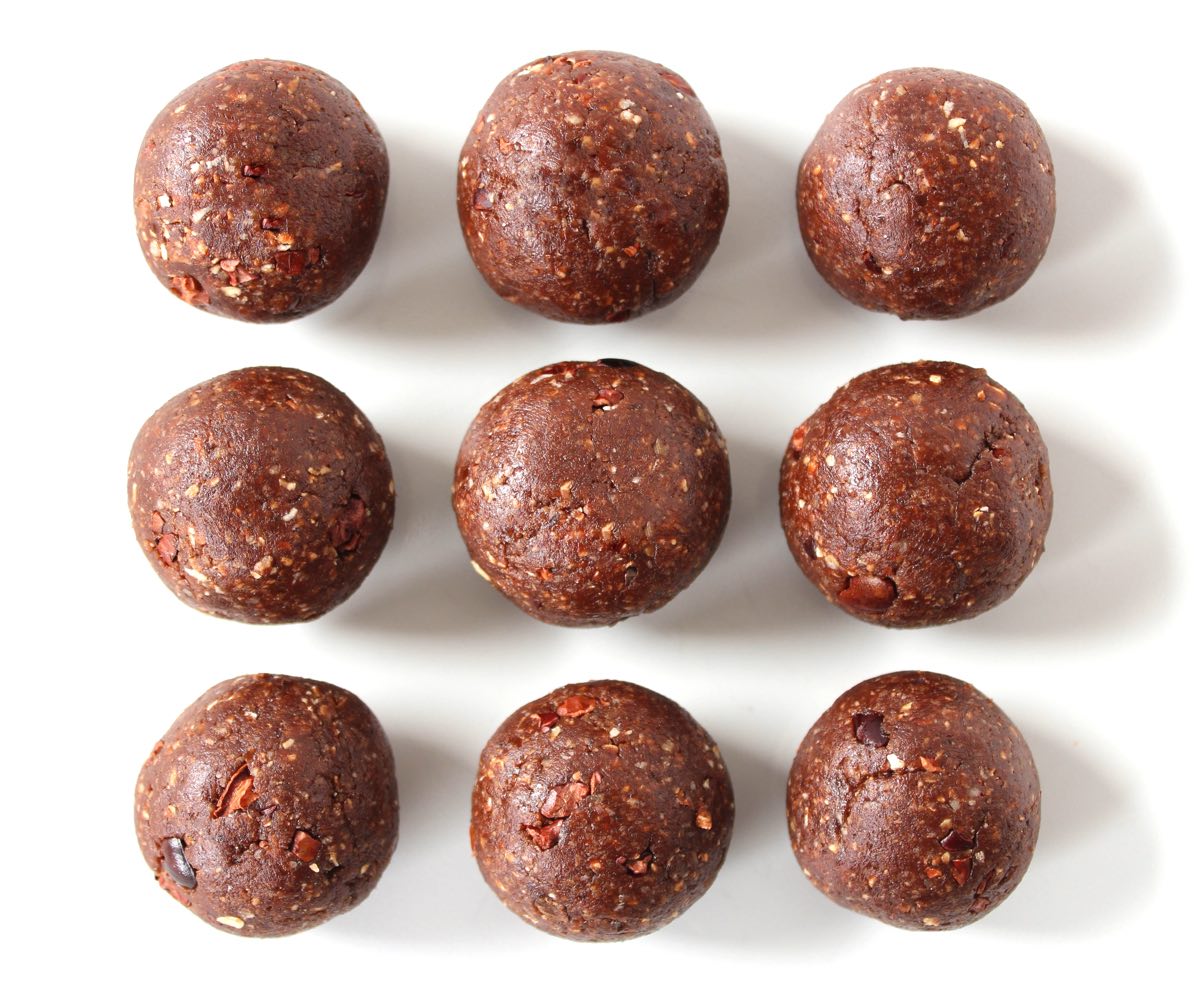
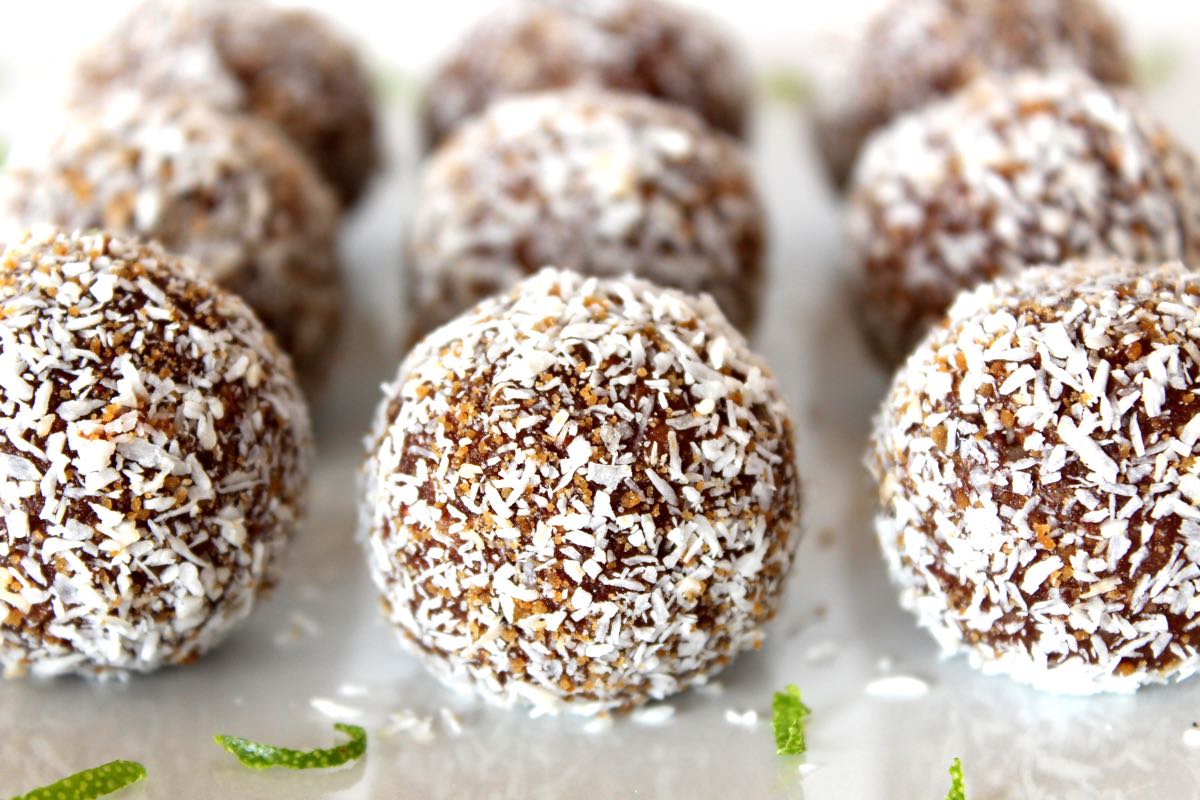
* This post was originally posted in July 2016. The page was updated in August 2019.
In the hot summer months, nothing beats a cooling bowl of ice cream smoothie for breakfast. It might sound a bit indulgent to eat ice cream for breakfast, however this is no ordinary dairy and sugar-laden ice cream. The base is a blend of frozen banana and plant milk that magically transforms into the creamiest, smoothest soft serve. This is one ice cream that you can indulge in to your heart’s content!
As well as a great warm weather breakfast option, this ice cream smoothie bowl also makes a delicious post-school and exercise snack.
The waffle obsession continues! And for this month’s Suma Blogger’s Network entry, I thought I’d share another one of our favourite vegan waffle recipes. Filled with the warming spices of cinnamon, ginger and Blackstrap molasses, these waffles are perfect for this time of year ♥
I wrote about the amazing nutritional profile of Blackstrap molasses in this Gingerbread Cookie post. With just one tablespoon containing 3.6 mg of iron (more iron than 1/2 cup of cooked lentils, beans or spinach), it’s easily one of my favourite ways to boost iron levels.
The recipe is largely an amalgamation of our favourite gingerbread and banana pancake recipes, with a slight reduction of the liquid to make a sturdier batter. Banana acts as a great binder for the waffles and adds a touch of extra sweetness.
I’ve really enjoyed reading about your favourite waffle toppings under last week’s Easy Vegan Waffle Post. As I would have expected, maple syrup came out on top. Nuts, banana and chocolate were very popular too, and I’m totally with you on those. One of my favourite lazy Sunday breakfast/brunches is these Gingerbread waffles, served with banana slices, chopped walnuts and pecans, and a big drizzle of chocolate sauce.
Sometimes I make the chocolate sauce myself, other times I simply grab a bottle of Sweet Freedom Choc Shot. Have you tried Choc Shot before? As well as tasting yummy, I love the fact that it contains all natural ingredients, is free from cane sugar and has a low glycaemic load (GL). Can you see how shiny it is too? It’s got the most awesome sheen!
And if I’m going all out, I’ll also top them with a sprinkling of desiccated coconut.
Pure. Waffle. Heaven ♥
Makes around 10-12 waffles
Hands on time: 20 minutes Ready in: 20 minutes
Waffle Batter
1 ripe banana, sliced (or ¾ cup frozen banana slices)
180ml / 6 fl oz / ¾ cup soya milk
140g / 5 oz / 1 cup wholemeal (wholewheat) or chapatti flour (or GF flour mix e.g. Doves Gluten-Free Brown Bread Flour or Doves Gluten-Free Plain White Flour)
50g / 1¾ oz / ½ cup rolled oats (use certified GF, if needed)
2 TBSP Blackstrap molasses
1 TBSP maple syrup
1 tsp ground cinnamon
1 tsp ground ginger
1 tsp baking powder
¼ tsp salt
Method
Place the milk and banana in a high speed blender and blend until smooth (alternatively you can use a bowl and hand blender). Add all the remaining batter ingredients and blend to combine. The batter should be thick, but pourable. (If you’re using GF flour, you will need up to 4 tablespoons of extra liquid). Pour the batter into a bowl and leave to rest for a few minutes (this can happen while the waffle maker heats up).
When the waffle maker is hot, brush with oil or coconut butter using a silicone brush. Add the appropriate amount of batter according to your waffle maker’s instructions. (I have a VonShef Quad Waffle Maker and drop two tablespoons of batter into each of the four waffle quads). Close the lid and leave to cook for 3 minutes before checking (with my waffle maker, I leave the waffles until the green light goes out). If the waffles are golden brown, they are ready. Transfer them to a wire cooling rack while you prepare the remaining waffles.
Serve warm with your favourite toppings.
Any leftover waffles can be stored in the fridge for up to 3 days or frozen for weeks. Heat them through in the toaster before serving.
When The Health Bay invited me to take part in a January healthy recipe challenge, I knew which recipe would be perfect for sharing this month. It’s one of my family’s all-time favourite salads, packed with vibrant colours, contrasting textures and dressed in the most delicious tangy vinaigrette. It also happens to be brimming with antioxidants, vitamins and minerals, so it’s great for keeping our immune systems strong and warding off those nasty Winter bugs.
Forget chips and chocolate, this is the food I most often crave. Every time I eat it, I feel so energized. My body feels like it’s literally zinging from all that goodness. Lil’ L absolutely loves it too and it sure does brighten up his lunchbox!
The salad contains two complete sources of protein – quinoa and edamame beans – which, combined with the healthy fats in the dressing, help to keep you feeling full up for longer. You don’t normally think of salads as being filling, but this one definitely is!
Quinoa is widely available these days. You can even buy ready-cooked pouches, which could be a useful starting point if you’re a newbie to this super seed. Though more expensive and a little more difficult to find, I love the tri-colour quinoa. Not only is it pretty, but it also has a lovely, slightly crunchy texture.
To save time in the week, I often cook a double batch of quinoa, then we use one batch for salad and the other for a hot main meal. However, if you’re starting this salad from scratch, you can prepare the other ingredients and dressing while the quinoa is cooking.
Boil or steam a cup of edamame beans for 3 minutes.
Deseed and finely chop a sweet romano or bell pepper.
Finely julienne a carrot.
Roughly chop some fresh coriander leaves and spring onions.
Whizz all the dressing ingredients together until smooth.
Once the quinoa is cooked, I like to stir through a couple of teaspoons of extra virgin olive oil. I find this greatly enhances the texture and flavour of the quinoa.
You then simply need to combine all the salad ingredients and stir in the dressing until the quinoa is fully coated.
Time to tuck in!
Serves 4
Hands on time: 20 minutes Cooking time: 15-20 minutes
Ready in: 30 minutes
(These times apply for cooking the quinoa from scratch)
Quinoa Super Salad
200ml / 7 fl oz / 1 cup quinoa, thoroughly washed
1 TBSP apple cider vinegar
500ml / 17 fl oz / 2 cups water
2 tsp extra virgin olive oil
145g / 5 oz / 1 cup frozen edamame (soya) beans
1 sweet romano or bell pepper, deseeded and finely chopped
1 medium carrot, finely julienned
2 spring onions (scallions), thoroughly washed to remove any grit, then finely sliced
1 handful fresh coriander leaves (cilantro), roughly chopped
Dressing
4 TBSP extra virgin olive oil
2 TBSP reduced salt soy sauce (or tamari sauce for a GF option)
1½ TBSP rice vinegar
5cm / 2 inch piece of root ginger, peeled and finely grated*
1 garlic clove, minced
2 TBSP coconut sugar (or soft brown sugar)
2 TBSP freshly squeezed lime juice
2 tsp sweet chilli sauce
Method
First, wash the quinoa to remove the bitter saponin coating: place in a bowl, cover in water and agitate with a fork. Tip the quinoa into a fine mesh sieve and rinse under running water until the water turns clear.
Add the quinoa to a pan along with the apple cider vinegar and water. Bring to the boil, then reduce the heat, cover with a lid and simmer for 15-20 minutes until the quinoa is cooked through and the water has been absorbed. Remove from the heat and stir in 2 teaspoons of oil.
While the quinoa is cooking, boil or steam the edamame beans for about 3 minutes, until cooked through but still retain a bite. Chop the remaining salad ingredients.
Prepare the dressing: Add all the ingredients to a blender (I use the bowl attachment on my hand blender) and whizz until smooth. Taste test and adjust to suit your palate.
When the quinoa is ready, add all the remaining salad ingredients and stir through. When ready to serve, drizzle 1 TBSP of dressing per salad serving and stir until the quinoa is thoroughly coated.
Stored in airtight containers, the salad will keep for about 3 days in the refrigerator, and the dressing for up to a week. Keep the salad and dressing separate and combine them just before serving. Any leftovers make a wonderful addition to school and work lunchboxes.
*Tip: I find the easiest way to peel fresh ginger is to scrape the skin off using a teaspoon.
Today, I’d like to share one of Lil’ L’s all-time favourite breakfasts.
I started making home-made granola about five years ago in response to Lil’ L’s dislike for the dried fruits that appear in shop-bought granolas. After a week of picking out the raisins from a granola before serving it to him, I decided that life was far too short to waste time picking out dried fruit and that I would have a try at making my own granola instead! By making it myself, I would be able to tailor the granola to suit all our tastes. Lil’ L loves nutty granola, I love a mix of nuts and dried fruits, while Mark will eat anything.
By making our own, we could also omit the refined sugars and oils that are found in shop-bought granolas and replace them with healthy, natural alternatives.
For breakfast, we love serving this granola with non dairy milk or yoghurt.
It is also delicious layered with yoghurt and berries in a parfait (we use frozen berries as they turn the yogurt a beautiful colour as they thaw!) These can be served as breakfast, dessert or even a post-school snack.
Please note that the recipe below has been updated in 2018 to bring it into line with the recipe that appears in the Bit of the Good Stuff cookbook.
It’s so simple to make your own granola. In fact, with very little assistance, the kids could easily make their own! Lil’ L prefers his granola to be “chunky cluster” and we’ve found a simple method of doing this which we’ve set out below.
Makes approximately 5 cups (10 servings) Hands on time: 10 minutes Ready in: 60 minutes
100 g / ½ cup buckwheat groats* (washed and drained)
40g / 4 TBSP fine wholemeal (whole wheat pastry) flour, chapatti flour or gluten-free flour 30g / ⅓ cup dessicated coconut
60g / ½ cup pecans, roughly chopped
30g / ¼ cup flaked almonds
30g / 3 TBSP coconut sugar or unrefined caster sugar
½-1 tsp ground cinnamon
pinch of ground nutmeg
¼ tsp sea salt
150ml / ½ cup maple syrup (or other natural liquid sweetener. I use Clarks Original Maple Syrup which is a carob and maple blend)
3 TBSP virgin coconut oil, melted
*I add buckwheat to my granolas as it’s a great source of protein and adds another dimension of texture. In the UK, it’s available in the wholefoods section of Tesco and from health food stores. If you can’t get hold of buckwheat, you can substitute with another ½ cup of oats or other grain.
Method
1.Preheat the oven to 150C (130C fan) / 300F. Line a large baking tray (38 x 26cm / 15 x 10 inches) with non-stick baking paper. If your coconut oil is solid, place it in a heat-proof howl in the oven for a couple of minutes to melt it (be careful when you remove it as the container will be very hot!)
2.In a large bowl, mix together the oats, buckwheat, dessicated coconut, nuts, sugar, cinnamon, nutmeg and salt. Stir in the maple syrup. Pour in the coconut oil and stir until the grains are thoroughly coated.
3.Spread the granola out evenly on the prepared baking tray and press down hard so that the mixture sticks together as if you were making a thin granola bar. Bake for 40 minutes, until the granola has lightly browned. Remove from the oven and allow to completely cool (it will firm up as it cools).
4. Break up the granola into clusters. (Don’t worry if the pieces from the centre of the tray feel a little soft as I find they firm up over time). Stored in an airtight container in a cool place, the granola will keep for weeks.
5.This granola is delicious served with non-dairy milk or yoghurt, and a sprinkling of your favourite dried fruits, nuts and seeds. I often add a sprinkling of chopped walnuts and ground linseed for an omega-3 boost and goji berries for vitamin C.
Pin for later ⬇️
Last Christmas, I thought I’d treat Lil’ L to some “luxury” shop-bought granola. I bought two different brands for him, both of which included a selection of his favourite nuts and no dried fruits. It turns out he didn’t like either of them as they were “way too sugary”! Instead, he asked whether he could have some of our home-made granola. Since we’d run out, he was even prepared to postpone his Christmas Day breakfast for 45 minutes until a fresh batch was baked! I wasn’t expecting to be making granola on Christmas morning but I was happy to oblige. Thank goodness it only takes a few minutes to prepare! We won’t be buying shop-bought granolas any more. Home made is best by a long shot!
And if you like chocolate, how about trying our chocolate clusters? Totally scrumptious and perfect for breakfasts, snacks and desserts 🙂
Have a great weekend everyone xx
Do you make your own granolas? If so, what is your favourite flavour combination? If you have any published recipes, please do link up below.