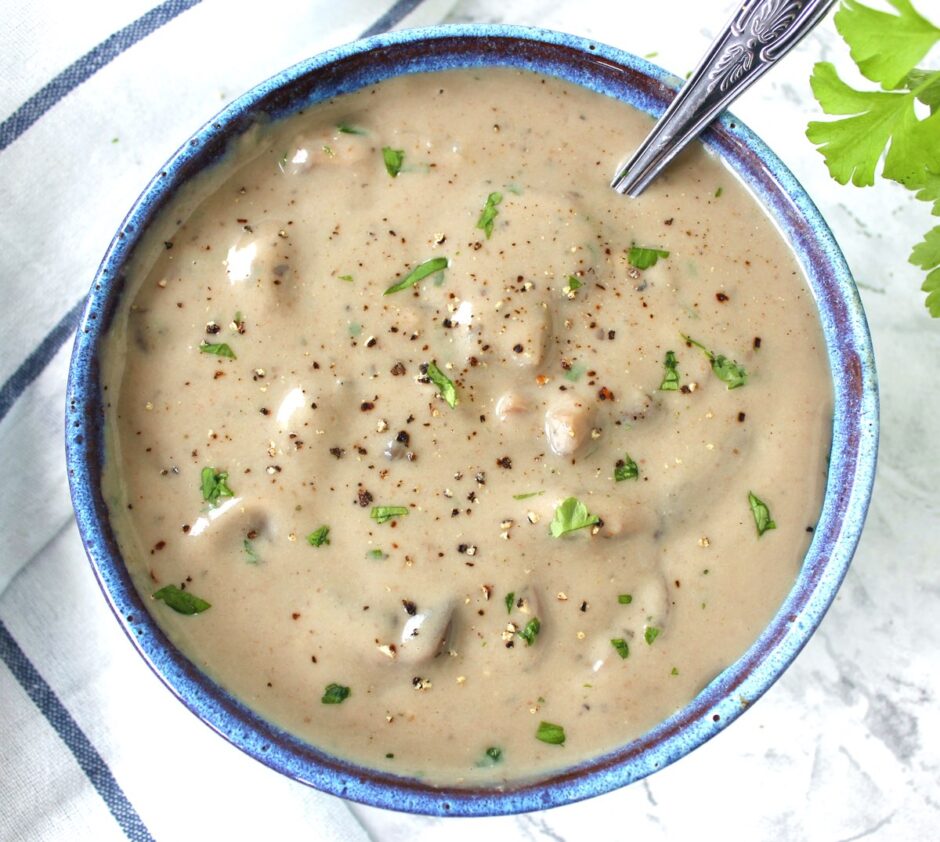
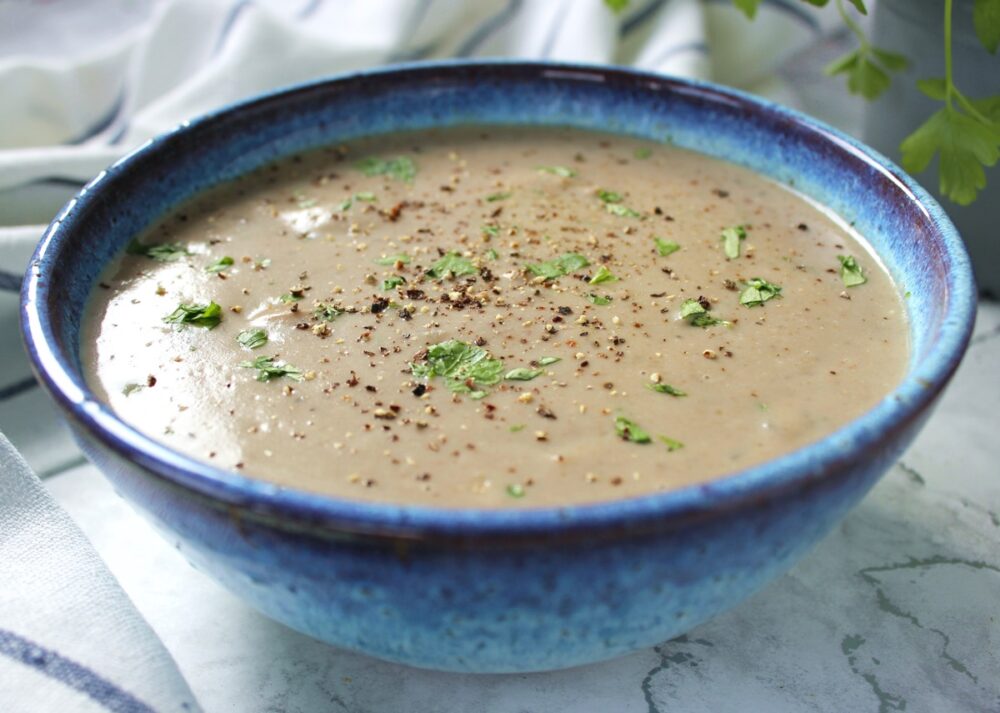
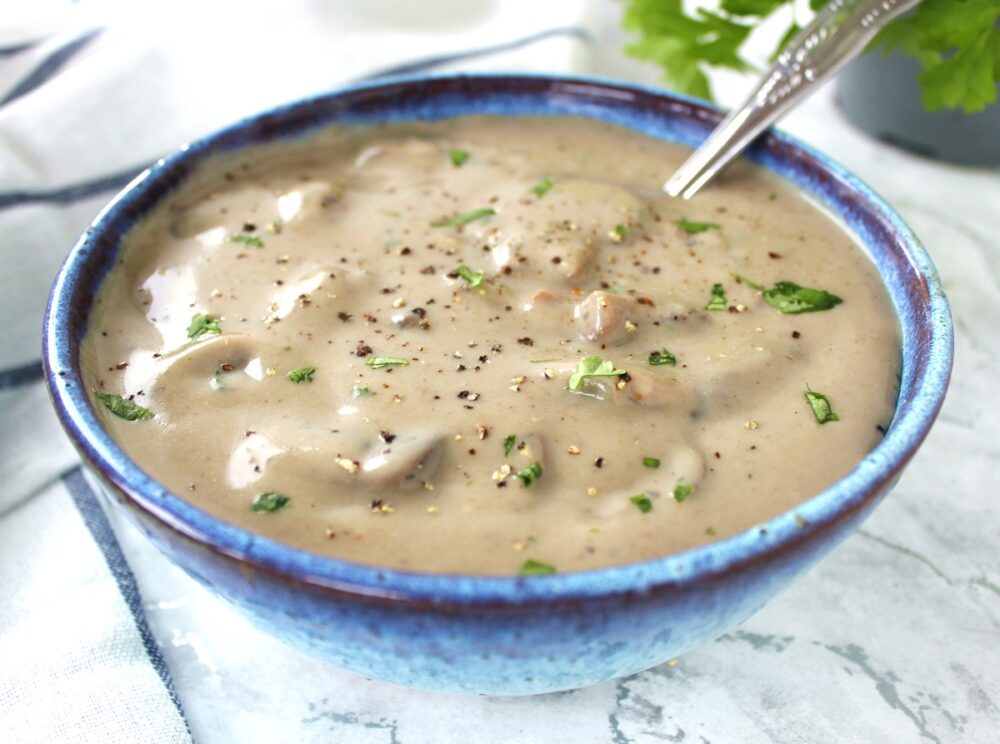
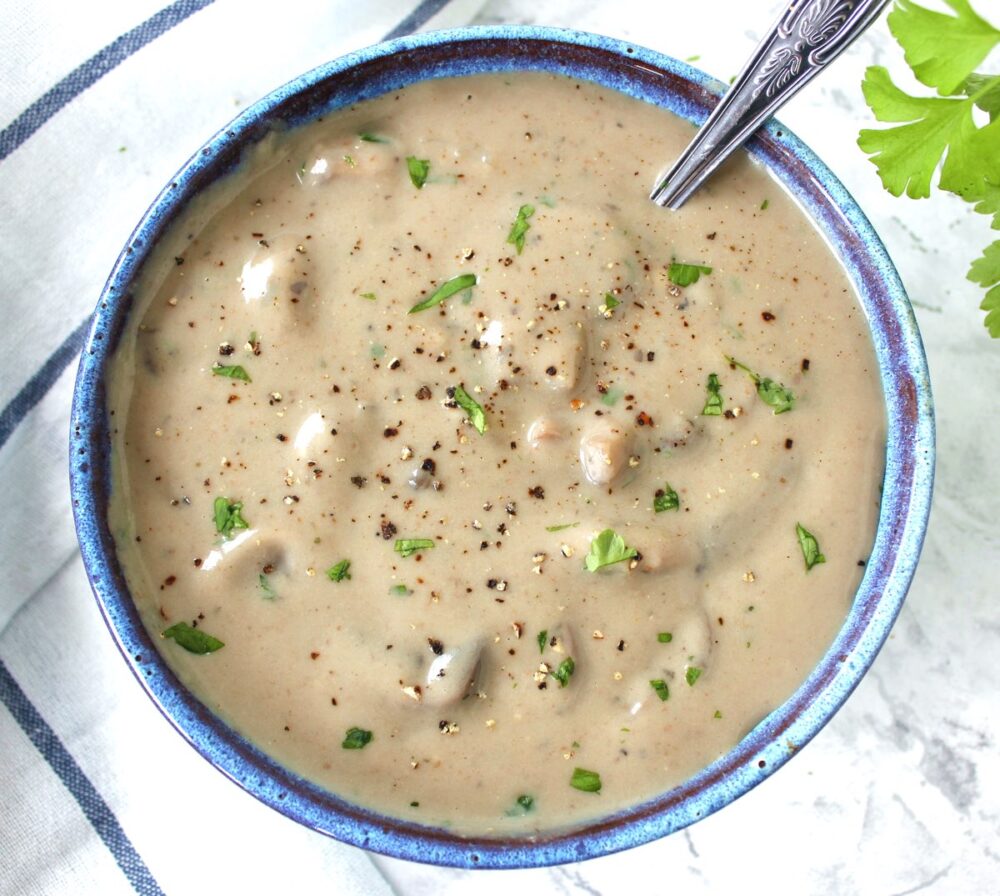
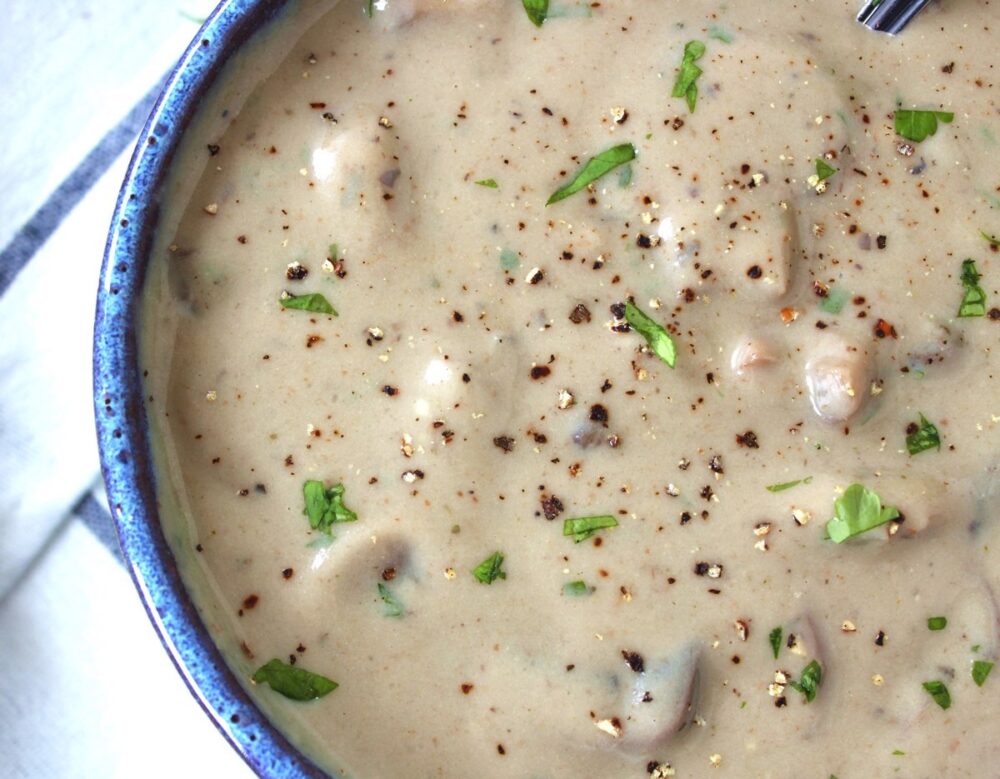
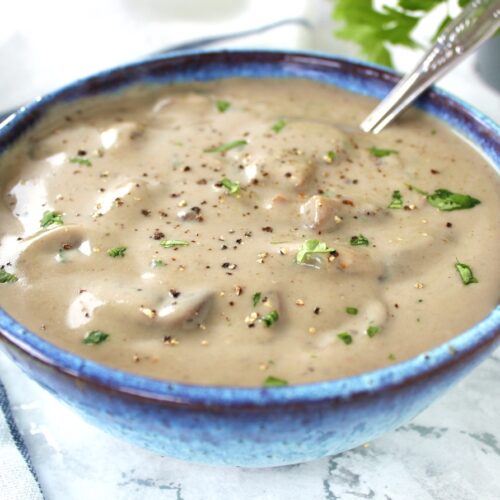
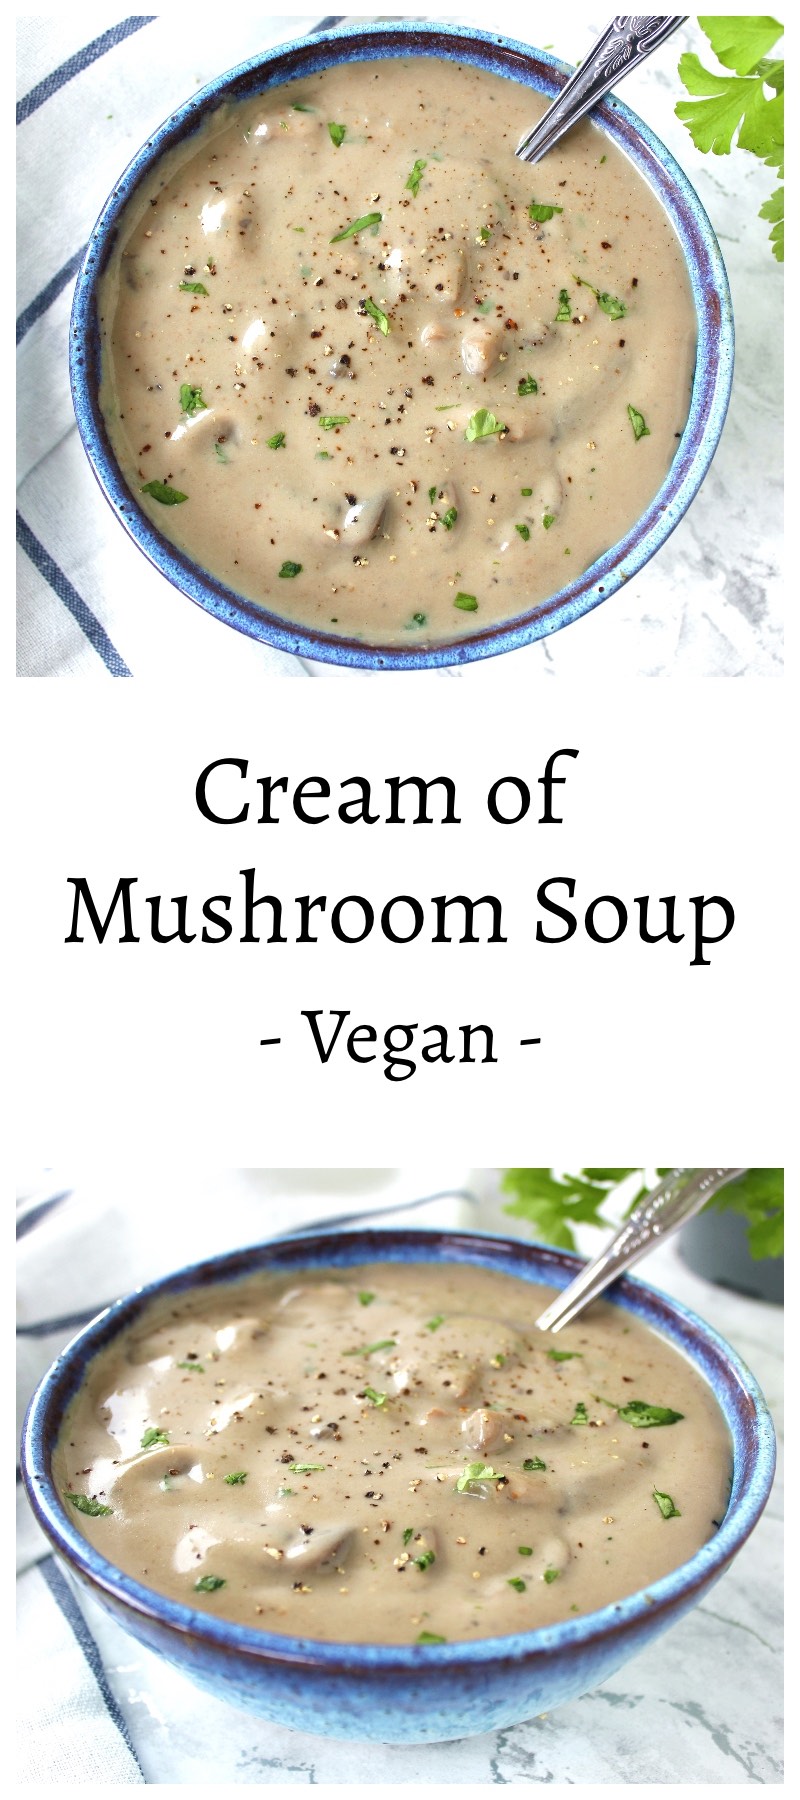
If you’re a mushroom lover (like me), you’re going to adore this Cream of Mushroom Soup. Thick, creamy, and full of flavour, it’s 100% plant-based, low in fat, and completely free of dairy or plant-based cream. Made with simple pantry ingredients, it’s budget-friendly, easy to prepare, and wonderfully comforting. We often enjoy it as an evening meal, topped with a sprinkling of golden pan-fried chickpeas and a couple of slices of fresh bread or toasted sourdough.
The inspiration for today’s post came from an article in this month’s Vegan Life magazine, entitled The Magic of Mushrooms. Dietician Yvonne O’Halloran highlights the incredible health-promoting benefits of mushrooms – and there are so many!
A Few of the Many Health Benefits of Eating Mushrooms…
🍄 While naturally low in calories, mushrooms are packed full of health-boosting vitamins, minerals and antioxidants. They are especially rich in B vitamins, copper and selenium.
🍄 They contain a powerful antioxidant called ergothioneine, which helps reduce inflammation in the body. (International Journal of Molecular Sciences 2017)
🍄 Mushrooms may help protect against Parkinson’s, Alzheimer’s, hypertension, stroke and cancer. They can also lower cholesterol, support the immune system and have anti-bacterial properties. (International Journal of Microbiology, 2015)
🍄 They help protect the liver, and have anti-diabetic, anti-viral and anti-microbial effects. (International Journal of Molecular Sciences, 2017)
🍄 Mushrooms contain beta glucans, known for their antioxidant, neuroprotective and anti-cancer properties. (International Journal of Microbiology 2015)
🍄 They’re excellent for gut health, as they provide prebiotic fibres like chitin, hemicellulose, mannans, beta-glucans, and xylans – all food for our healthy gut bacteria. (Bioactive Carbohydrates & Dietary Fibre Journal)
It was wonderful to hear just how beneficial mushrooms are for human health, especially since my family loves them! We eat mushrooms almost every day – in curries, chillis, burritos, tacos, pasta, noodle and rice dishes, and on top of toast.
In the Vegan Life article, there was a gorgeous photo of a mushroom soup, and it reminded me just how much I used to love this soup – Campbell’s Cream of Mushroom Soup was one of my childhood favourites. The photo didn’t come with a recipe, but it inspired me to head into the kitchen and experiment with making my own vegan version of that comforting classic.
I set out to make a soup that was thick and creamy, yet low in saturated fat, using simple, budget-friendly ingredients that are easy to find. It took me three attempts to get the texture and flavour just right, but I’m thrilled with the result – and I can’t wait for you to try it too!
Make It a More Filling Meal
While this soup is wonderfully creamy and comforting on its own, we most often enjoy it as an evening meal, topped with a sprinkle of Golden Pan-Fried Chickpeas.
The chickpeas add a lovely contrast in texture, along with an extra boost of nourishment. A bowl of soup provides around 11g of protein, and when you add the chickpea topper and a couple of slices of bread, that rises to roughly 25g – transforming it into a truly satisfying, nourishing meal.
For me, this is pure comfort food: delicious, filling, and packed full of nutrients that support our hearts, minds, and gut health. I hope you love it as much as I do!
Recipe Card
Prevent your screen from going dark
Cream of Mushroom Soup (Vegan)
This vegan Cream of Mushroom Soup is thick, creamy and full of flavour, yet free from dairy or plant-based cream. Using simple pantry ingredients, it’s nourishing, budget-friendly and wonderfully comforting. As an evening meal, we love to serve it with a sprinkling of golden pan-fried chickpeas and a couple of slices of fresh bread or toasted sourdough.
2TBSPvegan butter or dairy free spread(I use Flora Buttery or Vitalite)
1medium brown onionfinely diced
3tspminced garlic
500g/ 18 oz mushroomssliced (I use chestnut / crimini)
1tspdried thyme
1tspdried tarragon
65g/ ½ cup whole wheat flour(or sub with plain (all purpose) flour)
480g/ 2 cups fortified soya milk
480g/ 2 cups freshly boiled water
3tspvegetable bouillon powder(I use Marigold; you can sub with a crumbled stock cube)
¼tspfreshly cracked black pepper
2TBSPfresh parsleyfinely chopped, optional for garnish
Instructions
Melt the butter in a large saucepan over medium heat. Add the onions and garlic and cook for 4 minutes, until the onions soften.
Add the sliced mushrooms, thyme and tarragon. Cook for 5 minutes, stirring occasionally, until the mushrooms start to brown and release their liquid.
Whisk the flour and plant milk together in a jug until smooth, then pour into the pan.
Add the freshly boiled water, vegetable bouillon power and black pepper to the pan and stir through. Bring to the boil, stirring continuously for 1 minute. Reduce the heat to low, partially cover with a lid, and simmer gently for 10 minutes, stirring regularly with a wooden spoon to prevent the soup from sticking to the bottom of the pan.
Remove from the heat and let the soup cool for a couple of minutes (it will thicken slightly as it cools). Use a jug or immersion blender to blend the soup to your desired consistency.
Taste and adjust the seasoning as needed. Garnish with chopped parsley and a few more cracks of freshly ground black pepper, if desired, and serve.
Notes
tsp = teaspoon | TBSP = tablespoonStorage: Store in an airtight container in the fridge for up to 3 days. Reheat gently on the stove or in a microwave before serving.Substitutions: For best creaminess and protein, I recommend using soya milk. You can substitute with other plant-based milks such as oat or almond, but the soup may be slightly less creamy and will have a lower protein content.Tip: For a heartier meal, try topping the soup with our Golden Pan-Fried Chickpeas. They add a lovely contrast in texture and an extra boost of plant-based protein.
N.B. The above values are estimates and for illustration purposes only. The actual nutritional values will vary depending on the specific ingredients used. The % Reference Intake (RI) will also vary depending on your age, gender, height, BMI, level of activity and other personal variables..
Pin for later ⬇️
If you make this Cream of Mushroom Soup, I’d love to hear your feedback and any suggestions for adaptations! You can drop your comments in the section below, and you can also connect with me on Instagram, Facebook, Pinterest. Tag your photos with #bitofthegoodstuff on social media – I always love seeing your creations! ❤️
Today I’m sharing a delicious miso soup that has quickly become my new favourite ‘working from home’ lunch. It takes just 10 minutes to prepare and is so warming and filling. It also happens to be packed full of nutritional goodness. This is one of those meals that makes me feel really energised… like I’m ‘zinging’ on the inside! It’s been a big hit with the family too. I hope you enjoy it as much as we do!
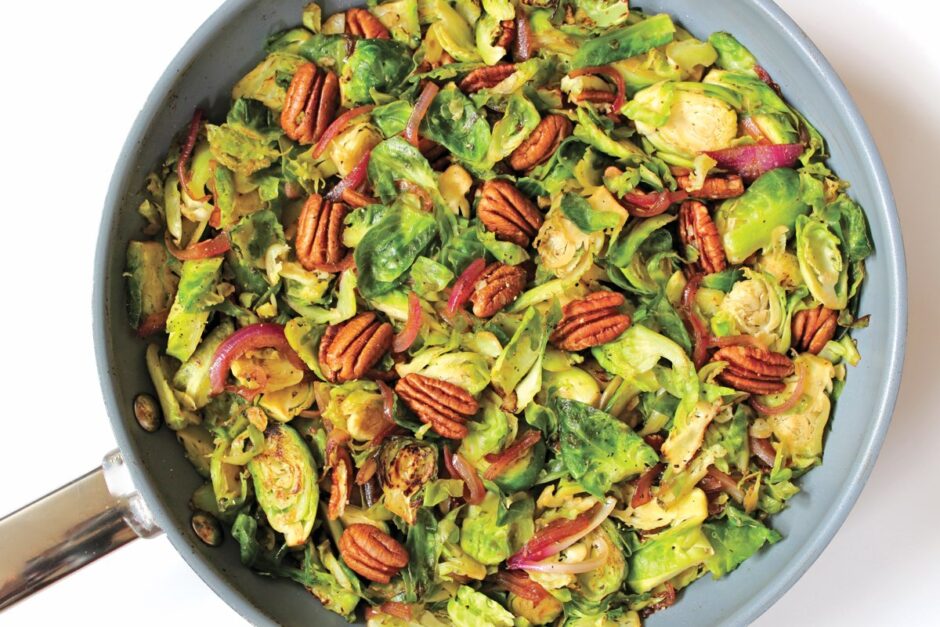
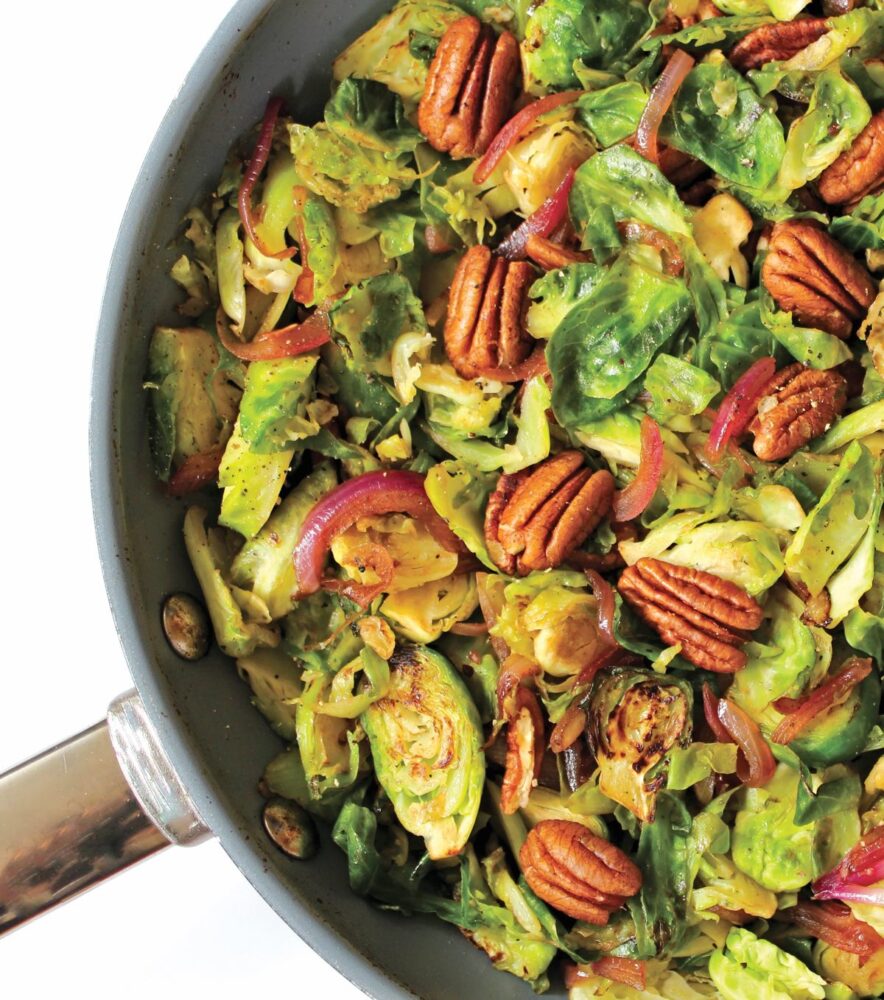
Thinly sliced and pan-fried in olive oil, Brussels sprouts take on a delicious nutty flavour and crisp texture, that is so far removed from the texture and flavour of boiled or steamed sprouts! If you know any Brussels sprout haters, encourage them to give this recipe a try. It might just win them over!
In fact, it was this recipe that I’m sharing today, that converted our son at from a self-proclaimed sprout hater to a sprout lover! Every Christmas prior to this, I would optimistically place a sprout or two on his dinner plate but sadly, there they would languish, untouched, while every other vegetable on his plate was enthusiastically devoured.
Determined to get this boy to enjoy Brussels sprouts, for our Christmas dinner in 2015, I ditched the steamed sprouts and instead sliced and pan-fried them along with some tangy Balsamic red onion and toasted pecans. It was a total game changer! He absolutely loved it and, for the first time ever, his Christmas dinner plate was completely cleared…. sprouts and all!
Five years on, and this Hash remains my family’s favourite way to serve Brussels sprouts. We will most definitely be tucking into it on Christmas Day this year, alongside our Cranberry-Glazed Nut Loaf.
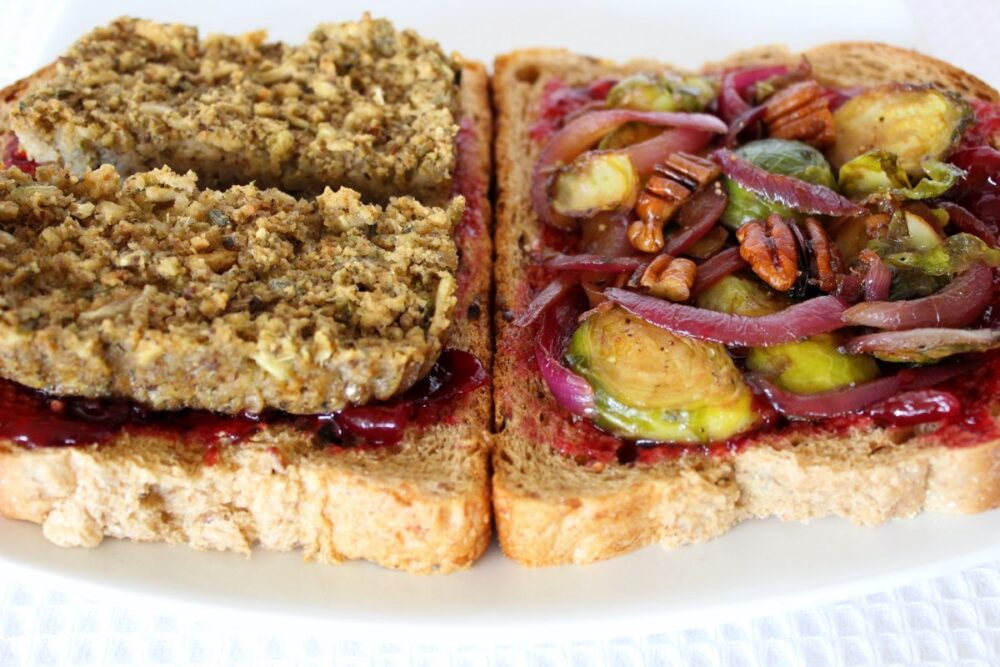
I’m also going to make sure we have leftovers, so we can serve them in a soft granary bread sandwich along with slices of nut roast (or sage & onion stuffing) and a big dollop of cranberry sauce. We call this our ‘Boxing Day Sandwich’ or ‘Sunday Dinner Sandwich’ as it is filled with roast dinner leftovers. It tastes so good!
Recipe Card
Prevent your screen from going dark
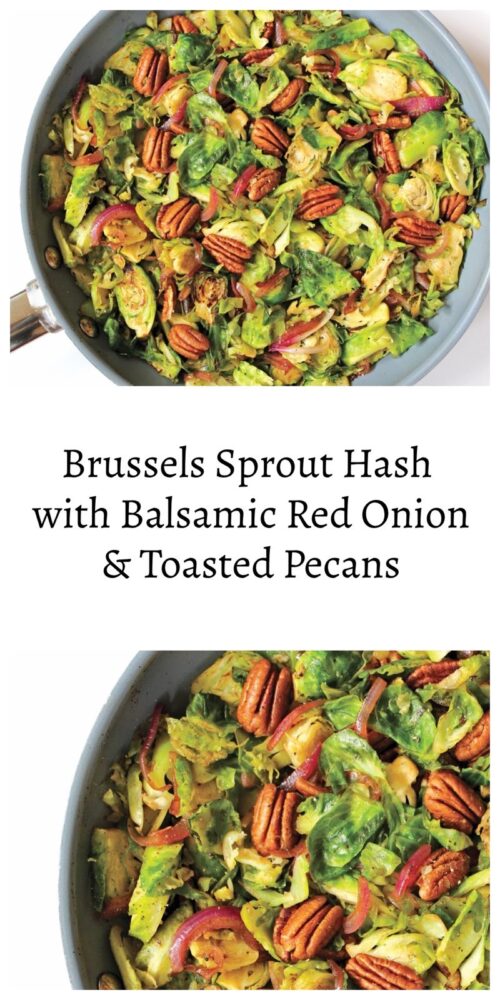
Brussels Sprout Hash with Balsamic Red Onion & Toasted Pecans
For any self-proclaimed ‘Sprout Haters’ out there, this is the recipe that might just change your mind! Slicing and pan-frying Brussels sprouts gives them a delicious nutty flavour and crisp texture, that is far removed from the boiled and steamed varieties! Combined with tangy balsamic red onion and toasted pecans, this Brussels Sprout Hash makes the perfect accompaniment for roast dinners. As a light light meal option, we also like to serve it with brown rice pan-fried in olive oil and soy sauce, or stuffed into our ‘Sunday Dinner’ sandwich with slices of nut roast and cranberry sauce.
500g/ about 20-25 medium Brussels sproutsfresh or defrosted, trimmed and thinly sliced
½tspsalt
freshly ground black pepper(omit if serving to small children)
Instructions
In a small frying pan (skillet), toast the pecans on medium-high heat, stirring continuously. When they start to become fragrant, test one. If they have an intense nutty flavour, they are done. Tip them onto a plate and set to one side.
Turn down the heat to medium-low, add 1⁄2 TBSP oil to the pan and cook the onion for about 8 minutes, stirring now and then. Stir in the sugar and vinegar and continue cooking until most of the vinegar has evaporated, then remove from the heat.
While the onion is cooking, prepare the Brussels sprouts. In a large frying pan (skillet) heat the remaining oil on medium-high. Add the sprouts and season with salt and ground black pepper. Stir fry until they are browned (about 6 minutes).
When ready, add the onion and pecans to the sprouts and stir through to combine. Taste test and add more seasoning if required.
This dish is delicious served warm or cold. Any leftovers can be stored in the refrigerator for five days.
Notes
This recipe was originally published in 2016 in the Bit of the Good Stuff Cookbook (pp76-77)
If you make this Brussels Sprout Hash (or any other recipes on our blog), I’d love to hear your feedback and any suggestions for adaptations! Tag your photos with #bitofthegoodstuff on social media – I always love to see your creations! You can also connect with me on my social media channels here:Instagram, Facebook, Pinterest.
Today I’m sharing some delicious home-made vegan truffles that are really easy and quick to prepare. With a fudgy centre speckled with shiny red cranberries and a dark chocolate coating, these truffles are the perfect treat for the festive season. They also happen to be packed full of nutrient-rich ‘feel-good’ ingredients, making them one festive treat that you definitely won’t regret indulging in!
To make these treats, it’s simply a case of whizzing the filling ingredients in a food processor, rolling it into balls and then dipping them in melted chocolate. The hardest part is waiting for the chocolate to set before you can dive in!
These truffles make a lovely, thoughtful gift for sharing with friends, family and work colleagues. I love to buy cute little chocolate boxes that fit six truffles, which I then finish off with some festive ribbon and a home-made label.
I originally shared this recipe in the Bit of the Good Stuff cookbook back in 2016, and it’s received lots of lovely feedback! Since my cookbook is almost out of print, I thought I would share the recipe on the blog so more of our lovely readers can access it.
Recipe Card
Prevent your screen from going dark
Dark Chocolate Cranberry Truffles
Chocolate coated with a fudgy centre speckled with shiny red cranberries, these truffles are the perfect treat for sharing in the festive season. They also happen to be packed full of nutrient-rich 'feel-good' ingredients, making them one festive treat that you definitely won’t regret indulging in!
110g/ ½ cup soft, sticky dates (e.g. Medjool)pitted
20g/ 3 TBSP cocoa powder
1½tspvanilla extract
1tspmaple syrup
pinch of salt
35g/ 4 TBSP dried cranberries(preferably sweetened with fruit juice)
100g/ 3½ oz dark chocolatechopped into small pieces (or use dark choc chips)
Instructions
Whiz the nuts in a food processor to break them down. Add the dates, cocoa powder, vanilla extract, maple syrup and salt. Process until the mixture has formed crumbs that easily stick together when pressed between your thumb and forefinger. Add the cranberries and process until they are roughly chopped. Taste test and add a touch more cocoa or sweetener, if desired.
Line a tray with non-stick baking paper. Scoop ½ TBSP mixture and roll it into a ball, then place on the paper. Repeat with the remaining mixture.
Place the chocolate in a heat-proof bowl set over a pan of gently simmering water (make sure the water doesn’t touch the bowl). When the chocolate has melted, switch off the heat.
Using a metal spoon, quickly roll each truffle in the chocolate. Place the truffle on a fork and gently shake off the excess chocolate. Place the truffle back on the lined tray. Repeat with the remaining truffles. Chill in the refrigerator until set.
If you have any melted chocolate left over, pour it onto a piece of baking paper to form a chocolate ‘puddle’ then chill until set. You can save this for another recipe.
Stored in an airtight container, these truffles will keep for weeks in the refrigerator or freezer.
If you make these Dark Chocolate Cranberry Truffles (or any other recipes on our blog), I’d love to hear your feedback and any suggestions for adaptations! Tag your photos with #bitofthegoodstuff on social media – I always love to see your creations! You can also connect with me on my social media channels here: Instagram, Facebook, Pinterest.
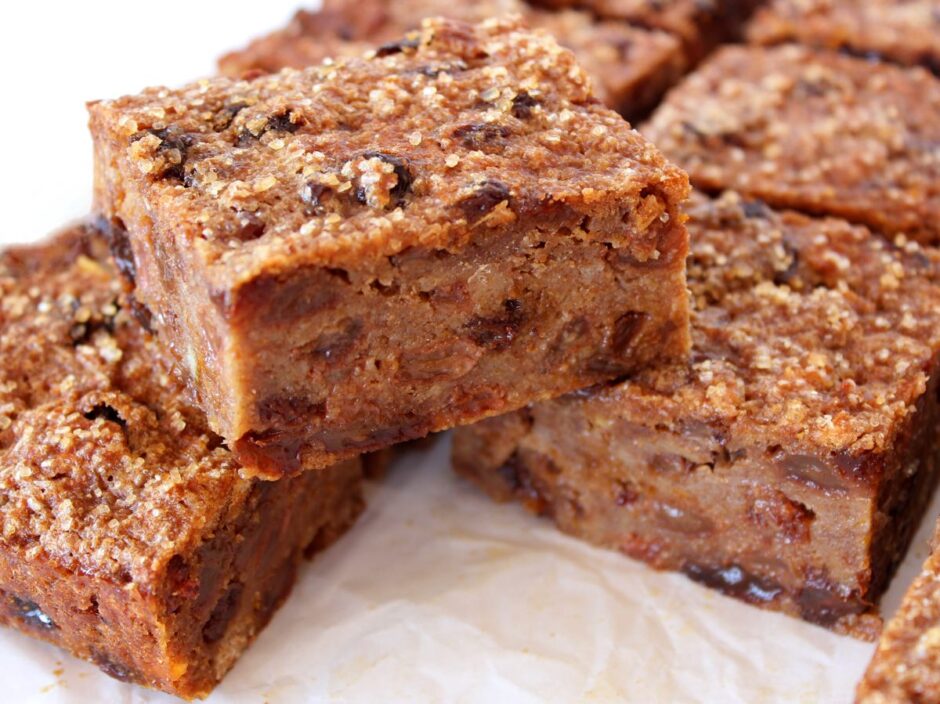
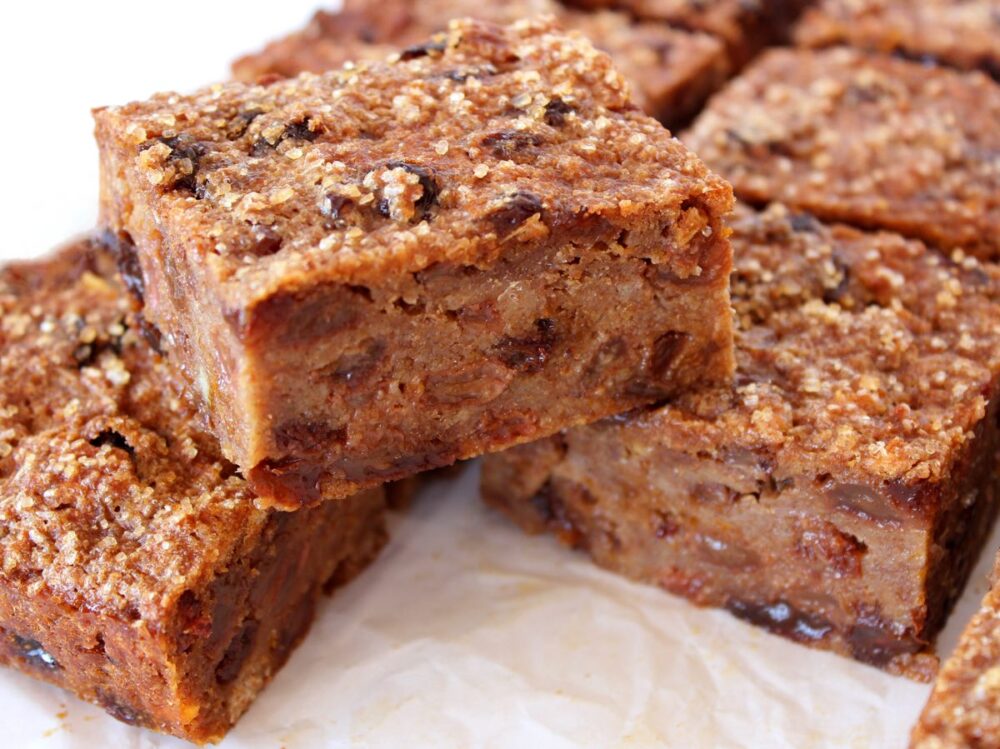
Today I’m delighted to be sharing the recipe for one of my favourite childhood treats – Old Fashioned English Bread Pudding. Its name certainly doesn’t do it justice though, as it tastes nothing like bread nor would I describe it as a pudding! Instead, it is more like a sweet, dense fruit cake. It is delicious served with a hot cuppa, and also makes a fantastic energy-boosting snack to stash in your backpacks for hikes and bike rides. I think this year, all of us have been spending a lot more time outdoors and we definitely need some tasty snacks to keep us fuelled and put a spring in our step. This bread pudding definitely fits that bill!
When I first went vegan, I thought that I was going to have to forego this favourite treat of mine, but it turns out that it was really easy to ‘veganise’ my family’s traditional bread pudding recipe. It was simply a case of switching the cow’s milk for plant milk (I use soya), switching the butter for oil, and ditching the egg. I honestly couldn’t tell the difference from the original. I was absolutely over the moon that my beloved bread pudding was back on the menu.
When I was selling my cookbook at local fairs, I would often take some trays of bread pudding to display on our stall, and they would go in a flash. It was a running joke that the bread pudding was our top sales person as people would often buy a slice, then come back to buy the book specifically for that bread pudding recipe!
Since my cookbook is almost out of print, I thought it would be useful to share the recipe here on the blog, so everyone can enjoy a slice or two of this tasty treat.
It is really easy to make and super cheap too! It is traditionally made with stale bread, but as bread never hangs around long enough in my house to go stale, I buy a cheap loaf of wholemeal bread instead. The supermarkets’ own brand medium-sliced bread only costs about 60p and you need less than a whole loaf to make 16 slices of bread pudding, making it an absolute bargain!
Recipe Card
Prevent your screen from going dark
Old Fashioned English Bread Pudding
Its name certainly doesn't do it justice, as bread pudding neither tastes like bread nor would I class it as a pudding! It's more like a sweet, dense fruit cake. It is delicious served with a cuppa and also makes a fantastic energy-boosting snack for hikes and bike rides. It's super filling, so be sure to cut those squares a modest size!
50ml/ ¼ cup neutral-flavoured oil (I use organic rapeseed (canola) oil)
100g/ ½ cup unrefined ('golden') caster sugar or coconut sugar
2TBSPDemerara or turbinado sugar
Instructions
Crumble the bread into a large mixing bowl. Pour in the milk and continue crumbling the bread until it has completely broken down. Stir in the mixed spice, cinnamon and dried fruits. Set aside for 30 minutes.
Preheat the oven to 180C (160C fan) / 350F. Grease and line a 20cm / 8 inch square baking tin with non-stick baking paper. Leave some paper overhanging the edges for easy removal.
Add the citrus zest, oil and sugar to the mixing bowl. Stir until thoroughly combined, then tip into the prepared tin. Press down and level with a spatula. Sprinkle the Demerara sugar evenly on top. Bake for 1½ hours, or until a skewer inserted through the middle comes out clean. Leave to cool completely, then remove from the tin and slice.
Stored in an airtight container in the fridge, the bread pudding will keep for a week. It also freezes well.
If you make this Old Fashioned English Bread Pudding, I’d love to hear your feedback and any suggestions for adaptations! Tag your photos with #bitofthegoodstuff on social media – I always love to see your creations! You can also connect with me on my social media channels here:Instagram, Facebook, Pinterest.