Home-Made Chapattis (Indian Flatbread)

Jump to Recipe

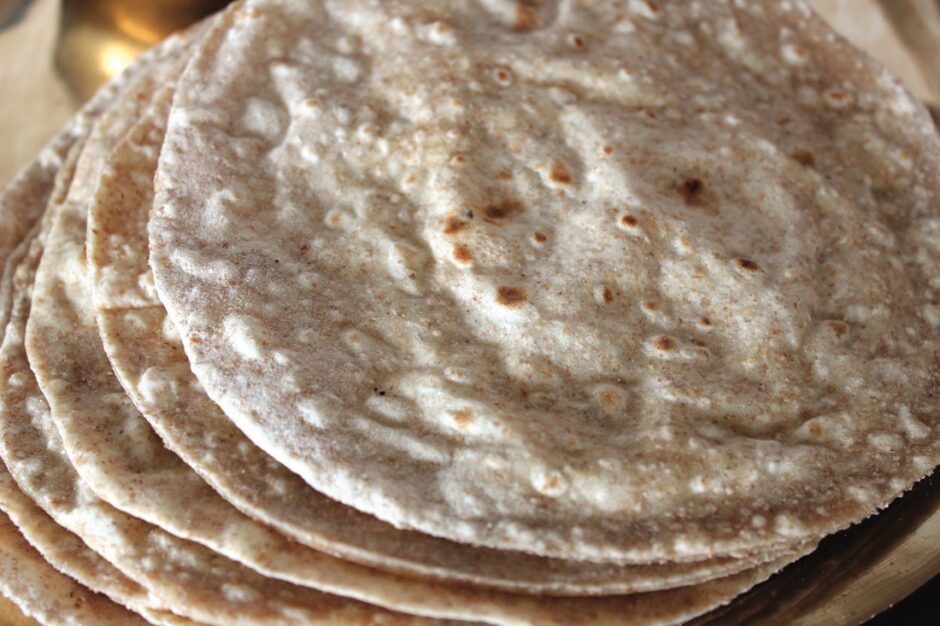
Home-made chapattis are easy to make, super affordable, and taste so much fresher than anything you’ll find in the shops. From start to finish, it takes just 15 minutes to make four chapattis (perfect for two people), and costs just 11p per serving!

Chapattis are made with atta flour, which is a very fine wholemeal (wholewheat) flour. It can be found in the world food aisle of larger supermarkets or in Indian food stores. I love the fine texture of chapatti flour and find it perfect for baking (it’s my favourite flour for cakes, cookies and pizza crusts!) In traditional chapatti recipes, the flour is mixed with water to create a dough, but I personally prefer to use plant milk. I find it enhances the flavour of the flatbread and the texture is softer.

Ingredient Cost Breakdown

  • 140g / 1 cup atta chapatti flour (Tesco, 11p)
  • 90ml / ⅓ cup fortified soya milk (Tesco longlife, 11p)

Total cost: 22p

Cost per serving: 11p

N.B. Prices listed are for May 2024. I use Tesco prices as that’s where I do my main grocery shop at the moment.

Recipe Card
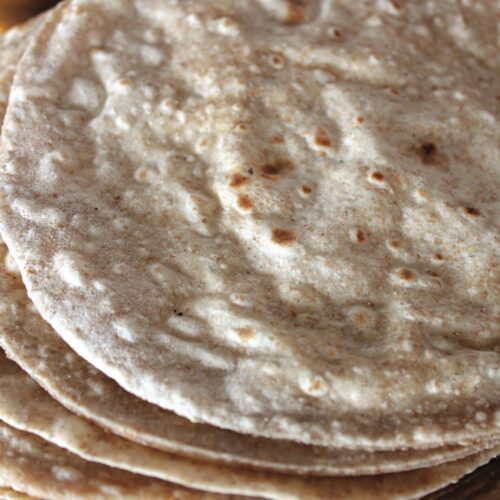
Chapattis (Indian Flatbread)

These home-made chapattis are the perfect accompaniment to whip up while your curry or dhal is simmering away.
Hands on time: 15 minutes
Total Time 15 minutes
Course Dinner, Light Dinner, Lunch
Cuisine Indian
Servings 4 chapattis

Ingredients
 

  • 140 g / 1 cup atta chapatti flour*
  • ¼ tsp salt
  • 90 ml / ⅓ cup fortified soya milk or other plant milk

Instructions
 

  • Place the flour and salt in a bowl. Make a well in the centre. Slowly stir in the milk with a fork until it starts to come together, then continue to form into a dough with your hand. (Depending on the type of flour you use, you may not need all the milk). Turn out the dough onto a lightly floured surface and knead until smooth and elastic.
  • Divide the dough into four balls (I weigh my dough to divide it evenly). Lightly coat a ball in flour and roll into a thin circle about 20cm / 8 inches in diameter. Place on a plate and lay a piece of kitchen paper towel on top (this prevents the chapattis sticking together). Repeat the process with the remaining dough.
  • Heat a frying pan (skillet) on medium-high. Using no oil, cook a chapatti for about 30 seconds, or until brown spots appear on the underside. Flip over and cook until brown spots appear on the second side (about 15 seconds). Flip over one more time and cook for a few more seconds (the chapatti should start to puff up). Place the chapatti on a plate with a sheet of kitchen paper towel on top (this will absorb the steam and enable the chapattis to be stacked). Repeat the process with the remaining dough balls.
  • Chapattis are best served immediately, however they will last a couple of days in an airtight container in the refrigerator. To refresh them, sprinkle lightly with water and gently heat them through in the oven.

Notes

* If you can’t find atta chapatti flour in your local stores, you can substitute with 70g / ½ cup fine wholemeal (whole wheat pastry) flour and 70g / ½ cup plain (all purpose) flour
Keyword Budget Vegan Meals, Chapattis, Easy Vegan Meals, Home-made Chapattis, Plant-Based on a Budget, Student Vegan Meals, Vegan Dinners
Tried this recipe?Let us know how it was!

N.B. The above values are estimates and for illustration purposes only. The actual nutritional values will vary depending on the specific ingredients used. The % Reference Intake (RI) will also vary depending on your age, gender, height, BMI, level of activity and other personal variables.

If you make these chapattis, I’d love to hear your feedback and any suggestions for adaptations! Tag your comments and photos with #bitofthegoodstuff on social media and they will find their way to me. You can also connect with me on my social media channels here: InstagramFacebookPinterest.   

With love,

Sharon xx

—————————–

N.B. This recipe was originally published in 2016 in the Bit of the Good Stuff Cookbook.
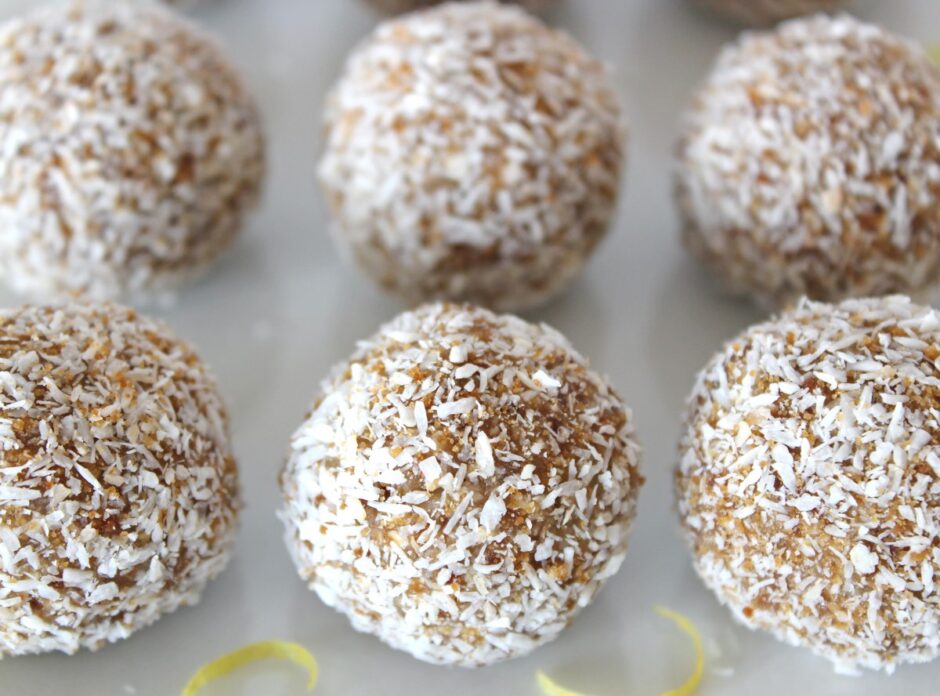
Lemon Coconut Energy Balls

Jump to Recipe

It is so quick and easy to make your own energy balls! It is literally a case of whizzing the ingredients together in a food processor. It also works out way cheaper than buying them from the supermarket.

As an added bonus you get to flavour them exactly to your own personal tastes!

I have already shared a few of my favourite energy ball recipes on the blog including Chocolate Orange, Cocoa Lime and Chocolate Rose (I can see a pattern running here haha) BUT the one I’m sharing today has to be my all-time favourite and – surprisingly – it contains no chocolate!

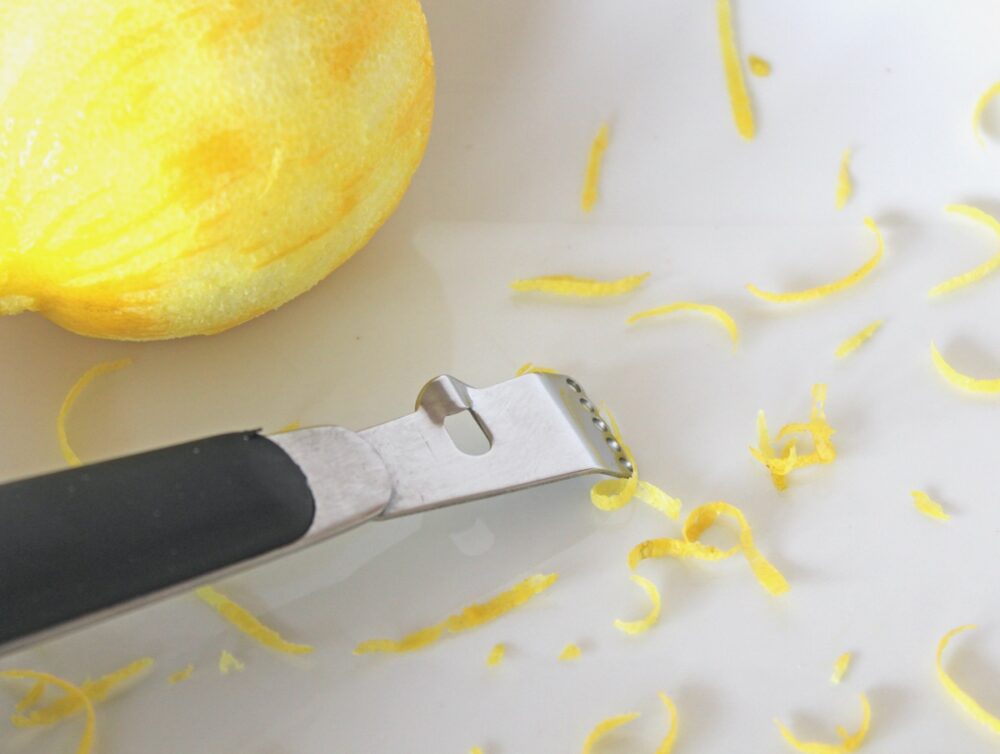
Lemon Zest

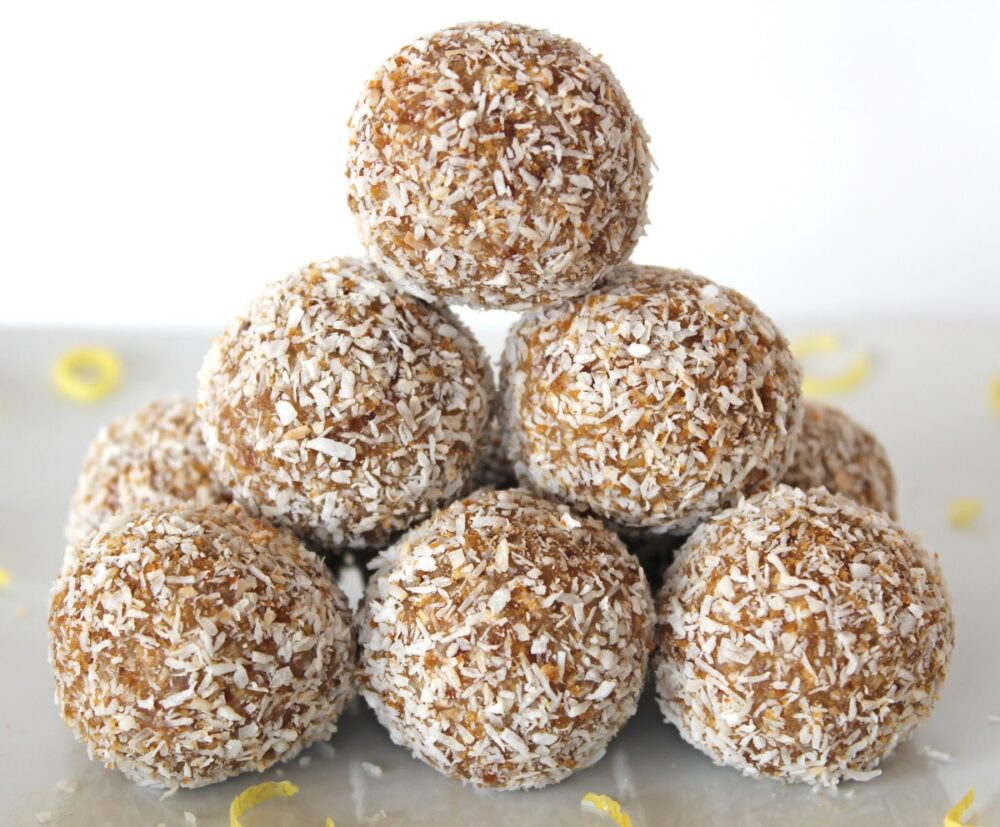
Lemon Coconut Energy Balls

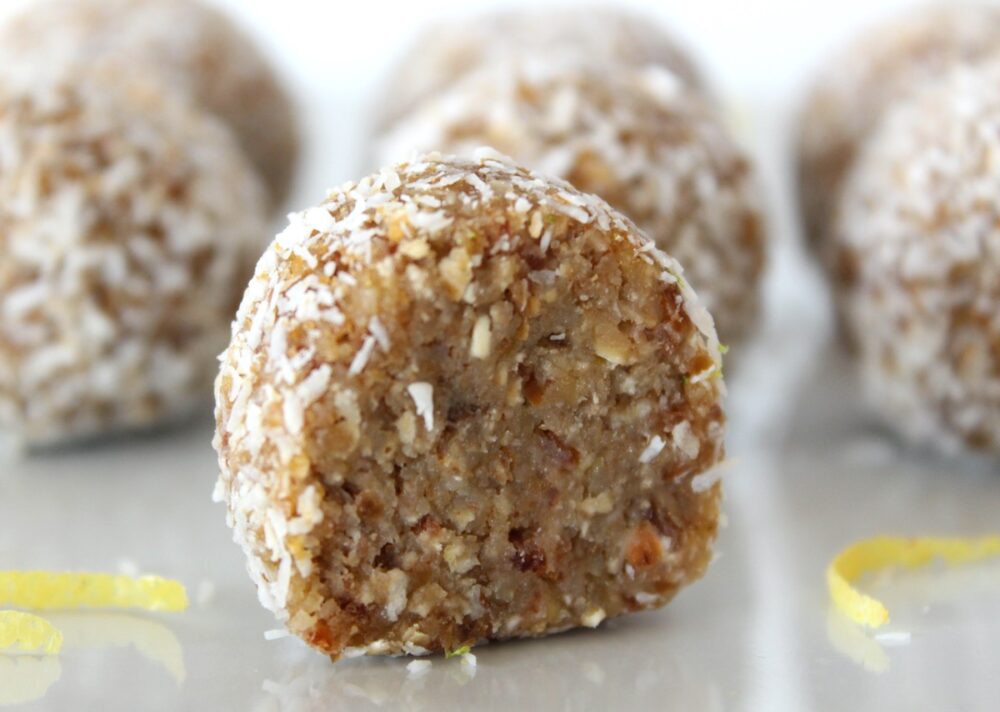
This Coconut and Lemon energy ball is so refreshing and zesty. I find it’s the perfect snack while out on a long hike, bike or run. It’s packed with wholesome ingredients such as oats, nuts and dates that help to boost and sustain energy levels. A touch of fresh lemon adds a delicious ‘zing’.

Lemon Coconut Energy Balls

Recipe Card

Lemon Coconut Energy Balls

These energy balls are so easy to make! They're compact and easy to transport, making them perfect for popping in your backpack for snacking 'on the go'.
Hands on time 15 minutes
Total Time 15 minutes
Course Snack
Servings 12 Balls

Ingredients
 

  • 22 g / ¼ cup desiccated coconut
  • 1 TBSP coconut sugar or soft brown sugar
  • 50 g / ½ cup rolled oats (quick oats, not jumbo)
  • 40 g / ¼ cup raw cashews
  • 35 g / ¼ cup walnuts
  • 120 g / ½ cup soft sticky dates (e.g. Medjool), pitted
  • ½ – 1 tsp zest from an unwaxed/ organic lemon
  • 2 TBSP freshly squeezed lemon juice
  • 1 tsp maple syrup
  • pinch of salt

Instructions
 

  • Mix together the desiccated coconut and sugar in a shallow container.
  • Place the oats, cashews and walnuts in a food processor and whiz into fine crumbs. Add the dates, lemon zest, lemon juice, maple syrup and salt. Process until the mixture comes together in a ball. Taste test and add a touch more lemon zest or sweetener, if desired.
  • Scoop level tablespoons of the mixture. Roll into balls, then roll in the sugar /coconut mixture. Repeat until all the dough is used. Chill in the refrigerator before serving (they will firm up as they chill).
  • Stored in an airtight container, these energy balls will keep for a week in the refrigerator, or for weeks in the freezer.
Keyword Dairy-Free, Energy Ball, Healthy Snacking, Plant-Based, Vegan Snacks, Wheat-Free
Tried this recipe?Let us know how it was!

Nutritional Breakdown

N.B. The above values are estimates and for illustration purposes only. The actual nutritional values will vary depending on the specific ingredients used. The % Reference Intake (RI) will also vary depending on your age, gender, height, BMI, level of activity and other personal variables.

If you make these Lemon Coconut Energy Balls, I’d love to hear your feedback and any suggestions for adaptations. Tag your photos with #bitofthegoodstuff on social media – I always love to see your creations! You can also connect with me on my social media channels here: InstagramFacebook, Pinterest.   

With love,

Curried Tempeh Vegan Sandwich Slices

Jump to Recipe

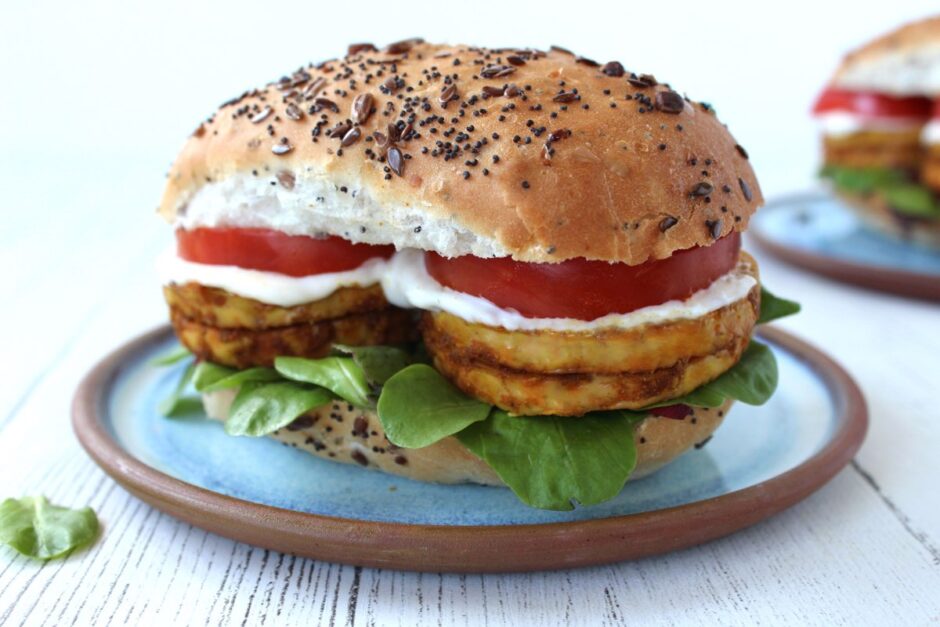
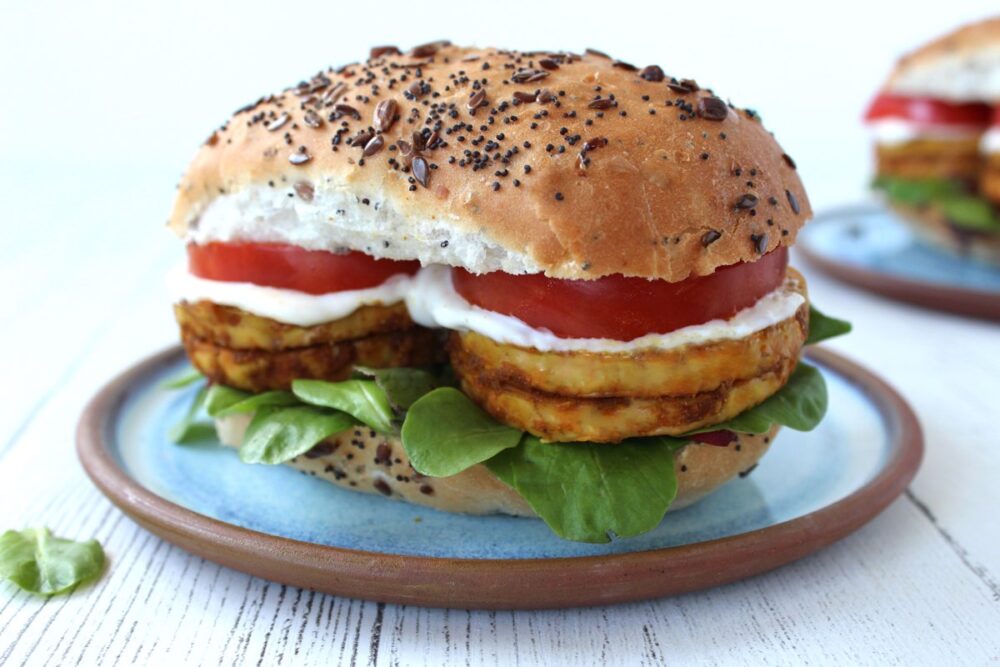
The curried tempeh I’m sharing today makes one tasty, high protein sandwich filling! For my work lunch box, I love to serve it in a seeded bap with some juicy tomato slices, diced red pepper, fresh green leaves and a dollop of vegan mayo or mango chutney. Just like tofu, I find that adding a couple of slices of tempeh to my lunchtime sandwich really helps to power me through the afternoon and keeps me feeling full for hours.

Curried Tempeh Sandwich
Continue reading “Curried Tempeh Vegan Sandwich Slices”

Quick & Easy Mexican Bean Tacos

Jump to Recipe

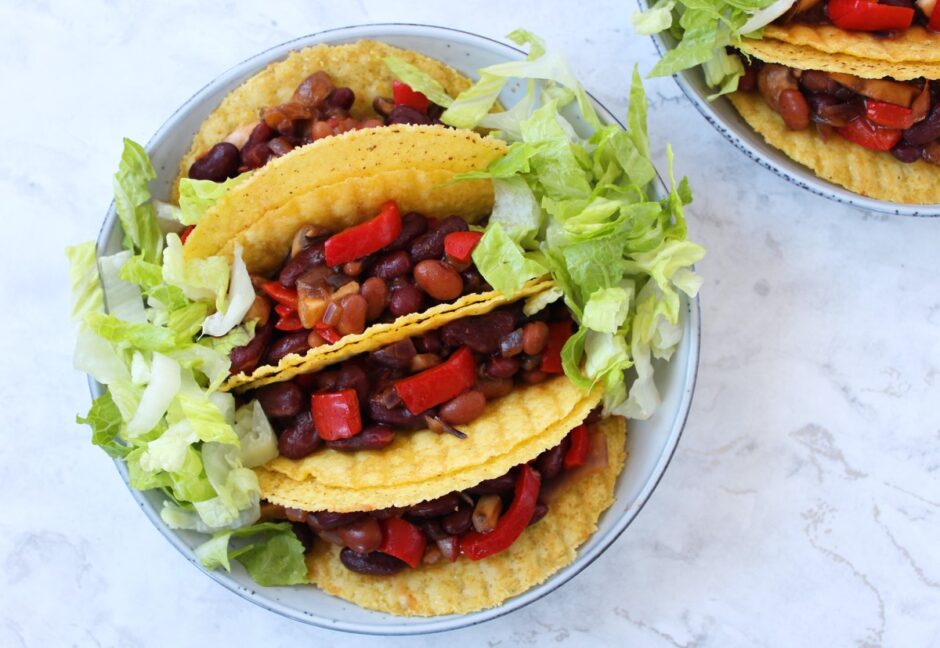
In today’s post, I’m sharing my family’s favourite Saturday night Mexican Bean Tacos. This recipe is just perfect for when you need something quick and easy to prepare. It’s so tasty and filling! And even though my family has eaten this meal hundreds of times now, we still look forward to it every weekend. There is something really fun and satisfying about biting into a crispy taco shell!

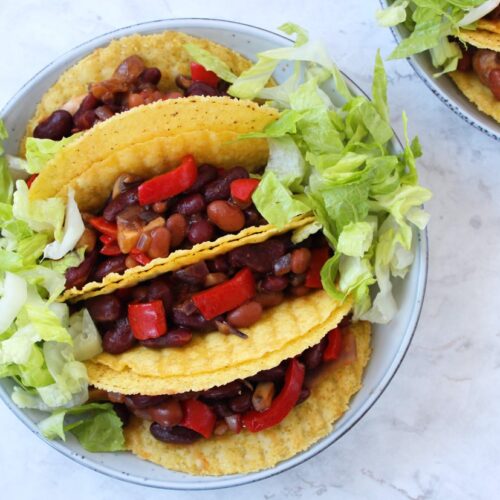
Mexican Beans in Crunchy Taco Shells

For speed and ease, we use a can of mixed beans in spicy tomato sauce and add some extra kidney beans, veggies and seasoning mix to make one delicious and nutritious taco filling. 

This is one of Mark’s ‘signature’ dishes and Lucien is also a dab hand at making it too. It’s super easy to make so definitely one to encourage the kids to get involved in. They may need some help filling the taco shells but, after years of practice at perfecting them, Mark happily shares his ‘pro tip’ in the recipe notes section below.

Recipe Card

Mexican Beans in Crunchy Taco Shells

Quick & Easy Mexican Bean Tacos

This recipe is perfect for nights when you need to make something quick and easy. It’s my family’s favourite Saturday night meal and even though we’ve eaten it hundreds of times now, we still always look forward to it. There is something really fun and satisfying about biting into a crispy taco shell, and the bean filling is delicious, nutritious and filling!
Hands On Time 20 minutes
Total Time 20 minutes
Course Dinner
Cuisine Mexican
Servings 3

Ingredients
 

  • ½ TBSP olive oil
  • 1 red onion diced
  • 1 sweet Romano or red bell pepper deseeded and diced
  • 125 g / 1½ cups chestnut (crimini) mushrooms diced
  • 400 g / 14 oz can Taco mixed beans (aka ‘Mixed Beans in a Spicy Tomato Sauce’*)
  • 400 g / 14 oz can kidney beans (or black beans) rinsed and drained
  • 3 tsp taco or fajita spice mix**
  • 12 crunchy corn taco shells

Suggested accompaniments

  • Romano lettuce shredded
  • Dollop of hummus or mayonnaise

Instructions
 

  • Pre-heat the oven to 200C / 400F.
  • Gently heat the oil in a large frying pan (skillet).
  • Fry the onions on medium heat until they start to soften. Add the pepper and mushrooms and continue cooking until the mushrooms have started to release their liquid. Add the taco beans (with sauce) and kidney beans. Sprinkle in some taco/fajita spice mix and stir through. Simmer on medium heat, stirring now and then until the sauce has thickened. Taste test and adjust the seasoning to suit.
  • When the beans are almost ready, arrange the taco shells upside down in a deep sided oven tray. Bake in the oven until they have crisped up (we tend to leave them in longer than the packet instructions… usually about 5 minutes at 200C fan).
  • When ready, divide the mixture between the taco shells [see Note *** for Mark's Pro Tip]. Arrange four in each bowl and tuck some salad leaves down the sides. Finish with a dollop of hummus or mayonnaise and serve.
  • The tacos are best eaten immediately (otherwise they go soggy). Any leftover bean filling can be stored in an airtight container in the fridge for up to three days.

Notes

* We used Tesco Taco beans in spicy tomato sauce
** Our favourite is Old El Paso Smoky BBQ Fajita seasoning mix
*** Pro tip from Mark – leave the taco shells in the hot tray while you fill them as this keeps them warm and crispy.
Keyword Budget Vegan Meals, Easy Vegan Meals, Family Friendly, Gluten-Free, Student Vegan Meals, Vegan, Vegan Dinners, Vegan Recipe
Tried this recipe?Let us know how it was!

Nutritional Breakdown

N.B. The above values are estimates. The actual nutritional values will vary depending on the brands and ingredients used.

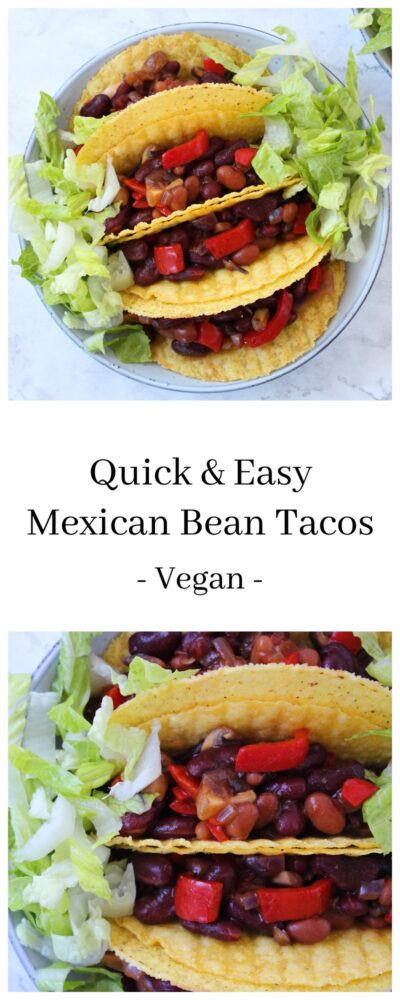
Pin for later ⬇️

Mexican Beans in Crunchy Taco Shells

If you try these Mexican Bean Tacos, I’d love to hear your feedback and any suggestions for adaptations! Tag your photos with #bitofthegoodstuff on social media – I always love to see your creations! You can also connect with me on my social media channels here: InstagramFacebook, Pinterest.   

With love,

Sharon xx

Mushroom and Lentil Ragout with Mashed Potatoes

Jump to Recipe

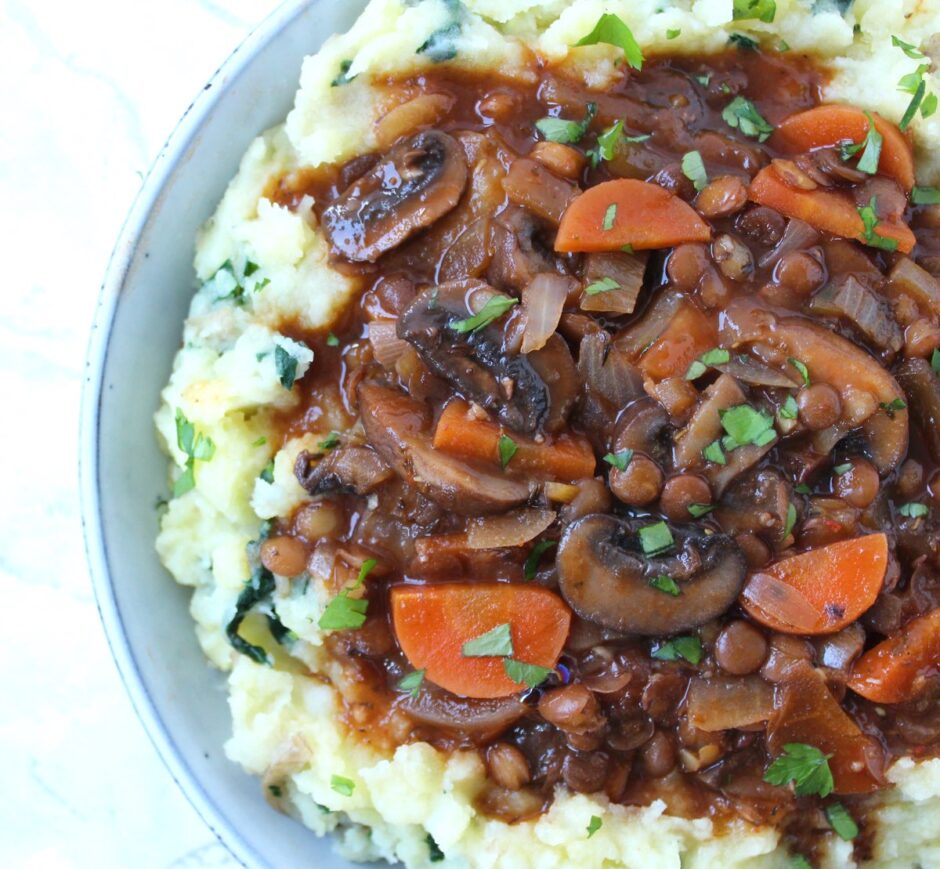
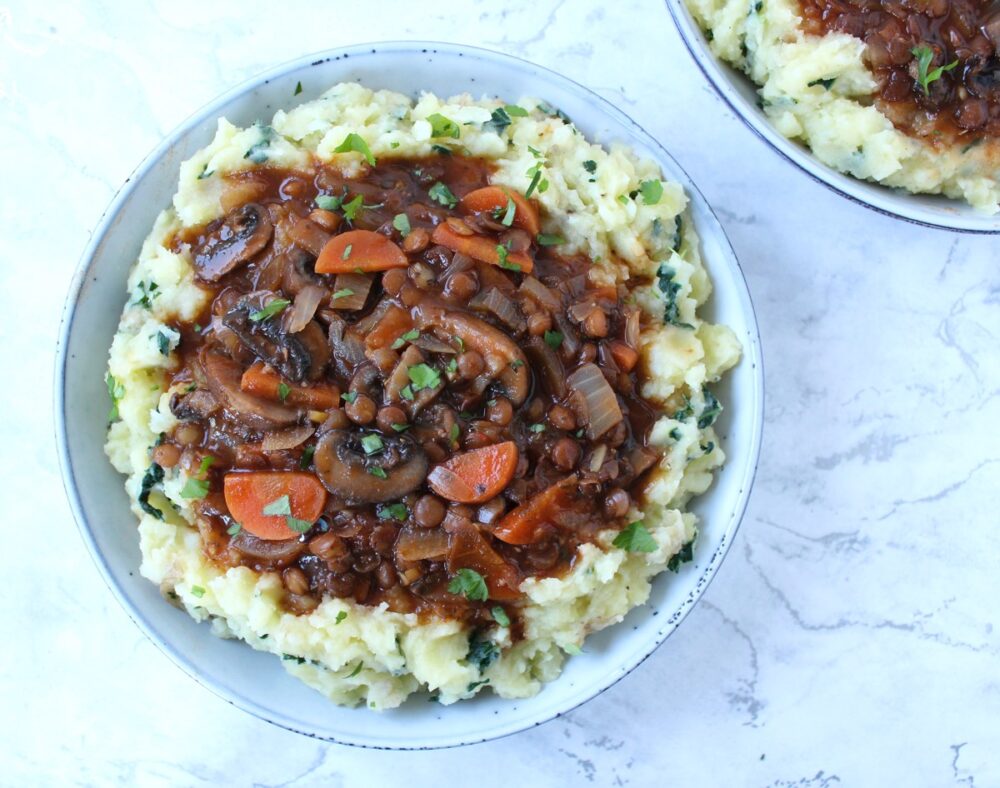
Today I’m sharing a delicious mushroom and lentil ragout that is hearty, warming and filling. It’s just perfect for serving on a chilly day! Rich in umami flavour, this plant-based ragout is simple to make and uses basic pantry ingredients. It is also super cheap too!

Mushroom Lentil Ragout
Continue reading “Mushroom and Lentil Ragout with Mashed Potatoes”

How To Roast Broccoli from Frozen

Jump to Recipe

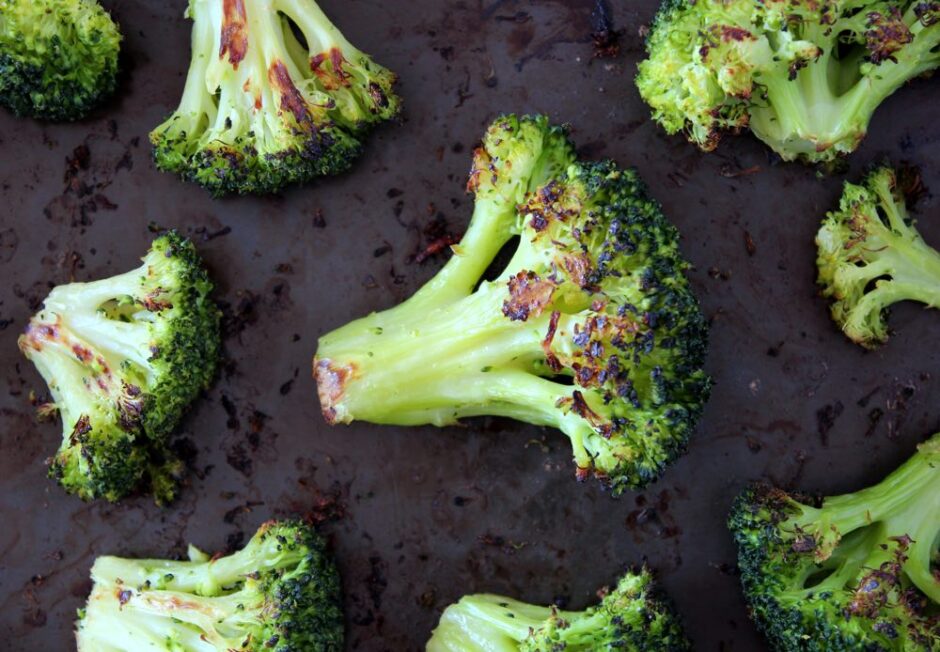
Hi everyone! In today’s post, I’m sharing a quick guide on how you can make the most delicious roasted broccoli from a bag of frozen florets. It’s tender, crisp round the edges and has a beautiful flavour, which is intensified with the lightest sprinkling of salt. 

Continue reading “How To Roast Broccoli from Frozen”