* This recipe was originally posted in March 2014. The page was updated in August 2019.
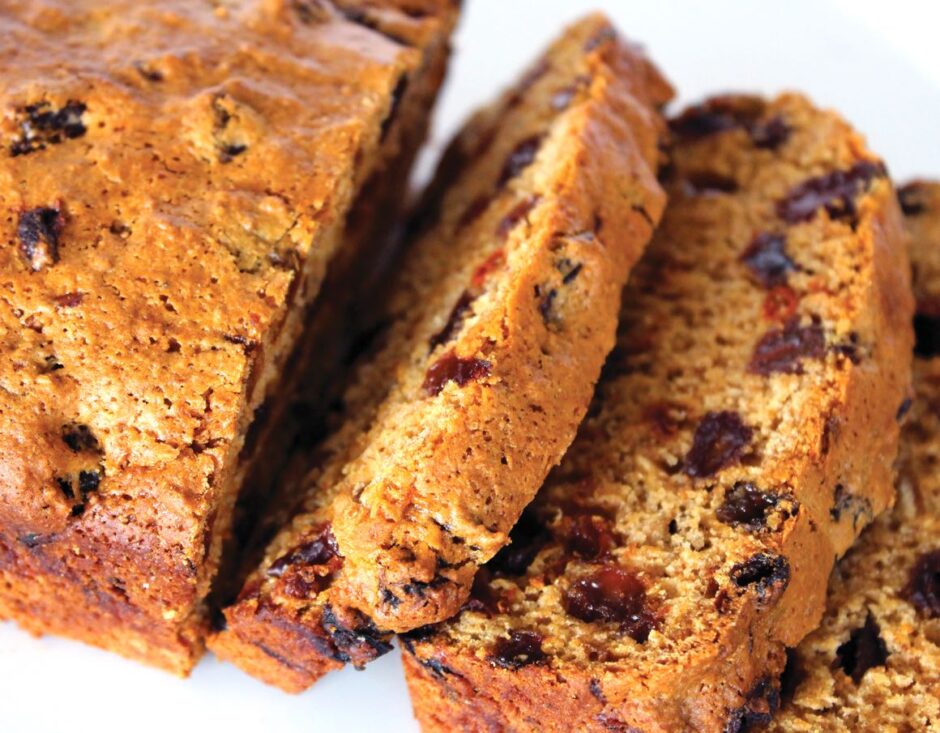
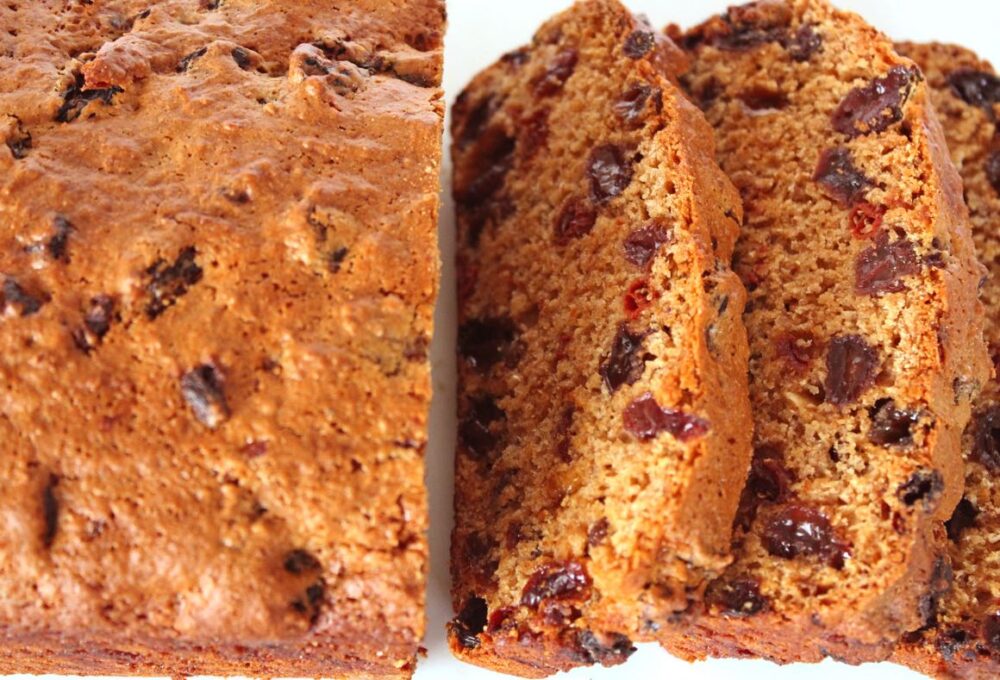
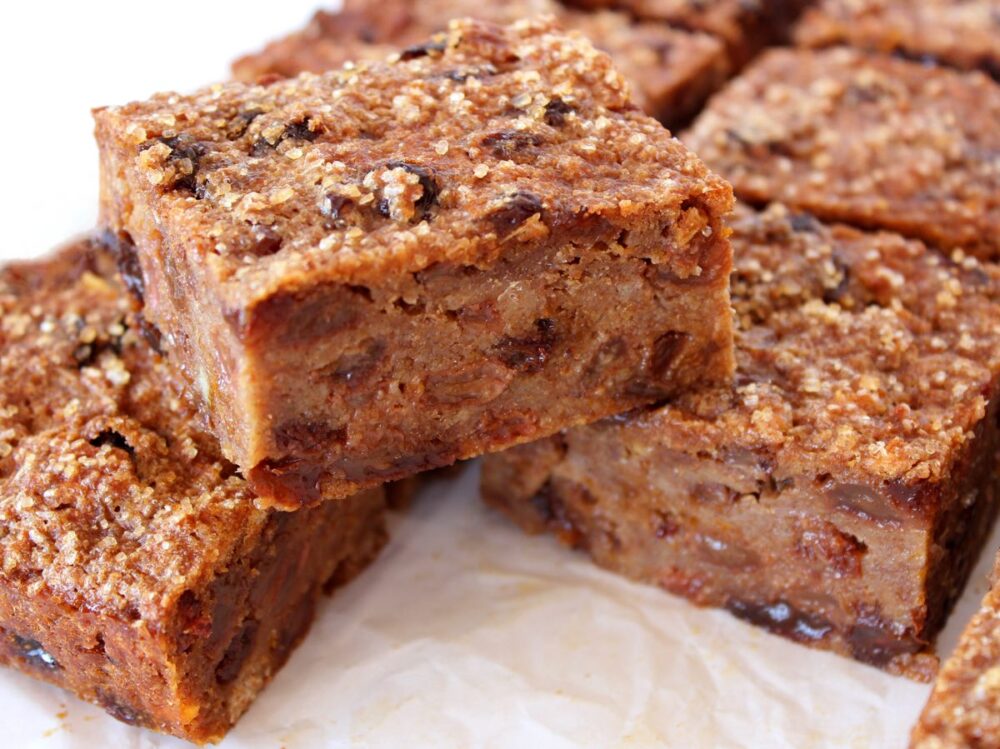
It might be old-fashioned, but tea loaf rocks! It’s perfect for serving for ‘elevenses’ or as a mid-afternoon ‘pick me up’ with a lovely cup of tea. It also makes a tasty after-school or travel snack. This is one of my all-time favourite treats for road trips!
I have my mum’s friend to thank for the recipe. I arrived at my mum’s house one day to discover this incredible smell wafting out of the kitchen. It turned out to be this tea loaf!
Back home, I couldn’t wait to have a try at making my own. The original recipe contained egg but I omitted the egg, tweaked the wet/dry ratio a little and it turned out absolutely fine. My family can’t actually tell the difference!
As cakes go, this tea loaf is pretty healthy. It’s filled with nutrient-rich dried fruits, whole grain flour, and it’s fat free!
It’s incredibly easy to make too. You simply soak the dried fruit in a cup of tea for a few hours, then mix all the ingredients together and bake.
Recipe Card
Prevent your screen from going dark
Old Fashioned English Tea Loaf
It might be old-fashioned, but tea loaf rocks! It's perfect for serving for 'elevenses' or as a mid-afternoon 'pick me up'. It also makes a delicious after-school and travel snack. It's incredibly easy to make. You simply soak the dried fruit in a cup of tea for a few hours, then mix all the ingredients together and bake.
113g/ ½ cup unrefined cane sugar(e.g. golden caster) or coconut sugar
1TBSPmarmalade or apricot jam
227g/ 1⅔ cups fine wholemeal (whole wheat pastry) or chapatti flour
2tspbaking powder
1tspground cinnamon or mixed spice
3TBSPwater
Instructions
Soak the dried fruit in the brewed tea for 4-5 hours (can be left overnight).
Grease a 2lb loaf pan and line the bottom with non-stick baking paper (or use a non-stick loaf liner).
Pre-heat the oven to 160C (160C for fan also) / 325F.
Tip the dried fruit and any remaining tea into a mixing bowl. Stir in the sugar and marmalade/jam. Sift in the flour, baking powder and spice. Add 3 TBSP water and stir until thoroughly combined.
Tip the mixture into the prepared tin and level the top.
Bake for 1¼ hours, or until a skewer inserted in the middle comes out clean. Leave to rest in the tin for 30 minutes or so, then transfer to a wire rack until completely cooled.
Stored in an airtight container, the loaf will keep for up to five days in the fridge. It also freezes well.
Notes
* I often use raisins, sultanas, goji berries, candied citrus peel.
If you make this Tea Loaf (or any other recipes on my blog), I’d love to hear your feedback and any suggestions for adaptations! Tag your photos with #bitofthegoodstuff on social media – I always love to see your creations! You can also connect with me on my social media channels here: Instagram, Facebook, Pinterest.
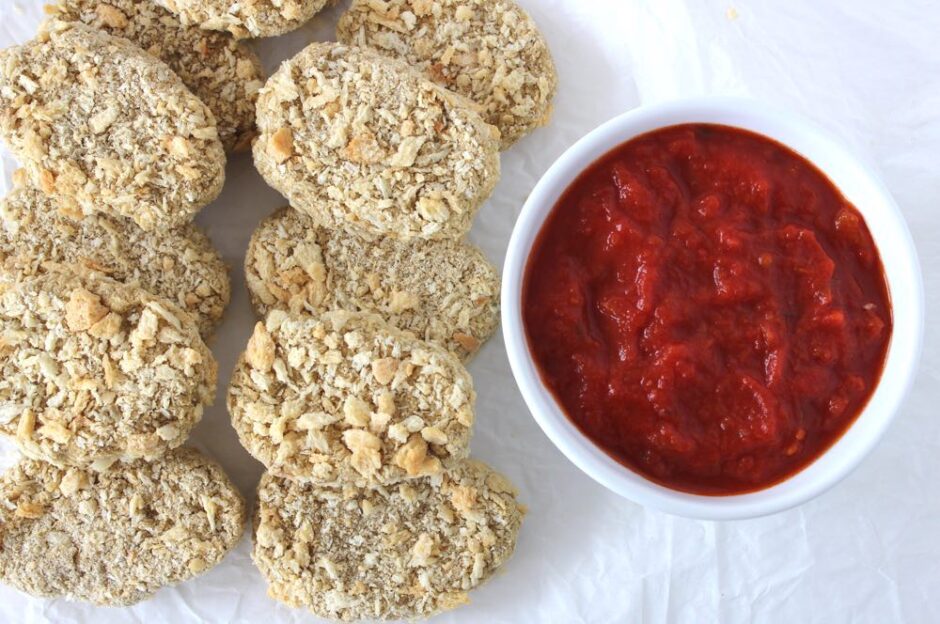
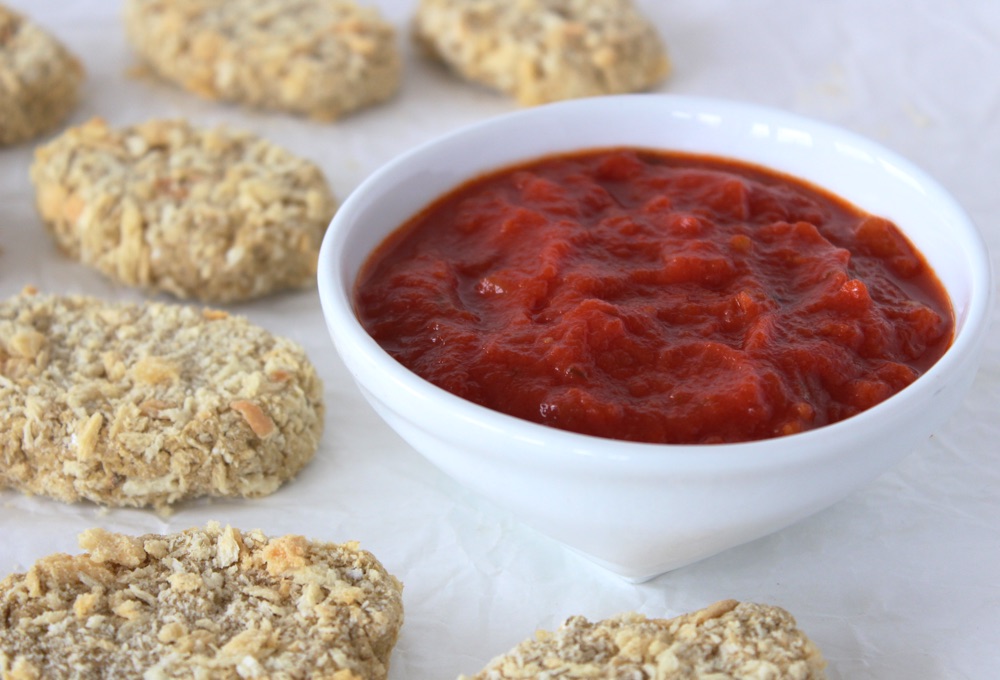
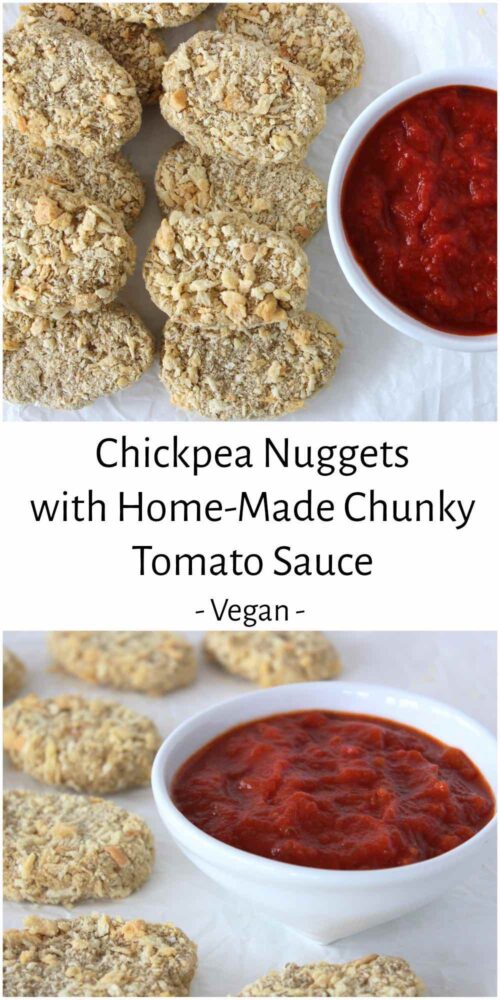
In today’s post, I’m sharing a recipe that caught my eye in this month’s Vegan Life magazine. These ‘Chickpea Nuggets’ have been a big hit with the family and we’ve made them multiple times in the past couple of weeks. They’re simple to prepare, packed full of nutritional goodness and budget-friendly too!
I had my first experience of vegan nuggets a couple of weeks ago at a fast food establishment in Valencia, Spain (yes, Valencia has vegan fast food joints! How cool is that?) The fast-food nuggets were okay, but the home-made variety win my vote. They just taste more like ‘real food’ to me. Plus they definitely make me feel better on the inside.
The main ingredients in these nuggets are oats and chickpeas. Both ingredients are packed full of nutrients including protein, complex carbs, dietary fibre, B vitamins, iron, zinc and magnesium.
The nuggets are great for dipping into all kinds of sauces. We love mayo, BBQ sauce, even hummus, but our current favourite has to be home-made chunky tomato sauce. I’ve posted the recipe below in case anyone else fancies trying it. I find it tastes much nicer than shop-bought tomato sauce (fresher and less processed) plus it’s rich in vitamin C, which helps our bodies absorb all the iron in the nuggets.
To make the outside of the nuggets nice and crispy, I used Panko breadcrumbs which can be found on the world food aisle in supermarkets (in the Japanese section). Onion powder is not currently available in UK supermarkets (such a shame as it’s really useful!) however you will find it in independent health food shops and online. (I buy mine in Harvest Coop in Bath).
Along with the onion powder, the nutritional yeast helps to give these nuggets a delicious, savoury flavour. I use the Marigold nutritional yeast flakes with added B12, available from the larger UK supermarkets, health food shops and online.
Recipe Card
Prevent your screen from going dark
Vegan Chickpea Nuggets
These nuggets are simple to make, packed full of nutritional goodness, budget-friendly and versatile! We love to serve them for lunch, as a healthy snack and as a main meal (alongside potato wedges, baked beans and a side salad). They are best served straight from the oven (when the outer coating is super crispy), however they can also be eaten cold and make a great addition to school and work lunchboxes.
400g/ 14 oz can chickpeasthoroughly drained (reserve the chickpea water aka ‘aquafaba’)
½tspgarlic powder or granules
1tsponion powder
½tspsalt
2TBSPnutritional yeast flakes
60ml/ ¼ cup 'aquafaba'(water from the chickpea can)
Chunky Tomato Sauce
400g/ 14 oz can Italian vine-ripened chopped tomatoes
2TBSPtomato puree (paste)
1TBSPextra virgin olive oil
1tspunrefined sugar
½tspsalt
1tspdried oregano
Instructions
To make the chickpea nuggets:
Heat oven to 190C (180C fan) / 365F.
Place the oats in a food processor and process into a flour.
Add the chickpeas to the food processor, along with the garlic powder, onion powder, nutritional yeast and salt. Pulse until crumbly. Add the aquafaba (chickpea water) and continue to process until the contents form a ball. If the mixture feels a little wet, add more oats.
Divide the mixture into 12 equal portions and shape into nuggets. Coat each nugget completely in the panko breadcrumbs and place on a baking tray lined with baking paper.
Bake for 15-20 minutes, or until firm. Serve with your favourite dip.
Any leftover nuggets can be stored in the fridge for up to five days.
To make the chunky Tomato Sauce
Place all the ingredients in a pan and bring to the boil. Reduce the heat and simmer for 15 minutes, or until the mixture has thickened slightly. Use a wooden spoon to break up any large chunks of tomato. Taste test and adjust the seasoning to suit.
Stored in an airtight container, this sauce will keep for five days in the fridge.
Notes
Recipe lightly adapted from Heather Lawless and Jen Mulqueen’s ‘Chicknuggets’ in The Chickpea Revolution, featured in the April 2018 edition of Vegan Life magazine.
Big thank you to Heather Lawless, Jen Mulqueen and Vegan Life magazine for the inspiration! This is definitely a recipe I’ll be making time and again.
And if you make these vegan nuggets, I’d love to hear your feedback and any suggestions for adaptations! Tag your photos with #bitofthegoodstuff on social media – I always love to see your creations! You can also connect with me on my social media channels here: Instagram, Facebook, Pinterest.
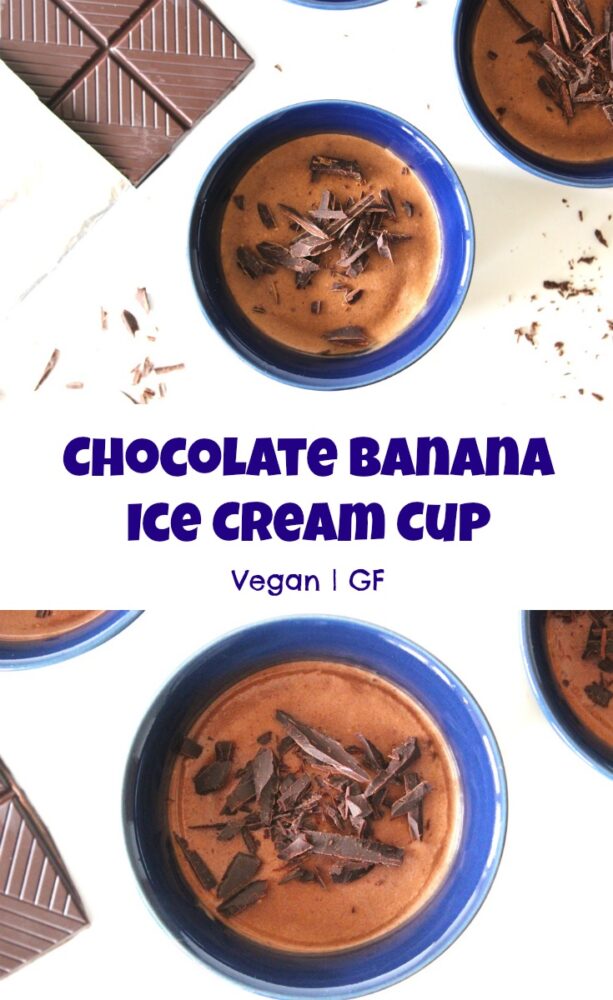
I love making chocolate banana ice cream! (aka ‘Nicecream’) It’s so simple and cheap to make (costing literally a few pence per serving), yet it feels like a real treat. It also happens to be packed full of healthy ingredients, including an array of minerals and antioxidant goodness.
I’ve been making banana ice cream for a few years now, and have learnt a few tricks along the way to make the process even quicker and easier. For example, I used to slice the bananas into discs and arrange them in single layers in freezer bags prior to freezing, however I’ve since discovered that whole bananas can easily be sliced from frozen using a sharp knife! These days, I simply pop whole bananas in the freezer stacked in plastic containers with a layer of parchment paper in between to stop them sticking together.
For ice cream desserts, I’ve also learnt to reduce the amount of milk that I add to the bananas so that it can be served instantly as soft-serve. When I’m in the mood for banana ice cream, the last thing I want to do is wait two hours for it to freeze.
For a more ‘grown up’ banana ice cream dessert, I love the idea of adding some strong coffee into the blend to create a mocha flavour. You could even serve it in an Espresso Cup to make it look extra fancy. If serving to children, however, it’s probably best to forego the coffee otherwise they may be up all night buzzing from the caffeine!
One of my personal favourite (kid-friendly) additions to banana ice cream is nut butters. Almond, hazelnut and peanut butters all add a gorgeous flavour as well as lending some extra creaminess to the blend.
Recipe Card
Prevent your screen from going dark
Chocolate Banana Ice Cream Cups
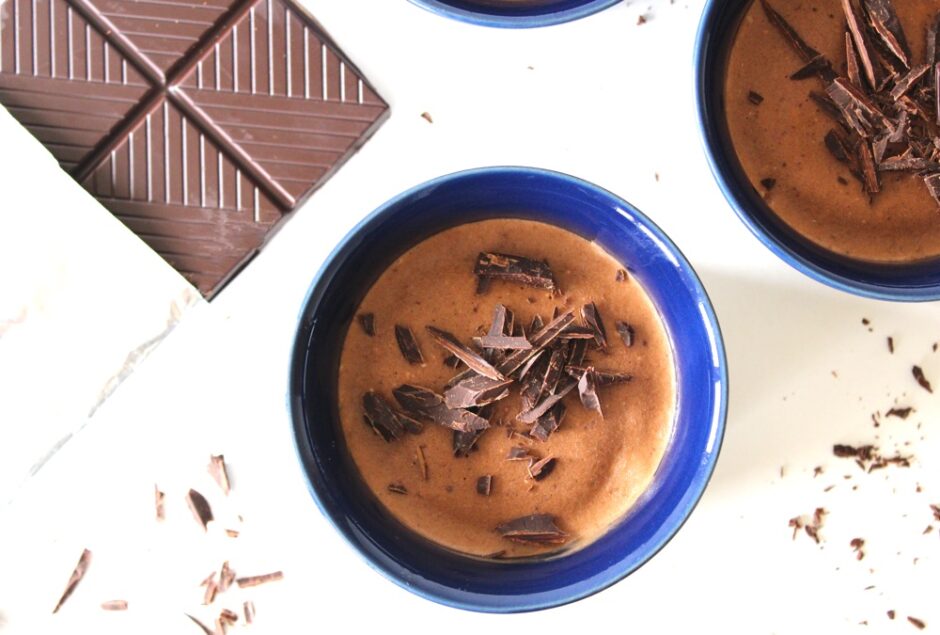
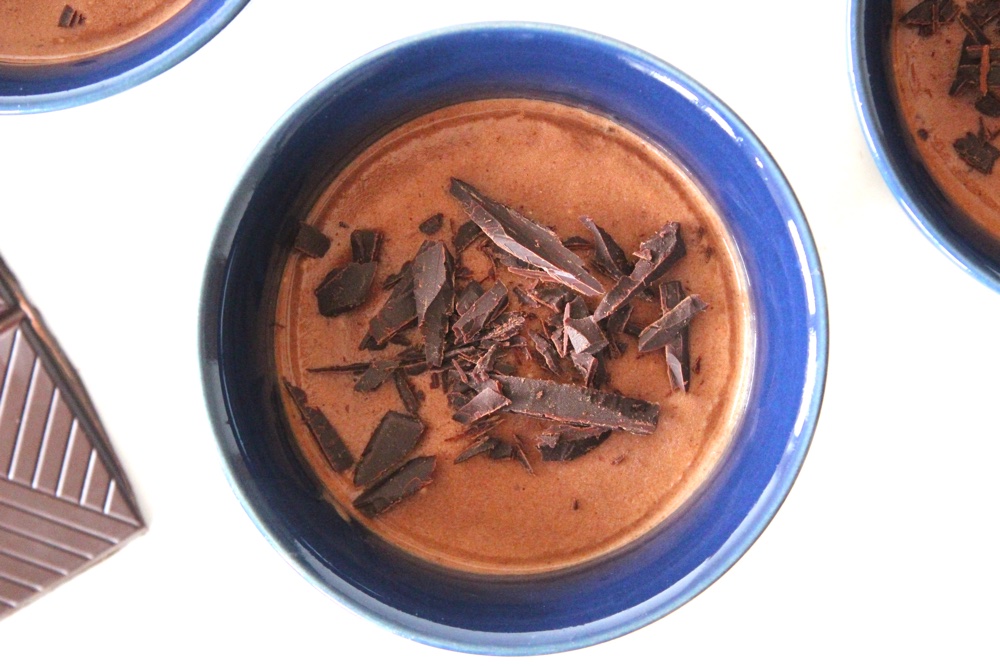
These chocolate banana ice cream cups are simple and cheap to make, yet they look and taste decadent. They contain lots of healthy goodness, including an array of minerals and antioxidants. Both kid- and adult-approved, these cups make a great dessert.
Whiz the bananas in a food processor to break them up. Add the remaining ingredients and blend for a couple of minutes until smooth. Stop now and then to scrape down the sides. For a while it may look like it’s not going to blend smooth but be patient, it will! Taste test and add a touch more sweetener, if desired.
Divide between four ramekins. Decorate with dark chocolate. Serve immediately as soft serve, or place in the freezer to firm up. If left for two hours or more, the ice cream will freeze solid so leave at room temperature for 15 minutes before serving to allow it time to soften.
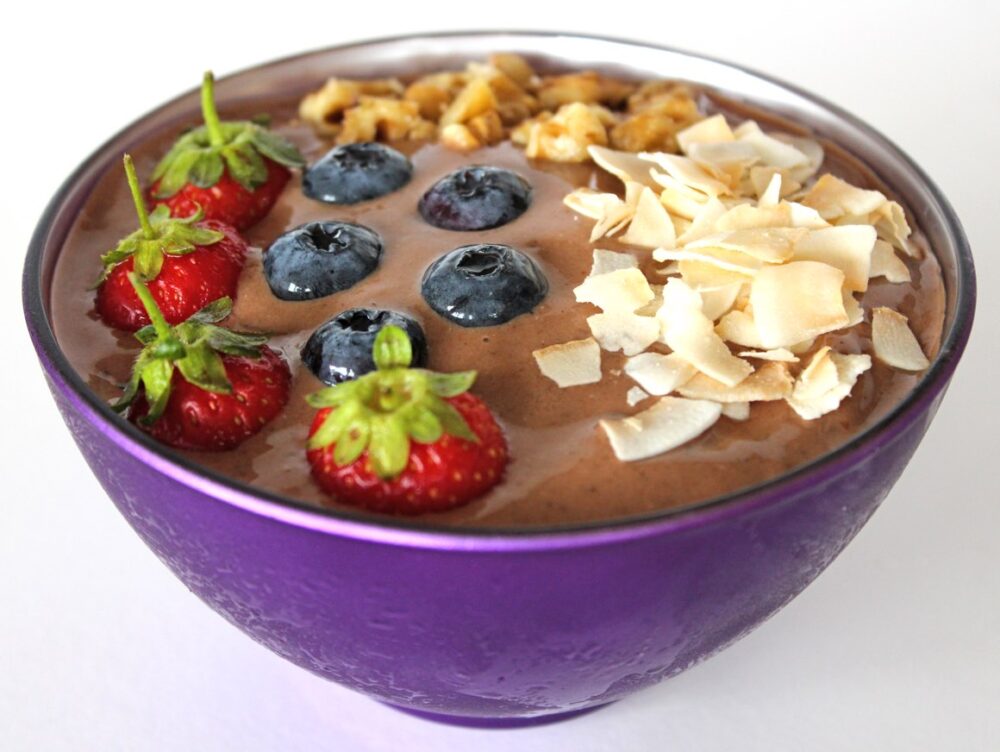
As well as banana ice cream for dessert, I love eating it for breakfast too! You’ll find one of my all-time favourite ice cream breakfast bowls – banana, mango, cinnamon and chia – on page 33 of the Bit of the Good Stuff cookbook. I’ve made this bowl so many times already this summer! I find it’s the perfect cool-down breakfast after a hot morning run.
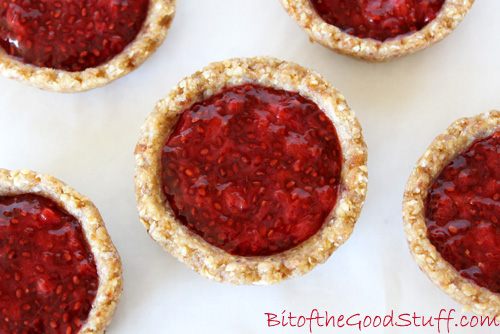
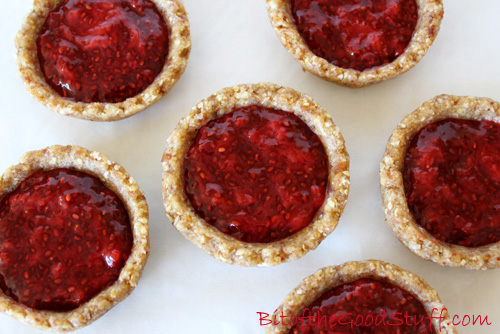
These No Bake Strawberry Tarts are a deliciously healthy treat – light, fresh, and bursting with summer berry flavour. Featuring a quick homemade chia jam and a nutrient-rich oat and nut crust, they make the perfect no-fuss snack or dessert on warmer days.
But before we dive into the recipe, there’s a special moment I’d love to share — one I’d been quietly dreaming about for years…
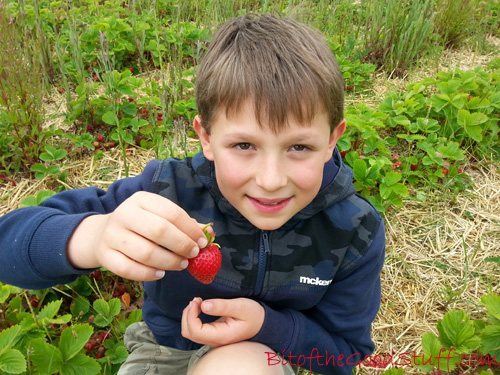
Until fairly recently, neither for love nor money could Lil’ L be encouraged to eat strawberries. Sadly, along with all other berries, as well as oranges, plums and grapes, strawberries fell in his ‘too squishy’ camp. On the odd occasion that he did actually attempt to eat one, he’d end up gagging with tears streaming down his face. It was so torturous to watch. He did like the flavour of berries though and would happily drink them in smoothies. So as long as he was consuming berries in some shape or form, I didn’t really mind.
Still, I quietly held onto the dream of one day going berry picking with my son… though, over time, I’d started to pretty much give up on the idea.
THEN, everything changed this Easter, during our trip to Spain. The supermarkets were overflowing with crates of the most beautiful strawberries — big, deeply red, and incredibly fragrant. We couldn’t resist picking up a crate (just €3!) and, to my surprise, Lil’ L offered to carry it. I could see him eyeing up the strawberries. They were that inviting.
He took a tentative bite… and lo and behold — no gagging! He then proceeded to eat another five. You can imagine my joy. Finally, at the age of 11, he’d moved on from loathing to loving strawberries.
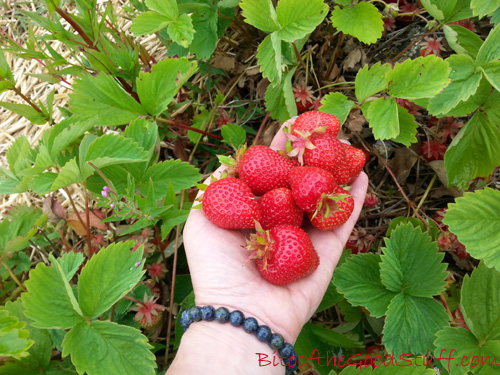
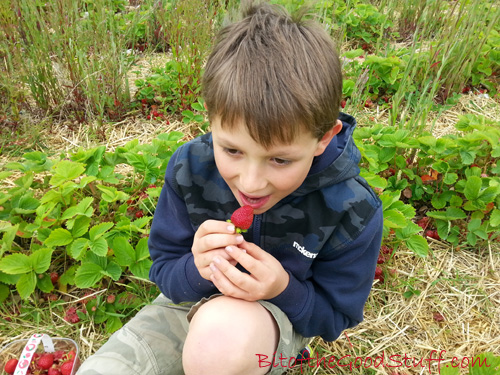
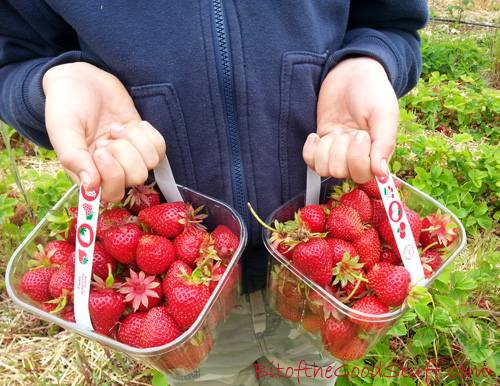
Back home, with strawberry season in full swing, we headed off to a local pick-your-own farm. Watching Lil’ L search for ‘the perfect strawberry’ with such delight was pure joy. He’s since mentioned more than once how much he loved that outing — proof that some things really are worth the wait.
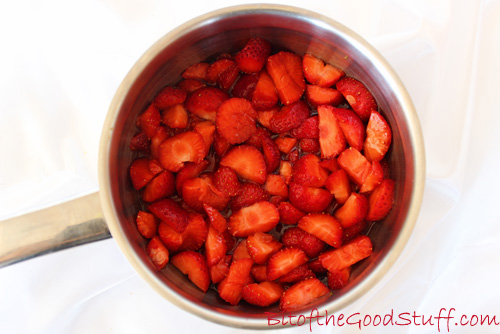
The strawberries were so sweet and juicy that we ate them by the handful. To avoid waste, I also froze a bunch for ice creams and smoothies, and made a few batches of my favourite chia jam.
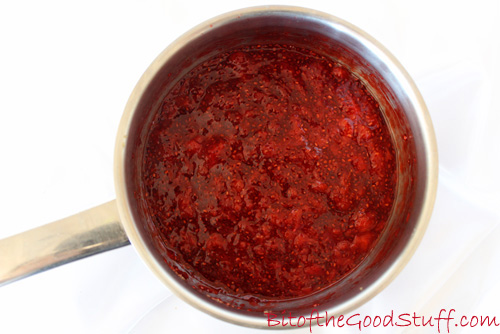
If you’ve never tried chia jam before, you’re in for a treat. It’s so simple to make and tastes incredibly fresh — nothing like the overly sweet store-bought jams. I first came across the idea on Angela Liddon’s Oh She Glowsblog back in 2010 and have been hooked ever since.
This strawberry chia jam takes just a few minutes to prepare, keeps for up to a week in the fridge, and is delicious spread on toast or scones, swirled into yogurt, or used as a tart filling…
Introducing… No Bake Strawberry Tarts
These little tarts are one of our favourite ways to enjoy the jam. With last week’s mini heatwave, I was in no mood to turn on the oven, so these no bake tarts were just the ticket. They’re cool, light, and packed with feel-good ingredients.
Lil’ L and M have been enjoying them as post-school/work snacks, while I’ve found them to be the perfect post-dinner ‘treat’ — indulgent enough to satisfy cravings, yet healthy enough to feel good about.
The oat, nut, and date base is inspired by my Pina Colada ‘Cheese’ Cake crust. It’s naturally sweet, packed with fibre and healthy fats, and gently spiced with vanilla and coconut. While it’s softer than a traditional pastry, it holds together beautifully and pairs perfectly with the jam.
Ready to make them? Let’s go!
Recipe Card
Prevent your screen from going dark
No Bake Strawberry Tarts (Dairy-Free | Egg-Free | Vegan)
These No Bake Strawberry Tarts are a deliciously healthy treat – light, fresh, and bursting with summer berry flavour. Featuring a quick homemade chia jam and a nutrient-rich nut and oat crust, they’re the perfect no-fuss snack or dessert for warm days.
50g/ ½ cup rolled oatsuse certified gluten free, if needed
40g/ ¼ cup raw cashews
30g/ ¼ cup walnutsor pecans
100g/ ½ cup soft sticky pitted dates (e.g. Medjool)
1tspmaple syrupor other liquid sweetener
½tspvanilla extract
pinchof salt
22g/ ¼ cup desiccated coconut
Instructions
Prepare the jam: Gently cook the strawberries, syrup and lemon juice until the berries start to break down. Stir in the chia seeds. Bring to the boil then reduce the heat and simmer for 20 minutes, until the jam has started to thicken. Give it a stir now and then with a wooden spoon and mash the berries to break them down. Remove from the heat and stir in the vanilla extract. Transfer to a glass jar, leave to cool then add a lid and place in the fridge. The jam will thicken up as it chills.
While the jam is simmering, prepare the tart shells. Loosely line a shallow tart/mince pie tray with cling film (plastic wrap).* Place the oats and nuts in a food processor and blitz into crumbs. Add the dates, maple syrup, vanilla extract and salt and continue processing until the mixture starts to come together. Add the desiccated coconut and whizz for a few more seconds. The mixture should easily stay together when you press it. If it’s still crumbly, keep processing until it sticks together.
Press the crumbs together to form a dough ball. Place between two pieces of baking paper (or use a large silicone pastry mat folded over) and roll out to a thickness of ½ cm / ⅕ inch. Press out using a 6 cm / 2½ inch pastry cutter and place in the lined tart tray. Repeat until all the dough is used up, re-rolling as needed. Chill in the fridge until the jam is ready. When the jam is completely chilled, spoon it into the tart shells and serve.
These tarts will keep in the fridge for up to a week.
Notes
*If you don’t have a shallow tart tray, you can shape the tart shells by hand or by moulding them round one end of a rolling pin.
Keyword Dairy-Free, Egg-Free, Gluten-Free Option, No Bake Tart, Strawberry, Vegan Treats
If you make these No Bake Strawberry Tarts, I’d love to hear your feedback and any suggestions for adaptations. Leave a comment below or tag your photos with #bitofthegoodstuff on social media – I always love to see your creations! You can also connect with me on my social media channels here: Instagram, Facebook, Pinterest.
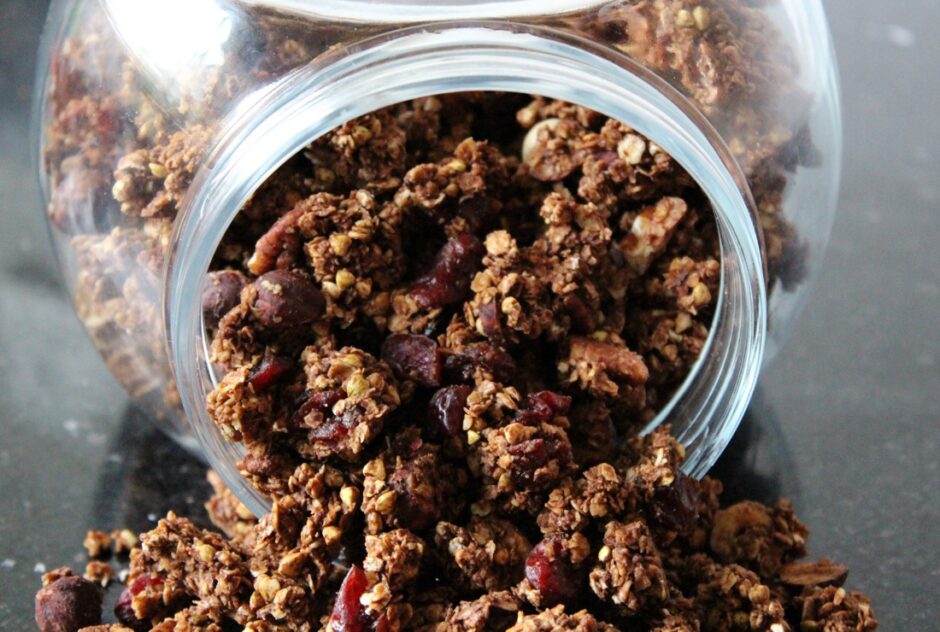
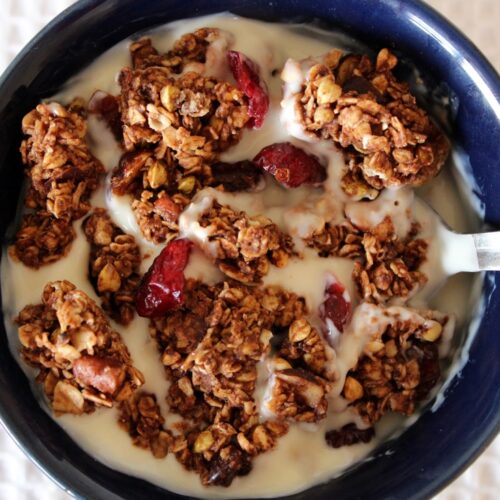
Today, I’d like to share another of my family’s favourite granola recipes. Filled with hazelnuts, pecans, cranberries and chocolatey goodness, this granola is perfect for this season.
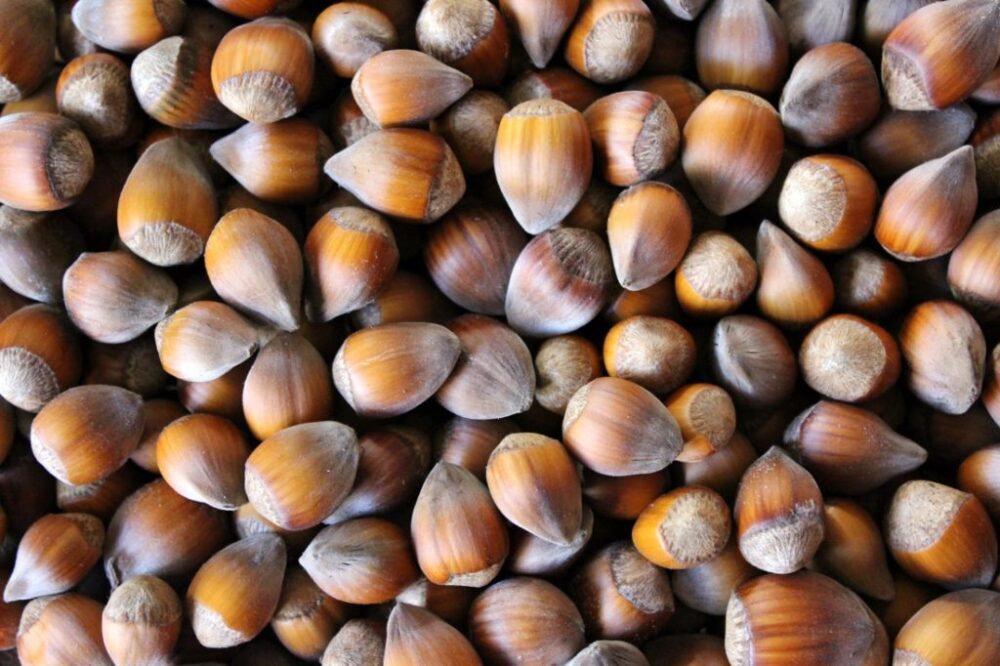
My garden is bordered by cob nut trees, and this year they produced the most amazing crop. I made a deal with the squirrels whereby I would collect nuts from the low hanging branches, and they could have the rest. They then got to work, burying nuts all over my lawn and flower beds, and in my plant pots. Invariably they forget where they’ve buried them and we end up with nut trees growing literally everywhere!
Once they’ve matured, cob nuts are very similar in taste and texture to hazelnuts, so I put them to good use in recipes, like this granola!
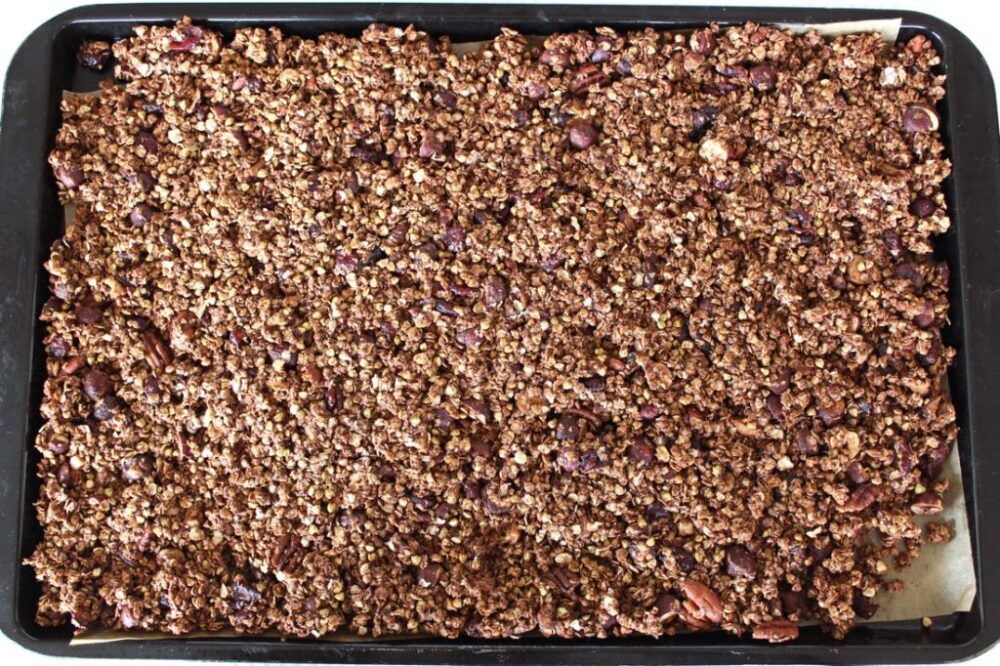
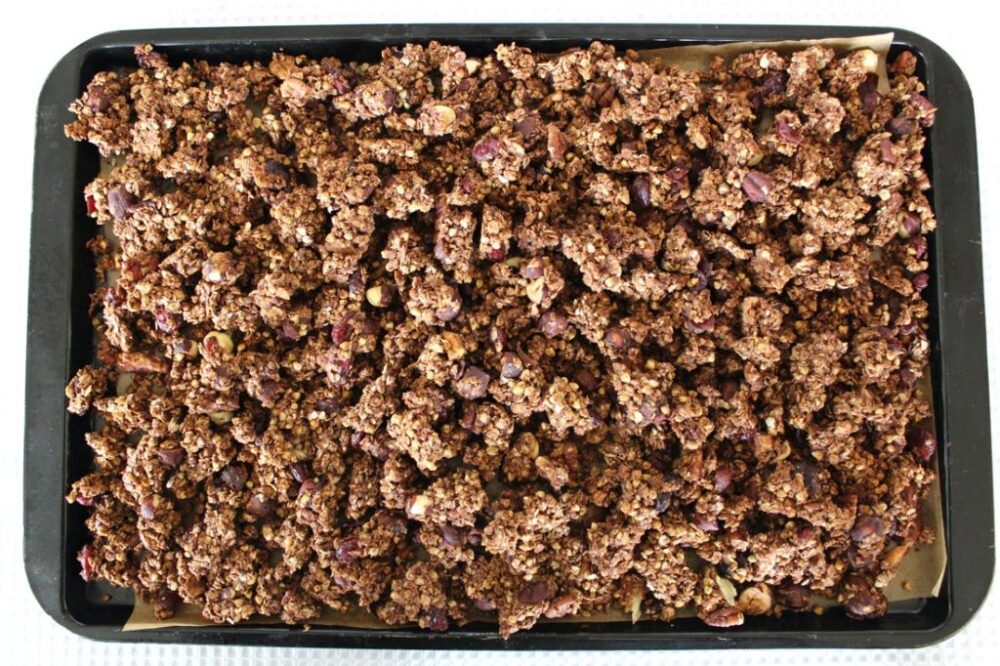
As I’ve mentioned in previous posts, Lil’ L loves home-made granola, especially when it’s formed into clusters. It’s so easy to make. You simple press down the mixture as if you’re making a thin granola bar then, once completely cooled, you break it into clusters.
As well as oats, I Iove to add buckwheat into the granola which adds some lovely crunch as well as more great nutrients. The name ‘buckwheat’ is pretty misleading as it’s actually a fruit seed and doesn’t contain any wheat at all! It is a good source of protein, dietary fibre, antioxidant phytonutrients, B vitamins and minerals. In the UK, buckwheat is currently available in some of the larger supermarkets (Tesco, Waitrose, Ocado), health food stores and online.
Our favourite sweetener for granola is maple syrup. This adds a delicious caramel-like sweetness, rather than a ‘sugary’ flavour. I use Clarks Original Maple Syrup, which is a blend of maple and carob syrups. It’s widely available in the UK, and a fair bit cheaper than pure maple syrup. I really like its flavour and consistency, which is slightly thicker than the pure grade syrup.
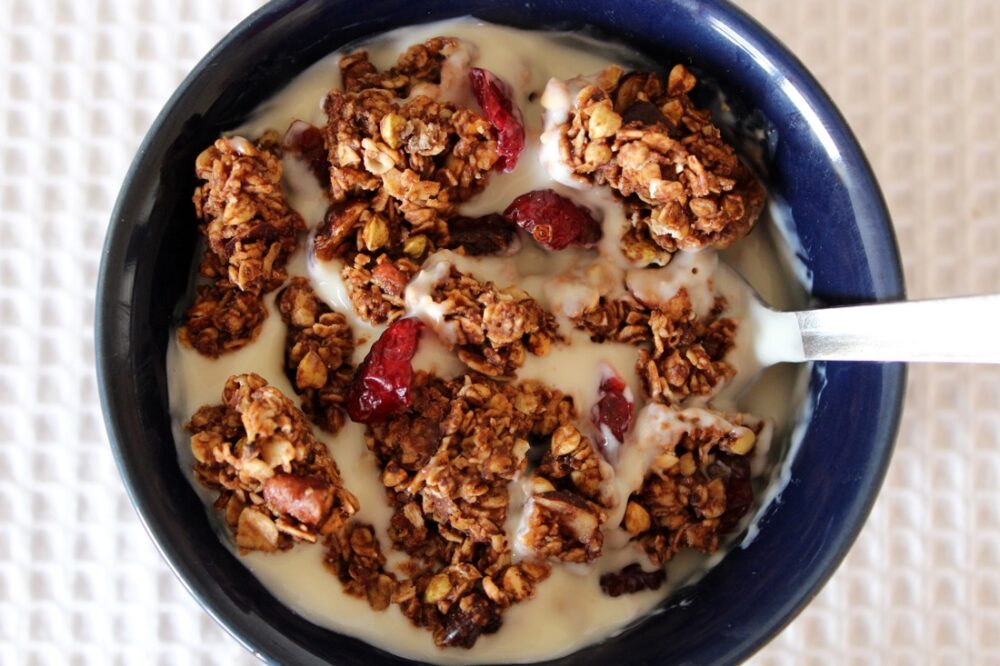
These granola clusters make wonderful breakfasts, snacks and desserts. For breakfast, we like to serve them with plant milk or non-dairy yogurt. For an omega-3 boost, I often add a light sprinkling of ground linseed and finely chopped walnuts before serving. I also sprinkle in a few extra cranberries to brighten up the bowl.
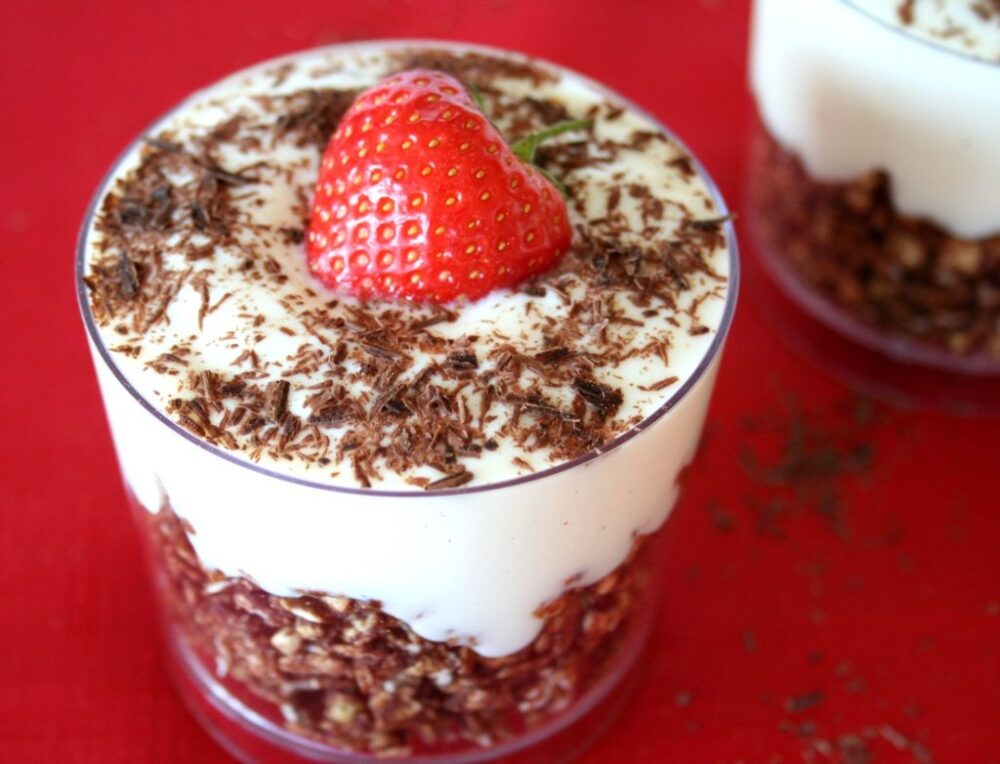
Layered with yogurt and fresh or frozen fruits, the clusters also make a delicious dessert or after-school snack. They look really fancy yet take literally seconds to throw together!
Recipe Card
Prevent your screen from going dark
Chocolate Granola Clusters with Hazelnuts, Pecans and Dried Cranberries
These granola clusters make a wonderful breakfast, snack or dessert. For a fancy treat, layer up the granola with yogurt and fruits to make a parfait. Despite taking only seconds to prepare, it looks really beautiful and is bound to impress family and friends!
100g/ ½ cup raw buckwheat(or you can substitute with more oats)
30g/ 4 TBSP cocoa powder
30g/ 3 TBSP coconut sugar or unrefined caster sugar
¼tspsalt
75g/ ½ cup hazelnutsroughly chopped
65g/ ½ cup pecansroughly chopped
70g/ ½ cup dried cranberries(preferably sweetened with fruit juice)
150ml/ ½ cup maple syrup*
2tspvanilla extract
45g/ 3 TBSP virgin coconut oilmelted
Instructions
Preheat the oven to 150C (130C fan) / 300F. Line a large baking tray (38 x 26cm / 15 x 10 inches) with non-stick baking paper. If your coconut oil is solid, place in the oven in a heat-proof bowl for a couple of minutes until it has liquefied. Be careful when removing the bowl as it will be very hot!
In a large mixing bowl, stir together the oats, buckwheat, cocoa powder, sugar and salt. Stir in the nuts. You can also stir in the cranberries at this stage or, if you'd like to preserve their vibrant colour, add them to the granola once it's baked.
Pour in the maple syrup and vanilla extract, and stir until all the grains become coated and shiny. Add the coconut oil and stir until thoroughly combined. Spread the granola out evenly on the prepared baking tray. Press down firmly with a silicone spatula so that the mixture sticks together as if you were making a thin granola bar.
Bake for 40 minutes. Remove from the oven and leave to cool. (The granola will firm up as it cools). Once completely cooled, break up the granola. The clusters from the centre of the tray may still feel a little soft when fresh baked but I find they firm up and become crunchy over time. Stored in an airtight container in a cool place, the granola will last for weeks.
Notes
*I use Clark’s Original Maple Syrup which is blended with carob fruit syrup. It’s much cheaper than pure maple syrup and I really like its flavour!
If you make this granola, I’d love to hear your feedback and any suggestions for adaptations! Tag your photos with #bitofthegoodstuff on social media – I always love to see your creations! You can also connect with me on my social media channels here:Instagram, Facebook, Pinterest.
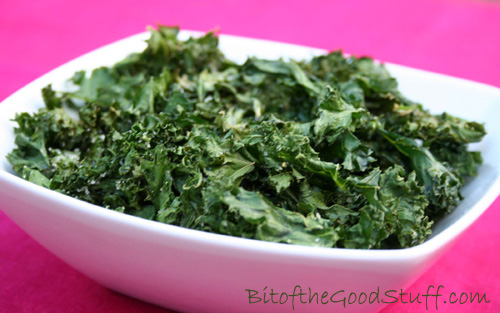
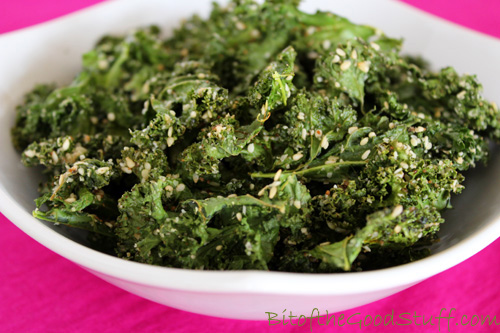
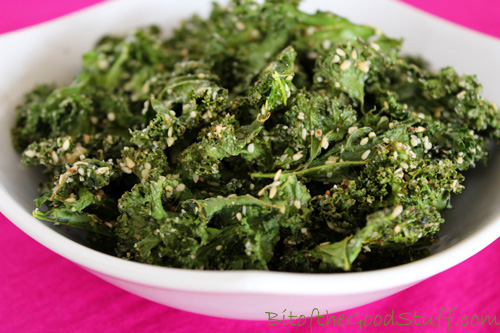
Looking for a healthy, kid-approved snack that’s packed with flavour and crunch? These crispy kale chips are oven-baked to perfection and sprinkled with homemade gomasio – a traditional Japanese seasoning made with toasted sesame seeds and salt.
They’re a long-time favourite in our house. In fact, this was one of the very first recipes I ever shared on the blog, way back in 2011, and it’s still one of my go-to snacks today.
While a lot of health food bloggers are currently enjoying raw kale salads or kale smoothies, my taste buds aren’t quite there yet. I do, however, LOVE crispy kale and will happily munch my way through handfuls of the stuff. And I’m not the only one!
Crispy kale is also one of the best ways I’ve found to encourage Lil’ L to eat kale. I often put a bowl out as a starter or as a side dish and, before I even get to sit down at the table, the whole lot will have been demolished!
🌿 The Secret to Perfect Crispy Kale
Over the past three years, I’ve been fine-tuning my method for making crispy kale, to avoid the common pitfalls of burnt or soggy kale. The trick is to roast it low and slow. I started out baking it at 180°C, but the edges would burn before the centres crisped up. I now roast it at 150°C (130°C in a fan oven), which gives beautifully even, crispy leaves with no bitterness.
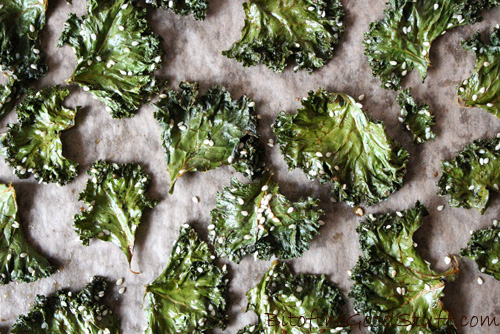
Another tip: let the kale dry thoroughly before baking – a salad spinner works wonders here. And make sure the leaves aren’t overlapping on the baking tray or they’ll steam instead of crisping up.
Stored in an airtight container, the kale stays crispy for days (not that we ever have leftovers!)
What is Gomasio?
My favourite way of serving crispy kale is with a sprinkling of gosmasio, a traditional Japanese seasoning made from toasted sesame seeds and sea salt. It adds a rich, nutty flavour and just the right amount of saltiness.
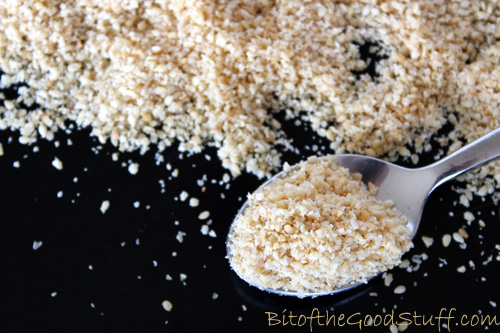
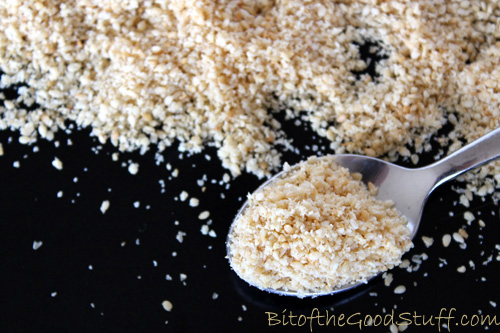
You can find gomasio in health food stores, but it’s so easy – and more affordable – to make at home. I like to grind the sesame seeds slightly, which helps them stick to the kale and also intensifies their flavour. I keep the salt content low so I can sprinkle liberally without overpowering the dish.
Recipe Card
Prevent your screen from going dark
Crispy Kale (aka Kale Chips)
These oven-baked kale chips are light, crispy, and seriously moreish! They make a healthy, delicious snack, appetiser, side dish, or lunchbox filler. We love to flavour them 'sweet and salty' and with a generous sprinkling of gomasio, but feel free to customise with your favourite spice blends.
Course Appetizer, Healthy Snack, Lunchbox, Side Dish
Cuisine Japanese-Inspired, Vegan
Servings 3
Ingredients
4large handfuls curly kale (about 100g)thick stalks removed
½– 1 tbsp coconut sugar or golden caster (unrefined cane) sugar
¼tspsalt
½tbspolive oil
3tbspgomasio (see below for recipe) or sesame seeds
Instructions
Preheat the oven to 150°C (130°C fan) / 300°F. Line two large baking trays with non-stick baking paper.
Wash the kale and tear into large bite-size pieces (it will shrink as it cooks). Use a salad spinner (or kitchen paper) to dry thoroughly. Place in a large bowl and give it a final dab with kitchen paper.
Sprinkle over the sugar, salt, oil, and gomasio. Massage everything into the kale leaves until evenly coated.
Spread the kale out on the prepared trays in a single layer, ensuring the leaves don’t overlap (otherwise they will steam rather than roast). You may need to bake in two batches.
Bake for 14 minutes, then check for crispness. If needed, continue baking, checking every 2 minutes.
Crispy kale is most delicious eaten warm, straight from the oven. However, it can be stored in an airtight container where it will keep for up to a week.
Keyword baked kale chips, crispy kale, healthy vegan snack, kale chips, kid friendly vegan snack, oven baked kale
Easy to make at home with just two ingredients, gomasio is a traditional Japanese seasoning made with toasted sesame seeds and sea salt. It adds a nutty, savoury boost to dishes like stir-fries, rice bowls, noodles, and crispy kale. Vegan, gluten-free.
Toast the sesame seeds in a dry frying pan (skillet) over medium heat, stirring continuously until golden and fragrant.
Transfer to a plate to cool.
Once cool, grind with the salt using a mortar and pestle or coffee/spice grinder. If using an electric grinder, pulse just once or twice – too much and you’ll end up with sesame paste!
Store in an airtight container in the fridge, where it will keep for several weeks.
Do you make crispy kale at home? Have you tried flavouring it with Chinese, Indian, or Mexican spice blends? I’d love to hear your favourite combinations in the comments below!