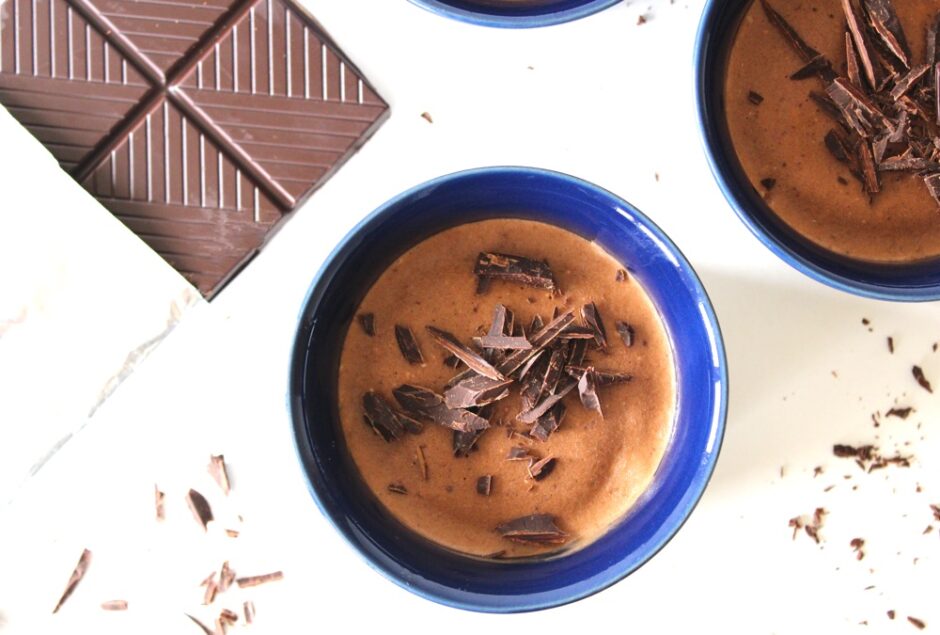
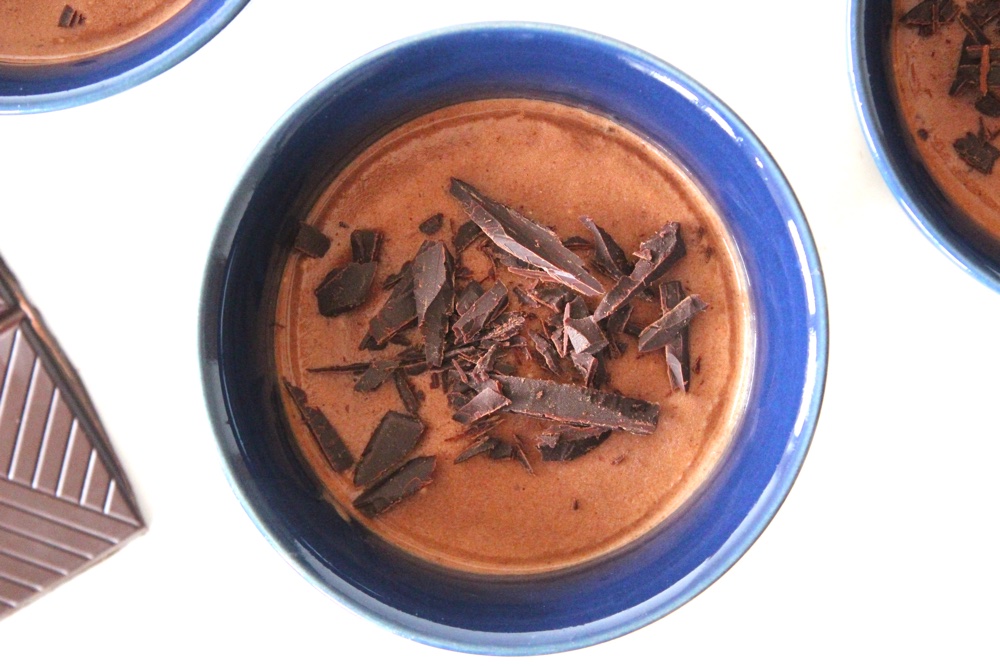
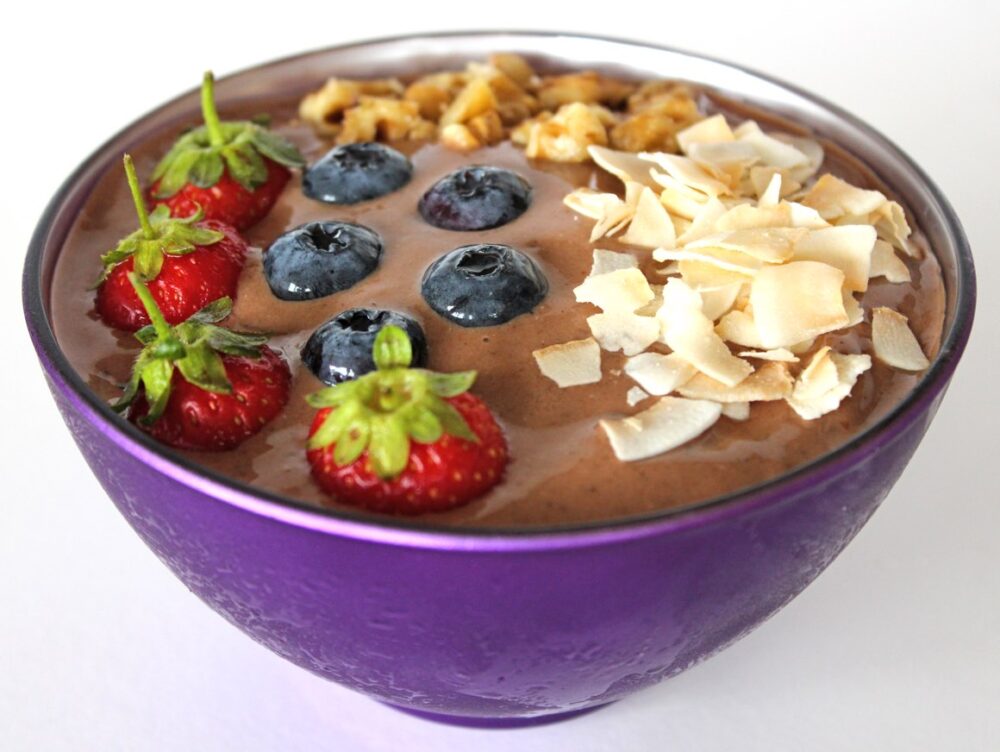
I love making chocolate banana ice cream! (aka ‘Nicecream’) It’s so simple and cheap to make (costing literally a few pence per serving), yet it feels like a real treat. It also happens to be packed full of healthy ingredients, including an array of minerals and antioxidant goodness.
I’ve been making banana ice cream for a few years now, and have learnt a few tricks along the way to make the process even quicker and easier. For example, I used to slice the bananas into discs and arrange them in single layers in freezer bags prior to freezing, however I’ve since discovered that whole bananas can easily be sliced from frozen using a sharp knife! These days, I simply pop whole bananas in the freezer stacked in plastic containers with a layer of parchment paper in between to stop them sticking together.
For ice cream desserts, I’ve also learnt to reduce the amount of milk that I add to the bananas so that it can be served instantly as soft-serve. When I’m in the mood for banana ice cream, the last thing I want to do is wait two hours for it to freeze.
For a more ‘grown up’ banana ice cream dessert, I love the idea of adding some strong coffee into the blend to create a mocha flavour. You could even serve it in an Espresso Cup to make it look extra fancy. If serving to children, however, it’s probably best to forego the coffee otherwise they may be up all night buzzing from the caffeine!
One of my personal favourite (kid-friendly) additions to banana ice cream is nut butters. Almond, hazelnut and peanut butters all add a gorgeous flavour as well as lending some extra creaminess to the blend.
Recipe Card
Prevent your screen from going dark
Chocolate Banana Ice Cream Cups
These chocolate banana ice cream cups are simple and cheap to make, yet they look and taste decadent. They contain lots of healthy goodness, including an array of minerals and antioxidants. Both kid- and adult-approved, these cups make a great dessert.
Whiz the bananas in a food processor to break them up. Add the remaining ingredients and blend for a couple of minutes until smooth. Stop now and then to scrape down the sides. For a while it may look like it’s not going to blend smooth but be patient, it will! Taste test and add a touch more sweetener, if desired.
Divide between four ramekins. Decorate with dark chocolate. Serve immediately as soft serve, or place in the freezer to firm up. If left for two hours or more, the ice cream will freeze solid so leave at room temperature for 15 minutes before serving to allow it time to soften.
As well as banana ice cream for dessert, I love eating it for breakfast too! You’ll find one of my all-time favourite ice cream breakfast bowls – banana, mango, cinnamon and chia – on page 33 of the Bit of the Good Stuff cookbook. I’ve made this bowl so many times already this summer! I find it’s the perfect cool-down breakfast after a hot morning run.
If you’re looking for a sweet treat that feels indulgent yet nourishes you from the inside out, this Blueberry Vanilla Chia Pudding is just the thing. It’s one of our family favourites—simple to make, beautifully creamy, and bursting with vibrant flavour. We often enjoy it as a weekday dessert, but it’s wholesome and filling enough to serve for breakfast too. What better way to start the day than with something this delicious?
This recipe features in the ‘Breakfast and Elevenses’ chapter of the Bit of the Good Stuff cookbook, and it’s one we come back to time and again. Since the book’s launch four months ago, I’ve been incredibly touched by the response. Your kind messages, glowing reviews, and word-of-mouth recommendations have truly blown me away!
We’ve even received multiple repeat orders—some readers are already on their third copy! It’s so heartening to see the book being shared with friends, family, and colleagues. One lovely reader took her copy into work, and after it made the rounds in her office, four more orders came in. Stories like this absolutely make my day. Thank you so much for spreading the word and sharing a Bit of the Good Stuff with those around you ❤️
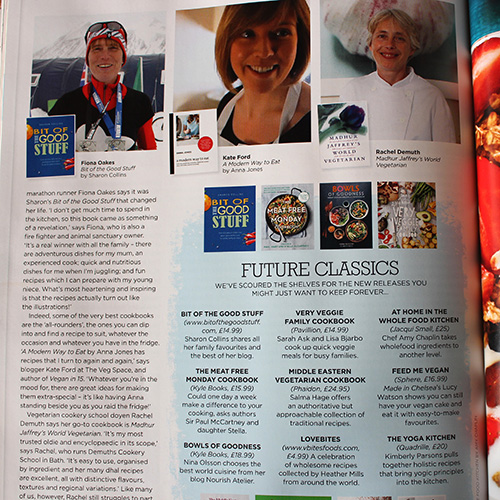
The book’s also been receiving some wonderful press, both nationally and locally. One of the most exciting moments so far was seeing Bit of the Good Stuff featured in the April 2017 issue of Vegetarian Living magazine. Not only was the book named in their roundup of Future Classics – New Releases You Might Just Want to Keep Forever, but one of my personal heroes—ultramarathon runner and animal sanctuary founder Fiona Oakes—chose it as her favourite cookbook. What an incredible honour!
But back to today’s recipe…
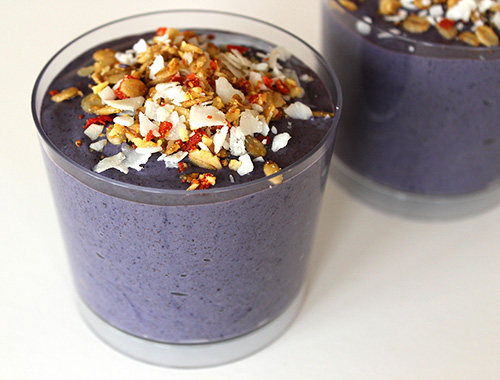
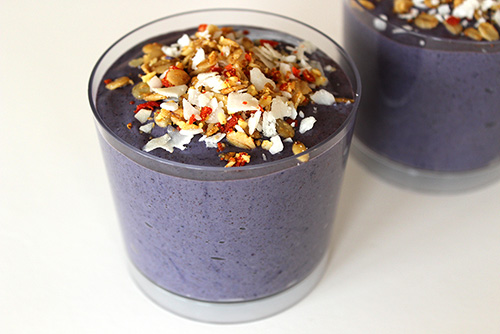
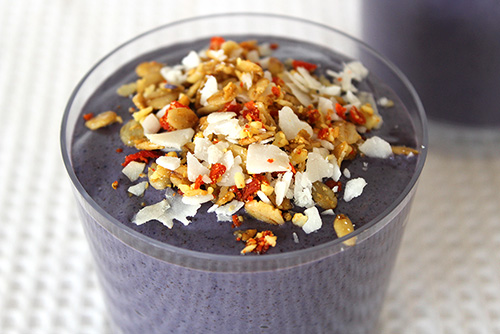
This Blueberry Vanilla Chia Pudding is as nourishing as it is pretty. It’s packed with plant-based goodness, including omega-3s from the chia seeds, and antioxidants from the blueberries.
I love to add a spoonful of ‘Goji Nut Sprinkles’ on top for a pop of colour, crunch, and extra nutrients. The combination of chewy berries and toasted nuts adds such a lovely contrast to the soft, creamy pudding.
This recipe is so simple to prepare. It’s perfect for busy weekdays when you want something quick, healthy, and satisfying.
Recipe Card
Prevent your screen from going dark
Blueberry Vanilla Chia Pudding
Dessert for breakfast anyone? This creamy pudding is packed with nutrient-rich ingredients that provide slow release energy and keep you feeling full for hours. What a great way to start the day! You can easily make it the night before and store it in the refrigerator for a fast ‘grab and go’ breakfast. We also love to serve this pudding as a quick weekday dessert.
240ml/ 1 cup fortified soya milk or other plant milk
3TBSPchia seeds
40g/ ¼ cup raw cashews
¾tspvanilla extract
2soft sticky dates (e.g. Medjool)pitted
pinchof salt
70g/ ½ cup frozen blueberries
maple syrupoptional
Suggested toppings
Goji Nut Sprinkles (see recipe below); Granola
Instructions
First soften the cashews in freshly boiled water for 15 minutes or so. 5 minutes before the end of the soaking time, add the dates. Drain thoroughly.
Place all the ingredients in a high speed blender, starting with the milk. Give the ingredients a stir so that they are coated in milk. Start blending on low speed to break up the nuts and dates, then blend on high speed for a couple of minutes until completely smooth. Stop now and then to scrape down the sides. Taste test and add a splash of maple syrup, if desired.
Scoop into two small bowls or ramekins and sprinkle on your desired toppings. The puddings can either be served immediately or chilled in the refrigerator for up to 24 hours. If storing in the refrigerator, cover the bowls to make them airtight. This will ensure the puddings keep their vibrant purple colour.
These sprinkles come in handy when you need a quick topping to ‘dress up’ a breakfast or dessert. They’re especially suited for children as the pieces are broken up nice and small.
Place the coconut chips, pecans and 2 TBSP of the almonds in a bowl and crush them between your fingers to break them up.
Add the remaining 2 TBSP of almonds and the goji berries to a mini food processor and whiz into crumbs (I use the bowl attachment that came with my hand blender).
Combine all the ingredients and transfer to an airtight jar. Store in the refrigerator where they will keep for weeks.
I hope you enjoy this pudding as much as we do! If you give it a try, I’d love to hear what you think. Feel free to leave a comment below, or tag me in your photos on social media—I always love seeing your creations! You can also connect with me on my social media channels here: Instagram, Facebook, Pinterest.
I absolutely love this time of year, with the trees full of blossom and the wisteria out in flower. Not only does it look stunning, but it smells glorious too! Here in Bath, the weather is finally starting to warm up and we’ve actually managed a few meals in the garden this past week. Our dinners have definitely shifted to lighter dishes, and I’m looking forward to sharing some of our favourites over the coming weeks.
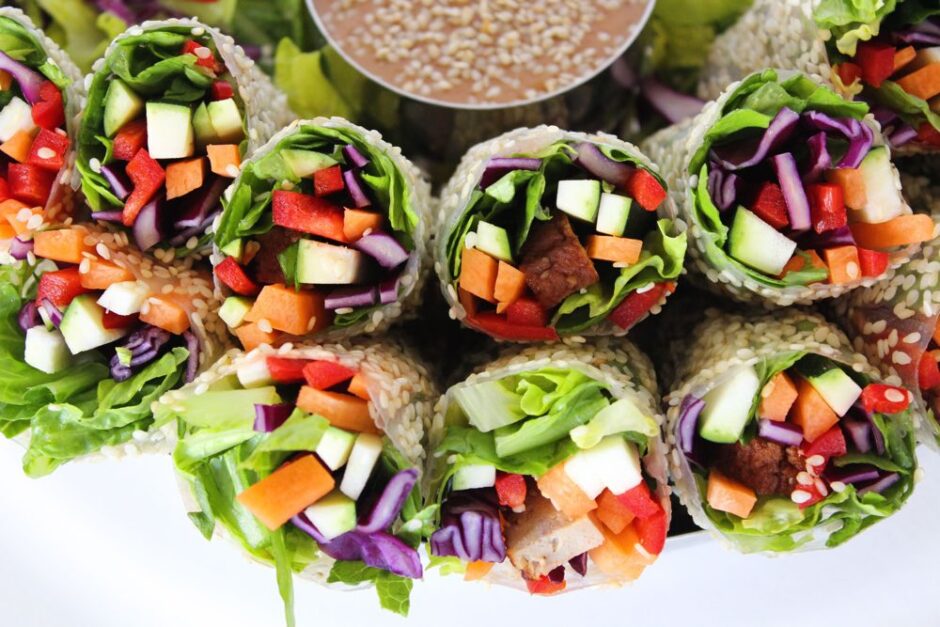
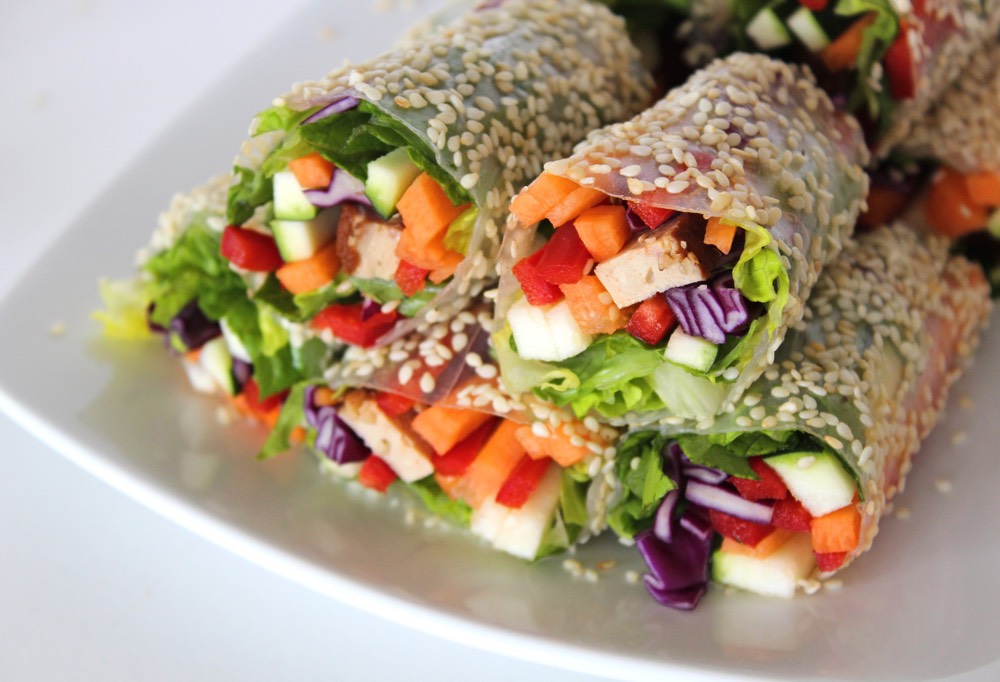
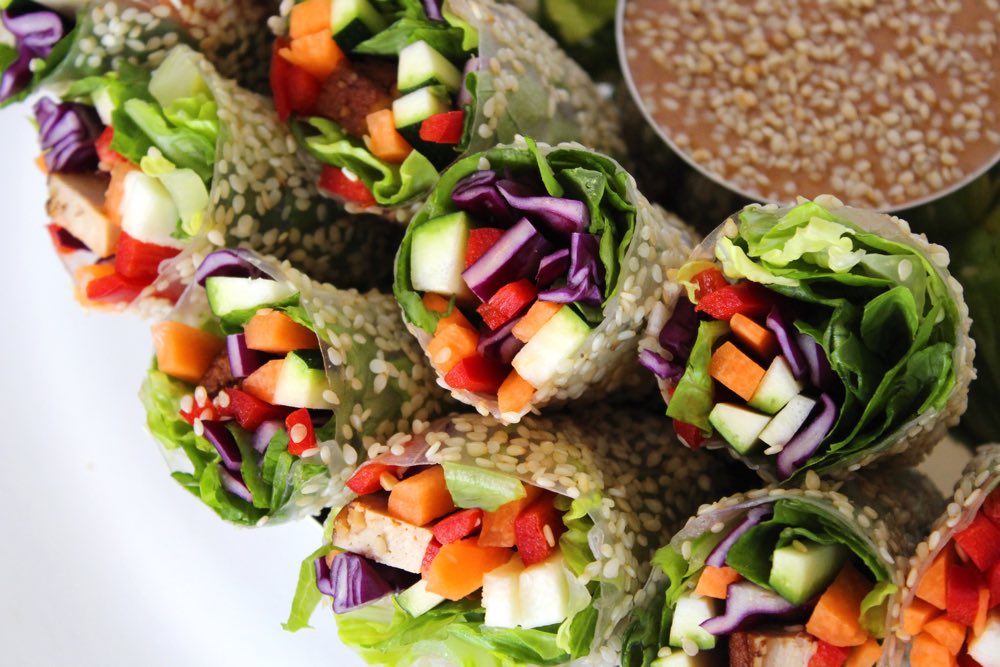
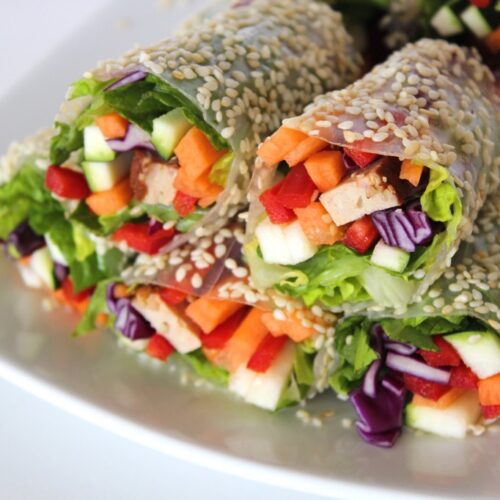
The rolls are a vegan twist on the classic Vietnamese summer roll. Instead of meat or prawns, the rolls are filled with a rainbow of fresh veggies, making them both visually beautiful and delicious.
My family loves Vietnamese summer rolls! We typically eat them as a light evening meal, enjoyed out in the garden, but they’re also great for buffets and picnics. We like to add strips of smoked or marinated tofu into the rolls for protein. When accompanied with a peanut dipping sauce, they’re surprisingly filling!
Have you ever tried making rice paper rolls before? I find that they fall into the category of ‘easy when you know how’. The first time I tried to make them, I got myself in a real tangle with the rice paper. I soaked it for too long then it folded in on itself and was beyond saving.
I was determined not to be defeated by a rice paper though, so I did some research and discovered that with a couple of easy steps, rolling is a cinch. I found this 37 second YouTube tutorial especially helpful.
I’ve rolled countless rolls now, and my only failure was that initial one. My rolls aren’t very neat (neatness isn’t a forte of mine!) but the rolls work. They taste good. And most importantly, Lil’ L loves them. I’ll keep working on the neatness.
Learning from my past mistakes, I thought I’d put together a step-by-step guide on how to successfully roll rice papers. Even if it helps one person out, I’ll be more than delighted.
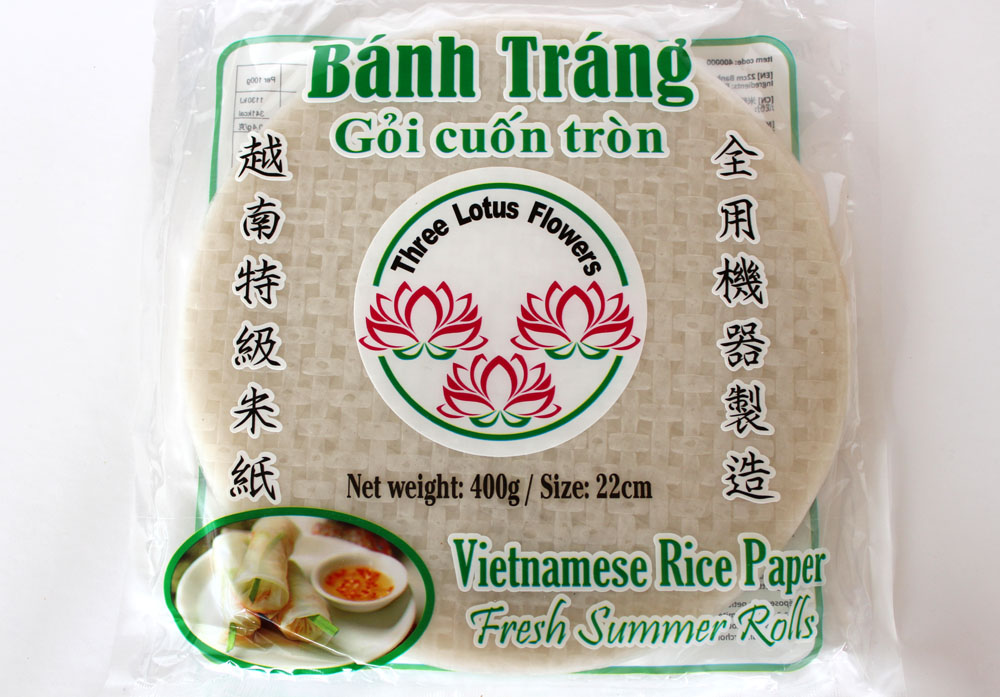
So firstly, we need some rice papers…
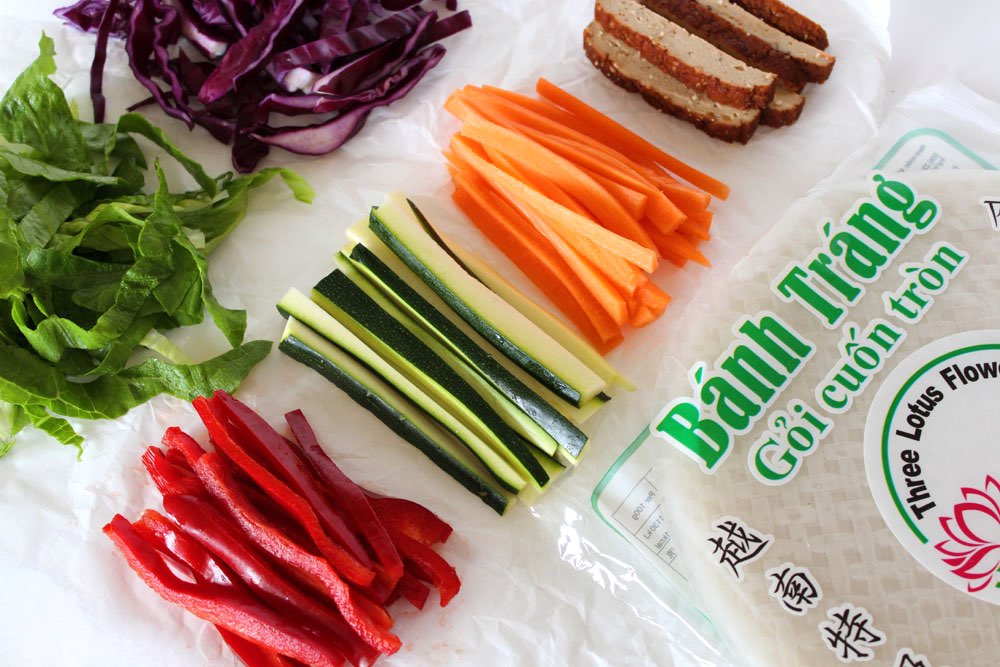
You’ll find them widely available in oriental supermarkets. I buy Vietnamese Banh Trang from Hai Na Oriental Supermarket in Union Street in Bath. You get about 45 papers (22cm / 8½ inches in diameter) in a pack for £1.89, which is great value. Waitrose and Ocado also sell Blue Dragon Spring Roll Wrappers.
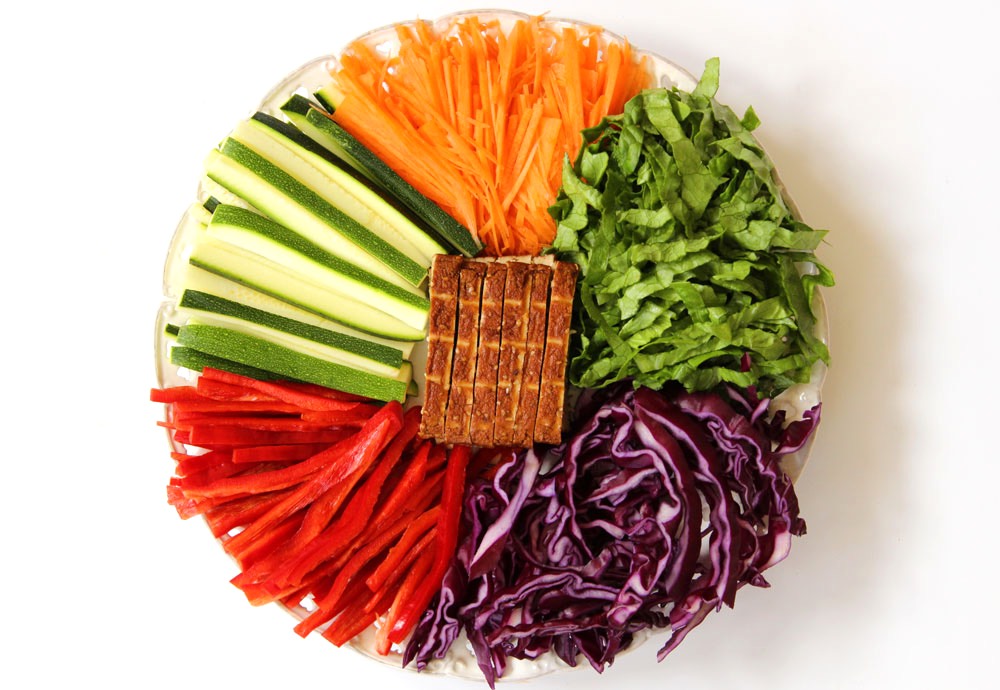
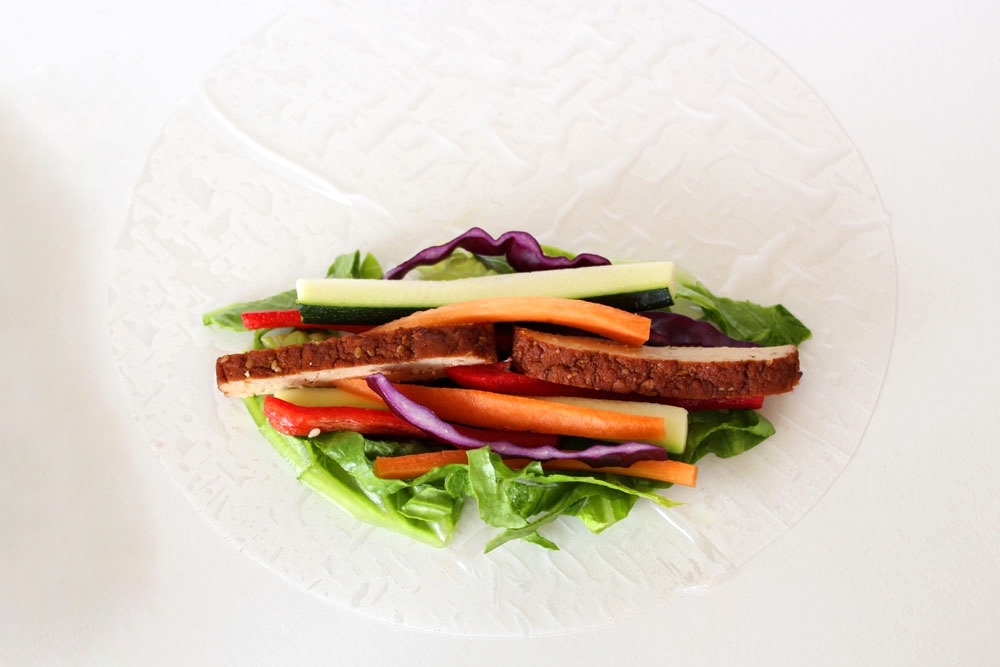
It’s important to prep all the ingredients before you start rolling (known as ‘mise-en-place’ if you happen to be French… or a chef!) I typically use a large carrot, small courgette (zucchini), sweet pointed romano pepper, some red cabbage and a romaine lettuce. For a protein kick, I add in strips of organic smoked or marinated tofu.
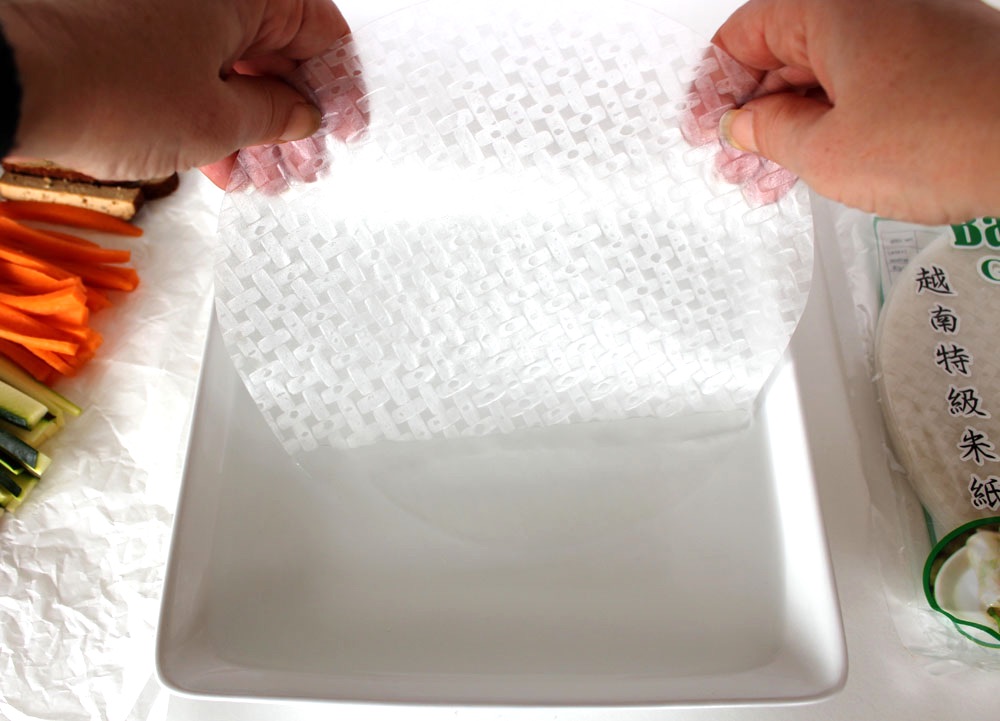
Once everything is ready, prepare a bowl of warm water. It doesn’t matter what kind of container you use, as long as it’s big enough to fit your rice paper.
Want to know something funny? To take the shot below I ended up pressing the shutter with my nose!! How ridiculous is that? You only dip for a second so no time to set up the timer!
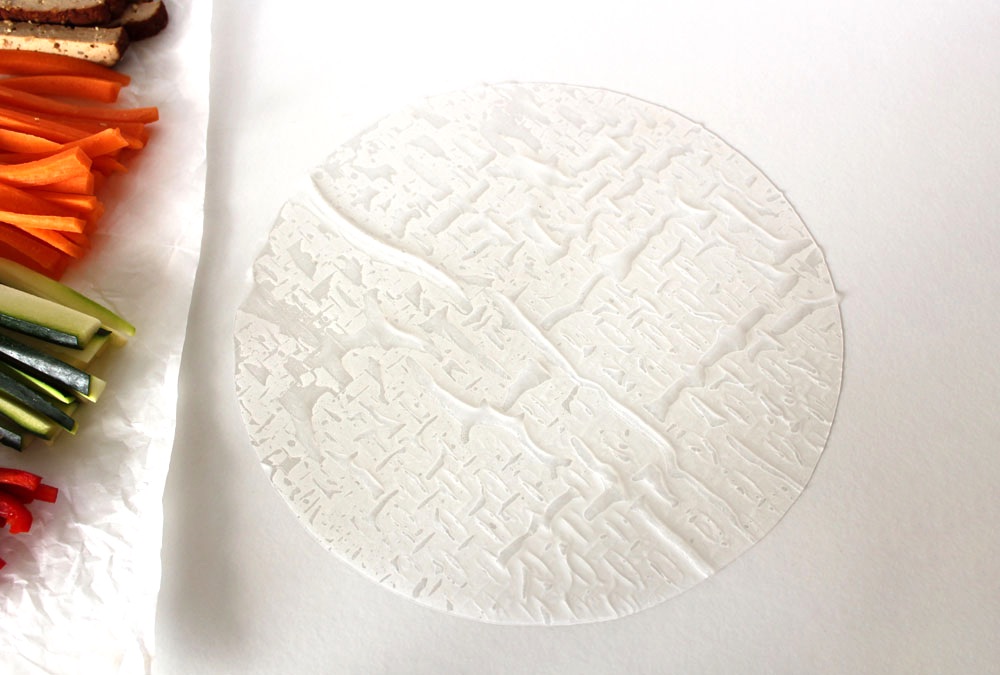
Anyway, back to the guide… Take a rice paper in both hands and dip half of it in the water. Quickly keep turning the paper in the water (like you’re turning a steering wheel) until the whole paper is wet. Shake off the excess water and lay the paper on a plastic chopping board or smooth work top (not wood as it sticks!) The paper is still quite firm when I remove it from the water but it continues to soften up as it absorbs the moisture. (I find that if you dip it for too long, it goes gloopy and impossible to control).
Arrange your veggies on one half of the rice paper, leaving a border either side. You want to make sure that there are no sharp edges poking out as the rice papers are delicate and easily tear.
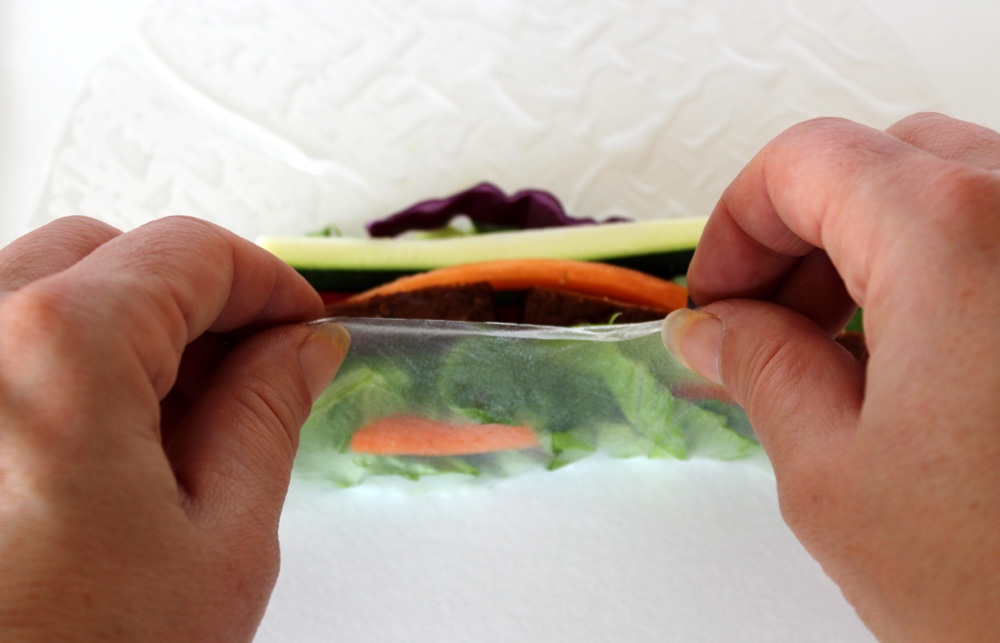
Squash the filling together then start rolling. Gently pull the rice paper up and over the vegetables, tuck in the edges as you roll. Try to keep it as tight as you can (like you’re rolling a burrito). Here comes another nose shutter shot!
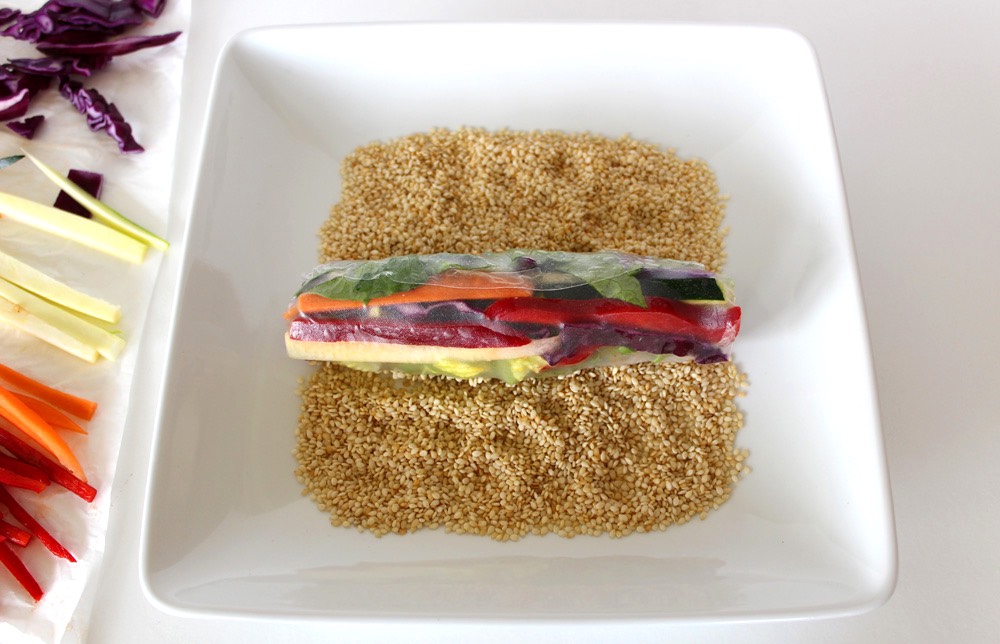
One thing that surprised me when I first made Vietnamese rolls is that they are sticky! I never saw this mentioned in recipes, so I googled it and, yes, they are meant to be sticky. Some people recommend wrapping each roll in cling film (plastic wrap) to stop them sticking together but I didn’t like the idea of the plastic waste (plus Mark was worried that he’d accidentally eat the cling film) so I found a way to get round the stickiness… roll them in toasted sesame seeds!
Not only do the rolls feel much nicer to hold when they’re covered in seeds, but the sesame coating actually boosts their nutritional profile too. Sesame seeds are nutritional powerhouses.
Once rolled and seeded, place the roll on a plate and repeat the process. I make eight rolls for four people, but if your rice papers are smaller than mine, you may want to roll more.
Just before serving, I cut the rolls in half. I give everyone their own little dipping bowl for the peanut sauce (so they can double dip to their heart’s content), then it’s time to tuck in!
Recipe Card
Prevent your screen from going dark
Vietnamese Summer Rolls (Vegan Style!) with Peanut Dipping Sauce
These Vietnamese summer rolls make a delicious light meal. Below I’ve listed the veggies that I normally use for the filling, but feel free to switch them up. The rolls are best eaten within 4 hours of being made so that they stay fresh. Any longer and the papers may start to dry out and crack.
1sweet pointed romano pepper or bell pepperdeseeded and finely sliced
1small courgettezucchini, finely sliced
120g/ 1½ cups red cabbagefinely sliced
1romaine lettucesliced into ribbons
200g/ 7 oz smoked or marinated tofuthinly sliced
8rice papersspring roll wrappers or more, depending on their size
75g/ ½ cup toasted sesame seeds
Peanut Dipping Sauce
115g/ ½ cup natural smooth peanut butter
2TBSPtamari or low-sodium soy sauce
1TBSPwhite vinegar
1TBSPmaple syrup
60ml/ ¼ cup warm water
2tspfresh gingerfinely grated (or substitute with ½ tsp ground ginger)
Sesame seedsfor garnish
Instructions
Chop the veggies and tofu into thin slices.
Tip the sesame seeds onto a large plate.
Fill a wide bowl with warm water.
Working with one rice paper at a time, take the paper in both hands and dip half of it in the warm water. Quickly rotate the paper for a few seconds (like turning a steering wheel) until the whole paper has been submerged in the water. Shake off the excess water, then lay the rice paper on a plastic chopping board or worktop (don’t use a wooden board as it will stick). The paper will continue to soften up as it absorbs moisture.
Arrange your veggies on one half of the rice paper, leaving a border either side. I use a few ribbons of lettuce, a few strands of red cabbage, then 2-4 strips each of tofu, carrot, pepper and courgette. Make sure that there are no sharp edges poking out as the rice papers are delicate and easily tear. Squash the filling together then start rolling.
Gently pull the rice paper over the filling. Tuck in the edges as you roll. Try to keep it as tight as you can (like you’re rolling a burrito).
Roll the summer roll in sesame seeds. Shake off the excess seeds and set the roll to one side. Repeat the process. I make eight rolls for four people, but if your rice papers are smaller than mine, you may want to roll more. Just before serving, cut the rolls into two.
To make the dipping sauce: place all the ingredients in a bowl and whisk together with a fork. Add a splash more water, if needed, to reach desired consistency. Taste test and adjust the vinegar, sweetness, ginger levels if desired. I give everyone their own little dipping bowl so they can double dip to their heart’s content! Just before serving, sprinkle on some sesame seeds for garnish.
If you make these Vietnamese Summer Rolls, I’d love to hear your feedback and any suggestions for adaptations. Leave a comment below or tag your photos with #bitofthegoodstuff on social media – I always love to see your creations! You can also connect with me on my social media channels here: Instagram, Facebook, Pinterest.
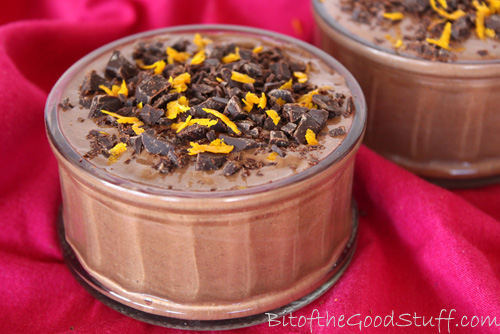
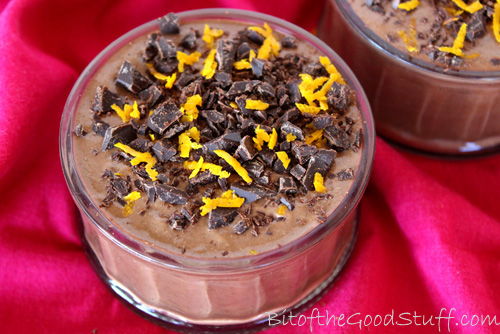
I first shared a recipe for chocolate orange chia pudding back in February 2012 and, to this day, it remains one of my family’s favourite desserts. It’s such a simple pudding to make and, since I originally posted the recipe, I’ve refined the method so that it’s even quicker. Honestly, this recipe could not be more easy! The original photo I took doesn’t do this pudding justice, so I thought it was time for a re-post with the updated recipe and some shiny new photos.
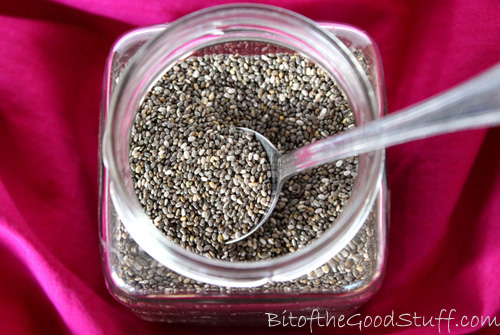
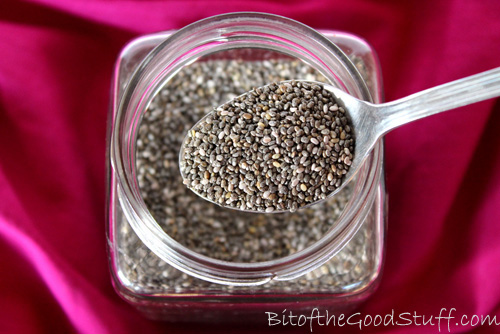
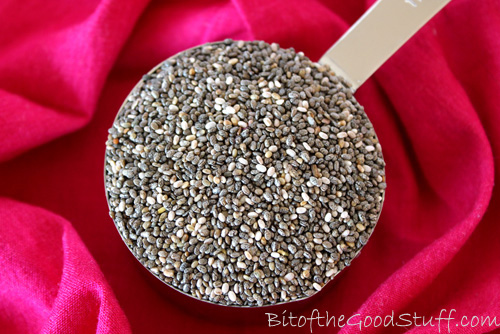
Since that original post, chia seeds have become much more popular here in the UK. You can buy them in health food shops, and even supermarkets have started stocking them. I find they can vary a lot in price, so I always shop around for the best deal. Since I use them frequently in smoothies and puddings, I’ve been buying larger bags lately, which tend to work out much better value.
So why do I love chia seeds so much?
Well, there are two main reasons. The first is their amazing nutritional profile. Chia seeds are very high in dietary fibre, a good source of ‘complete’ protein, and rich in omega 3 essential fatty acids. They’re also hydrophilic and can absorb around 10 times their weight in water, thus helping to keep us nicely hydrated. Their fibre, fat and protein content, along with these hydrophilic abilities, means that the seeds are a great source of slow release energy, they help to balance blood sugar levels, and they keep us feeling full up for hours. Adding a spoonful to smoothies is a great way to keep hunger pangs at bay.
Chia seeds contain a range of trace minerals, and are especially rich in manganese, phosphorus and calcium, which are all important for good bone health. A 28g / 1 oz serving provides 30% of the manganese RDA, 27% of phosphorus, and 18% of the calcium RDA. The seeds also contain a multitude of antioxidants, including the flavonoid quercetin, which has anti-inflammatory and antihistamine properties.
The second reason I love chia so much is that they make the most incredible chocolate puddings! Once blended with some cacao or cocoa powder and a little liquid, they transform into a delicious, silky smooth pudding that will easily rival any shop-bought chocolate dessert. And unlike the shop-bought varieties that tend to be laden with sugar and little nutritional value, these chia puddings are refined sugar free and packed with nutrition.
I used to soak the chia seeds in liquid for an hour or so until they’d transformed into a gel-like substance before blending them up, but these days I literally throw all the ingredients straight in the blender. High speed blenders are best for this job as they’ll blend the seeds smooth in a matter of seconds.
Lil’ L absolutely loves these puddings and sees them as a real treat. It’s great to be able to treat him to something that’s so nutritionally packed and full of healthy goodness.
Recipe Card
Prevent your screen from going dark
Chocolate Orange Chia Pudding
The fresh zesty flavour of the orange works in harmony with the bitter dark chocolate to make one delicious dessert! It tastes decadent yet it's super healthy and packed with feel-good nutrients. It's also very filling, so a little goes a long way. I find a ramekin or espresso cup is the perfect serving size.
300ml/ 1¼ cups plant milk (I use fortified soya milk)
64g/ 6 TBSP chia seeds
30g/ 4 TBSP cacao or regular cocoa powder
4soft pitted datese.g. Medjool
½tsporange extract
1TBSPmaple syrup
Suggested garnish
dark chocolatefinely chopped or grated
orange zest
Instructions
Place the orange juice and milk in a high speed, power blender, followed by the remaining ingredients. Give them a stir until they are coated in liquid. Blend on low speed until the dates are broken up, then move to high speed and continue blending until silky smooth. Stop now and then to scrape down the sides. Taste test and add a touch more orange extract or sweetener, if desired.
Pour into small ramekins or cups, sprinkle on the garnish and chill until ready to serve. It will keep for up to five days in the refrigerator.
Have you tried chia puddings before? If so, what’s your favourite flavour combo? If you’ve posted any recipes or pics, please do share the links below x
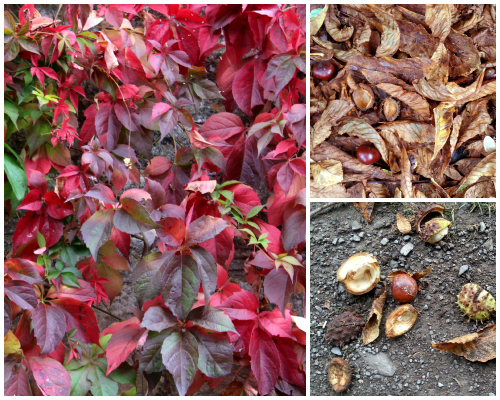
After an exceptionally warm and summer-like September and early October, Autumn has finally arrived in Bath. The Virginia creeper seems to have magically transformed overnight from lush green to vivid red, and the river and canal paths are littered with crunchy brown leaves and horse chestnuts. It most certainly is a beautiful time of year ♥
And though the weather has cooled off a little, I’m still enjoying my daily smoothies. I often have them as a breakfast or lunch on the go, so I add ingredients like nut butters and chia seeds for protein, slow-release energy and to keep hunger pangs at bay. Lil’ L also enjoys smoothies as an after-school snack.
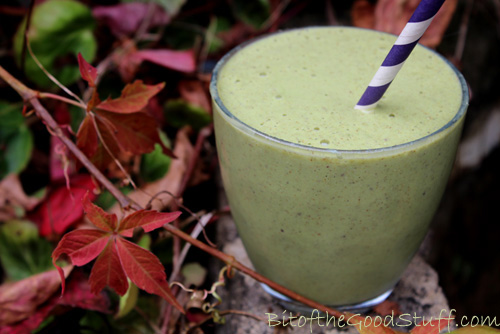
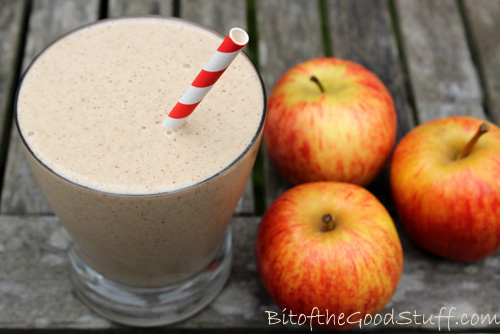
One of our current favourites is this Autumn-inspired Apple & Almond Smoothie.
The nut butter, yogurt and chia seeds add a delicious creaminess to the smoothie as well as packing in lots more nutrients. The smoothie provides a good dose of protein, fibre and heart-healthy fats (including omega 3), as well as antioxidant vitamins C and E, and trace minerals such as calcium, iron and magnesium.
And another great thing about this smoothie is that you can sneak in a handful of spinach and it doesn’t affect the taste at all!
Until recently, Lil’ L hasn’t been a fan of green smoothies. He likes his smoothies to be the ‘right’ colour. In his eyes, berry smoothies should be pink or purple, while pineapple or mango smoothies should be yellow. For him, a berry smoothie that’s bright green is just wrong. However, one day it dawned on me that I might get away with adding spinach to our usual apple and almond smoothie. Apples can be green, right?
I decided to give it a try when he arrived home from school one day. Here’s how the conversation went… “Hi!” I call out. “I’ve made you a smoothie!” “Great! Thanks!” he replies enthusiastically. I hand him the smoothie and there’s a pause, followed by a despondent “Oh…. it’s green”. “Yep, it’s a green apple smoothie. Give it a try. I’m sure you’ll love it”. With trepidation he takes a sip. “Mmm, it’s really nice!” he says with surprise. Then there’s a pause…. “So what’s making it green?” Darn, 10 year olds are sharp. Clearly the ‘green apple’ thing won’t wash with him, so I decide to own up and tell him it’s spinach. He thinks about it for a moment then decides it doesn’t matter after all. Green or not, it tastes really good.
Hallelujah, the green smoothie hang up is finally over! In hindsight, I wish I’d introduced green smoothies when he was much younger. That way, he would have grown up thinking that green berry or tropical smoothies are normal. Never mind, he’s on board now and I’m really excited to try out lots more concoctions over the coming weeks.
So if you’ve got any green smoothie phobes in the family, I highly recommend trying this one on them. Start with a small amount of spinach so it’s a delicate light green rather than scary green and see what they think (just don’t mention the spinach until they’ve given it a thumbs up).
Recipe Card
Prevent your screen from going dark
Apple and Almond Smoothie
This smoothie is perfect for breakfast or as a post-school or exercise snack. It's sweet and flavourful, and the spinach is not detectable in the slightest (so a great way to encourage kids to enjoy their greens!) Unlike regular fruit smoothies, this one is a source of slow-release energy and will keep you feeling full up for hours.
If you make this smoothie, I’d love to hear your feedback and any suggestions for adaptations! Tag your photos with #bitofthegoodstuff on social media – I always love to see your creations! You can also connect with me on my social media channels here: Instagram, Facebook, Pinterest.
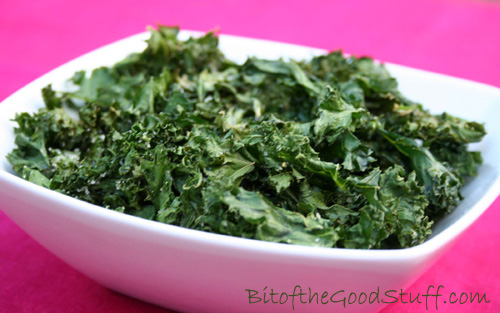
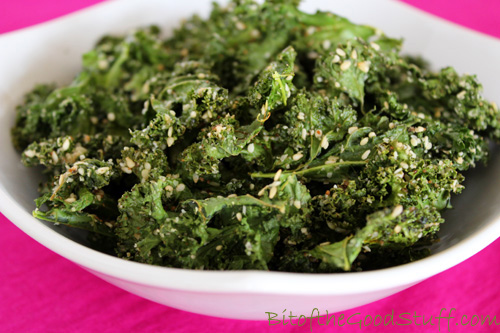
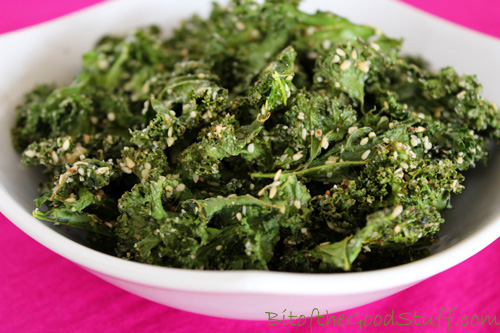
Looking for a healthy, kid-approved snack that’s packed with flavour and crunch? These crispy kale chips are oven-baked to perfection and sprinkled with homemade gomasio – a traditional Japanese seasoning made with toasted sesame seeds and salt.
They’re a long-time favourite in our house. In fact, this was one of the very first recipes I ever shared on the blog, way back in 2011, and it’s still one of my go-to snacks today.
While a lot of health food bloggers are currently enjoying raw kale salads or kale smoothies, my taste buds aren’t quite there yet. I do, however, LOVE crispy kale and will happily munch my way through handfuls of the stuff. And I’m not the only one!
Crispy kale is also one of the best ways I’ve found to encourage Lil’ L to eat kale. I often put a bowl out as a starter or as a side dish and, before I even get to sit down at the table, the whole lot will have been demolished!
🌿 The Secret to Perfect Crispy Kale
Over the past three years, I’ve been fine-tuning my method for making crispy kale, to avoid the common pitfalls of burnt or soggy kale. The trick is to roast it low and slow. I started out baking it at 180°C, but the edges would burn before the centres crisped up. I now roast it at 150°C (130°C in a fan oven), which gives beautifully even, crispy leaves with no bitterness.
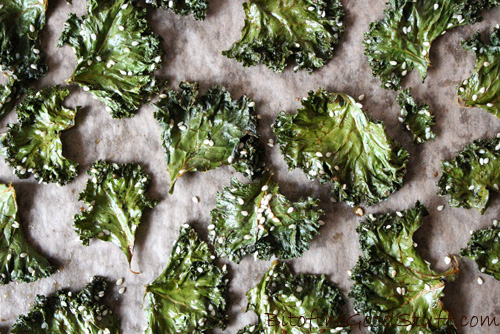
Another tip: let the kale dry thoroughly before baking – a salad spinner works wonders here. And make sure the leaves aren’t overlapping on the baking tray or they’ll steam instead of crisping up.
Stored in an airtight container, the kale stays crispy for days (not that we ever have leftovers!)
What is Gomasio?
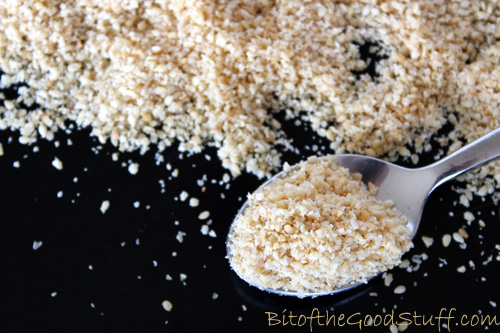
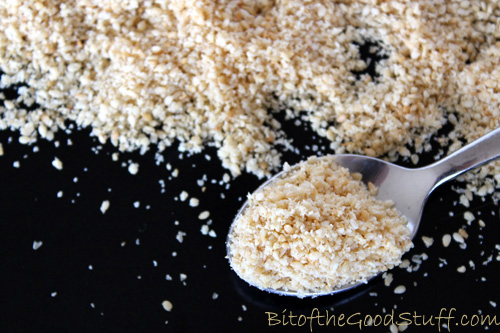
My favourite way of serving crispy kale is with a sprinkling of gosmasio, a traditional Japanese seasoning made from toasted sesame seeds and sea salt. It adds a rich, nutty flavour and just the right amount of saltiness.
You can find gomasio in health food stores, but it’s so easy – and more affordable – to make at home. I like to grind the sesame seeds slightly, which helps them stick to the kale and also intensifies their flavour. I keep the salt content low so I can sprinkle liberally without overpowering the dish.
Recipe Card
Prevent your screen from going dark
Crispy Kale (aka Kale Chips)
These oven-baked kale chips are light, crispy, and seriously moreish! They make a healthy, delicious snack, appetiser, side dish, or lunchbox filler. We love to flavour them 'sweet and salty' and with a generous sprinkling of gomasio, but feel free to customise with your favourite spice blends.
Course Appetizer, Healthy Snack, Lunchbox, Side Dish
Cuisine Japanese-Inspired, Vegan
Servings 3
Ingredients
4large handfuls curly kale (about 100g)thick stalks removed
½– 1 tbsp coconut sugar or golden caster (unrefined cane) sugar
¼tspsalt
½tbspolive oil
3tbspgomasio (see below for recipe) or sesame seeds
Instructions
Preheat the oven to 150°C (130°C fan) / 300°F. Line two large baking trays with non-stick baking paper.
Wash the kale and tear into large bite-size pieces (it will shrink as it cooks). Use a salad spinner (or kitchen paper) to dry thoroughly. Place in a large bowl and give it a final dab with kitchen paper.
Sprinkle over the sugar, salt, oil, and gomasio. Massage everything into the kale leaves until evenly coated.
Spread the kale out on the prepared trays in a single layer, ensuring the leaves don’t overlap (otherwise they will steam rather than roast). You may need to bake in two batches.
Bake for 14 minutes, then check for crispness. If needed, continue baking, checking every 2 minutes.
Crispy kale is most delicious eaten warm, straight from the oven. However, it can be stored in an airtight container where it will keep for up to a week.
Keyword baked kale chips, crispy kale, healthy vegan snack, kale chips, kid friendly vegan snack, oven baked kale
Easy to make at home with just two ingredients, gomasio is a traditional Japanese seasoning made with toasted sesame seeds and sea salt. It adds a nutty, savoury boost to dishes like stir-fries, rice bowls, noodles, and crispy kale. Vegan, gluten-free.
Toast the sesame seeds in a dry frying pan (skillet) over medium heat, stirring continuously until golden and fragrant.
Transfer to a plate to cool.
Once cool, grind with the salt using a mortar and pestle or coffee/spice grinder. If using an electric grinder, pulse just once or twice – too much and you’ll end up with sesame paste!
Store in an airtight container in the fridge, where it will keep for several weeks.
Do you make crispy kale at home? Have you tried flavouring it with Chinese, Indian, or Mexican spice blends? I’d love to hear your favourite combinations in the comments below!