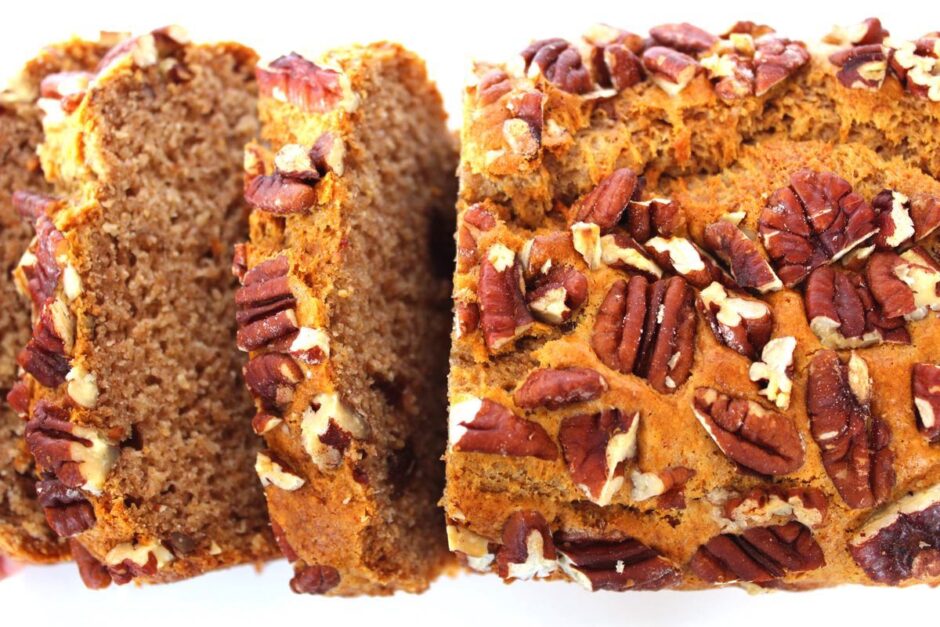
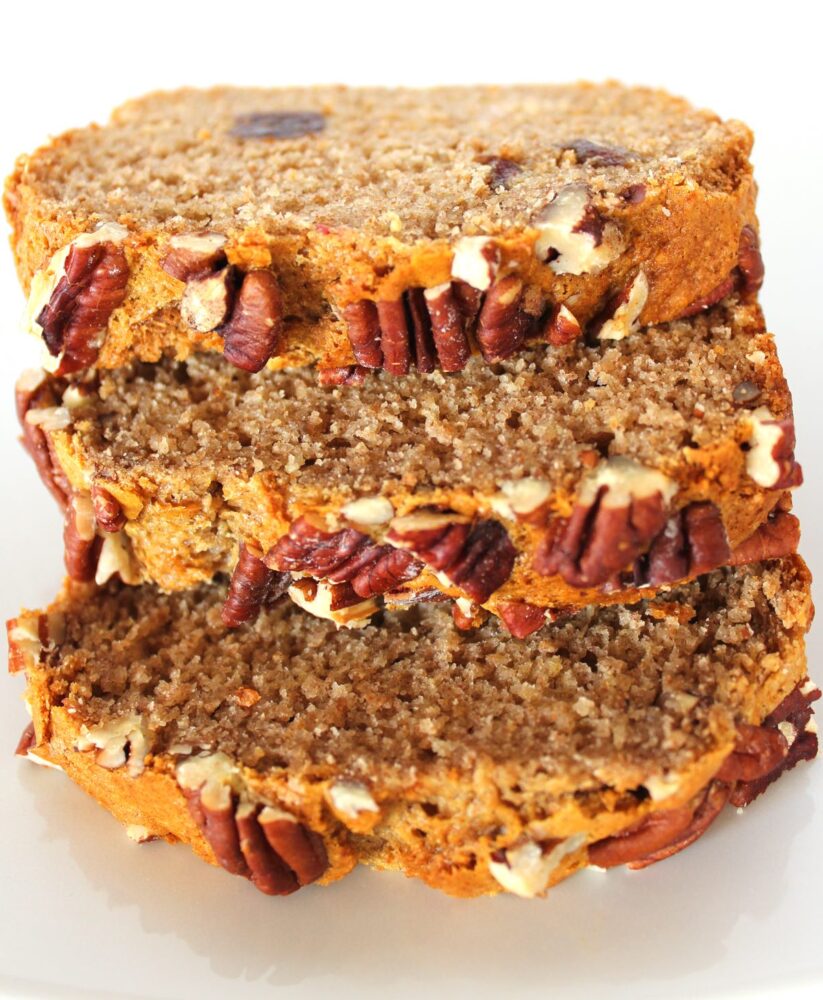
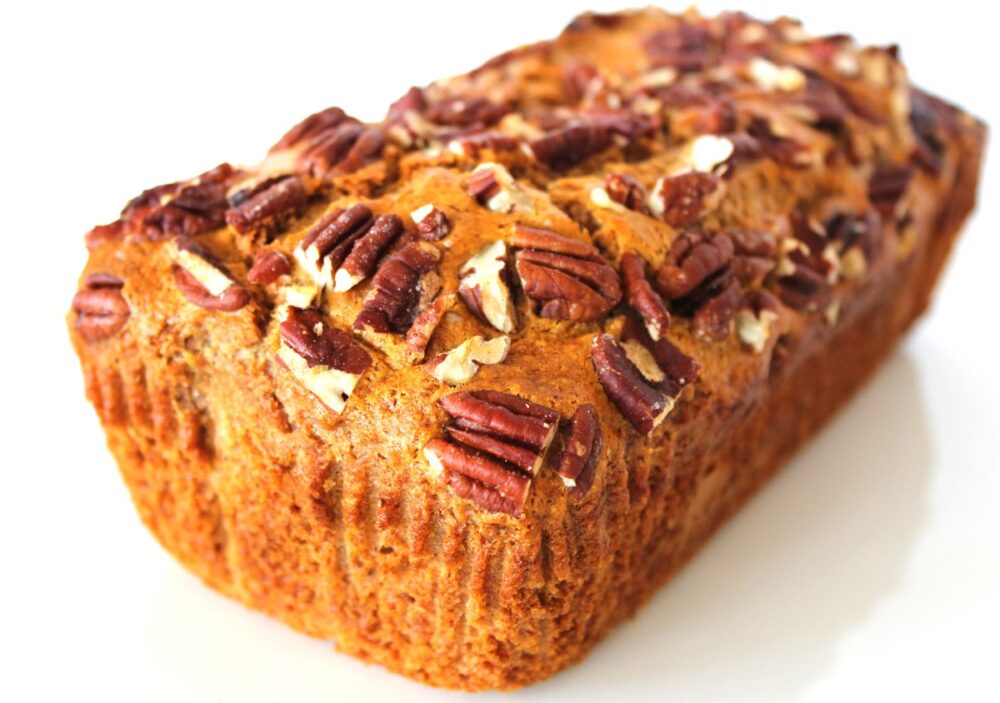
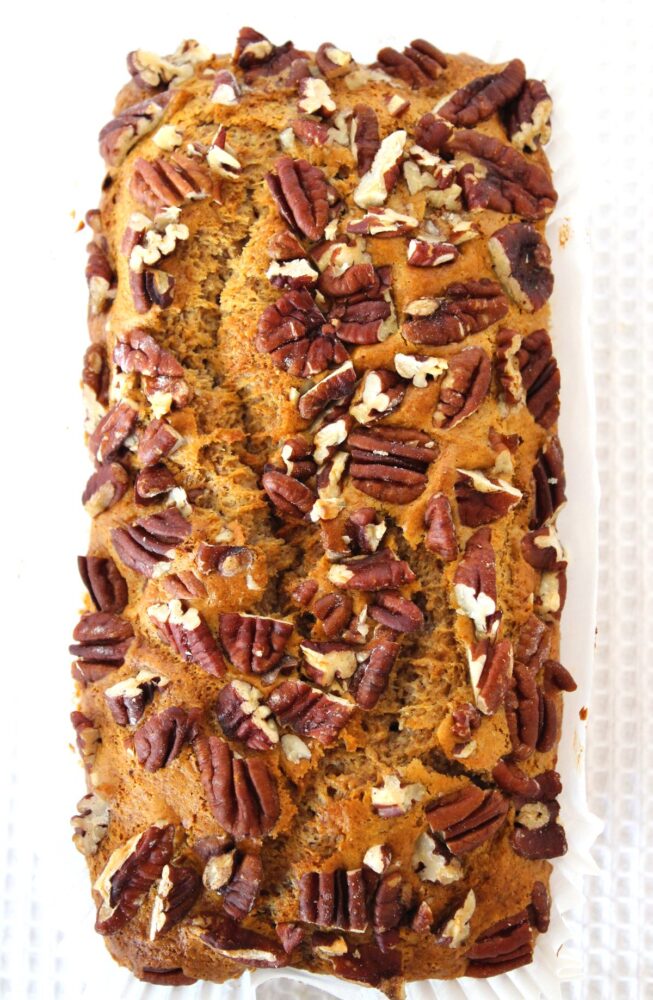
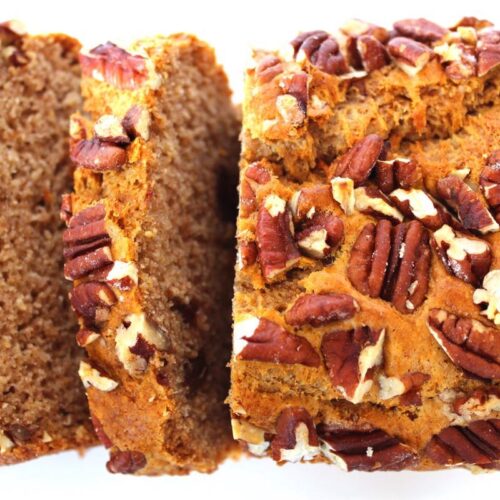
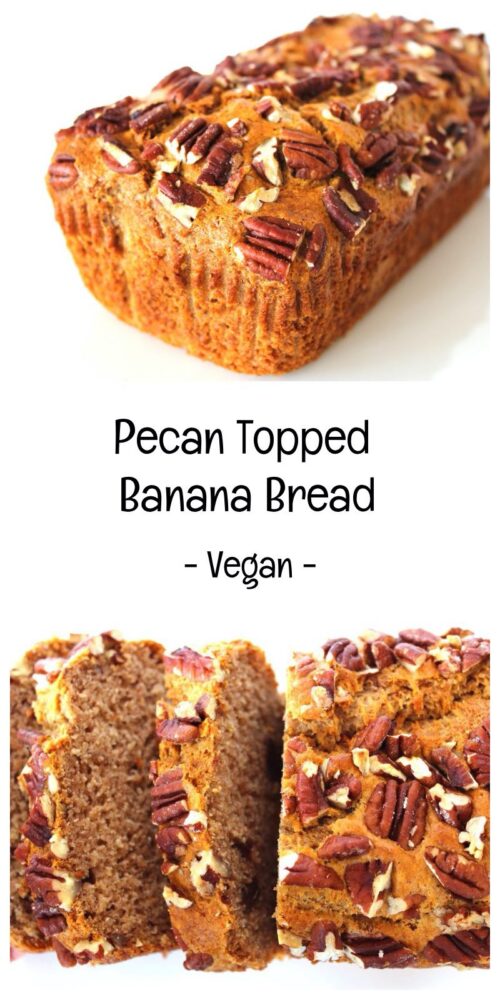
I originally posted our Pecan-Topped Banana Bread on the blog way back in 2015 and, to this day, it remains our family’s favourite banana bread recipe! It has a beautiful soft texture (definitely more cake-like than bread!) and cinnamon-spiced flavour. I especially love the pecan topping which adds a tasty crunch to every mouthful.
Five years old, this web page was in desperate need of a makeover, so I’ve spent this afternoon giving it some love, brightening up the photos and adding a printable recipe insert.
For those of you that have a copy of the Bit of the Good Stuff Cookbook, this recipe can also be found on p159… it was definitely one I had to include in the book!
For banana bread, you want to use over ripe bananas – the blacker the better – so if you’ve got some bananas languishing in the fruit bowl, this is the perfect way to use them up!
In the centre of the loaf, I’ve added some chopped dates for a touch of caramel-like sweetness. If you wish, you could sub some of the dates for chopped nuts instead. Pecans or walnuts work especially well!
Though I’ve given this loaf the traditional name of ‘banana bread’, it’s so sweet and moist that it’s definitely more cake-like than bread. I find it makes a lovely afternoon ‘pick me up’ with a cuppa. Kids love it too and it makes a great after-school treat.
58ml/ ¼ cup organic rapeseed (canola) oil (or any other neutral flavoured oil)
80g/ ⅓ cup golden caster sugar or coconut sugar
1½tspvanilla extract
210g/ 1½ cups fine wholemeal (whole wheat pastry) flour or chapatti flour
1½tspbaking powder
½tspbicarbonate of soda (baking soda)
3tspground cinnamon
¼tspsalt
90g/ ½ cup pitted dateschopped
45g/ ⅓ cup pecanschopped
Instructions
Preheat the oven to 180C (160C fan) / 350F. Grease and line a 2lb loaf tin with non-stick baking paper or use a non-stick loaf liner.
Place the sliced banana, oil, sugar and vanilla extract in a food processor and whiz until smooth (alternatively use a bowl and hand blender).
Sift the flour, baking powder, bicarbonate of soda, cinnamon and salt into a large mixing bowl. Tip any remaining wheatgerm from the sieve into the bowl. Stir to combine. Make a well in the middle and pour in the banana mixture. Gently stir until thoroughly combined. Stir in the dates. Tip the mixture into the prepared tin and level with the back of a spoon. Sprinkle the pecans on top and lightly press them into the batter.
Bake for 55 minutes, or until a skewer inserted through the middle comes out clean. Leave in the tin for at least 30 minutes, then transfer to a wire rack until completely cooled.
Stored in an airtight container, the loaf will keep for five days in the fridge. It also freezes well.
If you make this Pecan-Topped Banana Bread (or any other recipes on our blog), I’d love to hear your feedback and any suggestions for adaptations! Tag your photos with #bitofthegoodstuff on social media – I always love to see your creations! You can also connect with me on my social media channels here: Instagram, Facebook, Pinterest.
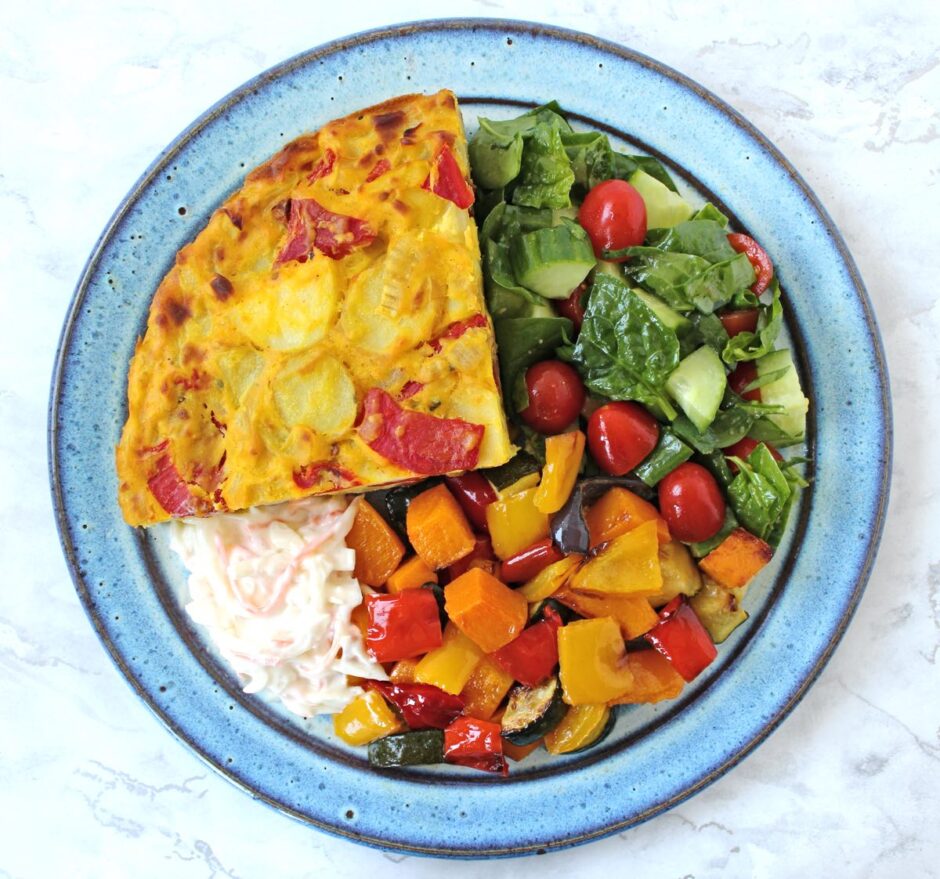
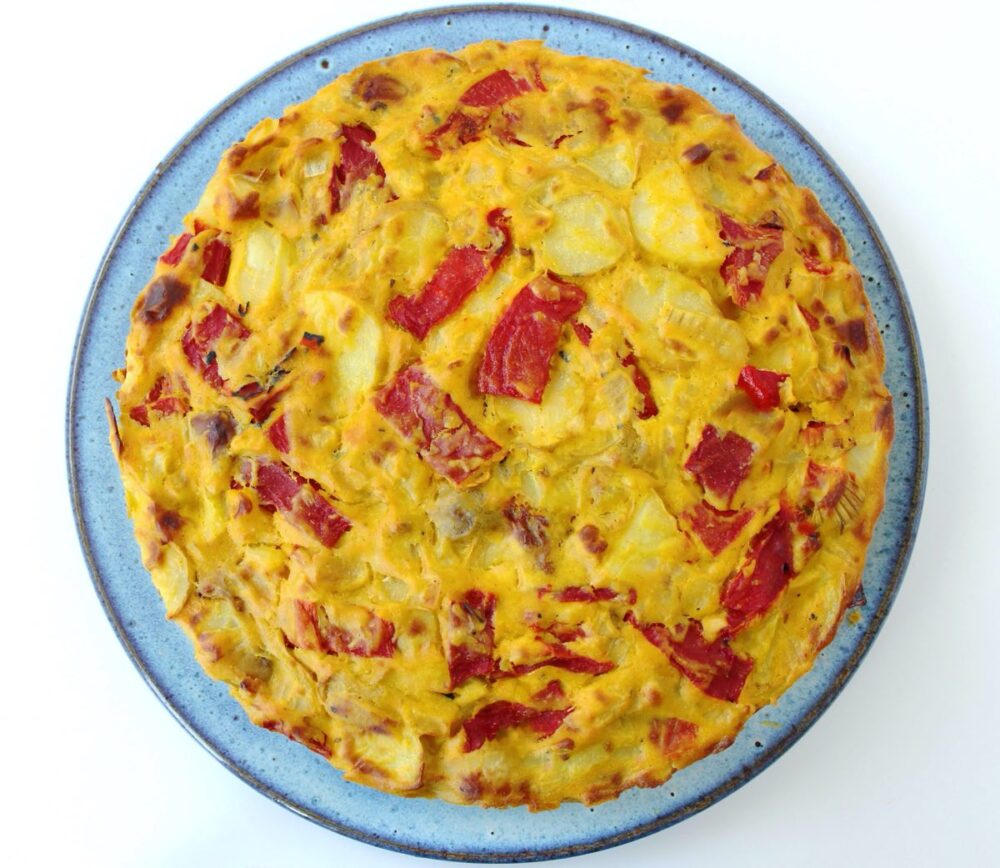
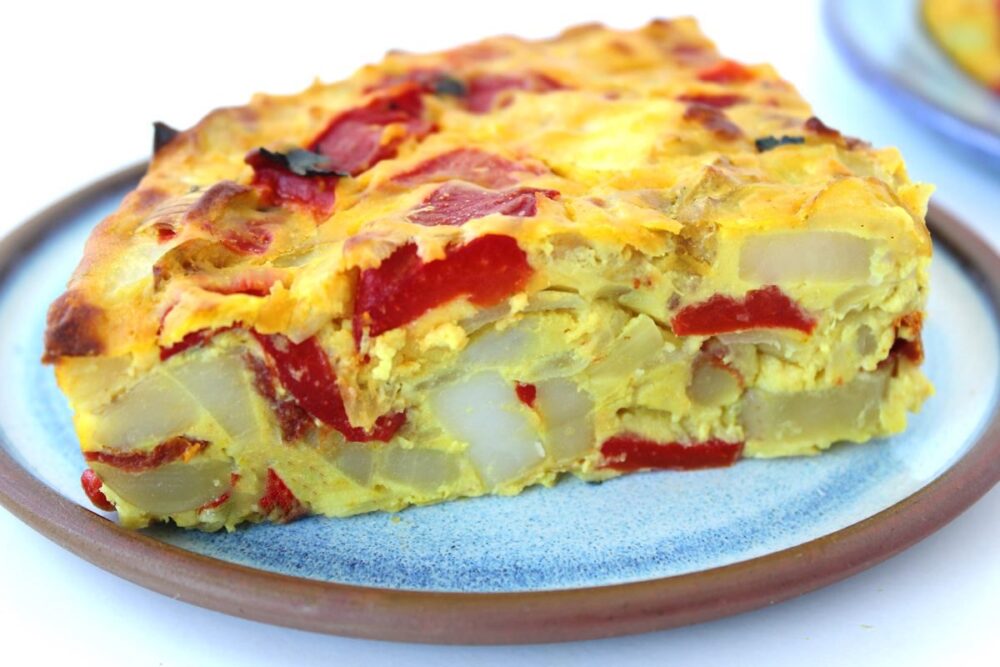
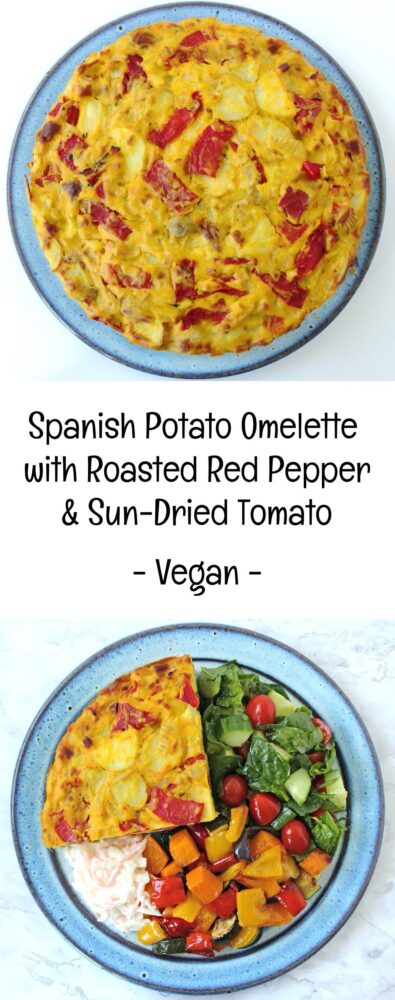
In today’s post, I’m sharing a twist on our original Vegan Spanish Potato Omelette (‘Tortilla de Patatas’). A new favourite of ours, this version features roasted red pepper and sun-dried tomato. It is so flavourful and eye catching. I love those pops of vibrant colour running through the omelette!
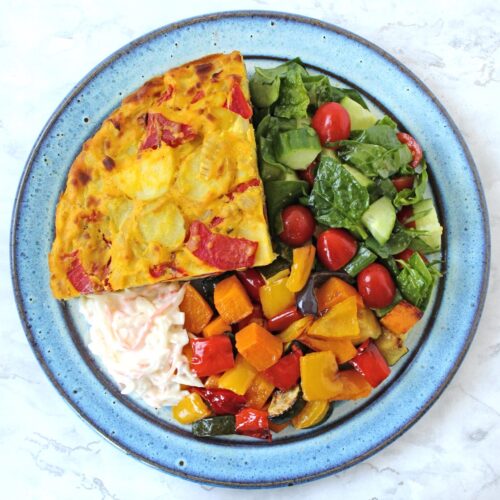
For lunch, we love to serve it with salad or use it as a sandwich filling. We were introduced to the ‘Tortilla Sandwich’ in Seville last Summer and it is unbelievably good! I highly recommend giving it a try if you haven’t had one before.
As a main meal, we’ve been enjoying it with mixed salad, roasted veggies and vegan coleslaw. Tasty and so colourful too!
And when we’re out of ‘lockdown’, this omelette is going to be perfect for summer picnics, buffets and tapas parties.
It’s equally delicious served hot and cold.
Since this omelette is vegan, of course it doesn’t contain any eggs. How do we make omelette without eggs you may ask? Well the secret ingredients are silken tofu and chickpea flour. The combination of these two, for me, makes the perfect consistency for an egg-free omelette. If you’d like to add some ‘eggy’ flavour, a pinch or two of kala namak (black salt) will do the trick.
If you haven’t made vegan Spanish omelette before, rest assured that it is easy to make. I’ve made this one even easier by giving the option of baking it in the oven rather than cooking it on the stove. Once the batter is prepared, you can simply pop it in the oven, set the timer for half an hour then walk away.
Traditionally, Spanish Omelette is quite heavy on the oil so, to make this one a bit lighter, I first boil the potatoes until they are just soft. I then pan fry them with the onion and garlic in a little extra virgin olive oil and salt to enhance their flavour.
Since I posted the original vegan Spanish omelette recipe back in February 2019, it’s become a firm favourite with our lovely readers, and I’ve absolutely loved seeing all the photos you’ve been sharing on social media! It was these photos and your lovely feedback that inspired me to experiment with new veggie and flavour combinations. I can’t wait to see your pictures of this one!
Recipe Card
Prevent your screen from going dark
Vegan Spanish Potato Omelette with Roasted Red Pepper and Sun-Dried Tomato
This vegan Spanish omelette is easy to make and equally delicious served hot and cold. As a main meal, my family loves to serve it with colourful mixed salad and roasted veggies. For lunch, it’s great served on its own, or sliced into a sandwich. It’s also perfect for serving at picnics, buffets and tapas parties.
400g/ 14 oz waxy potatoes e.g. charlotte, maris peer or salad potatoes (no need to peel)
1½TBSPextra virgin olive oildivided
1large brown oniondiced
2 tspgarlicminced
½tspsalt
60ml/ ¼ cup plant milk(I used soya milk)
300g/ 10½ oz silken tofudrained
2tspDijon mustard
45g/ ⅓ cup gram flour (aka chickpea flour, besan flour)
2TBSPnutritional yeast flakes
2TBSPcornflour (cornstarch)
¼tspground turmeric
¼tspblack salt ('kala namak') optional – adds an ‘eggy’ flavour
2roasted red pepperssliced (I used peppers from a jar, fully drained)
8sun-dried tomatoes in oildrained and sliced
vegetable oil for greasing the pan
Instructions
Prepare a pan of boiling water.
Cut the potatoes into halves or quarters, then into 0.5cm / ⅕ inch slices. Boil the potatoes for 10 minutes or until tender, then drain using a colander.
Meanwhile, heat ½ TBSP extra virgin olive oil in a large non-stick frying pan (skillet) on medium-low heat and cook the onion, stirring now and then.
Prepare the batter: place the milk, silken tofu, mustard, gram flour, nutritional yeast, cornflour, turmeric and black salt (if using) in a large mixing bowl and blend smooth using a hand blender.
When the potatoes are tender, tip them into the frying pan with the onion. Add 1 TBSP extra virgin olive oil, 2 tsp minced garlic and ½ tsp salt. Continue cooking for a couple of minutes on medium heat, stirring regularly until the potatoes are fully coated in the oil and salt. (They should start to turn a light yellow colour). Taste test and add a touch more salt or oil, if needed.
Add the contents of the frying pan, roasted red pepper and sun-dried tomato slices to the batter in the mixing bowl and stir through.
To Pan-Fry the Omelette:
Coat the bottom of a clean, non-stick oven-safe frying pan (skillet) with oil and heat on medium heat. (I use a rapeseed/canola oil spray as I find it less sticky than olive oil). Tip the omelette mixture into the pan and use a silicone spatula to distribute it evenly; smooth the top and neaten the edges. Cook for 15 minutes on medium-low heat, or until the edges start to firm up.
Towards the end of the cooking time, preheat the grill (broiler). Place the frying pan under the grill (with the handle sticking out) until the omelette is lightly browned (about 3 minutes). Keep a watch on it as it can burn quickly. Using an oven glove, remove the pan from the grill. Leave to rest for at least 10 minutes (it will firm up as it cools), then loosen with a slotted turner and transfer onto a chopping board.
To Oven-Bake the Omelette:
Pre-heat the oven to 200C (180C fan). Grease the sides of a 22cm / 9” loose-bottom flan tin and line the bottom with non-stick baking paper. Add the omelette mixture and press it down using a silicone spatula. Cook for 30 minutes, or until the tortilla is firm to the touch and a skewer inserted through the middle comes out clean. Leave to rest for at least ten minutes (it will firm up as it cools), then gently run a knife round the outer edge and transfer the omelette to a chopping board.
Notes
Stored in an airtight container in the fridge, the omelette will keep for up to five days. It can be eaten cold, straight from the fridge. Alternatively, to re-heat, I squirt a couple of sprays of rapeseed (canola) oil in a frying pan and cook the omelette slices on medium heat, turning regularly until warmed through.Recipe adapted from Bit of the Good Stuff’s Vegan Spanish Potato Omelette – Tortilla de Patatas
If you make this Vegan Spanish Potato Omelette, I’d love to hear your feedback and any suggestions for adaptations! Tag your photos with #bitofthegoodstuff on social media – I always love to see your creations! You can also connect with me on my social media channels here: Instagram, Facebook, Pinterest.
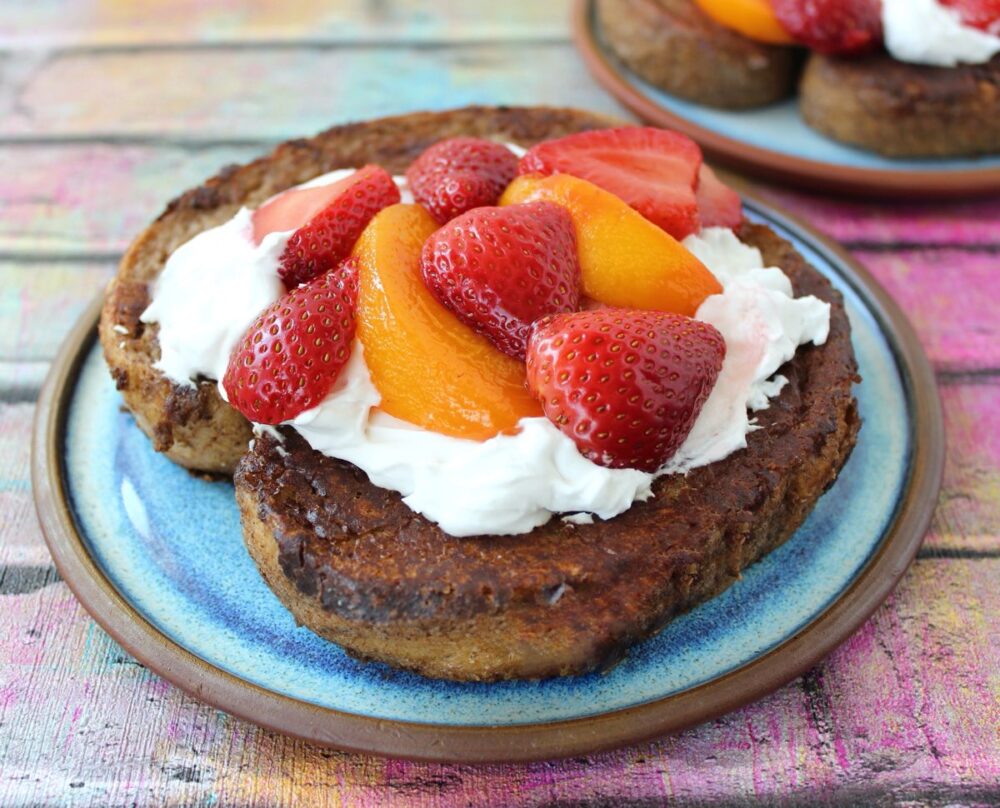
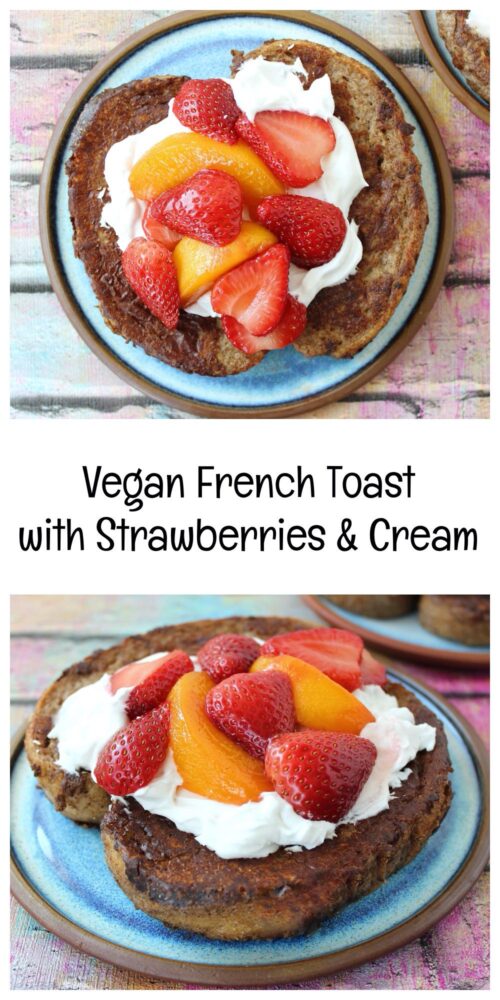
Today’s recipe is for a deliciously decadent French Toast that’s just perfect for serving as a weekend breakfast or brunch. It’s really easy to make and the batter uses just a handful of ingredients. The real challenge at the moment is getting hold of a loaf of bread! (who would have thought eh?) But if you’re able to seek it out, I would highly recommend using sourdough as it takes this toast to the next level! ✨
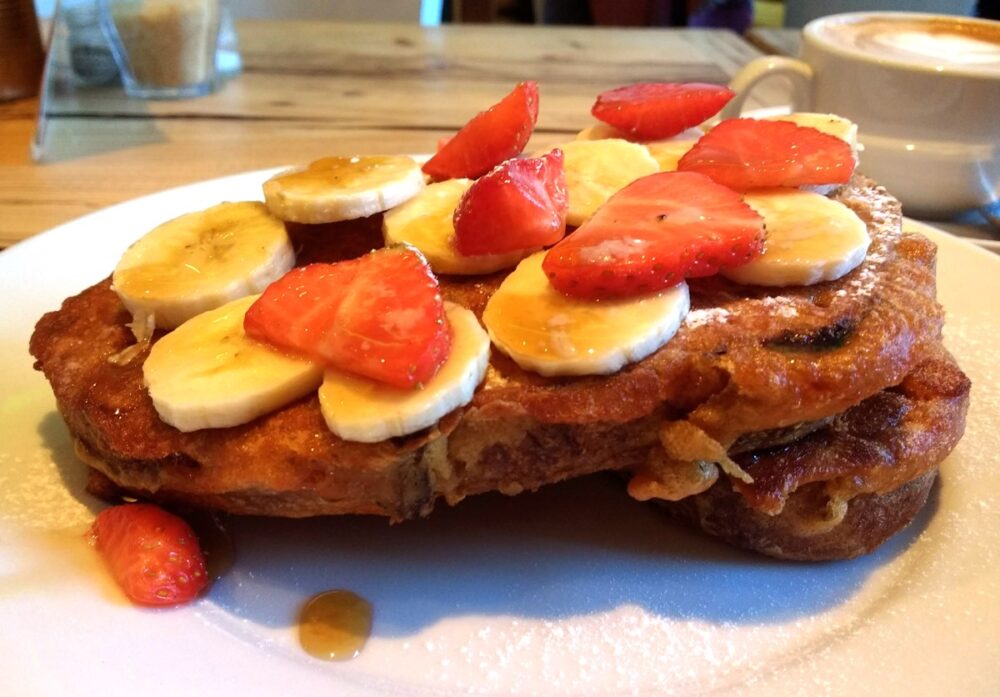
Back in October 2018 I had my first experience of vegan French Toast at The Canvas Cafe in London. It was honestly one of the best breakfasts I’ve ever eaten! (and I’m so glad I took a photo before I devoured it… I have so many fond memories when I look at that photo.) I vowed that one day I would have to try and recreate this deliciousness at home.
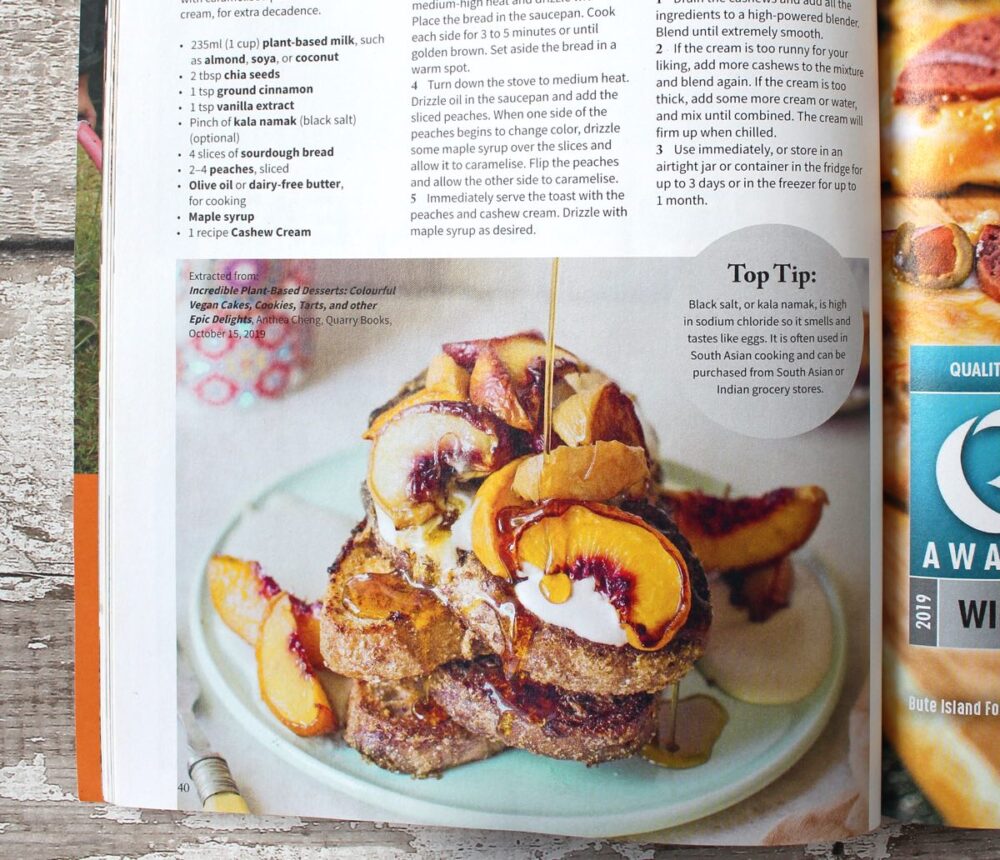
But there it languished on my ever growing ‘to do’ list… until last month when I spotted this ‘Peaches & Cream Sourdough French Toast’ in the Vegan Life magazine. The recipe looked pretty simple and I happened to have all the batter ingredients in the pantry so I was excited to give it a try! The next time we went grocery shopping, I managed to get my hands on a wholemeal sourdough, which was a win as it was pretty much the last loaf of bread left in the shop!
* Disclaimer: Vegan Life kindly sent me a complimentary copy of this magazine
It turns out that vegan French Toast is so easy to make! It is literally a matter of whizzing the handful of batter ingredients in a high speed blender (I used my Optimum Nutri Force Extractor), then dipping the bread in the batter and frying it.
Kala Namak is totally optional, but if you want some ‘eggy’ flavour in your vegan French Toast then a pinch of this salt will do the trick. It’s really cheap and you can purchase it from Asian grocery stores or online. I purchased a 100g bag from Amazon UK and it cost just a couple of pounds. Be warned, it is very potent stuff so a little goes a long way!
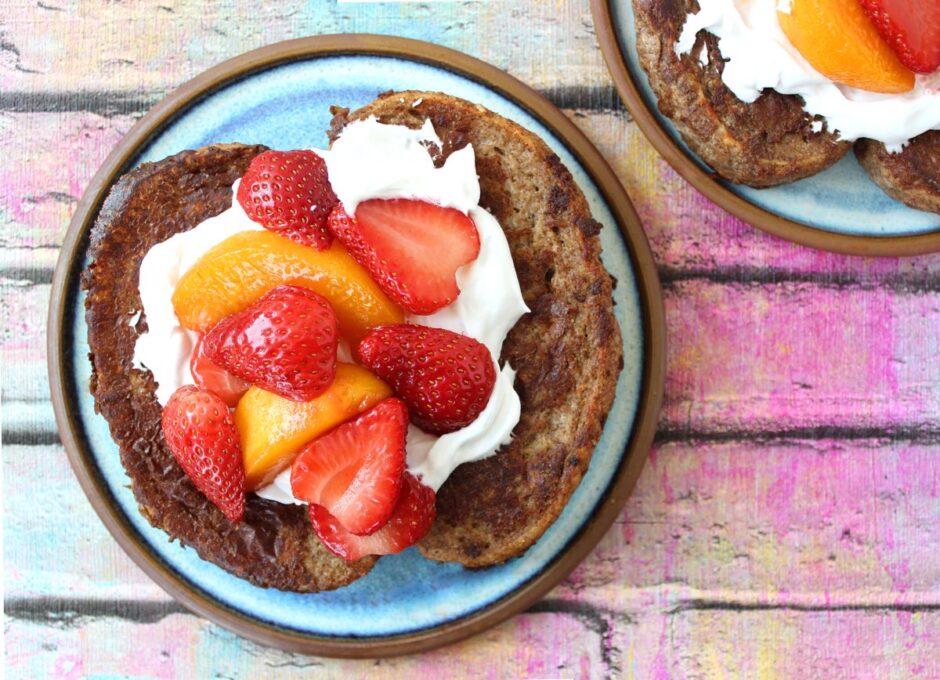
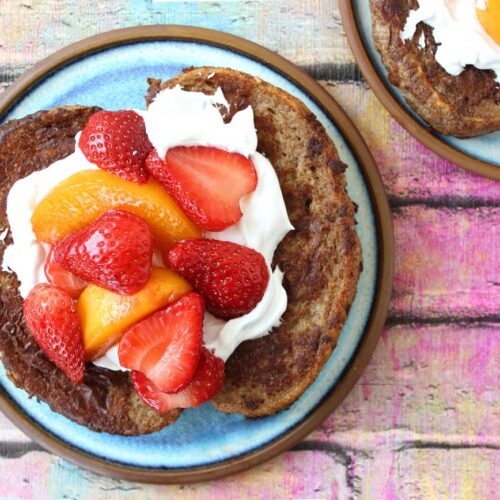
The French Toast is especially good topped with some Coconut Whipped Cream, slices of fresh berries or some berry compote and a drizzle of maple syrup.
Can’t wait to see how you decide to top it!
Recipe Card
Prevent your screen from going dark
Vegan French Toast with Strawberries and Cream
This vegan version of French Toast makes a delicious weekend breakfast or brunch. We love to top it with a generous dollop of coconut whipped cream, sliced berries and a drizzle of maple syrup. We would love to see how you decide to top it!
pinchof kala namak (aka black salt) to impart an ‘eggy’ taste, optional
4slicesof sourdough bread(we used wholemeal sourdough)
1TBSPdairy-free butter
Suggested Toppings
Coconut Whipped Cream*
Slices of strawberry or your favourite fresh fruits. (Compote made from frozen berries is also delicious on this toast!)
Drizzle of maple syrup
Instructions
Add all the batter ingredients – milk, chia seeds, cinnamon, vanilla extract, pinch of kala namak (if using) – to a high speed blender and whizz until smooth. Pour into a wide shallow container.
Place two slices of bread in the batter. After a few seconds, flip to coat the second side, making sure all areas of the bread are coated.
Heat ½TBSP vegan butter in a non-stick frying pan (skillet) on medium heat. Swirl the pan to ensure the bottom is covered entirely in butter, then place the two slices of bread in it. Cook for 3 minutes on each side, or until golden brown. To flip the bread, carefully loosen it first using a slotted turner to ensure all the lovely batter stays on the bread.
Transfer to a plate and place in the oven on low heat to keep it warm while you prepare the next two slices of bread. Coat the bottom of the pan in another ½ TBSP vegan butter and repeat the process as above.
Once the French Toast is ready, arrange on plates with your chosen toppings and serve.
N.B. The above values are estimates. The actual nutritional values will vary depending on the brands and ingredients used.
Pin for later ⬇️
Big thank you to Vegan Life magazine and Anthea Cheng for inspiring today’s post! ✨
If you make this Vegan French Toast, I’d love to hear your feedback and any suggestions for adaptations! Tag your photos with #bitofthegoodstuff on social media – I always love to see your creations! You can also connect with me on my social media channels here: Instagram, Facebook, Pinterest.
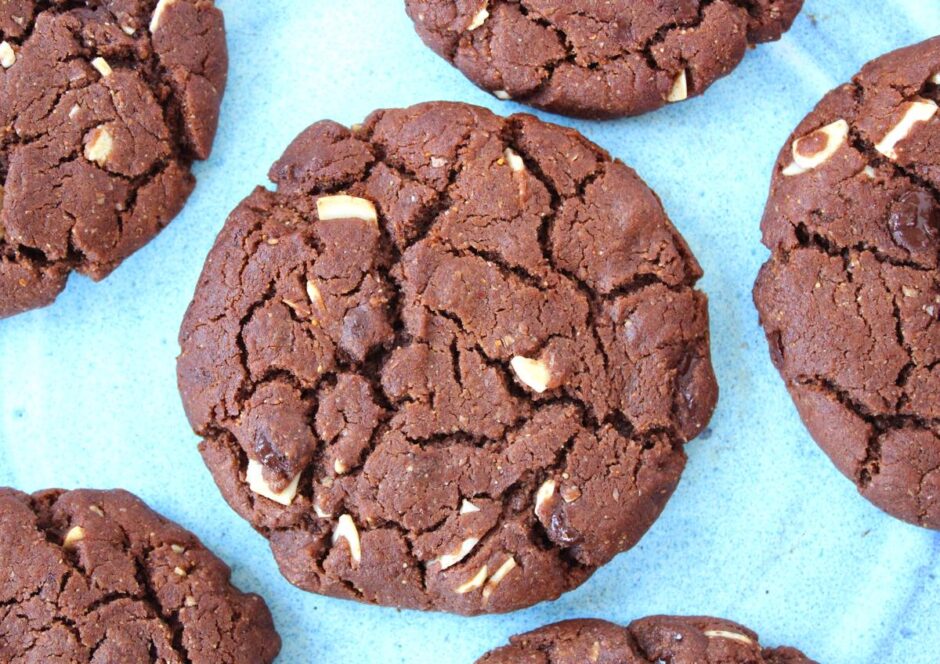
Happy Easter everyone! Today, I’m excited to be sharing with you the recipe for Pret’s world famous Dark Chocolate and Almond Butter Cookie! 🍪 This has to be one of the best cafe cookies available, and one of my personal favourites! Fresh from the oven, this decadent chocolate cookie is crunchy on the outer edge, gooey in the middle with melting chunks of dark chocolate and crunchy almond pieces throughout. It’s so good!
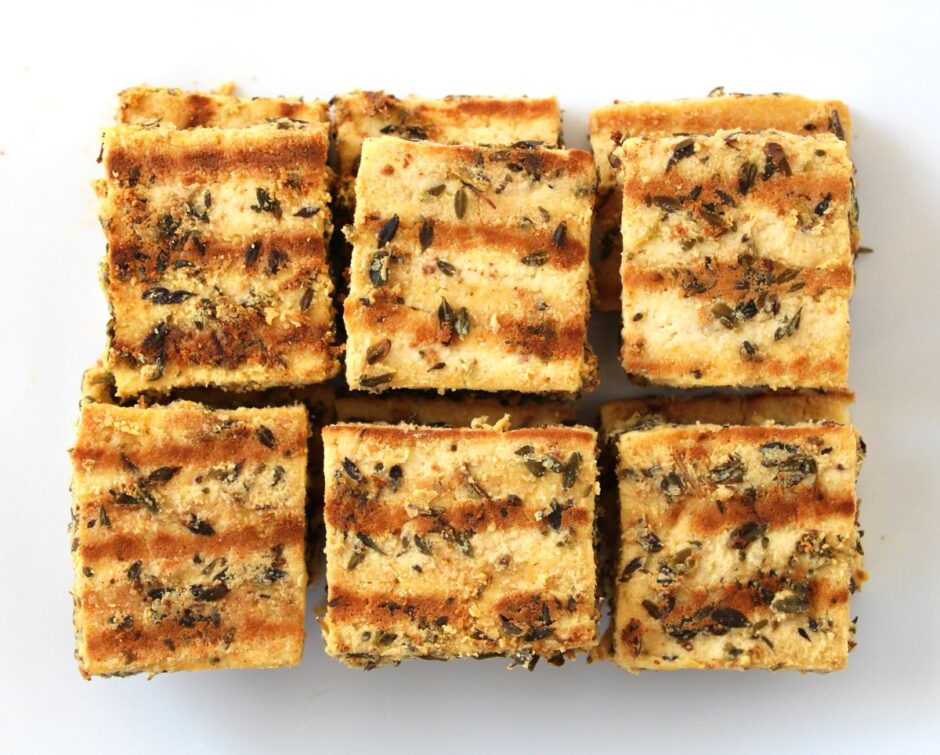
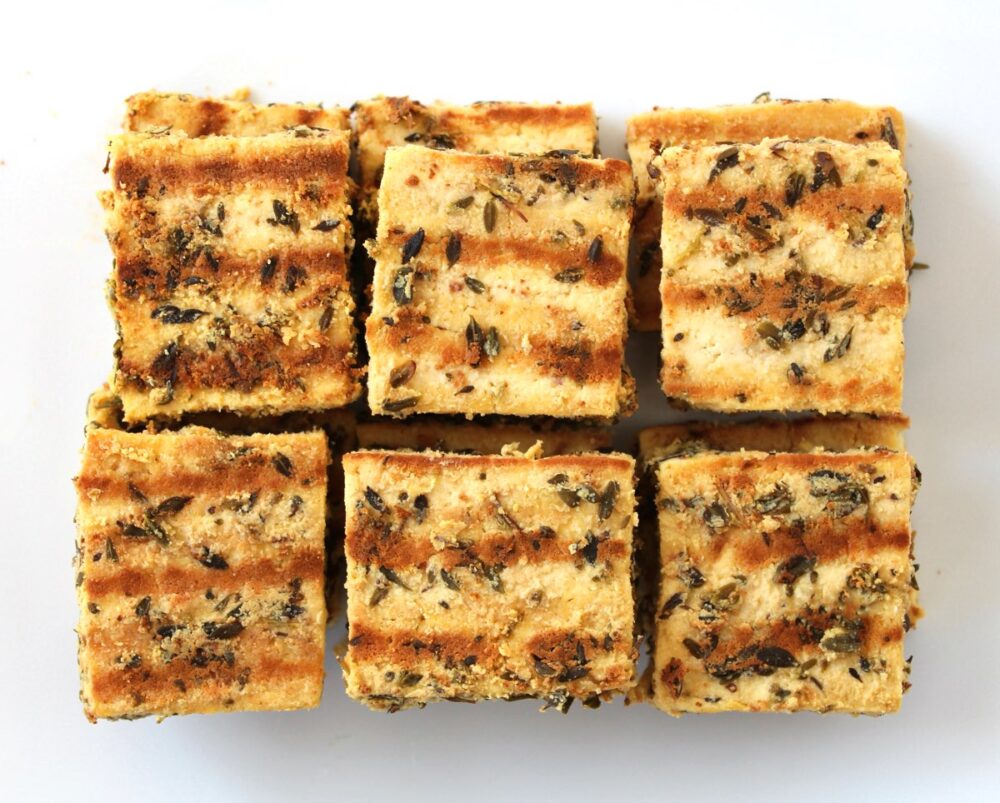
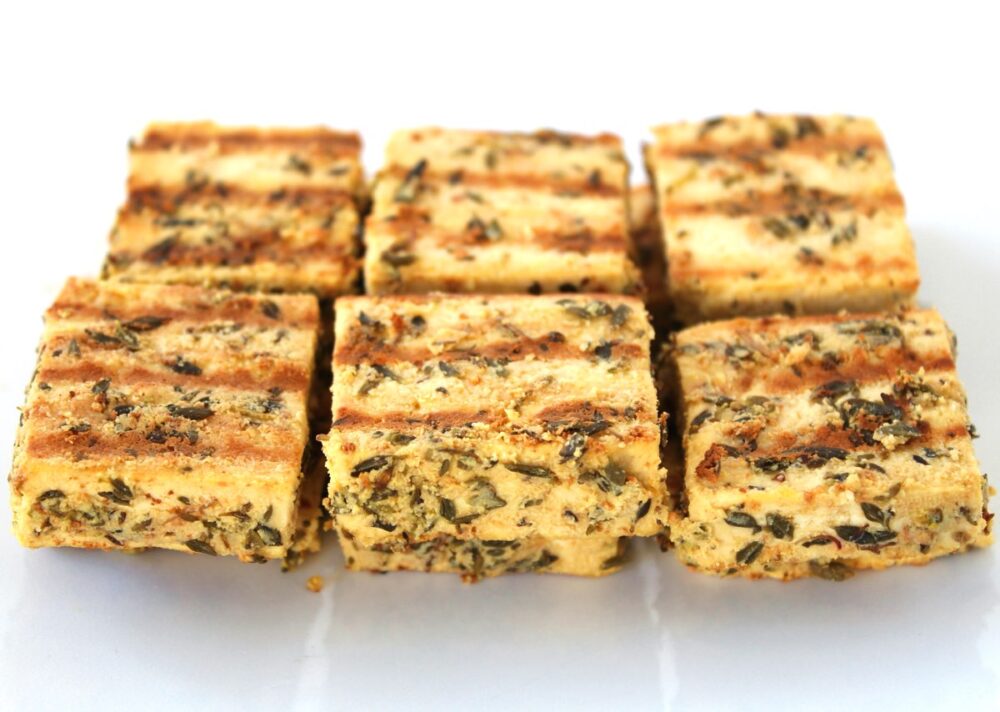
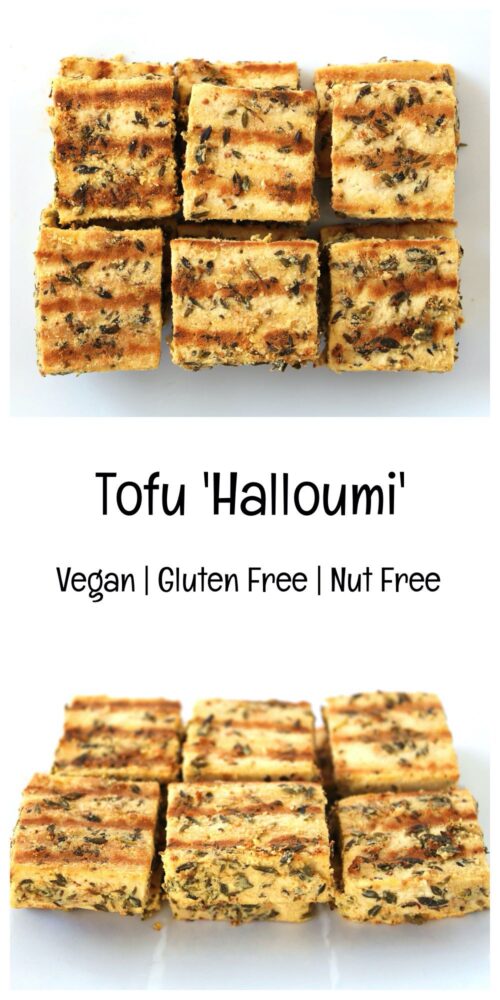
In today’s post, I’m sharing the recipe for a delicious plant-based alternative to halloumi. Simple to prepare, this Tofu ‘Halloumi’ is highly versatile. We love to add it to Greek-style salads, sandwiches, pittas, wraps and mezze platters.
It was the Greek Vegan Deli guys that first introduced me to Tofu ‘Halloumi’ back in 2018 at Bristol VegFest. It was absolutely delicious!! Since then, every time I see the Greek Deli guys at a festival, I really look forward to tucking into their Tofu ‘Halloumi’, either stuffed into a pitta or as part of one of their incredible Greek platters.
I love Greek food and halloumi used to be one of my favourite cheeses. However, once I’d tried the tofu version, I was hooked. I loved it even more than the original!
And if I’d known just how easy it is to make, I would definitely have tried making Tofu ‘Halloumi’ a long time ago!
It involves three simple steps …
Pressing the tofu
Marinating it for an hour
Then grilling it for a few minutes.
Job done!
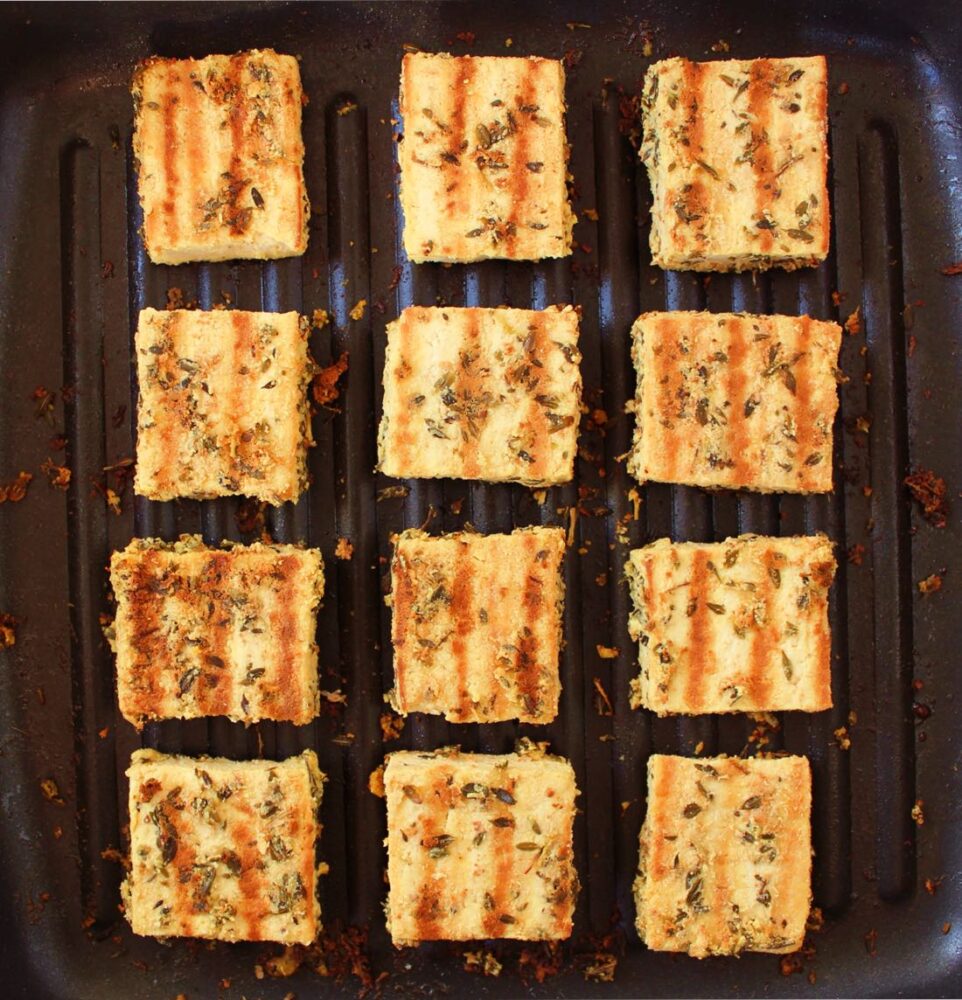
I especially love to use a griddle pan to get those beautiful grill lines.
For the marinade, I used five ingredients that are basic staples my kitchen – nutritional yeast flakes, lemon, oregano, extra virgin olive oil and salt. The resulting tofu was so flavourful. It was salty, tangy, cheesy and herby – all the flavours I associated with Greek halloumi (for Cypriot halloumi you could switch the oregano for mint instead).
Recipe Card
Prevent your screen from going dark
Tofu ‘Halloumi’
This tofu is a delicious alternative to halloumi. It can be served warm or cold, and is perfect for adding to Greek salads, sandwiches, pittas, wraps and mezze platters.
Press the tofu for 30 minutes**. Slice into ½ inch (1.3 cm) thick rectangles.
Add the nutritional yeast flakes, lemon juice, dried oregano, oil and salt to a bowl and stir until thoroughly combined. The nutritional yeast should start to dissolve into the oil.
Add the tofu to a wide, shallow container and use a pastry brush or spoon to coat both sides in the marinade (it doesn’t matter if you need to stack the tofu). Cover and leave for an hour to marinate. Alternatively you can leave it overnight in the fridge.
When ready to cook, spray a non-stick griddle pan or frying pan (skillet) with oil and pre-heat on medium-high. Add the tofu in a single layer and press down on it with a slotted turner spatula (you should hear it sizzle). Cook for 2-3 minutes until golden brown on the underside then flip over and repeat.
Stored in an airtight container, the tofu will keep for a couple of days.
Notes
* I used Cauldron Extra Firm Organic Tofu (available in the chiller cabinet in most big UK supermarkets). I like this tofu as it is set in calcium sulphate so it’s an easy way to boost our calcium levels. According to their website, Cauldron Organic Tofu contains approximately 400mg of calcium per 100g (a quarter block). **Here’s my preferred way to press tofu (since I don’t have a tofu press): Place the tofu on a rimmed baking tray. Place a chopping board on top of the tofu, followed by a heavy object to weigh it down. The water collects in a pool round the tofu. After 30 minutes, drain off the liquid. Give the tofu a quick pat with kitchen paper to soak up any residual liquid, then it’s good to go.
I’m really looking forward to seeing how you would use this Tofu ‘Halloumi’. Today, I added it to a toasted sandwich with baby leaves and shredded beetroot, sun-dried tomatoes and mayo. It was so delicious! If you make it, remember to take a photo and tag it with #bitofthegoodstuff on social media – I always love to see your creations! You can also connect with me on my social media channels here:Instagram, Facebook,Pinterest.
Happy New Year everyone! So here we are, in the year 2020. Wow! When I was little, 2020 seemed so futuristic. I imagined we would all be wearing shiny silver suits and flying around on hover boards. Well, the reality hasn’t matched up with my predictions, but life on planet Earth sure feels a bit crazy right now.
And when things start to feel a bit too crazy in the big wide world, I find it helpful to focus on the things that I can personally do (however small) to help bring about positive change. This month, I am supporting people that are giving Veganuary a try, whether they have pledged to go full vegan for the month or are dipping their toes into the world of plant-based eating. It feels an absolute honour to be part of a person’s journey as they start to make the transition towards this more planet, animal and human health-friendly lifestyle 💚
Over 300,000 people have already signed up to take part in this year’s Veganuary, which is incredible! And that includes one of my personal heroes… Brian May! I’ve been following his vegan journey on Instagram and it’s wonderful to hear how much he’s enjoying it.
I especially love this passage that Brian wrote on Day 13 of #Veganuary…
One person going Vegan for a month is a very small thing. But from small seeds big peaceful oak trees grow. Our grandchildren will need them.
Brian May
All of us really can make a difference! And if you’ve been considering joining in Veganuary but feel you may have missed the boat, it’s not too late! You can still sign the pledge on the Veganuary website. And if you’d like some personalised plant-based nutrition coaching to help you along the way, don’t hesitate to get in touch. I would be delighted to help you!
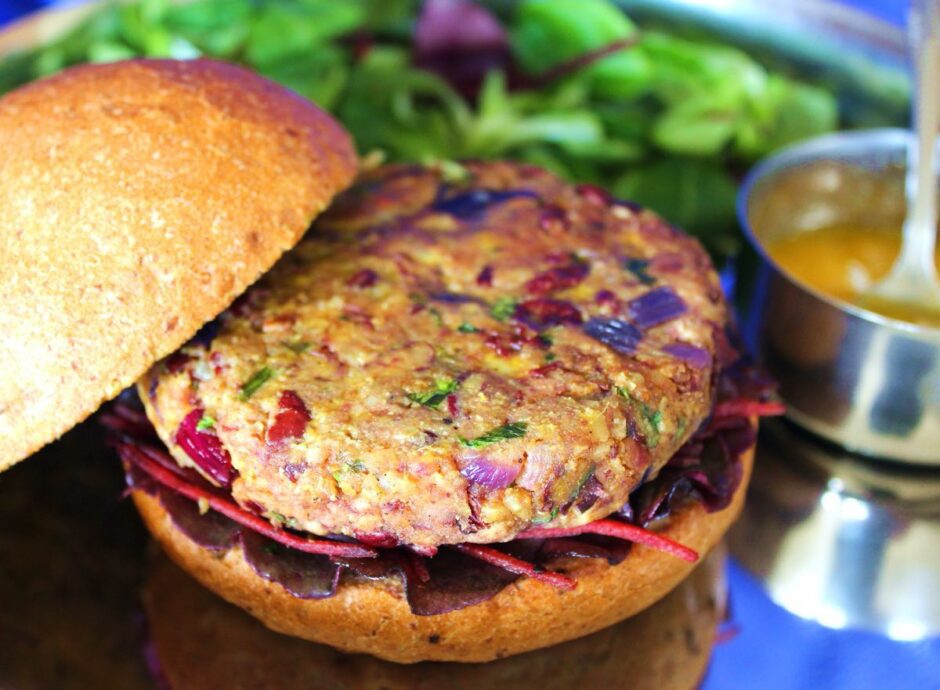
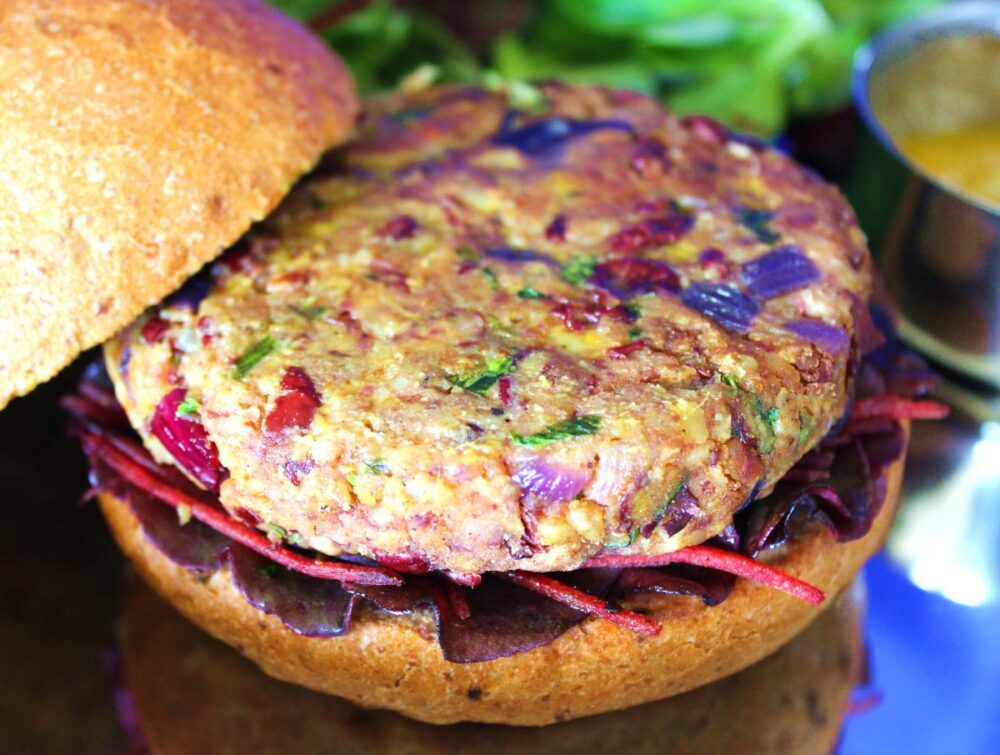
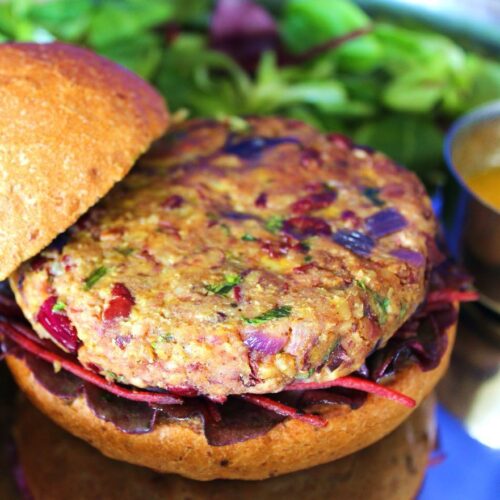
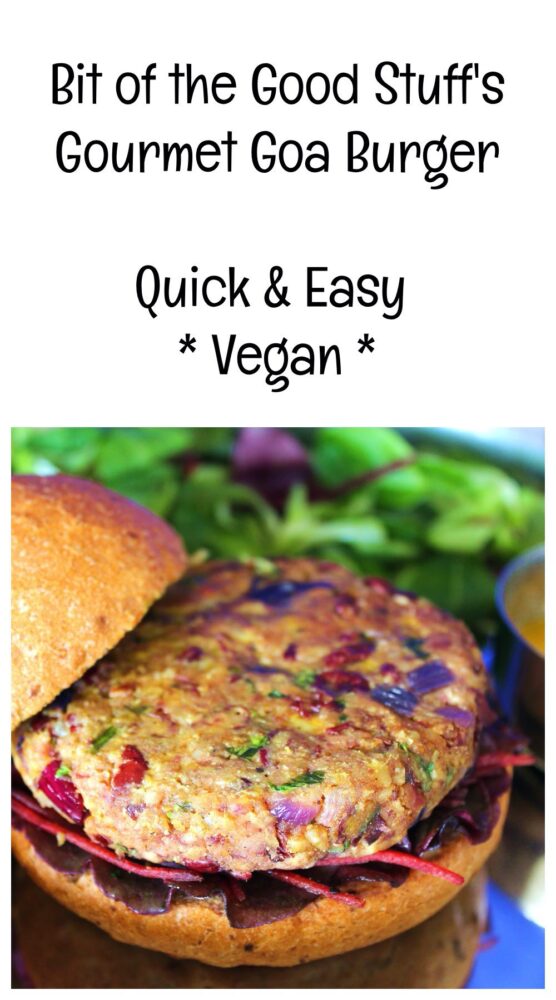
So after that long introduction, let’s get onto a recipe! I thought I would kick start blogging in 2020 by sharing one of my family’s all-time favourite burger recipes which features in the Bit of the Good Stuff Cookbook – the Gourmet Goa Burger. This recipe has proven popular with our lovely readers too. In fact, one reader that I met at a vegan festival asked me if I would sign this page of the cookbook for her mum as it was her mum’s favourite burger recipe!
These burgers are flavoured with warming Indian spices and have a beautiful texture, thanks to the addition of cashews and oats. Some home-made burgers can be a bit soft and mushy, but not these ones!
And what I especially love about these burgers is that they are so quick and easy to make! You can make them from scratch in 30 minutes or less! In the time it takes to pre-heat our oven and cook the fries for our Friday night dinner, we’ve made the burgers and washed up too.
Fresh, tasty, healthy AND quick to make. Now that’s my idea of the perfect fast food!
Recipe Card
Prevent your screen from going dark
Gourmet Goa Burger (Vegan)
Once you’ve had a taste of home-made burgers, you’ll never want to go back to the store-bought version. They taste so much fresher, plus you an adjust the seasoning to suit your own personal tastes. My family loves to serve these Indian-spiced burgers in toasted buns with colourful salad leaves and a generous spoonful of sweet pickle, mango chutney or vegan mayonnaise.
Gently heat ½ TBSP oil in a large non-stick frying pan (skillet) and cook the onion for 4 minutes. Add the garlic and curry paste and cook for another minute. Stir in the peanut butter then remove the pan from the heat.
Roughly chop the nuts either using a knife with a curved blade or by pulsing them in a food processor.
Place the beans in a mesh sieve. Rinse under cold water then shake to remove all the water droplets.
Tip the beans into a large mixing bowl and roughly mash using a potato masher. Add the contents of the frying pan, along with the chopped nuts, oats, coriander leaves and salt. Stir until thoroughly combined. Press some mixture between your fingers. It should stick together. If if feels a little dry, add a touch more peanut butter or tahini and stir through. Taste the burger mixture and adjust the seasoning to suit.
Divide the mixture into four equal size balls. Firmly press the mixture together in your hands, then place on a chopping board and shape into patties.
Coat the bottom of the frying pan with the remaining oil and cook the burgers on medium-low heat for 6 minutes on each side, or until browned.
Stored in an airtight container, the burgers will keep for up to three days in the refrigerator. They also freeze well.
Notes
* I use Pataks Mild or Korma curry paste. If you prefer, or you can substitute curry paste with 1 teaspoon of good quality curry powder.** I usually use Quaker Traditional Rolled Oats
N.B. The above values are estimates. The actual nutritional values will vary depending on the brands and ingredients used.
Pin for later ⬇️
If you make these burgers, I’d love to hear your feedback and any suggestions for adaptations! Tag your photos with #bitofthegoodstuff on social media – I always love to see your creations! You can also connect with me on my social media channels here: Instagram, Facebook, Pinterest.