Home-Made Chapattis (Indian Flatbread)

Jump to Recipe

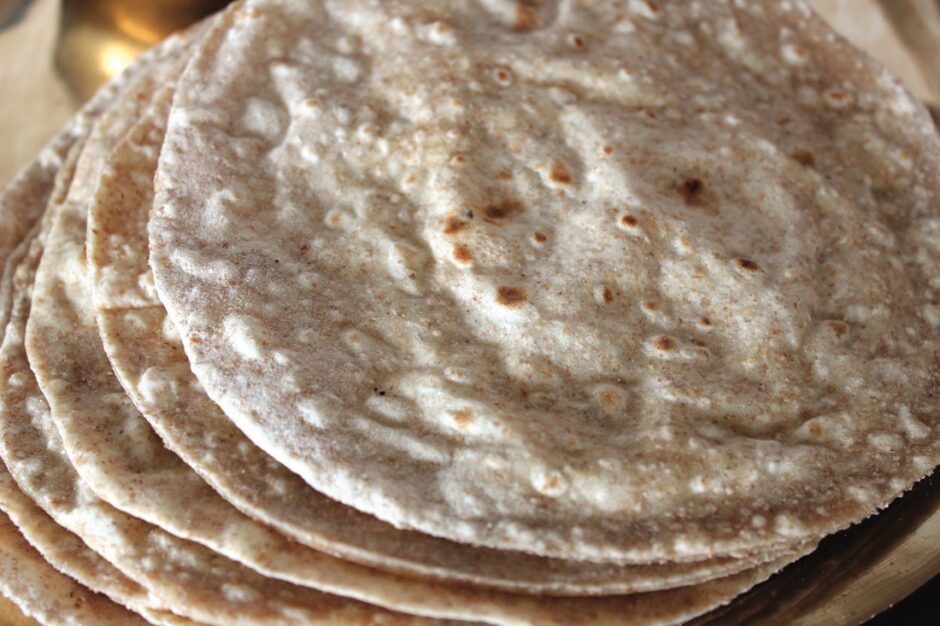
Home-made chapattis are easy to make, super affordable, and taste so much fresher than anything you’ll find in the shops. From start to finish, it takes just 15 minutes to make four chapattis (perfect for two people), and costs just 11p per serving!

Chapattis are made with atta flour, which is a very fine wholemeal (wholewheat) flour. It can be found in the world food aisle of larger supermarkets or in Indian food stores. I love the fine texture of chapatti flour and find it perfect for baking (it’s my favourite flour for cakes, cookies and pizza crusts!) In traditional chapatti recipes, the flour is mixed with water to create a dough, but I personally prefer to use plant milk. I find it enhances the flavour of the flatbread and the texture is softer.

Ingredient Cost Breakdown

  • 140g / 1 cup atta chapatti flour (Tesco, 11p)
  • 90ml / ⅓ cup fortified soya milk (Tesco longlife, 11p)

Total cost: 22p

Cost per serving: 11p

N.B. Prices listed are for May 2024. I use Tesco prices as that’s where I do my main grocery shop at the moment.

Recipe Card
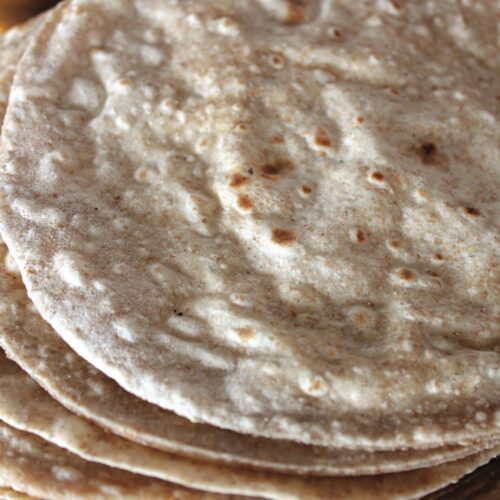
Chapattis (Indian Flatbread)

These home-made chapattis are the perfect accompaniment to whip up while your curry or dhal is simmering away.
Hands on time: 15 minutes
Total Time 15 minutes
Course Dinner, Light Dinner, Lunch
Cuisine Indian
Servings 4 chapattis

Ingredients
 

  • 140 g / 1 cup atta chapatti flour*
  • ¼ tsp salt
  • 90 ml / ⅓ cup fortified soya milk or other plant milk

Instructions
 

  • Place the flour and salt in a bowl. Make a well in the centre. Slowly stir in the milk with a fork until it starts to come together, then continue to form into a dough with your hand. (Depending on the type of flour you use, you may not need all the milk). Turn out the dough onto a lightly floured surface and knead until smooth and elastic.
  • Divide the dough into four balls (I weigh my dough to divide it evenly). Lightly coat a ball in flour and roll into a thin circle about 20cm / 8 inches in diameter. Place on a plate and lay a piece of kitchen paper towel on top (this prevents the chapattis sticking together). Repeat the process with the remaining dough.
  • Heat a frying pan (skillet) on medium-high. Using no oil, cook a chapatti for about 30 seconds, or until brown spots appear on the underside. Flip over and cook until brown spots appear on the second side (about 15 seconds). Flip over one more time and cook for a few more seconds (the chapatti should start to puff up). Place the chapatti on a plate with a sheet of kitchen paper towel on top (this will absorb the steam and enable the chapattis to be stacked). Repeat the process with the remaining dough balls.
  • Chapattis are best served immediately, however they will last a couple of days in an airtight container in the refrigerator. To refresh them, sprinkle lightly with water and gently heat them through in the oven.

Notes

* If you can’t find atta chapatti flour in your local stores, you can substitute with 70g / ½ cup fine wholemeal (whole wheat pastry) flour and 70g / ½ cup plain (all purpose) flour
Keyword Budget Vegan Meals, Chapattis, Easy Vegan Meals, Home-made Chapattis, Plant-Based on a Budget, Student Vegan Meals, Vegan Dinners
Tried this recipe?Let us know how it was!

N.B. The above values are estimates and for illustration purposes only. The actual nutritional values will vary depending on the specific ingredients used. The % Reference Intake (RI) will also vary depending on your age, gender, height, BMI, level of activity and other personal variables.

If you make these chapattis, I’d love to hear your feedback and any suggestions for adaptations! Tag your comments and photos with #bitofthegoodstuff on social media and they will find their way to me. You can also connect with me on my social media channels here: InstagramFacebookPinterest.   

With love,

Sharon xx

—————————–

N.B. This recipe was originally published in 2016 in the Bit of the Good Stuff Cookbook.
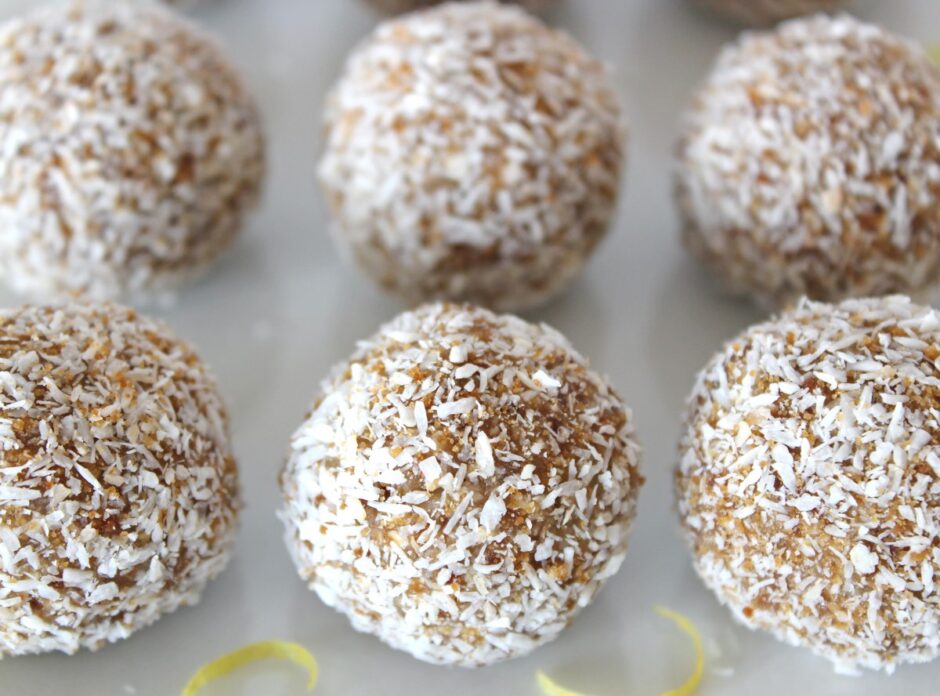
Lemon Coconut Energy Balls

Jump to Recipe

It is so quick and easy to make your own energy balls! It is literally a case of whizzing the ingredients together in a food processor. It also works out way cheaper than buying them from the supermarket.

As an added bonus you get to flavour them exactly to your own personal tastes!

I have already shared a few of my favourite energy ball recipes on the blog including Chocolate Orange, Cocoa Lime and Chocolate Rose (I can see a pattern running here haha) BUT the one I’m sharing today has to be my all-time favourite and – surprisingly – it contains no chocolate!

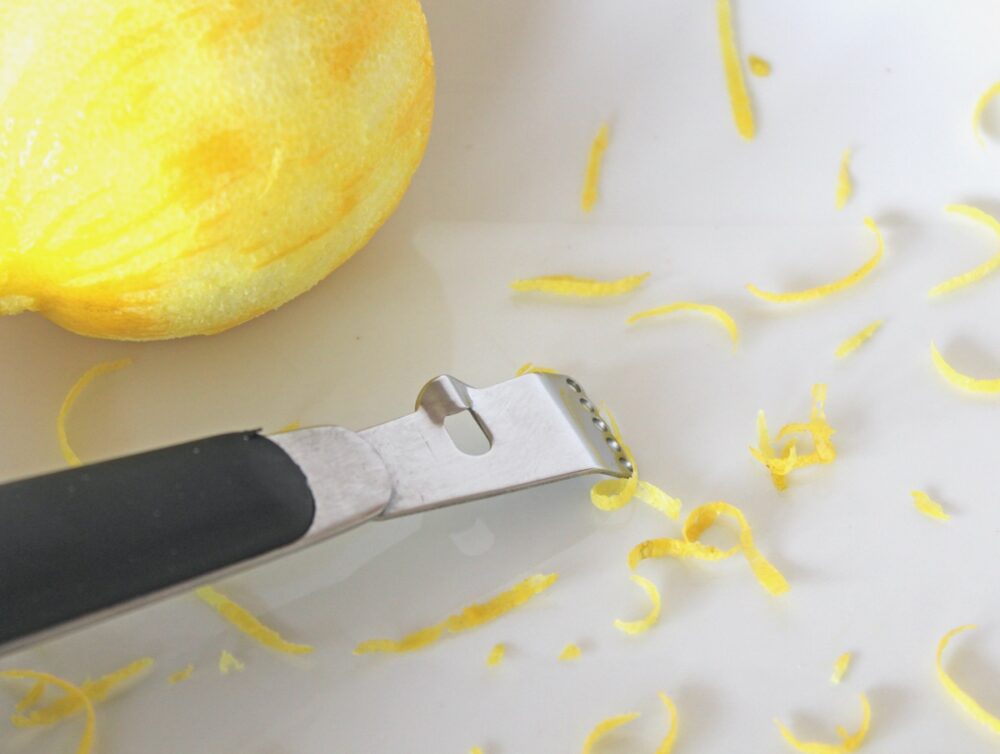
Lemon Zest

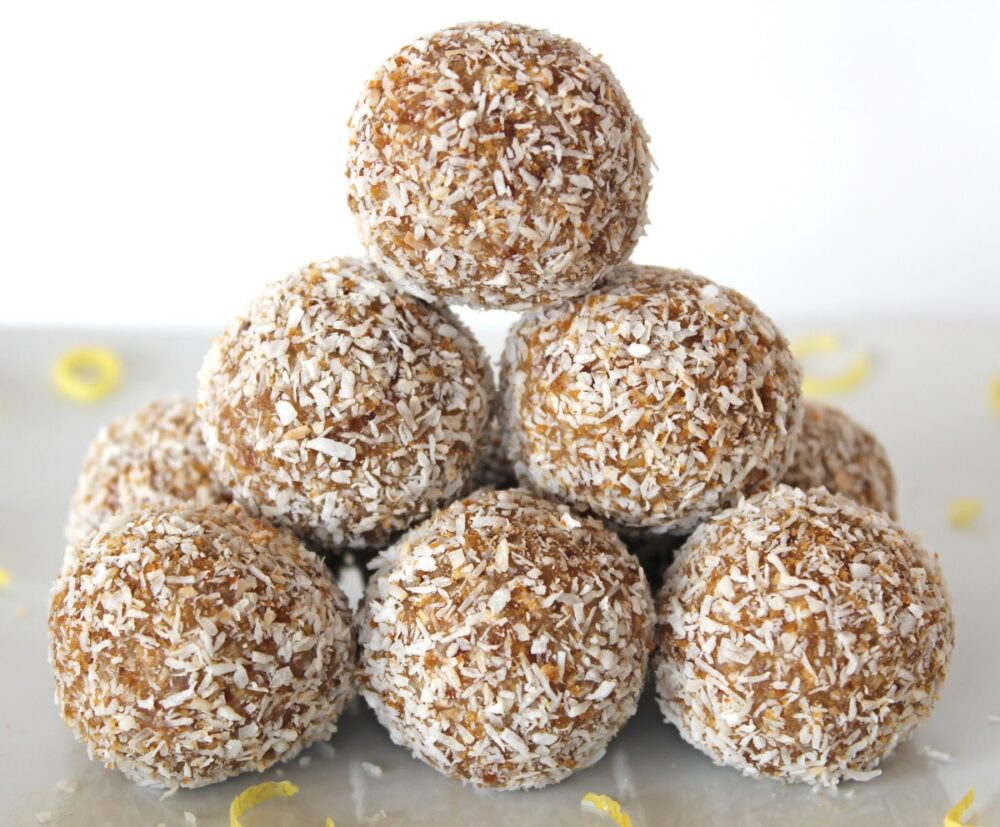
Lemon Coconut Energy Balls

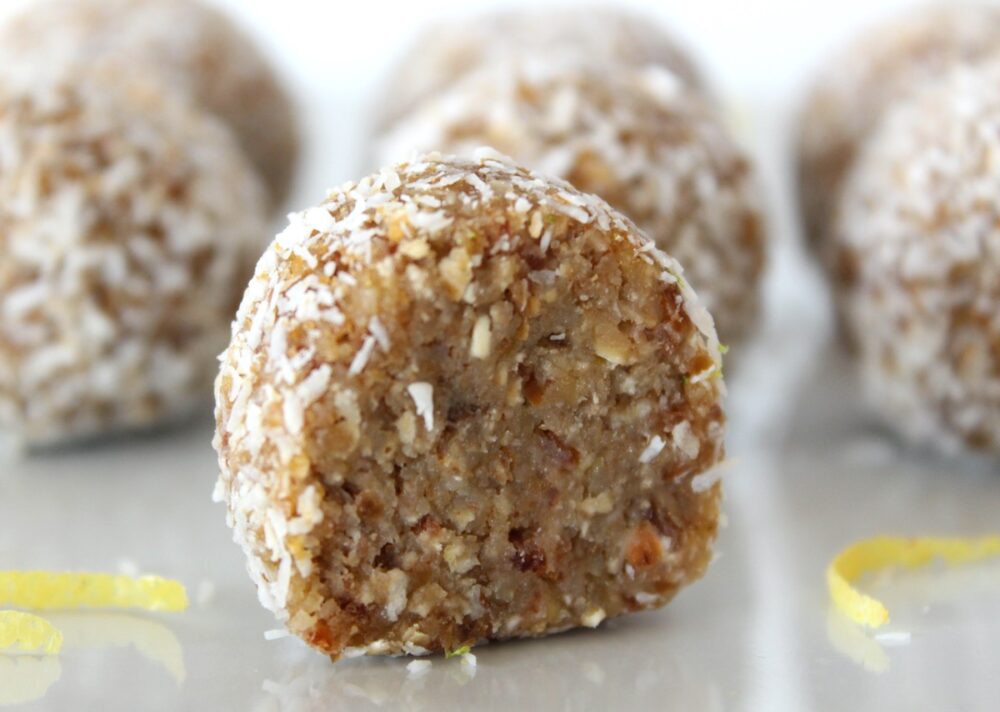
This Coconut and Lemon energy ball is so refreshing and zesty. I find it’s the perfect snack while out on a long hike, bike or run. It’s packed with wholesome ingredients such as oats, nuts and dates that help to boost and sustain energy levels. A touch of fresh lemon adds a delicious ‘zing’.

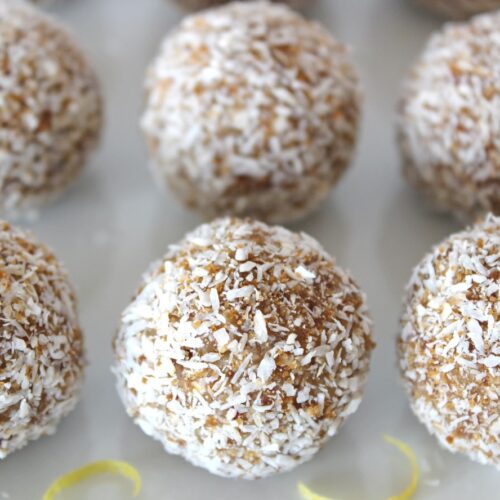
Lemon Coconut Energy Balls

Recipe Card

Lemon Coconut Energy Balls

These energy balls are so easy to make! They're compact and easy to transport, making them perfect for popping in your backpack for snacking 'on the go'.
Hands on time 15 minutes
Total Time 15 minutes
Course Snack
Servings 12 Balls

Ingredients
 

  • 22 g / ¼ cup desiccated coconut
  • 1 TBSP coconut sugar or soft brown sugar
  • 50 g / ½ cup rolled oats (quick oats, not jumbo)
  • 40 g / ¼ cup raw cashews
  • 35 g / ¼ cup walnuts
  • 120 g / ½ cup soft sticky dates (e.g. Medjool), pitted
  • ½ – 1 tsp zest from an unwaxed/ organic lemon
  • 2 TBSP freshly squeezed lemon juice
  • 1 tsp maple syrup
  • pinch of salt

Instructions
 

  • Mix together the desiccated coconut and sugar in a shallow container.
  • Place the oats, cashews and walnuts in a food processor and whiz into fine crumbs. Add the dates, lemon zest, lemon juice, maple syrup and salt. Process until the mixture comes together in a ball. Taste test and add a touch more lemon zest or sweetener, if desired.
  • Scoop level tablespoons of the mixture. Roll into balls, then roll in the sugar /coconut mixture. Repeat until all the dough is used. Chill in the refrigerator before serving (they will firm up as they chill).
  • Stored in an airtight container, these energy balls will keep for a week in the refrigerator, or for weeks in the freezer.
Keyword Dairy-Free, Energy Ball, Healthy Snacking, Plant-Based, Vegan Snacks, Wheat-Free
Tried this recipe?Let us know how it was!

Nutritional Breakdown

N.B. The above values are estimates and for illustration purposes only. The actual nutritional values will vary depending on the specific ingredients used. The % Reference Intake (RI) will also vary depending on your age, gender, height, BMI, level of activity and other personal variables.

If you make these Lemon Coconut Energy Balls, I’d love to hear your feedback and any suggestions for adaptations. Tag your photos with #bitofthegoodstuff on social media – I always love to see your creations! You can also connect with me on my social media channels here: InstagramFacebook, Pinterest.   

With love,

Curried Tempeh Vegan Sandwich Slices

Jump to Recipe

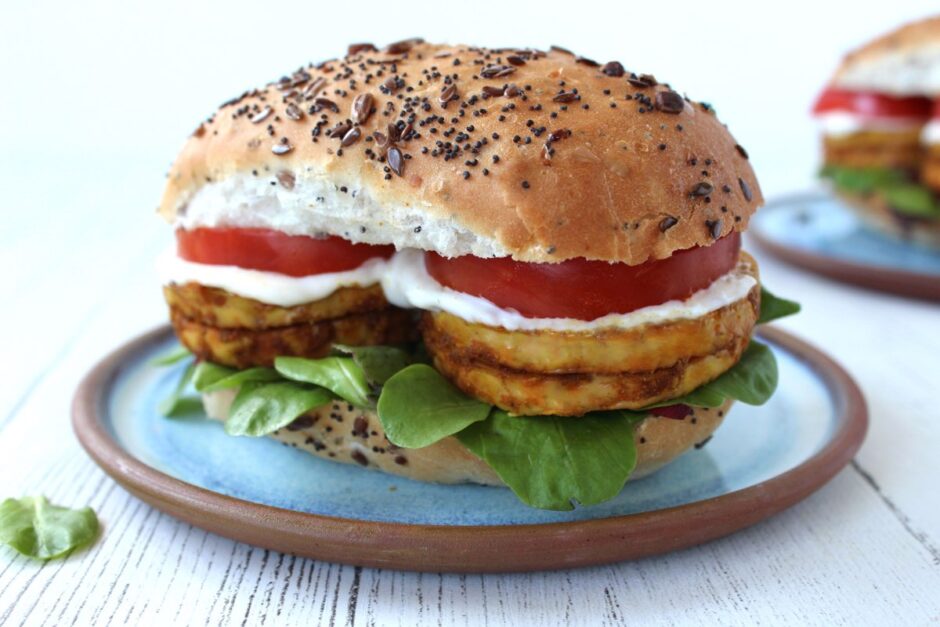
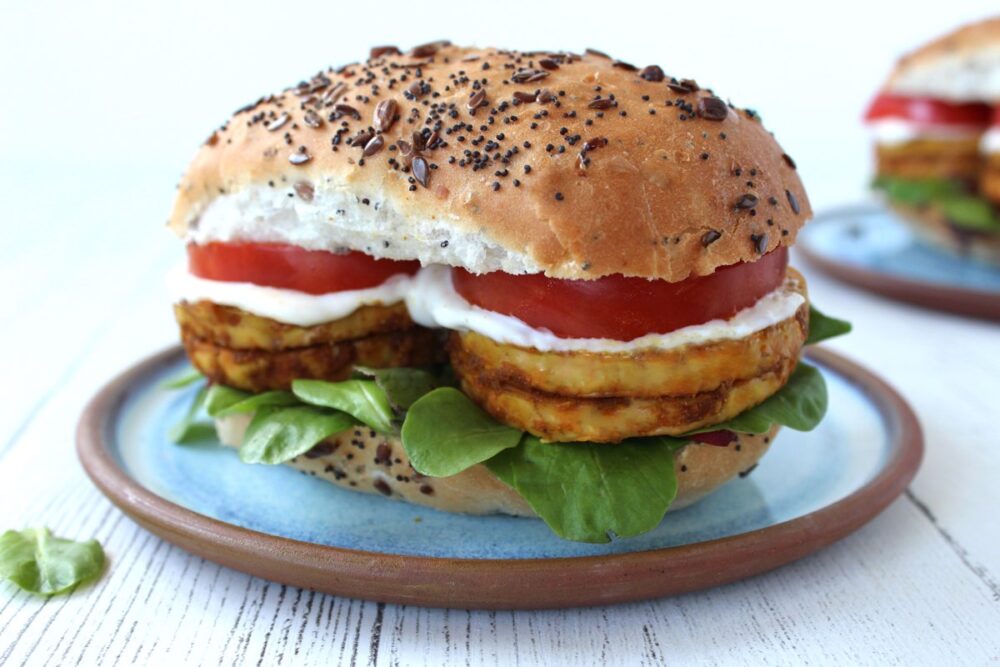
The curried tempeh I’m sharing today makes one tasty, high protein sandwich filling! For my work lunch box, I love to serve it in a seeded bap with some juicy tomato slices, diced red pepper, fresh green leaves and a dollop of vegan mayo or mango chutney. Just like tofu, I find that adding a couple of slices of tempeh to my lunchtime sandwich really helps to power me through the afternoon and keeps me feeling full for hours.

Curried Tempeh Sandwich
Continue reading “Curried Tempeh Vegan Sandwich Slices”

Giant Chocolate Peanut Butter Cups (Dairy-free | Vegan).

Jump to Recipe

Know any peanut butter lovers?

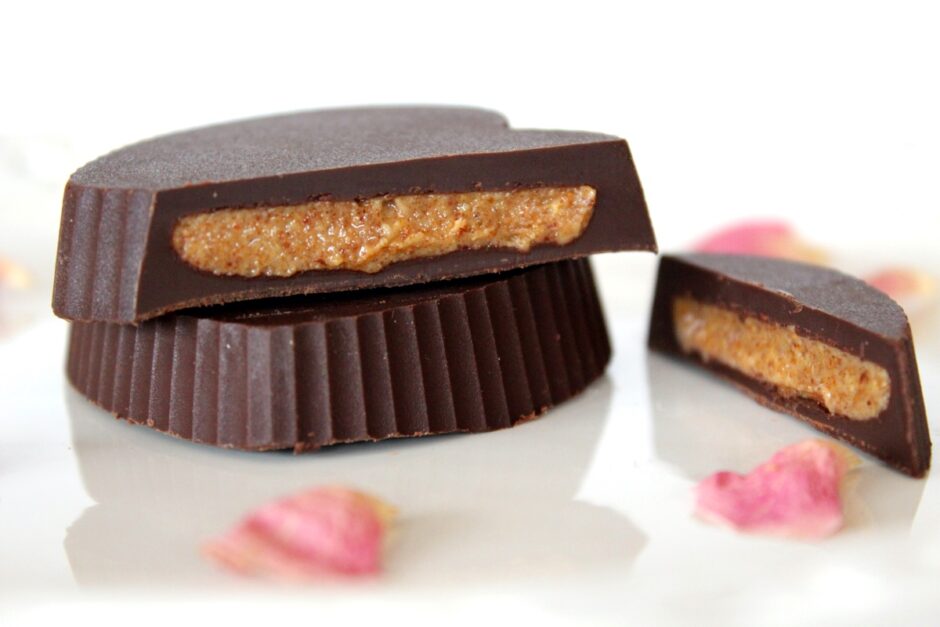
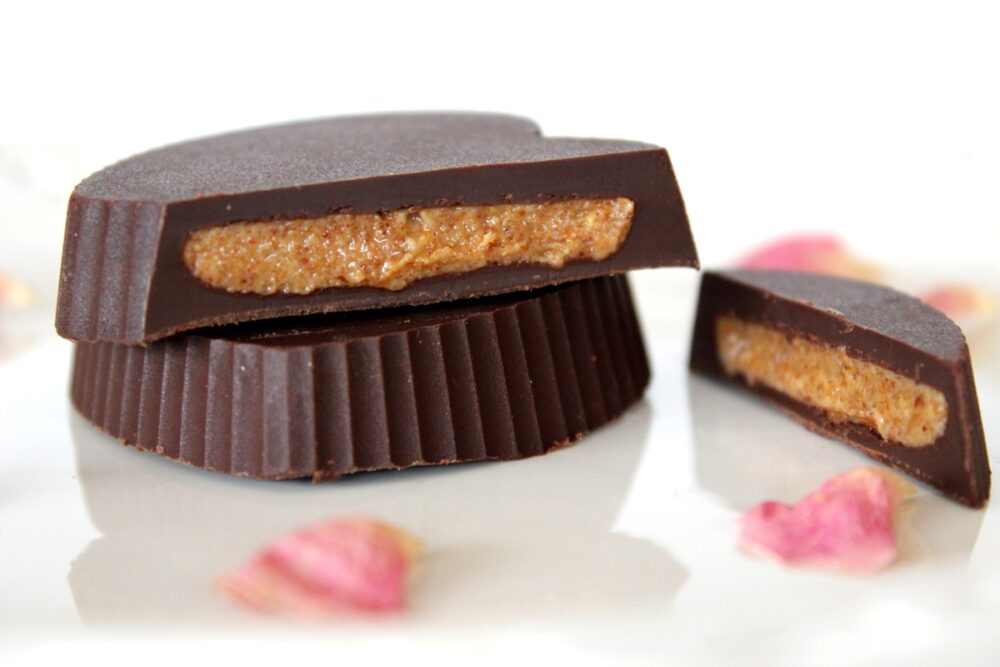
If so, I have the perfect treat you can gift them on Valentine’s Day huge chocolate peanut butter hearts!

These treats are so simple to make but definitely have the ‘wow’ factor. They’re giant in size so perfect for sharing with your loved ones

Chocolate Peanut Butter Heart (Vegan | Dairy-Free)
Continue reading “Giant Chocolate Peanut Butter Cups (Dairy-free | Vegan).”

Dark Chocolate Cranberry Truffles (Vegan)

Jump to Recipe

Today I’m sharing some delicious home-made vegan truffles that are really easy and quick to prepare. With a fudgy centre speckled with shiny red cranberries and a dark chocolate coating, these truffles are the perfect treat for the festive season. They also happen to be packed full of nutrient-rich ‘feel-good’ ingredients, making them one festive treat that you definitely won’t regret indulging in!

Brussels Sprout Hash

To make these treats, it’s simply a case of whizzing the filling ingredients in a food processor, rolling it into balls and then dipping them in melted chocolate. The hardest part is waiting for the chocolate to set before you can dive in!

These truffles make a lovely, thoughtful gift for sharing with friends, family and work colleagues. I love to buy cute little chocolate boxes that fit six truffles, which I then finish off with some festive ribbon and a home-made label.

Vegan Dark Chocolate Cranberry Truffles

I originally shared this recipe in the Bit of the Good Stuff cookbook back in 2016, and it’s received lots of lovely feedback! Since my cookbook is almost out of print, I thought I would share the recipe on the blog so more of our lovely readers can access it.

Recipe Card

Vegan Chocolate Cranberry Truffles

Dark Chocolate Cranberry Truffles

Chocolate coated with a fudgy centre speckled with shiny red cranberries, these truffles are the perfect treat for sharing in the festive season. They also happen to be packed full of nutrient-rich 'feel-good' ingredients, making them one festive treat that you definitely won’t regret indulging in!
Hands On Time 30 minutes
Total Time 1 hour 20 minutes
Course Treat
Servings 20

Ingredients
 

  • 30 g / ¼ cup walnuts or pecans
  • 35 g / ¼ cup cashews
  • 110 g / ½ cup soft, sticky dates (e.g. Medjool) pitted
  • 20 g / 3 TBSP cocoa powder
  • tsp vanilla extract
  • 1 tsp maple syrup
  • pinch of salt
  • 35 g / 4 TBSP dried cranberries (preferably sweetened with fruit juice)
  • 100 g / 3½ oz dark chocolate chopped into small pieces (or use dark choc chips)

Instructions
 

  • Whiz the nuts in a food processor to break them down. Add the dates, cocoa powder, vanilla extract, maple syrup and salt. Process until the mixture has formed crumbs that easily stick together when pressed between your thumb and forefinger. Add the cranberries and process until they are roughly chopped. Taste test and add a touch more cocoa or sweetener, if desired. 
  • Line a tray with non-stick baking paper. Scoop ½ TBSP mixture and roll it into a ball, then place on the paper. Repeat with the remaining mixture.
  • Place the chocolate in a heat-proof bowl set over a pan of gently simmering water (make sure the water doesn’t touch the bowl). When the chocolate has melted, switch off the heat.
  • Using a metal spoon, quickly roll each truffle in the chocolate. Place the truffle on a fork and gently shake off the excess chocolate. Place the truffle back on the lined tray. Repeat with the remaining truffles. Chill in the refrigerator until set.
  • If you have any melted chocolate left over, pour it onto a piece of baking paper to form a chocolate ‘puddle’ then chill until set. You can save this for another recipe.
  • Stored in an airtight container, these truffles will keep for weeks in the refrigerator or freezer.
Keyword Dairy-Free, Gluten-Free, Vegan Treats, Vegan Truffles
Tried this recipe?Let us know how it was!

Pin for later ⬇️

Vegan Dark Chocolate Cranberry Truffles

If you make these Dark Chocolate Cranberry Truffles (or any other recipes on our blog), I’d love to hear your feedback and any suggestions for adaptations! Tag your photos with #bitofthegoodstuff on social media – I always love to see your creations! You can also connect with me on my social media channels here: InstagramFacebookPinterest.   

With love,

———————————-

Smoky Tempeh, Lettuce and Tomato Sandwich

Jump to Recipe

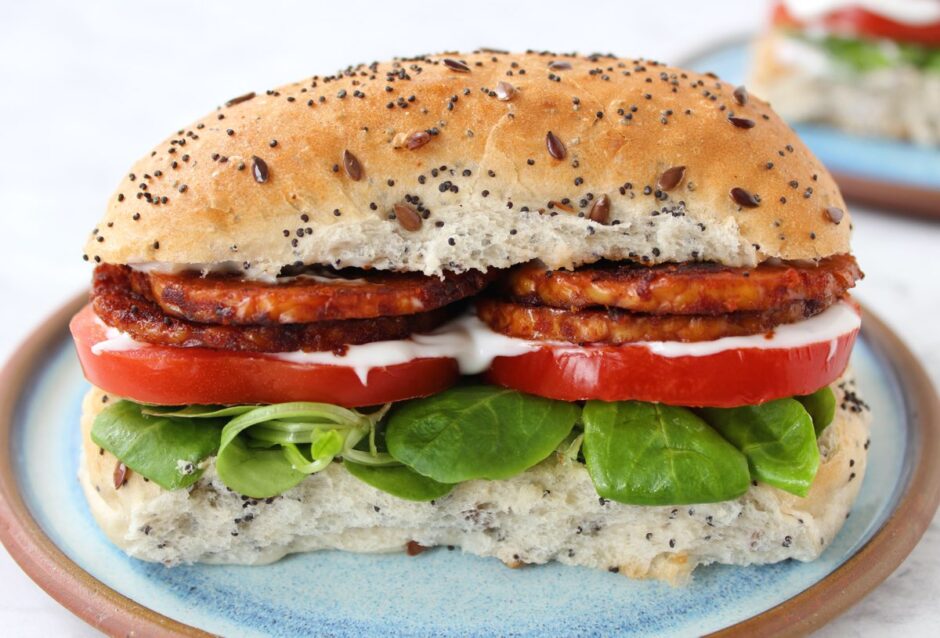
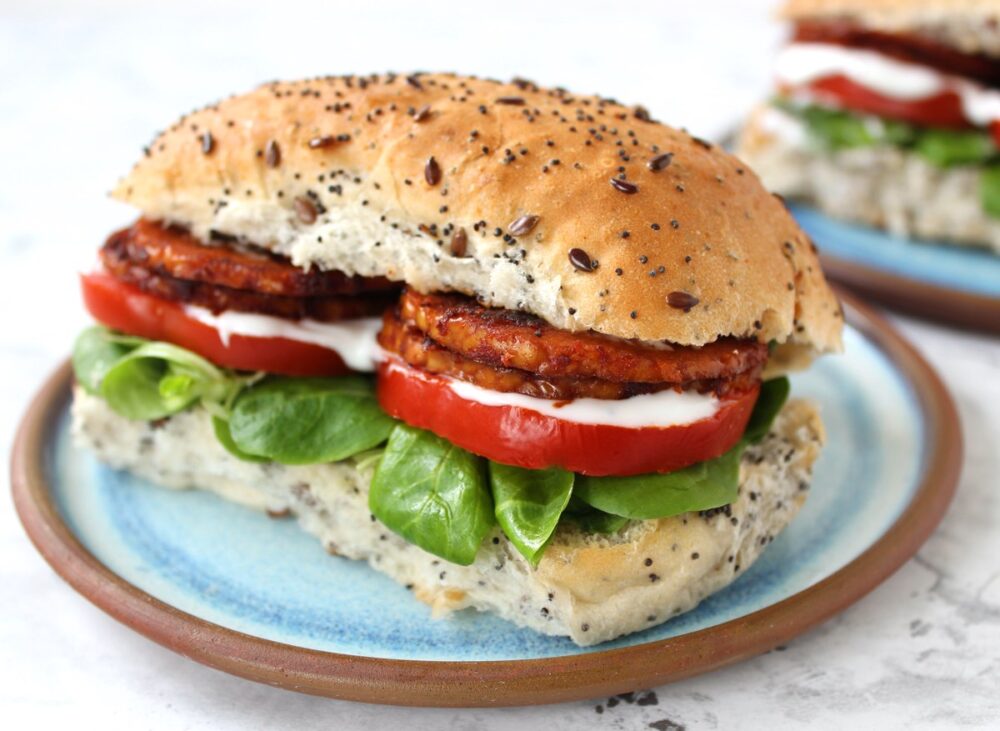
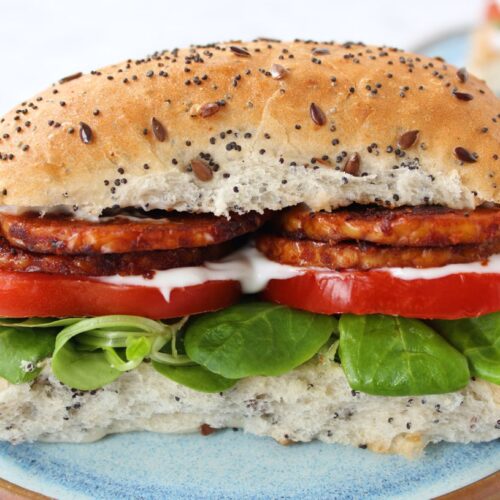
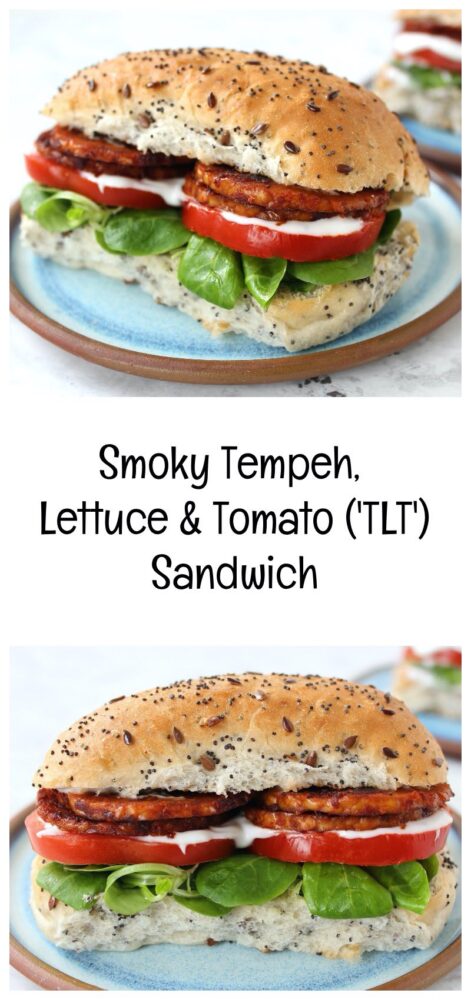
Today I’m sharing a recipe for smoky tempeh slices that are just perfect as a sandwich filling. They are super easy to make and packed full of flavour. Add some lettuce, slices of juicy tomato and a dollop of mayonnaise and you have a delicious vegan alternative to the classic BLT sandwich – the ‘TLT’ (Tempeh, Lettuce, Tomato) sandwich!

Smoky Tempeh TLT Sandwich

Tempeh originally hails from Indonesia and is made from whole soy beans which are fermented with a live culture and pressed into a block. This gives it a distinct texture and flavour (very different to tofu, which is made from soy bean curd). Tempeh is nutrient dense and contains an array of minerals, B vitamins and prebiotics (types of fibre that promote the growth of beneficial gut bacteria). It also happens to be a rich source of protein (100 grams of tempeh contains just over 20 grams of protein).

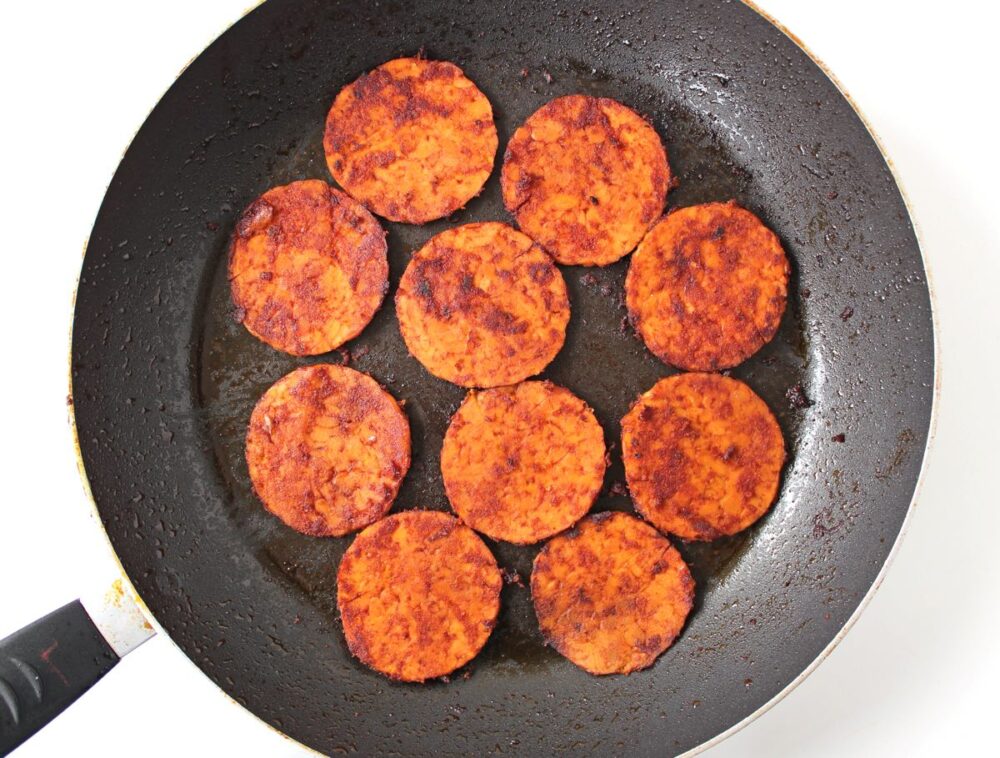
Smoky Tempeh in Pan

Here in the UK, tempeh is starting to become more widely available. I’ve been buying the Tofoo brand, which is available in my local Waitrose, Sainsbury’s and Tesco and the Plant Power Original Tempeh (from Sainsbury’s). Both can be found in the the vegetarian/vegan chilled aisle.

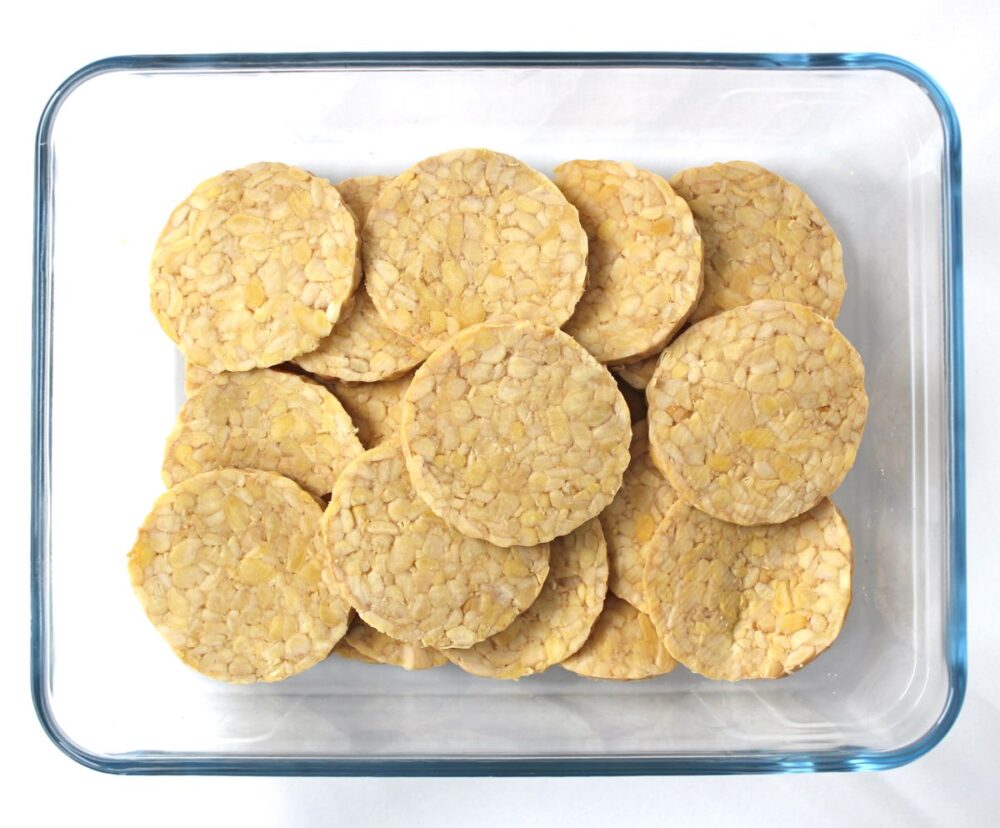
Tempeh Slices

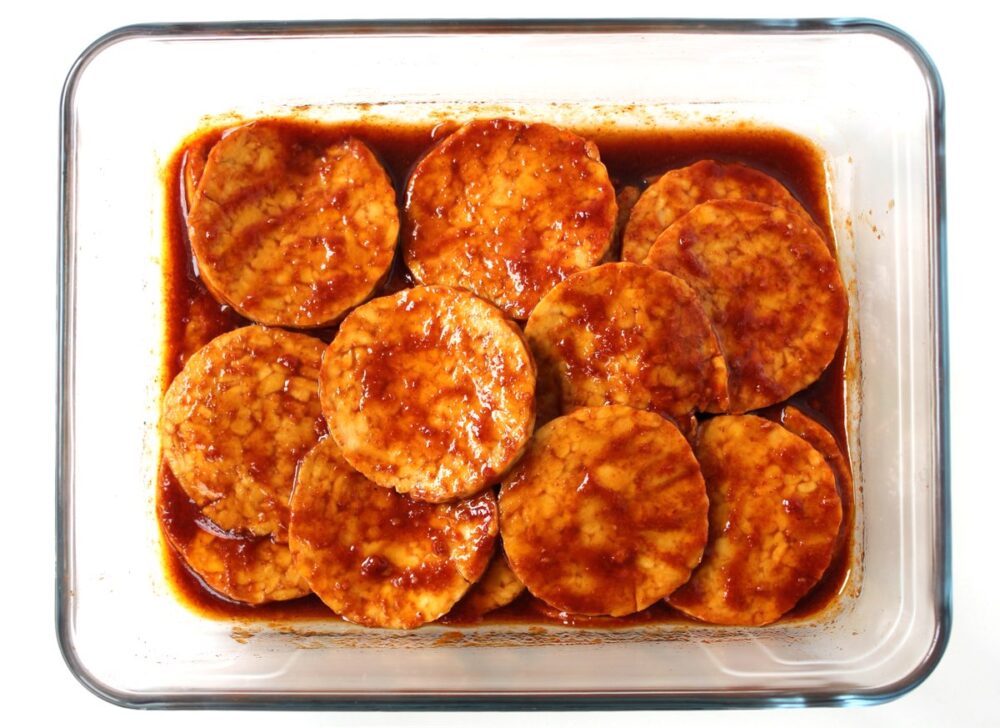
I must admit that until recently, I haven’t been a big fan of tempeh. I found its texture quite hard and the flavour bitter (even after steaming it). However, the recipe I’m sharing today has been a complete game changer for me. I’ve learnt that by slicing the tempeh very thinly and soaking it for a few minutes in a tasty marinade, completely transforms both its texture and flavour. 

Tempeh Slices Marinading

The recipe is lightly adapted from The Happy Pear’s Vegan ‘Bacon’ so a huge thank you to Steve and Dave for the inspiration, and for showing me a way to prepare tempeh that’s not only delicious but super easy too!

At the moment I can’t get enough of this smoky tempeh. It’s hard to resist eating it straight from the pan! It’s been a big hit with the rest of the family too. I hope you enjoy it as much as we do!

Recipe Card

Smoky Tempeh TLT Sandwich

Smoky Tempeh Sandwich Slices

These smoky tempeh slices are perfect for serving in sandwiches. Add some lettuce, slices of juicy tomato and a dollop of mayonnaise and you have a delicious vegan alternative to the classic BLT… the TLT!
5 from 2 votes
Hands-on Time 25 minutes
Total Time 30 minutes
Course Brunch, Lunch
Servings 3

Ingredients
 

  • 200 g / 7 oz tempeh*

Marinade

  • 1 tsp smoked paprika
  • 1 tsp minced garlic
  • 2 TBSP reduced salt soy sauce or tamari (for a GF option)
  • 1 TBSP tomato puree (paste)
  • 1 TBSP apple cider vinegar
  • TBSP extra virgin olive oil
  • 2 TBSP maple syrup
  • 1 TBSP water

Instructions
 

  • Slice the tempeh as thinly as possible and place in a wide, flat bottom dish.
  • In a small bowl, whisk together all the marinade ingredients. Pour over the tempeh and stir through, making sure both sides are coated in the marinade. Leave for five minutes (can be left longer).
  • Heat a large non-stick frying pan (skillet) on medium heat. Arrange some tempeh slices in a single layer in the pan. (You can spoon some of the extra marinade onto the slices if you wish, for an even deeper flavour). Cook the tempeh, flipping regularly until it is browned on both sides and all the liquid has evaporated (I find this takes me about six minutes in total). Transfer to a plate and repeat the process with the remaining tempeh slices.
  • The tempeh can be eaten straight away or stored in an airtight container in the fridge for 48 hours.

Notes

* I used Tofoo tempeh, currently available in the UK from Tescos, Waitrose and Sainsbury’s (in the vegetarian/vegan chiller cabinet). Tempeh is also available from independent health food shops.
The recipe is lightly adapted from The Happy Pear’s Vegan ‘Bacon’ so a huge thank you to Steve and Dave for the inspiration, and for showing me a way to prepare tempeh that’s not only delicious but super easy too!
Keyword Family Friendly, Gluten-Free, Plant-Based, Vegan Lunch, Vegan Lunchbox Ideas, Vegan Sandwiches
Tried this recipe?Let us know how it was!

Nutritional Breakdown


NB: The above values are estimates and for illustration purposes only. Actual nutritional values will vary depending on the specific ingredients used. Percentage Reference Intakes (RI) will also vary depending on individual factors such as age, gender, height, BMI and activity level.

Pin for later ⬇️

Smoky Tempeh, Lettuce and Tomato Sandwich

If you make this Smoky Tempeh, Lettuce and Tomato Sandwich sandwich, I’d love to hear your feedback and any suggestions for adaptations! Tag your photos with #bitofthegoodstuff on social media – I always love to see your creations! You can also connect with me on my social media channels here: Instagram, FacebookPinterest.   

With love,

Sharon xx

———————————-