Autumn-Inspired Apple and Almond Breakfast Smoothie

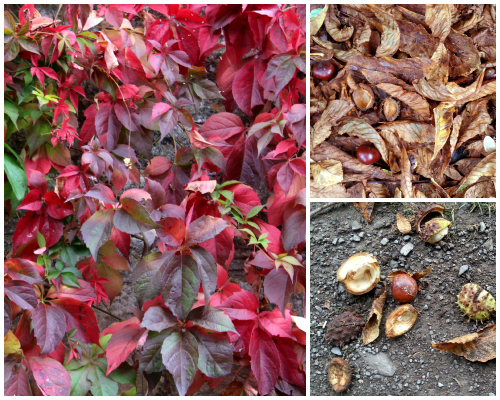
After an exceptionally warm and summer-like September and early October, Autumn has finally arrived in Bath. The Virginia creeper seems to have magically transformed overnight from lush green to vivid red, and the river and canal paths are littered with crunchy brown leaves and horse chestnuts. It most certainly is a beautiful time of year

First Signs of Autumn 4

And though the weather has cooled off a little, I’m still enjoying my daily smoothies. I often have them as a breakfast or lunch on the go, so I add ingredients like nut butters and chia seeds for protein, slow-release energy and to keep hunger pangs at bay. Lil’ L also enjoys smoothies as an after-school snack.

One of our current favourites is this Autumn-inspired Apple & Almond Smoothie.
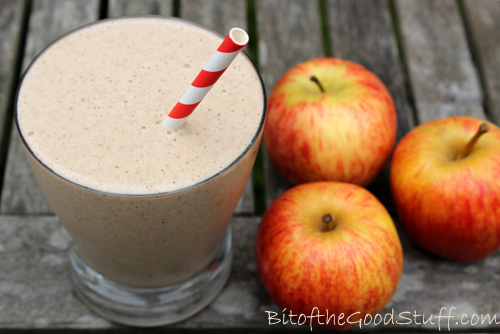
Apple and Almond Smoothie

The nut butter, yogurt and chia seeds add a delicious creaminess to the smoothie as well as packing in lots more nutrients. The smoothie provides a good dose of protein, fibre and heart-healthy fats (including omega 3), as well as antioxidant vitamins C and E, and trace minerals such as calcium, iron and magnesium.

And another great thing about this smoothie is that you can sneak in a handful of spinach and it doesn’t affect the taste at all!

Until recently, Lil’ L hasn’t been a fan of green smoothies. He likes his smoothies to be the ‘right’ colour. In his eyes, berry smoothies should be pink or purple, while pineapple or mango smoothies should be yellow. For him, a berry smoothie that’s bright green is just wrong. However, one day it dawned on me that I might get away with adding spinach to our usual apple and almond smoothie. Apples can be green, right?
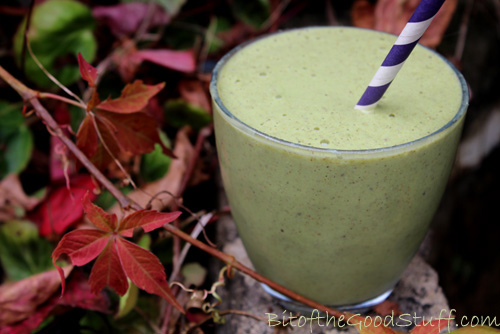
Green Apple and Almond Smoothie

I decided to give it a try when he arrived home from school one day. Here’s how the conversation went…
“Hi!” I call out. “I’ve made you a smoothie!”
“Great! Thanks!” he replies enthusiastically. I hand him the smoothie and there’s a pause, followed by a despondent “Oh…. it’s green”.
“Yep, it’s a green apple smoothie. Give it a try. I’m sure you’ll love it”.
With trepidation he takes a sip. “Mmm, it’s really nice!” he says with surprise. Then there’s a pause…. “So what’s making it green?”
Darn, 10 year olds are sharp. Clearly the ‘green apple’ thing won’t wash with him, so I decide to own up and tell him it’s spinach. He thinks about it for a moment then decides it doesn’t matter after all. Green or not, it tastes really good.

Hallelujah, the green smoothie hang up is finally over! In hindsight, I wish I’d introduced green smoothies when he was much younger. That way, he would have grown up thinking that green berry or tropical smoothies are normal. Never mind, he’s on board now and I’m really excited to try out lots more concoctions over the coming weeks (especially as I’ve got an awesome new blender to play with).

So if you’ve got any green smoothie phobes in the family, I highly recommend trying this one on them. Start with a small amount of spinach so it’s a delicate light green rather than scary green and see what they think (just don’t mention the spinach until they’ve given it a thumbs up 😉 ).

[print_this]

This smoothie is perfect for breakfast on the go or as a post-school or exercise snack. Unlike regular fruit smoothies, this one is a great source of slow-release energy and will keep you feeling full up for hours.

Hands-on time: 5 minutes

Serves 1 as a breakfast (or two as a snack)

1 medium organic apple, cored and chopped (no need to peel if you have a powerful, high speed blender)
1 tsp ground cinnamon
2 TBSP almond butter
1 TBSP chia seeds
handful of spinach leaves (optional)
120ml / 4 fl oz / ½ cup almond milk (or other non dairy milk)
120ml / 4 fl oz / ½ cup non dairy natural yogurt
1 tsp maple syrup, or to taste

Place all the ingredients in a blender. Pulse a few times to break up the apple, then blend on high speed until smooth. Taste test, and add more sweetener, if desired.

[/print_this]

Rocky Road (Vegan Style!)

Sorry I haven’t been around much these past few weeks, but I’ve been hanging out with Lil’ L. He’s growing up fast, and since this could be the last summer that he actually wants to hang out with me, I’ve been savouring every moment. We’ve had so much fun! This week’s highlights (so far) have been hiking, biking, playing tennis, picnicking in the park, a trip to the cinema (How To Train Your Dragon 2) and playing in the kitchen 🙂

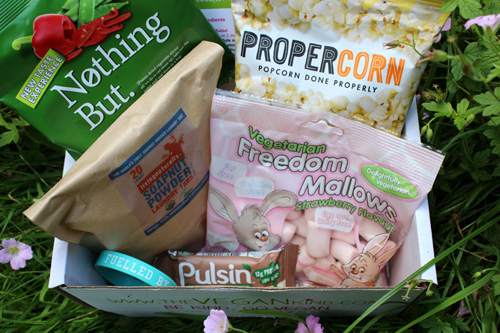
Last weekend we got back from our vacation and there was a postal delivery card waiting for us. First thing Monday morning, we hopped on our bikes and pedalled down to the post office. I jumped with glee when I saw that the mystery parcel was the latest The Vegan Kind Subscription Box. I couldn’t wait to do the big ‘reveal’!

The Vegan Kind #TVK10

As usual, the box was filled with interesting brands and products that I’m excited to try out. Lil’ L’s eyes especially lit up when he saw these….

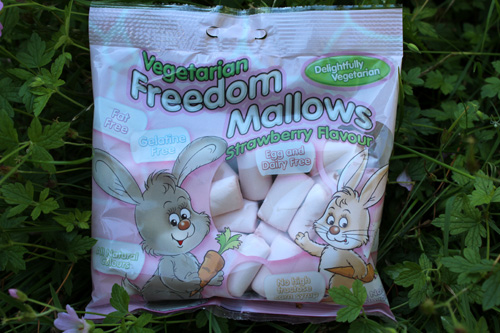
Freedom Mallows

While regular marshmallows are made with gelatine (a slaughterhouse byproduct), Freedom Mallows are gelatine free, dairy free, egg free, gluten free and nut free, and thus suitable for vegetarians and vegans, as well as people with gluten, dairy and nut allergies/intolerances.

And it’s incredible how similar they are to regular marshmallows, both in taste and texture. My mum loves marshmallows and even she can’t tell the difference.

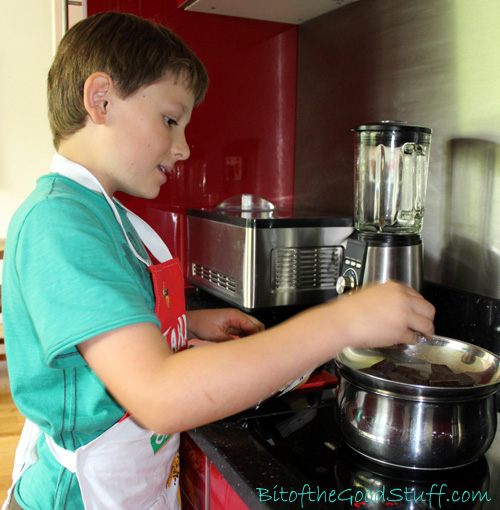
Over the winter, Lil’ L enjoyed slicing and sprinkling vanilla mallows onto his hot chocolates. This time round, we thought it would be fun to make some Rocky Road. While I stood by, Lil’ L set to work melting chocolate and coconut oil…

Rocky Road Making

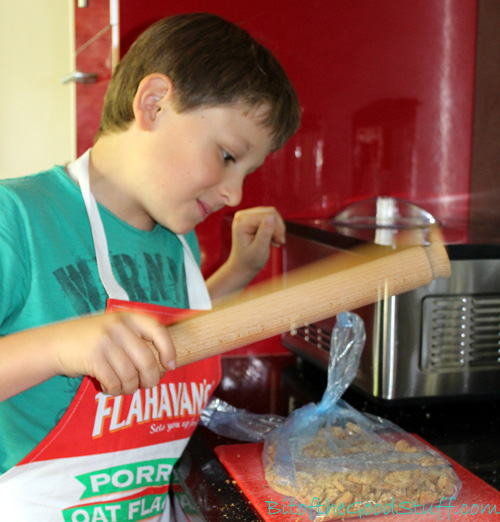
…bashing biscuits

Rocky Road Making

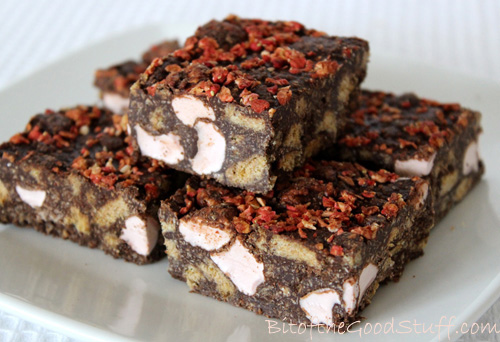
…then adding mallows and mixing it altogether. Since our mallows were strawberry flavoured, we thought it would be nice to finish off our Rocky Road with a sprinkling of freeze-dried strawberries (which we had left over from these Chocolate Crunch Hearts).

After a couple of hours in the freezer, the Rocky Road was ready to slice and sample. It got a huge thumbs up from Lil’ L!

Rocky Road (Vegan Style)

So far this week, he’s enjoyed it as a treat snack at the cinema and the tennis courts. While it’s a little too sweet for me, Lil’ L reckons it’ll be a hit with kids or anyone with a sweet tooth. It would be great for sharing at children’s tea parties or selling at charity or school fundraisers. It would also make a lovely home-made gift for sweet-loving veggie friends, wrapped in a special box or tin

[print_this]

Rocky Road… Vegan Style!
Got a sweet tooth? Then this treat is for you! It’s easy and fun to prepare. It makes a great rainy day activity for veggie kids, young and old alike!

Makes about 12 pieces
Hands-on time: 15 minutes Ready in: 2 hrs 15 minutes

Ingredients
200g / 7oz dark chocolate (70% cocoa solids)
2 TBSP virgin coconut oil, plus extra for greasing
200g / 7 oz Digestive biscuits (or Rich Tea, Oreos or gluten free cookies)
75g / 2½ oz veggie marshmallows (e.g. Freedom Mallows)
Icing sugar, for dusting

Method
Grease and line a freezer-safe container about 12cm x 22cm (5 inches x 8½ inches) with baking paper. (I used a large loaf pan, but you could use a plastic, silicone or foil container).

Add a small amount of water to a saucepan and place a heat-proof bowl on top. Break the chocolate into chunks, place it in the bowl along with the coconut oil and gently heat, stirring occasionally until the chocolate has fully melted.

Meanwhile, place the biscuits (cookies) in a freezer bag. Press out the air and tie the bag shut. Bash with a rolling pin until you have a mixture of crumbs and small pieces.

If your mallows are large, slice them into halves or thirds.

When the chocolate has melted, remove from the heat and stir in the biscuits and mallows. Tip into the prepared pan and press down hard with the back of a spoon to remove air pockets.

Place in the freezer for about 2 hours, until solid. Using a sharp knife, slice into rectangles about 4 cm (1½ inches) in size. Add a light dusting of icing sugar for decoration.

Store in an airtight container in the fridge or freezer, where it will keep for weeks.

[/print_this]

In the UK, Freedom Mallows are available from Holland & Barrett, independent health food shops (including Harvest in Bath) and online.

Have a wonderful weekend everyone! xx

Gingerbread Cookies (Dairy-Free / Vegan)

Today, I am delighted to share my first post for the Suma Blogger’s Network  I’m sure a lot of you will have already heard of Suma or seen their products in your local health food stores. Suma are the UK’s largest independent wholefood wholesalers of vegetarian, vegan, fair trade, natural and organic produce.  Suma operates as a workers’ cooperative which means that the business is jointly owned and managed by the staff. Everyone is paid the same and they collectively do all the jobs that need doing, whatever they happen to be.

Suma-Bloggers-Network-LogoI love everything that Suma stands for, so when they invited me to become one of the first twelve bloggers in their new network, I was more than delighted to accept! Intrigued to find out who else is involved? Click on this page to check out their profiles (you’ll see I’m in good company!)
Every other month we’ll be sharing a recipe using one or more products from Suma’s product range. We’ll post the recipes on our blogs, and share them via Facebook, Twitter and a dedicated Pinterest board.

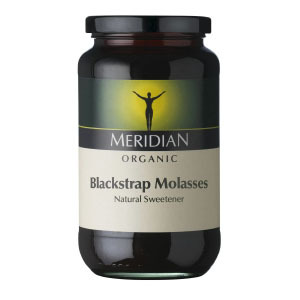
This month, I’m sharing a recipe using one of my all-time favourite ingredients and ‘super’ foods…. Blackstrap Molasses!

Meridian Blackstrap Molasses_740g

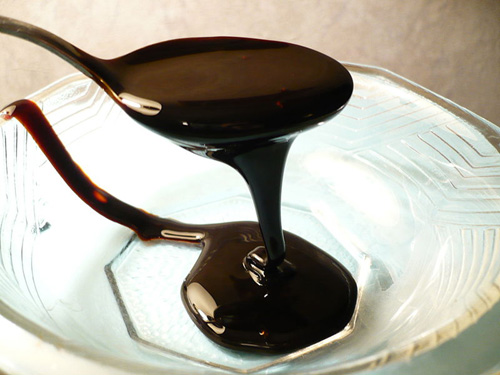
As you might know, Blackstrap is the dark, thick liquid that remains after sugar cane is processed to make refined sugar. While the end product – white sugar – has no nutritional value whatsoever, the molasses that gets left behind after extraction is literally brimming with nutrients. It’s rich in vitamin B6 and minerals, including calcium, iron, magnesium, potassium, manganese and selenium. Historically, this byproduct of sugar production has been used to feed livestock, while humans consume the empty calorie, unhealthy white sugar. Crazy eh?

Blackstrap Molasses from Wikipedia

[Source]

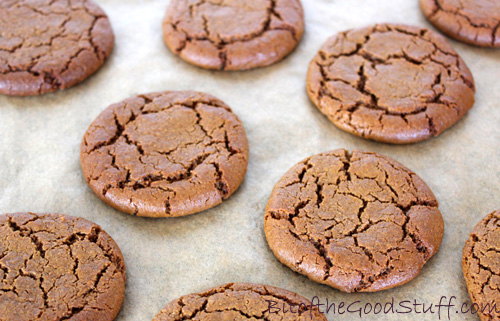
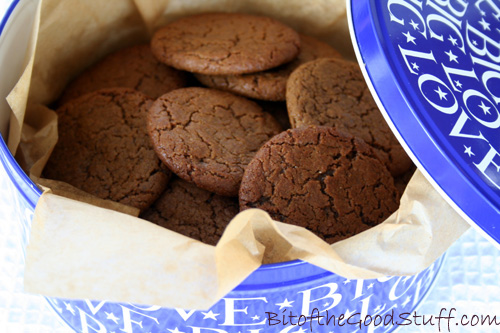
Flavour-wise, Blackstrap is rich and bittersweet. To me, it has a liquorice-like flavour which, I guess, is one of those flavours that you either love or hate. If you have Blackstrap lurking at the back of your cupboard, then this recipe might just tempt you to dust off the jar and give it another try. The Blackstrap adds a wonderful depth of flavour and colour to these ginger cookies, but it’s not overpowering at all.

Gingerbread Cookies | Bit of the Good Stuff #vegan

For the dry sweetener, you can use unrefined caster sugar or coconut sugar. I prefer the latter as it’s low GI (which helps to keep blood sugar levels balanced), plus it contains B vitamins and a range of minerals, including potassium, magnesium, zinc and iron. I also love its caramel-like flavour.

Feel free though to choose whatever sweetener suits your personal tastes and preferences. I prefer the coconut sugar cookies, ‘M’ prefers the cane sugar ones (which are slightly sweeter), and Lil’ L says he can’t really tell the difference and loves both!

Gingerbread Cookies | Bit of the Good Stuff #vegan

These cookies have been tried and tested many times over with my family and friends, and they’ve received a big thumbs up from everyone. I’ve been asked numerous times for the recipe and my standard reply is ‘sure, I’ll post it on the blog’. Well, it’s high time I kept my promise! Here it is…

NOTE: Recipe updated 25 March 2019 to bring it into line with the ‘Gingerbread Cookies’ recipe in the Bit of the Good Stuff Cookbook

[print_this]

Makes 12 cookies
Hands-on time: 15 minutes    Ready in: 35 minutes

Ingredients
70g / ⅓ cup unrefined cane sugar or coconut sugar
50ml / ¼ cup organic rapeseed (canola) oil (or other neutral flavoured oil)
65g / 3 TBSP black treacle (molasses) or Blackstrap molasses
22g / 1½ TBSP soya or almond milk
½ tsp vanilla extract
120g / ¾ cup & 2 TBSP fine wholemeal (whole wheat pastry) flour or chapatti flour
1 – 1½ tsp ground ginger
½ tsp ground cinnamon
pinch of ground nutmeg
¼ tsp baking powder
¼ tsp bicarbonate of soda (baking soda)
¼ tsp salt

Method
1. Preheat the oven to 200C (180C fan) / 400F. Line two baking sheets with non stick baking paper.

2. Place the sugar, oil, molasses, milk and vanilla extract in a bowl and whisk with a fork until smooth and fully combined.

3. Place the flour, spices, baking powder, bicarbonate of soda and salt in a separate bowl and stir through. Tip half the dry ingredients into the wet ingredient bowl and stir to combine. Add the remaining dry ingredients and keep stirring until the mixture comes together in a firm dough.

4. Scoop slightly rounded tablespoons of dough and arrange six on each baking sheet. With damp hands, press the dough into a thin cookie shape.

5. Bake in the centre of the oven for 9 minutes, or until dry to the touch. (The cookies will still feel soft, but they firm up as they cool).

6. Leave the cookies on the baking sheets until they are firm, then use a thin spatula/slotted turner to remove them from the baking paper and transfer to a wire rack.

7. When completely cool, store in an airtight container where they will keep for a couple of weeks. They also freeze well. Leave at room temperature for about 10 minutes before serving.

Notes
Freshly baked, the cookies should be lightly crisp on the outside with a soft, chewy centre. They go softer and chewier over time, but are just as delicious!

I did a few trials with different quantities of Blackstrap. If you add more, the flavour is still amazing but the cookies spread a lot on the baking sheet and are flatter (‘M’ calls them ‘ginger coasters’!)

If you have any black treacle (aka molasses) leftover from Christmas cakes and puddings, you can use it in these cookies instead of the Blackstrap.

All TBSP mentioned in the recipe are level tablespoons.

[/print_this]

I just need to work out how to make a gluten-free version now, so no one misses out! Any tips from the GF experts would be greatly appreciated! 😉

Gingerbread Cookies | Bit of the Good Stuff #vegan

 Enjoy! xx

Are you a fan of Blackstrap molasses? If so, what’s your favourite way to use it?

Disclaimer: I received some Suma’s products to use for recipe development but, as always, all opinions expressed are my own.

Valentines Chocolate Cookie Crunch Hearts (Dairy-Free / Vegan)

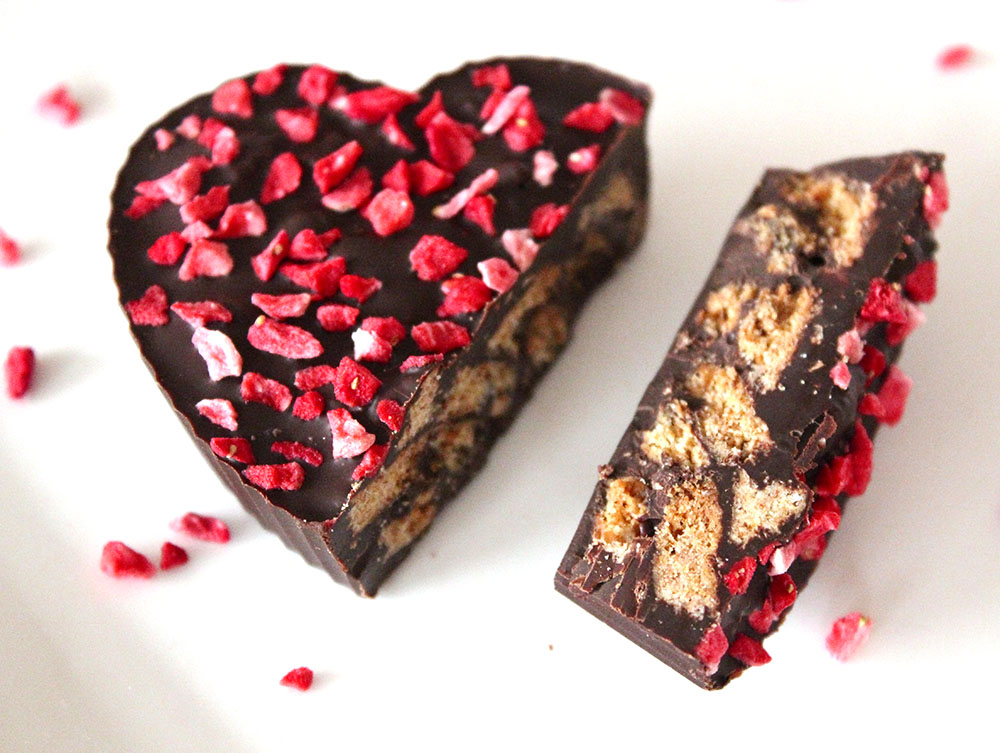
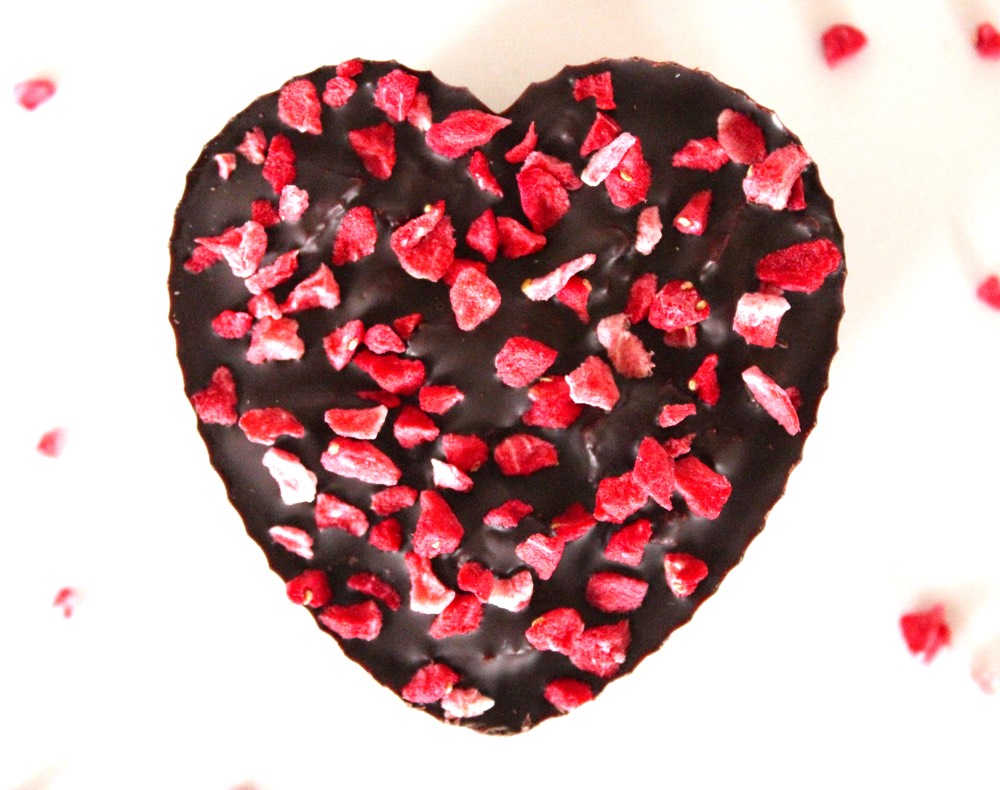
Today I’d like to share one of my favourite home-made chocolate treats – Chocolate Cookie Crunch Hearts. They are so delicious, yet simple to make. They contain just THREE ingredients! ✨ They are perfect for sharing with loved ones on Valentine’s Day. Head below to see how I make them.

Continue reading “Valentines Chocolate Cookie Crunch Hearts (Dairy-Free / Vegan)”

Maple Glazed Nuts

Today I have a delicious treat for you that takes only five minutes to prepare…

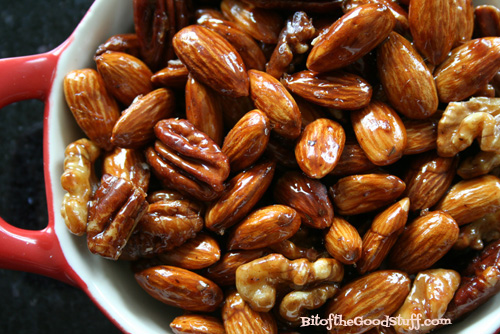
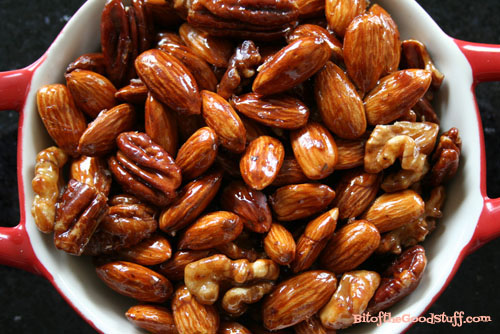
Maple Glazed Nuts

Mapled Glazed Almonds, Pecans & Walnuts

These taste SO good! And they’re packed with lots of nutty goodness.

I’ve just made a fresh batch as a treat for Lil’ L and his friend when they get home from school.  I’m also going to bag some up for Mark to take out on his mountain bike rides this weekend.

As well as making a great post-school and exercise snack, they’re also the perfect snack to munch on at work to keep your energy levels up.

Be warned though, they are addictive and they will test your will power!  If (like me) you’re tempted to devour the whole lot in one go, I suggest bagging it up into individual size portions and hiding them.

Here’s how I make them..

Hands-on time: 5 minutes    Cooking time: 5 minutes
Ready in: 8 minutes

Ingredients

  • 2 cups of nuts (I use a mix of raw walnut halves, pecans and whole roasted almonds*)
  • 4 tbsp maple syrup (I use Clark’s Original Maple Syrup, which is a mix of maple and carob syrup. It tastes great but is much cheaper than pure maple syrup)
    sea salt, optional

* You will often find that nuts such as almonds, cashews and peanuts are cheaper in Asian grocery stores or in the World aisles of large supermarkets.  Currently, a 750g bag of Aasani Almonds costs £5 in Tesco.

Method

1.  Preheat a dry frying pan (skillet) on a medium-high heat.

2. Add the nuts and dry fry for 2 minutes, stirring continuously.  Add the maple syrup and continue stirring for about 3 minutes, until the nuts are fully coated and the syrup has caramelised and become very sticky.

3. Space out the nuts on a piece of non stick baking paper.  If you like the sweet and salty combo, lightly sprinkle the nuts with salt as soon as they have left the pan.  As they cool, the nuts will firm up, become shiny, and not sticky at all.  Store in an airtight container in a cool, dry place.

Mapled Glazed Nuts

Have a wonderful weekend everyone 🙂  xx

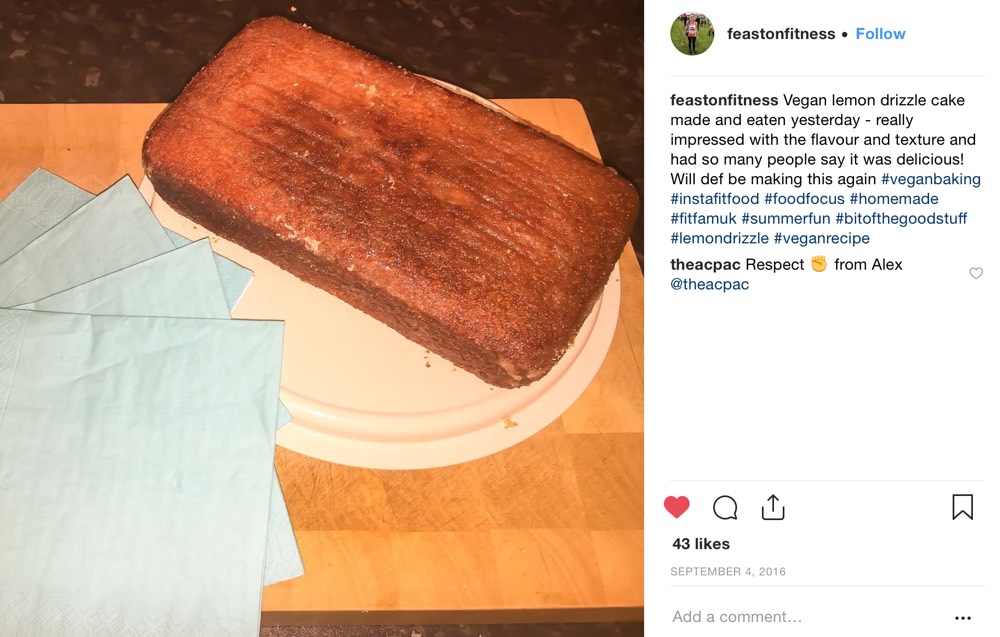
Vegan Lemon Drizzle Cake (Dairy-free / Egg-free)

What colour do you associate with Spring?

For me, it has got to be yellow ♥ 

Everywhere I look at the moment, I’m seeing this beautiful, fresh colour.

In my garden the yellow primroses are in bloom…

Crocuses & Primroses

as are the sweet little narcissus.

Narcissus

It won’t be long before the daffodils are in full bloom too 🙂

Daffodils

As well as being the colour of spring, yellow also happens to be my mum’s favourite colour

Here in the UK, it’s Mother’s Day on Sunday.  I haven’t seen my mum since Christmas so I’m really looking forward to spending the day with her.  Inspired by her favourite colour, I’ve chosen to bake a Lemon Drizzle Cake to give her on Sunday as a little home-made treat.

With its light texture, zingy citrus flavour and flecks of bright yellow zest, I think this is the perfect cake for this season.

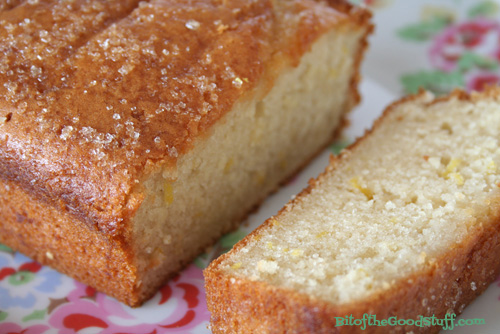
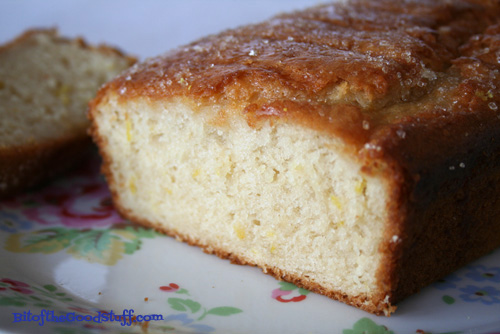
Vegan Lemon Drizzle Cake (Dairy Free / Egg Free)

Since I’m giving this cake as a gift, I haven’t ‘healthified’ it to the extreme (I’m sure my mum will appreciate that 😉 ).  However, it is free from dairy and eggs, so will be suitable for anyone with those allergies.

To make the cake super zingy and moist, once it was cooked I pierced it all over with a toothpick and drizzled over the juice from a freshly squeezed lemon mixed in with a couple of tablespoons of granulated sugar (which gives the top of the cake a great, crunchy texture).

Vegan Lemon Drizzle Cake (Dairy Free / Egg Free)

Just in case you fancied trying it for yourself, here’s how I made it:

[print_this]

Serves 8 -10
Hand on time: 15 minutes    Ready in: 2 hours

Ingredients
200g / ¾ cup + 3 tbsp unrefined cane sugar (e.g. golden caster sugar)
2 TBSP maple syrup (or maple blend. I use Clarks Original).
70ml / ⅓ cup organic rapeseed (canola) oil (or other neutral-flavoured oil, like sunflower oil)
240ml / 1 cup soya milk
2 tsp apple cider vinegar
30ml / 2 TBSP freshly squeezed lemon juice
zest of 2 unwaxed/organic lemons
250g / 1¾ cups plain (all purpose) flour
2 tsp baking powder
¼ tsp salt

Drizzle
2 TBSP freshly squeezed lemon juice
2 TBSP Demerara (or turbinado) sugar

Method

1. Grease and line a 2lb loaf tin with non-stick baking paper (or use a non-stick loaf liner).  Preheat the oven to 190c (170C fan) / 375F.

2. In a mixing bowl, whisk together the sugar, syrup, oil, milk, vinegar and lemon juice using a balloon whisk until fully combined. Stir in the lemon zest.

3. Sift one third of the dry ingredients (flour, baking powder, salt) into the bowl and whisk by hand to combine. Repeat with the remaining two thirds, whisking each time.

4. Tip the mixture into the prepared tin.  Place on the middle shelf in the oven and bake for 50 minutes, or until a skewer inserted into the middle comes out clean.

5. Meanwhile, place 2 TBSP juice from a freshly squeezed lemon in a small bowl with the Demerara sugar.  Stir to combine.

6. When the cake is baked, remove from oven and pierce all over with a toothpick or skewer.  Spoon the lemon drizzle evenly over the top of the cake.  Allow to cool in the tin for at least an hour (it will firm up as it cools) then transfer to a wire wrack.

7. Once completely cooled, slice and serve or transfer to an airtight container. The cake will keep up to a week in the  refrigerator.  It also freezes well.

[/print_this]

Have a wonderful weekend everyone


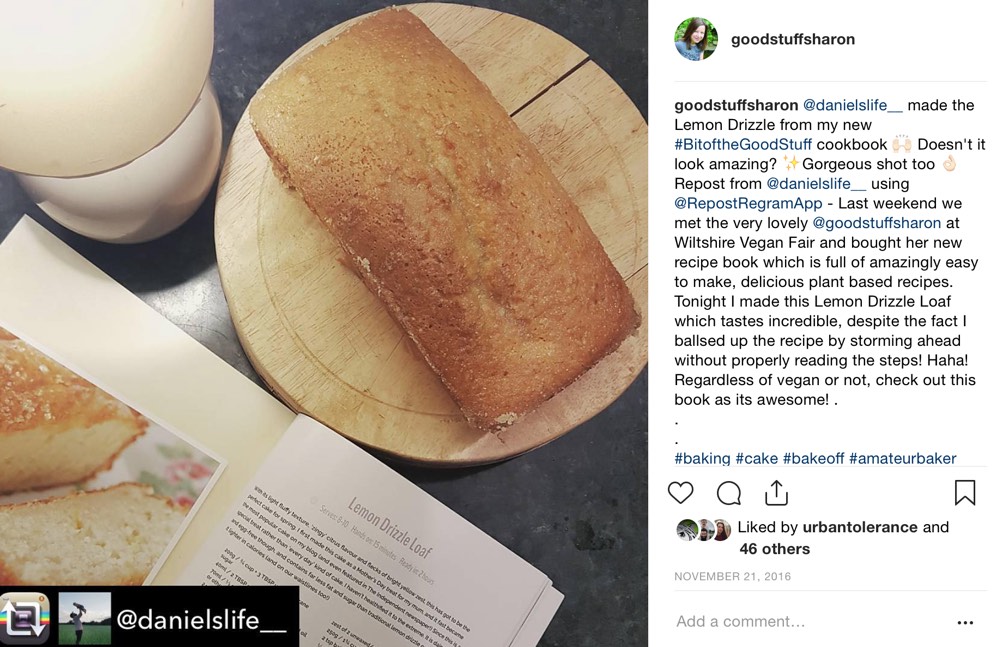
READER REMAKES ❤️

————————————————-

SaveSave