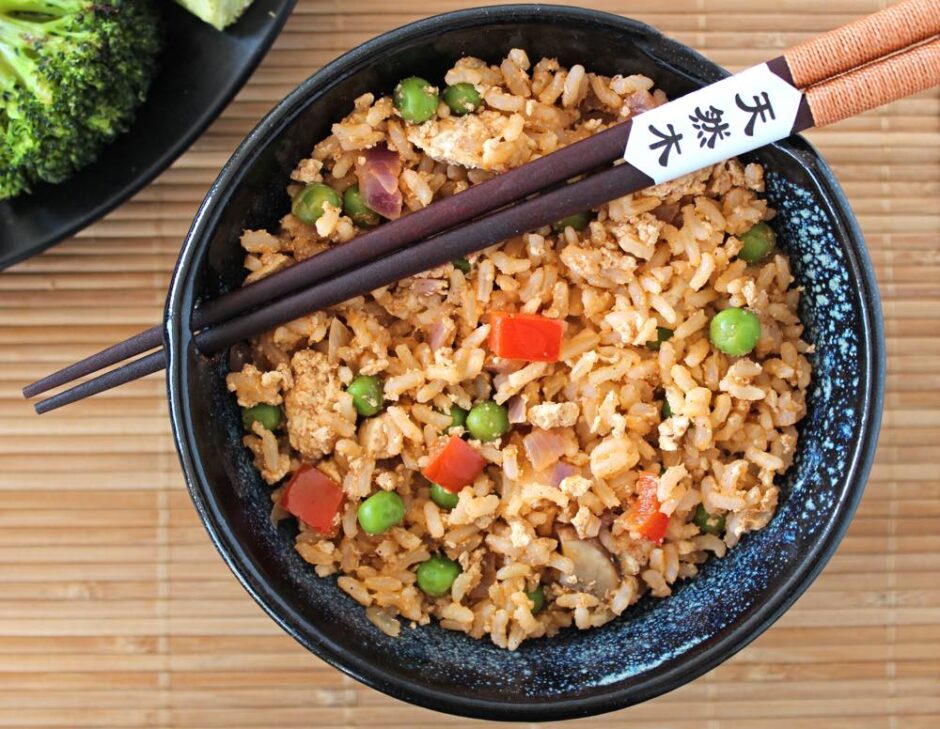
Chinese Egg-Fried Rice … Vegan Style!

Jump to Recipe

In today’s post, I’m sharing a recipe for a Chinese “Egg-Fried” Rice that’s perfect for serving any night when you need a quick and easy meal on the table. Not only is it tasty, but it’s also packed full of nutritional goodness. It’s especially rich in protein, vitamins A, B and C, and an array of minerals. It’s also much lower in fat than traditional Chinese egg-fried rice and contains zero cholesterol.

And, most importantly, it’s cruelty free! No hens or chicks were harmed in the making of this meal!
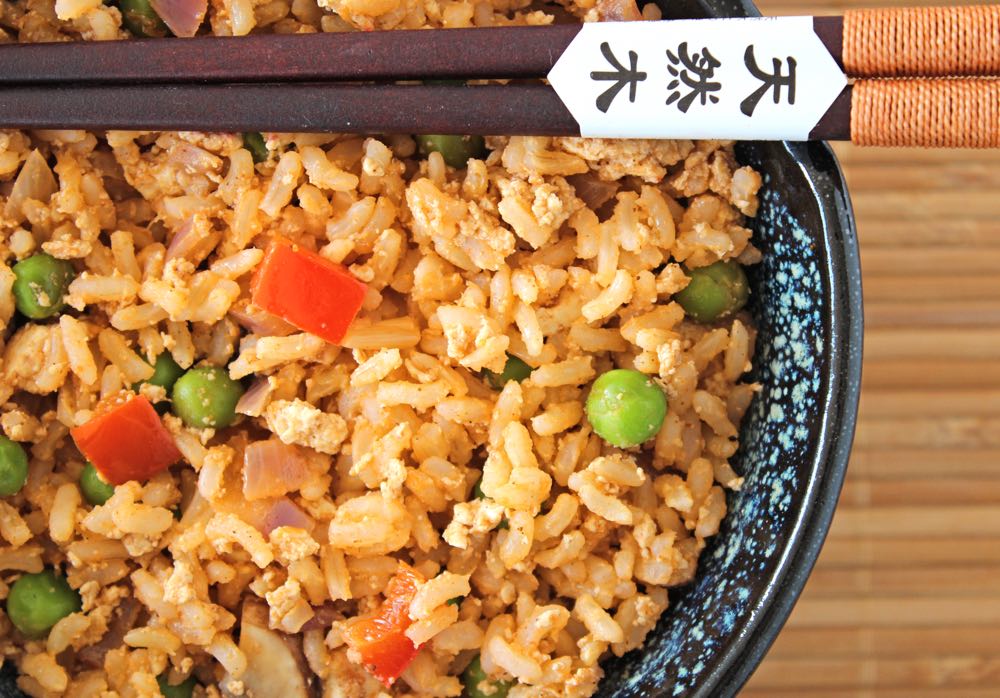
Chinese Egg-Fried Rice - Vegan Style

A few years ago, I discovered that tofu makes a fantastic egg replacer for Chinese egg-fried dishes. Crumbled, seasoned and stirred through rice or noodles, its texture and appearance have an uncanny resemblance to egg, which is pretty weird when you consider that tofu is made from beans!

I like to use calcium-set tofu as it’s a quick way to boost the family’s calcium levels. Here in the UK, the one brand of tofu that I’ve found to be calcium-set is Cauldron Foods Organic Tofu. (And fortunately, this is the one that’s widely available in our supermarkets right now!) According to the FAQ page on the Cauldron Foods website, a 100g serving (¼ pack) of their tofu provides around 40% of the recommended daily amount of calcium.
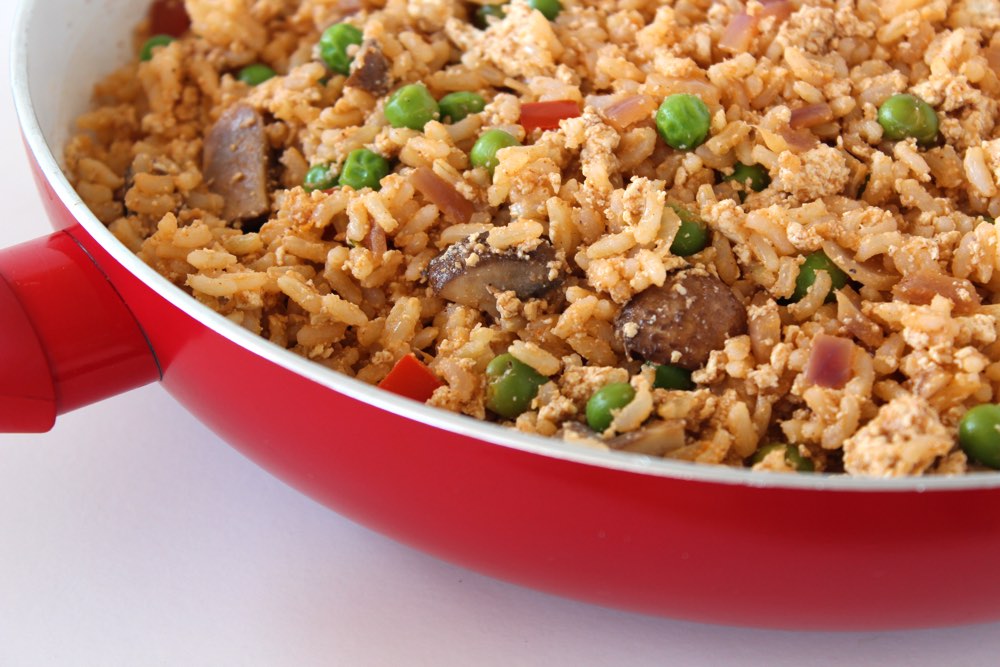
Chinese Egg-Fried Rice - Vegan Style

Back in 2014, I shared a recipe for Vegan Egg-Fried Noodles, but my family’s favourite Chinese Egg-Fried Rice still hadn’t made its way onto the blog. It was high time for me to put that right! Since Thursday is typically ‘Rice Night’ in our house, I made sure to photograph our dinner last night before we devoured it. That way, I would have some pictures to share alongside the recipe today.
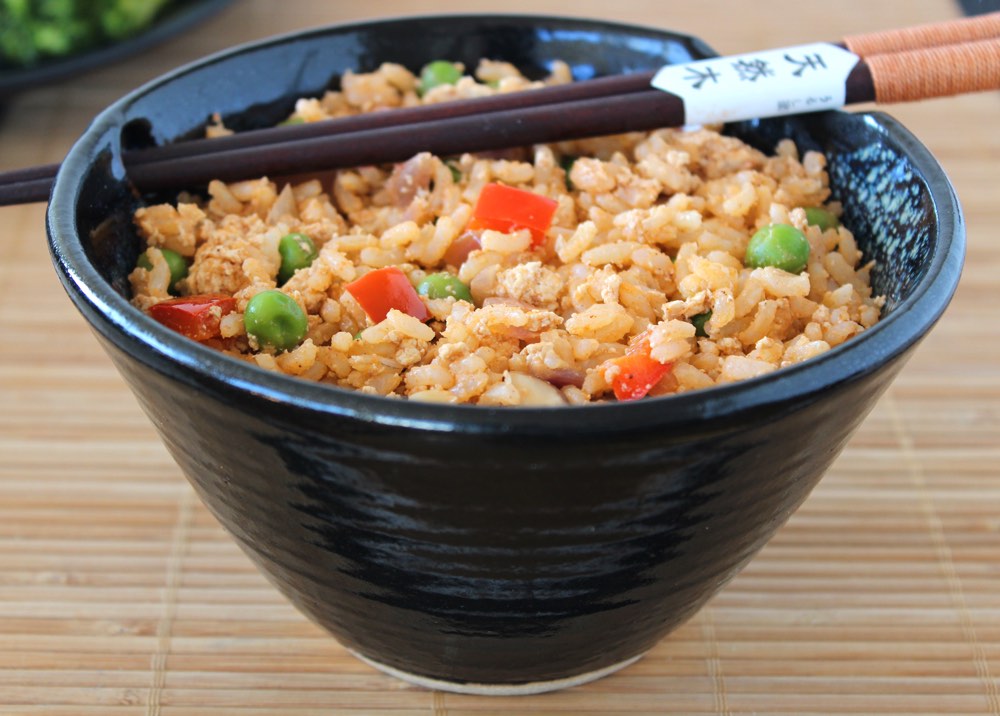
Chinese Egg-Fried Rice - Vegan Style

The dish is really simple to make. While the rice is cooking, pan fry some veggies and crumbled tofu, then whisk together the marinade and pour it into the pan. When the rice is cooked, stir it through the veggies then it’s ready to serve.
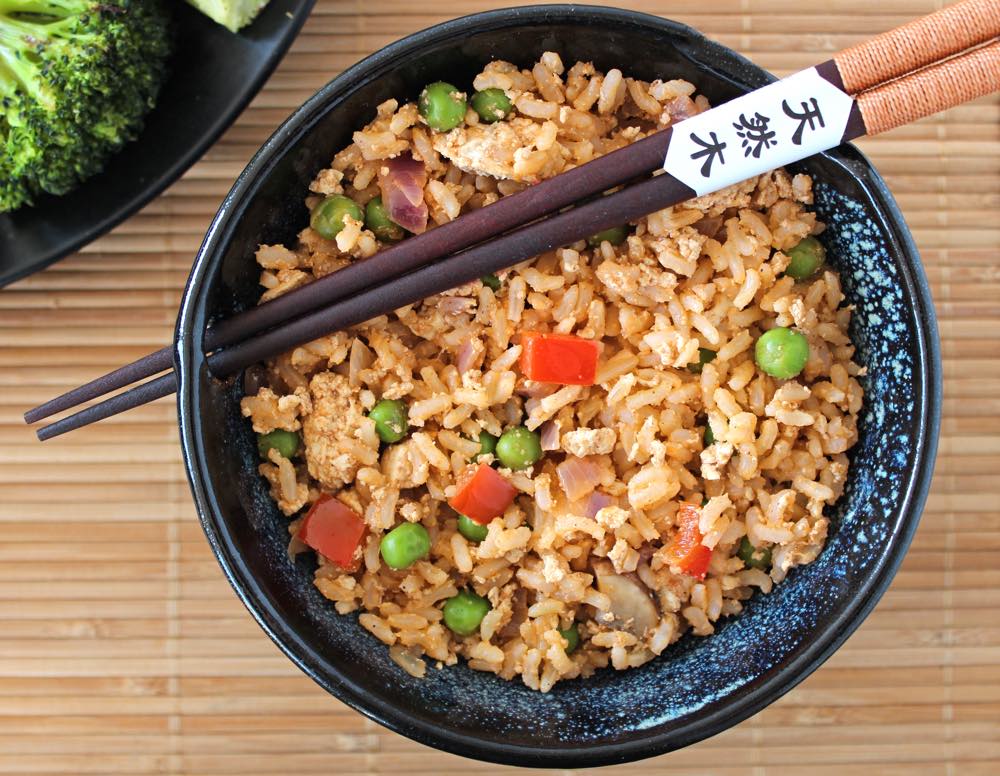
The choice of veggies to include in the fried rice is entirely yours. I add red pepper and green peas as they’re so colourful. Mushrooms are great for savouriness and some chewy texture. If you wish, you could even add in some vegan meat alternatives like Iceland’s “No Chick” strips or Oumph’s “The Chunk” to make a vegan style “Chicken” Fried Rice.

Recipe Card
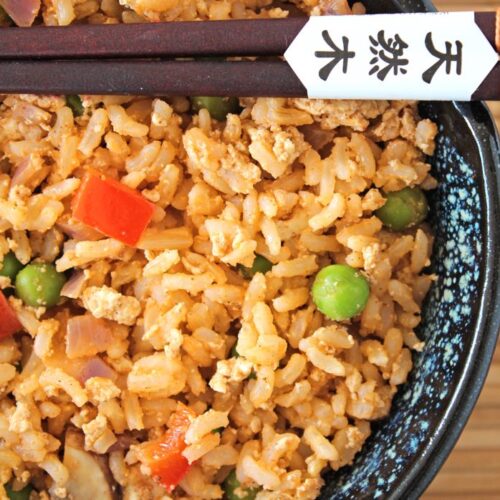
Chinese Egg-Fried Rice - Vegan Style

Chinese Egg-Fried Rice… Vegan Style!

This vegan version of Chinese egg-fried rice is packed with plant-based goodness. It makes a great weeknight meal, either served on its own or with a side-dish of green veggies (we love roasted broccoli!)
Hands-on time 20 minutes
Total Time 35 minutes
Course Dinner
Cuisine Chinese
Servings 4

Ingredients
 

  • 290 g / 1½ cups brown rice
  • 1 TBSP toasted sesame oil divided
  • 1 large onion diced
  • 2 tsp minced garlic
  • 1 small red bell pepper deseeded and diced
  • 125 g / 1½ cups mushrooms chopped
  • 400 g / 14 oz firm tofu
  • tsp Chinese Five Spice
  • 190 g / 1½ cups frozen peas*

Marinade

  • 1 TBSP toasted sesame oil
  • 1 TBSP reduced-salt soy sauce use tamari for a GF option
  • 1 TBSP white miso or substitute with another 1 TBSP soy sauce
  • 2 TBSP tomato puree (paste)
  • ½ TBSP maple syrup or to taste
  • ¼ tsp Chinese Five Spice

Instructions
 

  • Cook the brown rice.**
  • When the rice has been cooking for about 10 minutes, gently heat ½ TBSP oil in a large, deep-sided frying pan (skillet). Add the onion and cook on medium heat for a couple of minutes.
  • Add the garlic, bell pepper and mushrooms and continue cooking for a further 2-3 minutes.
  • Drain the tofu and crumble it into the pan. Sprinkle the Chinese Five Spice on top, and stir through.
  • Add all the marinade ingredients to a small bowl and whisk with a fork until fully combined. Set aside about 1 TBSP of the marinade and pour the remainder into the pan. Stir through until the tofu is thoroughly coated.
  • Add the frozen peas and continue cooking for 5-6 minutes, stirring occasionally, until the peas are heated through.
  • When the rice is ready, drizzle in ½ TBSP toasted sesame oil and stir through. Add the 1 TBSP marinade that you set aside and continue stirring until the rice is fully coated.
  • Add the rice to the frying pan, a couple of a scoops at a time, stirring each time to combine.
  • Arrange the rice in warm bowls and serve. Any leftovers can be stored in the fridge for 24 hours. As with any rice dish, make sure that the rice is chilled within an hour of cooking.

Notes

* If you’re planning to re-heat this dish, it’s is best to omit the frozen peas as the instructions on the packet state ‘do not reheat’.
** Here’s how I cook brown rice using the absorption method: First, rinse the rice in a fine mesh sieve under running cold water, agitating the grains with your hand until the water runs clear. Place the rice in a large heavy-bottomed saucepan along with double the volume of water (e.g. 1½ cups rice & 3 cups water). Bring to the boil, then reduce the heat and simmer uncovered for 10 minutes. Reduce the heat to very low, cover with a tight-fitting lid and cook for a further 20 minutes. When air pockets have appeared in the rice, it’s ready.
Keyword Dairy-Free, Easy Vegan Meals, Egg-Free, Plant-Based, Rice, Tofu
Tried this recipe?Let us know how it was!

Nutritional Breakdown

N.B. The above values are estimates. The actual nutritional values will vary depending on the brands and ingredients used.

Products I used in this recipe…
Cauldron Foods Organic Tofu
Meridian Organic Toasted Sesame Oil
Kikkoman Less Salt Soy Sauce
Clarks Original Maple Syrup
Clearspring Sweet White Miso
Suma Chinese Five Spice

Pin for later ⬇️
Chinese Egg-Fried Rice... Vegan Style

If you make this Chinese Fried Rice, I’d love to hear your feedback and any suggestions for adaptations! Tag your photos with #bitofthegoodstuff on social media – I always love to see your creations! You can also connect with me on my social media channels here: Instagram, Facebook, Pinterest.   

With love,

Sharon xx
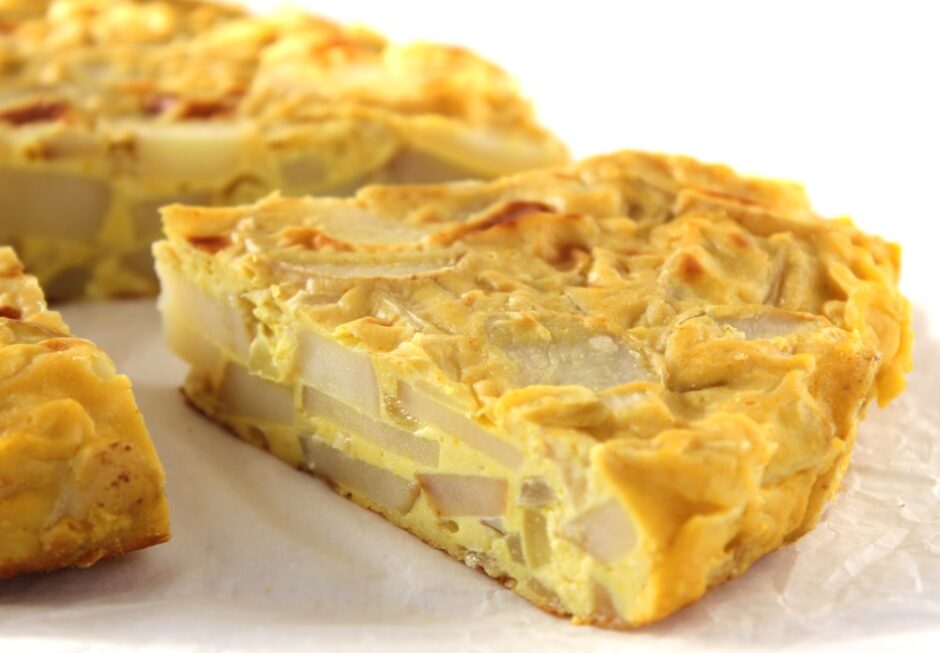
Vegan Spanish Potato Omelette – Tortilla de Patatas

Jump to Recipe

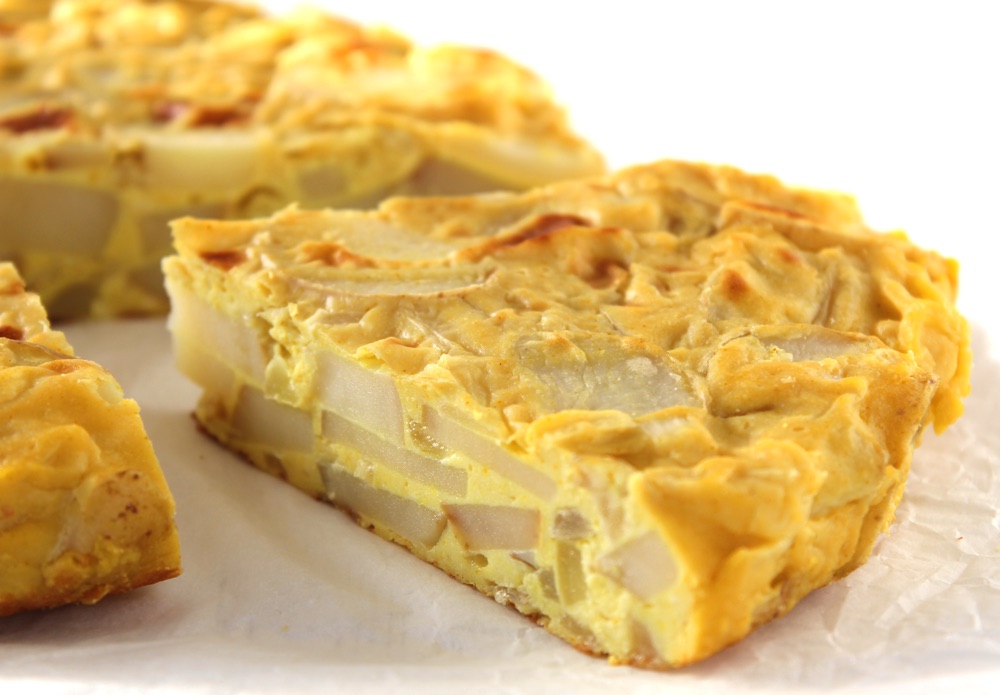
Hey dear friends! Today, I am delighted to be sharing one of personal favourite recipes with you – Spanish Omelette (Tortilla de Patatas). This is no ordinary omelette, however, as it’s 100% plant-based!! Yep, not a single egg in sight. In my pre-vegan days, Spanish Tortilla was a favourite comfort food of mine, but I love this vegan version even more. Not only is it delicious, it’s cruelty-free (no hens or chicks are harmed in the making of this omelette) AND healthier than the traditional version. It’s lower in fat, contains zero cholesterol, and is a rich source of plant proteins, B vitamins, vitamin C, and an array of minerals including potassium, magnesium, zinc and iron.

Healthy, tasty AND cruelty-free. A winner all round!

Vegan Spanish Potato Omelette - Tortilla de Patatas
Continue reading “Vegan Spanish Potato Omelette – Tortilla de Patatas”

Vegan All Day English Breakfast

Jump to Recipe

The English are famous for their all-day breakfast fry-ups, which typically feature a whole bunch of animal products – sausages, bacon, eggs and black pudding – served alongside mushrooms, tomatoes, hash browns, baked beans and fried bread. However, just because you’re passing on eating animals, this doesn’t mean you have to miss out on this traditional English culinary experience. There are so many amazing all-day veggie breakfast options available now, and they’re often far more creative and colourful (and healthy!) than the meat version.

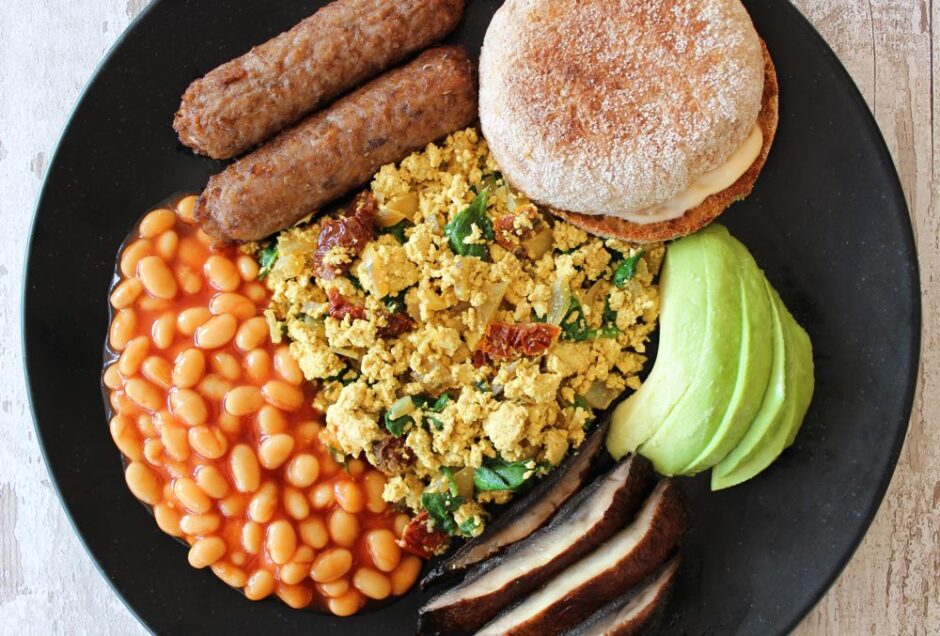
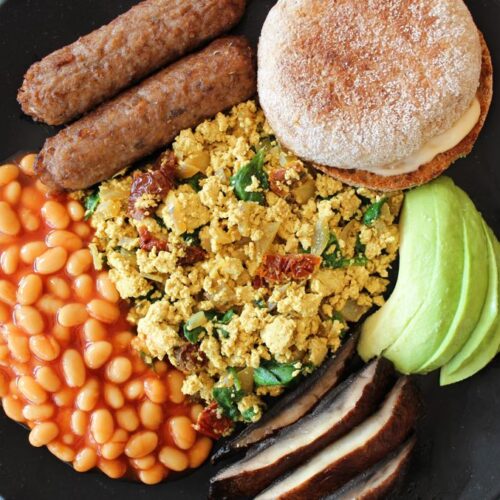
Today I’m sharing a recipe for a delicious vegan cooked breakfast that, as the title suggests, is suitable for serving any time of day. We’ve been enjoying it as an evening meal, but it’s equally perfect as a weekend breakfast, brunch or lunch.

Vegan All Day Breakfast

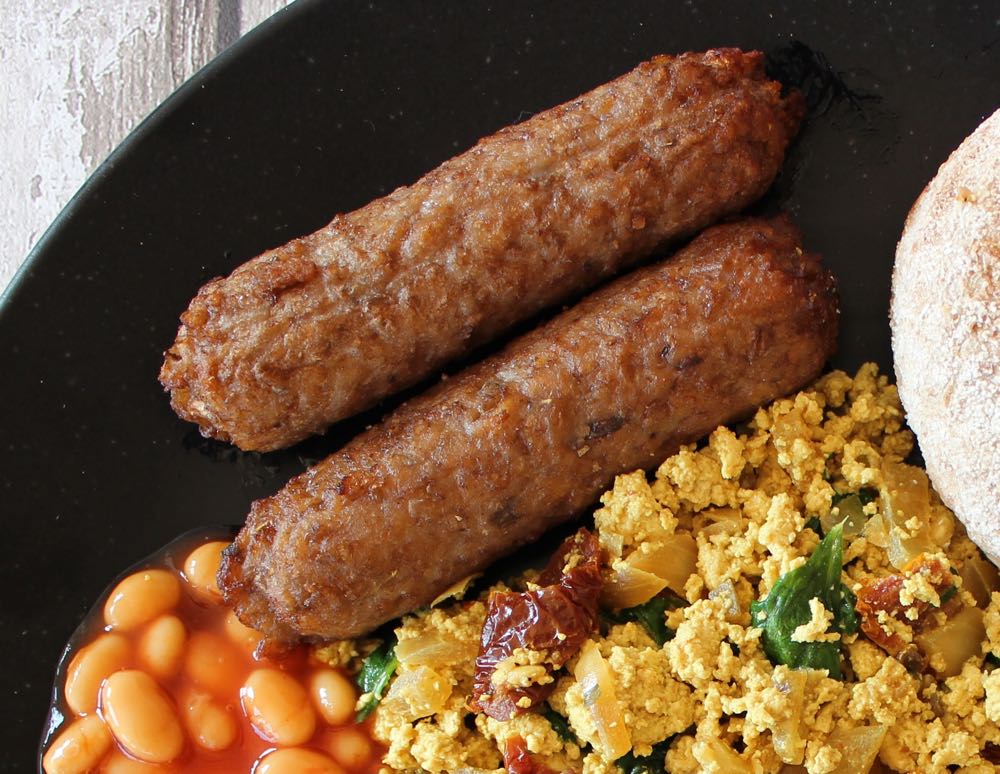
The key components of this vegan all-day English breakfast were sausages…

Vegan all day breakfast sausages

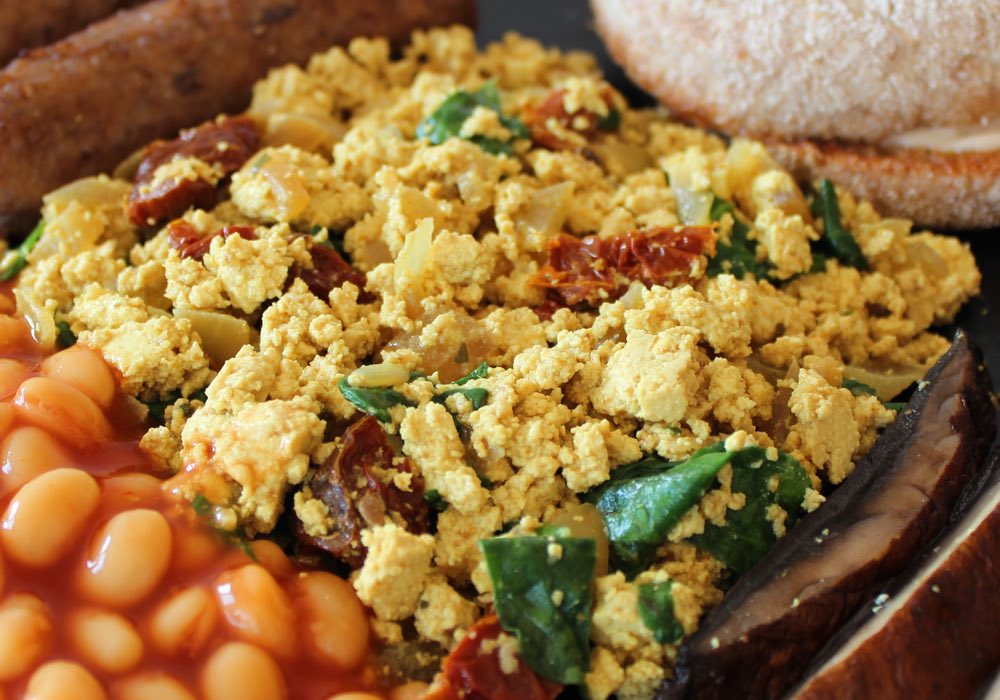
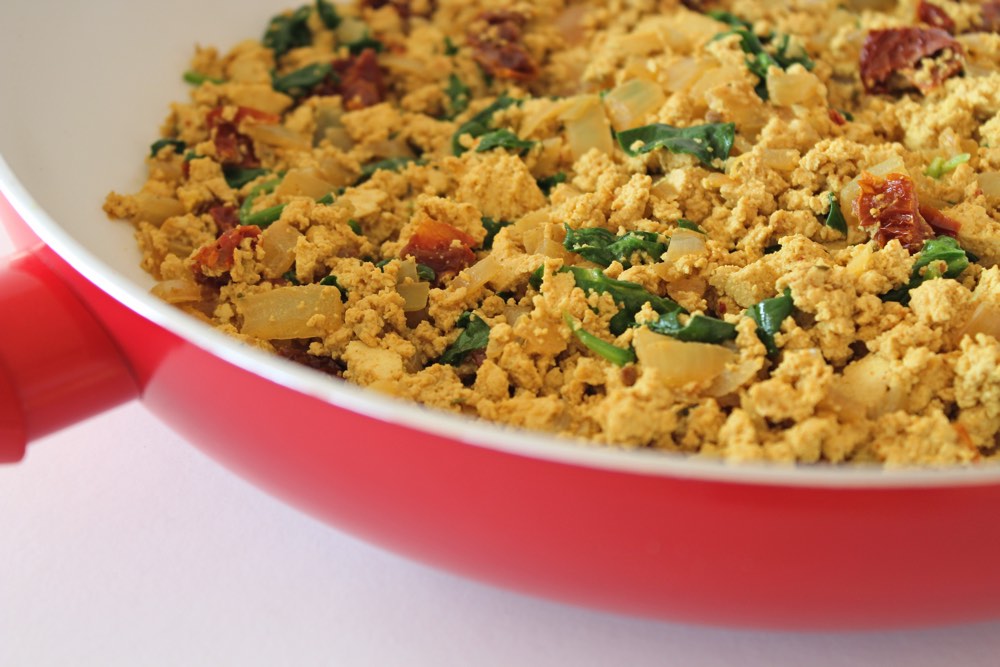
scrambled tofu (to which I added onion, garlic, sun-dried tomatoes and soy sauce to ramp up the flavour) ….

Scrambled Tofu in Vegan All Day Breakfast

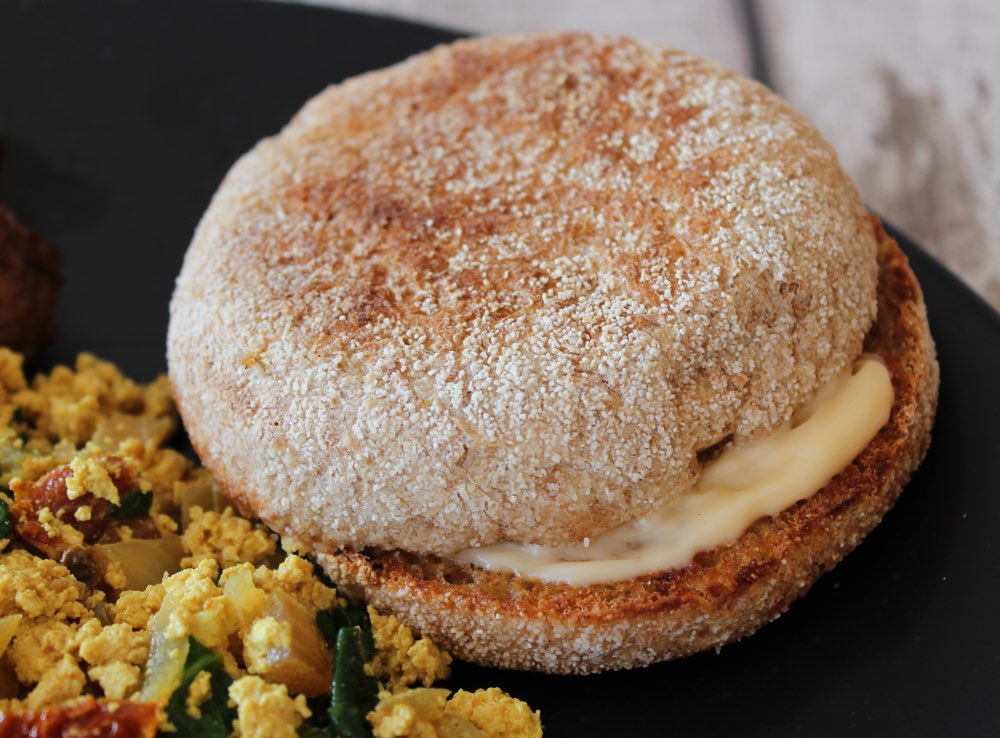
avocado and toasted wholemeal English muffins.

English Muffin in Vegan All Day Breakfast

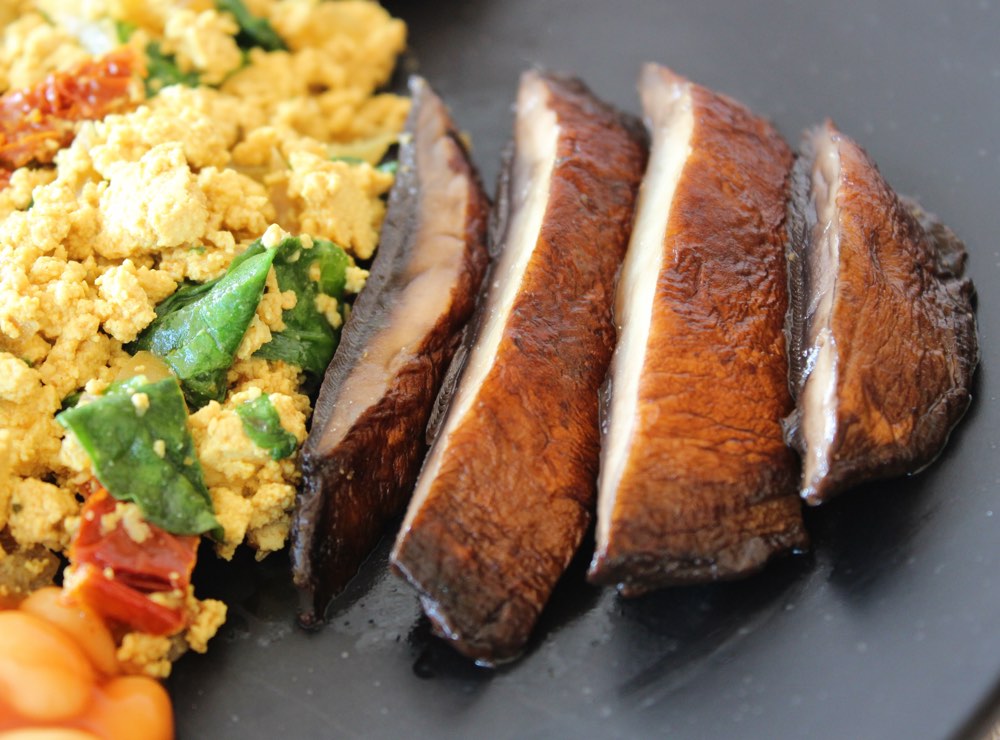
Then we added slices of balsamic-glazed roasted portobello mushrooms…

Roasted Mushrooms in Vegan All Day Breakfast

and baked beans 😋

Baked Beans in Vegan All Day Breakfast

Since my son isn’t a fan of fresh tomatoes, I added some sun-dried tomatoes into the scrambled tofu instead. This worked a treat!

Scrambled Tofu

Recipe Card

Vegan All Day Breakfast

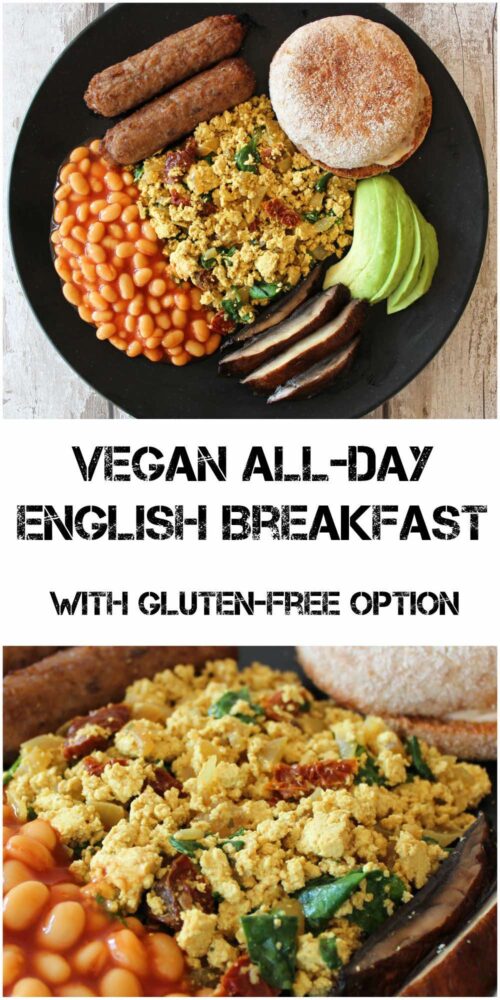
Vegan All Day English Breakfast

This vegan all day breakfast is suitable for serving as a weekend breakfast, brunch, lunch or even as a main dinner! Though there are a few components to this meal, it’s really easy to make and takes no more than 30 minutes. The scrambled tofu, beans, muffins and avocado can all be prepared while the sausages and mushrooms are cooking in the oven. Once they’re done, everything is ready to be be plated up.
Hands-on time 30 minutes
Total Time 30 minutes
Course Breakfast, Brunch, Dinner, Lunch
Servings 3

Ingredients
 

For the roasted portobello mushrooms:

  • 3-4 portobello mushrooms washed and stalks removed
  • 1 TBSP olive oil
  • 1 TBSP balsamic vinegar

6 vegan sausages

For the scrambled tofu:

  • 1 TBSP olive oil
  • 1 medium onion diced
  • 2 tsp minced garlic
  • 1 block of firm tofu (about 400g / 14 oz) drained
  • ½ tsp ground turmeric
  • tsp ground cumin
  • 1 TBSP tamari or low sodium soy sauce
  • 6-8 sun-dried tomatoes in oil drained and roughly chopped
  • 60 ml / ¼ cup fortified soya milk or other plant-based milk
  • handful baby spinach roughly chopped
  • salt to taste

400g / 14 oz can baked beans

3 English wholemeal muffins

  • vegan butter or mayonnaise for the muffins

1 large avocado, sliced

Instructions
 

  • Pre-heat the oven to 200C (180C fan) / 400F.
  • For the roasted mushrooms:
    In a wide, shallow roasting pan, combine the olive oil and balsamic vinegar. Generously coat the mushrooms in the oil and vinegar mixture, either using a pastry brush or your hands. Arrange the mushrooms in the pan upside down. Cook for 10 minutes then flip the mushrooms over, and continue cooking for a further 15 minutes, until the mushrooms are tender and well browned.
  • Cook the sausages according the instructions on the packet.
  • For the scrambled tofu:
    Heat the oil in a large non-stick frying pan (skillet) on medium heat and cook the onion and garlic for a couple of minutes. Crumble the tofu into the pan. Sprinkle the turmeric on top and stir until the tofu has turned yellow. Add the cumin, soy sauce and sun-dried tomatoes to the pan. Cook for 3-4 minutes, stirring now and then. Stir in the milk and continue cooking for 2-3 minutes. Finally, add the spinach and cook for a further minute (until the spinach just starts to wilt). Season with salt, to taste.
  • Keep the scrambled tofu on low heat while you warm up the baked beans and toast the muffins.
  • Arrange the sausages, mushrooms, scrambled tofu, baked beans, muffins and avocado slices on plates and serve. Any leftovers make a delicious ‘all-day breakfast’ sandwich, stuffed into a pitta bread or tortilla wrap.

Notes

Gluten-Free Option
To make the breakfast 100% gluten-free, the muffins could be replaced with a gluten-free alternative, such as hash browns or mini roasted potatoes. Also, be sure to use tamari soy sauce, as regular soy sauce contains wheat.
Keyword Dairy-Free, Egg-Free, Vegan All Day Breakfast
Tried this recipe?Let us know how it was!

Pin for later ⬇️

Vegan All Day English Breakfast

If you make this recipe, I’d love to hear your feedback and any suggestions for adaptations. Tag your photos with #bitofthegoodstuff on social media – I love to see your creations! You can also connect with me on my social media channels here: Instagram, Facebook, Pinterest.   

With love,

Sharon xx
Indian-Spiced Sweet Potato Fritters

Jump to Recipe

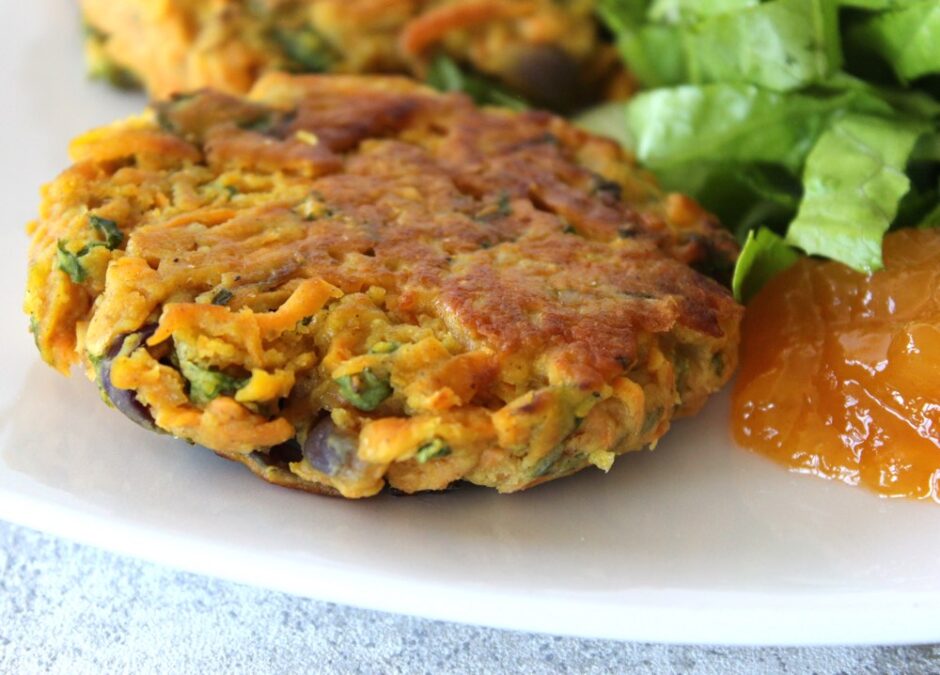
In today’s post, I’m sharing a new plant-based recipe that my family has been loving lately… it’s the Indian-spiced Sweet Potato Fritter. These fritters are filled with simple ingredients – sweet potato, onion, chickpea flour and spinach – which also happen to be nutritional powerhouses, providing an array of vitamins, minerals and antioxidants ✨ The Indian spices used to flavour the fritters – cumin and garam masala – notch up their antioxidant potency even further.

Not only are they quick and easy to make, but they’re super cheap too! According to my calculations, it cost just £1.07 to make six fritters. That’s 18p each. Bargain!

Indian-Spiced Sweet Potato Fritters (Vegan | Dairy-Free)
Continue reading “Indian-Spiced Sweet Potato Fritters”

Mediterranean Tofu Scramble

Jump to Recipe

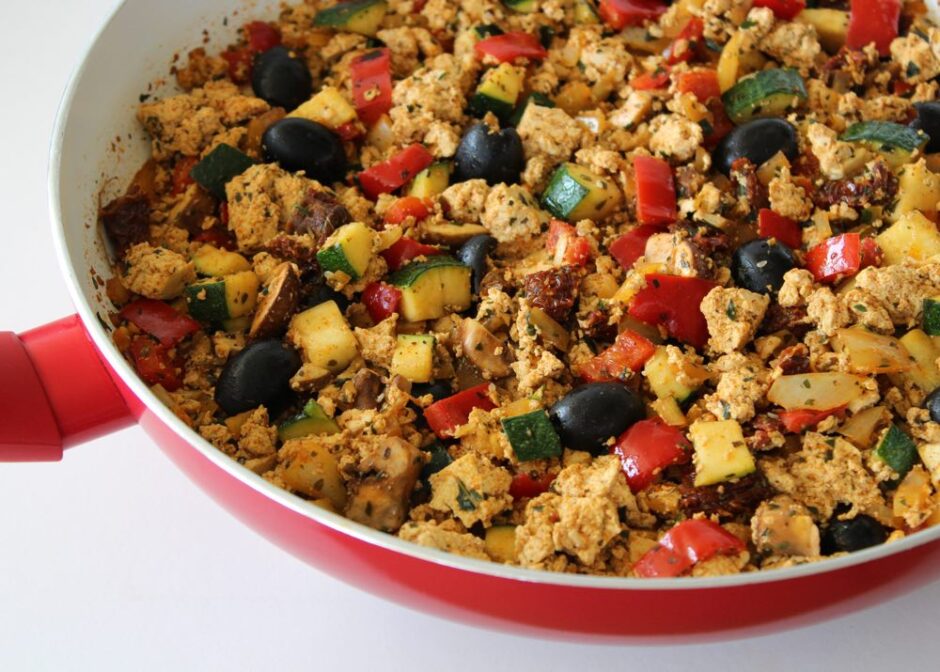
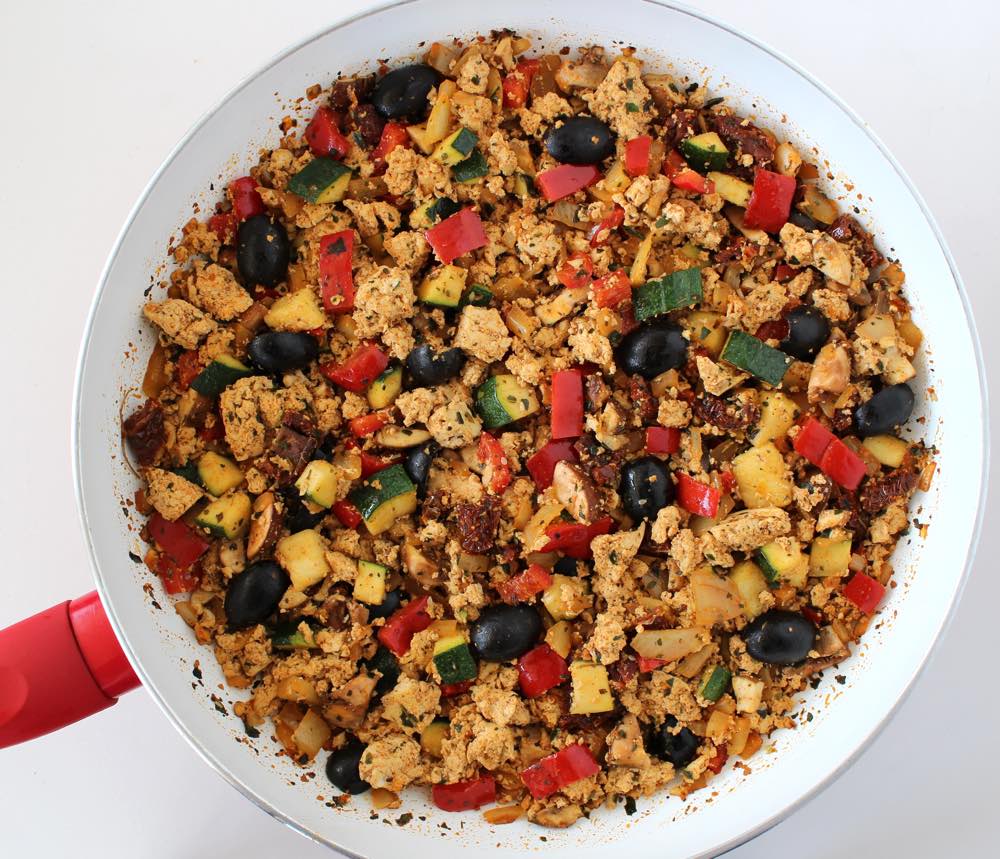
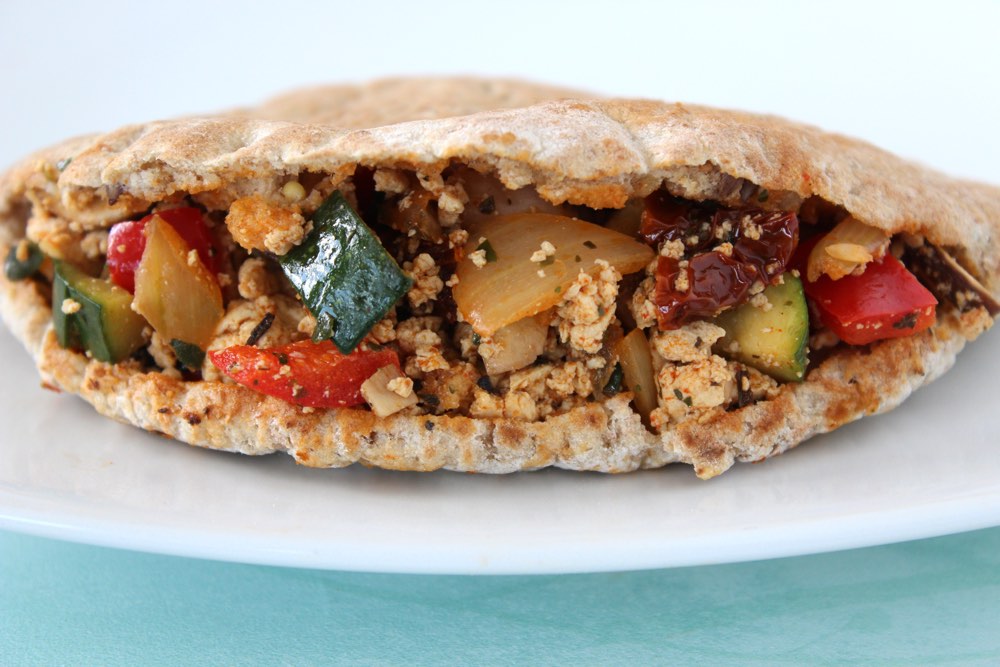
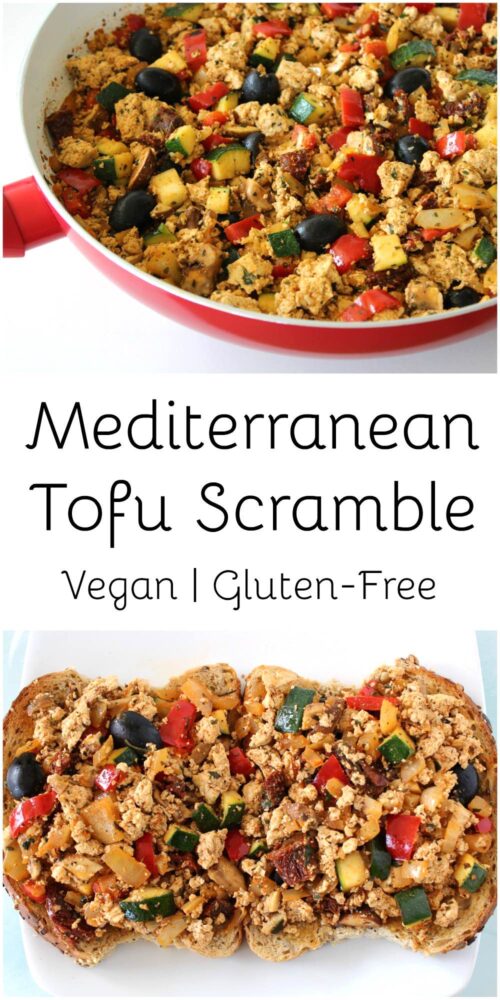
Tofu scrambles are one of my family’s favourite easy weeknight meals. They take 20 minutes or less to make, use just one pan and can be flavoured myriad ways, which means they never get boring. The scramble recipe I’m sharing in today’s post is filled with beautiful colours and flavours inspired by the Mediterranean ☀️

Mediterranean Tofu Scramble

Fresh, crisp sweet peppers and zucchini, salty black olives and rich sun-dried tomatoes make one tasty combination of flavours and textures. A splash of soy sauce and sprinkling of mushrooms adds an extra hit of ‘umami’ deliciousness.

To enhance the flavour even further, I sprinkle in a couple of my favourite herbs – fresh basil and dried oregano – and spices – smoked paprika and ground cumin. The smoked paprika turns the tofu a beautiful red colour, as well as adding a delicious smoky flavour.

I’ve always loved using dried herbs and spices in my cooking (and have a whole shelf in my pantry dedicated to them!) but I’ve only recently starting learning about their health benefits.

Do you know which food category averages the most antioxidants? Take a guess…

Nope, it’s not fruits.

Nor vegetables.

It’s herbs and spices!!

By sprinkling just a single teaspoon of dried herbs or spices on your food, you can double, triple, quadruple or more its antioxidant content. Incredible!

Here’s what Dr Michael Greger has to say in his epic “nutrition bible” How Not To Die

Antioxidants, in a Pinch

The food category that averages the most antioxidants is herbs and spices.

Let’s say you prepare a nice healthy bowl of whole-wheat pasta with marinara sauce. Together, they may achieve a score of about 80 units of antioxidant power (approximately 20 units from the pasta and 60 from the sauce). Add a handful of steamed broccoli florets, and you may end up with a delicious 150-unit meal. Not bad. Now sprinkle on a single teaspoonful of dried oregano or marjoram, oregano’s sweeter and milder twin. That alone could double your meal’s antioxidant power, up to more than 300 units.

How about a bowl of oatmeal for breakfast? By adding a teaspoon of cinnamon, you could bring the antioxidant power of your meal from 20 units to 120 units. And if you can stand the punch, adding a pinch of cloves could bring your unassuming breakfast up to an antioxidant score of 160 units.

Plant-based meals tend to be rich in antioxidants on their own, but taking a moment to spice up your life may make you meal even healthier.

p50, How Not to Die

Having read this, I’ll be sprinkling those herbs and spices even more liberally from now on!

Tofu Scramble

Recipe Card

Mediterranean Tofu Scramble

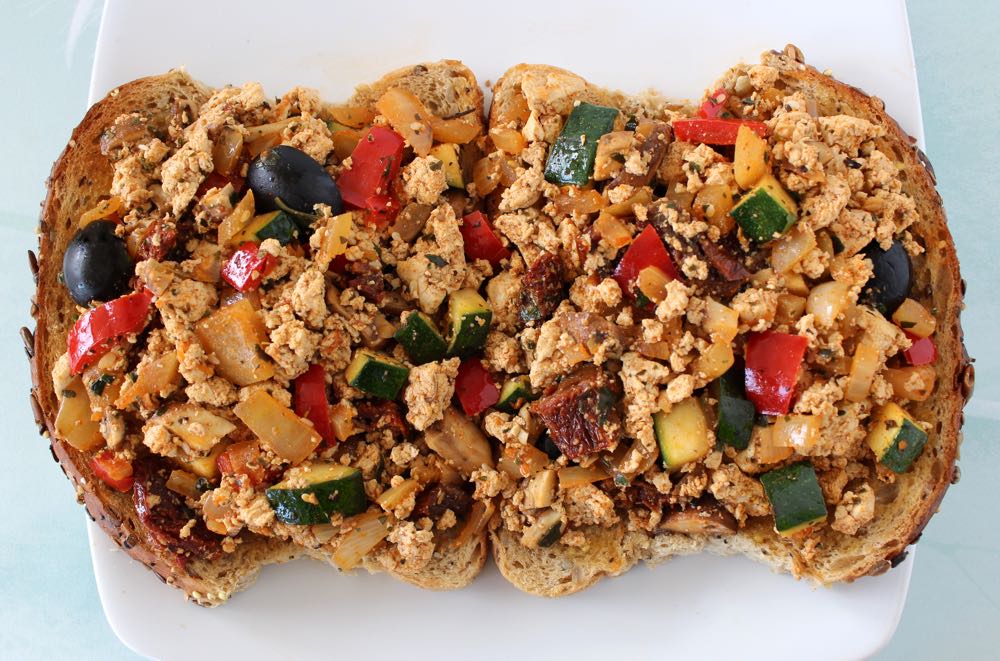
This tofu scramble makes a delicious, quick 'n' easy supper, lunch or brunch. It comes together in just 20 minutes and only uses one pan (my favourite kind of meal!) It’s protein- and calcium-rich (thanks to the tofu) and packed full of antioxidant-rich veggies, herbs and spices. We love to serve it on wholegrain toast at home and stuffed into pitta breads for school and work lunchboxes.
Hands-on time 20 minutes
Total Time 20 minutes
Course Breakfast, Brunch, Light Dinner, Lunch
Servings 4

Ingredients
 

  • 1 TBSP olive oil I use the oil from the sun-dried tomato jar
  • 1 brown onion diced
  • 2 tsp minced garlic
  • 1 sweet romano or red bell pepper deseeded and diced
  • ½ medium courgette (zucchini) (about 100g / 3½ oz) diced
  • 1 block organic firm tofu (about 400g / 14 oz)
  • 2 tsp smoked paprika
  • 1 tsp ground cumin
  • 1 TBSP tamari or reduced salt soy sauce
  • ½ TBSP dried oregano or Italian seasoning
  • 2 TBSP fresh or frozen basil finely chopped
  • 100 g / 1 cup chestnut (crimini) mushrooms, diced
  • 8 oil-packed sun-dried tomatoes drained and chopped
  • 12 black pitted olives halved

Optional extras (for a nutrient boost)

  • 2 TBSP nutritional yeast flakes
  • Sprinkling of hulled hemp seeds

Instructions
 

  • Gently heat the oil in a large frying pan (skillet). Add the onion and cook for a couple of minutes. Stir in the garlic, sweet romano/bell pepper and courgette, and continue cooking for a further 2-3 minutes.
  • Drain the tofu, then crumble it into the pan. Sprinkled the smoked paprika and cumin on top, and stir until the tofu is fully coated in the spices.
  • Add the remaining ingredients to the pan (tamari/soy sauce, oregano/Italian seasoning, basil, mushrooms, sun-dried tomatoes and olives) and stir through. Continue cooking for about 5 minutes.
  • Taste test, and adjust the seasoning to suit. Sprinkle on some nutritional yeast and hemp seeds, if desired, then serve.
  • Any leftover scramble can be stored in an airtight container for up to five days. It is also freezable.
Keyword Budget Vegan Meals, Easy Vegan Meals, Tofu Scramble, Vegan Lunchbox Ideas
Tried this recipe?Let us know how it was!

Pin for later ⬇️

Big shout out to the lovely people at Suma who supplied me with ingredients that I used to create this recipe. The following organic ingredients are available from Suma and can be purchased in the UK from independent health food shops and online:

Suma Organic Sundried Tomatoes in Olive Oil with Thyme
Clearspring Organic Tamari Soya Sauce
Suma Organic Smoked Paprika
Suma Organic Ground Oregano
Cauldron Foods Organic Firm Tofu

Do you enjoy using dried herbs and spices? If so, what are your top favourites? It’s hard for me to pick just one, so here are my current top five (in no particular order) …. 

✦ Dried Oregano
✦ Fresh Basil
✦ Smoked Paprika
✦ Ground Cumin
✦ Ground Sweet Cinnamon

If you try this Mediterranean tofu scramble recipe, please come back and leave a review. It’s so helpful to me (and other readers) to hear your experiences and ideas for variations. Thank you! ❤️

With love,

Sharon xx
Easy Home-Made Tortilla Wraps

Jump to Recipe

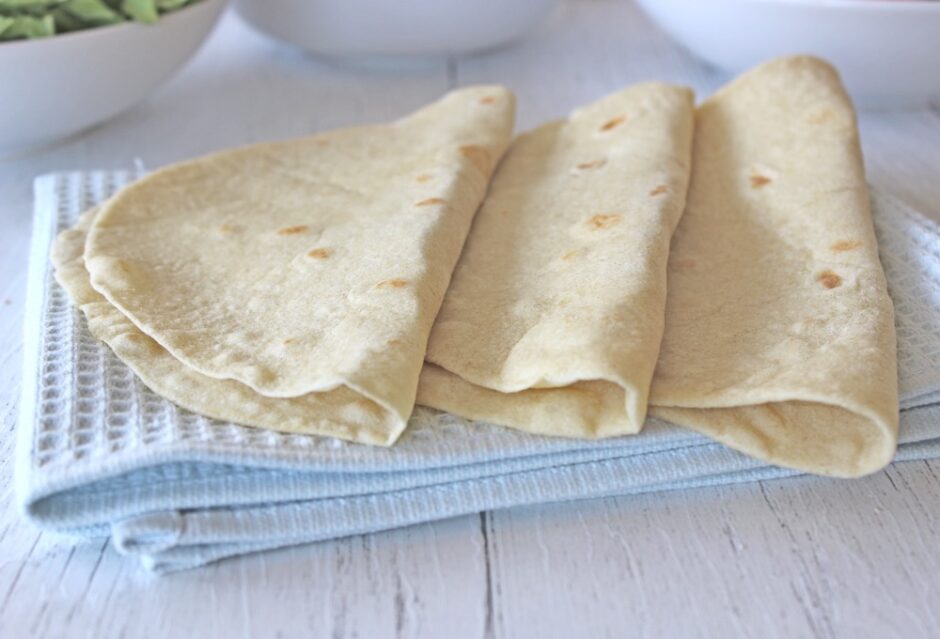
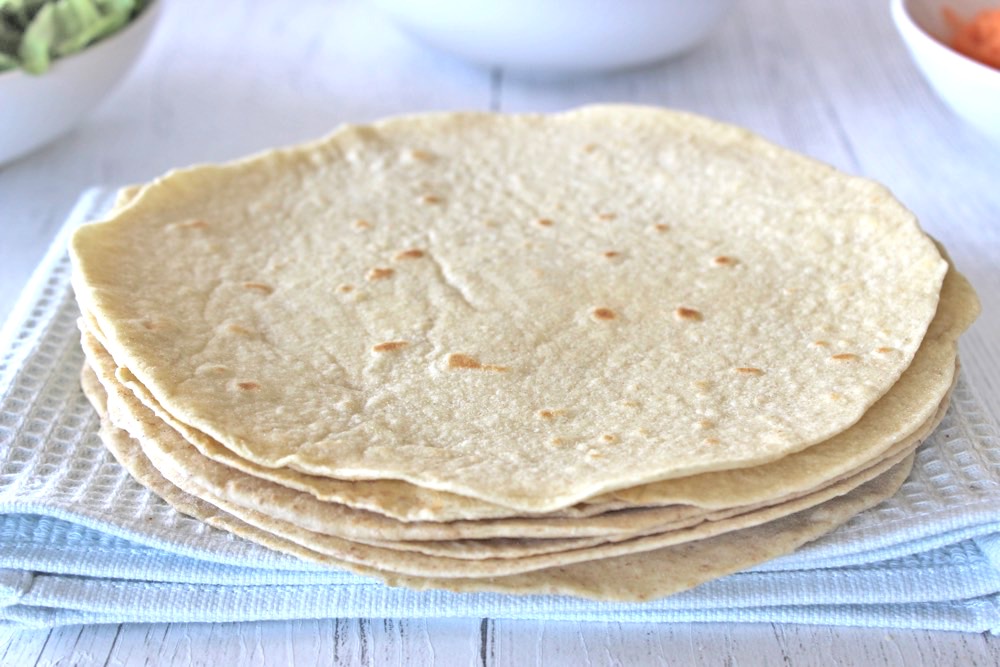
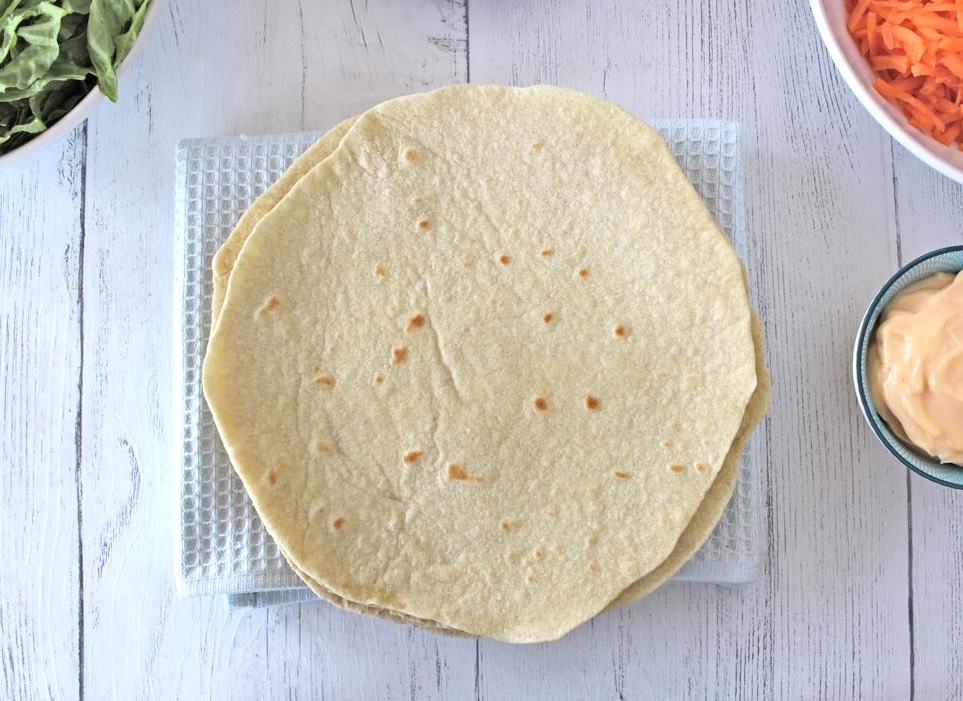
In today’s post, I’m sharing my recipe for easy home-made tortilla wraps. They contain just five ingredients and cost as little as 27p for six. Bargain!

Not only budget-friendly, they also taste far nicer and fresher than the shop-bought variety. One bite of a home-made tortilla and you’ll never want to go back to shop-bought again!

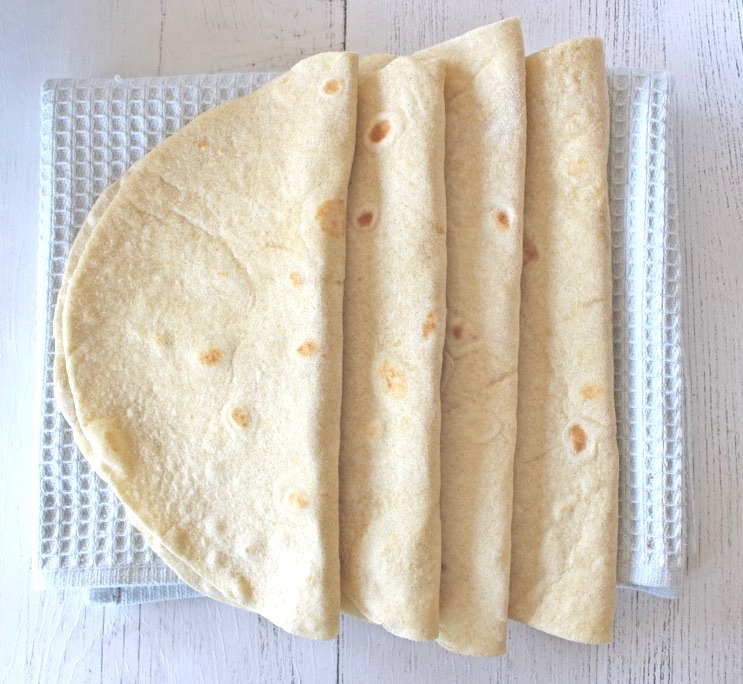
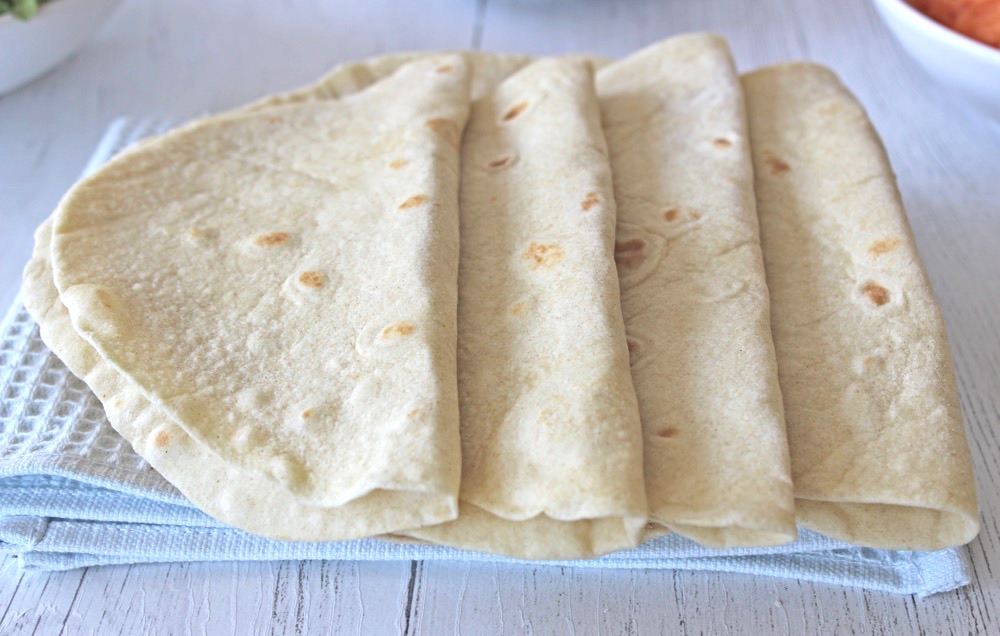
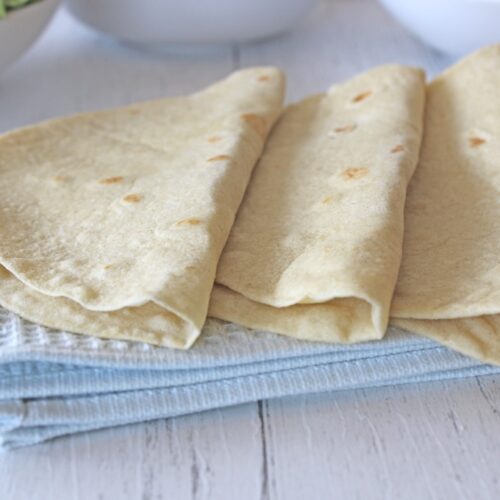
Home-made tortillas are easy and delicious!

Have you checked the ingredients lists on shop-bought tortillas? I was shocked when I saw how many ingredients they contain. I counted 12 ingredients in the basic Waitrose and Tesco tortillas, including emulsifiers, preservatives, stabilisers, humectants… and palm oil.

I never dreamed that they would be easy to make from scratch, however one day we were in the midst of making fajitas for dinner and realised that we didn’t have any tortillas on hand. Instead of abandoning the fajitas, we decided to have a go at making our own.

And you know what? Not only were they easy to make, but they were absolutely delicious! They tasted so fresh and ‘real’ compared to the shop-bought variety. In fact, Mark and Lucien loved them so much that they said they could never go back to shop-bought again. I was okay with this, on the proviso that they make the tortillas while I prepare the fillings. And they happily agreed to do so!

Tortilla Wraps

 Make it fun!

The kitchen is now filled with fun and lots of chat on kebab and fajita nights, as we all get stuck into preparing the meal. I prepare the filling, while Mark rolls the tortillas and Lucien cooks them. A helping hand means the tortillas are ready in half the time, which is a bonus!

The tortillas are best served fresh, however they can be stored in the fridge for up to a week. Sometimes, I’ll spend an hour preparing a triple or quadruple batch, which we then use through the week. I always make sure the music’s playing loud and I’m singing and dancing along, which makes the tortilla making much more fun.

Tortilla Wraps

Perfecting my tortilla recipe

My first attempt at home-made tortillas was based on my chapatti recipe (also published on p119 of the Bit of the Good Stuff cookbook) and it was pretty good. Since then, however, I’ve been on a mission to ‘perfect’ my flour tortilla recipe. I’ve tried different ratios of dry ingredients and liquids; different amounts of oil (I wanted to keep the oil to a minimum, yet use sufficient oil to ensure the tortillas can be stored and reheated without drying out and cracking); and I’ve compared using water and plant milk as the main liquid. Tortillas are traditionally made with water, but I find plant milk can really enhance the flavour.

The recipe I’m sharing today is based on my fifth trial and they’ve got a huge thumbs up from the family. I hope you enjoy them too!

Tortilla Wraps

✧ My top tips for home-made tortillas

Making tortillas is far easier than you might imagine, but here are some tips that I’ve learnt along the way to help perfect the process:

✦  For tortillas, you want a light, slightly sticky dough. It’s easier to start with a dough that’s too sticky and add a little flour at a time until you reach the right consistency, rather than adding more liquid to a dough that’s too dry.

✦  It’s best to use warm liquid rather than cold. It makes it much easier to roll the tortillas.

✦  To roll a perfect circle, press the floured dough ball into a flat disk using your fingers, then use a rolling pin to roll the tortilla into a large circle, rolling anti-clockwise from the centre of the circle to the outer edge. With practice, the easier and quicker it becomes. I was rubbish at rolling to begin with, but can now roll a circular tortilla in 45 seconds.

✦  If you’re not using the tortillas immediately, store them flat in an airtight container in the fridge. They will stiffen up over time, but heating them through in a frying pan (skillet) returns them to their pliable state. Don’t try and fold the tortilla straight from the fridge otherwise it will break in half.

Tortilla Wraps

Recipe Card

Easy Home-Made Tortilla Wraps

These soft flour tortillas contain just five ingredients and are much tastier than the shop-bought variety. They’re easy to make and don’t take too long. See if you can recruit someone to cook them as you roll and this will halve the cooking time. The tortillas are best served the day they are made, but they can be stored in the fridge for up to a week. We love to use these tortillas for fajitas, burritos and vegan doner kebabs.
Hands on time 20 minutes
Total Time 35 minutes
Course Dinner, Lunch
Cuisine Mexican
Servings 6 tortillas

Ingredients
 

  • 120 g / ½ cup soya milk (can substitute with water, but I find the milk enhances the flavour of the wraps)
  • 2 TBSP extra virgin olive oil or oil of choice
  • 210 g / 1½ cups plain (all purpose flour) (or you can use 140g / 1 cup plain (all purpose) flour and 70g / ½ cup fine wholemeal (whole wheat) or chapatti flour)
  • ½ tsp salt
  • ½ tsp baking powder

Instructions
 

  • Gently heat the milk and oil in a small pan. Whisk with a fork to combine.
  • Place the flour, salt and baking powder in a mixing bowl. Pour in the warm liquid and stir with a spoon until it starts to come together. Continue to bring the dough together with your hands. You want the dough to be soft and slightly sticky. The consistency will vary depending on the type of flour and liquid you have used. If it’s too sticky, add a touch more flour. If it’s too dry, add a touch more liquid.
  • Turn out the dough onto a lightly floured surface and knead for 1-2 minutes, until smooth.
  • Divide into 6 equal pieces (I weigh mine to divide it equally). Use your hands to roll them into balls and place on a chopping board. Cover with a clean tea towel and leave to rest for 15 minutes.
  • Pre-heat a dry frying pan (skillet) on medium-high heat.
  • Take one dough ball and coat in flour. Place on a lightly floured surface and using your fingers, press it into a thin disk. Use a rolling pin to roll it into a circle with a 23cm / 9” diameter. (To achieve a circular shape, I roll from the centre of the circle to the outer edge, in an anti-clockwise motion).
  • Lay the rolled dough over the rolling pin and transfer to the hot pan. After a short while, the dough should start to bubble a little. When this happens, flip the tortilla over and continue cooking until brown spots appear on the underside. If the tortilla is browning too quickly, turn down the heat a touch. (I have an electric hob and I cook mine for 40 seconds on the first side, and 20 seconds on the second).
  • Transfer the cooked tortilla to a plate lined with a piece of kitchen paper or a clean tea cloth. Cover with a lid slightly larger than the plate (I don’t have a lid large enough so I use an upturned frying pan!) This will help to keep the steam in and prevent the tortillas from drying out.
  • Repeat the process with the remaining dough balls, adding them to the plate once cooked and covering with the lid.
  • If not using immediately, allow the tortillas to cool completely then store flat in an airtight container in the fridge, where they will keep for up to a week. They will stiffen up over time but heating them through will return them to their pliable state.
Keyword Dairy-Free, Flour Tortillas, Home-Made Tortillas, Tortilla Wraps, Vegan
Tried this recipe?Let us know how it was!

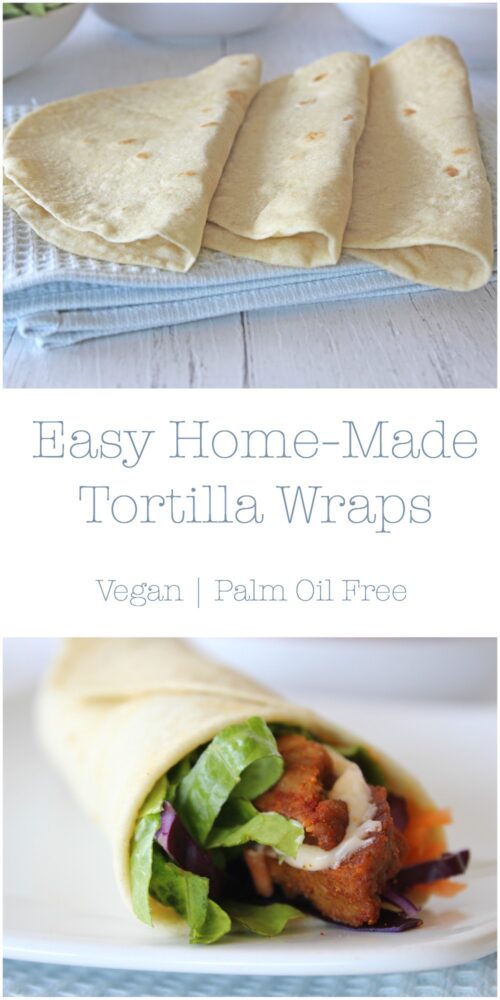
 Pin for later ⬇️

Home-Made Tortilla Wraps

If you make these Home-Made Tortilla Wraps, I’d love to hear your feedback and how you choose to fill them! You can leave a comment in the box below or tag your photos with #bitofthegoodstuff on social media – I always love to see your creations! You can connect with me on my social media channels here: Instagram, Facebook, Pinterest.   

With love,

Sharon xx