* This recipe was originally posted in March 2014. The page was updated in February 2020.
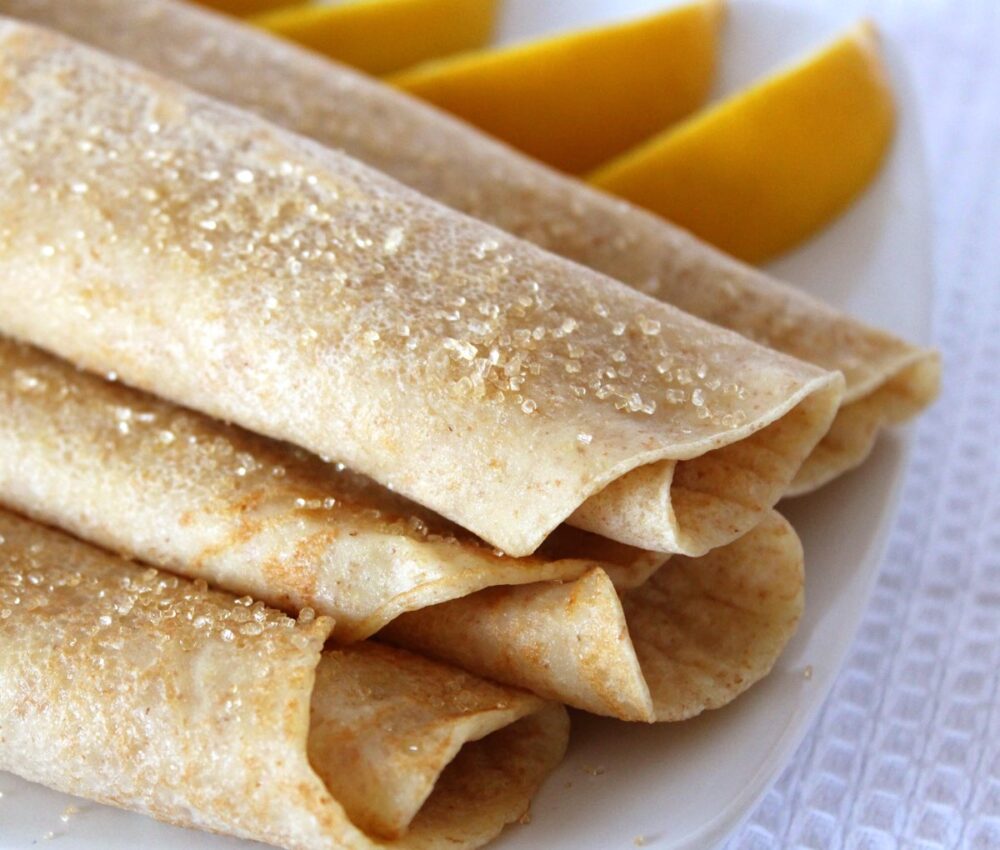
It’s Shrove Tuesday tomorrow and I am really looking forward to making a big pile of my family’s favourite vegan crepes. They are so easy to make and use basic pantry ingredients. We don’t even use an egg replacer! I’ve always loved French-style crepes but I love this vegan version even more. They taste amazing and they’re cruelty-free too ❤️
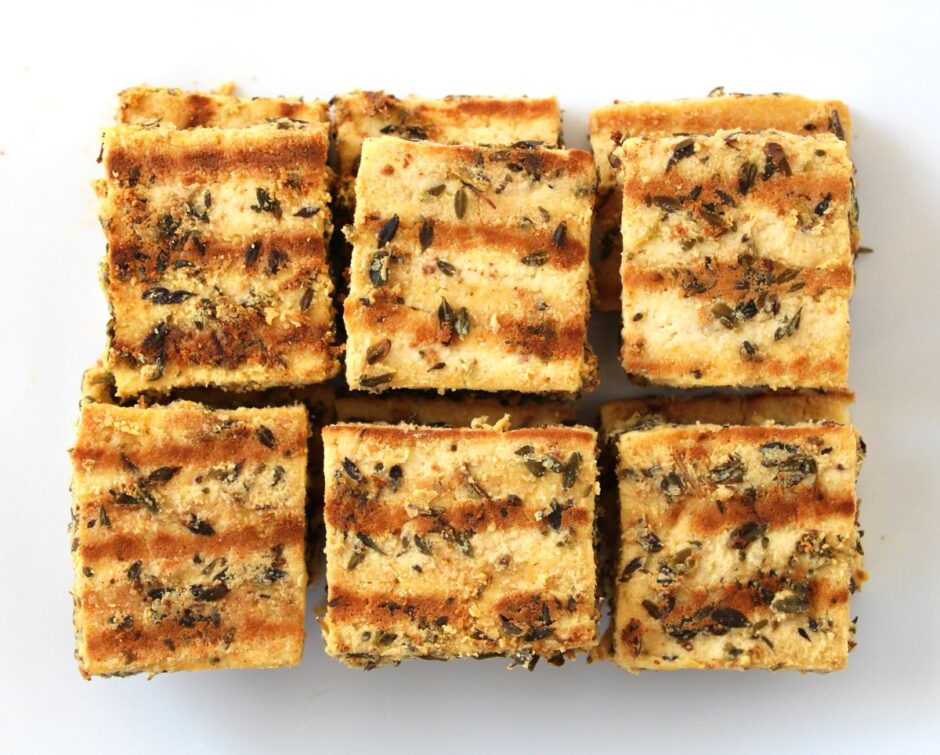
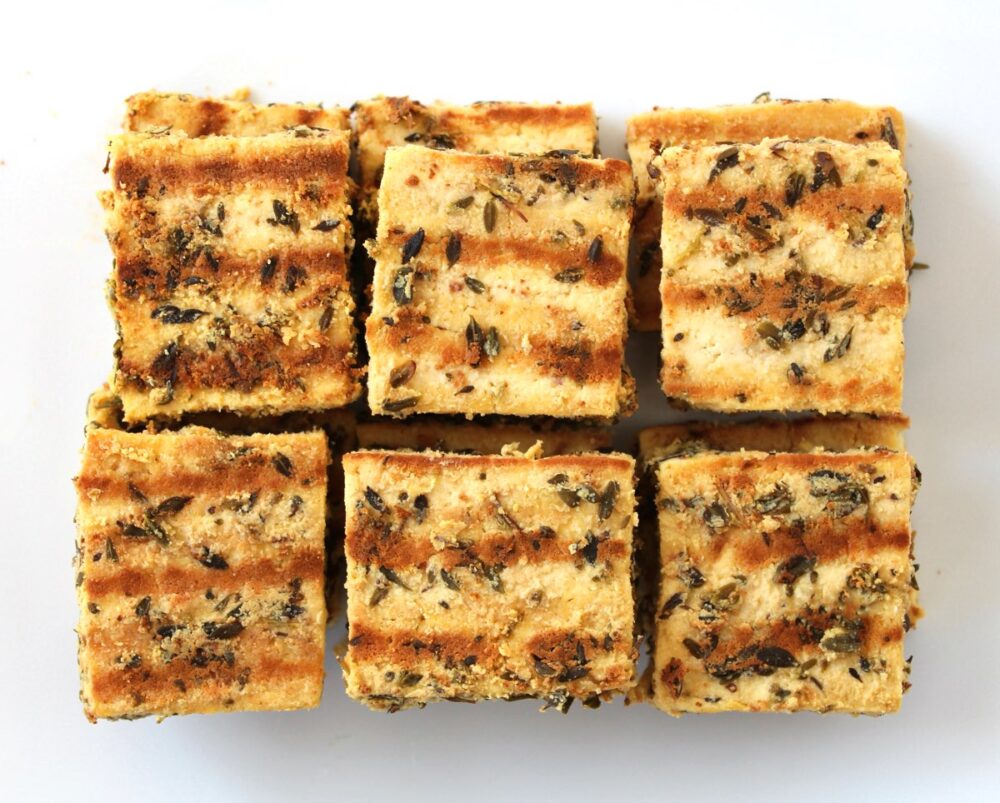
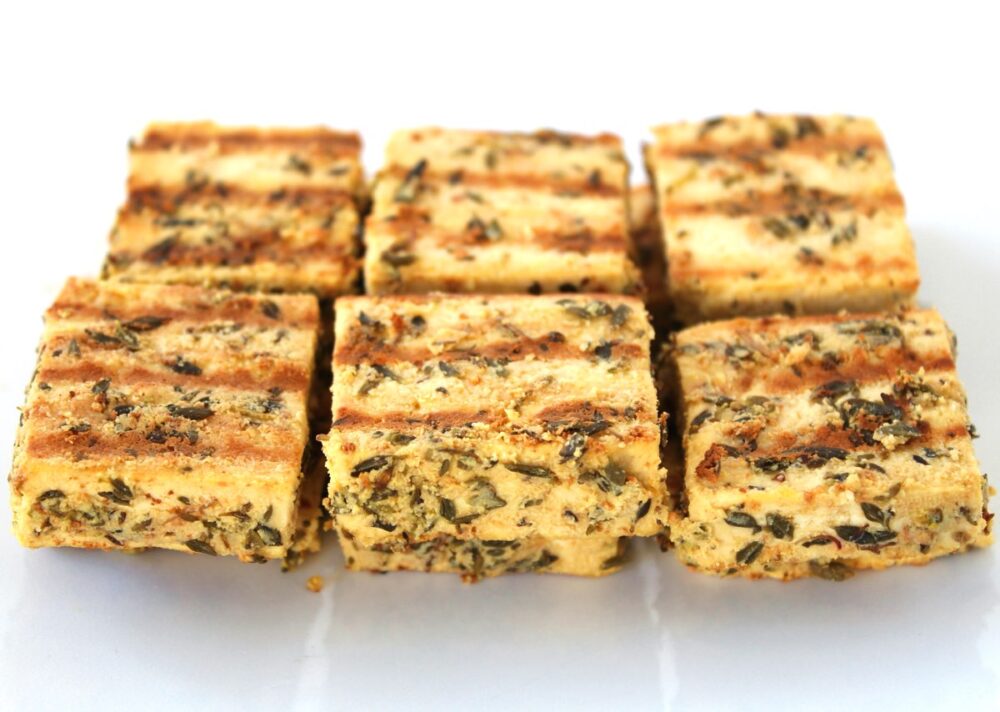
In today’s post, I’m sharing the recipe for a delicious plant-based alternative to halloumi. Simple to prepare, this Tofu ‘Halloumi’ is highly versatile. We love to add it to Greek-style salads, sandwiches, pittas, wraps and mezze platters.
It was the Greek Vegan Deli guys that first introduced me to Tofu ‘Halloumi’ back in 2018 at Bristol VegFest. It was absolutely delicious!! Since then, every time I see the Greek Deli guys at a festival, I really look forward to tucking into their Tofu ‘Halloumi’, either stuffed into a pitta or as part of one of their incredible Greek platters.
I love Greek food and halloumi used to be one of my favourite cheeses. However, once I’d tried the tofu version, I was hooked. I loved it even more than the original!
And if I’d known just how easy it is to make, I would definitely have tried making Tofu ‘Halloumi’ a long time ago!
It involves three simple steps …
Pressing the tofu
Marinating it for an hour
Then grilling it for a few minutes.
Job done!
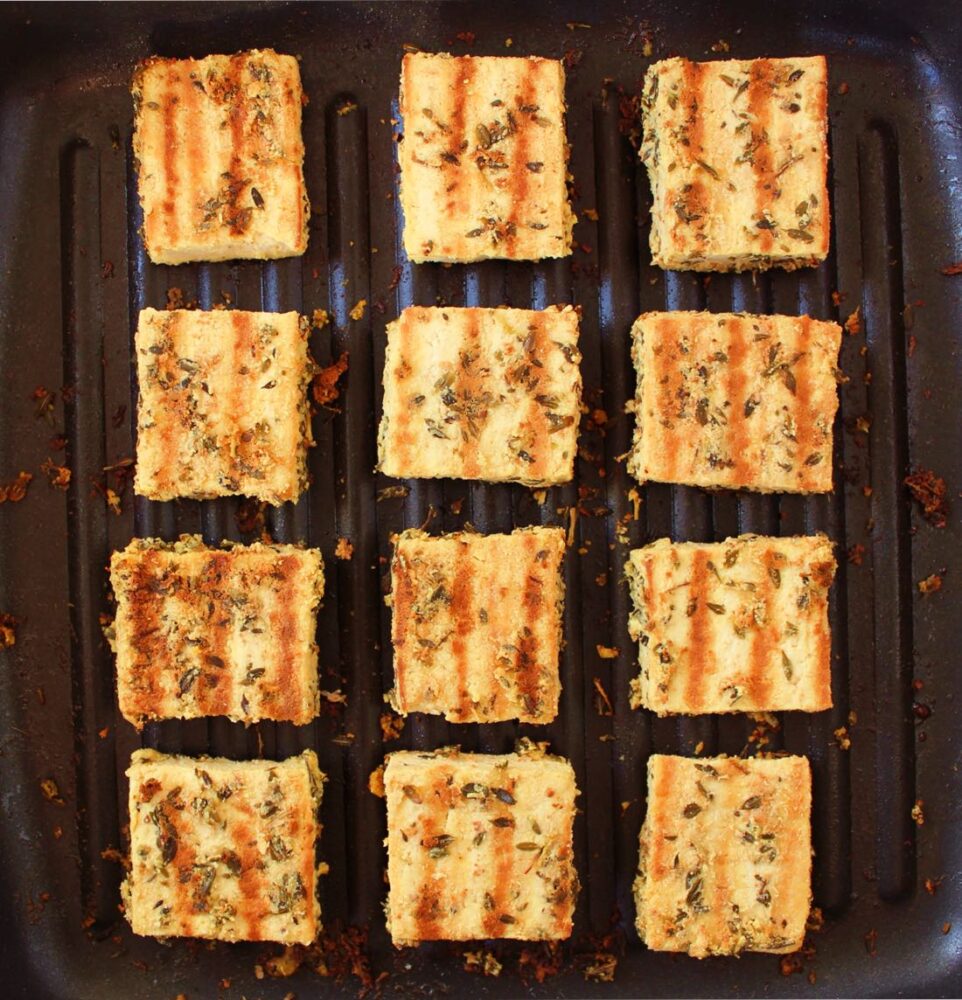
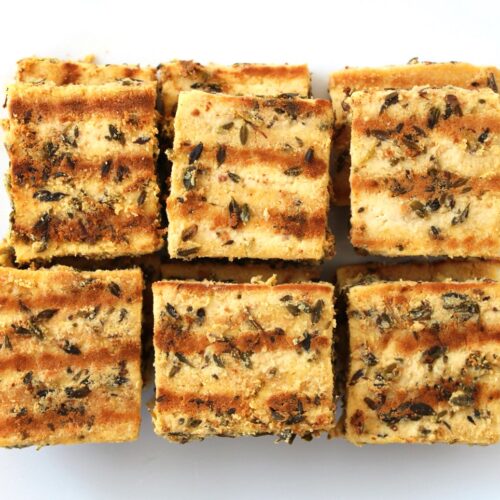
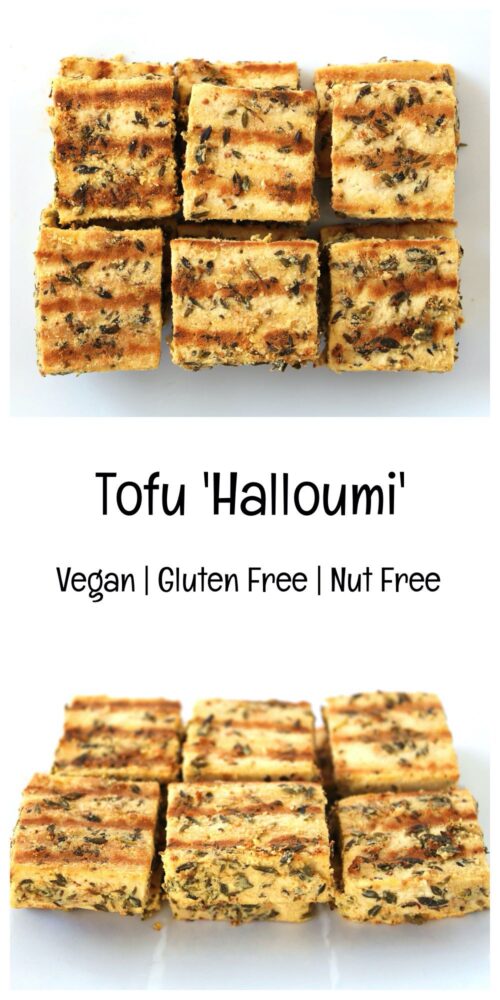
I especially love to use a griddle pan to get those beautiful grill lines.
For the marinade, I used five ingredients that are basic staples my kitchen – nutritional yeast flakes, lemon, oregano, extra virgin olive oil and salt. The resulting tofu was so flavourful. It was salty, tangy, cheesy and herby – all the flavours I associated with Greek halloumi (for Cypriot halloumi you could switch the oregano for mint instead).
Recipe Card
Prevent your screen from going dark
Tofu ‘Halloumi’
This tofu is a delicious alternative to halloumi. It can be served warm or cold, and is perfect for adding to Greek salads, sandwiches, pittas, wraps and mezze platters.
Press the tofu for 30 minutes**. Slice into ½ inch (1.3 cm) thick rectangles.
Add the nutritional yeast flakes, lemon juice, dried oregano, oil and salt to a bowl and stir until thoroughly combined. The nutritional yeast should start to dissolve into the oil.
Add the tofu to a wide, shallow container and use a pastry brush or spoon to coat both sides in the marinade (it doesn’t matter if you need to stack the tofu). Cover and leave for an hour to marinate. Alternatively you can leave it overnight in the fridge.
When ready to cook, spray a non-stick griddle pan or frying pan (skillet) with oil and pre-heat on medium-high. Add the tofu in a single layer and press down on it with a slotted turner spatula (you should hear it sizzle). Cook for 2-3 minutes until golden brown on the underside then flip over and repeat.
Stored in an airtight container, the tofu will keep for a couple of days.
Notes
* I used Cauldron Extra Firm Organic Tofu (available in the chiller cabinet in most big UK supermarkets). I like this tofu as it is set in calcium sulphate so it’s an easy way to boost our calcium levels. According to their website, Cauldron Organic Tofu contains approximately 400mg of calcium per 100g (a quarter block). **Here’s my preferred way to press tofu (since I don’t have a tofu press): Place the tofu on a rimmed baking tray. Place a chopping board on top of the tofu, followed by a heavy object to weigh it down. The water collects in a pool round the tofu. After 30 minutes, drain off the liquid. Give the tofu a quick pat with kitchen paper to soak up any residual liquid, then it’s good to go.
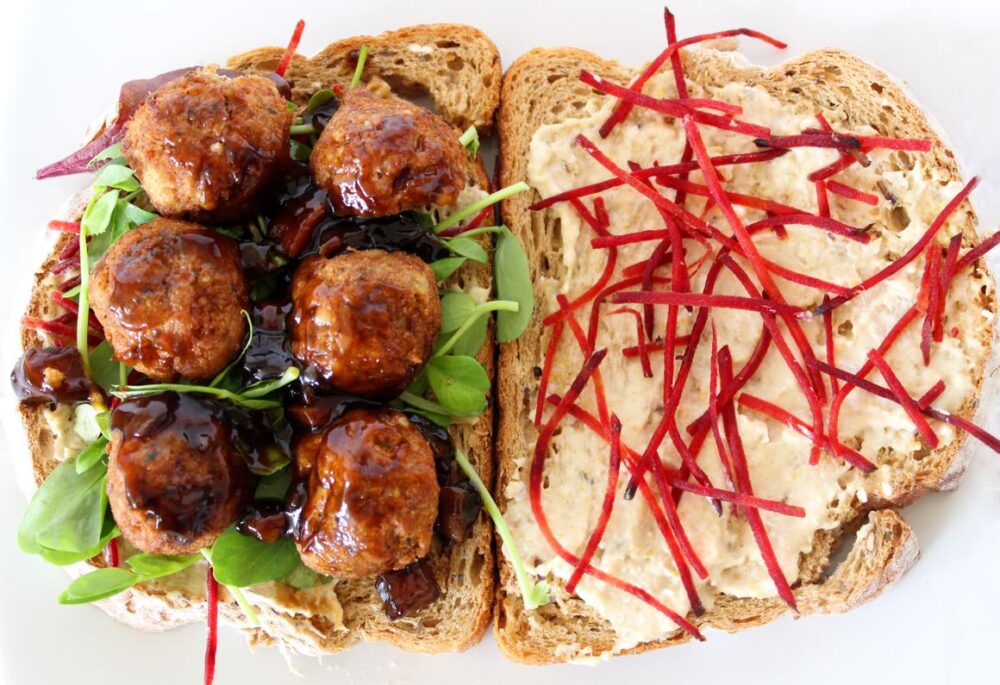
I’m really looking forward to seeing how you would use this Tofu ‘Halloumi’. Today, I added it to a toasted sandwich with baby leaves and shredded beetroot, sun-dried tomatoes and mayo. It was so delicious! If you make it, remember to take a photo and tag it with #bitofthegoodstuff on social media – I always love to see your creations! You can also connect with me on my social media channels here:Instagram, Facebook,Pinterest.
* This post was originally published in July 2013. The page was updated in August 2019.
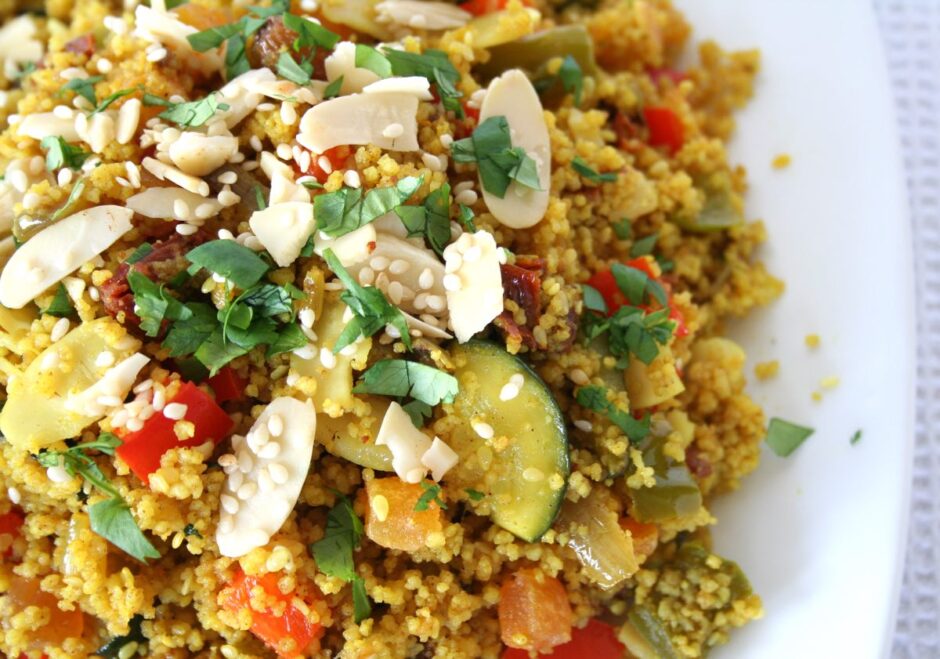
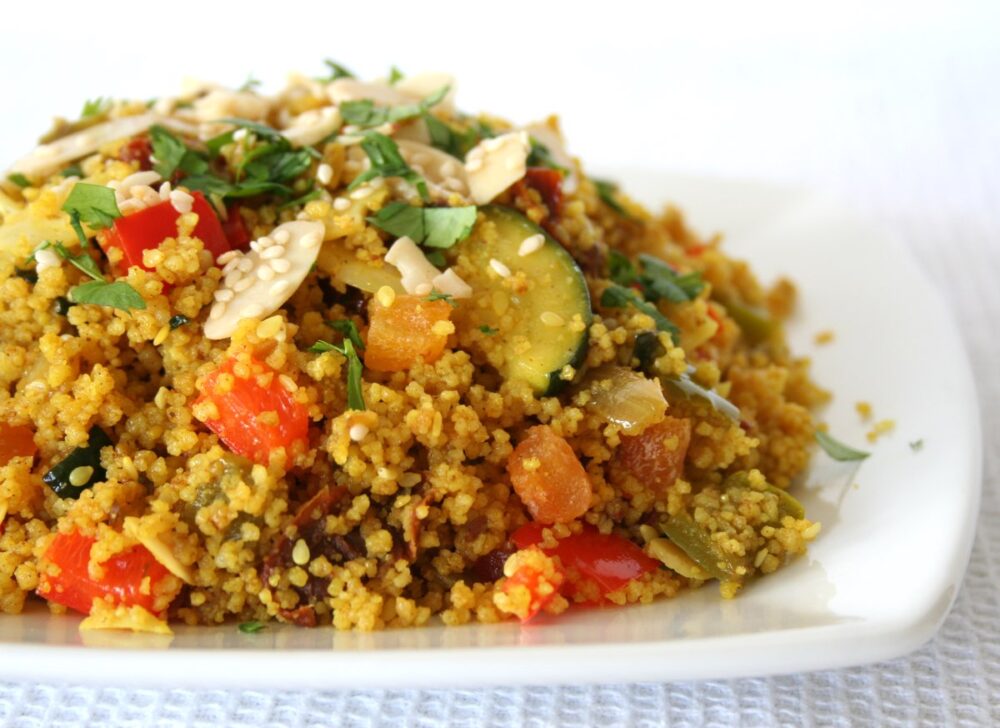
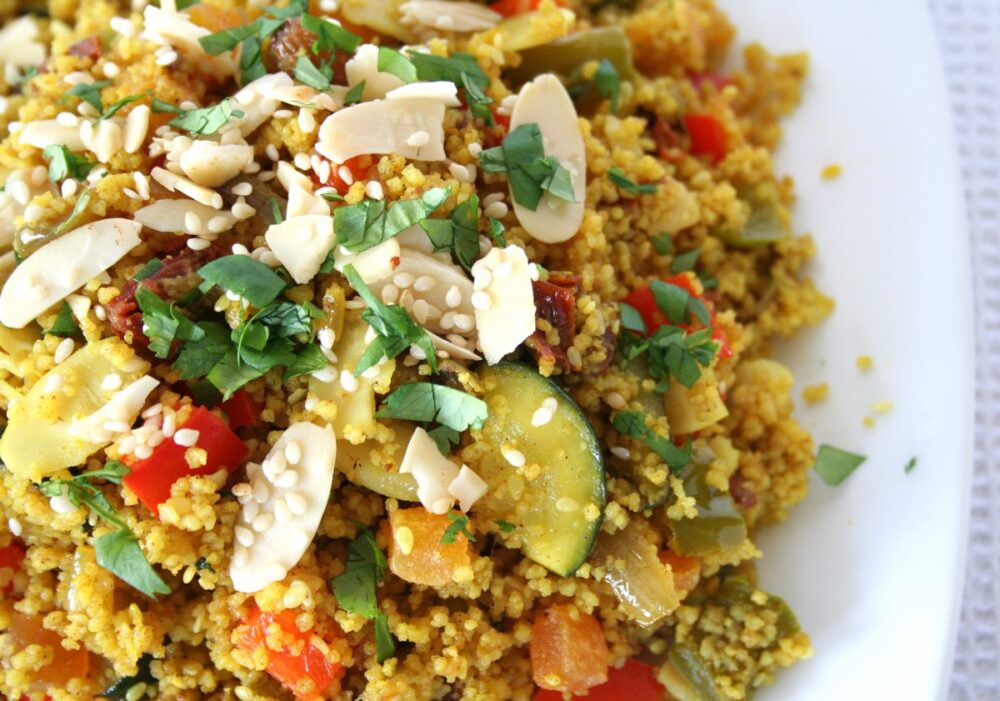
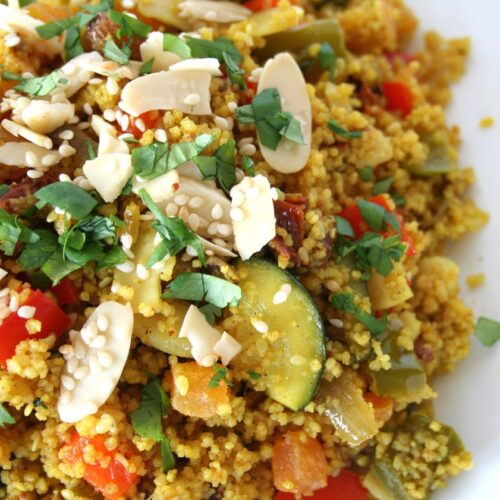
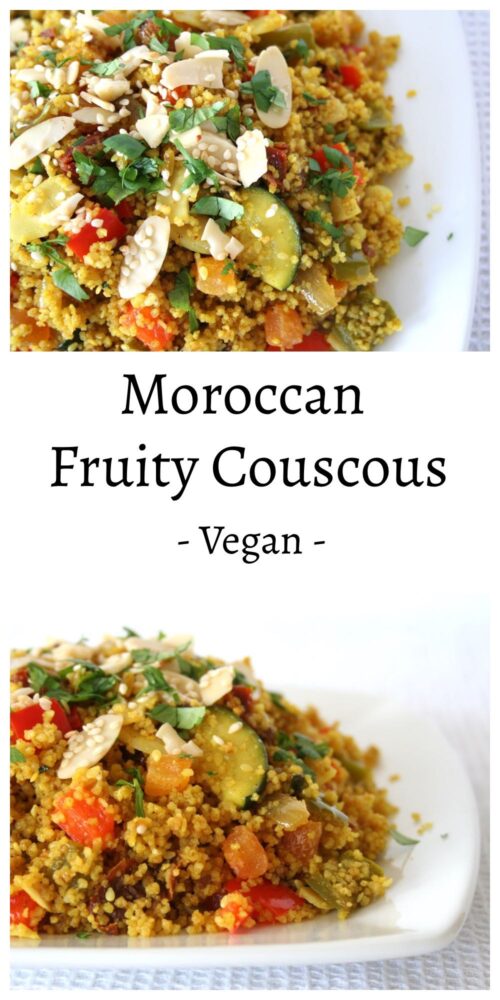
Today I’d like to share another one of my family’s current favourite dishes – Moroccan Fruity Couscous. This is such a pretty dish, full of flavour and ready in just 20 minutes!
It makes a lovely summer weekend lunch or speedy weeknight supper. It’s equally delicious served hot or cold, making it perfect for al fresco dining, picnics and buffets. As a main meal, we love to serve it with strips of warm pitta or garlic bread, some baby salad leaves and a large dollop of hummus. Moroccan-spiced or roasted red pepper hummus is especially good!
July 30 2013 – I made this dish for dinner last night, and was intending to blog it in the evening and join in Meatless Monday. However, after a day of thunder, lightening and heavy rain, the weather had finally cleared by 7pm and the three of us were itching to get outside and make the most of the ‘best part of the day’. Our short stroll turned into a 6 mile circular walk along the Kennet & Avon Canal & across Bath City centre. It was such a beautiful evening! Everything smelt so fresh after the rainfall, and the late sun was making everything sparkle.
So here’s the recipe, a day late but I’m sure you’ll forgive me 😉
Recipe Card
Prevent your screen from going dark
Moroccan Fruity Couscous
Sharon
This gently spiced, fruity couscous makes a lovely summer weekend lunch or speedy weeknight supper. As a main meal, we like to serve it with strips of warm pitted bread or garlic bread, baby salad leaves and a large dollop of hummus. I've kept it mild enough for children, but feel free to spice it up with some chilli.
8sun-dried tomatoes in olive oildrained and sliced
8dried apricotschopped
30g/ 3 TBSP dried cranberries or sultanas
480ml/ 2 cups boiling hot vegetable stock (broth)
1TBSPolive oildivided
1medium onion (140g)finely chopped
2-3garlic clovesminced
1bell pepper (190g)deseeded and diced (or use a mix of different coloured pepper pieces to make it extra vibrant!)
1medium courgette (zucchini) (240g) quartered lengthwise and sliced
1tspground cumin
½ – 1tspsweet paprika
½tspground cinnamon
¼tspground ginger
¼tspground turmeric
small handful of fresh coriander leaves (cilantro)or parsleyroughly chopped
saltto taste
Garnish
4TBSPtoasted flaked almonds
2TBSPtoasted sesame seeds
Instructions
Place the couscous, sun-dried tomatoes, dried apricots and cranberries/sultanas in a heat-proof bowl. Pour the boiling hot stock on top, cover with a plate and leave for 7 minutes. Drizzle on ½ TBSP olive oil (or oil from the jar of sun-dried tomatoes) and fluff up with a fork.
Meanwhile, heat ½ TBSP oil in a large frying pan (skillet) on medium heat and cook the onion, garlic, bell pepper and courgette for a couple of minutes. Stir in the dried spices, reduce the heat to medium-low and continue cooking for 5 minutes. If the vegetables start to stick, add a splash of water to the pan.
Once ready, tip the couscous into the pan along with the fresh herbs. Gently stir through to combine. Season with salt, to taste.
Divide between four bowls. Sprinkles on the nuts and seeds and serve.
Any leftovers can be stored in the fridge for three days. They’re great for packing into lunchboxes as an alternative to sandwiches. Be sure to add a dollop of hummus to the bowl. It helps the couscous stick together!
Notes
Super Speedy VersionTo save on chopping time, substitute the fresh vegetables with a bag of frozen grilled Mediterranean vegetables.
If you make this Moroccan Fruity Couscous (or any other recipes on my blog), I’d love to hear your feedback and any suggestions for adaptations! Tag your photos with #bitofthegoodstuff on social media – I always love to see your creations! You can also connect with me on my social media channels here: Instagram, Facebook, Pinterest.
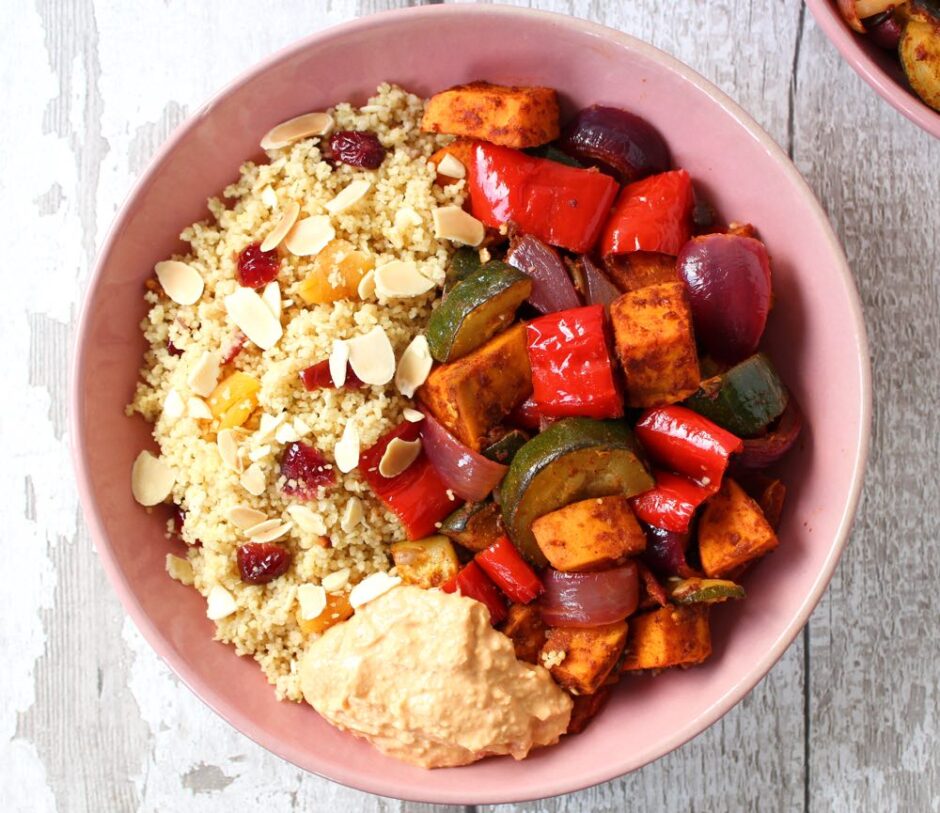
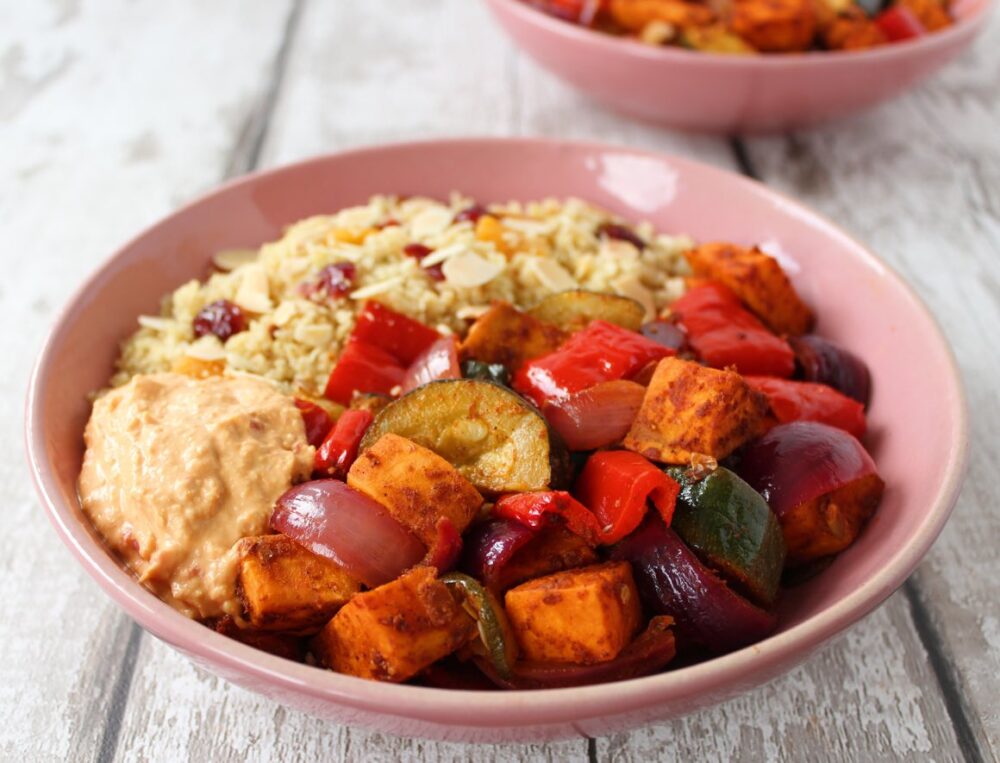
In today’s post, I’m sharing a Moroccan-inspired dinner that my family has been loving lately. It’s super easy to make, highly adaptable and a great make-ahead option. These past couple of weeks have been scorching hot in the UK, so we’ve really enjoyed this dish at room temperature. It’s equally delicious served hot or cold.
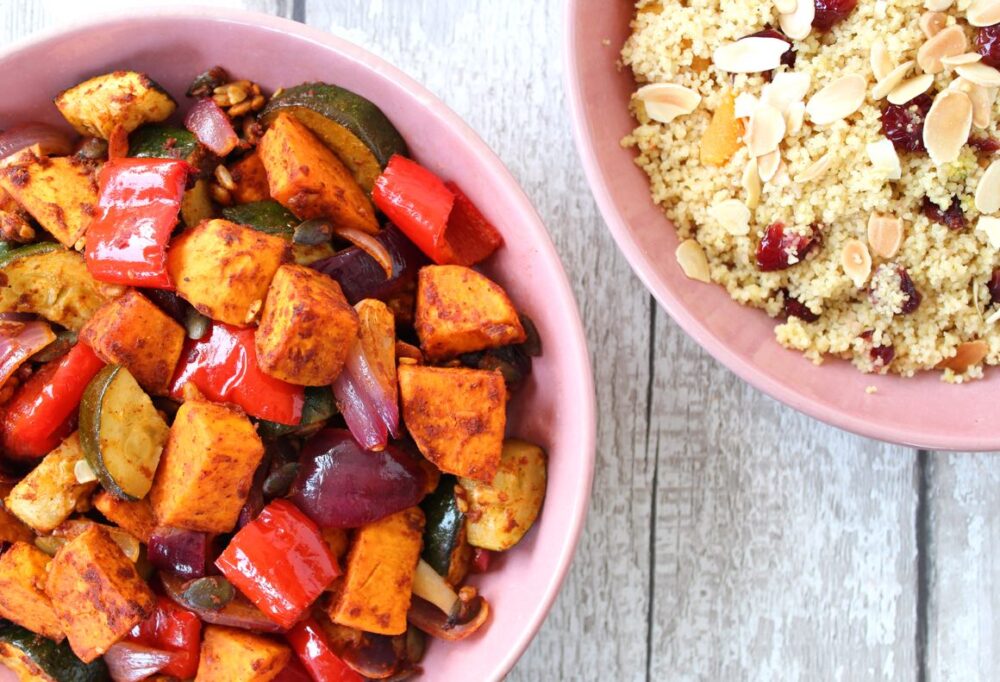
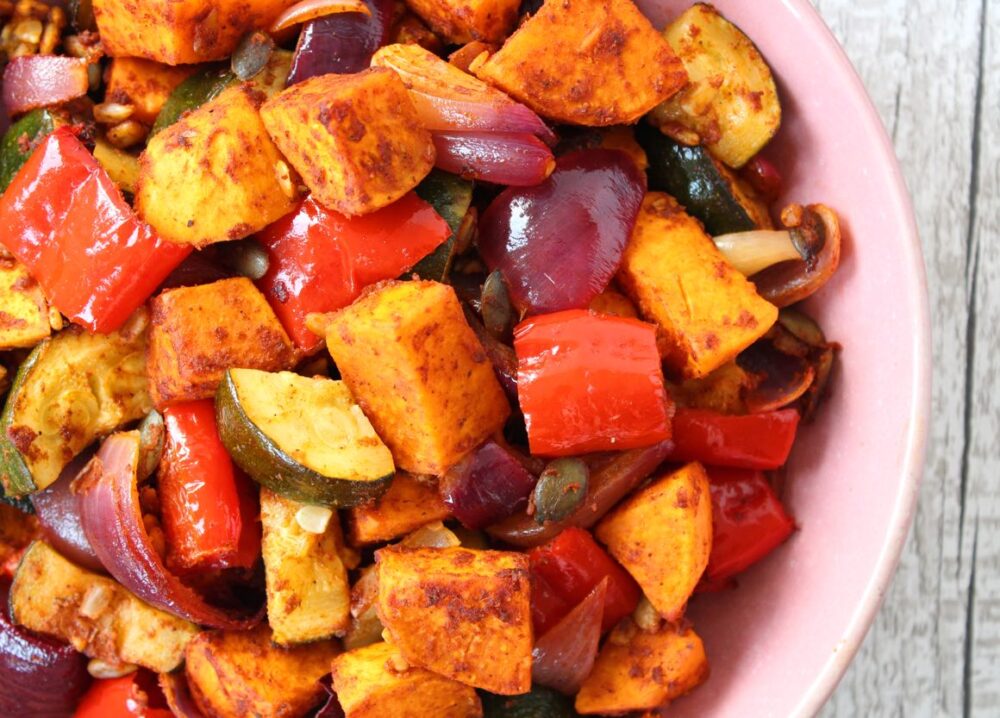
Check out all those beautiful colours!!
And those vibrant colours are an indication of all the wonderful health-boosting antioxidants and phytonutrients in this dish. It is especially rich in carotenoids (which give the sweet potato and bell pepper their vivid orange and red hue), vitamin C and vitamin E.
This is one of those meals that leaves me feeling incredibly energised and fantastic on the inside!
The inspiration for this dinner was a recipe that featured in this month’s Vegan Life magazine for ‘Jewelled Cous Cous with Harissa Roasted Vegetables’. I’ve tried Harissa paste a few times in the past, but I personally find it way too spicy… I can literally feel my lips and throat burning even with the tiniest amount.
Since I’m a complete wimp when it comes to handling chilli heat, instead of using Harissa, I created my own spice blend mix which has the aromatic flavours that I associate with Moroccan cuisine, but is mild enough for me (and, by default, children!)
Recipe Card
Prevent your screen from going dark
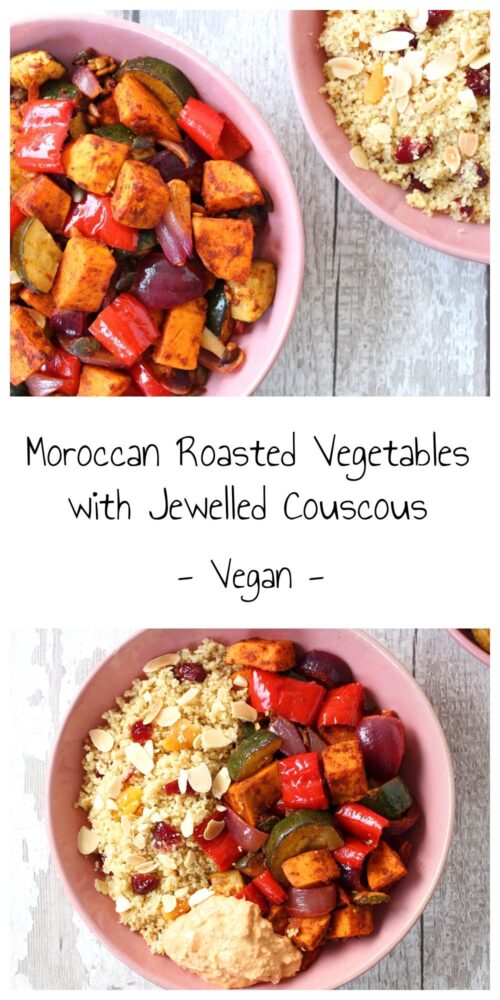
Moroccan Roasted Vegetables with Jewelled Couscous
Sharon
This Moroccan-inspired dinner is packed full of colour and flavour. I’ve made it mild enough to serve to all family members, but feel free to add some Harissa paste if you like heat. It is equally delicious served hot or cold, and is a great make-ahead option. Be sure to add a dollop of hummus to your bowls before serving. It’s the perfect complement to the dish and is great for holding the couscous together on your fork!
2sweet potatoes (450g)peeled and cut into 2 cm / ¾ inch cubes
2courgettes (zucchini) (400g)sliced lengthwise then into 1.5 cm / ½ inch half moons
2sweet romano or red bell peppers (200g)deseeded and sliced
2red onions (200g)sliced into wedges
¼tspsalt
oil for spraying the roasting tins
2TBSPpumpkin seeds
2TBSPsunflower seeds
Jewelled Couscous
250g/ 1⅓ cups couscous(preferably whole wheat)
8dried apricots (44g)diced
4TBSPdried cranberries (38g) (preferably sweetened with fruit juice)
480ml/ 2 cups boiling vegetable stock (broth)(I use water and 2 tsp vegetable bouillon powder)
½TBSPextra virgin olive oil
Garnish
4TBSPtoasted flaked almonds
8TBSPhummus
Instructions
Preheat the oven to 200C (180C fan) / 400F.
In a mixing bowl, combine all the spice blend ingredients. Add the chopped vegetables and stir through to coat.
Lightly spray two roasting tins with oil and arrange the veggies in a single layer. Lightly sprinkle with salt. Roast for 25-30 minutes, or until the sweet potato is cooked through. Give them a stir half way through the cooking time. At this point, sprinkle in the pumpkin and sunflower seeds.
Ten minutes before the veggies are ready, place the couscous, apricots and cranberries in a heat-proof bowl. Pour the boiling hot stock on top, cover with a plate and leave for 7 minutes. Drizzle on ½ TBSP olive oil and fluff up with a fork.
Divide the couscous and roasted veggies between four bowls. Add a large dollop of hummus to each bowl, sprinkle some flaked almonds on top for garnish and serve.
Any leftovers can be stored in the fridge for three days. They’re delicious eaten hot or cold, and make a great lunchbox option! The roasted veggies are also freezable.
N.B. The above values are estimates. The actual nutritional values will vary depending on the brands and ingredients used.
Pin for later ⬇️
If you make this Moroccan Roasted Vegetables with Jewelled Couscous (or any other recipes on my blog), I’d love to hear your feedback and any suggestions for adaptations! Tag your photos with #bitofthegoodstuff on social media – I always love to see your creations! You can also connect with me on my social media channels here:Instagram, Facebook, Pinterest.
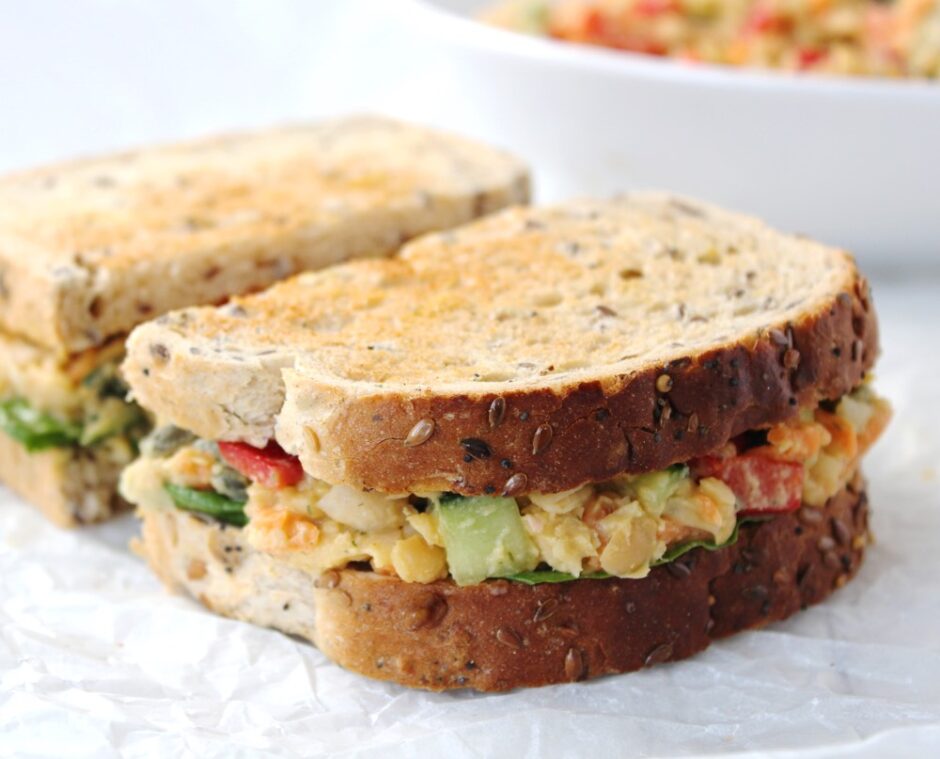
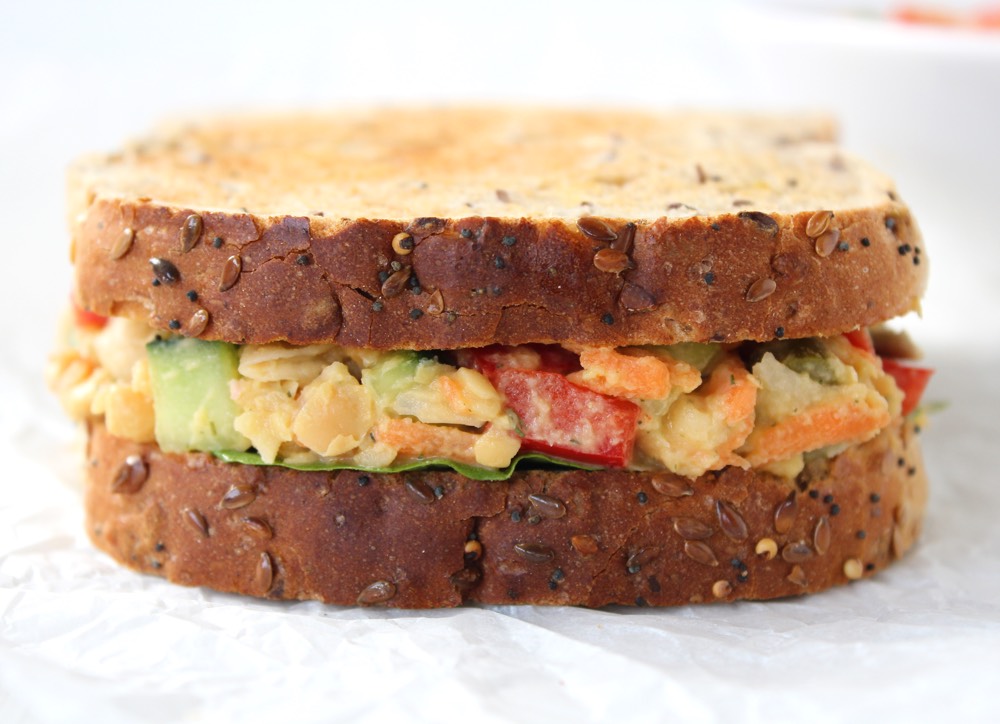
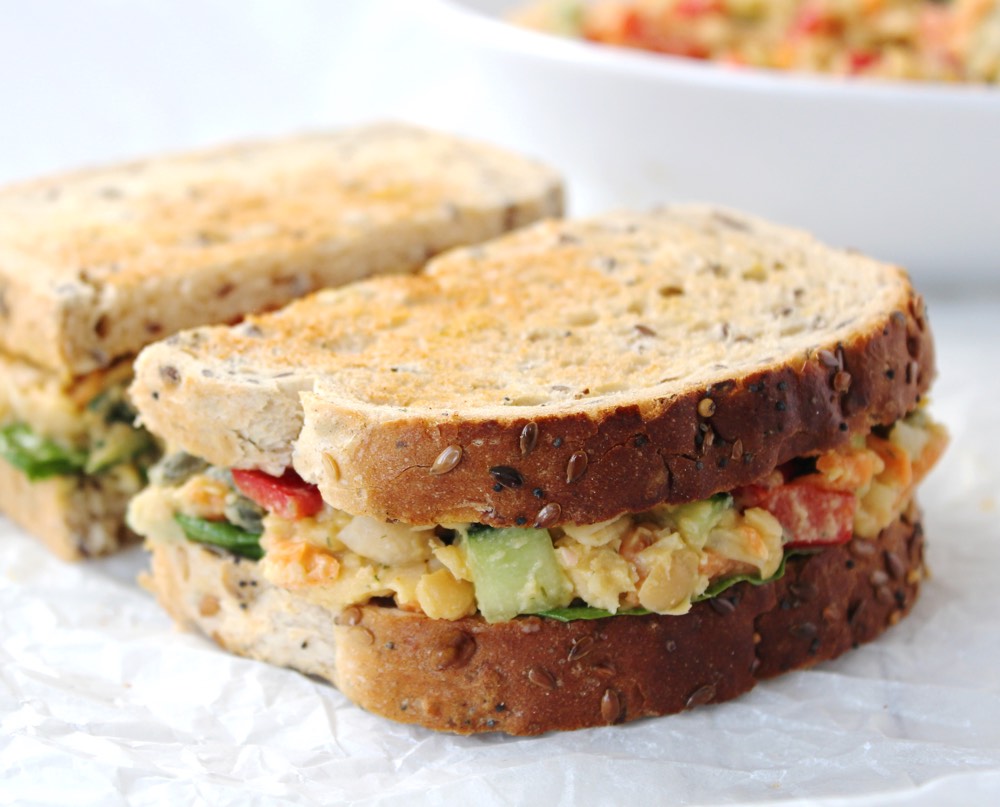
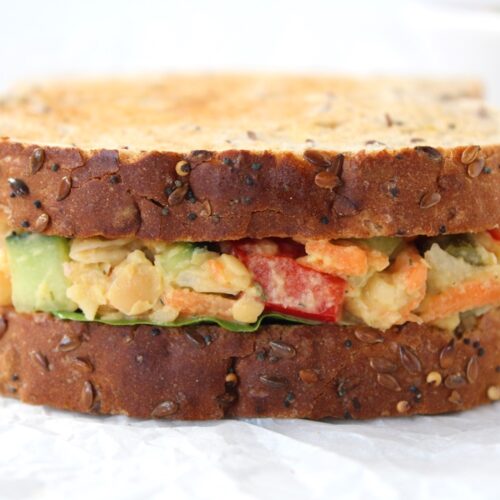
In today’s post I’m sharing a sandwich filling that is tangy, crunchy, creamy and oh so delicious! It reminds me of the Heinz Sandwich Spread that I used to love as a kid in the 80s, but this home-made version is way fresher, tastier and healthier too!
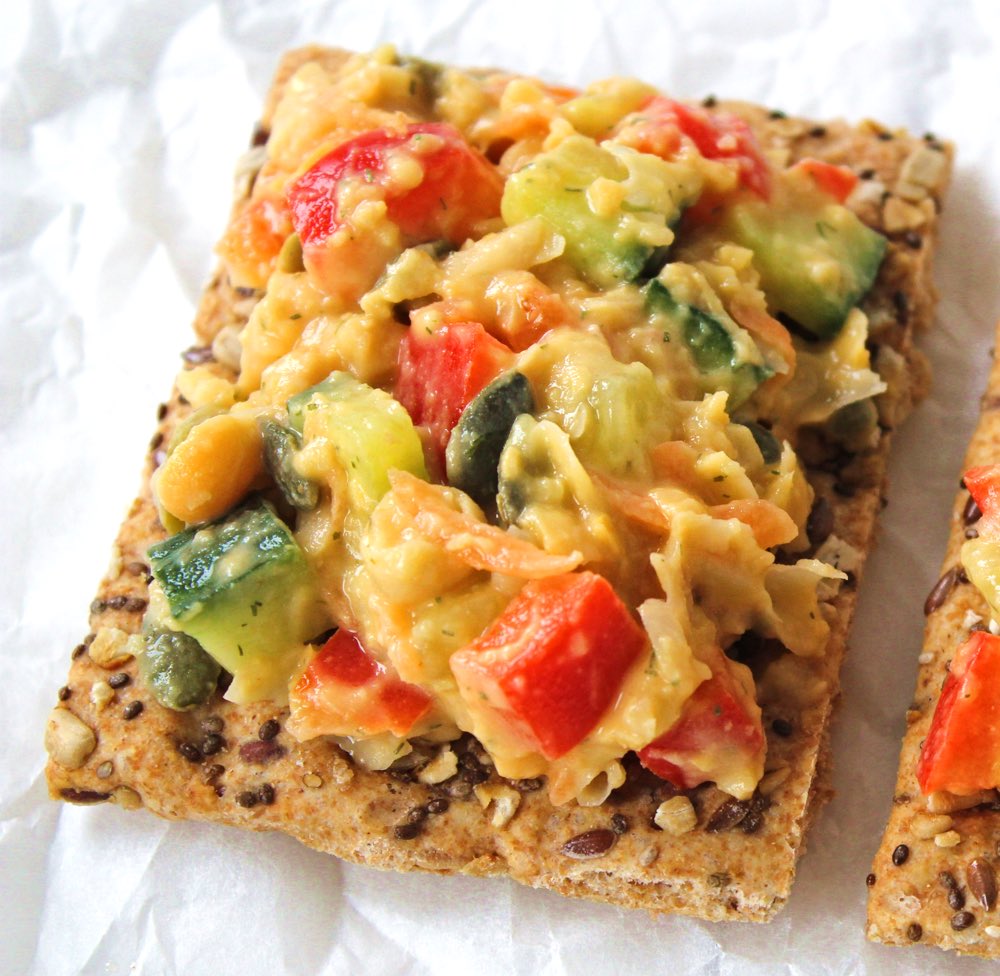
If you’re looking for a new sandwich to liven up school or work lunchboxes, I’d definitely recommend giving this recipe a try. It would also be great for picnics and buffets. As well as a sandwich filling, you can also use it as a topping for crackers. Perhaps even as a jacket potato topper too?
It’s really easy to make and takes around 12 minutes to prepare a large bowl, which will fill about five sandwiches. I tend to make one batch of chickpea smash at the start of the week, which we then use on the following days for Lucien’s school sandwiches, as well as our own.
The inspiration for today’s recipe was this Garden Veggie Chickpea Salad Sandwich from Jenn @ Peas and Crayons which I came across back in 2017, and have been making adapted versions of ever since. Jenn, in turn, credits Angela from Oh She Glows for inspiring her recipe, so it sounds like Angela is the original recipe creator. I’d like to thank both Jenn and Angela for inspiring the recipe I’m sharing today and for giving my family so much sandwich joy these past couple of years!
This recipe is highly versatile, so feel free to switch up the ingredients. I would definitely recommend keeping the dill pickles in though, as they give this recipe its signature tangy, crunchy bite. In England, dill pickles are called ‘gherkins’. It’s such a funny name isn’t it? Even funnier, my mum still calls them by their old slang name ‘Wallies’. Personally, I prefer to call them dill pickles as it sounds much more appealing to me than gherkins or wallies. How about you? What do you call them?
Recipe Card
Prevent your screen from going dark
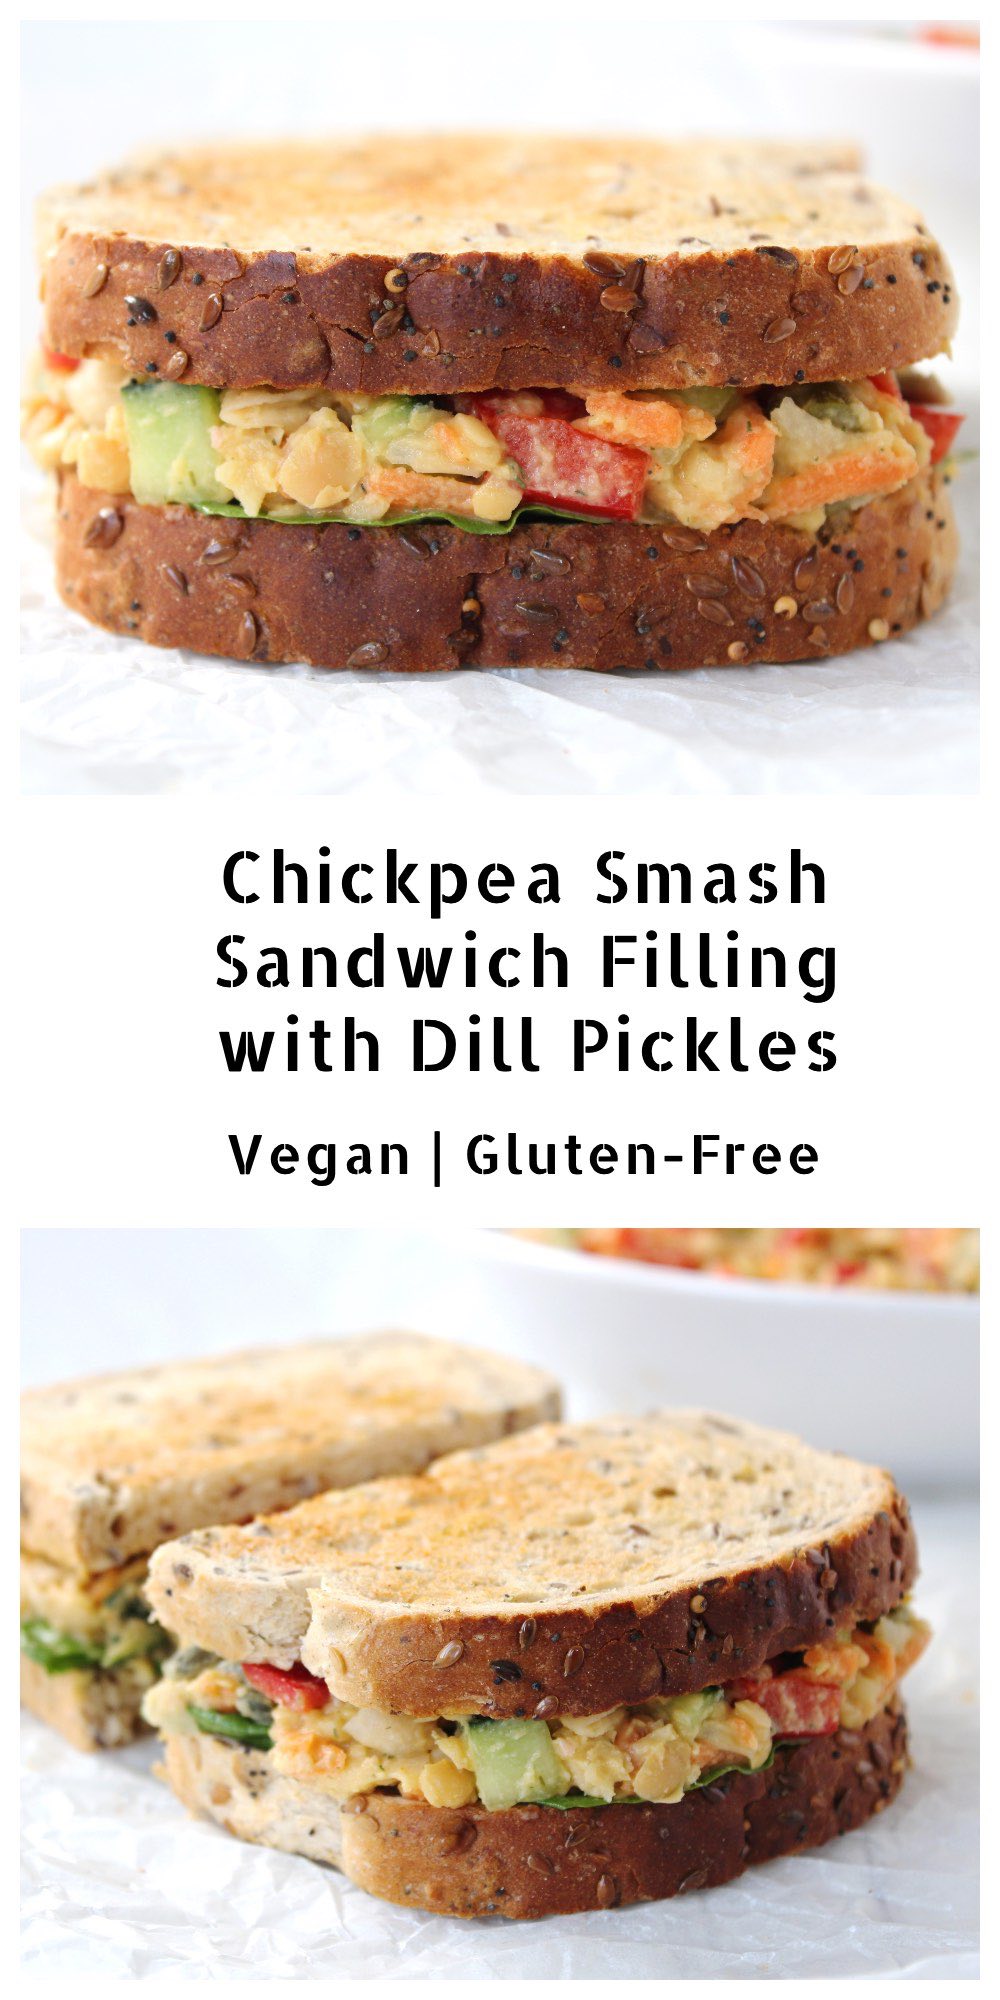
Chickpea Smash Sandwich Filling with Dill Pickles
This tangy, crunchy, creamy chickpea smash is perfect as a sandwich filling for school or work lunchboxes, as well as picnics and buffets. The quantity below fills about five sandwiches.
1small red bell pepper or romano pepperdeseeded and finely diced
75g/ ½ cup dill pickles or gherkinssliced
2TBSPpumpkin seeds
4TBSPvegan mayonnaise*
1tspDijon mustard
¼tspdried dill
pinchof salt
Instructions
Placed the drained chickpeas in a large bowl and roughly mash with a potato masher.
Add all the remaining ingredients and stir through until fully combined. Taste test and adjust the seasoning to suit.
Stored in an airtight container in the fridge, this chickpea smash will keep for three days.
Notes
* I use this Home-Made Sweet Chilli Mayonnaise It’s so cheap and easy to make! If you prefer to use a ready-made mayonnaise, both Vegenaise and Hellmans Vegan Mayo are now available in many of the major supermarkets in the UK, as well as the independent health food shops.
N.B. The above values are estimates. The actual nutritional values will vary depending on the brands and ingredients used.
Pin for later ⬇️
If you make this Chickpea Smash, I’d love to hear your feedback and any suggestions for adaptations! Tag your photos with #bitofthegoodstuff on social media – I always love to see your creations! You can also connect with me on my social media channels here:Instagram, Facebook, Pinterest.
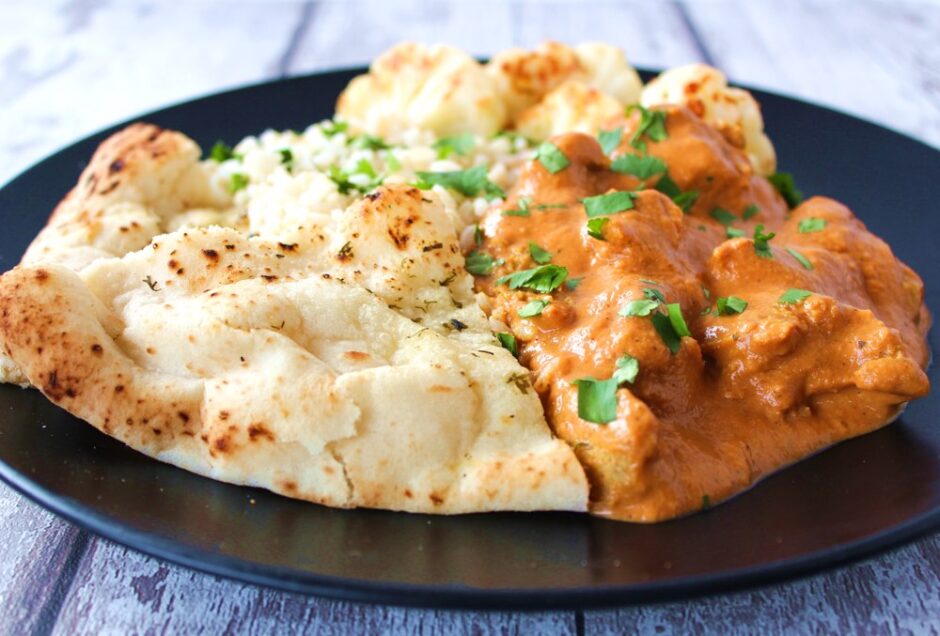
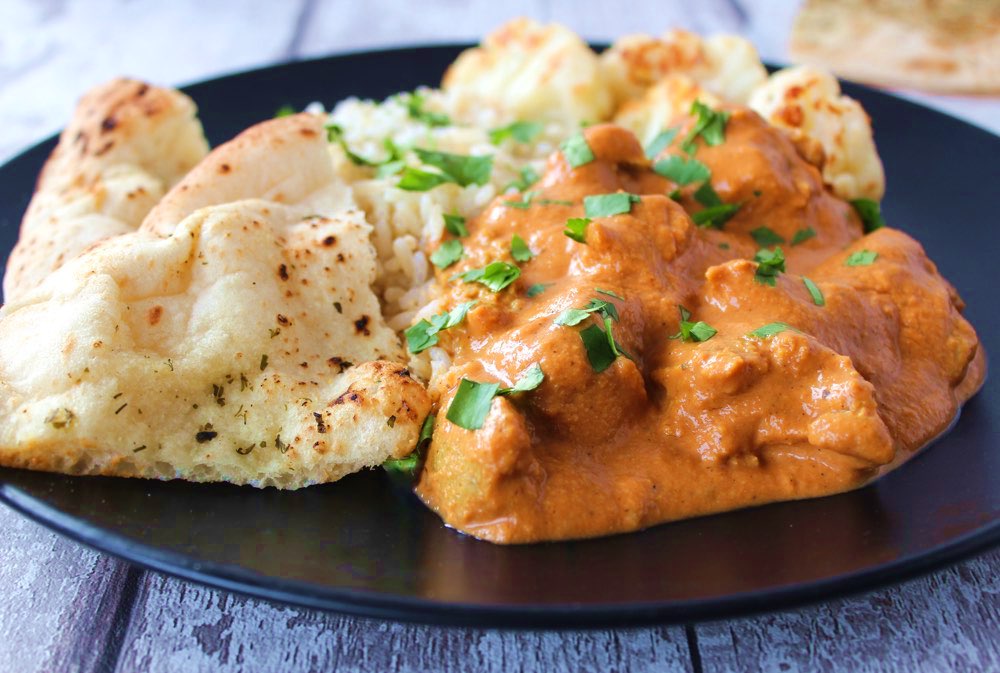
Hey lovely people! Today I’m sharing a vegan version of the classic Indian dish Murgh Makhani (‘Butter Chicken’). While the chicken, cream and butter have been replaced with plant-based alternatives, there has been no compromise in flavour or consistency. The dish is filled with beautiful Indian spices and is really flavourful, but mild enough (heat wise) to be appealing to all members of the family.
As well as being a tasty, cruelty-free version of traditional ‘Butter Chicken’ it also happens to be packed full of nutritional goodness. It’s rich in B vitamins, vitamin A, vitamin C, vitamin E and a whole array of minerals, including iron, calcium and zinc. It is also super high in protein. A single serving contains around 35 g and that’s without the rice or flat bread! Unlike the traditional dish, this vegan version is low in fat and contains zero cholesterol. It’s a winner all round!
The inspiration for this dish came from this month’s Vegan Life magazine. As soon as I spotted the recipe for ‘Butter Chicken’ (p53) I couldn’t wait to give it a try. The author of the recipe is the incredibly talented Sasha Gill who blogs at The Sasha Diaries and has recently authored her debut vegan cookbook Jackfruit and Blue Ginger … all the while studying medicine at Oxford University!
The recipe I’m sharing today is an adaptation of Sasha’s original recipe. Rather than heading out to buy new ingredients, I decided to use the spices I already had available in my pantry. I was also a bit short on time, so I tweaked the method to enable me to have it on the table within 30 minutes. The resulting dish was so tasty that I quickly jotted down the amendments I made, then re-made it a few days later to check it wasn’t a fluke. Nope. It was equally delicious the second time.
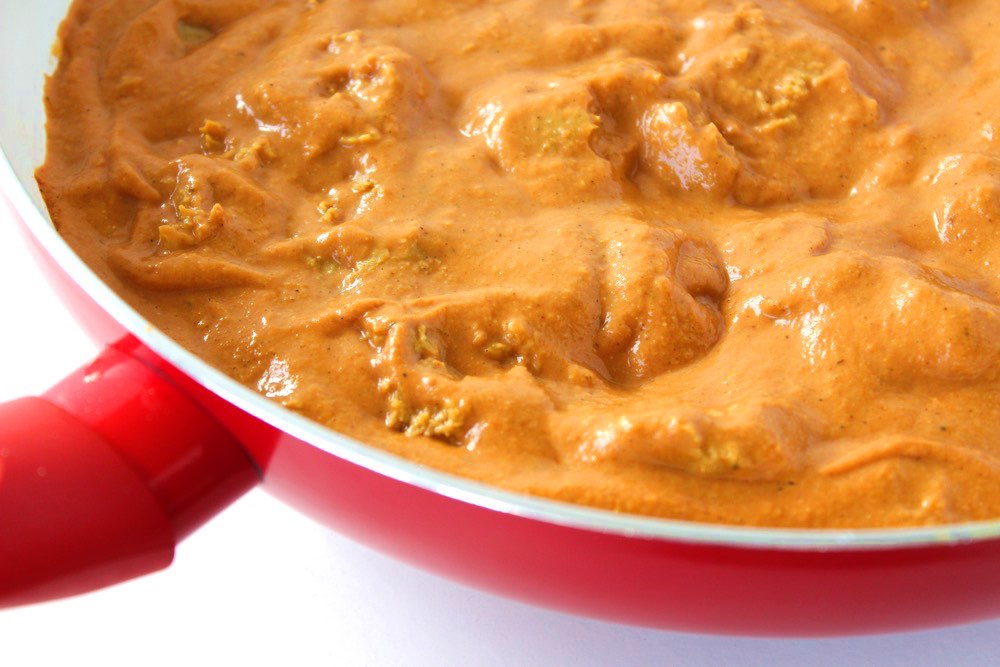
After pan frying the onion, garlic and spices for a couple of minutes, I blended all the sauce ingredients in my high speed blender. Literally within seconds it was silky smooth! I poured the sauce back into the pan and heated it through. Job done!
Instead of chicken, we used seitan (as recommended by Sasha), which is chewy, succulent and soaks up the flavours of the sauce really well. Lately, I’ve really got into making seitan from scratch. Not only is it easy to make, but I find it works out far cheaper than the store-bought meat alternatives. This recipe cost me £3.11 to make, which equates to 78p per portion. Bargain!
Recipe Card
Prevent your screen from going dark
‘Butter Chicken’ … Vegan Style!
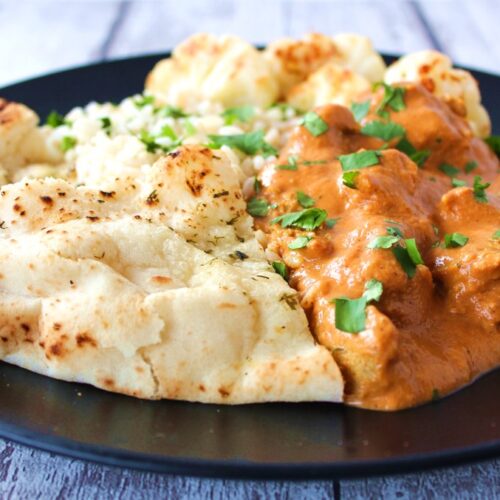
A delicious, plant-based version of the Indian dish Murgh Makhani ('Butter Chicken'). It is beautifully flavoured with Indian spices but I’ve kept it mild enough for children (and spice wimps like me!) Serve with your favourite rice and naan bread. My family also loves to add a side dish of roasted cauliflower.Adapted from Sasha Gill's Butter 'Chicken' in Jackfruit and Blue Ginger, featured in Vegan Life magazine Issue 48
40g/ ¼ cup cashews(If you don’t have a power blender, soak the cashews in freshly boiled water for 30 minutes to soften them, then drain)
120ml/ ½ cup plant-based milk(I used soya)
1tspunrefined sugar
½tspsalt
450g/ 16 oz seitan ‘chicken’ or store-bought meat alternative*
coriander (cilantro) leaves to garnish
Instructions
Heat the oil in a large non-stick pan over medium heat and cook the onion until it starts to soften (about 4 minutes).
Add the garlic and ginger paste to the pan and stir through. Stir in the dry spices (cumin, turmeric, cinnamon and garam masala). Add a splash of water if it starts to stick. Cook for a further minute.
Meanwhile, add the cashews and plant milk to a high speed blender, and blend smooth.
Add the contents of the pan to the blender, along with the tomato passata, sugar and salt. Whizz until smooth.
Pour the mixture back into the pan. Tear up the seitan ‘chicken’ into chunks and add them to the pan. Simmer for 10 minutes, or until warmed through. Taste test and adjust the seasoning, to suit.
Garnish with coriander leaves and serve with rice and pieces of naan bread. We also love to serve some roasted cauliflower on the side.
Notes
* I use home-made Easy Seitan ‘Chicken’. Gluten-free vegan chicken alternatives (made with soy or pea protein) are available from larger supermarkets in the UK.
Keyword Family Friendly, Plant-Based, Seitan, Vegan
N.B. The above values are estimates. The actual nutritional values will vary depending on the brands and ingredients used.
Pin for later ⬇️
Big thank you to Sasha Gill and Vegan Life magazine for the inspo! ✨
If you make this Vegan Style ‘Butter Chicken’ (or any other recipes on my blog), I’d love to hear your feedback and any suggestions for adaptations! Tag your photos with #bitofthegoodstuff on social media – I always love to see your creations! You can also connect with me on my social media channels here: Instagram, Facebook, Pinterest.