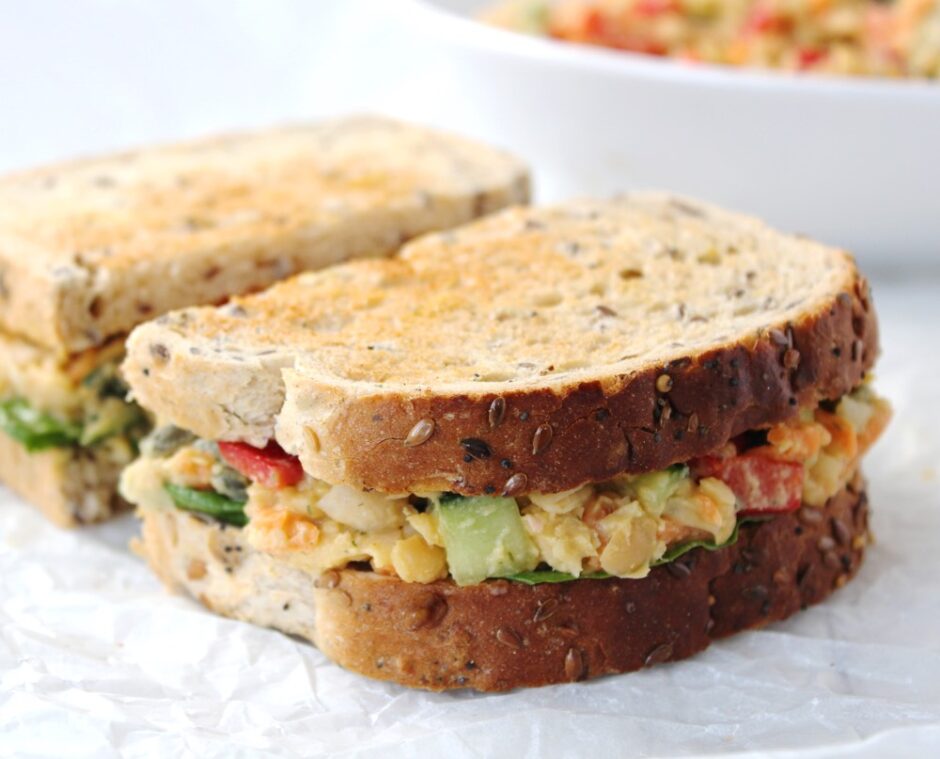
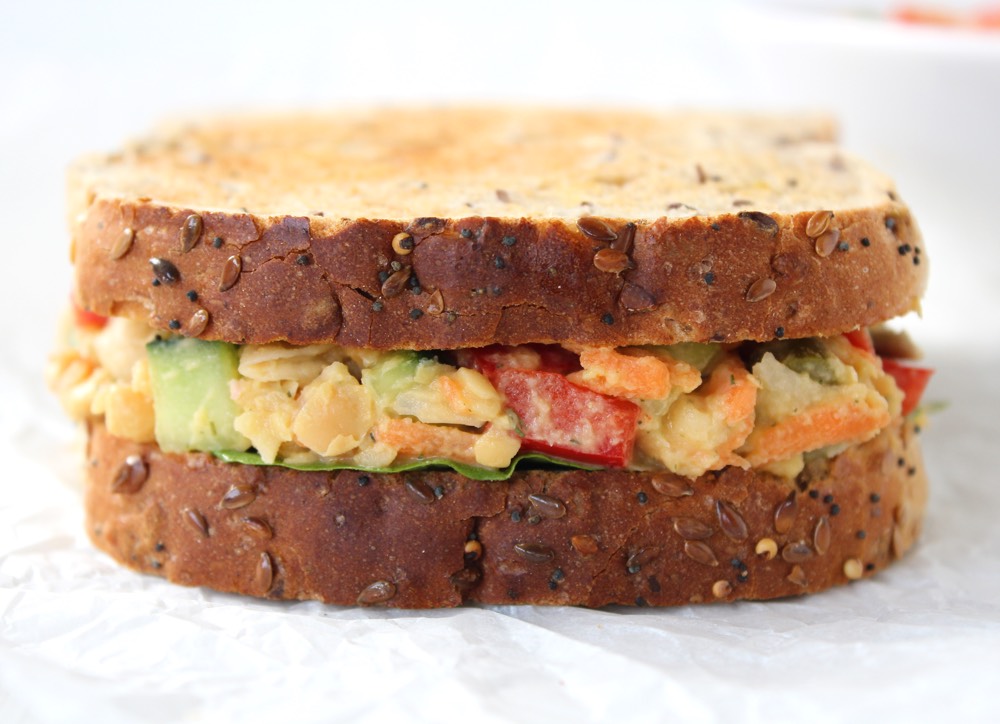
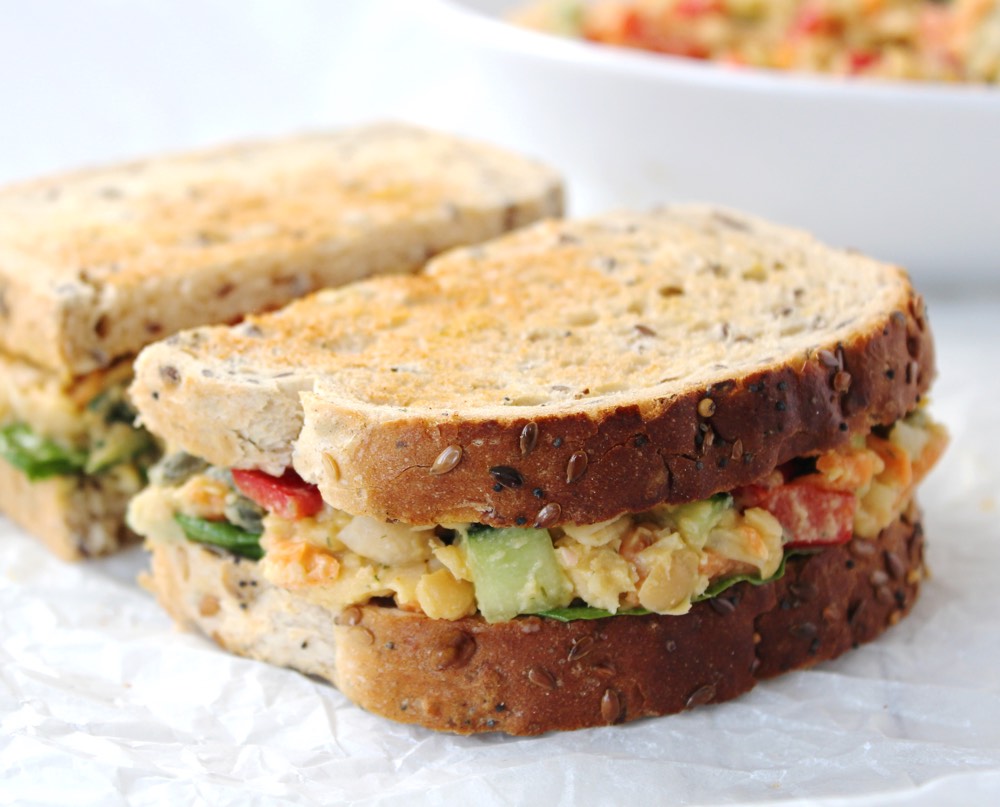
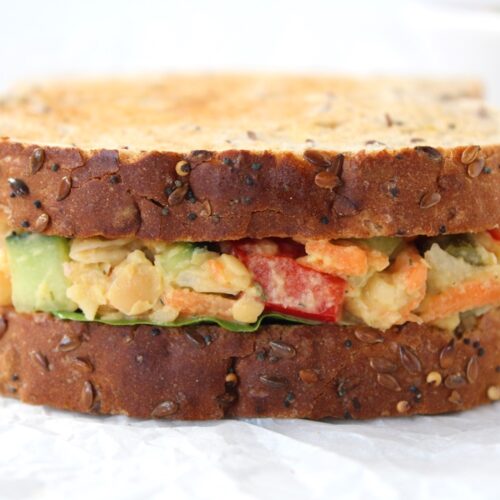
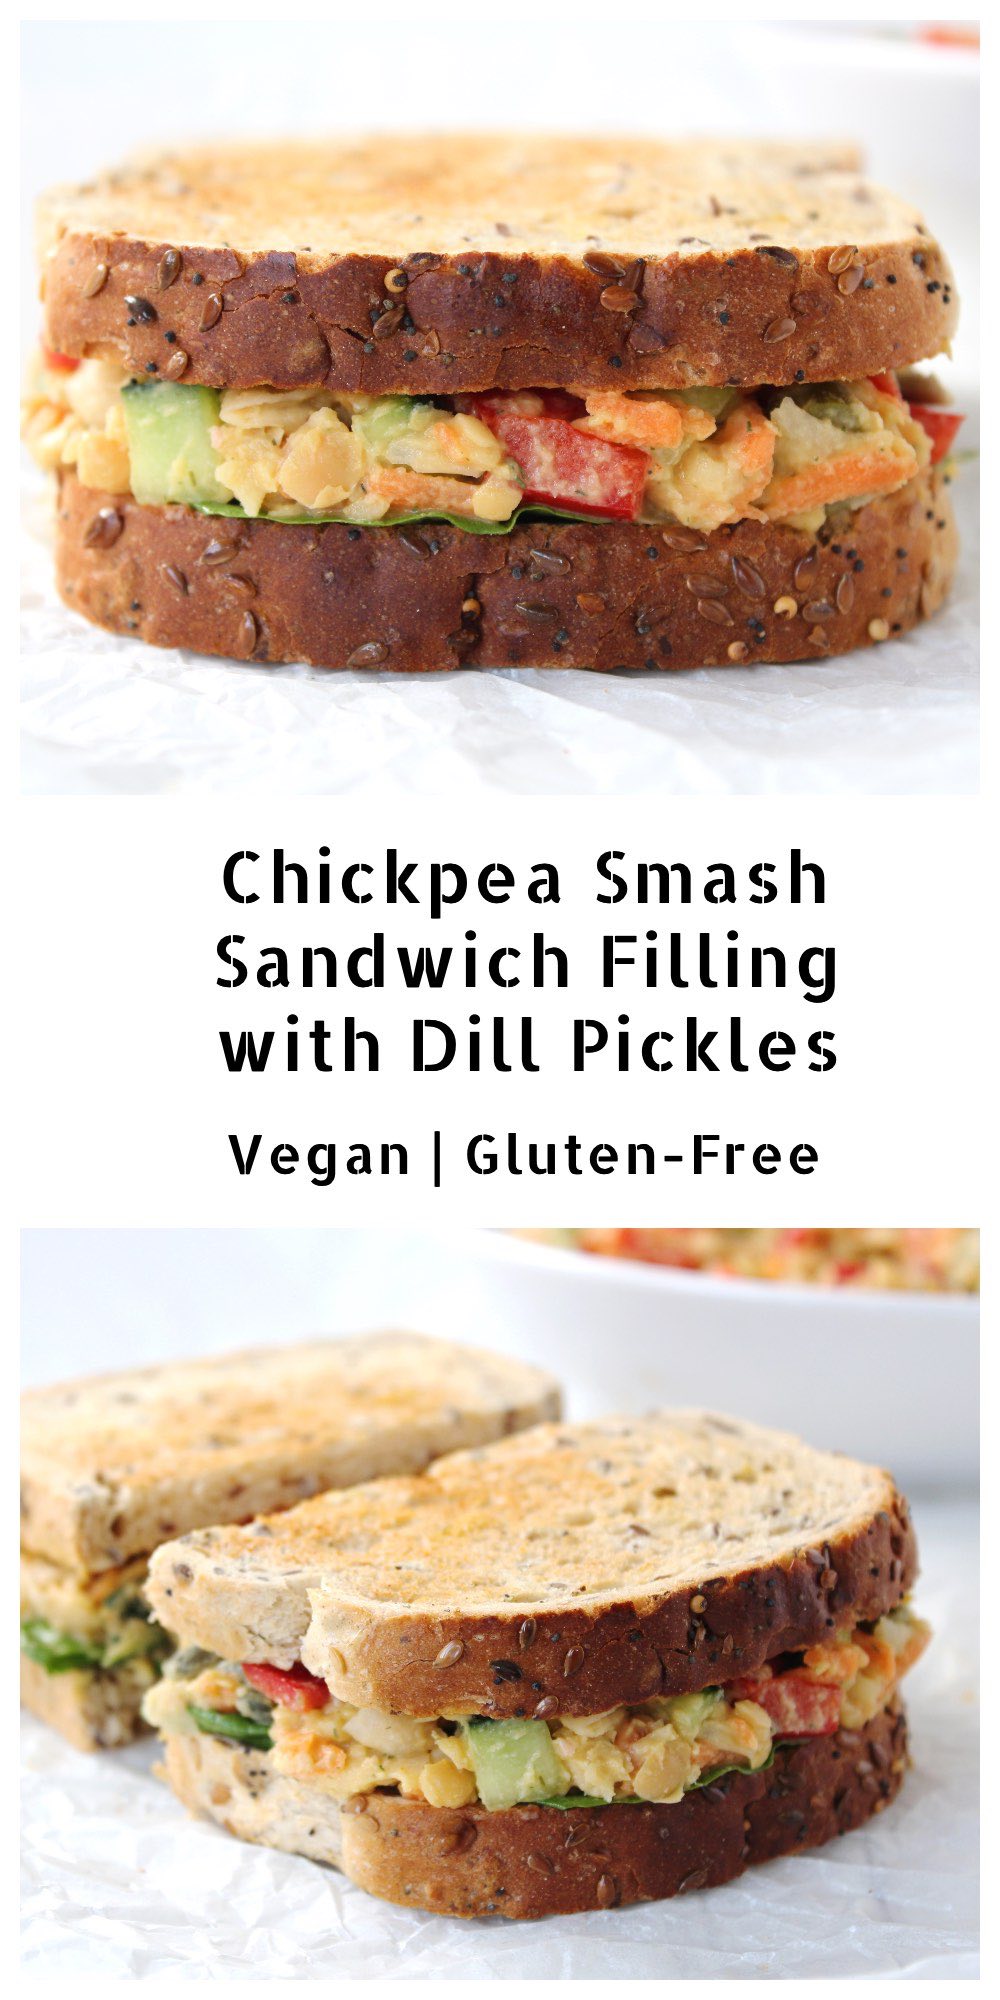
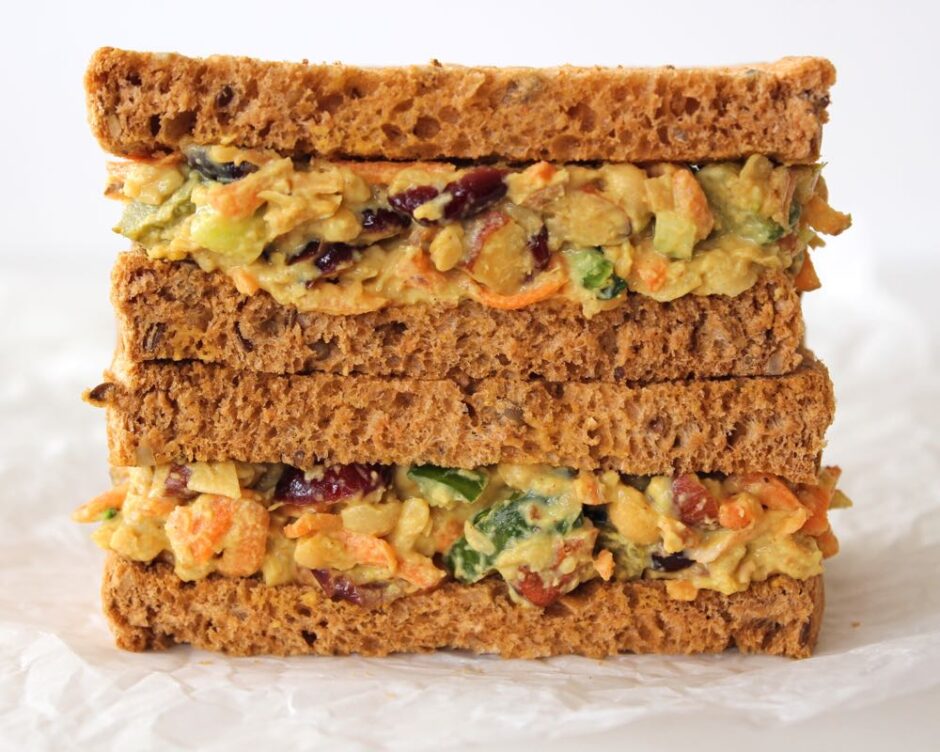
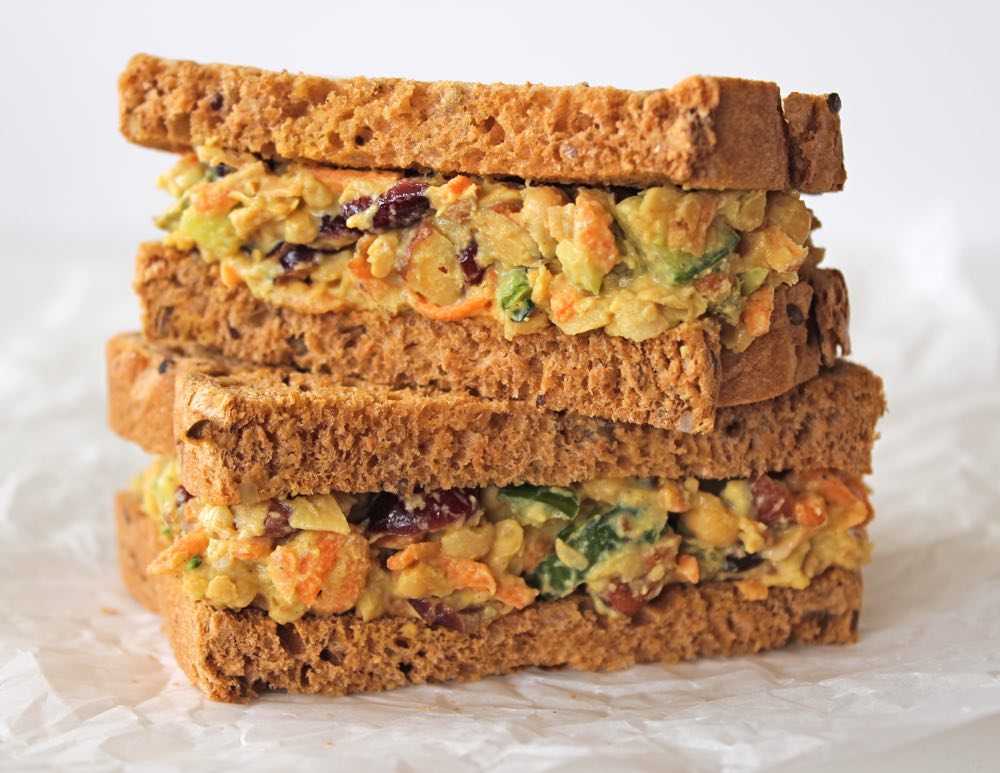
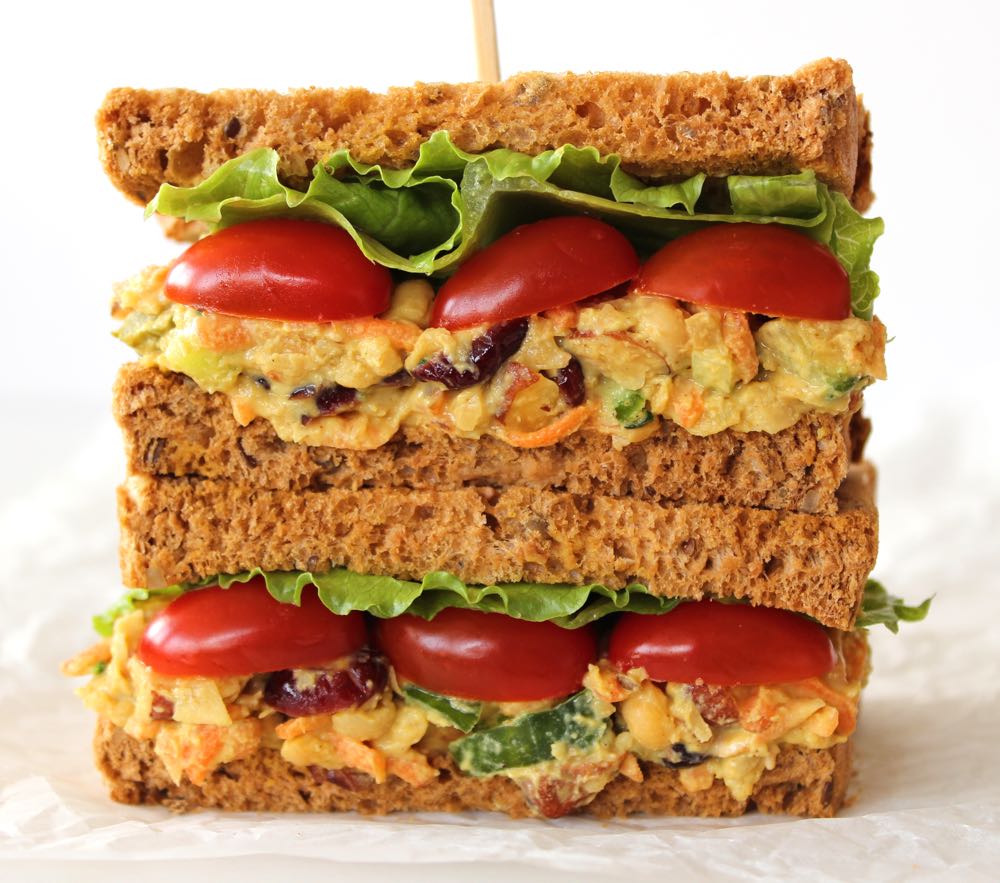
In today’s post I’m sharing a sandwich filling that is tangy, crunchy, creamy and oh so delicious! It reminds me of the Heinz Sandwich Spread that I used to love as a kid in the 80s, but this home-made version is way fresher, tastier and healthier too!
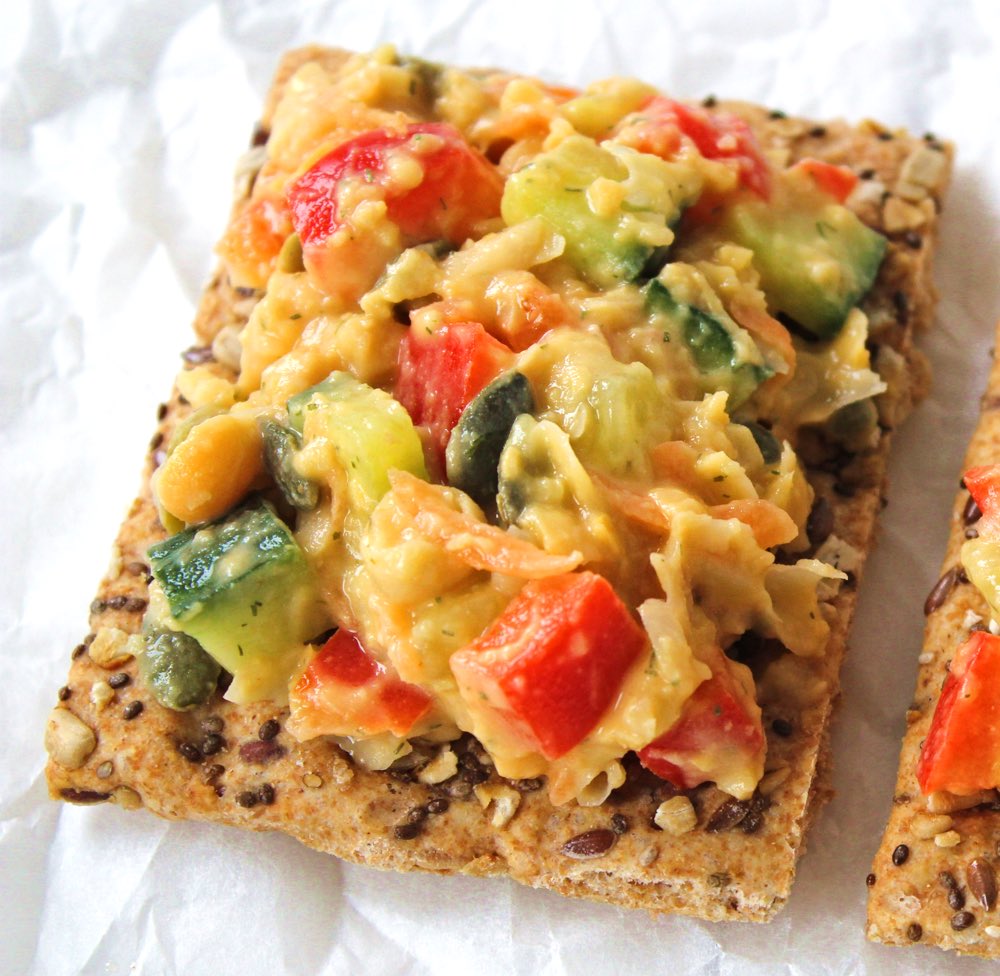
If you’re looking for a new sandwich to liven up school or work lunchboxes, I’d definitely recommend giving this recipe a try. It would also be great for picnics and buffets. As well as a sandwich filling, you can also use it as a topping for crackers. Perhaps even as a jacket potato topper too?
It’s really easy to make and takes around 12 minutes to prepare a large bowl, which will fill about five sandwiches. I tend to make one batch of chickpea smash at the start of the week, which we then use on the following days for Lucien’s school sandwiches, as well as our own.
The inspiration for today’s recipe was this Garden Veggie Chickpea Salad Sandwich from Jenn @ Peas and Crayons which I came across back in 2017, and have been making adapted versions of ever since. Jenn, in turn, credits Angela from Oh She Glows for inspiring her recipe, so it sounds like Angela is the original recipe creator. I’d like to thank both Jenn and Angela for inspiring the recipe I’m sharing today and for giving my family so much sandwich joy these past couple of years!
This recipe is highly versatile, so feel free to switch up the ingredients. I would definitely recommend keeping the dill pickles in though, as they give this recipe its signature tangy, crunchy bite. In England, dill pickles are called ‘gherkins’. It’s such a funny name isn’t it? Even funnier, my mum still calls them by their old slang name ‘Wallies’. Personally, I prefer to call them dill pickles as it sounds much more appealing to me than gherkins or wallies. How about you? What do you call them?
Recipe Card
Prevent your screen from going dark
Chickpea Smash Sandwich Filling with Dill Pickles
This tangy, crunchy, creamy chickpea smash is perfect as a sandwich filling for school or work lunchboxes, as well as picnics and buffets. The quantity below fills about five sandwiches.
1small red bell pepper or romano pepperdeseeded and finely diced
75g/ ½ cup dill pickles or gherkinssliced
2TBSPpumpkin seeds
4TBSPvegan mayonnaise*
1tspDijon mustard
¼tspdried dill
pinchof salt
Instructions
Placed the drained chickpeas in a large bowl and roughly mash with a potato masher.
Add all the remaining ingredients and stir through until fully combined. Taste test and adjust the seasoning to suit.
Stored in an airtight container in the fridge, this chickpea smash will keep for three days.
Notes
* I use this Home-Made Sweet Chilli Mayonnaise It’s so cheap and easy to make! If you prefer to use a ready-made mayonnaise, both Vegenaise and Hellmans Vegan Mayo are now available in many of the major supermarkets in the UK, as well as the independent health food shops.
N.B. The above values are estimates. The actual nutritional values will vary depending on the brands and ingredients used.
Pin for later ⬇️
If you make this Chickpea Smash, I’d love to hear your feedback and any suggestions for adaptations! Tag your photos with #bitofthegoodstuff on social media – I always love to see your creations! You can also connect with me on my social media channels here:Instagram, Facebook, Pinterest.
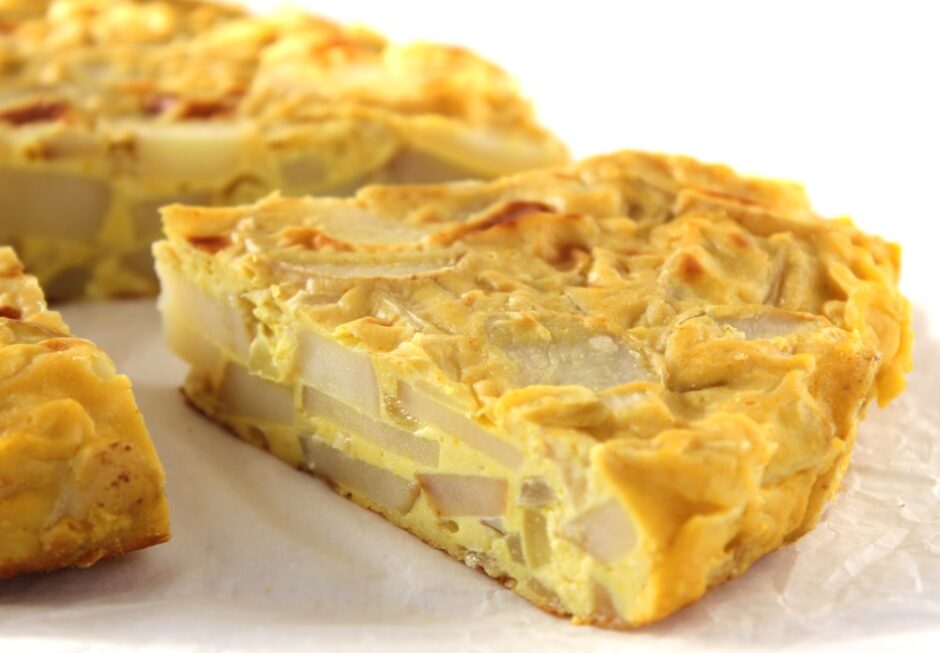
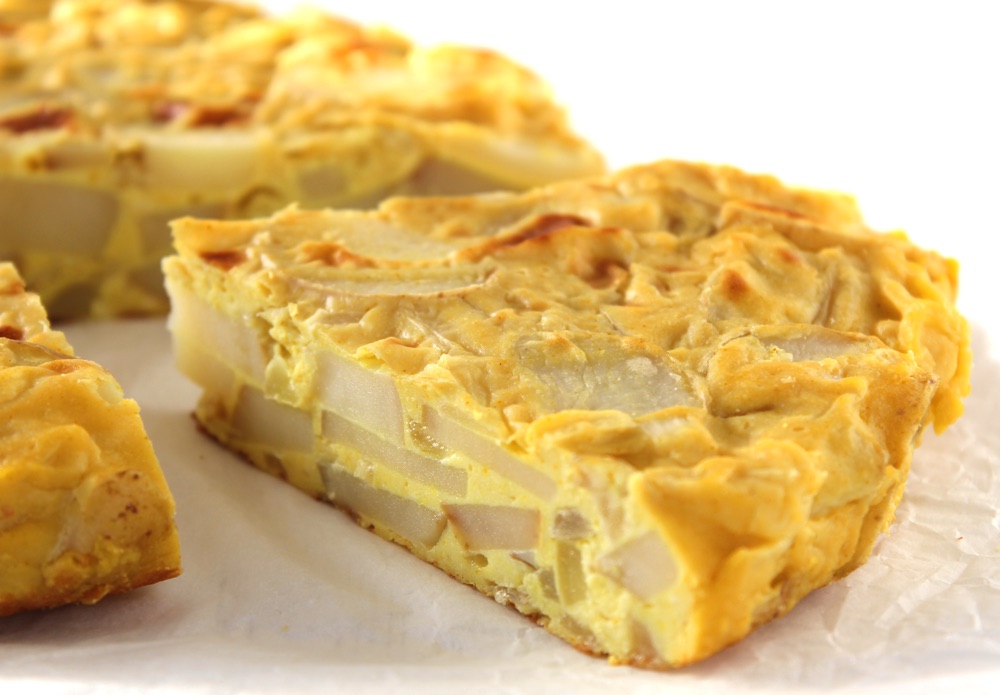
Hey dear friends! Today, I am delighted to be sharing one of personal favourite recipes with you – Spanish Omelette (Tortilla de Patatas). This is no ordinary omelette, however, as it’s 100% plant-based!! Yep, not a single egg in sight. In my pre-vegan days, Spanish Tortilla was a favourite comfort food of mine, but I love this vegan version even more. Not only is it delicious, it’s cruelty-free (no hens or chicks are harmed in the making of this omelette) AND healthier than the traditional version. It’s lower in fat, contains zero cholesterol, and is a rich source of plant proteins, B vitamins, vitamin C, and an array of minerals including potassium, magnesium, zinc and iron.
Healthy, tasty AND cruelty-free. A winner all round!
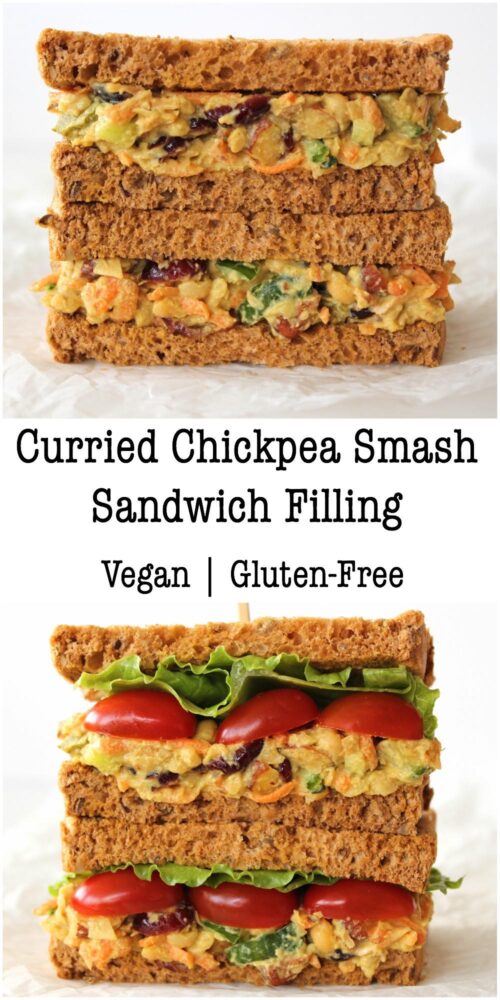
Hey lovely people! Today, I have a new, tasty sandwich filling for you. It’s creamy, crunchy, tangy and gently spiced with the flavours of India. It also happens to be packed full of nutrients. This is a sandwich filling that will leave you feeling full and energised. Just what you need to see you through a busy afternoon at work or school.
For most of his school life, Lucien has chosen to take a packed lunch. In the primary years especially, this encouraged me to get creative and ‘think outside the box’ as I couldn’t rely on traditional sandwich fillings like cheese or peanut butter. In fact, during his entire seven years of primary school, he didn’t take a single traditional sandwich in his lunchbox. Instead, we tended to fill his box with leftovers from the previous night’s dinner – fajita wraps, pizza slices, tofu frittata, roasted vegetable pasta, Moroccan couscous, chunky soups, and even leftover Moroccan tagine and sweet potato curry!
These non-traditional lunchboxes continued into secondary school. Since this was our ‘norm’, I didn’t think much of it, but I did chuckle when one of the parents pulled me to one side and said “Did you know, your son’s lunchboxes are creating lunchbox envy?” Apparently his friends were going home and telling their parents all about his lunches and how tasty they looked. The vegan kid giving his friends’ lunchbox envy? That’s pretty cool!
Anyway, this academic year, I’m determined to keep those lunchboxes varied and interesting, not just for Lucien’s sake, but also for all those secondary school kids peering into his box and wondering what vegans eat. You never know, it might just start to sow a few seeds of inspiration.
Lately, I’ve been on the lookout for new ways to incorporate tahini into our meals as it’s so nutrient-dense. It turns out that this curried salad dressing combined with a little mayonnaise is the perfect condiment for an Indian-style ‘chickpea smash’ sandwich filling.
This smash makes a delicious sandwich filling in its own right… or you can fully load it with extra salad, which is how I like it!
This ‘Curried Chickpea Smash’ has been a huge hit with the family and it’s become a new favourite lunchbox addition for Lucien. We hope you enjoy it too!
Recipe Card
Prevent your screen from going dark
Curried Chickpea Smash Sandwich Filling
This sandwich filling is creamy, crunchy, tangy and gently spiced with the flavours of India. It’s packed full of nutritional goodness, including lots of plant protein, complex carbs, heart-healthy fats, vitamins, minerals and antioxidants which will make you feel full and energised. Just what you need to see you through a busy afternoon at work or school!
2medium carrots (150g)grated (or whizzed in a mini chopper)
75g/ ½ cup cornichon gherkins (dill pickles)diced
50g/ ⅓ cup dried cranberries
40g/ ¼ cup roasted almondsroughly chopped (I love to use the Tamari Roasted Almonds from the Bit of the Good Stuff Cookbook p182)
Curried Salad Dressing
4TBSPlight tahini
½TBSPalmond butter
2TBSPvegan mayonnaise*
½TBSPginger pasteor grated fresh ginger
2tspapple cider vinegar
2tspmaple syrupor syrup of choice
1tspgaram masala
¼tspground turmeric
¼tspsalt
3-4TBSPwater
Instructions
Prepare the salad dressing: Give the tahini a good stir in its jar so that the solids and oils are combined, then scoop 4 tablespoons into a small bowl. Add all the remaining ingredients and stir vigorously until fully combined and smooth. If the dressing is a little on the thick side, add more water, one tablespoon at a time, until you reach the desired consistency. Taste test and add more nut butter, mayonnaise or spices, if desired.
Tip the drained chickpeas into a large mixing bowl and roughly mash using a potato masher. Add the remaining salad ingredients to the bowl, along with the dressing. Stir until thoroughly combined. Transfer to an airtight container and store in the refrigerator, where it will keep for up to five days.
If you make this recipe, I’d love to hear your feedback and any suggestions for adaptations. Tag your photos with #bitofthegoodstuff on social media – I always love to see your creations! You can also connect with me on my social media channels here: Instagram, Facebook, Pinterest.
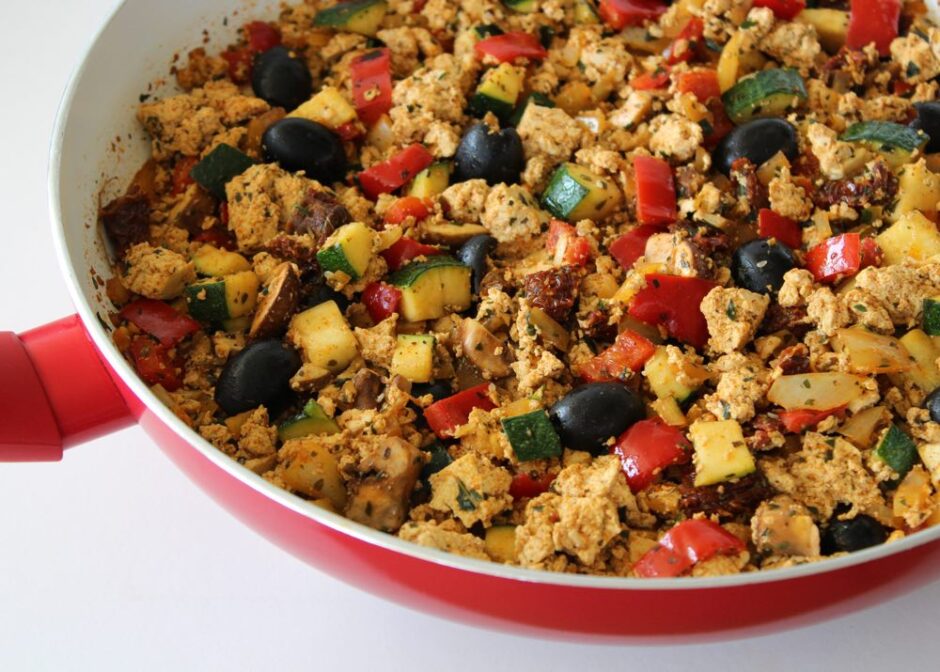
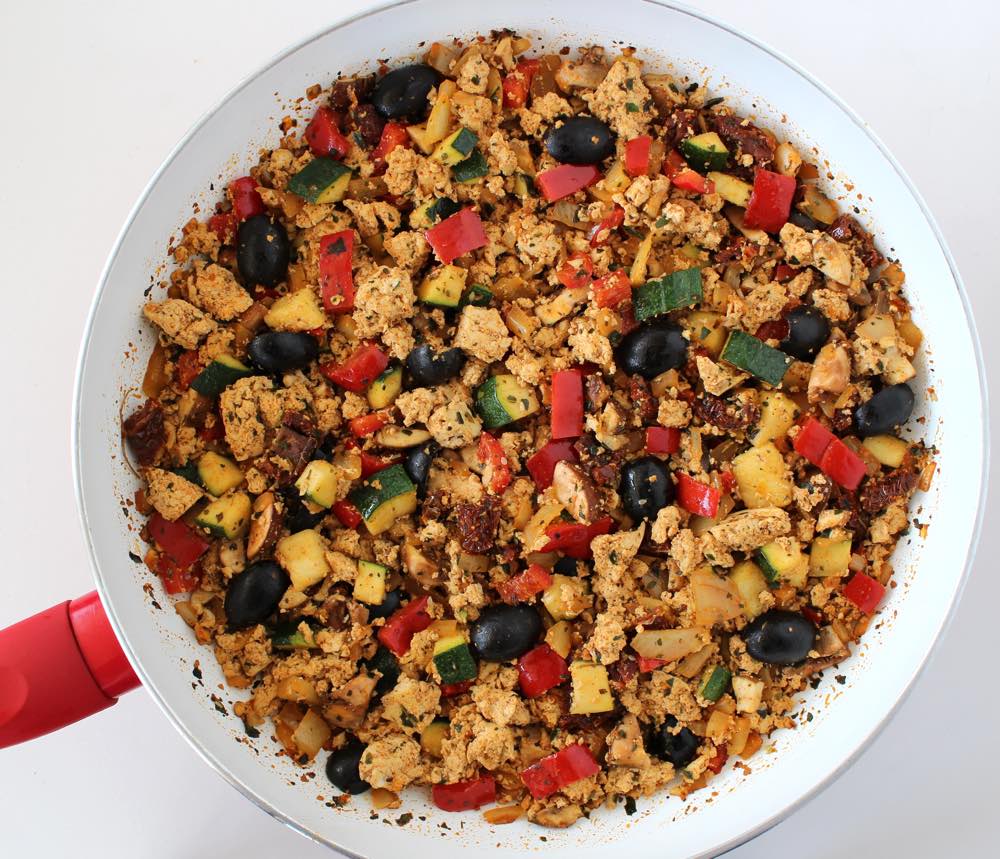
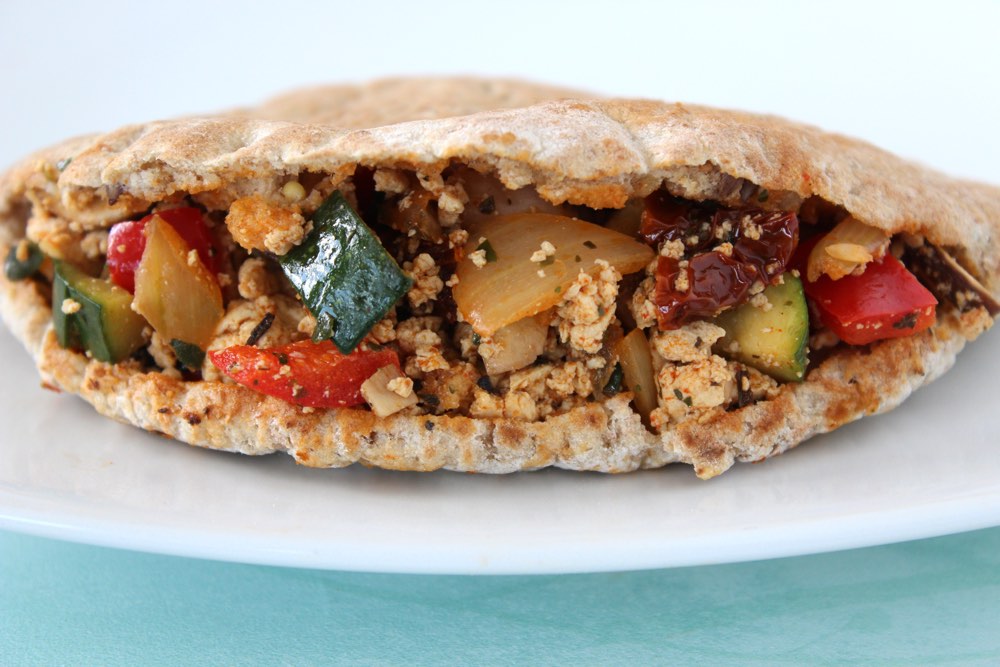
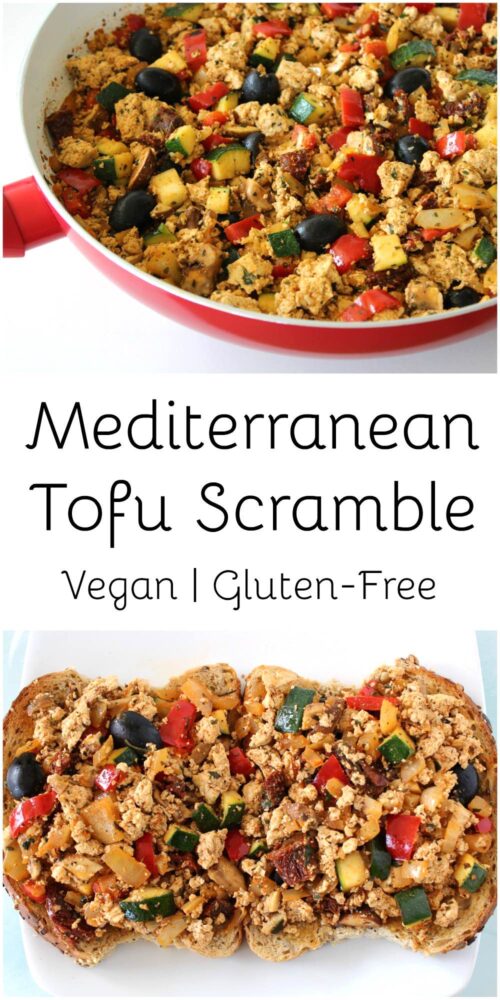
Tofu scrambles are one of my family’s favourite easy weeknight meals. They take 20 minutes or less to make, use just one pan and can be flavoured myriad ways, which means they never get boring. The scramble recipe I’m sharing in today’s post is filled with beautiful colours and flavours inspired by the Mediterranean ☀️
Fresh, crisp sweet peppers and zucchini, salty black olives and rich sun-dried tomatoes make one tasty combination of flavours and textures. A splash of soy sauce and sprinkling of mushrooms adds an extra hit of ‘umami’ deliciousness.
To enhance the flavour even further, I sprinkle in a couple of my favourite herbs – fresh basil and dried oregano – and spices – smoked paprika and ground cumin. The smoked paprika turns the tofu a beautiful red colour, as well as adding a delicious smoky flavour.
I’ve always loved using dried herbs and spices in my cooking (and have a whole shelf in my pantry dedicated to them!) but I’ve only recently starting learning about their health benefits.
Do you know which food category averages the most antioxidants? Take a guess…
Nope, it’s not fruits.
Nor vegetables.
It’s herbs and spices!!
By sprinkling just a single teaspoon of dried herbs or spices on your food, you can double, triple, quadruple or more its antioxidant content. Incredible!
Here’s what Dr Michael Greger has to say in his epic “nutrition bible” How Not To Die …
Antioxidants, in a Pinch
The food category that averages the most antioxidants is herbs and spices.
Let’s say you prepare a nice healthy bowl of whole-wheat pasta with marinara sauce. Together, they may achieve a score of about 80 units of antioxidant power (approximately 20 units from the pasta and 60 from the sauce). Add a handful of steamed broccoli florets, and you may end up with a delicious 150-unit meal. Not bad. Now sprinkle on a single teaspoonful of dried oregano or marjoram, oregano’s sweeter and milder twin. That alone could double your meal’s antioxidant power, up to more than 300 units.
How about a bowl of oatmeal for breakfast? By adding a teaspoon of cinnamon, you could bring the antioxidant power of your meal from 20 units to 120 units. And if you can stand the punch, adding a pinch of cloves could bring your unassuming breakfast up to an antioxidant score of 160 units.
Plant-based meals tend to be rich in antioxidants on their own, but taking a moment to spice up your life may make you meal even healthier.
p50, How Not to Die
Having read this, I’ll be sprinkling those herbs and spices even more liberally from now on!
Recipe Card
Prevent your screen from going dark
Mediterranean Tofu Scramble
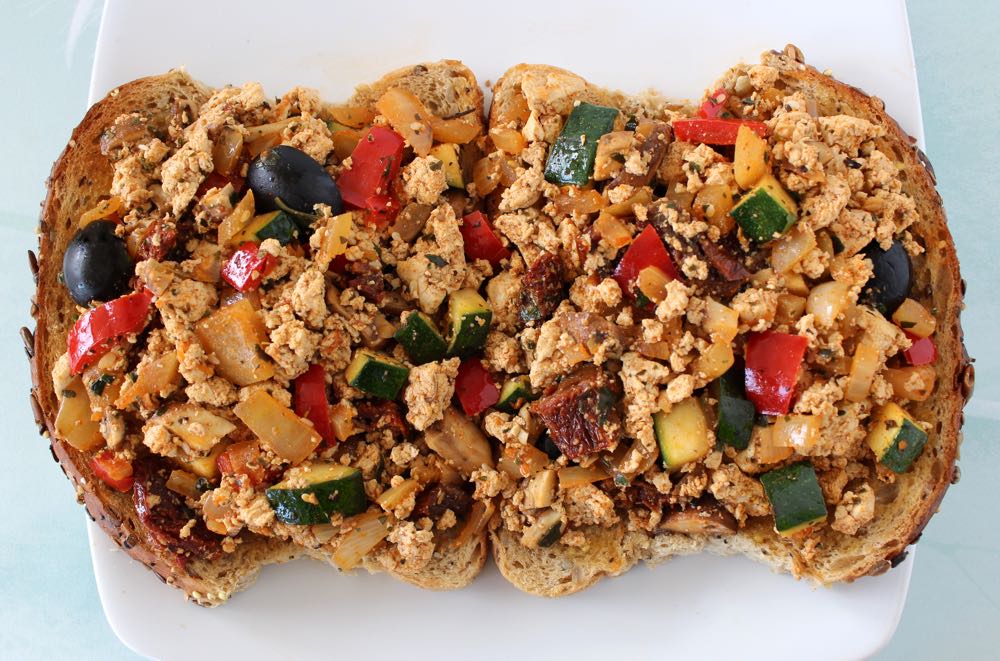
This tofu scramble makes a delicious, quick 'n' easy supper, lunch or brunch. It comes together in just 20 minutes and only uses one pan (my favourite kind of meal!) It’s protein- and calcium-rich (thanks to the tofu) and packed full of antioxidant-rich veggies, herbs and spices. We love to serve it on wholegrain toast at home and stuffed into pitta breads for school and work lunchboxes.
Gently heat the oil in a large frying pan (skillet). Add the onion and cook for a couple of minutes. Stir in the garlic, sweet romano/bell pepper and courgette, and continue cooking for a further 2-3 minutes.
Drain the tofu, then crumble it into the pan. Sprinkled the smoked paprika and cumin on top, and stir until the tofu is fully coated in the spices.
Add the remaining ingredients to the pan (tamari/soy sauce, oregano/Italian seasoning, basil, mushrooms, sun-dried tomatoes and olives) and stir through. Continue cooking for about 5 minutes.
Taste test, and adjust the seasoning to suit. Sprinkle on some nutritional yeast and hemp seeds, if desired, then serve.
Any leftover scramble can be stored in an airtight container for up to five days. It is also freezable.
Big shout out to the lovely people at Suma who supplied me with ingredients that I used to create this recipe. The following organic ingredients are available from Suma and can be purchased in the UK from independent health food shops and online:
Do you enjoy using dried herbs and spices? If so, what are your top favourites? It’s hard for me to pick just one, so here are my current top five (in no particular order) ….
If you try this Mediterranean tofu scramble recipe, please come back and leave a review. It’s so helpful to me (and other readers) to hear your experiences and ideas for variations. Thank you! ❤️
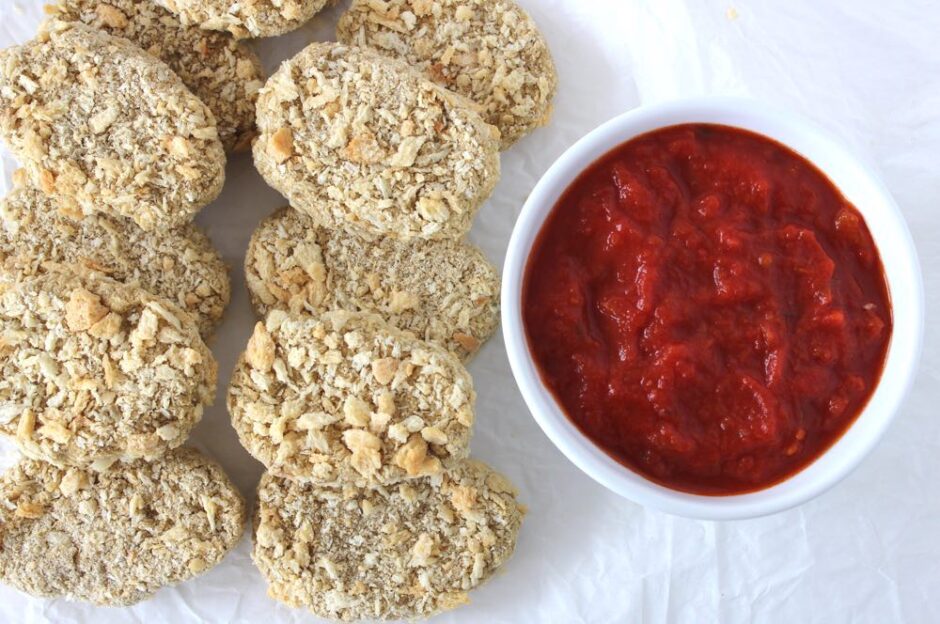
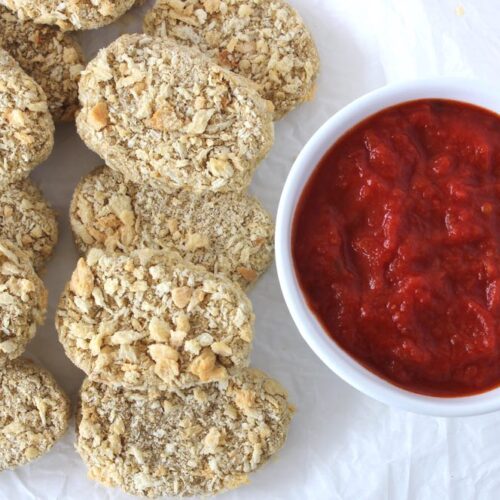
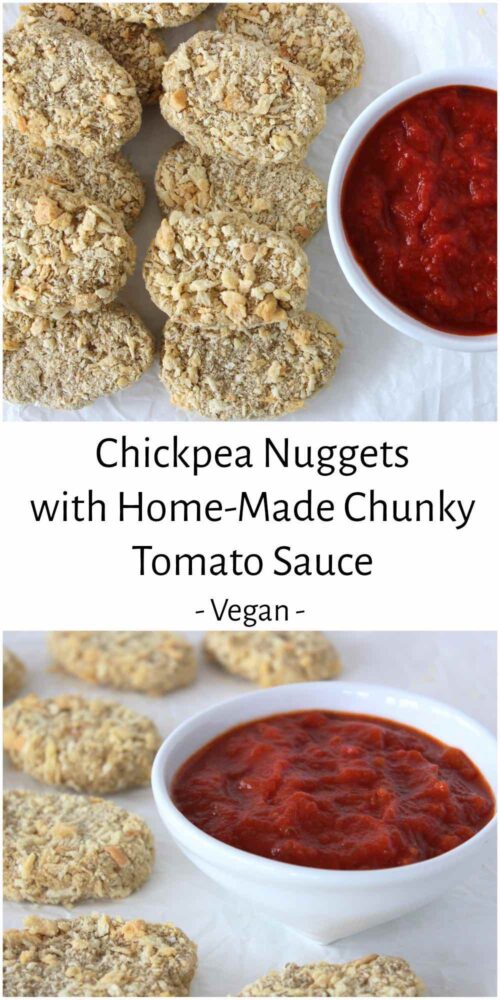
In today’s post, I’m sharing a recipe that caught my eye in this month’s Vegan Life magazine. These ‘Chickpea Nuggets’ have been a big hit with the family and we’ve made them multiple times in the past couple of weeks. They’re simple to prepare, packed full of nutritional goodness and budget-friendly too!
I had my first experience of vegan nuggets a couple of weeks ago at a fast food establishment in Valencia, Spain (yes, Valencia has vegan fast food joints! How cool is that?) The fast-food nuggets were okay, but the home-made variety win my vote. They just taste more like ‘real food’ to me. Plus they definitely make me feel better on the inside.
The main ingredients in these nuggets are oats and chickpeas. Both ingredients are packed full of nutrients including protein, complex carbs, dietary fibre, B vitamins, iron, zinc and magnesium.
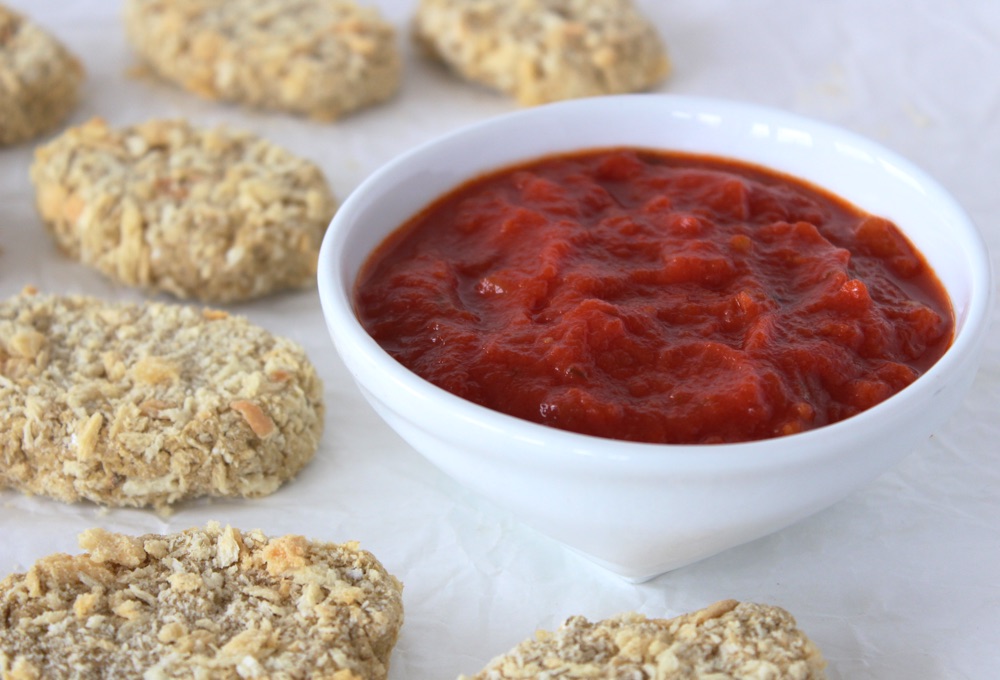
The nuggets are great for dipping into all kinds of sauces. We love mayo, BBQ sauce, even hummus, but our current favourite has to be home-made chunky tomato sauce. I’ve posted the recipe below in case anyone else fancies trying it. I find it tastes much nicer than shop-bought tomato sauce (fresher and less processed) plus it’s rich in vitamin C, which helps our bodies absorb all the iron in the nuggets.
To make the outside of the nuggets nice and crispy, I used Panko breadcrumbs which can be found on the world food aisle in supermarkets (in the Japanese section). Onion powder is not currently available in UK supermarkets (such a shame as it’s really useful!) however you will find it in independent health food shops and online. (I buy mine in Harvest Coop in Bath).
Along with the onion powder, the nutritional yeast helps to give these nuggets a delicious, savoury flavour. I use the Marigold nutritional yeast flakes with added B12, available from the larger UK supermarkets, health food shops and online.
Recipe Card
Prevent your screen from going dark
Vegan Chickpea Nuggets
These nuggets are simple to make, packed full of nutritional goodness, budget-friendly and versatile! We love to serve them for lunch, as a healthy snack and as a main meal (alongside potato wedges, baked beans and a side salad). They are best served straight from the oven (when the outer coating is super crispy), however they can also be eaten cold and make a great addition to school and work lunchboxes.
400g/ 14 oz can chickpeasthoroughly drained (reserve the chickpea water aka ‘aquafaba’)
½tspgarlic powder or granules
1tsponion powder
½tspsalt
2TBSPnutritional yeast flakes
60ml/ ¼ cup 'aquafaba'(water from the chickpea can)
Chunky Tomato Sauce
400g/ 14 oz can Italian vine-ripened chopped tomatoes
2TBSPtomato puree (paste)
1TBSPextra virgin olive oil
1tspunrefined sugar
½tspsalt
1tspdried oregano
Instructions
To make the chickpea nuggets:
Heat oven to 190C (180C fan) / 365F.
Place the oats in a food processor and process into a flour.
Add the chickpeas to the food processor, along with the garlic powder, onion powder, nutritional yeast and salt. Pulse until crumbly. Add the aquafaba (chickpea water) and continue to process until the contents form a ball. If the mixture feels a little wet, add more oats.
Divide the mixture into 12 equal portions and shape into nuggets. Coat each nugget completely in the panko breadcrumbs and place on a baking tray lined with baking paper.
Bake for 15-20 minutes, or until firm. Serve with your favourite dip.
Any leftover nuggets can be stored in the fridge for up to five days.
To make the chunky Tomato Sauce
Place all the ingredients in a pan and bring to the boil. Reduce the heat and simmer for 15 minutes, or until the mixture has thickened slightly. Use a wooden spoon to break up any large chunks of tomato. Taste test and adjust the seasoning to suit.
Stored in an airtight container, this sauce will keep for five days in the fridge.
Notes
Recipe lightly adapted from Heather Lawless and Jen Mulqueen’s ‘Chicknuggets’ in The Chickpea Revolution, featured in the April 2018 edition of Vegan Life magazine.
Big thank you to Heather Lawless, Jen Mulqueen and Vegan Life magazine for the inspiration! This is definitely a recipe I’ll be making time and again.
And if you make these vegan nuggets, I’d love to hear your feedback and any suggestions for adaptations! Tag your photos with #bitofthegoodstuff on social media – I always love to see your creations! You can also connect with me on my social media channels here: Instagram, Facebook, Pinterest.
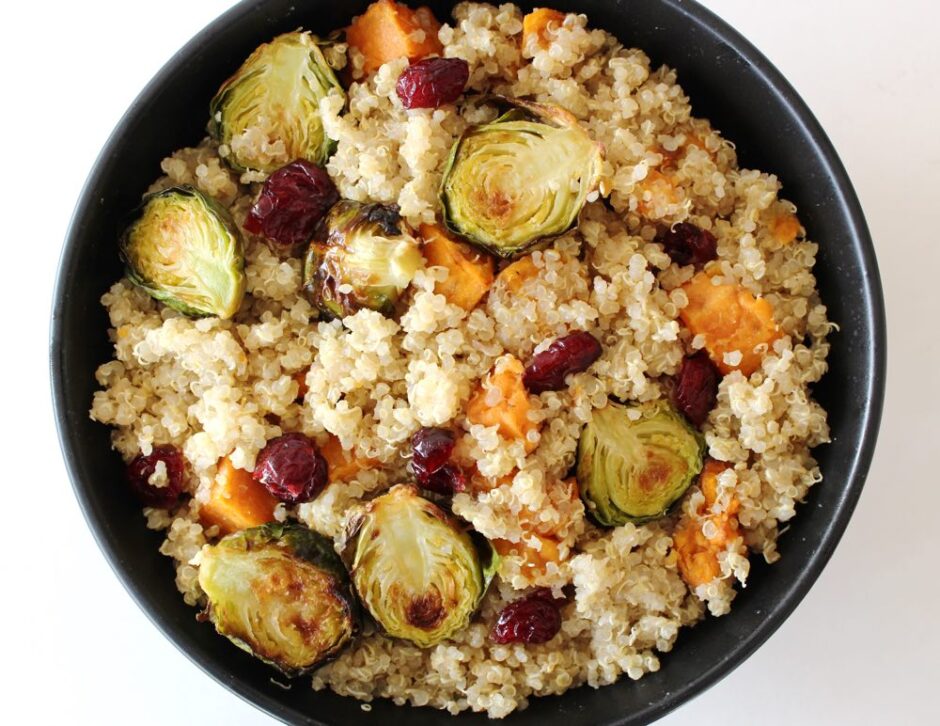
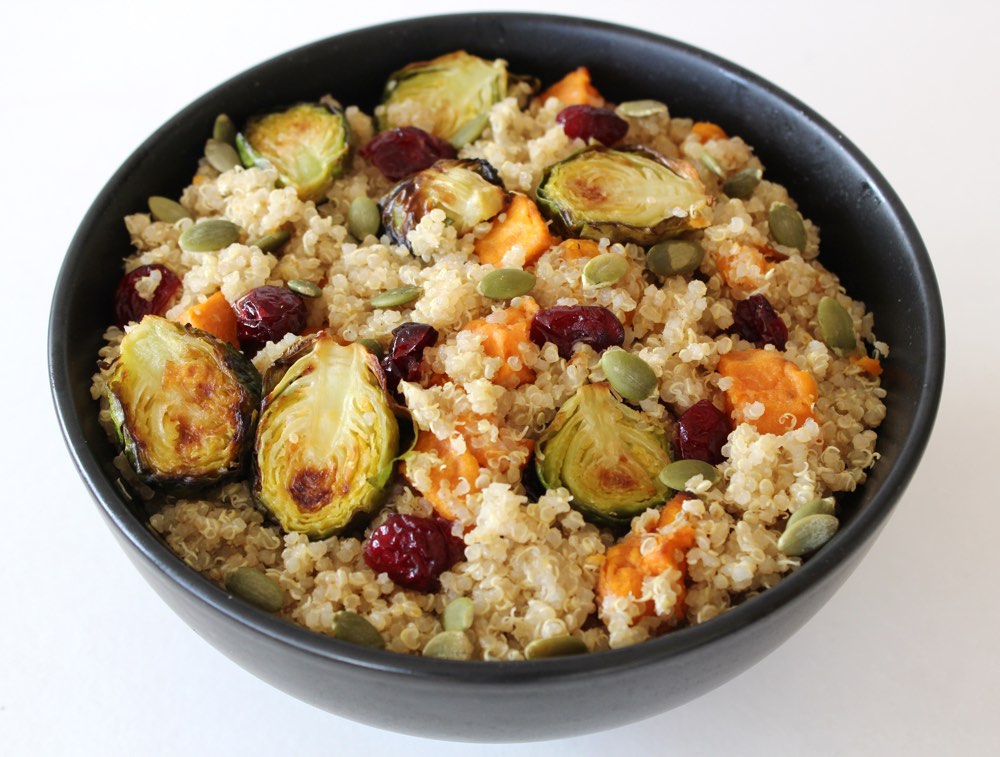
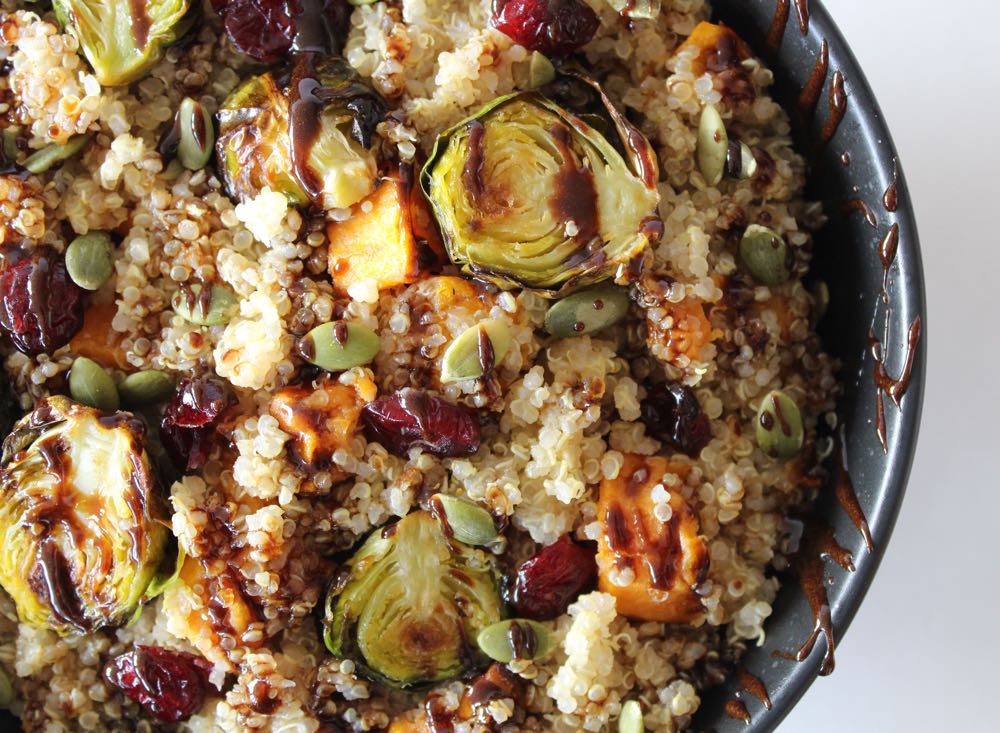
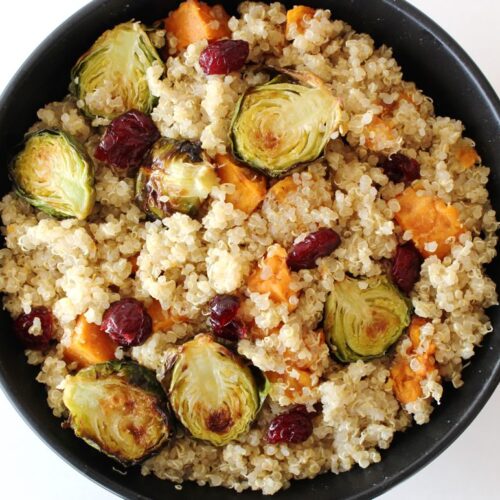
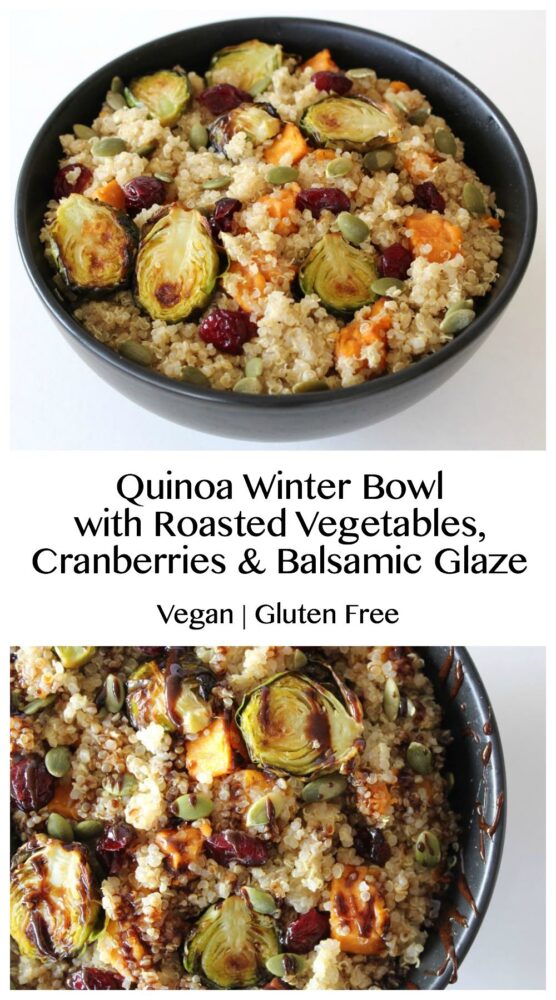
In today’s post, I’m sharing a recipe for a delicious quinoa bowl that’s just perfect for serving this time of year. It features roasted veggies, dried cranberries and crunchy pumpkin seeds, topped with a sweet balsamic glaze. We’ve been enjoying it as a light evening meal, with leftovers served for lunches later in the week. It can even be served cold, and Lucien’s been taking it to school in his lunchbox.
I must admit that I never used to be a fan of quinoa. I found the texture and flavour of plain quinoa quite strange and not particularly appealing. However, I discovered a couple of key steps that make it much more palatable…
Ensure the quinoa is thoroughly rinsed before cooking to remove the bitter saponin coating.
Flavour the quinoa using seasoning or a dressing.
One of my favourite ways to flavour quinoa is using a combination of toasted sesame oil and sweet white miso. These seasonings not only add a delicious savoury flavour but they also enhance the texture of the grain.
Quinoa has lots of health benefits, so I’m happy that I found a way to really enjoy the grain, rather than just eating it because ‘it’s good for me’!
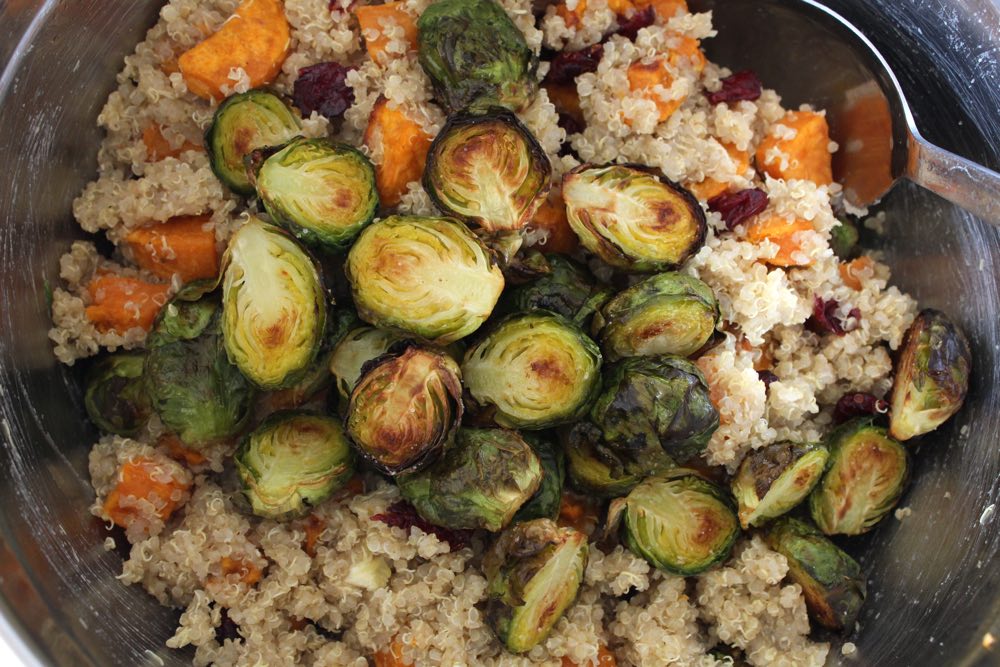
For this Winter quinoa bowl, I use a combination of roasted sweet potato and brussels sprouts. This dish has been a great way to entice Lucien to eat more sprouts. He won’t touch the boiled or steamed varieties, but he’ll happily eat pan-fried or roasted sprouts. One of his favourite sprout recipes is the Brussels Sprout Hash with Balsamic Red Onions & Pecans but I think this one is a close second. Of course, if you’re not a fan of brussels sprouts in any shape or form, feel free to leave them out or substitute with another roasted vegetable.
This bowl is super easy to prepare. While the veggies are roasting, I cook the quinoa and prepare the Balsamic glaze (if using a home-made one rather than shop-bought). Once everything is cooked through, it’s simply a case of mixing the quinoa, veggies, cranberries and pumpkin seeds together.
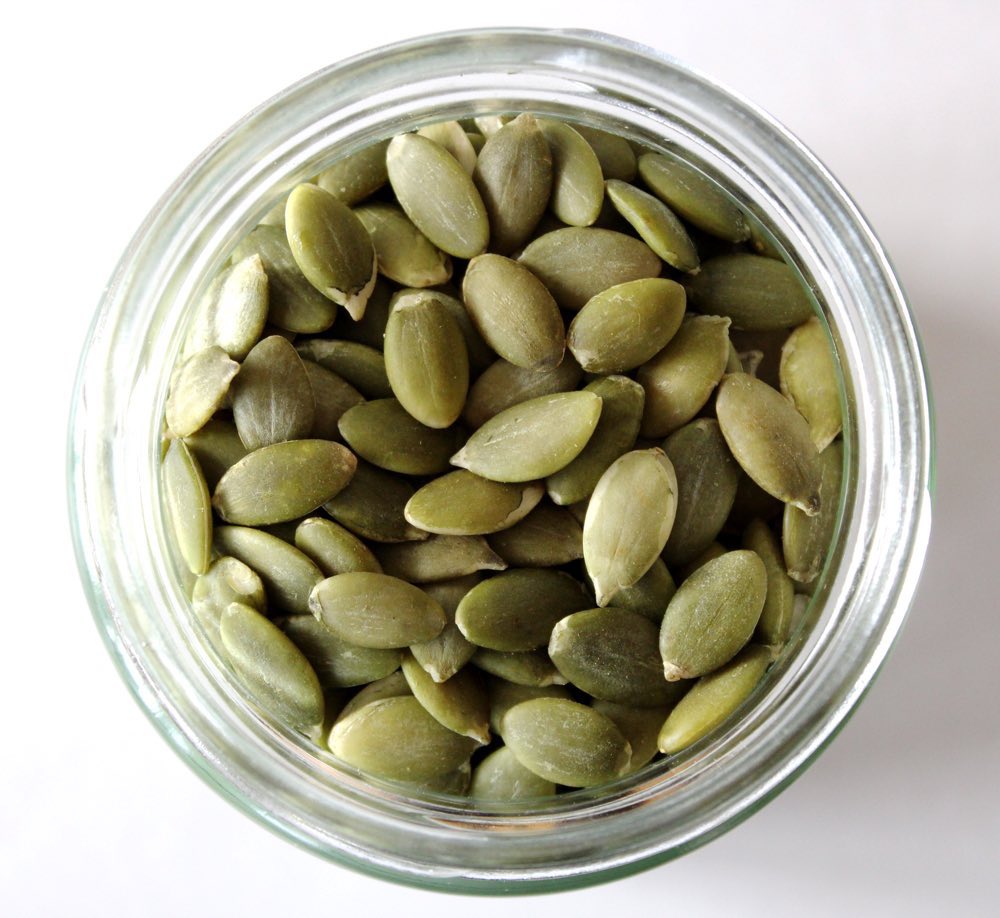
I recently discovered that pumpkin seeds can vary enormously in flavour, size and colour. For this recipe, I used Suma’s organic pumpkin seeds which are smaller, lighter in colour and far tastier than the ones I’d previously bought from a big supermarket. I didn’t need to toast the Suma seeds to improve the flavour as they were tasty raw.
Just before serving, the bowl is dressed with a drizzle of balsamic glaze, which adds a beautifully rich, sweet and tangy flavour. Balsamic glaze is widely available in UK food shops, however if you can’t get your hands on some, it’s easy to make your own. Check out the tips in the recipe below to see how I do it.
This bowl is not only tasty, but it’s packed full of nutrient-rich ingredients, which help to keep us in good health. In particular, this dish is a good source of… – Protein, Complex Carbohydrates and Fibre – Vitamins A, B, C & K – Minerals Zinc, Magnesium, Copper, Manganese, Potassium and Iron – Antioxidant Phytonutrients, including Glucosinolates, which help boost the immune system and protect against disease
Recipe Card
Prevent your screen from going dark
Quinoa Winter Bowl with Roasted Vegetables, Cranberries and Balsamic Glaze
This Quinoa Winter Bowl is simple to prepare and is perfect for serving as a light evening meal or lunch. I find it makes a great ‘make ahead’ option and can be warmed through in a frying pan before serving. It can also be served cold and any leftovers make a great addition to lunchboxes.
500g/ 3 cups sweet potatopeeled and diced into small pieces (about 2cm x 2cm x 1.5cm / ¾” x ¾” x ½”))
2TBSPolive oildivided
16-20brussels sproutstrimmed and halved lengthways
300g/ 1½ cups quinoa
720ml/ 3 cups water
1TBSPtoasted sesame oil
1-2TBSPsweet white miso(I used Clearspring Sweet White Miso)
55g/ ⅓ cup dried cranberries
38g/ ¼ cup pumpkin seedsraw or toasted
Balsamic glazefor drizzling (See Note 2)
Salt and freshly ground black pepper
Instructions
Pre-heat the oven to 210C (190C fan) / 410F. Line two baking trays with non-stick baking paper.
Place the diced sweet potato in a large mixing bowl. Drizzle in 1 TBSP olive oil and stir until thoroughly coated. Transfer the potato to a prepared baking tray and distribute in a single layer. Season with salt. Roast for 30 minutes, or until cooked through.
Tip the brussels sprouts into the mixing bowl. Drizzle in 1 TBSP olive oil and stir through. Transfer the sprouts to the second baking tray. Arrange the sprouts cut side facing down. Season with salt (and black pepper, if desired).
When the sweet potatoes have roasted for 10 minutes, add the sprouts to the oven. Roast for 15 minutes, then flip them over and roast for a further 5 minutes, or until browned on both sides.
While the veggies are roasting, prepare the quinoa. First, rinse the quinoa (see Tip 1 below), then thoroughly drain and transfer to a saucepan. Add 3 cups water. Bring to the boil, then reduce the heat to low, cover with a lid and simmer for 15 minutes, or until the water has been absorbed and the quinoa is fluffy. Remove from the heat and leave to rest, covered with a lid, for 5 minutes. Drizzle in 2 tsp toasted sesame oil and stir through with a fork. Add 1-2 TBSP white miso and stir through until the quinoa is coated. Taste test and add more sesame oil/white miso if desired.
Tip the quinoa into the mixing bowl. Add the roasted veggies, cranberries and pumpkin seeds, and stir through. Transfer to bowls. Just before serving, add a drizzle of balsamic glaze.
This dish will keep for up to five days in the refrigerator.
Notes
Tip 1: To rinse quinoa, place it in a fine mesh sieve and rinse under cold running water, agitating it with your fingers for a couple of minutes.Tip 2: If there is no shop-bought balsamic glaze on hand, I make my own by simmering ⅓ cup balsamic vinegar and 1 TBSP coconut sugar in a small pan, stirring from time to time. As soon as it starts to thicken, I remove it from the heat (it continues to thicken as it cools). I find this home-made version is best used immediately.
If you make this Quinoa Winter Bowl, I’d love to hear your feedback and any suggestions for adaptations! Tag your photos with #bitofthegoodstuff on social media – I always love to see your creations! You can also connect with me on my social media channels here: Instagram, Facebook, Pinterest.