Vegan All Day English Breakfast

Jump to Recipe

The English are famous for their all-day breakfast fry-ups, which typically feature a whole bunch of animal products – sausages, bacon, eggs and black pudding – served alongside mushrooms, tomatoes, hash browns, baked beans and fried bread. However, just because you’re passing on eating animals, this doesn’t mean you have to miss out on this traditional English culinary experience. There are so many amazing all-day veggie breakfast options available now, and they’re often far more creative and colourful (and healthy!) than the meat version.

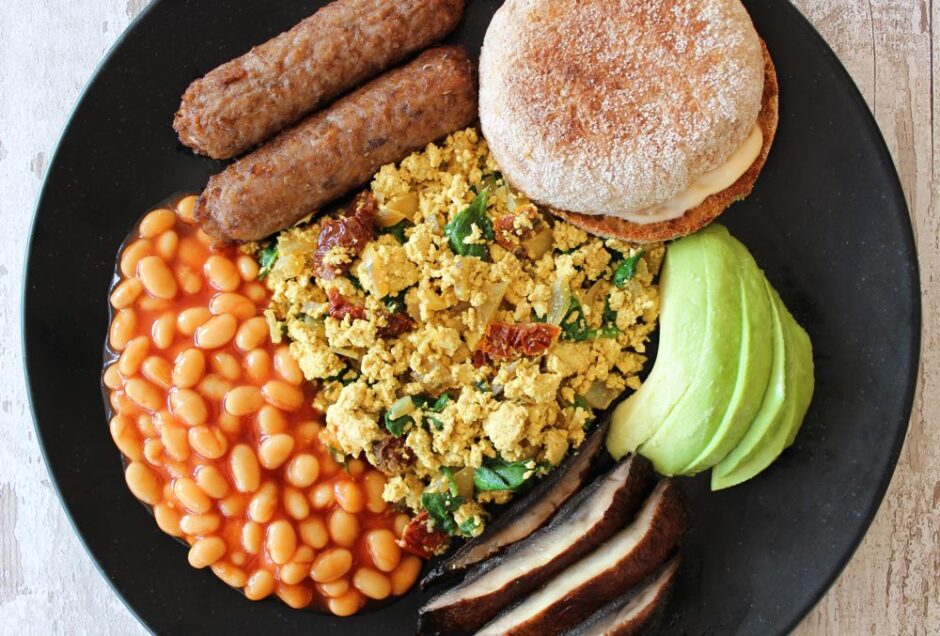
Today I’m sharing a recipe for a delicious vegan cooked breakfast that, as the title suggests, is suitable for serving any time of day. We’ve been enjoying it as an evening meal, but it’s equally perfect as a weekend breakfast, brunch or lunch.

Vegan All Day Breakfast

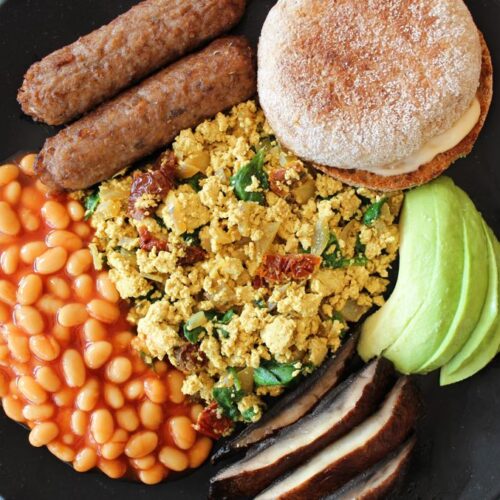
The key components of this vegan all-day English breakfast were sausages…
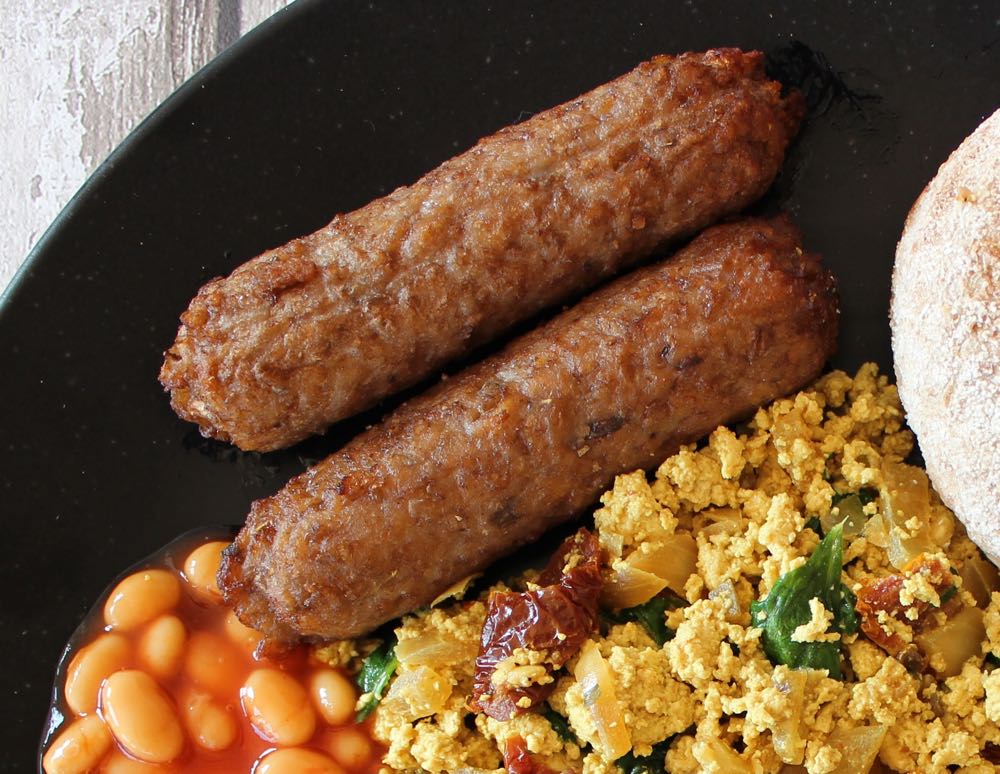
Vegan all day breakfast sausages

scrambled tofu (to which I added onion, garlic, sun-dried tomatoes and soy sauce to ramp up the flavour) ….
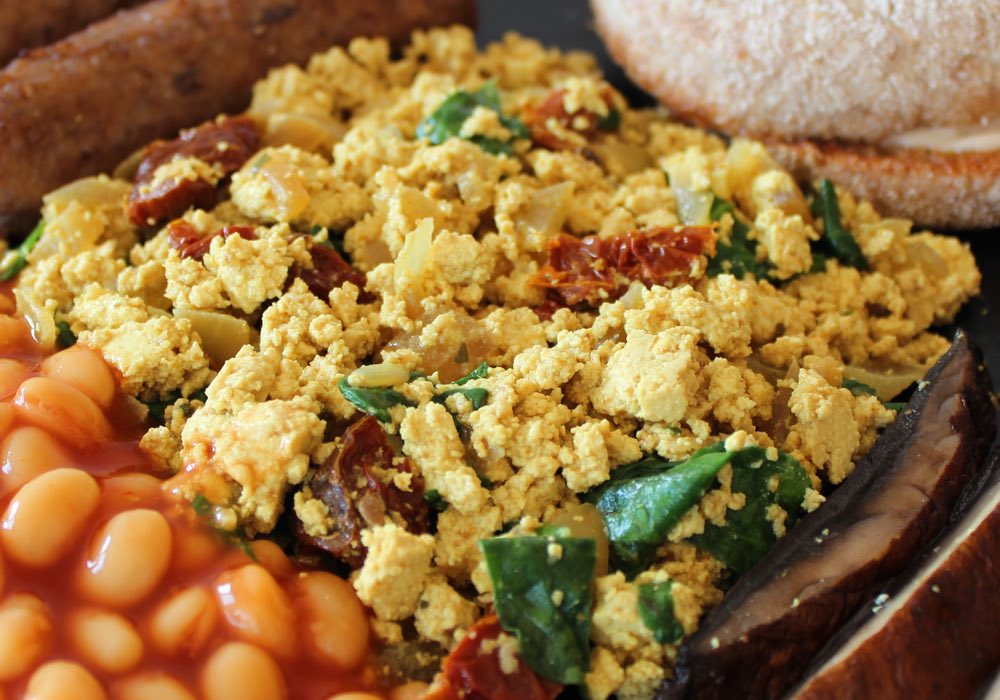
Scrambled Tofu in Vegan All Day Breakfast

avocado and toasted wholemeal English muffins.
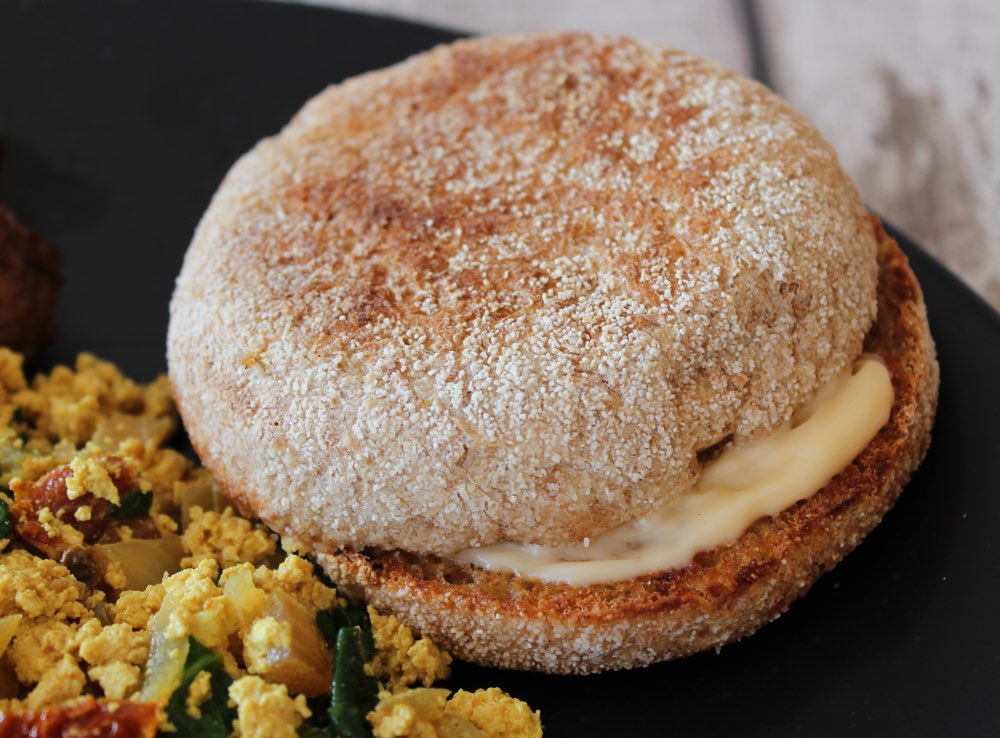
English Muffin in Vegan All Day Breakfast

Then we added slices of balsamic-glazed roasted portobello mushrooms…
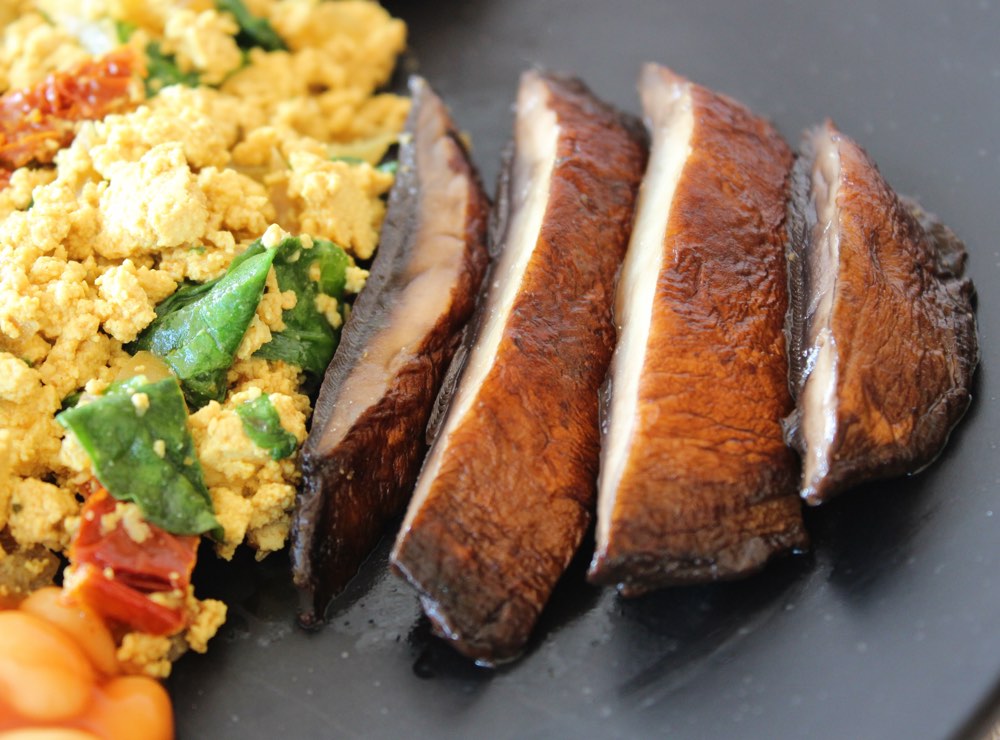
Roasted Mushrooms in Vegan All Day Breakfast

and baked beans 😋

Baked Beans in Vegan All Day Breakfast

Since my son isn’t a fan of fresh tomatoes, I added some sun-dried tomatoes into the scrambled tofu instead. This worked a treat!
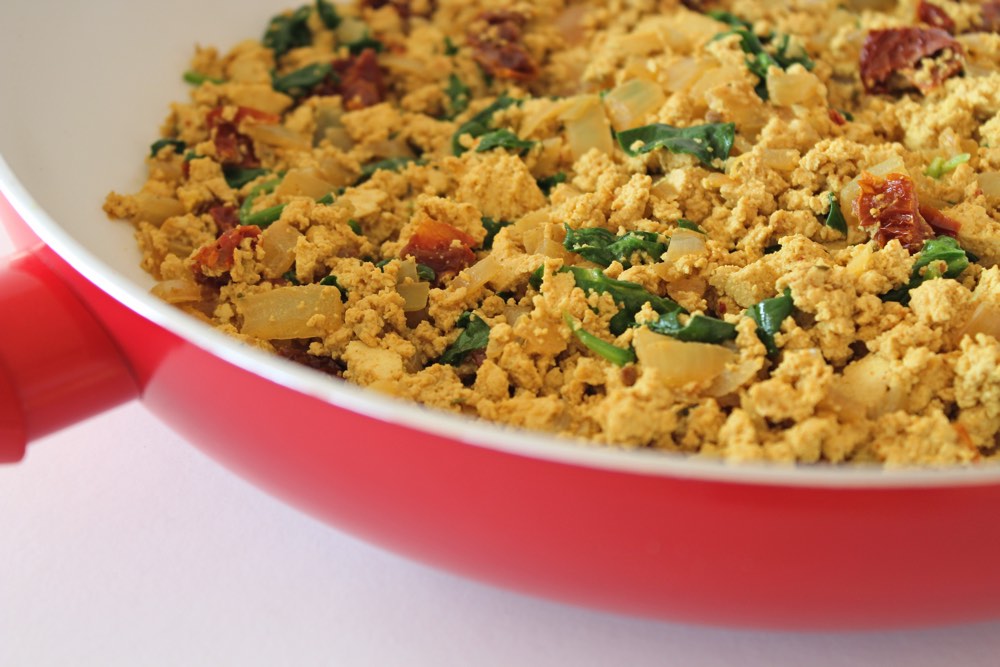
Scrambled Tofu

Recipe Card

Vegan All Day Breakfast

Vegan All Day English Breakfast

This vegan all day breakfast is suitable for serving as a weekend breakfast, brunch, lunch or even as a main dinner! Though there are a few components to this meal, it’s really easy to make and takes no more than 30 minutes. The scrambled tofu, beans, muffins and avocado can all be prepared while the sausages and mushrooms are cooking in the oven. Once they’re done, everything is ready to be be plated up.
Hands-on time 30 minutes
Total Time 30 minutes
Course Breakfast, Brunch, Dinner, Lunch
Servings 3

Ingredients
 

For the roasted portobello mushrooms:

  • 3-4 portobello mushrooms washed and stalks removed
  • 1 TBSP olive oil
  • 1 TBSP balsamic vinegar

6 vegan sausages

For the scrambled tofu:

  • 1 TBSP olive oil
  • 1 medium onion diced
  • 2 tsp minced garlic
  • 1 block of firm tofu (about 400g / 14 oz) drained
  • ½ tsp ground turmeric
  • tsp ground cumin
  • 1 TBSP tamari or low sodium soy sauce
  • 6-8 sun-dried tomatoes in oil drained and roughly chopped
  • 60 ml / ¼ cup fortified soya milk or other plant-based milk
  • handful baby spinach roughly chopped
  • salt to taste

400g / 14 oz can baked beans

3 English wholemeal muffins

  • vegan butter or mayonnaise for the muffins

1 large avocado, sliced

Instructions
 

  • Pre-heat the oven to 200C (180C fan) / 400F.
  • For the roasted mushrooms:
    In a wide, shallow roasting pan, combine the olive oil and balsamic vinegar. Generously coat the mushrooms in the oil and vinegar mixture, either using a pastry brush or your hands. Arrange the mushrooms in the pan upside down. Cook for 10 minutes then flip the mushrooms over, and continue cooking for a further 15 minutes, until the mushrooms are tender and well browned.
  • Cook the sausages according the instructions on the packet.
  • For the scrambled tofu:
    Heat the oil in a large non-stick frying pan (skillet) on medium heat and cook the onion and garlic for a couple of minutes. Crumble the tofu into the pan. Sprinkle the turmeric on top and stir until the tofu has turned yellow. Add the cumin, soy sauce and sun-dried tomatoes to the pan. Cook for 3-4 minutes, stirring now and then. Stir in the milk and continue cooking for 2-3 minutes. Finally, add the spinach and cook for a further minute (until the spinach just starts to wilt). Season with salt, to taste.
  • Keep the scrambled tofu on low heat while you warm up the baked beans and toast the muffins.
  • Arrange the sausages, mushrooms, scrambled tofu, baked beans, muffins and avocado slices on plates and serve. Any leftovers make a delicious ‘all-day breakfast’ sandwich, stuffed into a pitta bread or tortilla wrap.

Notes

Gluten-Free Option
To make the breakfast 100% gluten-free, the muffins could be replaced with a gluten-free alternative, such as hash browns or mini roasted potatoes. Also, be sure to use tamari soy sauce, as regular soy sauce contains wheat.
Keyword Dairy-Free, Egg-Free, Vegan All Day Breakfast
Tried this recipe?Let us know how it was!

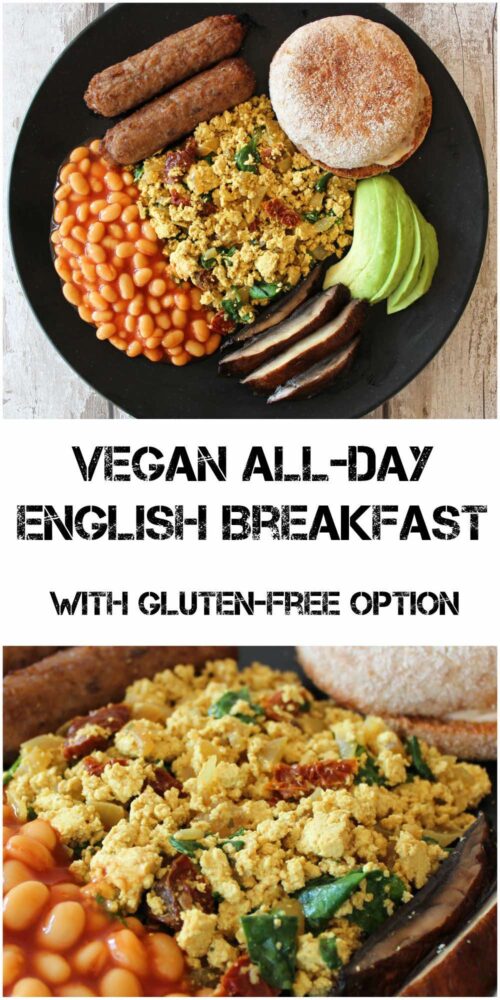
Pin for later ⬇️

Vegan All Day English Breakfast

If you make this recipe, I’d love to hear your feedback and any suggestions for adaptations. Tag your photos with #bitofthegoodstuff on social media – I love to see your creations! You can also connect with me on my social media channels here: Instagram, Facebook, Pinterest.   

With love,

Sharon xx
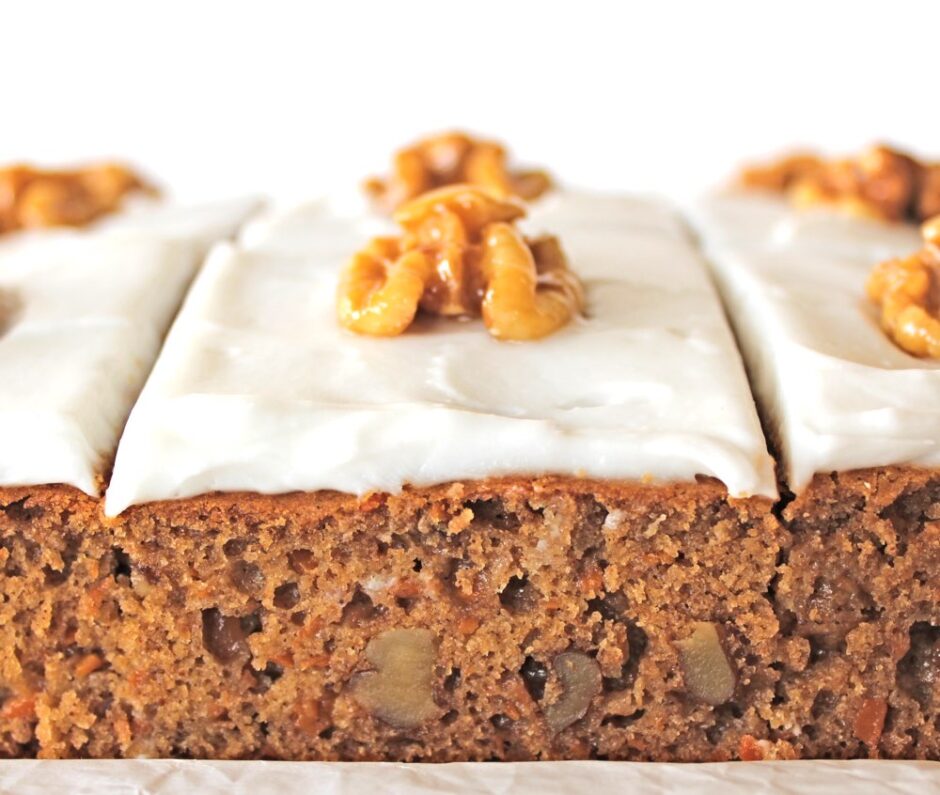
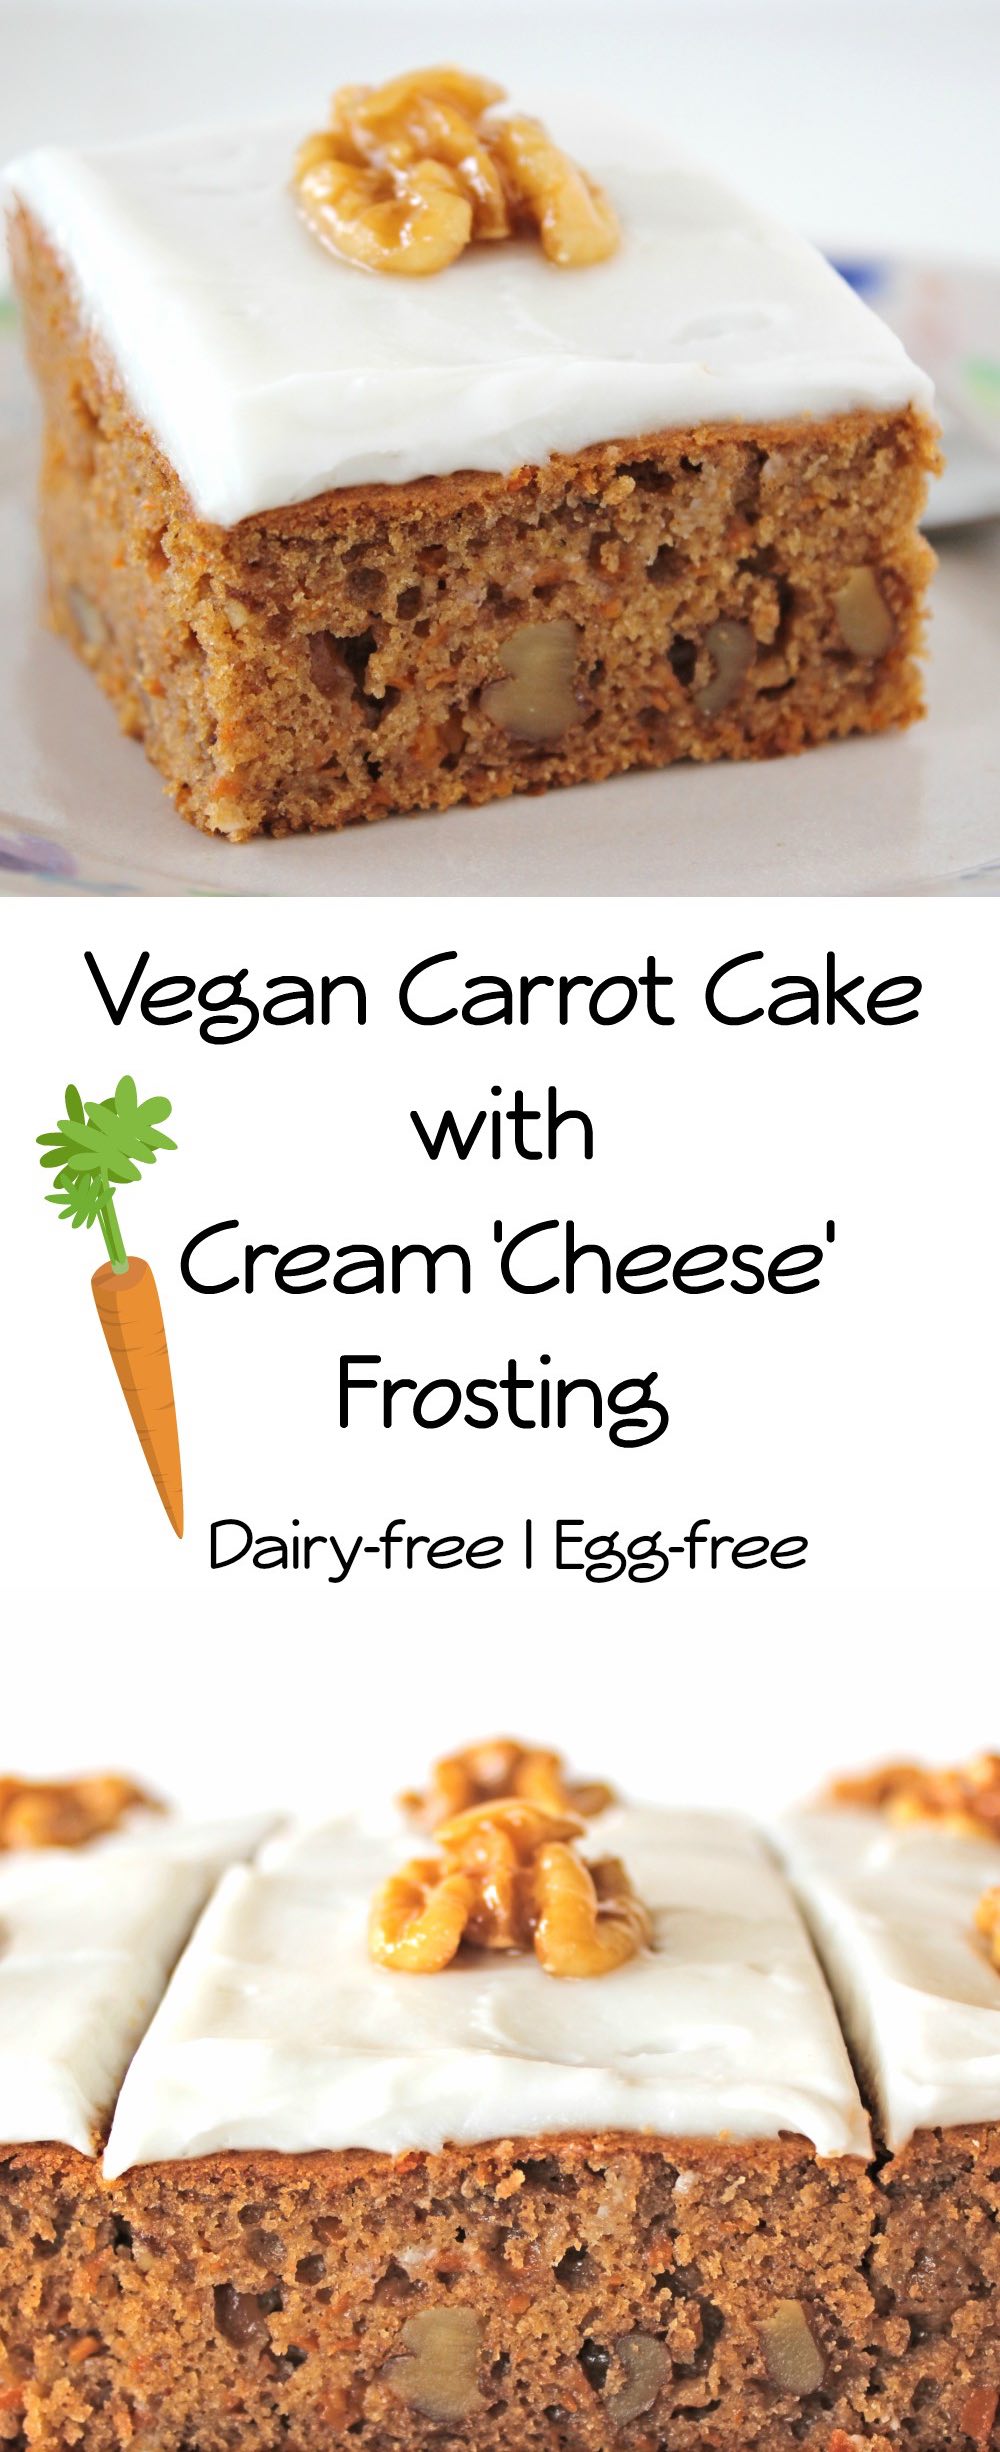
Vegan Carrot Cake with Cream Cheese Frosting

Jump to Recipe

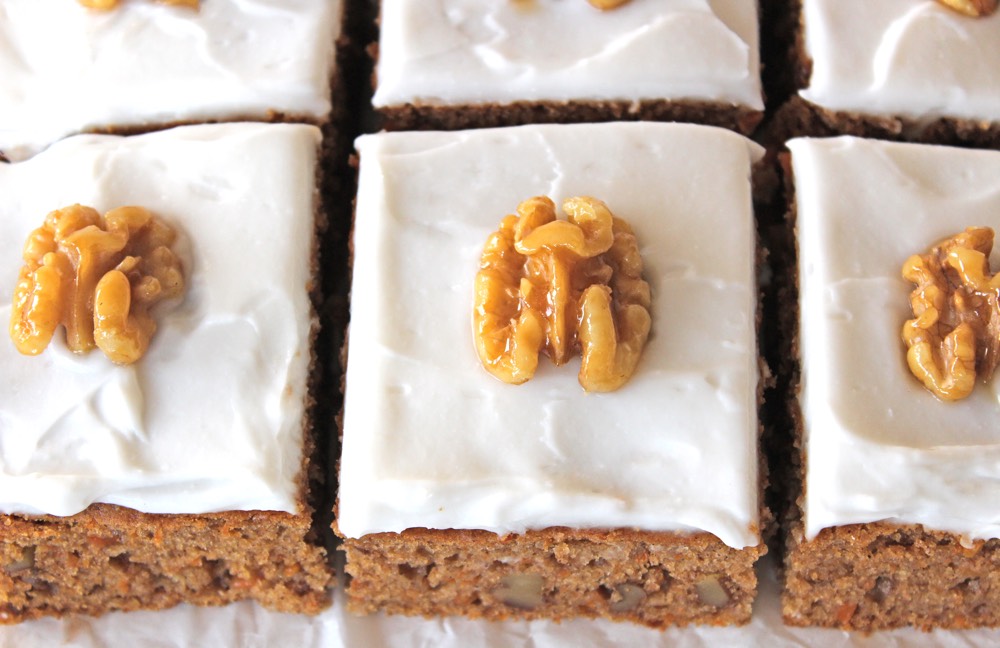
Today, I’m finally publishing my recipe for vegan carrot cake. It contains no dairy or eggs, yet tastes just as good (if not better!) than its traditional counterpart. This was the cake that I chose to bake for my mum’s and father-in-law’s birthdays this year and I’m pleased to say, it went down a treat!

Vegan Carrot Cake

I must admit, this recipe has been a long time coming (the culmination of about two years’ worth of experimenting!) Carrot cake is one of my all-time favourites so I was determined to keep experimenting until I’d created a vegan version that replicated the one of my childhood memories. I had set the bar high!

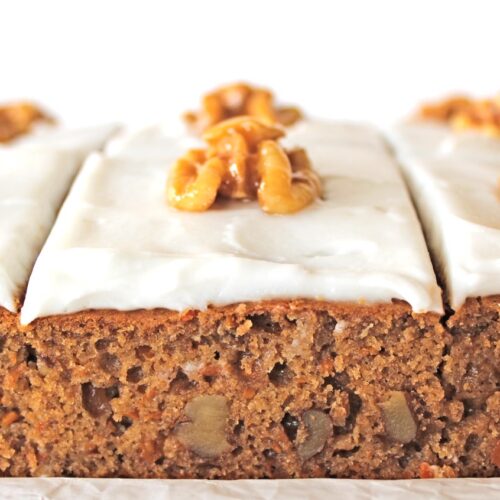
My family were very willing cake testers and gave positive feedback on all the various versions I created but, for me, they were never quite right. The main issue that I needed to nail was the texture. If you’re a carrot cake connoisseur, you’ll know that it has a very specific texture. It isn’t like a traditional ‘light and fluffy’ sponge cake. It’s a lot more dense and moist; almost fudge-like.

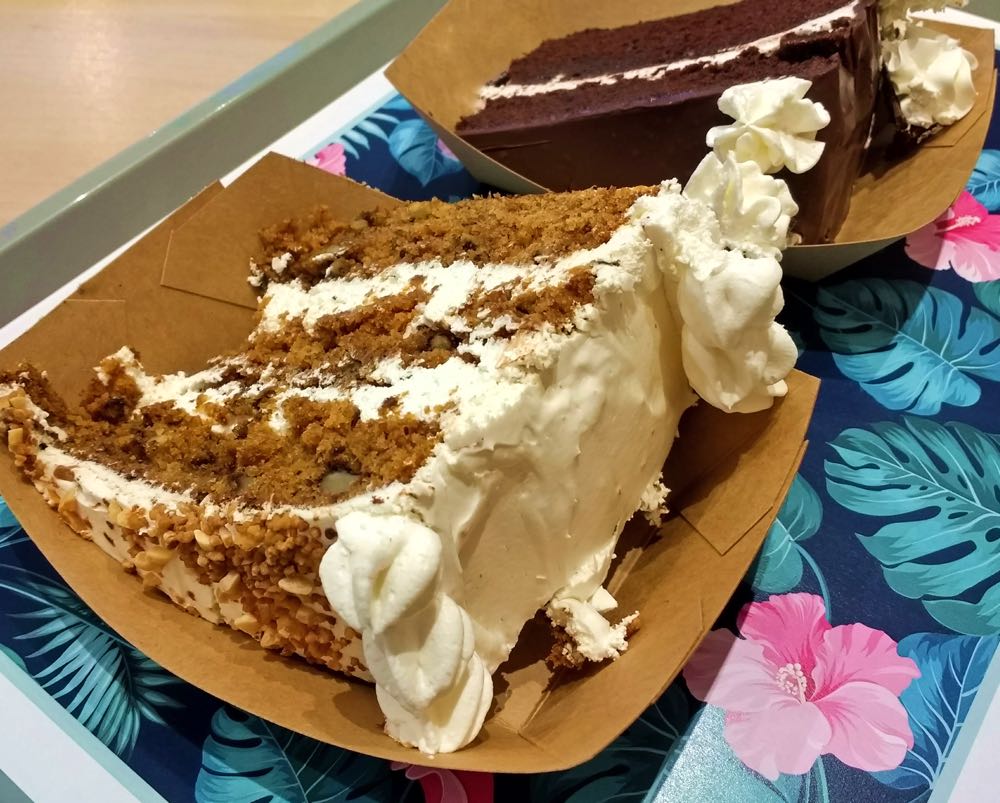
It had been at least 20 years since I’d eaten a traditional carrot cake so my reference point was pretty old (and with questionable reliability!) but this Easter I finally got to indulge in carrot cake once more; and at the most unexpected of places… the vegan fast food joint ‘Vurger’ in Valencia, Spain.

Vegan Carrot Cake

After we’d ordered our burgers and were making our way to the seating area, I caught sight of a glass cabinet filled with the most incredible-looking cakes. Each one was at least three layers tall and covered in the most beautiful frosting. There were a selection of flavours on offer, including double chocolate, chocolate cherry, and carrot cake. Much to our delight, we discovered that another vegan fast food joint called ‘Aloha’ also stocked these beautiful cakes. My family ended up going to Vurger and Aloha three times, just so we could try out all the cakes!

Vegan Carrot Cake

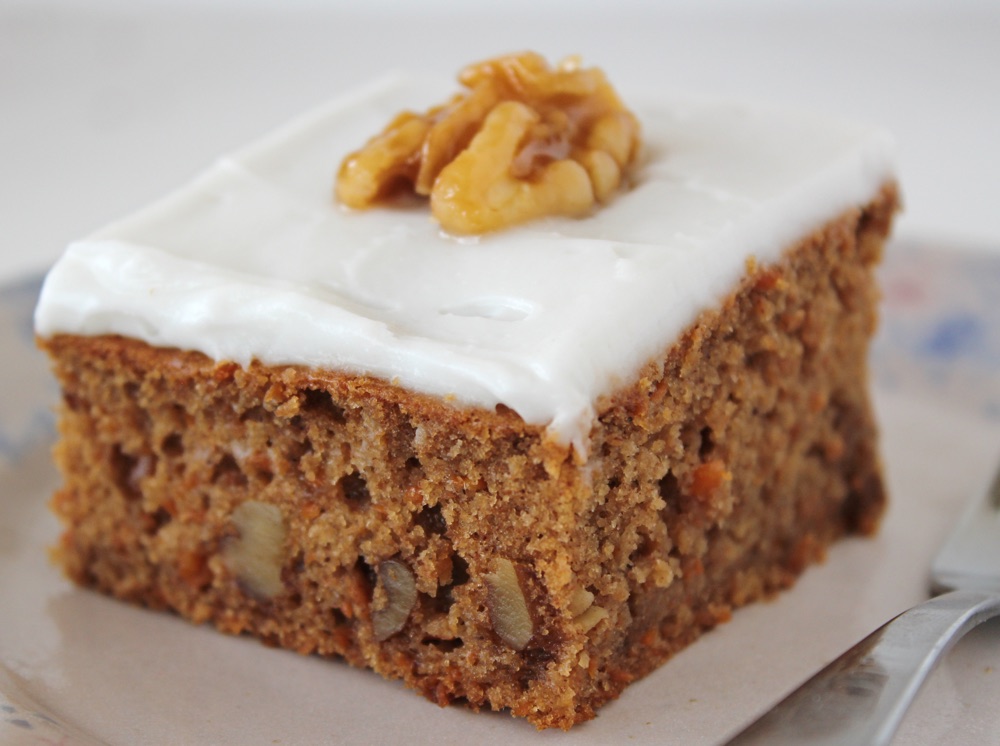
Filled with fresh memories of how carrot cake should taste, as soon as I returned home I dusted off my scribbled experiments and enthusiastically set to work on ‘perfecting’ my recipe. I experimented with different ratios of wet/dry ingredients, varying ratios of carrots and nuts, different shape tins and baking times, and finally came up with a recipe that I’m 100% happy with. It might not be to everyone’s taste but, for me, this cake is just spot on flavour and texture-wise. It’s dense and moist, with plenty of carrot and walnuts for added layers of texture. It’s not sugary sweet, but instead flavoured with beautiful, warming spices.

Vegan Carrot Cake

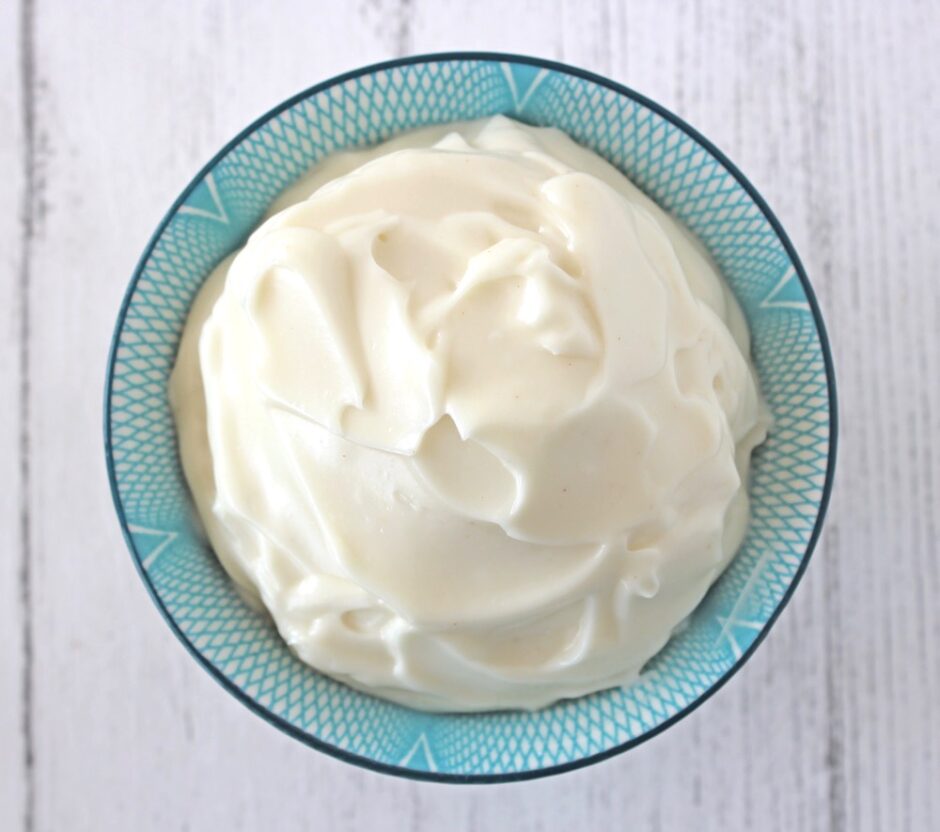
Cream cheese frosting is the perfect topping for this cake. A few years ago, it was difficult to find vegan cream cheese here in the UK (let alone a great-tasting one!); however lately there’s been an explosion of dairy-free ‘cheeses’ entering our shops. When it comes to vegan cheese, everyone’s tastes differ so it’s worth trying a few and seeing which one most appeals to your taste buds. Two of my personal favourites are Violife Creamy Original  and Tofutti Creamy Smooth Original. These have a very subtle cheese flavour, with a lovely creamy texture, making it perfect for cake frosting. I’ve also used Sheese Creamy Original and Tesco Free From Soft Cheese for topping carrot cake. These two have a stronger cheese flavour so need a touch more icing sugar to balance the flavours.

Recipe Card

Vegan Carrot Cake

Vegan Carrot Cake with Cream Cheese Frosting

For me, this recipe epitomises everything that I love about carrot cake. It’s dense and moist, with a generous amount of carrots and walnuts. It's not sugary-sweet, but beautifully flavoured with warming spices. It’s had great feedback from my friends and family. I hope you enjoy it too!
Hands-on time 30 minutes
Total Time 2 hours
Course Afternoon Tea, Elevenses, Treat
Cuisine English
Servings 9

Ingredients
 

  • 240 ml / 1 cup soya milk
  • 2 tsp apple cider vinegar
  • 100 g / ½ cup soft brown sugar or coconut sugar
  • 80 ml / ¼ cup syrup of choice (I use maple syrup or coconut blossom syrup)
  • 100 ml / ½ cup neutral-flavoured oil (I use rapeseed (canola) oil, grapeseed oil or sunflower oil
  • 240 g / 2 cups carrot grated
  • 140 g / 1 cup plain (all purpose) flour
  • 140 g / 1 cup fine wholemeal (whole wheat) flour or chapatti flour
  • tsp baking powder
  • ½ tsp bicarbonate of soda (baking soda)
  • ½ tsp salt
  • 2 tsp mixed spice or pumpkin spice
  • 1 tsp ground cinnamon
  • 50 g / ½ cup walnuts chopped

Vegan Cream Cheese Frosting

  • 1 tub vegan cream cheese (around 200g / 7 oz)
  • 2½ – 5 TBSP icing (confectioners) sugar

Maple-Glazed Walnuts

  • 9 walnut halves
  • 1 TBSP maple syrup

Instructions
 

  • Grease a 21 cm x 21 cm / 8” x 8” square baking pan and line with non-stick baking paper. Preheat the oven to 180C (160C fan) / 350F.
  • Grate the carrots either using a box grater or mini chopper. Roughly chop the walnuts.
  • Whisk together the soya milk and vinegar in a large mixing bowl using a hand whisk or fork. Add the sugar, syrup and oil. Continue whisking until fully combined.
  • In a separate bowl, add the flours, baking powder, bicarbonate of soda, salt, mixed spice and cinnamon. Stir through to combine.
  • Fold the dry ingredients into the wet ingredients. Add the grated carrot and chopped walnuts and stir through until evenly distributed.
  • Transfer the mixture to the prepared tin. Using a spatula, distribute the mixture evenly in the tin and smooth the top. Place in the centre of the oven and bake for 45 minutes, or until a skewer inserted through the middle comes out clean and the top of the cake is springy to the touch.
  • Leave the cake in the tin for at least an hour, or until completely cool (it will continue to firm up as it cools), then peel off the baking paper and transfer to a chopping board. Using a bread knife, trim the four edges of the cake to neaten them up.
  • Meanwhile, place the cream cheese in a bowl. Sieve in the icing sugar, then beat using electric beaters until just combined (do not over-beat, otherwise the cheese may become runny). Taste test and add more sieved sugar, if desired. Beat once more to combine. Store the cream cheese in the fridge until needed.
  • Preheat a frying pan (skillet) on a medium-high heat. Add the walnuts and dry fry for 2 minutes, stirring continuously. Add the maple syrup and continue stirring for about 3 minutes, until the nuts are fully coated and the syrup has caramelised and become very sticky. Space out the nuts on a piece of non-stick baking paper. As they cool, the nuts will firm up and become shiny. Store in an airtight container in the fridge until ready to use.
  • Once the cake is completely cooled, distribute the cream cheese over the top of the cake using a knife. Slice the cake into squares, add the maple-glazed walnuts, then chill the cake in the fridge until ready to serve.
  • This cake will keep for up to five days in the fridge. It is also freezable (without the frosting). The cream cheese frosting is best added on the day that it is to be served as the lighter coloured cheeses (like Violife, Tofutti) can discolour over time.
Keyword Dairy-Free, Egg-Free, Plant-Based, Vegan Cake, Vegan Treats
Tried this recipe?Let us know how it was!

Pin for later ⬇️

Vegan Carrot Cake

This recipe is being submitted to the Suma Blogger’s Network. Big shout out to the lovely people at Suma who supplied the ingredients I used to create this recipe.

Ingredients from Suma (available from independent health food shops in the UK):

Aspall Organic Cyder Vinegar
Suma Organic Coconut Palm Sugar
Suma Organic Coconut Blossom Syrup
Suma Grapeseed Oil
Suma Mixed Spice
Suma Ground Cinnamon
Doves Farm Organic Fine Plain English Wholemeal Flour
Doves Farm Organic Plain White Flour
Doves Farm Baking Powder
Doves Farm Bicarbonate of Soda
Violife Creamy Original
Tofutti Creamy Smooth Original

If you make this Carrot Cake, I’d love to hear your feedback and any suggestions for adaptations! Tag your photos with #bitofthegoodstuff on social media – I always love to see your creations! You can also connect with me on my social media channels here: InstagramFacebookPinterest.   

Happy baking!

Quick and Easy Vegan Mayonnaise (with Sweet Chilli option)

Jump to Recipe

In today’s post, I’m sharing a recipe for a delicious, quick & easy vegan mayonnaise that uses basic pantry ingredients, is ready in five minutes and costs as little as 34p! I never thought I’d find another mayo as tasty as Vegenaise, but this home-made version is just that. So if you’re on a budget or have difficulty finding great-tasting vegan mayos in your shops, then I definitely recommend giving this one a try.

While I’m a little late to the party (as per usual), the home-made vegan mayo craze kicked off in 2015, following a discovery by French musician Joel Roessel that the water from a can of beans (or left over from cooking beans) could be used as a plant-based alternative to egg whites. Ingenious! This discovery was then further developed by American software engineer Goose Wohlt (who named it ‘aquafaba’) and the Facebook community Aquafaba (Vegan Meringue – Hits and Misses!)

For those unfamiliar with the term ‘aquafaba’, it’s basically the Latin for ‘bean water’ (Aqua = water Faba = bean). The Latin name sure does sound more appealing, doesn’t it?

Literally within weeks of the aquafaba discovery, my Facebook newsfeed started filling up with images of meringues, pavlovas, marshmallows, mousses, macarons and mayonnaise that were being made with this liquid that we usually throw down the sink. Basically, all the foods that I loved in my pre-vegan days and never dreamed I would ever get to eat again.

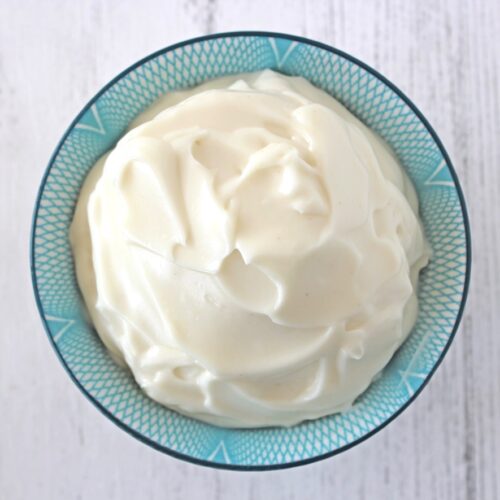
Easy Vegan Home-Made Mayonnaise

The reason I was slow to join the home-made mayo craze is because the American Follow Your Heart Vegenaise had made its way into my local health food shop. I can honestly say that Vegenaise was the best mayo I’d ever tasted (even better than the traditional egg-based mayo) so I was in no rush to find a replacement.

However, after repeatedly seeing aquafaba mayo videos popping up on social media, the intrigue got the better of me and I decided to give it a try.

And the verdict?

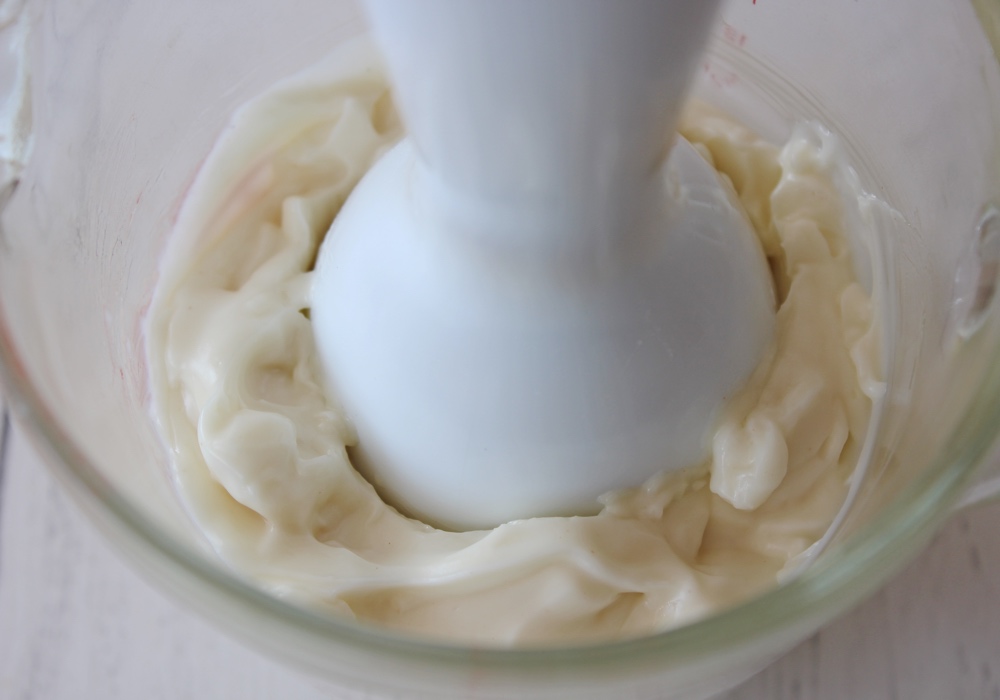
I LOVE IT! Not only does it taste gorgeous, but it’s really fun to make too! Literally within seconds of whizzing the runny ingredients together, they turn into this mass of thick, white, creamy deliciousness.

Quick and Easy Vegan Home-Made Mayonnaise

The great thing about making your own mayonnaise is that you can adjust the flavour to suit your personal preferences. A lot of mayo recipes that I’ve tried are too acidic for my taste buds, so I cut right back on the vinegar in my version.

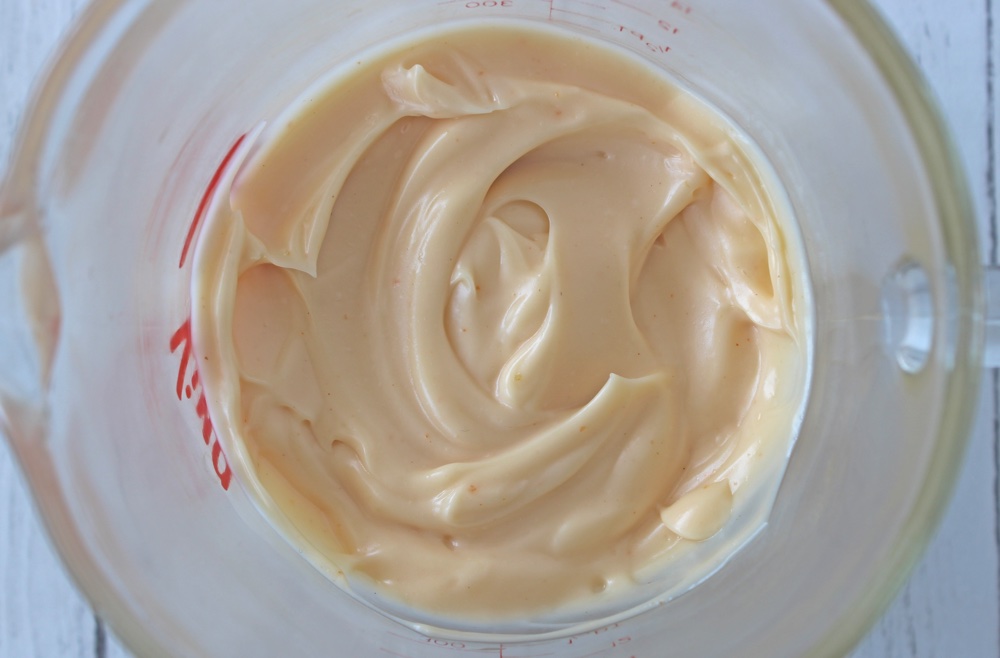
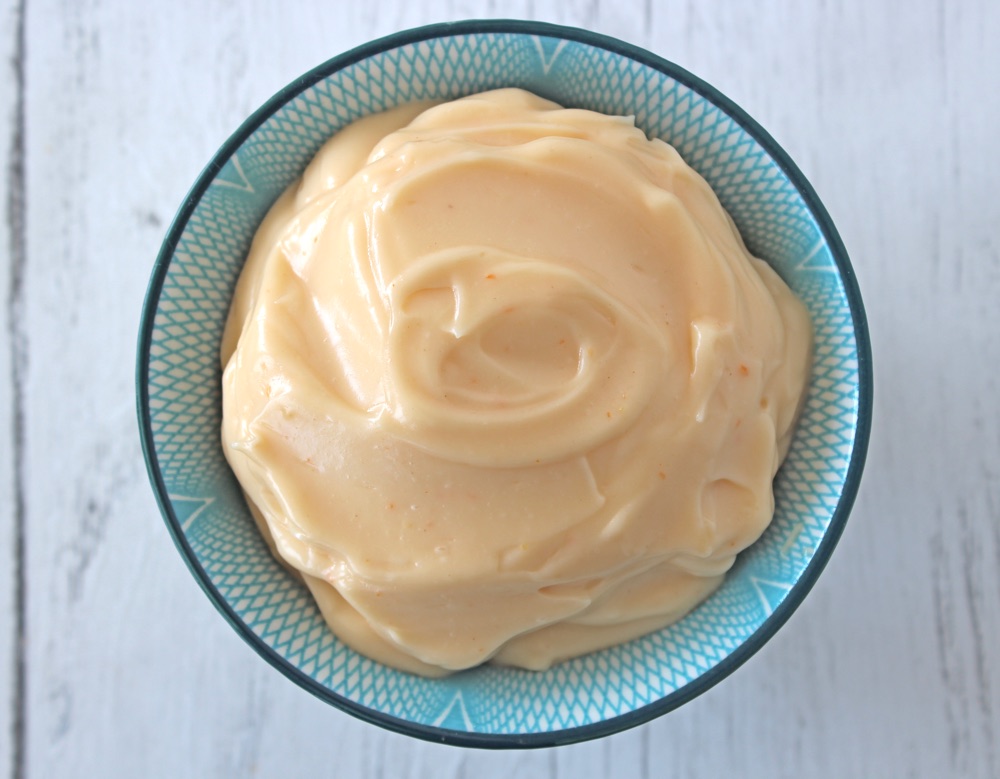
You can also switch up the flavour of the mayonnaise depending on what you’re planning to serve it with. For my vegan doner kebabs and smashed chickpea sandwich fillings, I love to add a couple of teaspoons of sweet chilli sauce to the mayonnaise for a touch of spiciness.

Easy Home-Made Vegan Chilli Mayonnaise

Easy Vegan Home-Made Chilli Mayonnaise

Another big advantage to making your own mayo is that it is super cheap! Using sunflower oil, it cost just 34p to make 240ml / 1 cup’s worth of mayo. (The equivalent amount of Vegenaise costs £1.77).

Using organic oil, it still only cost 70p (compared to £2.25 for the equivalent amount of organic Vegenaise).

If you’re on a budget or can’t get access to a decent vegan mayo, then home-made is definitely the way to go.

Recipe Card

Easy Vegan Home-Made Mayonnaise (Dairy-Free | Egg-Free)

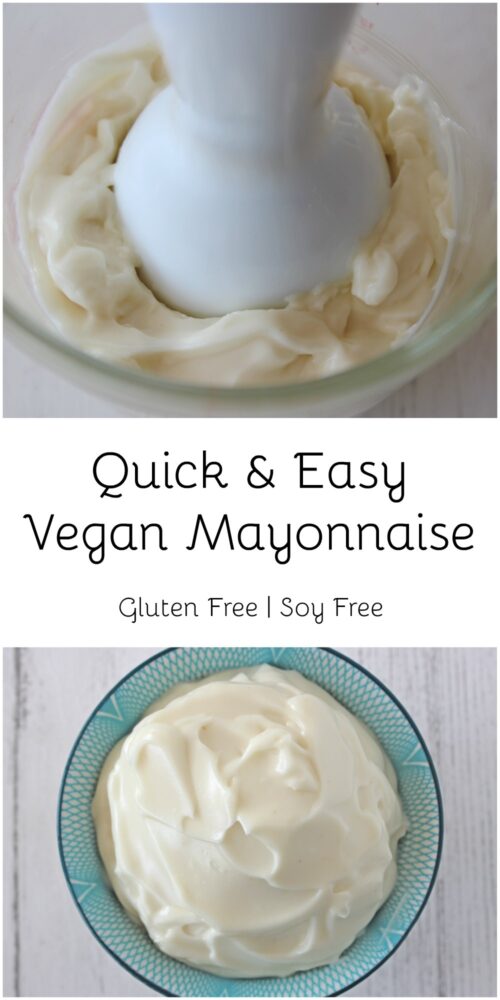
Quick & Easy Vegan Mayonnaise

This delicious, quick & easy vegan mayonnaise uses basic pantry ingredients, is ready in five minutes and costs as little as 34p! In the Notes section below, you'll also find a Sweet Chilli Mayo option.
5 from 7 votes
Hands-on Time 5 minutes
Total Time 5 minutes
Course Salad
Servings 16

Ingredients
 

  • 3 TBSP aquafaba I use the water from a can of unsalted chickpeas
  • 1 tsp apple cider vinegar
  • 1 tsp maple syrup or agave nectar
  • 1 tsp Dijon mustard
  • ½ tsp salt
  • 200 g / 1 cup neutral-tasting oil e.g. organic rapeseed (canola) oil, sunflower oil, grapeseed oil
  • Sweet chilli option [See Note below]

Instructions
 

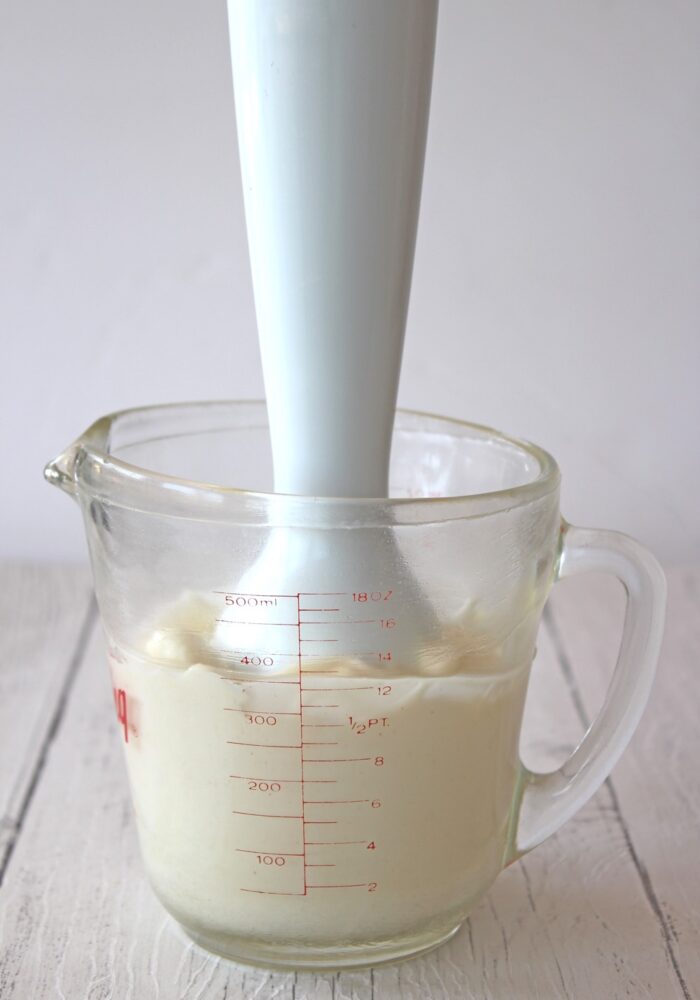
  • Place the aquafaba, vinegar, syrup, mustard and salt in a jug. Using a stick (immersion) blender, whizz the ingredients until fully combined.
  • Add 2 TBSP oil and pulse the blender until the oil is just combined (this only takes a few seconds). Add another 2 TBSP oil and pulse for a few seconds again until combined. Repeat this process, adding just 2 TBSP oil at a time, until all the oil is incorporated and the mayonnaise has become thick and creamy. (It is important to add the oil slowly so it has a chance to emulsify).
  • Taste test and add a touch more vinegar, mustard, sweetener or salt, if desired.
  • Transfer the mayonnaise to a clean glass jar and refrigerate. The mayonnaise should keep for up to 2 weeks.

Notes

For me, the ratio of ingredients in this recipe produces a mayonnaise that is very close in taste to my favourite store-bought mayo (Vegenaise). However, feel free to adapt the quantities of vinegar, sweetener, mustard and salt to suit your own taste buds.
Sweet Chilli Option: Add 2 tsp sweet chilli sauce into the mayonnaise and whizz to combine (I use Lingham’s Chilli Sauce). Taste test and add more sweet chilli, if desired.
Thanks to Hippy Chick for inspiring this recipe!
Keyword Egg-free Mayonnaise, Gluten-Free, Vegan Mayonnaise
Tried this recipe?Let us know how it was!

Pin for later ⬇️

Easy Vegan Home-Made Mayonnaise

If you make this Quick and Easy Vegan Mayonnaise, I’d love to hear your feedback and any suggestions for adaptations! Tag your photos with #bitofthegoodstuff on social media – I always love to see your creations! You can also connect with me on my social media channels here: InstagramFacebook, Pinterest.   

With love,

Sharon xx

SaveSave

SaveSave

SaveSave

Creamy Butternut Squash Soup with Golden Pan-Fried Chickpeas

Jump to Recipe

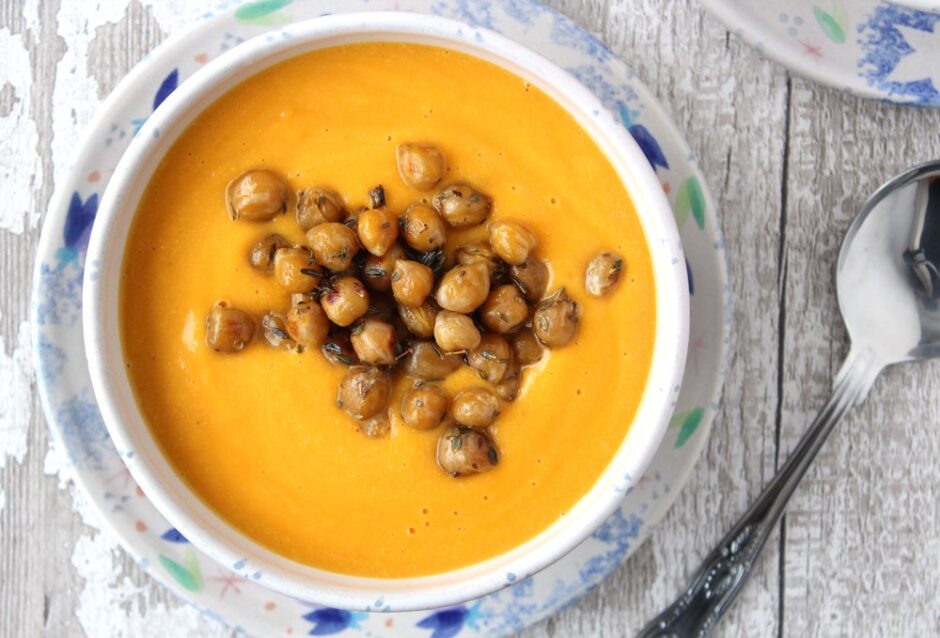
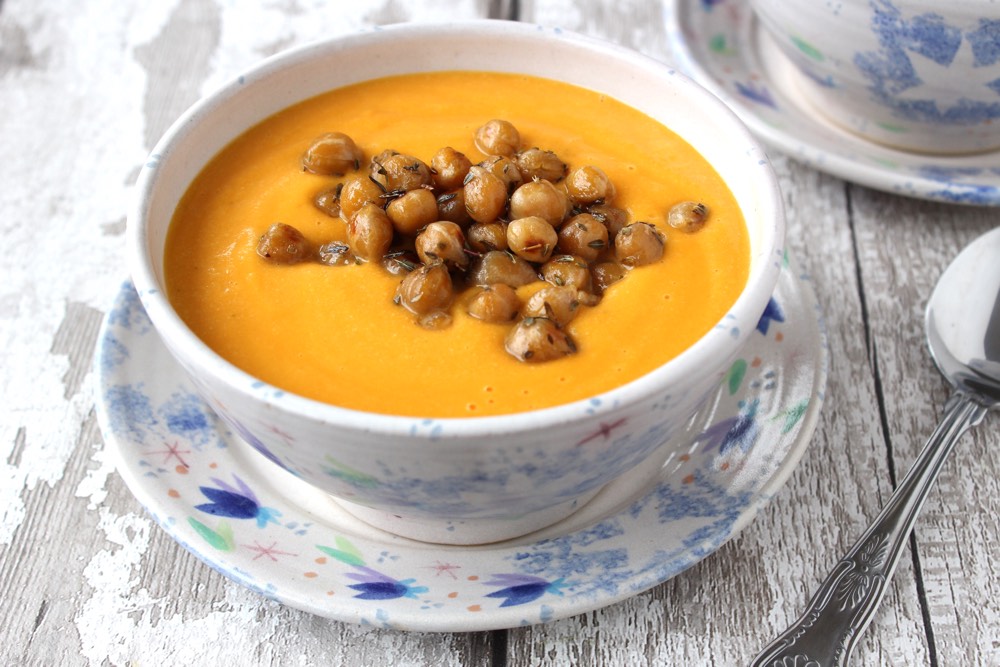
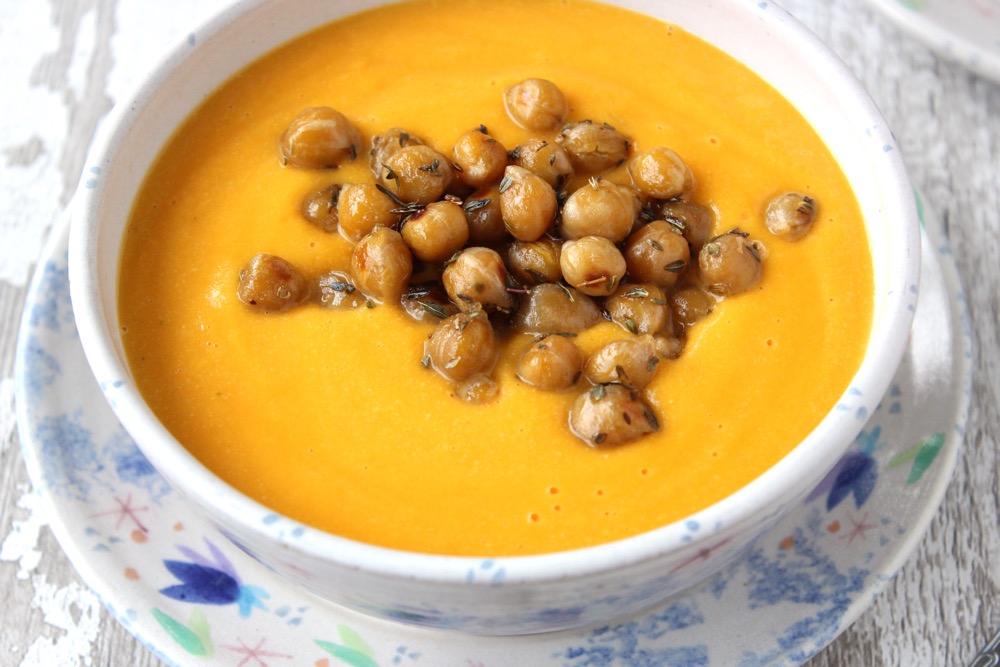
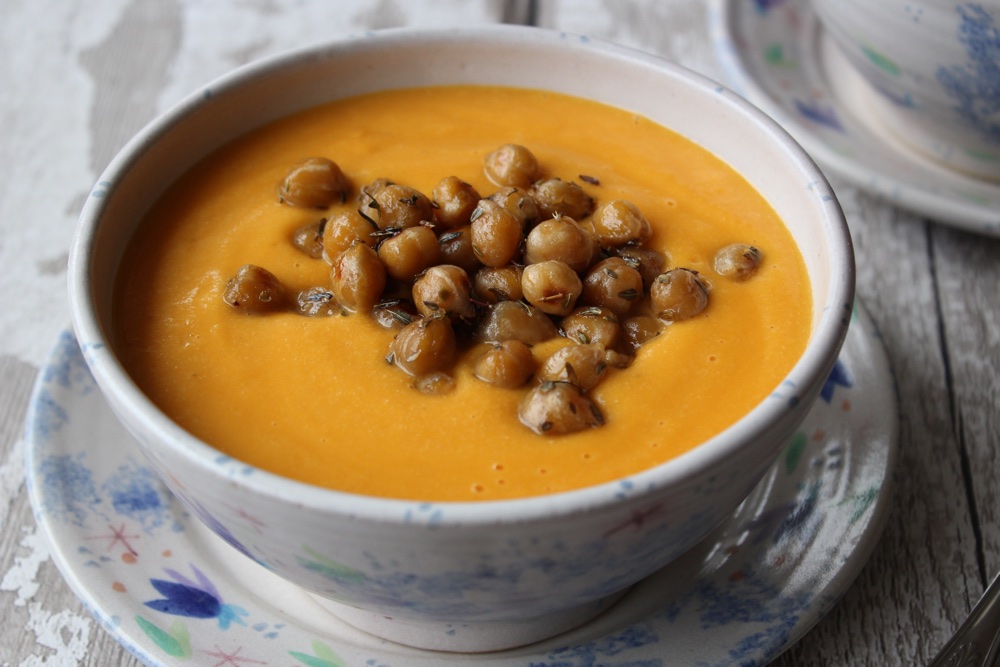
In today’s post, I’m sharing a recipe for the perfect Winter warmer – Creamy Butternut Squash Soup with Golden Pan-Fried Chickpeas 💛 With its delicious, sweet flavour and golden orange hue, this soup is so bright and cheery that it’s bound to put a smile on your face. It also happens to be packed full of immune-boosting nutrients to help keep those pesky Winter bugs at bay.

Creamy Butternut Squash Soup

Butternut squash is a fantastic immunity-booster. Of all the winter squashes, it contains the highest amount of vitamin C. It’s also packed with the vitamin A antioxidants alphacarotene and betacarotene.

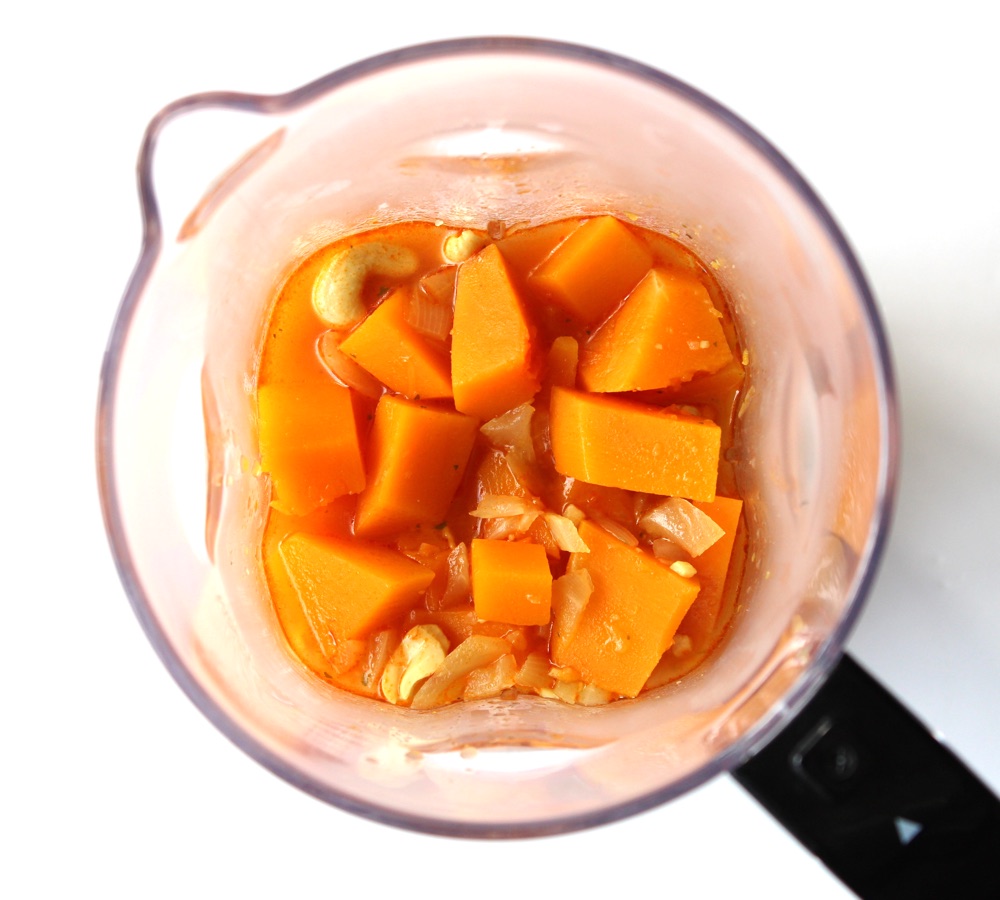
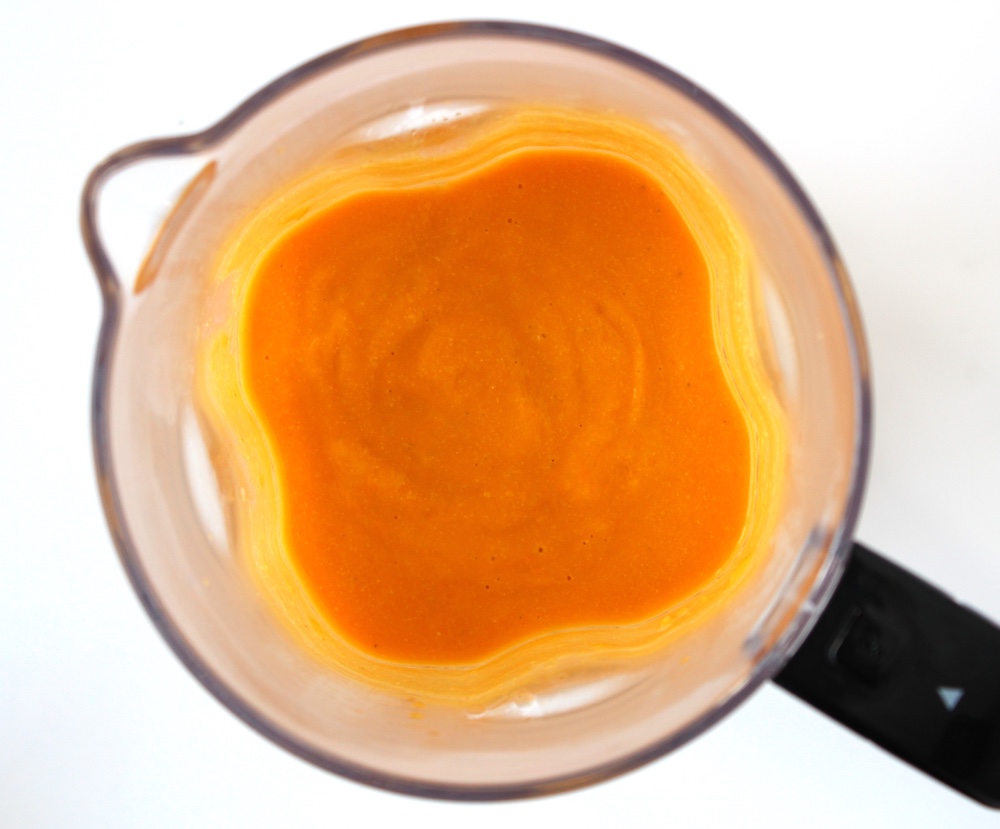
I love blending some cashews into this soup to make it thick and creamy. The cashews also provide protein and heart-healthy fats, which help us to feel full and satiated. Simmering the cashews in the soup softens them, making them easy to blend smooth in a high-speed blender.

Butternut Squash Soup in blender

Butternut Squash Soup in blender

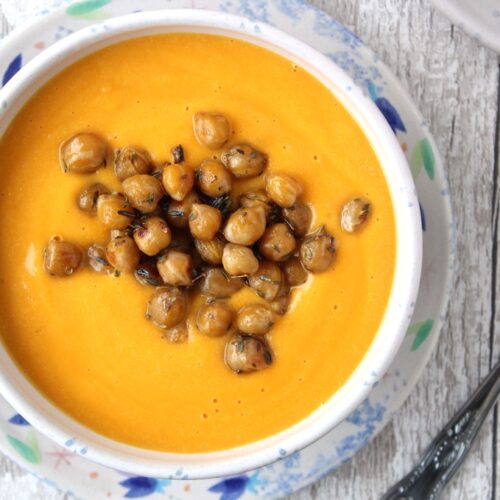
My family loves to serve this soup as a weekend lunch or weeknight supper. The Golden Pan-Fried Chickpeas that I posted last week, make the perfect topping.

Creamy Butternut Squash Soup

Recipe Card

Creamy Butternut Squash Soup

This soup is cheery, flavourful and packed full of immune-boosting nutrients. The addition of cashews makes it thick, creamy and filling. We love to top it with Golden Pan-Fried Chickpeas (recipe link in Notes below). These only take eight minutes to make, so we prepare them while the soup is simmering or cooling.
Hands on time 15 minutes
Total Time 30 minutes
Course Light Dinner, Lunch
Servings 4

Ingredients
 

  • ½ TBSP olive oil
  • 1 medium onion finely chopped
  • 2 tsp minced garlic
  • 750 ml / 3 cups vegetable stock (broth)
  • 800 g / 5 cups butternut squash deseeded and chopped into small, bite-size pieces
  • 1 TBSP tomato puree (paste)
  • 72 g / ½ cup cashews
  • salt & freshly ground black pepper to taste

Instructions
 

  • Gently heat the oil in a large saucepan. Cook the onion until it starts to soften (about 4 minutes). Add the garlic and cook for a further minute.
  • Add the vegetable stock, squash, tomato puree and cashews to the pan. (This is meant to be a thick soup, so the liquid should just be sufficient to cover the squash). Bring to the boil, then reduce the heat, cover with a lid and simmer for 15 minutes or until the squash is tender.
  • Leave to cool slightly then transfer to a high speed jug blender (due to the quantity of soup, I recommend blending half at a time). Start blending on low speed, then increase to high speed until silky smooth.
  • Transfer the soup back to the pan and gently heat through. Season with salt and freshly ground pepper, to taste.
  • This soup will keep for five days in the fridge. I haven’t tried it yet, but I’m pretty confident it will be freezable too.

Notes

My recipe for Golden Pan-Fried Chickpeas can be found here.
Keyword Budget Vegan Meals, Dairy-Free, Easy Vegan Meals, Vegan Soup
Tried this recipe?Let us know how it was!

As you can probably imagine, it’s pretty tricky taking food photos this time of year as the days are so short and the weather’s so changeable! It was certainly a fun challenge taking these soup photos. As I was shooting them, the sky suddenly clouded over, which totally changed the look and feel of the photos. Compare the photo below to the ones above. It looks pretty different, doesn’t it? It’s dark and gloomy, but kind of atmospheric too.

Creamy Butternut Squash Soup

If you make this Creamy Butternut Squash Soup, I’d love to hear your feedback and any suggestions for adaptations! Tag your photos with #bitofthegoodstuff on social media – I always love to see your creations! You can also connect with me on my social media channels here: InstagramFacebook, Pinterest.   

With love,

Sharon xx

SaveSaveSaveSave

Quinoa Winter Bowl with Roasted Vegetables, Cranberries and Balsamic Glaze

Jump to Recipe

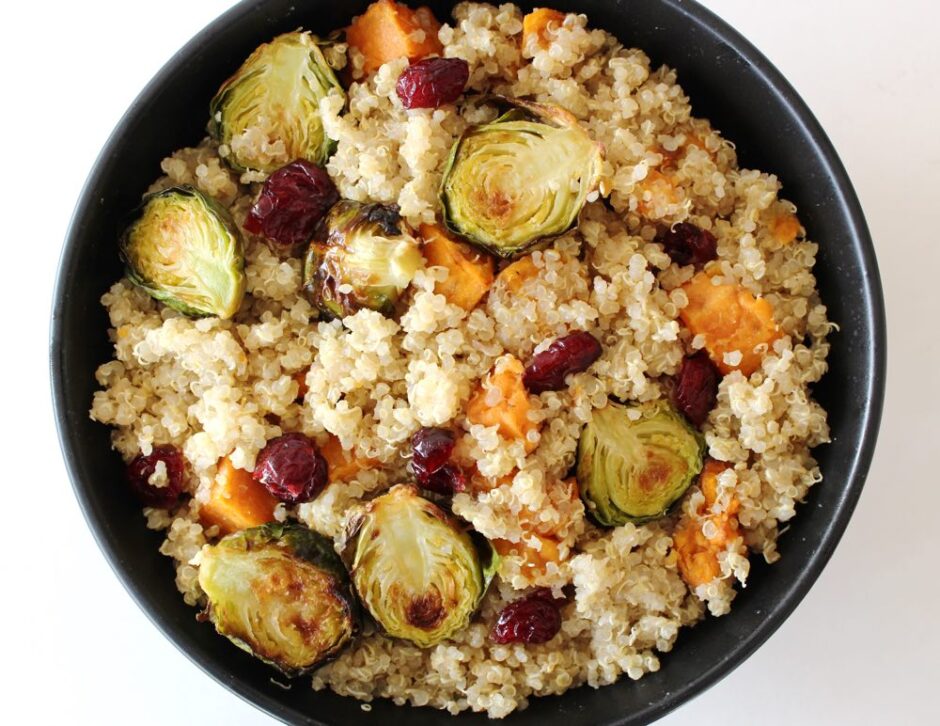
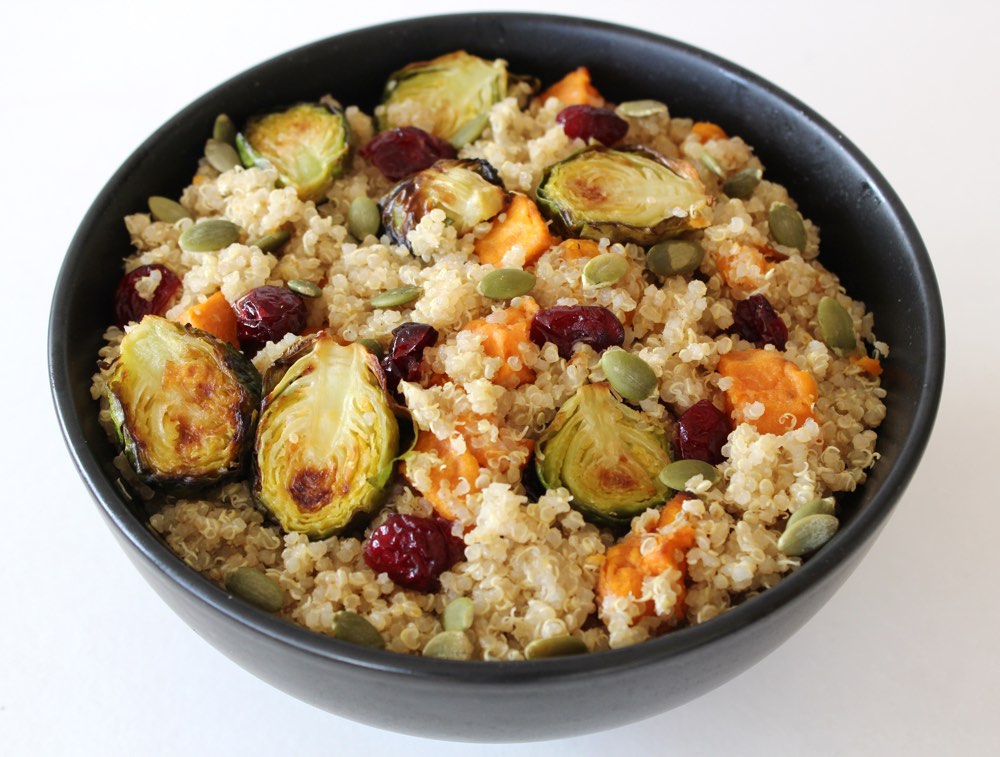
In today’s post, I’m sharing a recipe for a delicious quinoa bowl that’s just perfect for serving this time of year. It features roasted veggies, dried cranberries and crunchy pumpkin seeds, topped with a sweet balsamic glaze. We’ve been enjoying it as a light evening meal, with leftovers served for lunches later in the week. It can even be served cold, and Lucien’s been taking it to school in his lunchbox.

Quinoa Winter Bowl

I must admit that I never used to be a fan of quinoa. I found the texture and flavour of plain quinoa quite strange and not particularly appealing. However, I discovered a couple of key steps that make it much more palatable…

  1. Ensure the quinoa is thoroughly rinsed before cooking to remove the bitter saponin coating.
  2. Flavour the quinoa using seasoning or a dressing.

One of my favourite ways to flavour quinoa is using a combination of toasted sesame oil and sweet white miso. These seasonings not only add a delicious savoury flavour but they also enhance the texture of the grain.

Quinoa has lots of health benefits, so I’m happy that I found a way to really enjoy the grain, rather than just eating it because ‘it’s good for me’!

Quinoa Winter Bowl

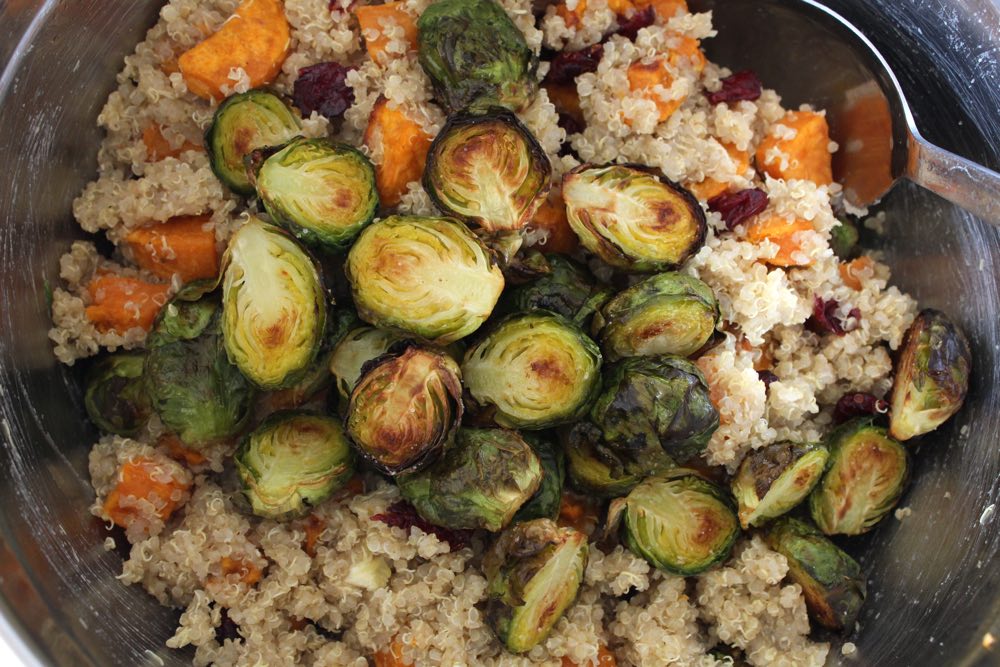
For this Winter quinoa bowl, I use a combination of roasted sweet potato and brussels sprouts. This dish has been a great way to entice Lucien to eat more sprouts. He won’t touch the boiled or steamed varieties, but he’ll happily eat pan-fried or roasted sprouts. One of his favourite sprout recipes is the Brussels Sprout Hash with Balsamic Red Onions & Pecans but I think this one is a close second. Of course, if you’re not a fan of brussels sprouts in any shape or form, feel free to leave them out or substitute with another roasted vegetable.

This bowl is super easy to prepare. While the veggies are roasting, I cook the quinoa and prepare the Balsamic glaze (if using a home-made one rather than shop-bought). Once everything is cooked through, it’s simply a case of mixing the quinoa, veggies, cranberries and pumpkin seeds together.

Quinoa Winter Bowl

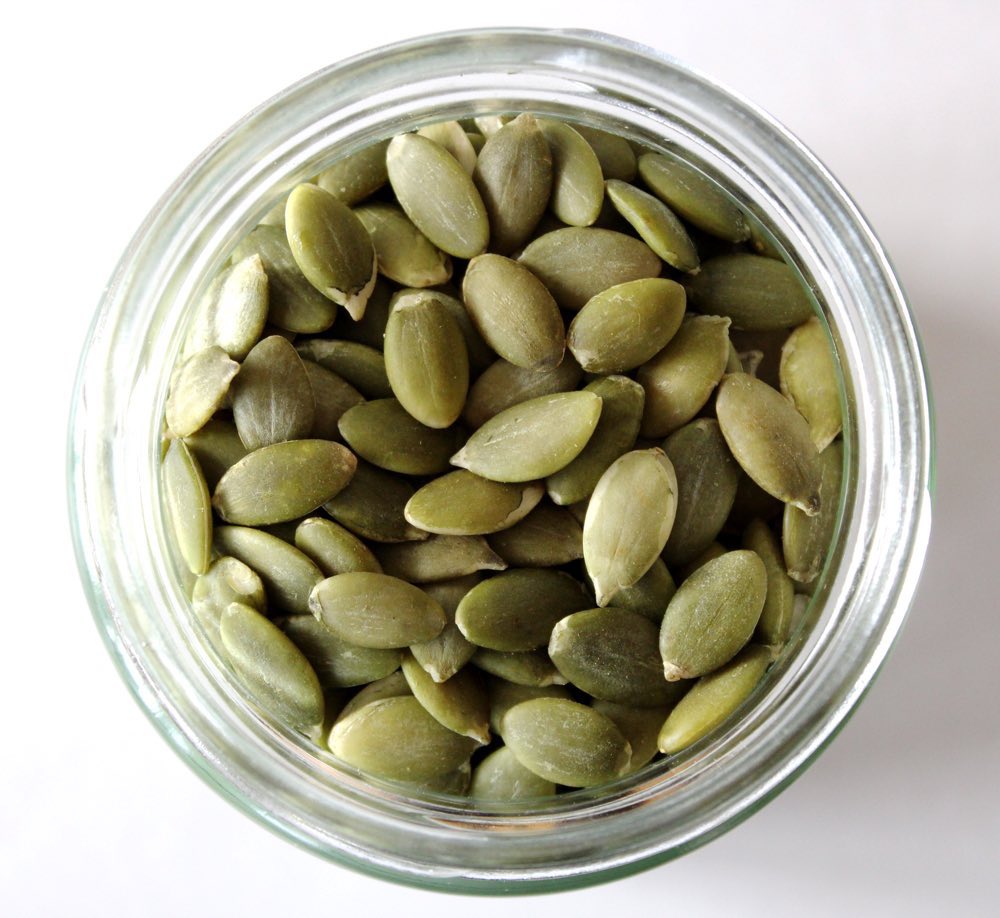
I recently discovered that pumpkin seeds can vary enormously in flavour, size and colour. For this recipe, I used Suma’s organic pumpkin seeds which are smaller, lighter in colour and far tastier than the ones I’d previously bought from a big supermarket. I didn’t need to toast the Suma seeds to improve the flavour as they were tasty raw.

Pumpkin Seeds

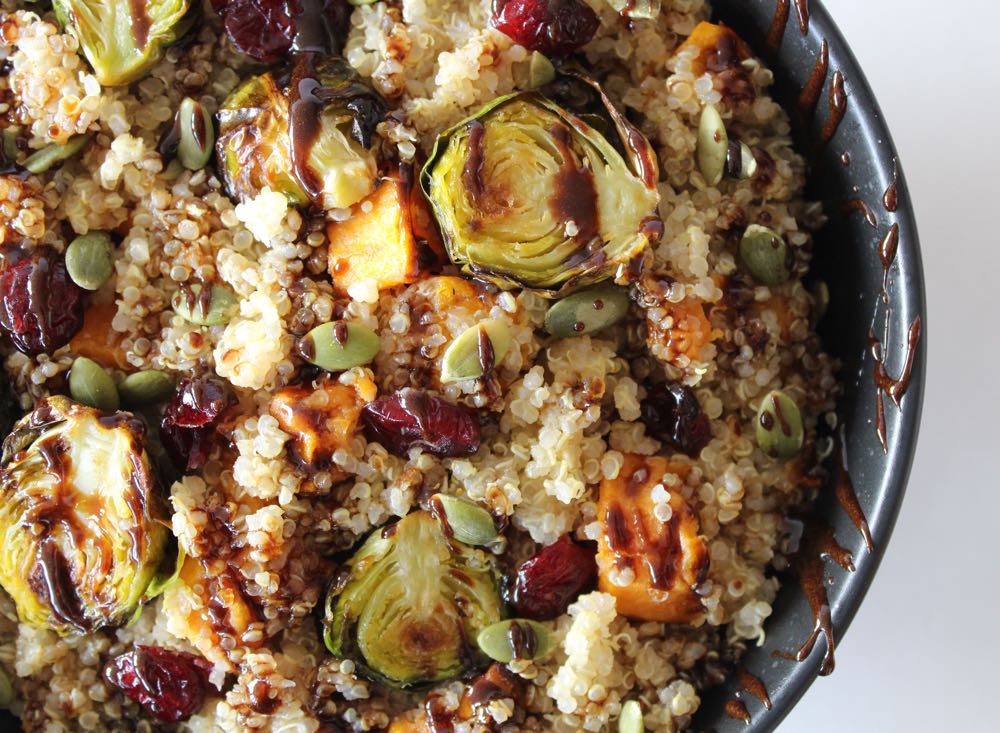
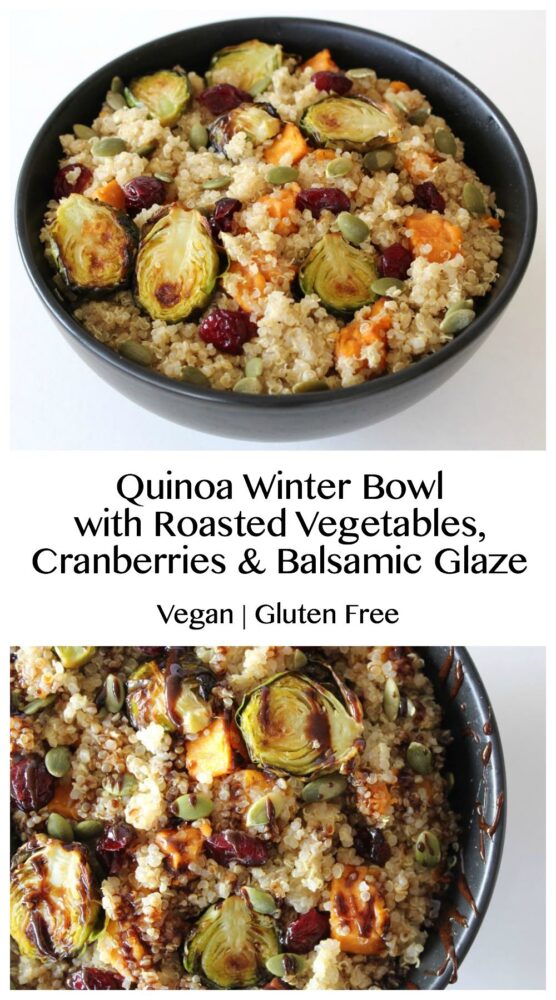
Just before serving, the bowl is dressed with a drizzle of balsamic glaze, which adds a beautifully rich, sweet and tangy flavour. Balsamic glaze is widely available in UK food shops, however if you can’t get your hands on some, it’s easy to make your own. Check out the tips in the recipe below to see how I do it.

This bowl is not only tasty, but it’s packed full of nutrient-rich ingredients, which help to keep us in good health. In particular, this dish is a good source of…
– Protein, Complex Carbohydrates and Fibre
– Vitamins A, B, C & K
– Minerals Zinc, Magnesium, Copper, Manganese, Potassium and Iron
– Antioxidant Phytonutrients, including Glucosinolates, which help boost the immune system and protect against disease

Recipe Card

Quinoa Winter Bowl

Quinoa Winter Bowl with Roasted Vegetables, Cranberries and Balsamic Glaze

This Quinoa Winter Bowl is simple to prepare and is perfect for serving as a light evening meal or lunch. I find it makes a great ‘make ahead’ option and can be warmed through in a frying pan before serving. It can also be served cold and any leftovers make a great addition to lunchboxes.
Hands on time 20 minutes
Total Time 35 minutes
Course Dinner, Lunch
Servings 4

Ingredients
 

  • 500 g / 3 cups sweet potato peeled and diced into small pieces (about 2cm x 2cm x 1.5cm / ¾” x ¾” x ½”))
  • 2 TBSP olive oil divided
  • 16-20 brussels sprouts trimmed and halved lengthways
  • 300 g / 1½ cups quinoa
  • 720 ml / 3 cups water
  • 1 TBSP toasted sesame oil
  • 1-2 TBSP sweet white miso (I used Clearspring Sweet White Miso)
  • 55 g / ⅓ cup dried cranberries
  • 38 g / ¼ cup pumpkin seeds raw or toasted
  • Balsamic glaze for drizzling (See Note 2)
  • Salt and freshly ground black pepper

Instructions
 

  • Pre-heat the oven to 210C (190C fan) / 410F. Line two baking trays with non-stick baking paper.
  • Place the diced sweet potato in a large mixing bowl. Drizzle in 1 TBSP olive oil and stir until thoroughly coated. Transfer the potato to a prepared baking tray and distribute in a single layer. Season with salt. Roast for 30 minutes, or until cooked through.
  • Tip the brussels sprouts into the mixing bowl. Drizzle in 1 TBSP olive oil and stir through. Transfer the sprouts to the second baking tray. Arrange the sprouts cut side facing down. Season with salt (and black pepper, if desired).
  • When the sweet potatoes have roasted for 10 minutes, add the sprouts to the oven. Roast for 15 minutes, then flip them over and roast for a further 5 minutes, or until browned on both sides.
  • While the veggies are roasting, prepare the quinoa. First, rinse the quinoa (see Tip 1 below), then thoroughly drain and transfer to a saucepan. Add 3 cups water. Bring to the boil, then reduce the heat to low, cover with a lid and simmer for 15 minutes, or until the water has been absorbed and the quinoa is fluffy. Remove from the heat and leave to rest, covered with a lid, for 5 minutes. Drizzle in 2 tsp toasted sesame oil and stir through with a fork. Add 1-2 TBSP white miso and stir through until the quinoa is coated. Taste test and add more sesame oil/white miso if desired.
  • Tip the quinoa into the mixing bowl. Add the roasted veggies, cranberries and pumpkin seeds, and stir through. Transfer to bowls. Just before serving, add a drizzle of balsamic glaze.
  • This dish will keep for up to five days in the refrigerator.

Notes

Tip 1: To rinse quinoa, place it in a fine mesh sieve and rinse under cold running water, agitating it with your fingers for a couple of minutes.
Tip 2: If there is no shop-bought balsamic glaze on hand, I make my own by simmering ⅓ cup balsamic vinegar and 1 TBSP coconut sugar in a small pan, stirring from time to time. As soon as it starts to thicken, I remove it from the heat (it continues to thicken as it cools). I find this home-made version is best used immediately.
Keyword Dairy-Free, Easy Vegan Meals, Gluten-Free, Lunchbox Ideas, Quinoa, Vegan, Vegan Dinners, Vegan Lunch
Tried this recipe?Let us know how it was!

Pin for later ⬇️

Quinoa Winter Bowl

This recipe is being shared with the Suma Blogger’s Network. Big thank you to Suma for supplying the following products used in this recipe…

– Suma Organic Quinoa
– Suma Organic Pumpkin Seeds
– Clearspring Sweet White Miso
– Meridian Organic Toasted Sesame Oil
– Aspall Organic Balsamic Vinegar

If you make this Quinoa Winter Bowl, I’d love to hear your feedback and any suggestions for adaptations! Tag your photos with #bitofthegoodstuff on social media – I always love to see your creations! You can also connect with me on my social media channels here: Instagram, Facebook, Pinterest.   

With love,

Sharon xx
Lemon Berry Crumble Slice (Dairy-free / Egg-free / Vegan)

Jump to Recipe

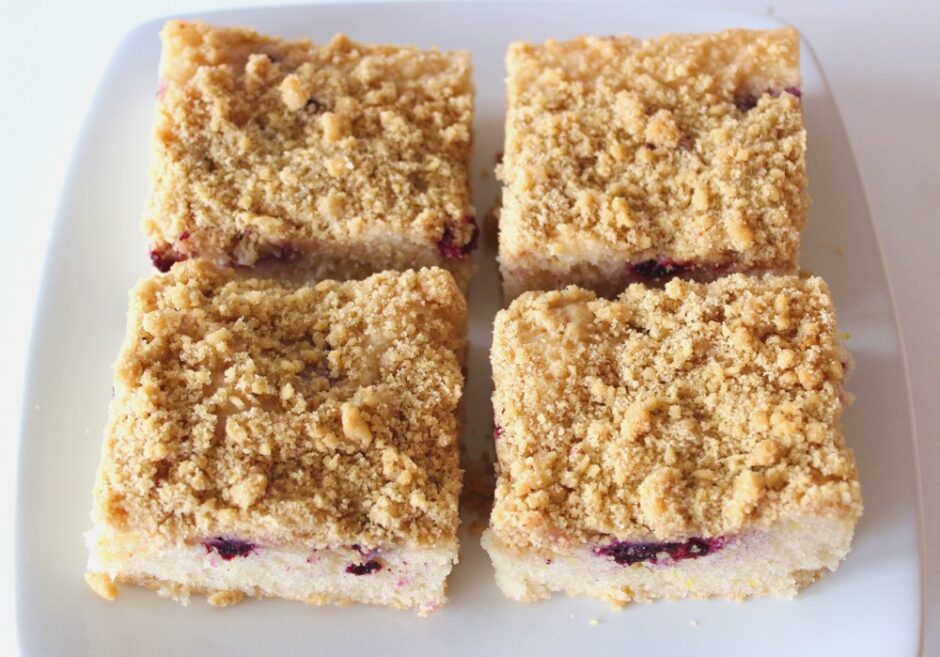
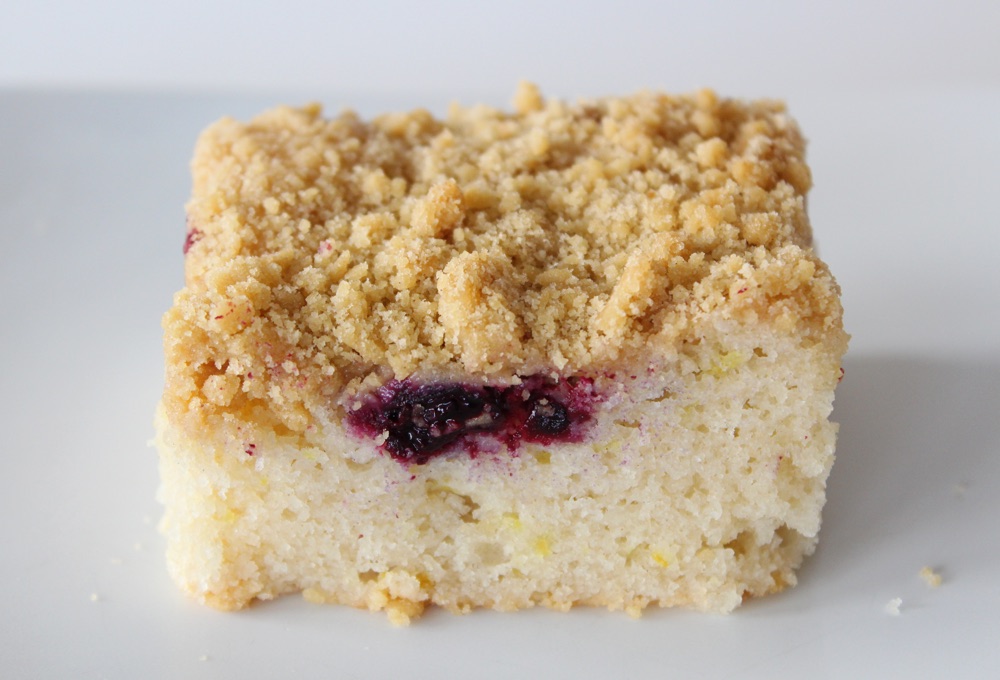
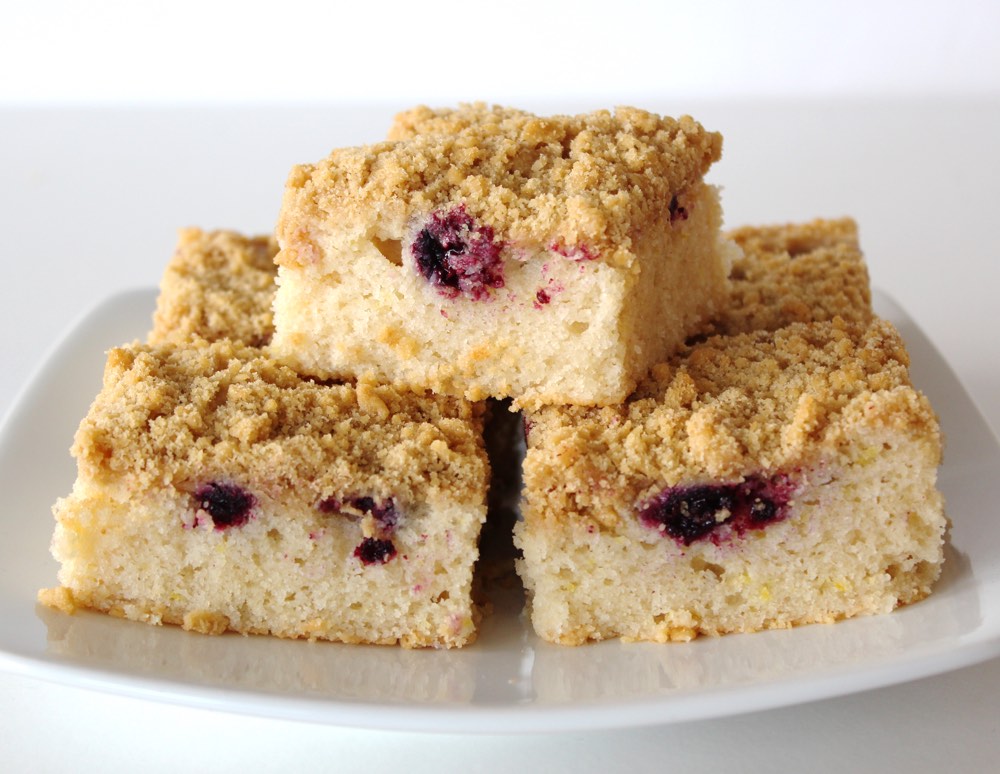
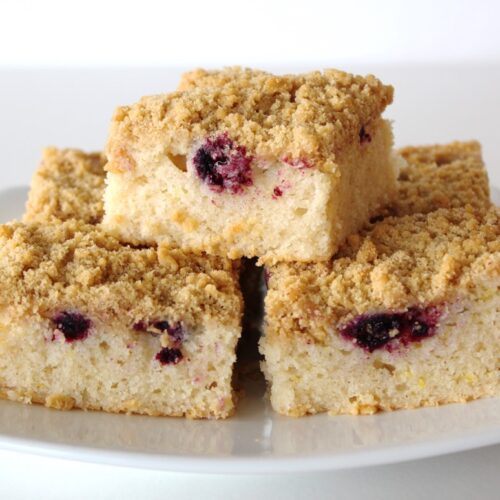
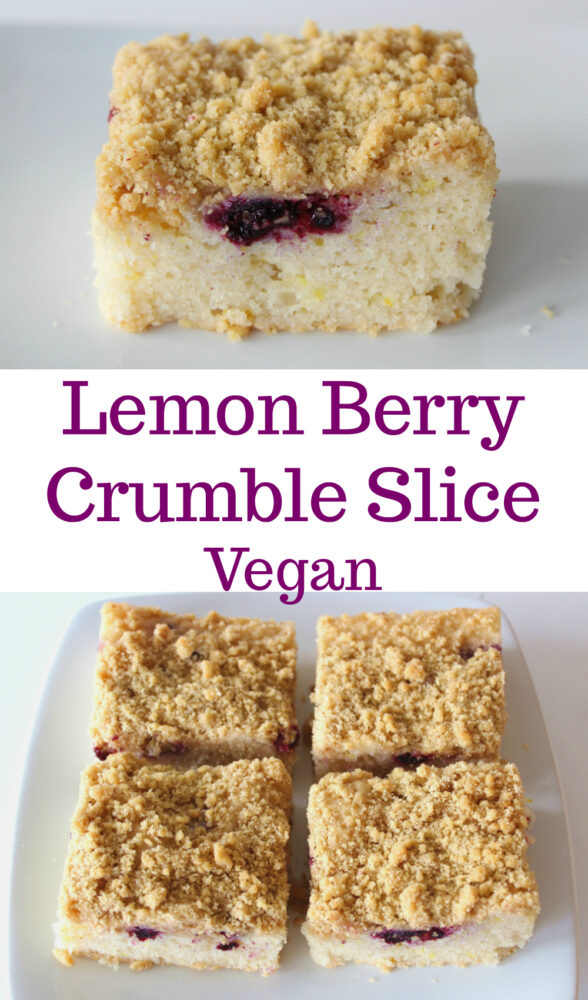
In today’s post, I’m sharing a recipe for a delicious baked treat – Lemon Berry Crumble Slices. These slices consist of a fluffy lemon sponge, studded with juicy berries and topped with crumble. They use basic pantry ingredients and are simple to make, yet they’re bound to impress your family and friends!

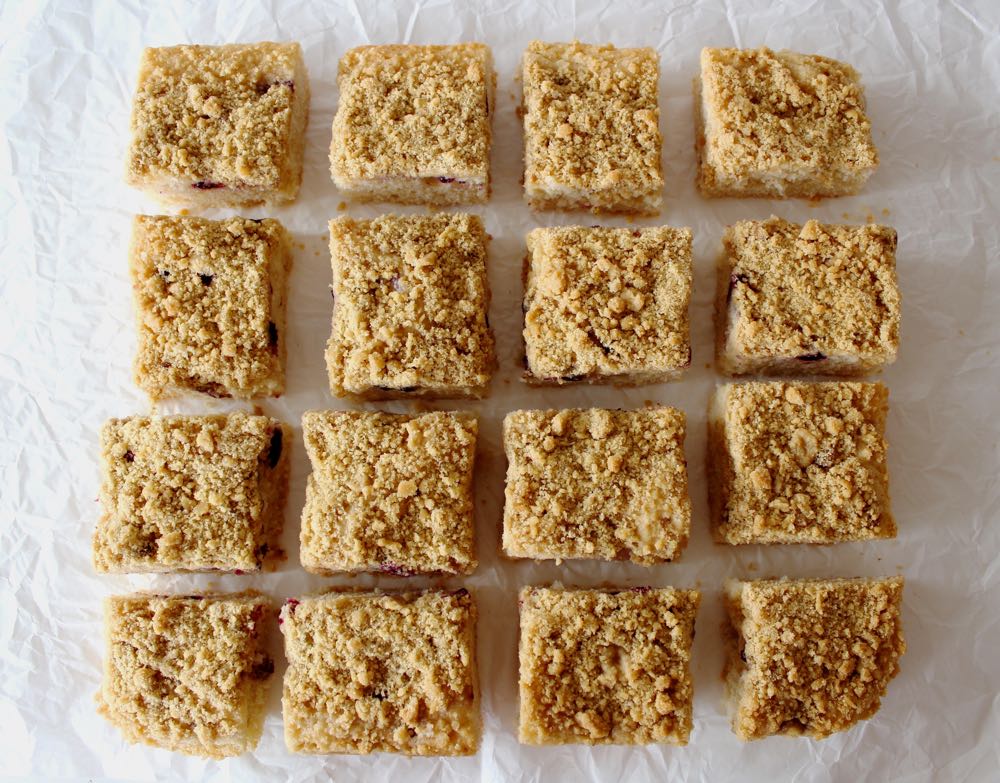
Vegan Lemon Berry Crumble Bar

Vegan Lemon Berry Crumble Bar

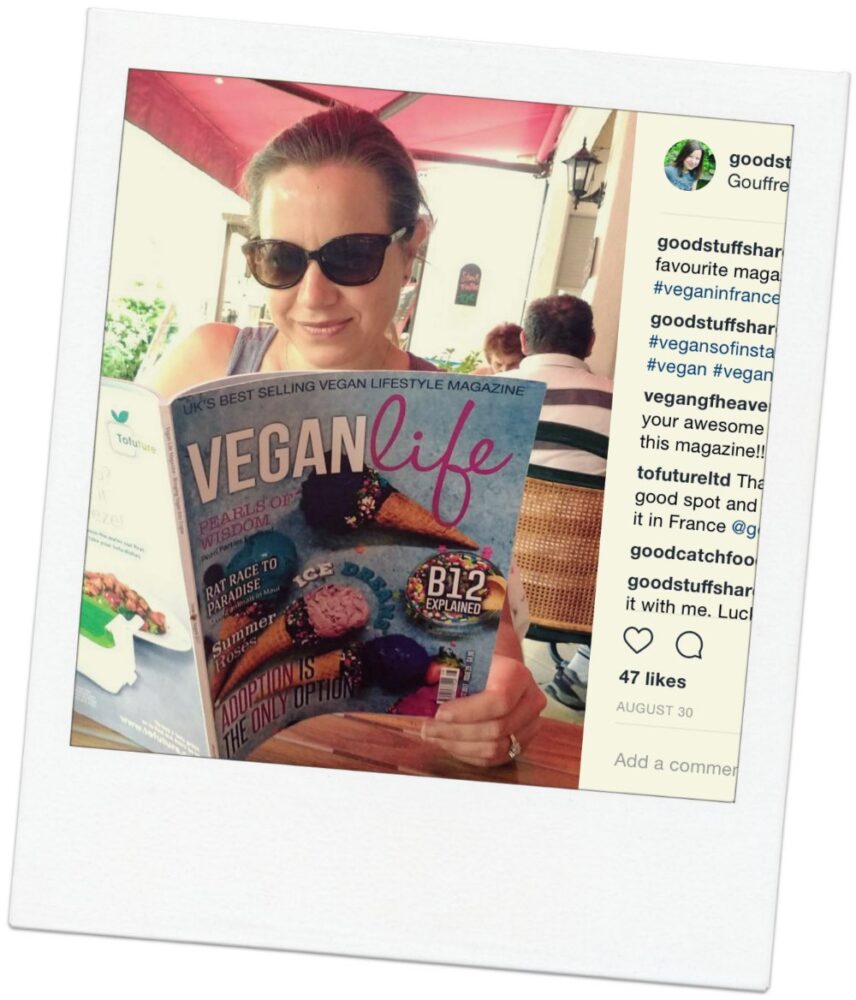
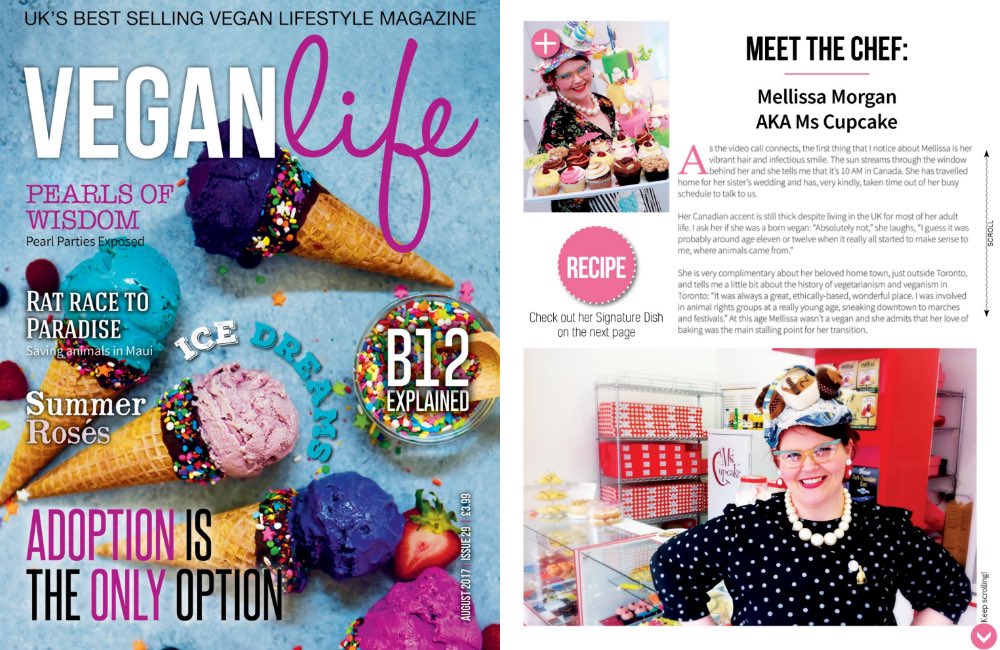
The August edition of the Vegan Life magazine landed on my doorstep just before we set off on our family summer vacation, so I tucked it into my luggage and looked forward to reading it when we arrived in the Dordogne.

Vegan Life magazine

One of the first articles that caught my eye was an interview with Mellissa Morgan (aka Ms Cupcake). Canadian born, Mellissa now lives in London and runs the infamous Ms Cupcake bakery in Brixton. I love Mellissa’s kooky, fun style and vivacious character. Whenever I see photos of her (especially in those wacky cupcake hats!), they always bring a smile to my face.

Vegan Life Issue 29

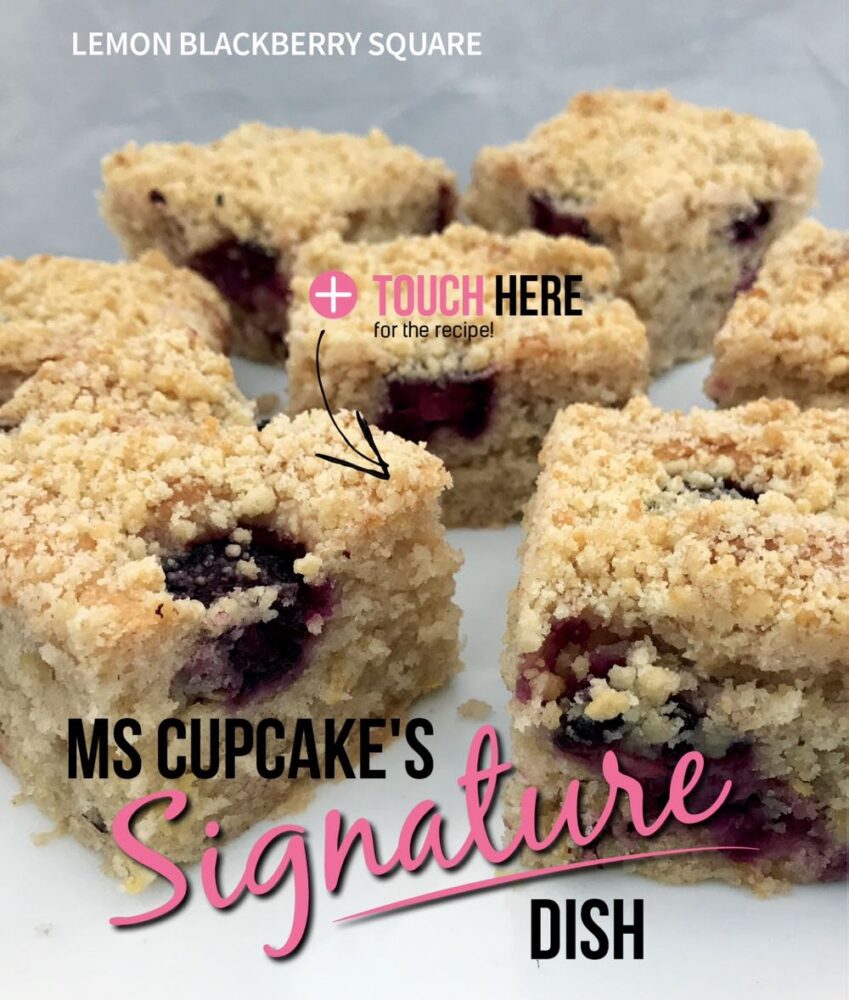
Along with the interview, Mellissa also shares her Signature Dish… the Lemon Blackberry Square. It sounded delicious and, since I’d never tried a crumble-topped sponge before,  I was intrigued to find out how it would taste. I bookmarked the page and when we arrived back in England, I headed into the kitchen and got baking.

Vegan Life Ms Cupcake Signature Dish

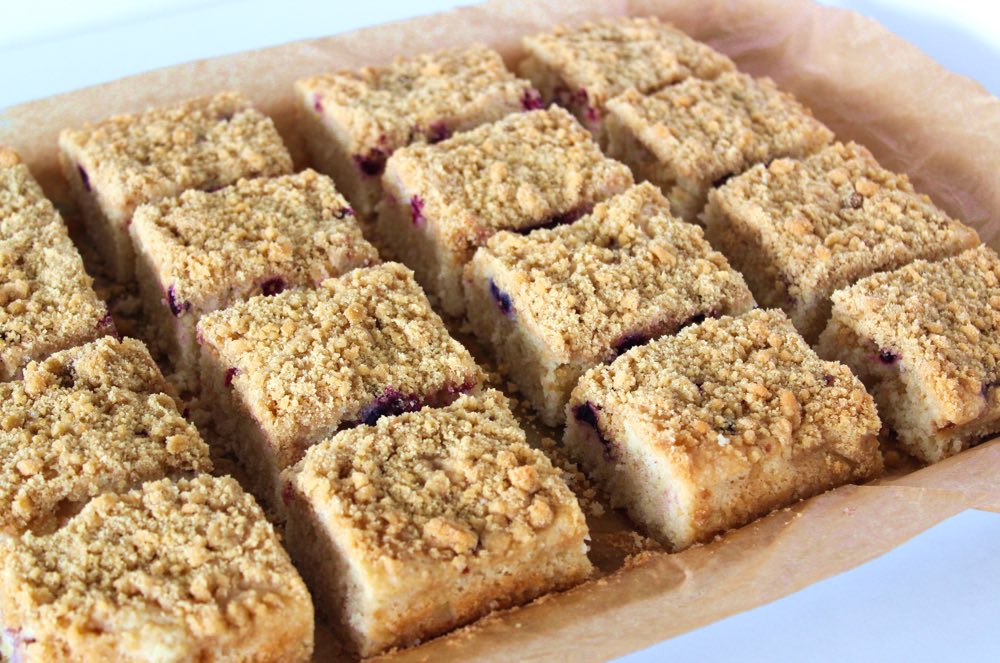
This cake is baked in a large rectangular pan; what we would call a ‘Traybake’ here in the UK. (I’m not sure if they’re called the same elsewhere).  I love traybakes as they’re a convenient way to bake a large amount of cake in one go, so perfect for parties, buffets, cake sales, or when you want to stock the freezer with cake ready for friend and family visits.

Vegan Lemon Berry Crumble Bars

I’ve made this traybake twice already this month, and it’s been a huge hit with everyone that’s tried it. The sponge layer is light and fluffy, with a beautiful, zesty lemon flavour. I would never have thought of putting crumble on top of sponge, but it works really well, especially with that layer of juicy berries in-between. The first time I made the cake, I didn’t feel that there was quite enough berries so second time round, I increased the quantities. Also, on Mellissa’s suggestion, I doubled the quantity of crumble. Like her, I’m a crumble-lover, and this was definitely a good move! Below, I share Mellissa’s recipe with my light adaptations.

Vegan Lemon Berry Crumble Bar

Recipe Card

Lemon Berry Crumble Slice (Dairy-free / Egg-free / Vegan)

This recipe has been lightly adapted from Ms Cupcake’s Signature Dish published in Vegan Life magazine Issue 29. It’s a delicious treat, consisting of a zesty lemon sponge studded with juicy summer fruits (berries, cherries, blackcurrants) and topped with crumble. It yields a large quantity of cake, so perfect for parties, buffets, cake sales or when you want to stock your freezer with cake ready for friend and family visits.
Hands on time 20 minutes
Total Time 2 hours 30 minutes
Course Afternoon Tea, Treat
Servings 20

Ingredients
 

Crumble mix
  • 200 g / 1½ cups plain (all-purpose) or self-raising flour
  • 100 g / ½ cup brown or demerara sugar
  • 100 g / ½ cup dairy-free spread / vegan butter

Cake mix

  • 450 g / 3¼ cups self-raising flour
  • 200 g / 1 cup unrefined sugar (I used golden caster sugar)
  • zest of 2 unwaxed/organic lemons
  • tsp bicarbonate of soda (baking soda)
  • 1 tsp vanilla extract
  • 300 ml / 1¼ cups soya milk
  • 200 ml / 1 cup sunflower oil or other flavourless oil
  • 80 ml / ⅓ cup freshly squeezed lemon juice
  • 145 g / 1 cup fresh or frozen blackberries, blackcurrants and/or cherries. (I used Sainsbury’s Frozen Black Forest Fruits)

Instructions
 

  • Line a 33cm x 23cm (13” x 9”) baking pan with non-stick baking paper. Preheat the oven to 180C (160C fan) / 350F.
  • Make the crumble: In a bowl, mix together the flour and sugar. Rub in the dairy-free spread/vegan butter using your finger tips. Set to one side.
  • In a separate bowl, add the flour, sugar, lemon zest and bicarbonate of soda, and stir through to combine.
  • Add the vanilla extract, soya milk, oil and lemon juice to the dry ingredients and stir until thoroughly combined (but do not over mix). Spoon the mixture into the prepared tin.
  • Slice any large berries into halves or quarters. Distribute the fruit evenly in the pan and lightly press them into the cake batter.
  • Sprinkle the crumble evenly on top.
  • Bake for 30 minutes, or until a skewer inserted through the middle comes out clean.
  • Leave the cake in the tin until completely cool, then slice. I divide mine into 20 slices, measuring 7cm x 6cm.
  • Stored in the refrigerator, the cake will keep for up to 5 days. It also freezes well.
Keyword Dairy-Free, Egg-Free, Vegan Baking, Vegan Cake
Tried this recipe?Let us know how it was!

Pin for later ⬇️

Vegan Lemon Berry Crumble Bar

 Big thank you to Ms Cupcake and Vegan Life for sharing this lovely recipe 💜

Happy baking everyone!

With love,

Sharon xx