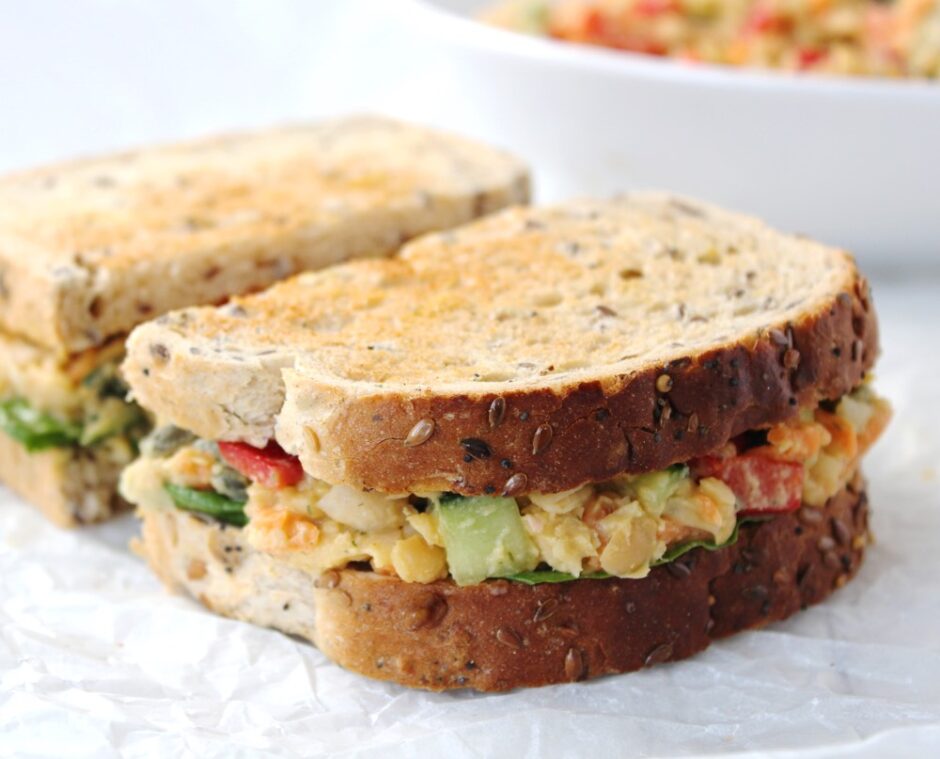
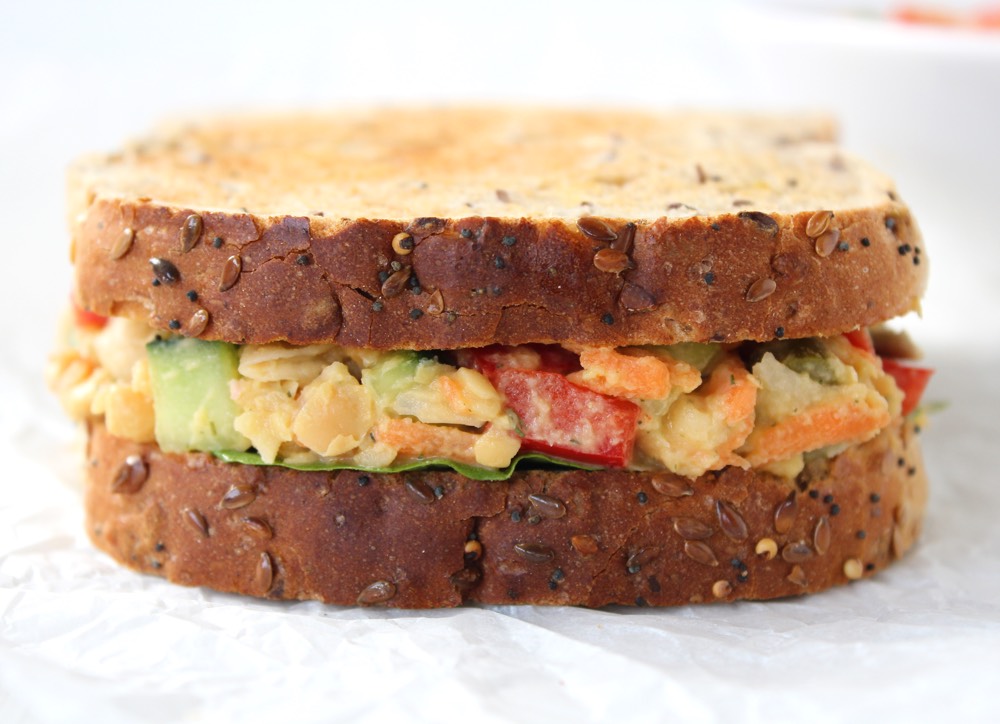
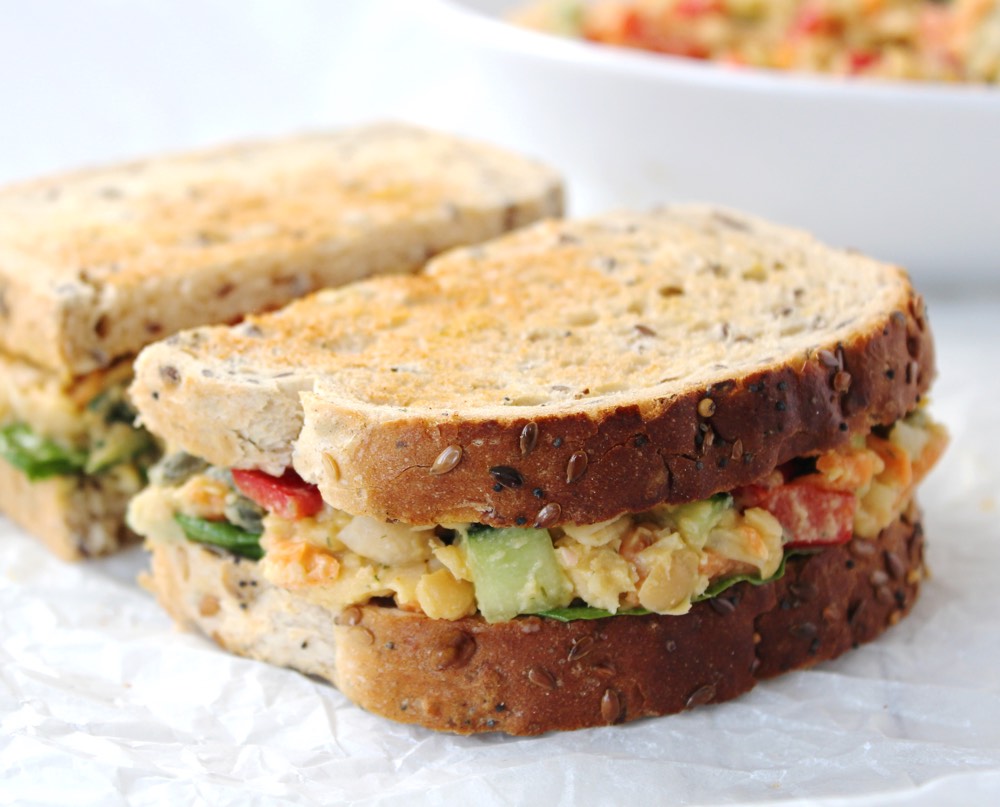
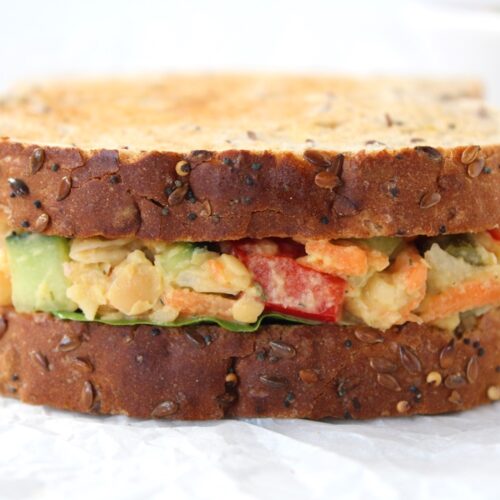
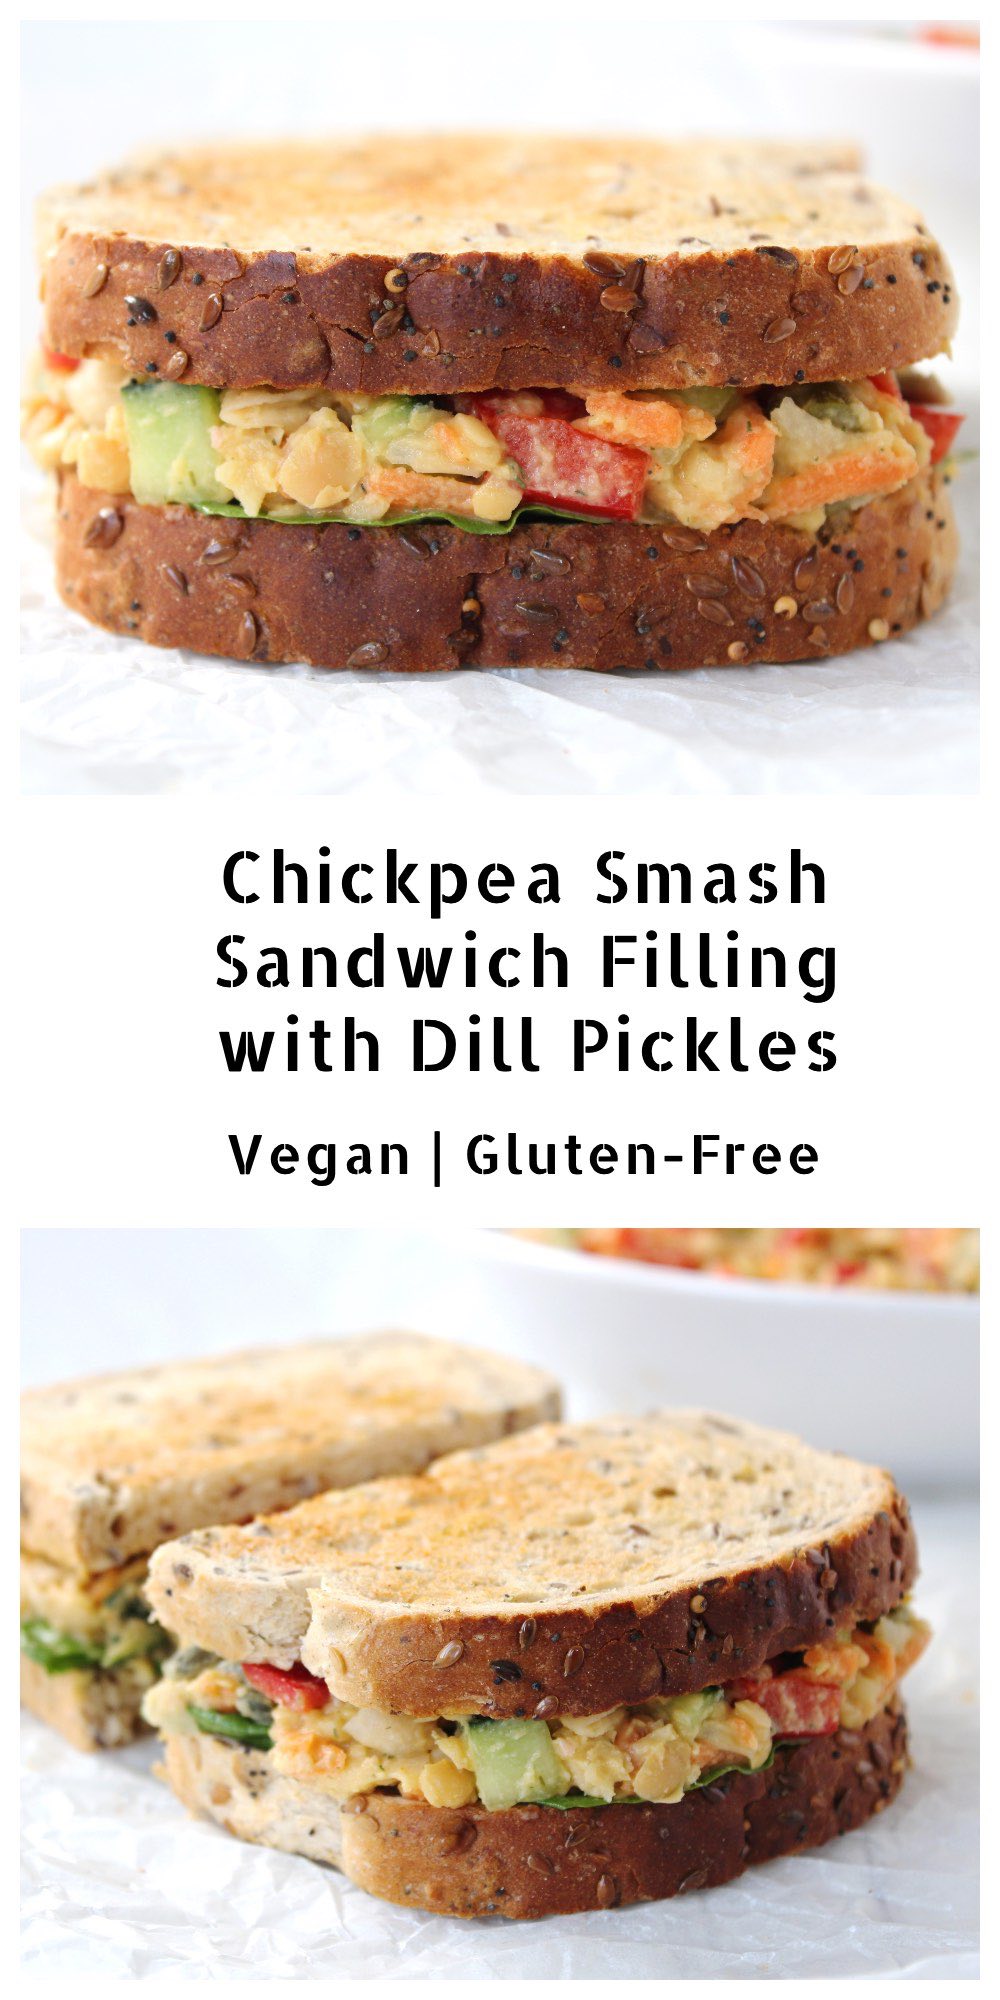
In today’s post I’m sharing a sandwich filling that is tangy, crunchy, creamy and oh so delicious! It reminds me of the Heinz Sandwich Spread that I used to love as a kid in the 80s, but this home-made version is way fresher, tastier and healthier too!
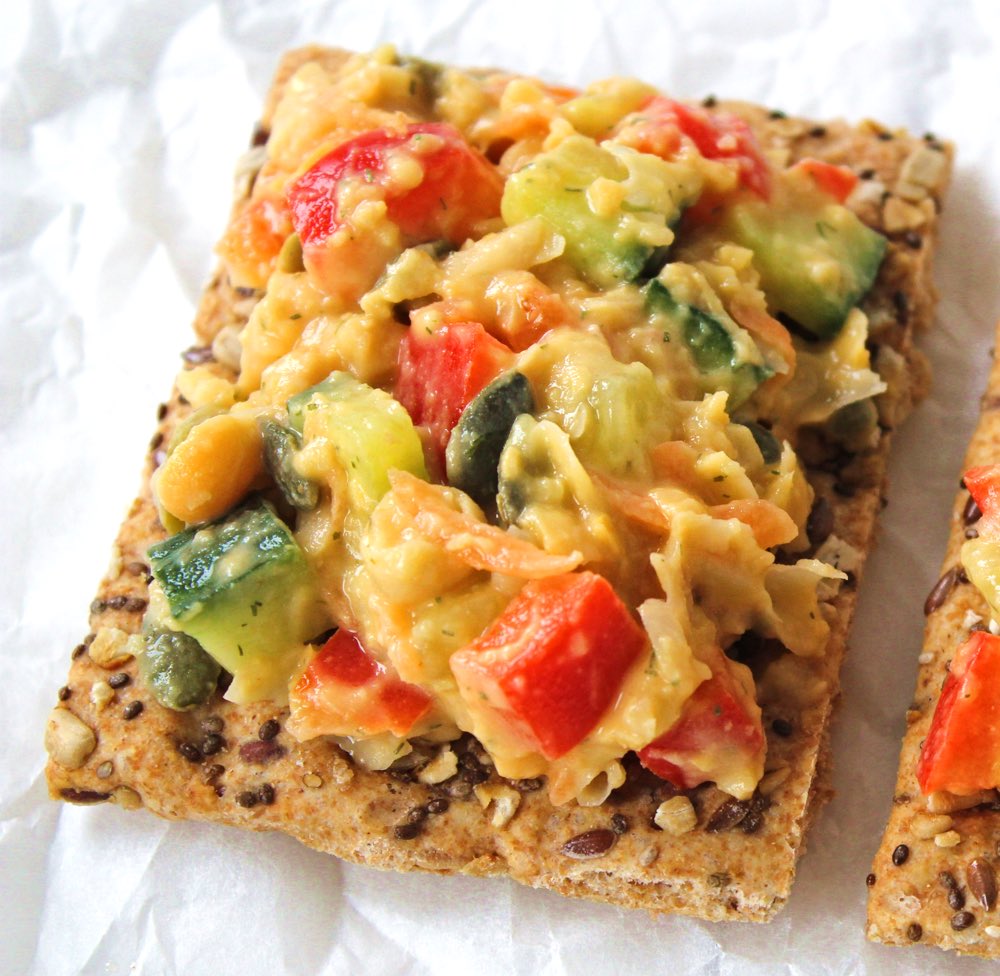
If you’re looking for a new sandwich to liven up school or work lunchboxes, I’d definitely recommend giving this recipe a try. It would also be great for picnics and buffets. As well as a sandwich filling, you can also use it as a topping for crackers. Perhaps even as a jacket potato topper too?
It’s really easy to make and takes around 12 minutes to prepare a large bowl, which will fill about five sandwiches. I tend to make one batch of chickpea smash at the start of the week, which we then use on the following days for Lucien’s school sandwiches, as well as our own.
The inspiration for today’s recipe was this Garden Veggie Chickpea Salad Sandwich from Jenn @ Peas and Crayons which I came across back in 2017, and have been making adapted versions of ever since. Jenn, in turn, credits Angela from Oh She Glows for inspiring her recipe, so it sounds like Angela is the original recipe creator. I’d like to thank both Jenn and Angela for inspiring the recipe I’m sharing today and for giving my family so much sandwich joy these past couple of years!
This recipe is highly versatile, so feel free to switch up the ingredients. I would definitely recommend keeping the dill pickles in though, as they give this recipe its signature tangy, crunchy bite. In England, dill pickles are called ‘gherkins’. It’s such a funny name isn’t it? Even funnier, my mum still calls them by their old slang name ‘Wallies’. Personally, I prefer to call them dill pickles as it sounds much more appealing to me than gherkins or wallies. How about you? What do you call them?
Recipe Card
Prevent your screen from going dark
Chickpea Smash Sandwich Filling with Dill Pickles
This tangy, crunchy, creamy chickpea smash is perfect as a sandwich filling for school or work lunchboxes, as well as picnics and buffets. The quantity below fills about five sandwiches.
1small red bell pepper or romano pepperdeseeded and finely diced
75g/ ½ cup dill pickles or gherkinssliced
2TBSPpumpkin seeds
4TBSPvegan mayonnaise*
1tspDijon mustard
¼tspdried dill
pinchof salt
Instructions
Placed the drained chickpeas in a large bowl and roughly mash with a potato masher.
Add all the remaining ingredients and stir through until fully combined. Taste test and adjust the seasoning to suit.
Stored in an airtight container in the fridge, this chickpea smash will keep for three days.
Notes
* I use this Home-Made Sweet Chilli Mayonnaise It’s so cheap and easy to make! If you prefer to use a ready-made mayonnaise, both Vegenaise and Hellmans Vegan Mayo are now available in many of the major supermarkets in the UK, as well as the independent health food shops.
N.B. The above values are estimates. The actual nutritional values will vary depending on the brands and ingredients used.
Pin for later ⬇️
If you make this Chickpea Smash, I’d love to hear your feedback and any suggestions for adaptations! Tag your photos with #bitofthegoodstuff on social media – I always love to see your creations! You can also connect with me on my social media channels here:Instagram, Facebook, Pinterest.
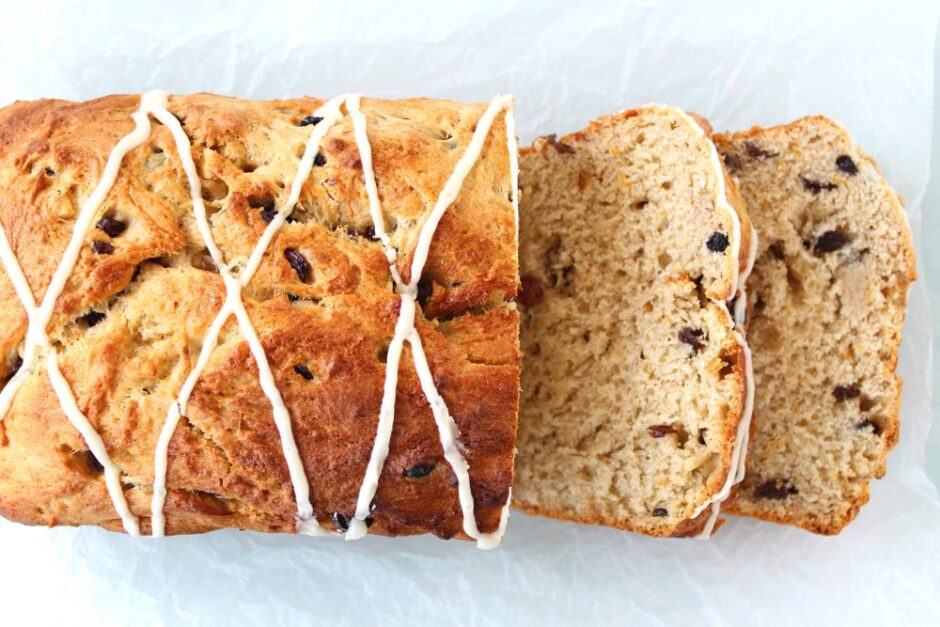
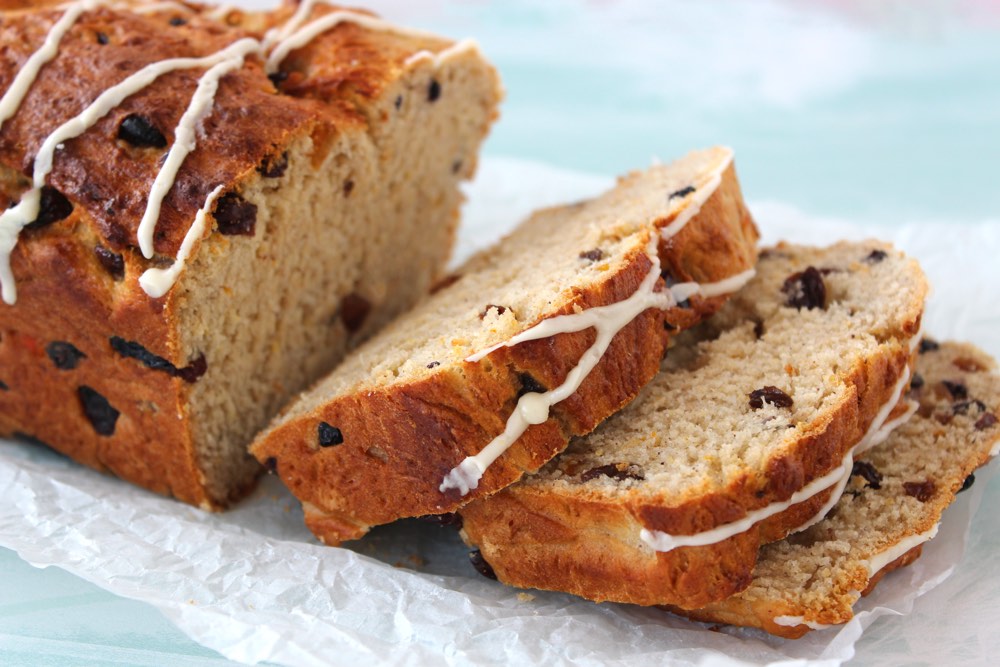
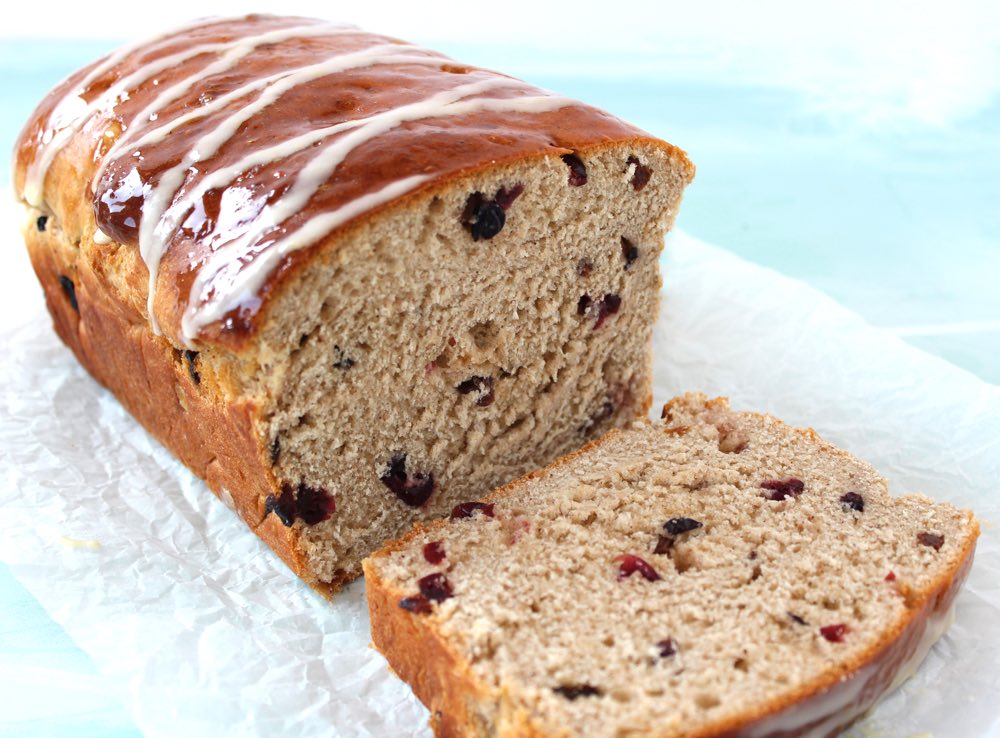
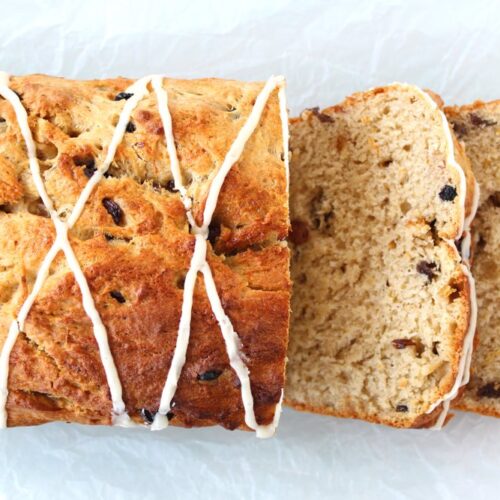
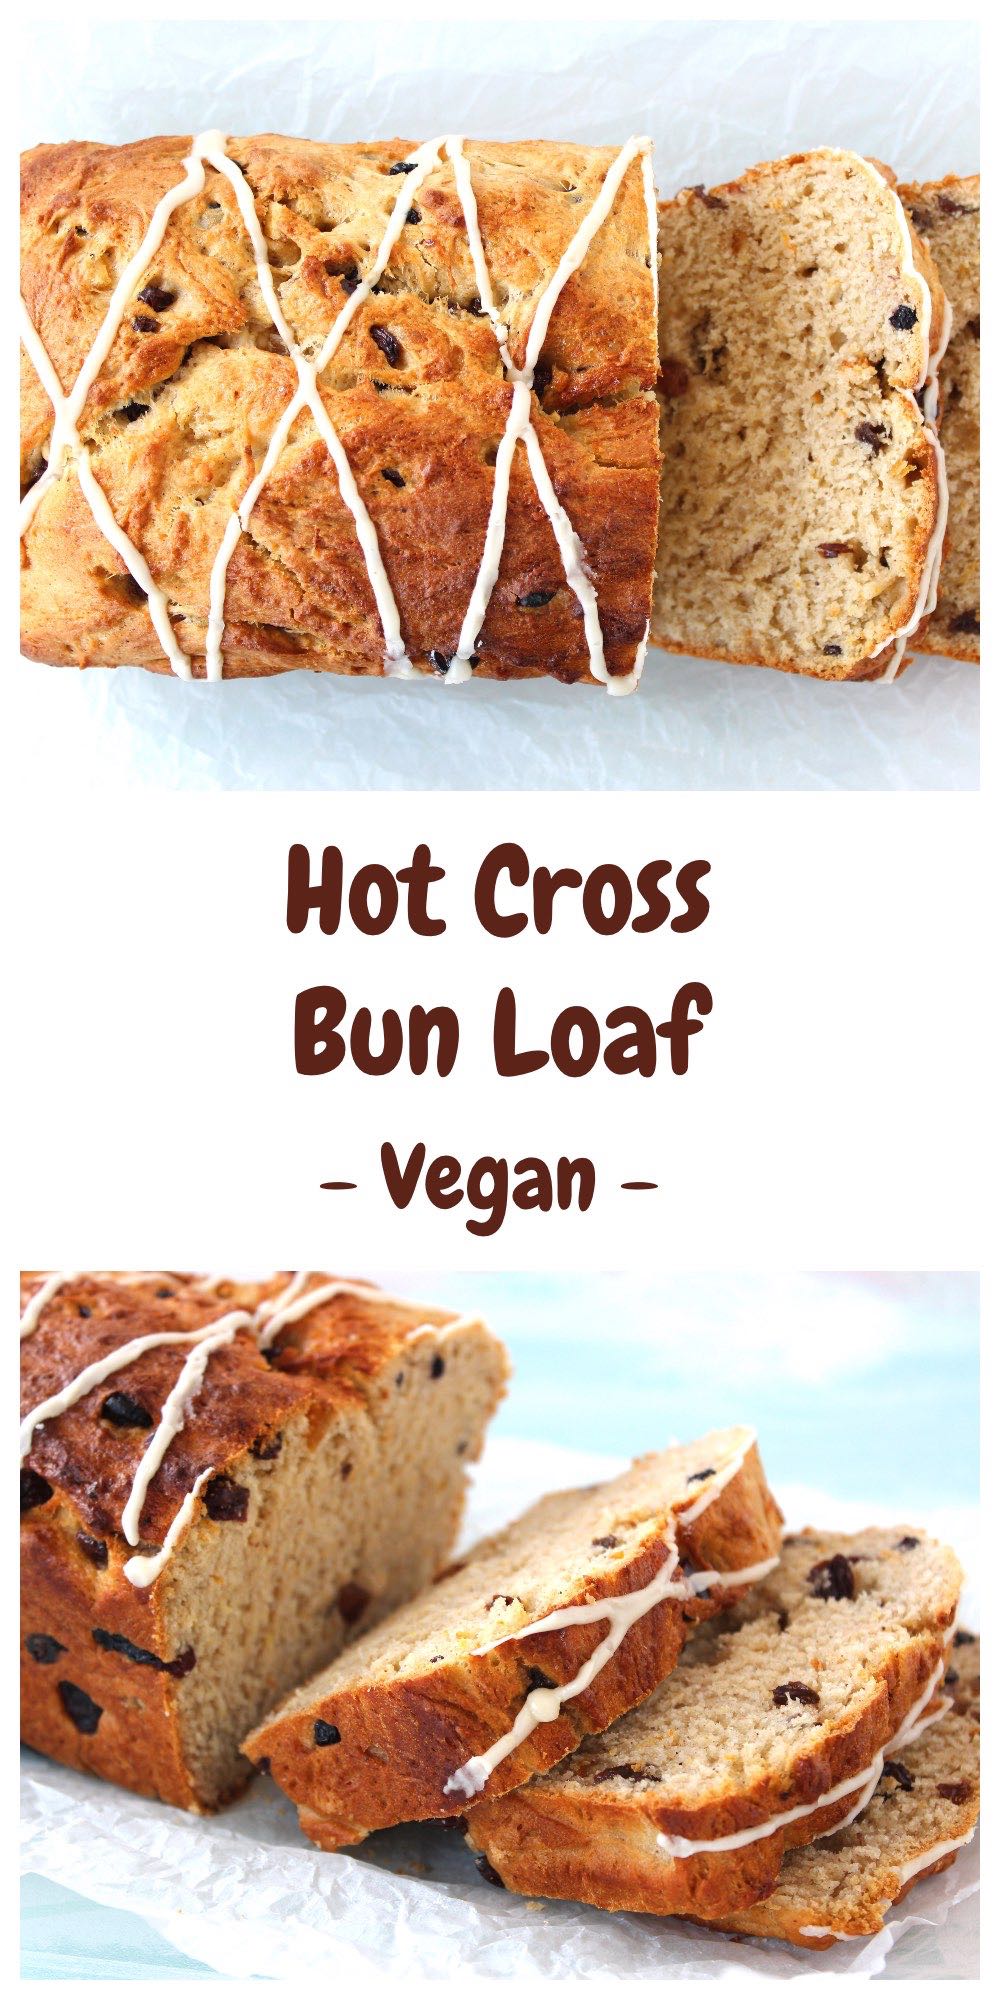
The recipe I’m sharing today is a twist on a traditional Easter favourite … it’s a Hot Cross Bun Loaf! This spiced fruity loaf is perfect for sharing with friends and family over the holidays. I’ve made three loaves already this week and no doubt I’ll be baking more in the lead up to the bank holiday weekend. It sure is a crowd pleaser. Happy holidays everyone!
* Disclaimer: Vegan Life kindly sent me a complimentary copy of this magazine
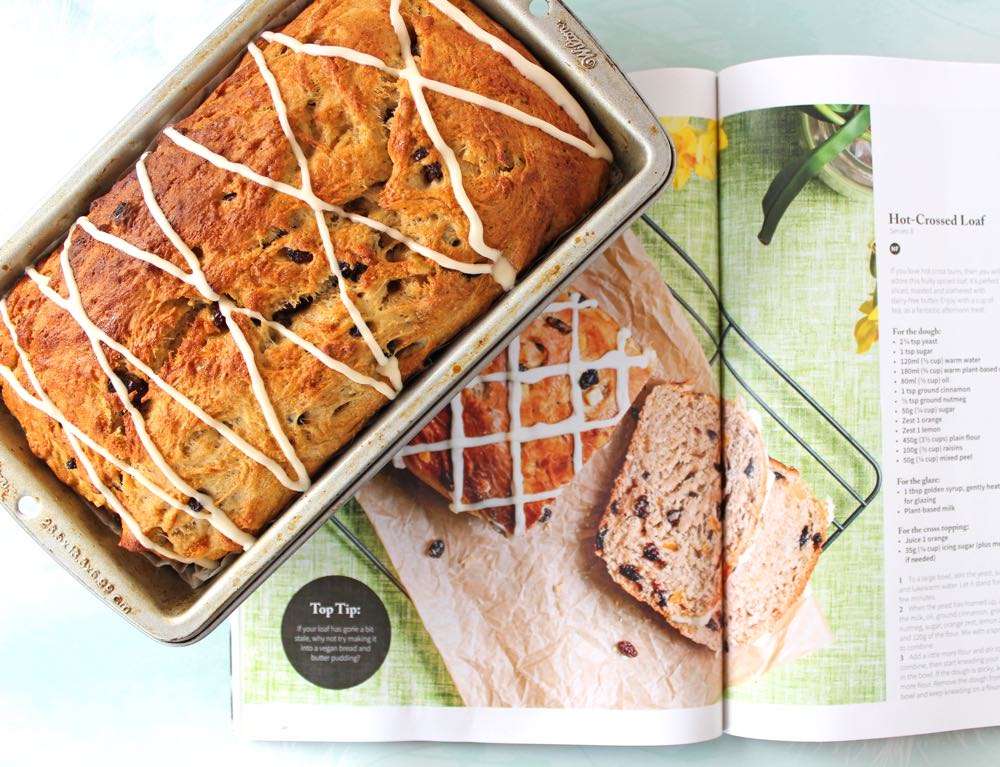
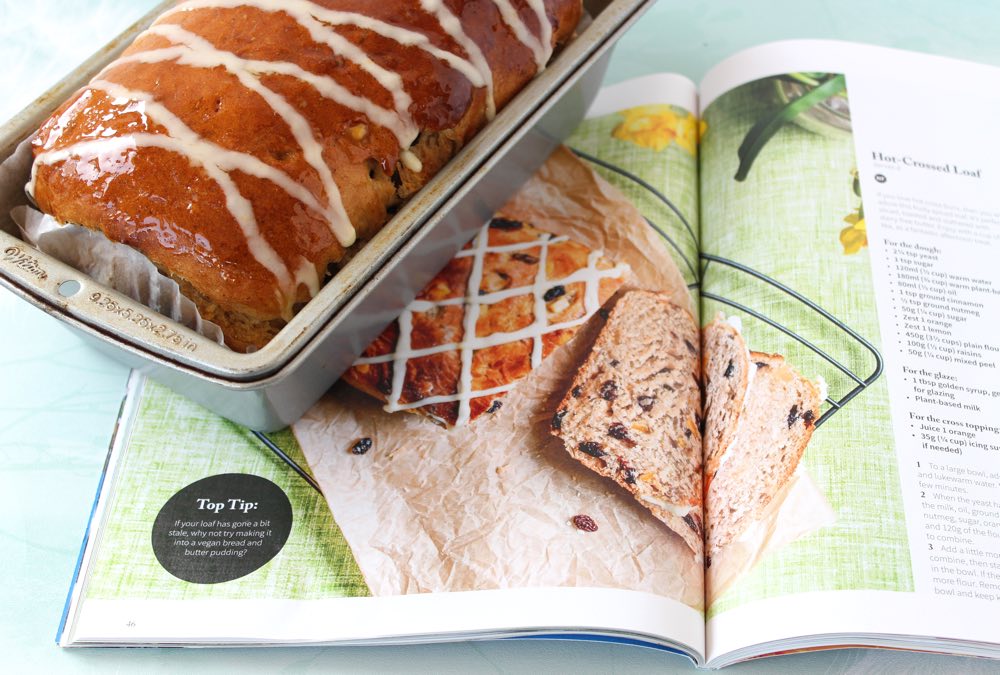
It was the April edition of the Vegan Life magazine that inspired today’s recipe. I’m a massive fan of hot cross buns, so when I spotted the ‘Hot-Crossed Loaf’ on p47, I knew that I had to give it a try.
I was so impressed with how it turned out. There is something really satisfying about baking bread from scratch. It doesn’t take a great deal of effort either. The main challenge is being patient while the dough proves. It’s definitely worth the wait though!
I did tweak the original recipe a little to suit my personal tastes. Instead of nutmeg and the zest of an orange and lemon, I used a tablespoon of mixed spice and added a little salt too, to make the flavours pop. My family was amazed at how similar the loaf tasted to hot cross buns!
I also played around with the glaze topping. Inspired by my Hot Cross Bun recipe (which I posted way back in 2014!), I tried topping one of the loaves with a glaze made of unrefined sugar and orange juice. Though a little sticky on the fingers, the glaze made the loaf beautifully shiny and tasted delicious too. In the recipe below, I’ve given the original glazing option, then added the instructions for my ‘super shiny’ glaze in the Notes section.
Recipe Card
Prevent your screen from going dark
Hot Cross Bun Loaf
A twist on the traditional Easter favourite, this spiced fruity loaf is perfect for sharing with friends and family over the holidays. It’s delicious served freshly baked with a cuppa, or toasted and topped with vegan butter and jam.Recipe lightly adapted from ‘Hot Crossed Loaf’ in Vegan Life magazine, Issue 49
180ml/ ¾ cup lukewarm plant-based milk(I used soya milk)
75ml/ ⅓ cup neutral-flavoured oil(I used rapeseed (canola) oil)
1TBSPmixed spice(or substitute with pumpkin spice)
1tspground cinnamon
½tspsalt
50g/ ¼ cup unrefined sugar
500g/ 3½ cups plain (all-purpose) flour
135g/ ¾ cup mixed dried fruit(I used raisins, candied orange peel and dried cranberries)
For the glaze:
1TBSPmaple syrup(or for a super shiny glaze, see Notes below)
For the cross topping:
35g/ ¼ cup icing (confectioners) sugar
½TBSPfruit juice
2-3drops of orange extract
Instructions
Add the yeast, 1 tsp sugar and lukewarm water to a large mixing bowl and hand whisk to combine. Leave for a few minutes.
When the yeast has frothed, add the lukewarm milk, oil, mixed spice, ground cinnamon, salt and sugar to the bowl. Hand whisk to combine.
Add the flour, a little at a time, stirring with a spoon until it forms a dough. Transfer the dough to a floured surface and knead for about 4 minutes adding more flour, as needed, until it is smooth and no longer sticky.
Transfer the dough to a clean, lightly oiled bowl, cover with a tea towel and leave in a warm place for an hour, or until the dough has doubled in size. (If your house is cold, cover the bowl with a piece of foil and place in the oven at a very low temperature (40C).
Add the dried fruit and knead to distribute it as evenly as possible through the dough. Grease and line a large (3lb) loaf tin with non-stick baking paper (or use a non-stick loaf liner). Place the dough in the prepared tin and cover with a tea towel. Leave to prove in a warm place for another 30 minutes.
When the dough is almost ready, pre-heat the oven to 200C (180C fan) / 400F.
Brush the top of the dough with maple syrup (or skip this step if you’ve opted for the super shiny glaze option – see Notes below).
Bake in the centre of the oven for 30 minutes, or until golden brown on top and the bread makes a hollow sound when tapped.
Once the loaf has cooled, sieve the icing sugar into a bowl and add ½ TBSP fruit juice and a couple of drops of orange extract. Keep stirring until a thick icing has formed – it should be thick enough that it doesn’t drop off the spoon easily. Spoon into a piping bag and criss cross your loaf. Allow the icing to set before serving.
Stored in an airtight container, the loaf will keep fresh for a couple of days. After this, it is best served with some dairy-free butter. It is also delicious toasted.
Notes
For a super shiny glaze, once the loaf has baked, gently simmer 1½ TBSP unrefined sugar with 1½ TBSP fruit juice in a small saucepan, stirring regularly until the glaze has reduced and thickened. Immediately brush the glaze on top of the warm loaf, then leave to cool. If using this glaze, the maple syrup at Step 7 can be omitted.
Keyword Easter, Hot Cross Bun, Spiced Fruit Loaf, Vegan
N.B. The above values are estimates. The actual nutritional values will vary depending on the brands and ingredients used.
Pin for later ⬇️
Big thank you to Vegan Life magazine for the inspo! ✨
If you make this Hot Cross Bun Loaf (or any other recipes on my blog), I’d love to hear your feedback and any suggestions for adaptations! Tag your photos with #bitofthegoodstuff on social media and they will find their way to me. You can also connect with me on my social media channels here:Instagram, Facebook, Pinterest.
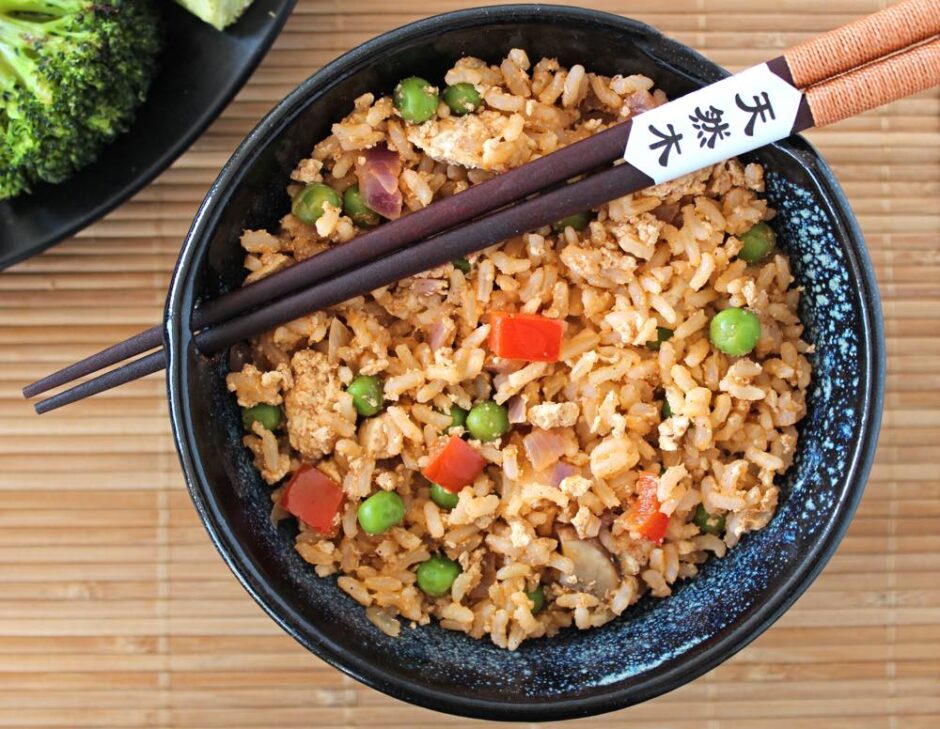
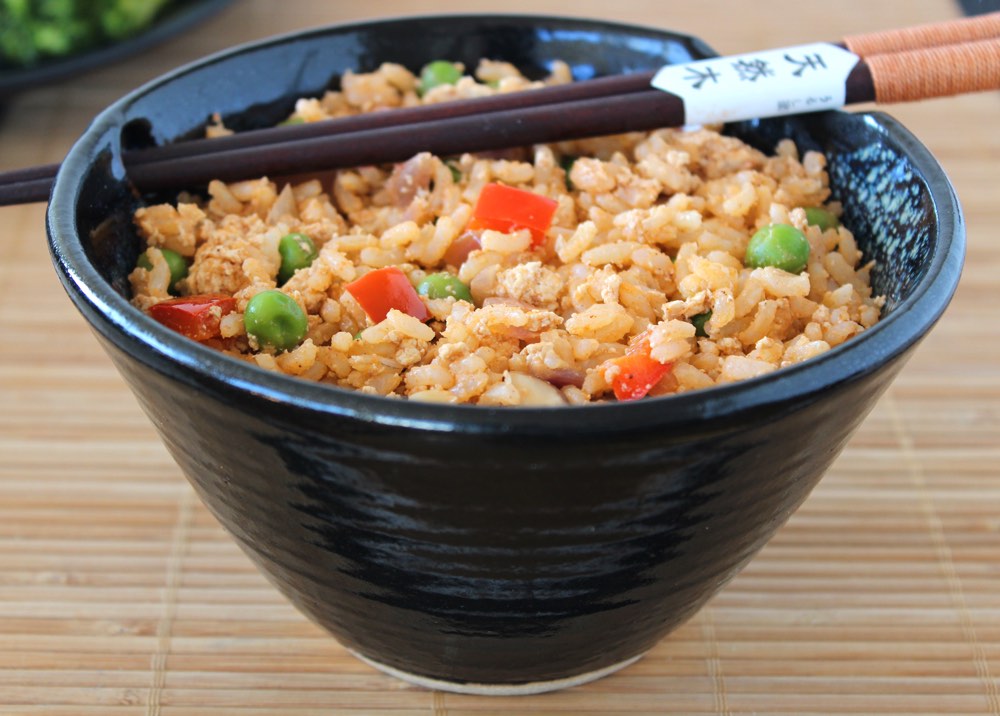
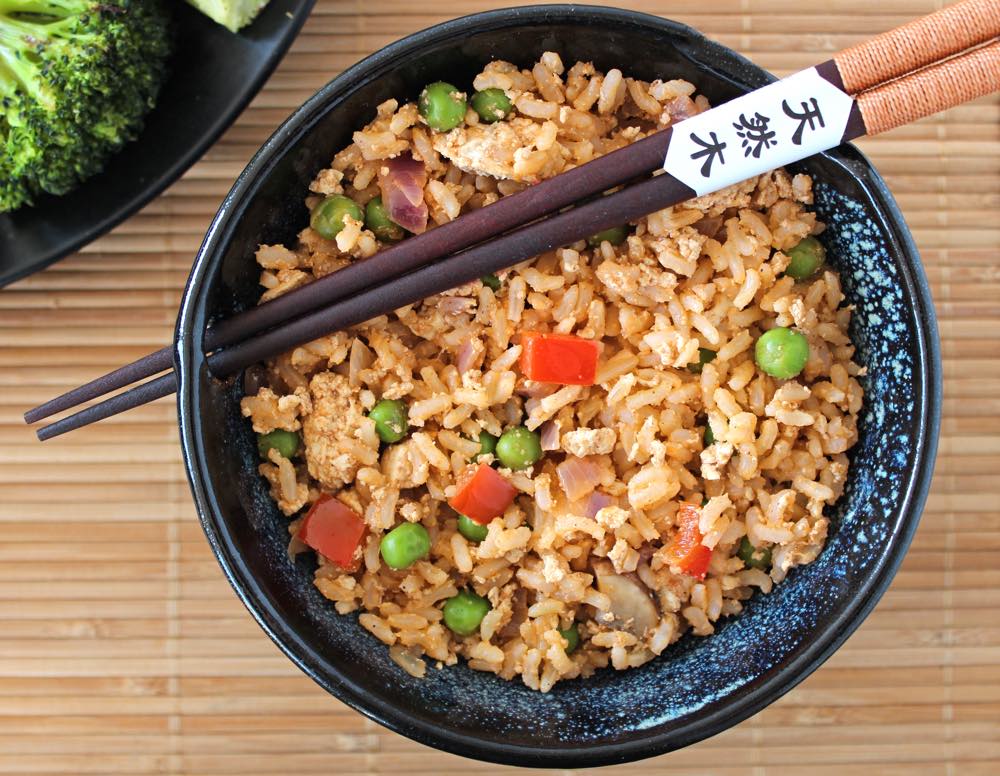
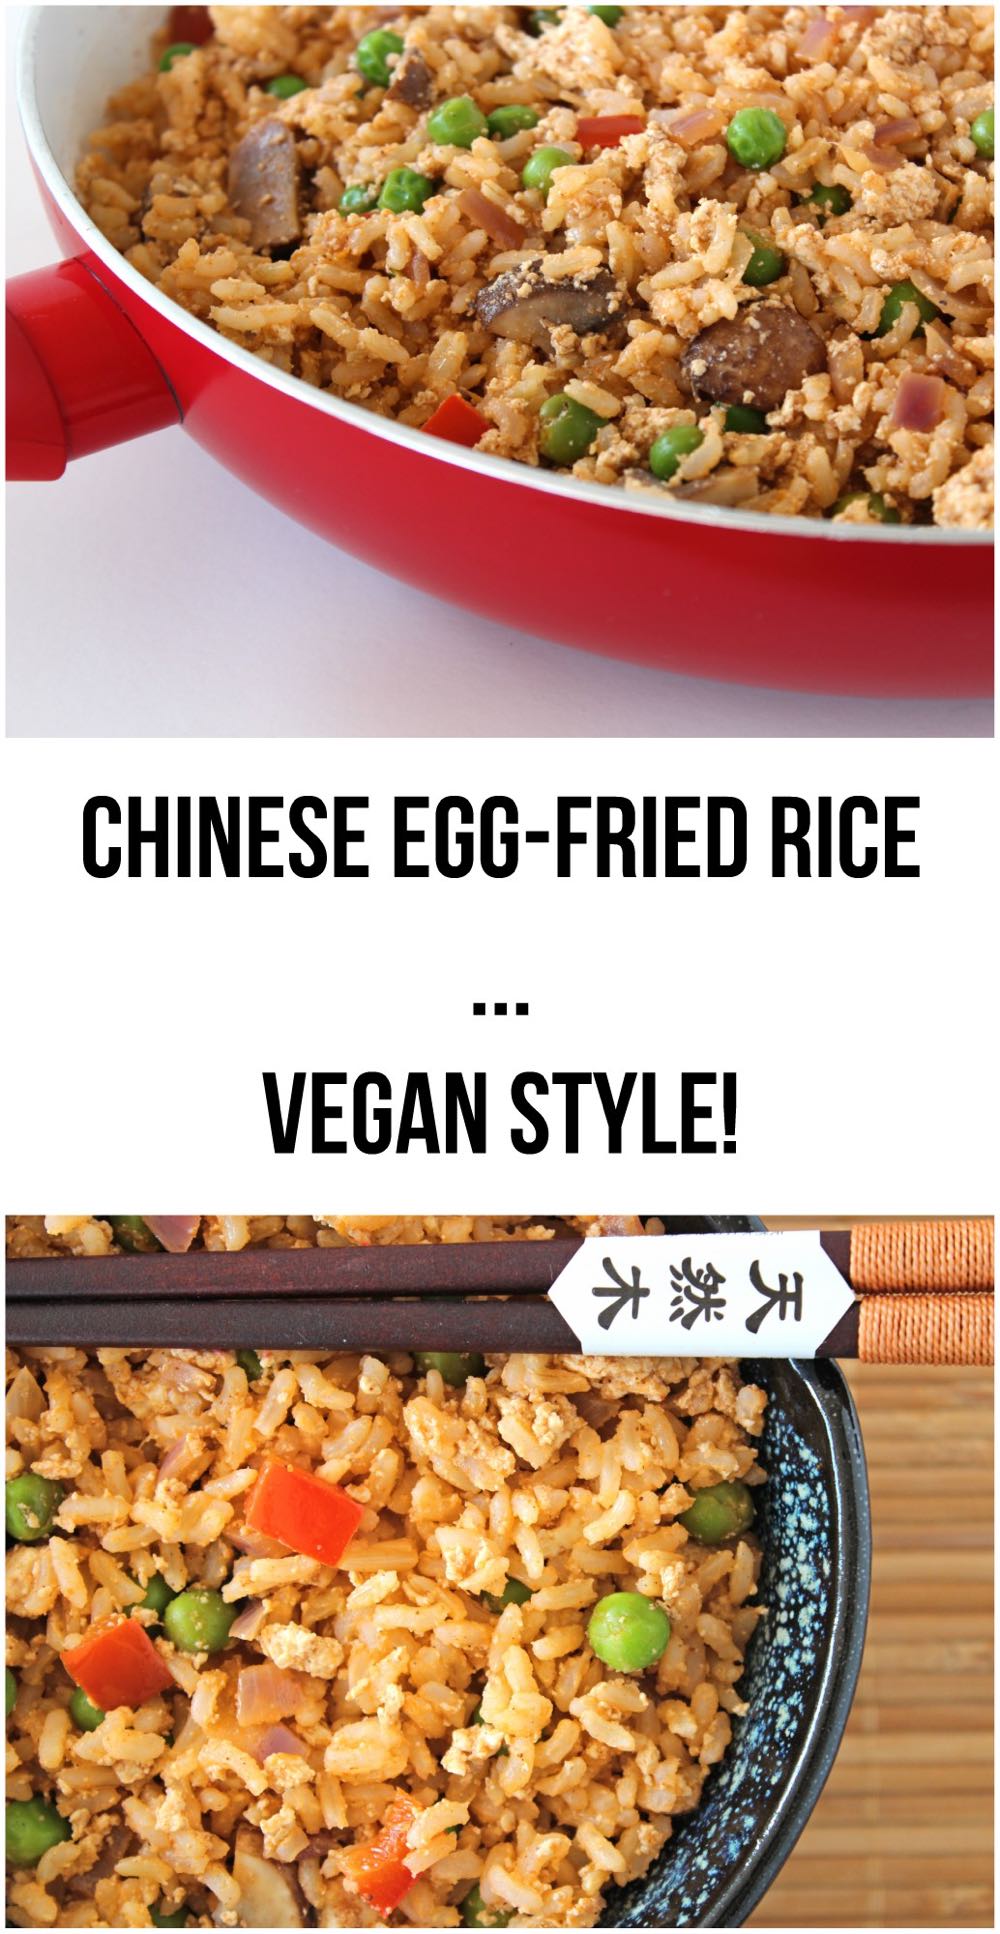
In today’s post, I’m sharing a recipe for a Chinese “Egg-Fried” Rice that’s perfect for serving any night when you need a quick and easy meal on the table. Not only is it tasty, but it’s also packed full of nutritional goodness. It’s especially rich in protein, vitamins A, B and C, and an array of minerals. It’s also much lower in fat than traditional Chinese egg-fried rice and contains zero cholesterol.
And, most importantly, it’s cruelty free! No hens or chicks were harmed in the making of this meal!
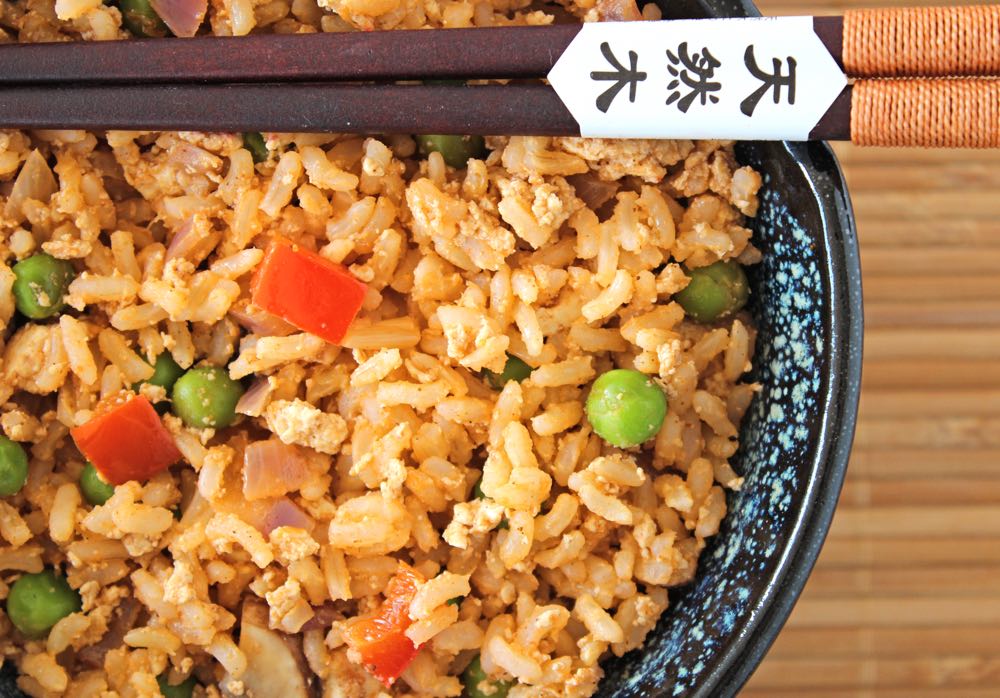
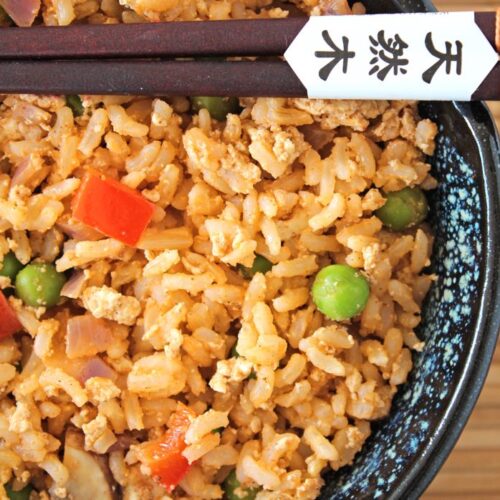
A few years ago, I discovered that tofu makes a fantastic egg replacer for Chinese egg-fried dishes. Crumbled, seasoned and stirred through rice or noodles, its texture and appearance have an uncanny resemblance to egg, which is pretty weird when you consider that tofu is made from beans!
I like to use calcium-set tofu as it’s a quick way to boost the family’s calcium levels. Here in the UK, the one brand of tofu that I’ve found to be calcium-set is Cauldron Foods Organic Tofu. (And fortunately, this is the one that’s widely available in our supermarkets right now!) According to the FAQ page on the Cauldron Foods website, a 100g serving (¼ pack) of their tofu provides around 40% of the recommended daily amount of calcium.
Back in 2014, I shared a recipe for Vegan Egg-Fried Noodles, but my family’s favourite Chinese Egg-Fried Rice still hadn’t made its way onto the blog. It was high time for me to put that right! Since Thursday is typically ‘Rice Night’ in our house, I made sure to photograph our dinner last night before we devoured it. That way, I would have some pictures to share alongside the recipe today.
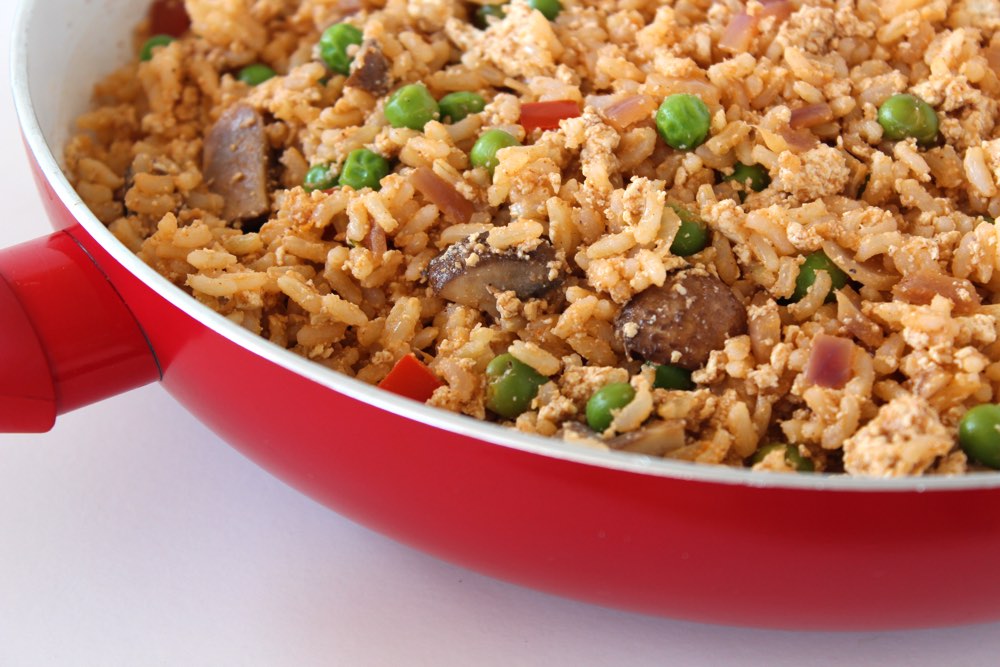
The dish is really simple to make. While the rice is cooking, pan fry some veggies and crumbled tofu, then whisk together the marinade and pour it into the pan. When the rice is cooked, stir it through the veggies then it’s ready to serve.
The choice of veggies to include in the fried rice is entirely yours. I add red pepper and green peas as they’re so colourful. Mushrooms are great for savouriness and some chewy texture. If you wish, you could even add in some vegan meat alternatives like Iceland’s “No Chick” strips or Oumph’s “The Chunk” to make a vegan style “Chicken” Fried Rice.
Recipe Card
Prevent your screen from going dark
Chinese Egg-Fried Rice… Vegan Style!
This vegan version of Chinese egg-fried rice is packed with plant-based goodness. It makes a great weeknight meal, either served on its own or with a side-dish of green veggies (we love roasted broccoli!)
1TBSPreduced-salt soy sauceuse tamari for a GF option
1TBSPwhite misoor substitute with another 1 TBSP soy sauce
2TBSPtomato puree (paste)
½TBSPmaple syrupor to taste
¼tspChinese Five Spice
Instructions
Cook the brown rice.**
When the rice has been cooking for about 10 minutes, gently heat ½ TBSP oil in a large, deep-sided frying pan (skillet). Add the onion and cook on medium heat for a couple of minutes.
Add the garlic, bell pepper and mushrooms and continue cooking for a further 2-3 minutes.
Drain the tofu and crumble it into the pan. Sprinkle the Chinese Five Spice on top, and stir through.
Add all the marinade ingredients to a small bowl and whisk with a fork until fully combined. Set aside about 1 TBSP of the marinade and pour the remainder into the pan. Stir through until the tofu is thoroughly coated.
Add the frozen peas and continue cooking for 5-6 minutes, stirring occasionally, until the peas are heated through.
When the rice is ready, drizzle in ½ TBSP toasted sesame oil and stir through. Add the 1 TBSP marinade that you set aside and continue stirring until the rice is fully coated.
Add the rice to the frying pan, a couple of a scoops at a time, stirring each time to combine.
Arrange the rice in warm bowls and serve. Any leftovers can be stored in the fridge for 24 hours. As with any rice dish, make sure that the rice is chilled within an hour of cooking.
Notes
* If you’re planning to re-heat this dish, it’s is best to omit the frozen peas as the instructions on the packet state ‘do not reheat’.** Here’s how I cook brown rice using the absorption method: First, rinse the rice in a fine mesh sieve under running cold water, agitating the grains with your hand until the water runs clear. Place the rice in a large heavy-bottomed saucepan along with double the volume of water (e.g. 1½ cups rice & 3 cups water). Bring to the boil, then reduce the heat and simmer uncovered for 10 minutes. Reduce the heat to very low, cover with a tight-fitting lid and cook for a further 20 minutes. When air pockets have appeared in the rice, it’s ready.
If you make this Chinese Fried Rice, I’d love to hear your feedback and any suggestions for adaptations! Tag your photos with #bitofthegoodstuff on social media – I always love to see your creations! You can also connect with me on my social media channels here: Instagram, Facebook, Pinterest.
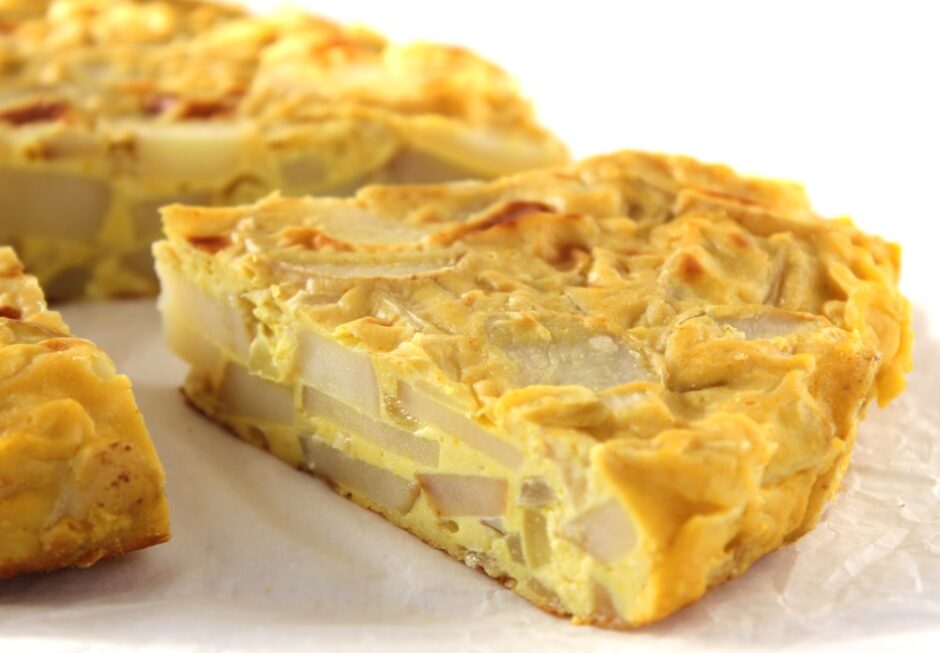
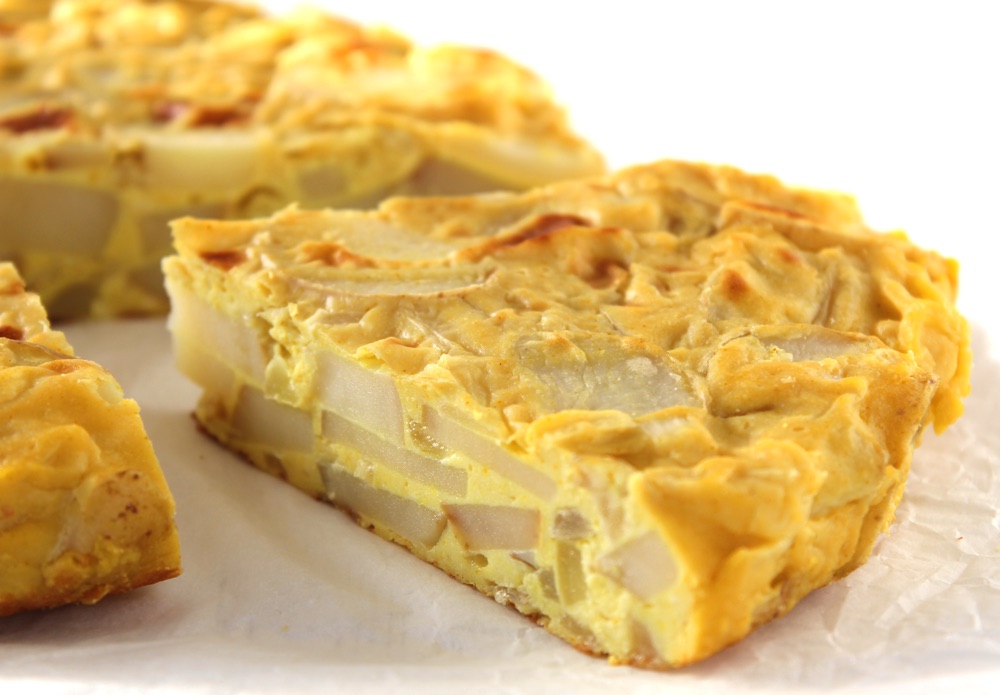
Hey dear friends! Today, I am delighted to be sharing one of personal favourite recipes with you – Spanish Omelette (Tortilla de Patatas). This is no ordinary omelette, however, as it’s 100% plant-based!! Yep, not a single egg in sight. In my pre-vegan days, Spanish Tortilla was a favourite comfort food of mine, but I love this vegan version even more. Not only is it delicious, it’s cruelty-free (no hens or chicks are harmed in the making of this omelette) AND healthier than the traditional version. It’s lower in fat, contains zero cholesterol, and is a rich source of plant proteins, B vitamins, vitamin C, and an array of minerals including potassium, magnesium, zinc and iron.
Healthy, tasty AND cruelty-free. A winner all round!
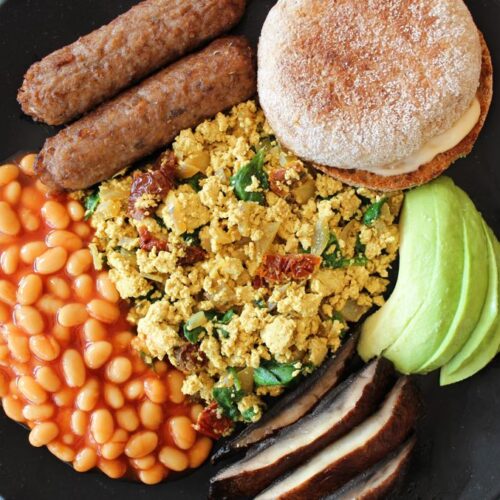
The English are famous for their all-day breakfast fry-ups, which typically feature a whole bunch of animal products – sausages, bacon, eggs and black pudding – served alongside mushrooms, tomatoes, hash browns, baked beans and fried bread. However, just because you’re passing on eating animals, this doesn’t mean you have to miss out on this traditional English culinary experience. There are so many amazing all-day veggie breakfast options available now, and they’re often far more creative and colourful (and healthy!) than the meat version.
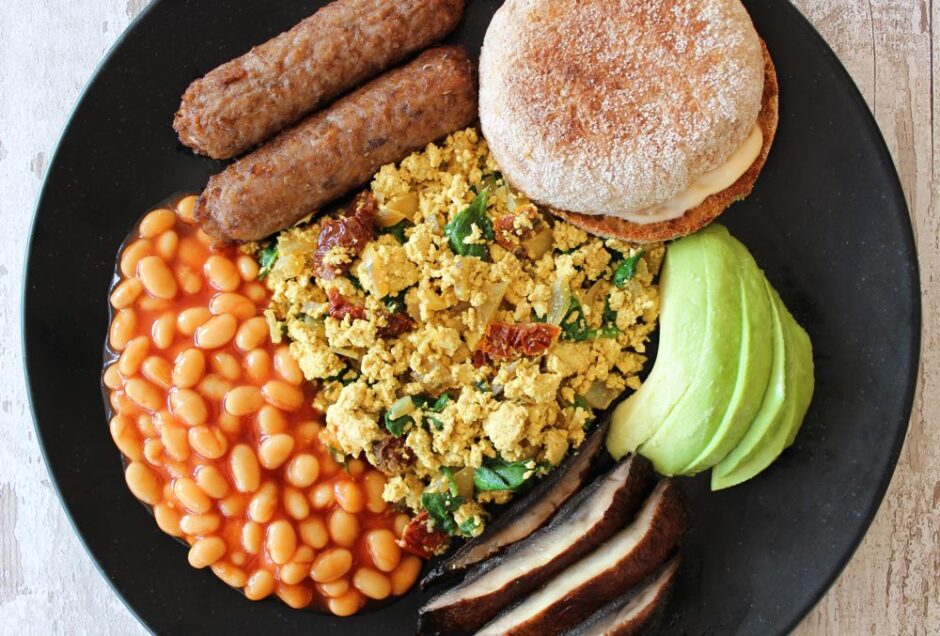
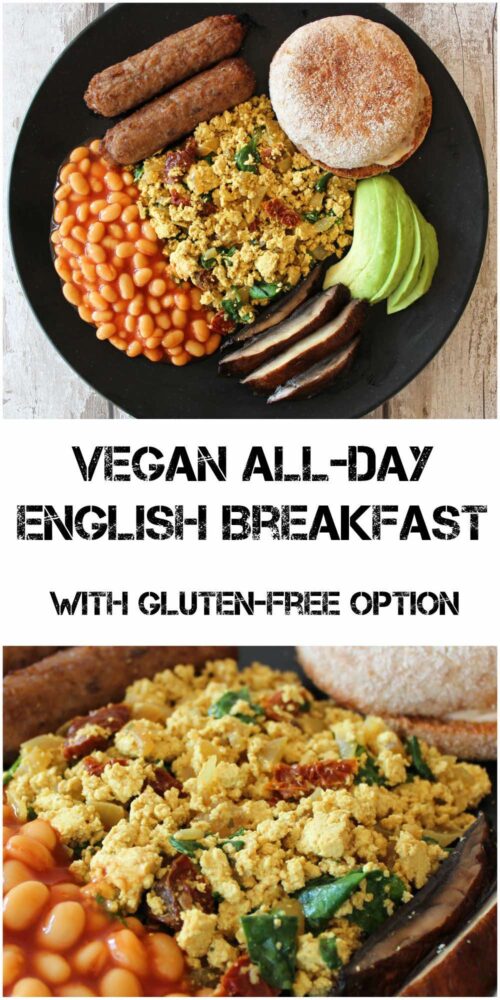
Today I’m sharing a recipe for a delicious vegan cooked breakfast that, as the title suggests, is suitable for serving any time of day. We’ve been enjoying it as an evening meal, but it’s equally perfect as a weekend breakfast, brunch or lunch.
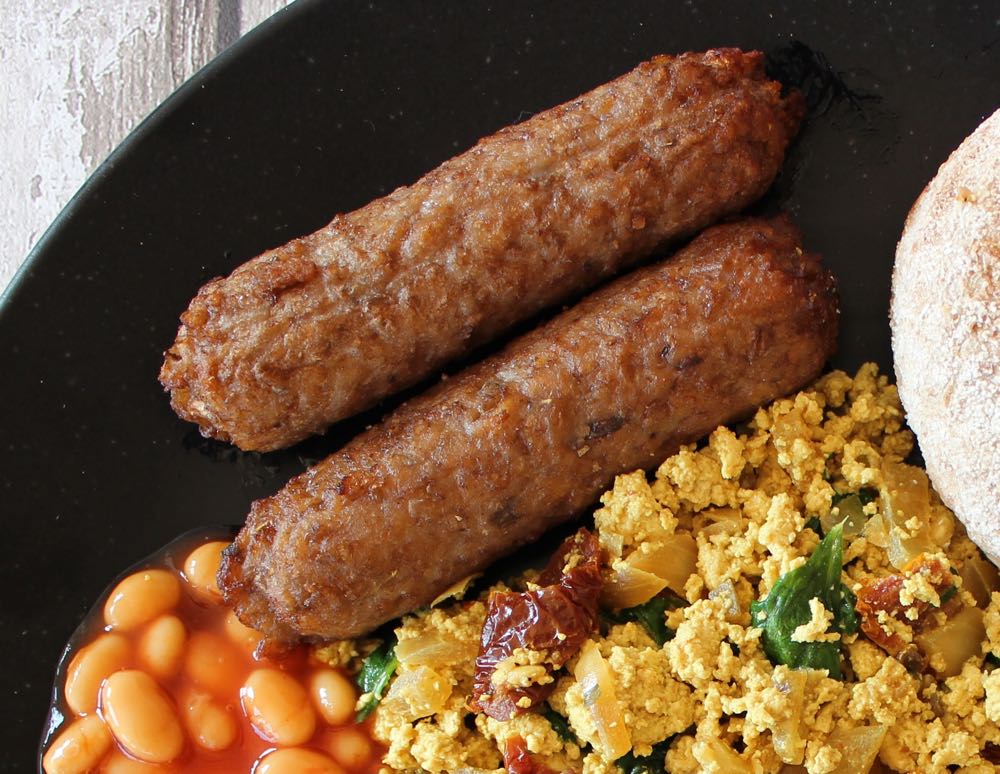
The key components of this vegan all-day English breakfast were sausages…
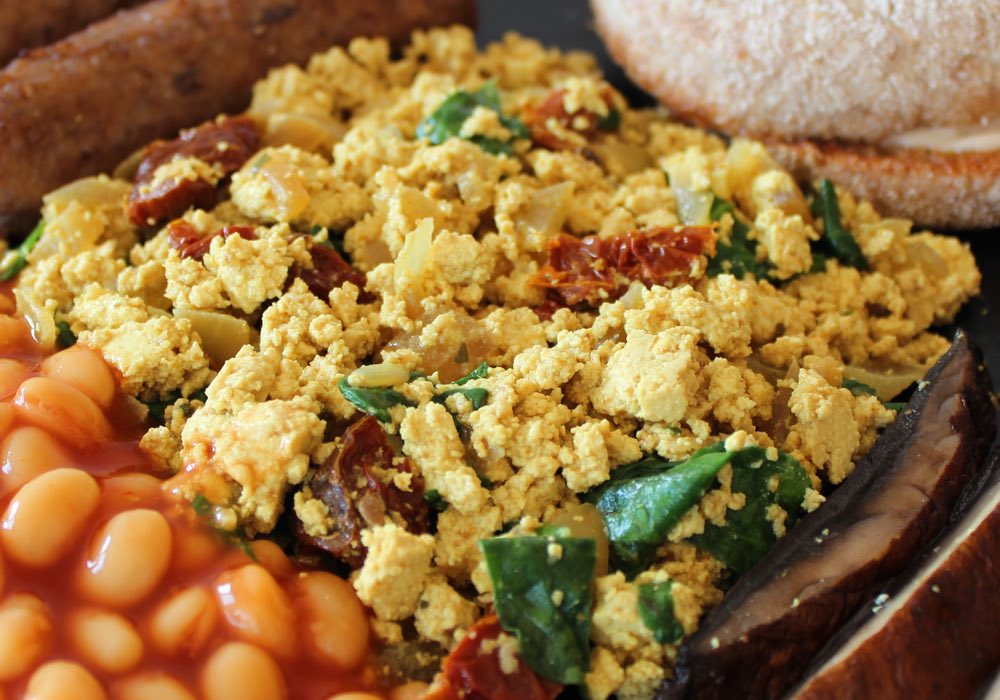
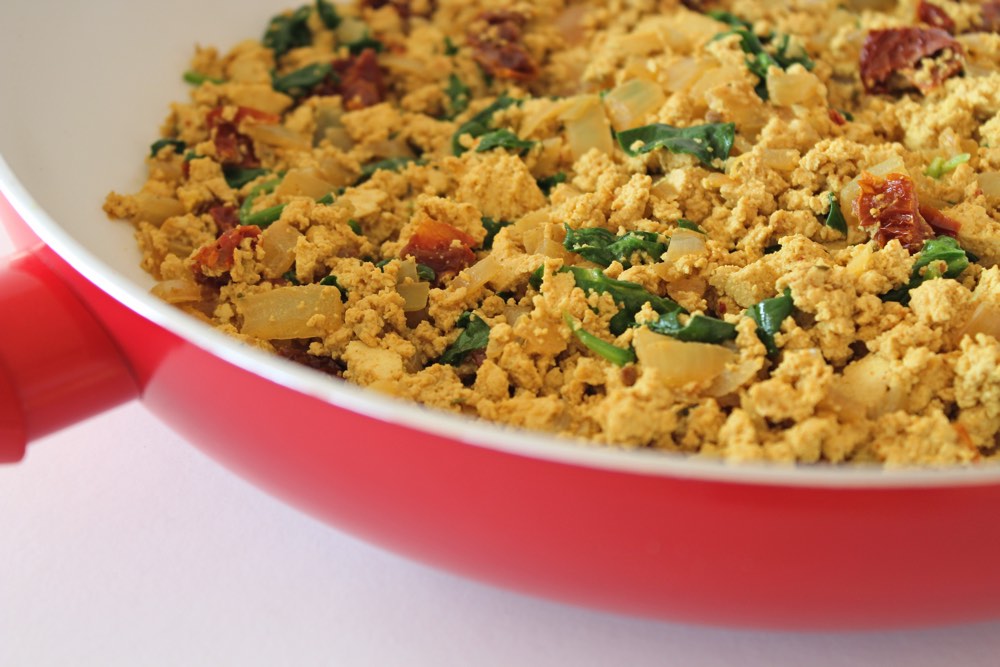
scrambled tofu (to which I added onion, garlic, sun-dried tomatoes and soy sauce to ramp up the flavour) ….
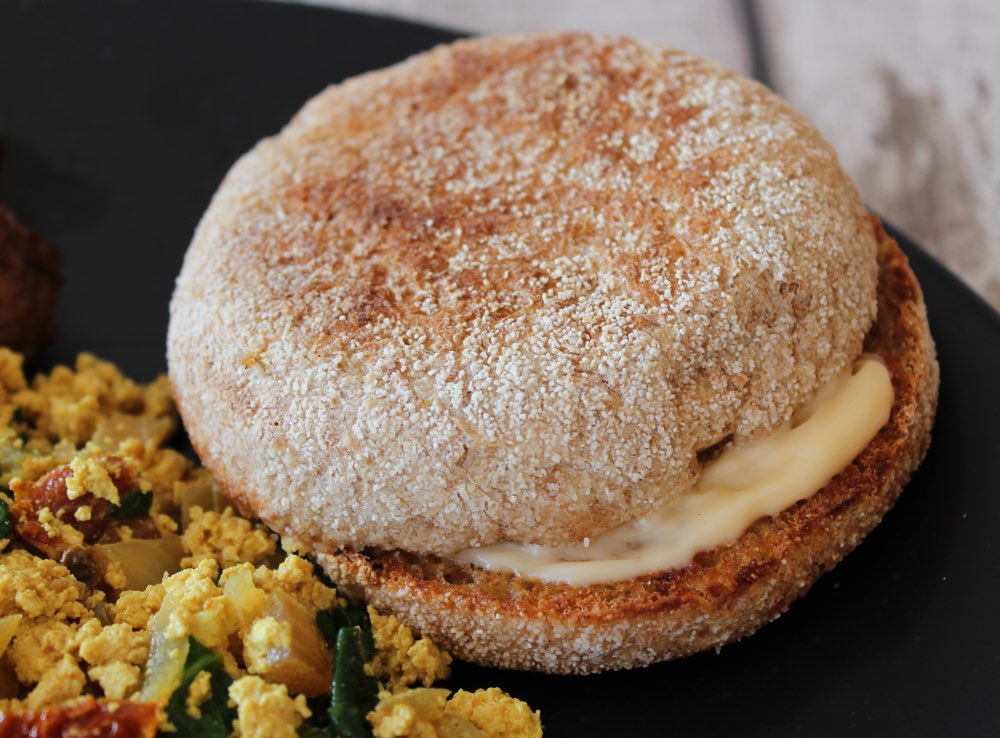
avocado and toasted wholemeal English muffins.
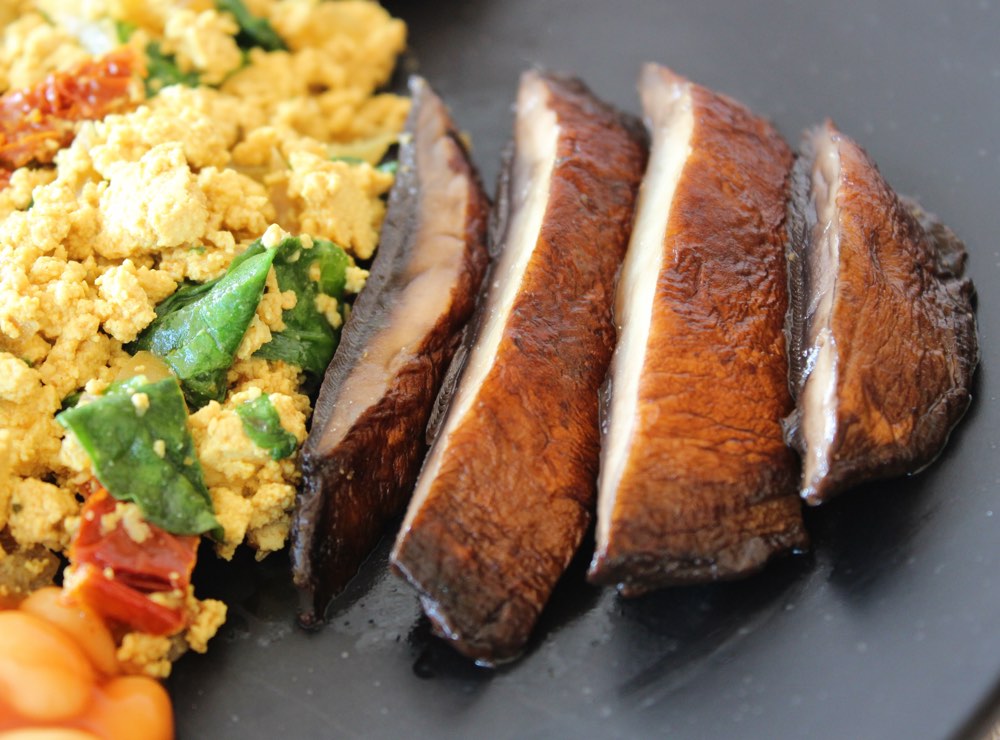
Then we added slices of balsamic-glazed roasted portobello mushrooms…
and baked beans 😋
Since my son isn’t a fan of fresh tomatoes, I added some sun-dried tomatoes into the scrambled tofu instead. This worked a treat!
Recipe Card
Prevent your screen from going dark
Vegan All Day English Breakfast
This vegan all day breakfast is suitable for serving as a weekend breakfast, brunch, lunch or even as a main dinner! Though there are a few components to this meal, it’s really easy to make and takes no more than 30 minutes. The scrambled tofu, beans, muffins and avocado can all be prepared while the sausages and mushrooms are cooking in the oven. Once they’re done, everything is ready to be be plated up.
6-8sun-dried tomatoes in oildrained and roughly chopped
60ml/ ¼ cup fortified soya milkor other plant-based milk
handful baby spinachroughly chopped
saltto taste
400g / 14 oz can baked beans
3 English wholemeal muffins
vegan butter or mayonnaise for the muffins
1 large avocado, sliced
Instructions
Pre-heat the oven to 200C (180C fan) / 400F.
For the roasted mushrooms:In a wide, shallow roasting pan, combine the olive oil and balsamic vinegar. Generously coat the mushrooms in the oil and vinegar mixture, either using a pastry brush or your hands. Arrange the mushrooms in the pan upside down. Cook for 10 minutes then flip the mushrooms over, and continue cooking for a further 15 minutes, until the mushrooms are tender and well browned.
Cook the sausages according the instructions on the packet.
For the scrambled tofu:Heat the oil in a large non-stick frying pan (skillet) on medium heat and cook the onion and garlic for a couple of minutes. Crumble the tofu into the pan. Sprinkle the turmeric on top and stir until the tofu has turned yellow. Add the cumin, soy sauce and sun-dried tomatoes to the pan. Cook for 3-4 minutes, stirring now and then. Stir in the milk and continue cooking for 2-3 minutes. Finally, add the spinach and cook for a further minute (until the spinach just starts to wilt). Season with salt, to taste.
Keep the scrambled tofu on low heat while you warm up the baked beans and toast the muffins.
Arrange the sausages, mushrooms, scrambled tofu, baked beans, muffins and avocado slices on plates and serve. Any leftovers make a delicious ‘all-day breakfast’ sandwich, stuffed into a pitta bread or tortilla wrap.
Notes
Gluten-Free Option
To make the breakfast 100% gluten-free, the muffins could be replaced with a gluten-free alternative, such as hash browns or mini roasted potatoes. Also, be sure to use tamari soy sauce, as regular soy sauce contains wheat.
Keyword Dairy-Free, Egg-Free, Vegan All Day Breakfast
If you make this recipe, I’d love to hear your feedback and any suggestions for adaptations. Tag your photos with #bitofthegoodstuff on social media – I love to see your creations! You can also connect with me on my social media channels here: Instagram, Facebook, Pinterest.
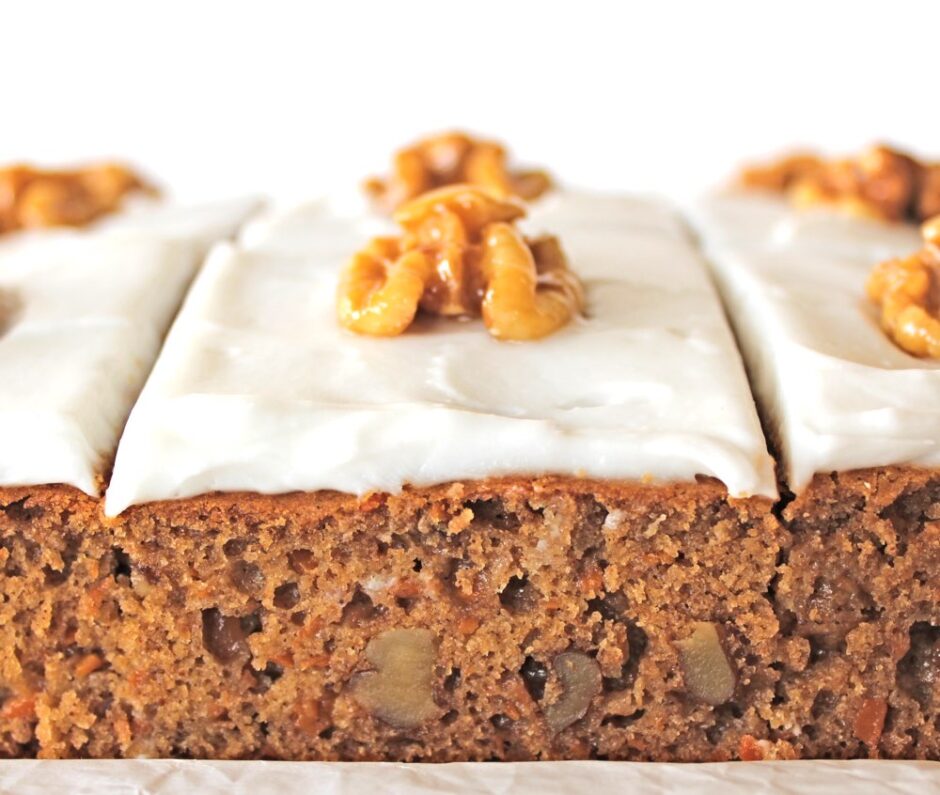
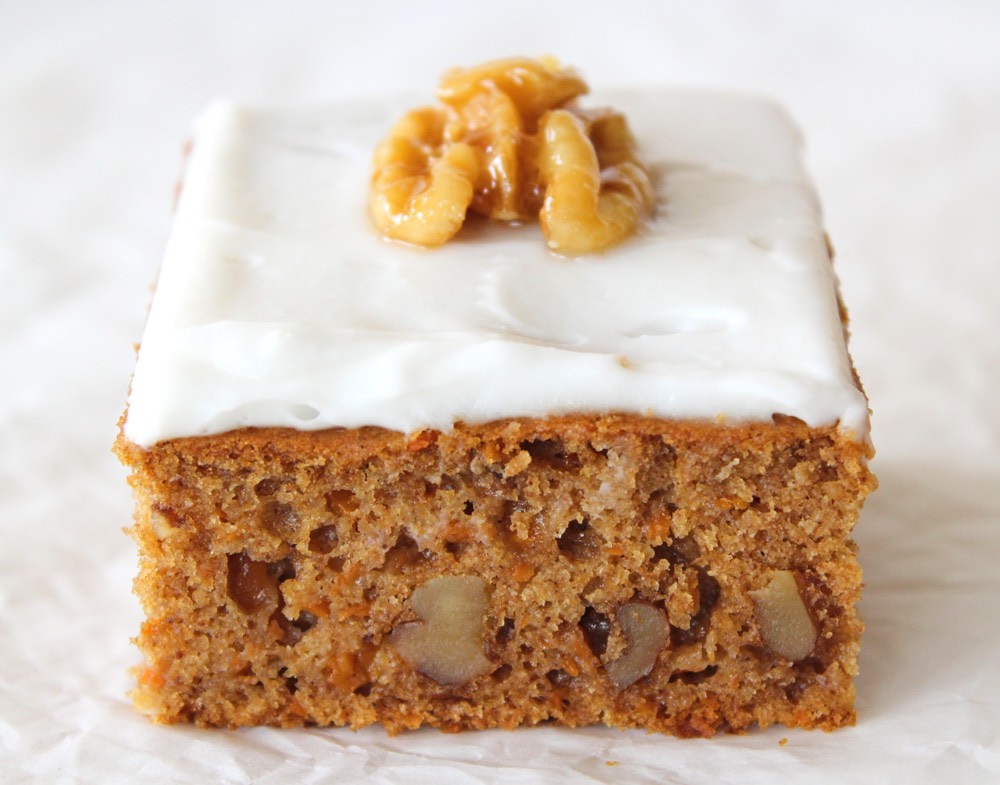
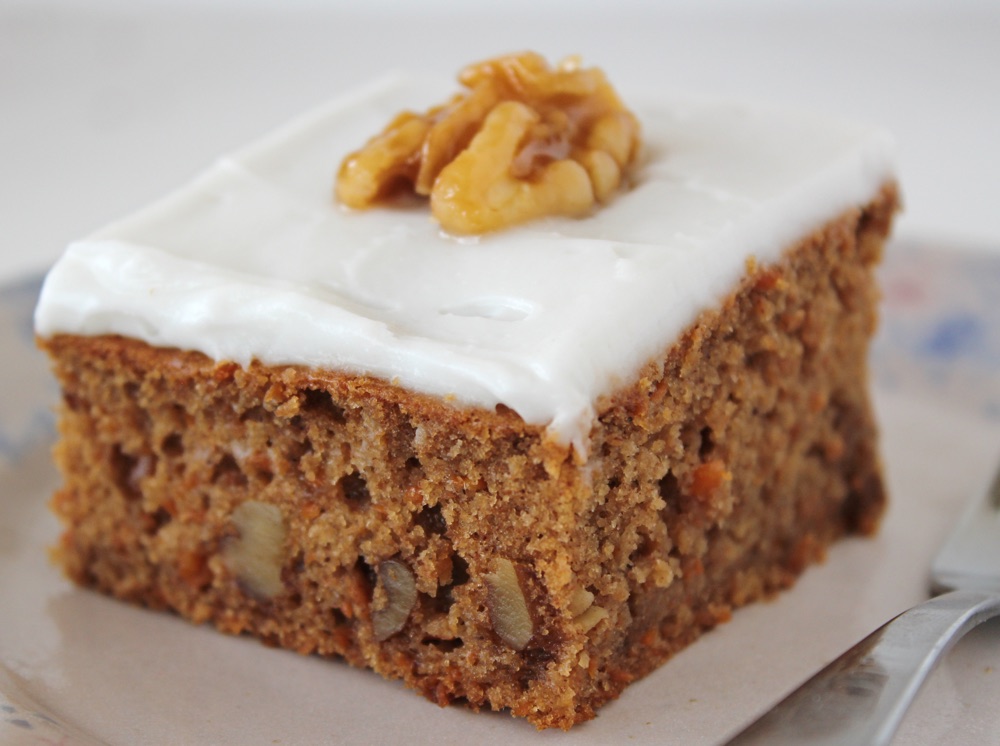
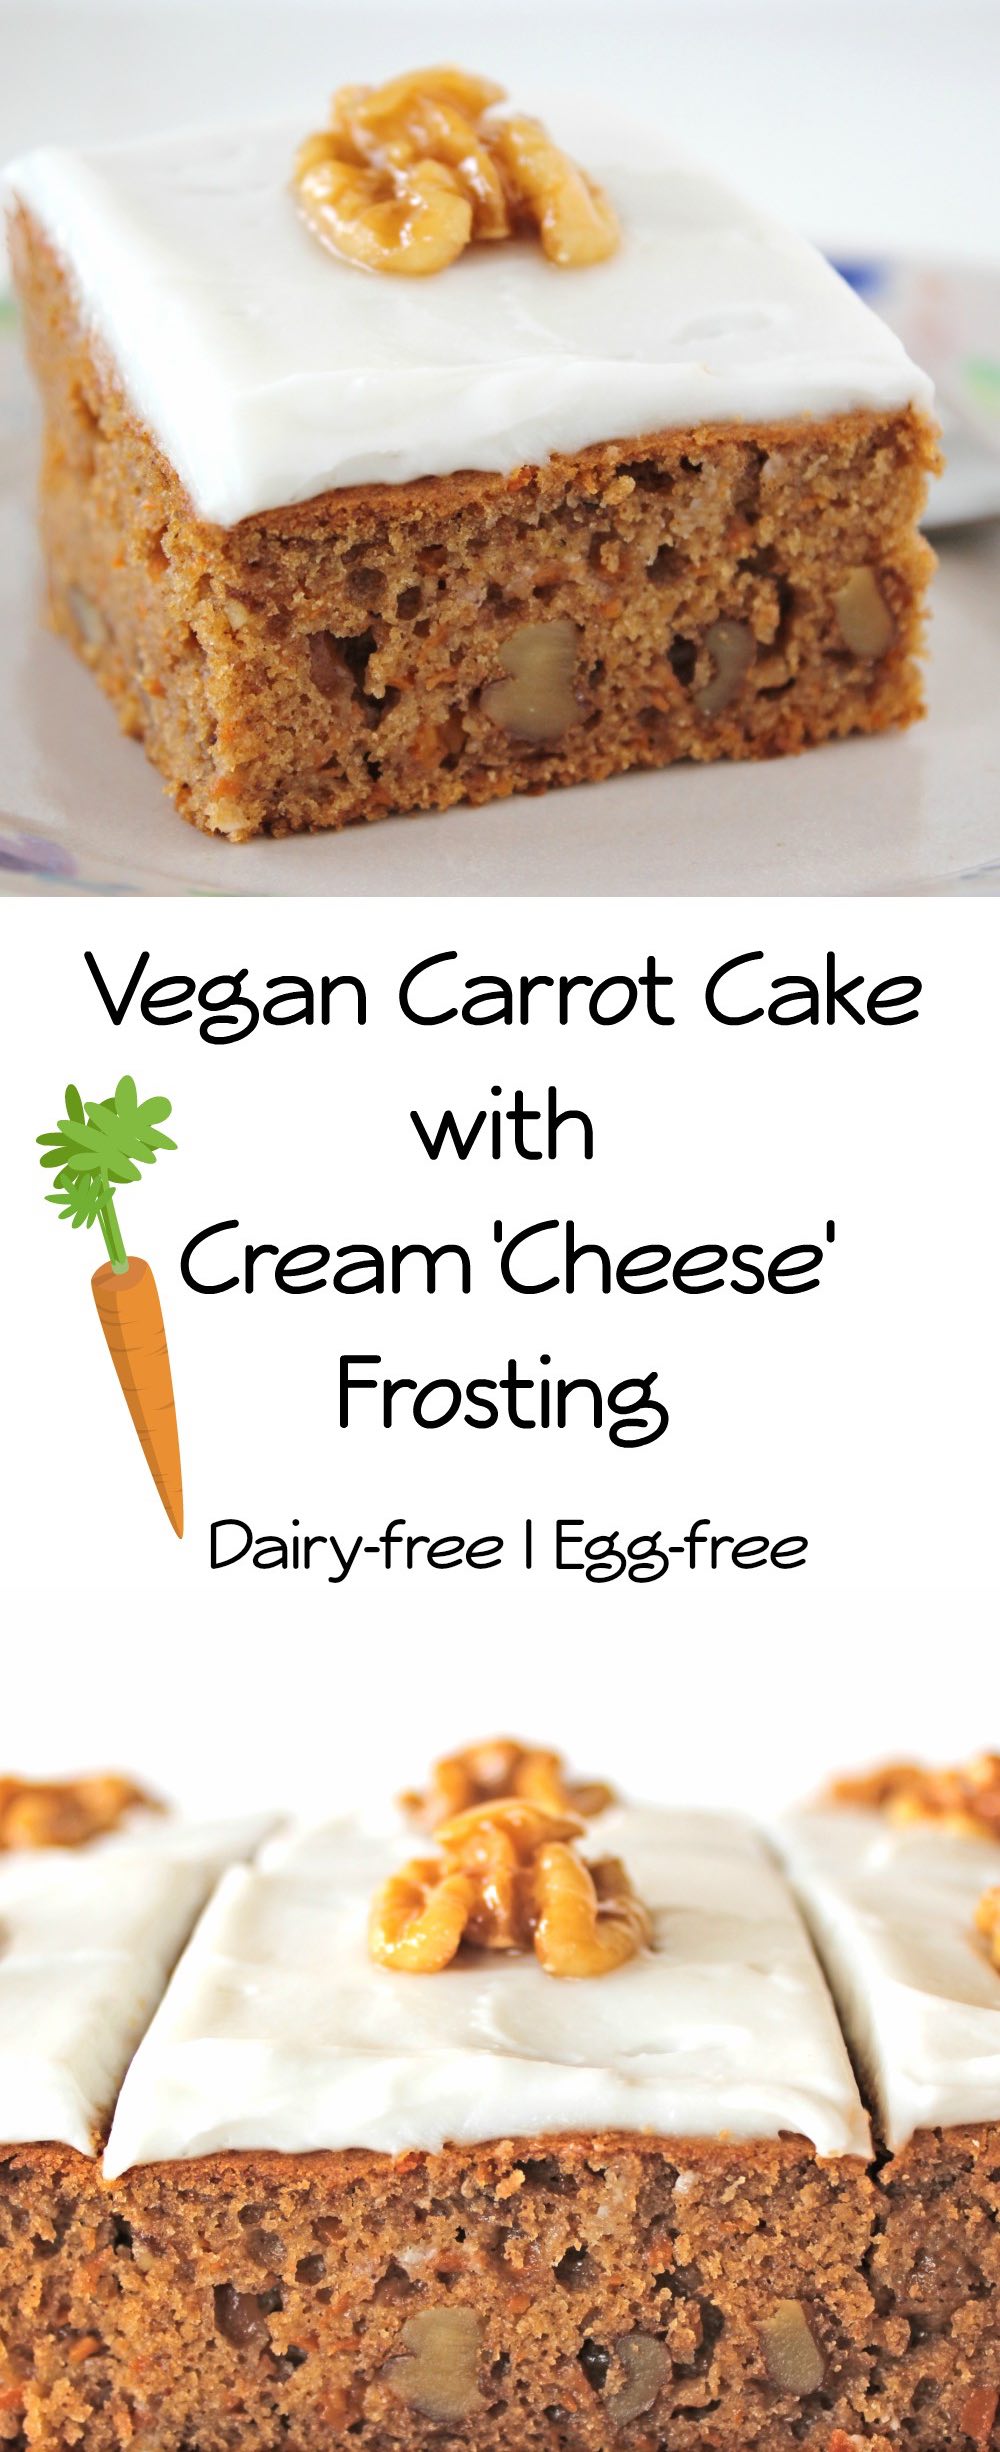
Today, I’m finally publishing my recipe for vegan carrot cake. It contains no dairy or eggs, yet tastes just as good (if not better!) than its traditional counterpart. This was the cake that I chose to bake for my mum’s and father-in-law’s birthdays this year and I’m pleased to say, it went down a treat!
I must admit, this recipe has been a long time coming (the culmination of about two years’ worth of experimenting!) Carrot cake is one of my all-time favourites so I was determined to keep experimenting until I’d created a vegan version that replicated the one of my childhood memories. I had set the bar high!
My family were very willing cake testers and gave positive feedback on all the various versions I created but, for me, they were never quite right. The main issue that I needed to nail was the texture. If you’re a carrot cake connoisseur, you’ll know that it has a very specific texture. It isn’t like a traditional ‘light and fluffy’ sponge cake. It’s a lot more dense and moist; almost fudge-like.
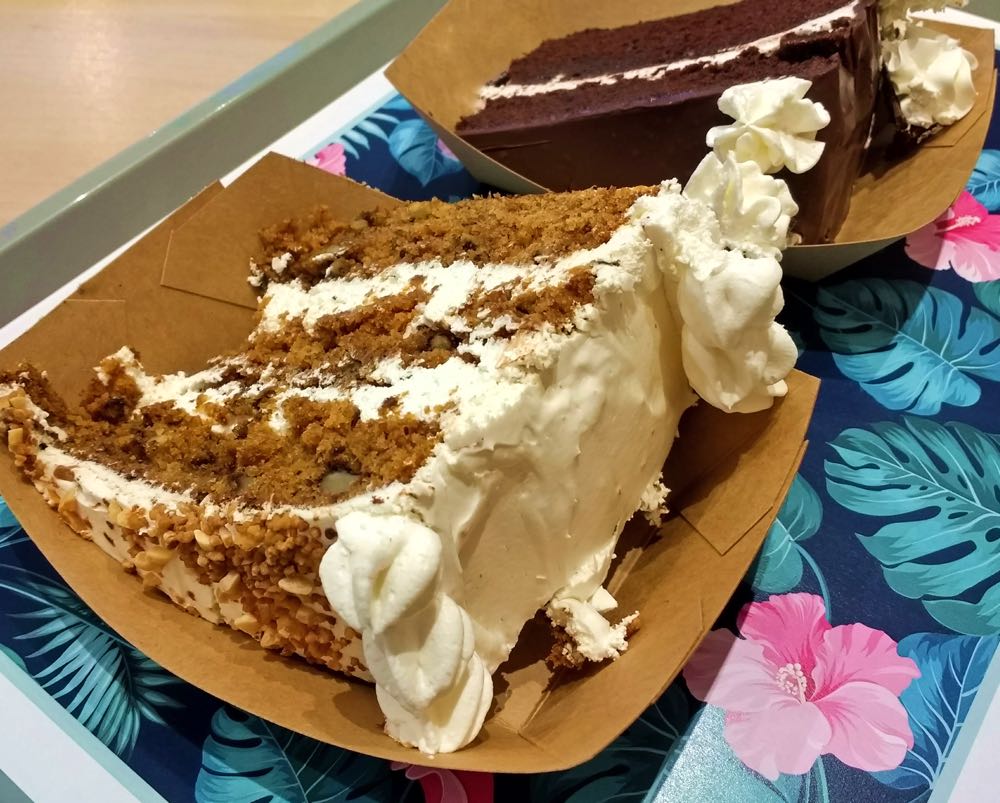
It had been at least 20 years since I’d eaten a traditional carrot cake so my reference point was pretty old (and with questionable reliability!) but this Easter I finally got to indulge in carrot cake once more; and at the most unexpected of places… the vegan fast food joint ‘Vurger’ in Valencia, Spain.
After we’d ordered our burgers and were making our way to the seating area, I caught sight of a glass cabinet filled with the most incredible-looking cakes. Each one was at least three layers tall and covered in the most beautiful frosting. There were a selection of flavours on offer, including double chocolate, chocolate cherry, and carrot cake. Much to our delight, we discovered that another vegan fast food joint called ‘Aloha’ also stocked these beautiful cakes. My family ended up going to Vurger and Aloha three times, just so we could try out all the cakes!
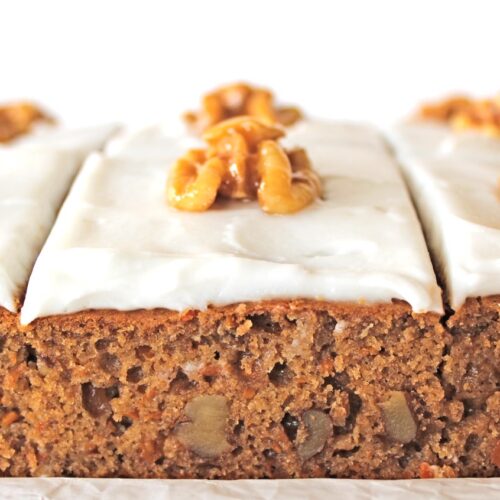
Filled with fresh memories of how carrot cake should taste, as soon as I returned home I dusted off my scribbled experiments and enthusiastically set to work on ‘perfecting’ my recipe. I experimented with different ratios of wet/dry ingredients, varying ratios of carrots and nuts, different shape tins and baking times, and finally came up with a recipe that I’m 100% happy with. It might not be to everyone’s taste but, for me, this cake is just spot on flavour and texture-wise. It’s dense and moist, with plenty of carrot and walnuts for added layers of texture. It’s not sugary sweet, but instead flavoured with beautiful, warming spices.
Cream cheese frosting is the perfect topping for this cake. A few years ago, it was difficult to find vegan cream cheese here in the UK (let alone a great-tasting one!); however lately there’s been an explosion of dairy-free ‘cheeses’ entering our shops. When it comes to vegan cheese, everyone’s tastes differ so it’s worth trying a few and seeing which one most appeals to your taste buds. Two of my personal favourites are Violife Creamy Original and Tofutti Creamy Smooth Original. These have a very subtle cheese flavour, with a lovely creamy texture, making it perfect for cake frosting. I’ve also used Sheese Creamy Original and Tesco Free From Soft Cheese for topping carrot cake. These two have a stronger cheese flavour so need a touch more icing sugar to balance the flavours.
Recipe Card
Prevent your screen from going dark
Vegan Carrot Cake with Cream Cheese Frosting
For me, this recipe epitomises everything that I love about carrot cake. It’s dense and moist, with a generous amount of carrots and walnuts. It's not sugary-sweet, but beautifully flavoured with warming spices. It’s had great feedback from my friends and family. I hope you enjoy it too!
80ml/ ¼ cup syrup of choice(I use maple syrup or coconut blossom syrup)
100ml/ ½ cup neutral-flavoured oil(I use rapeseed (canola) oil, grapeseed oil or sunflower oil
240g/ 2 cups carrotgrated
140g/ 1 cup plain (all purpose) flour
140g/ 1 cup fine wholemeal (whole wheat) flour or chapatti flour
1½tspbaking powder
½tspbicarbonate of soda (baking soda)
½tspsalt
2tspmixed spice or pumpkin spice
1tspground cinnamon
50g/ ½ cup walnutschopped
Vegan Cream Cheese Frosting
1tub vegan cream cheese (around 200g / 7 oz)
2½ – 5TBSPicing (confectioners) sugar
Maple-Glazed Walnuts
9walnut halves
1TBSPmaple syrup
Instructions
Grease a 21 cm x 21 cm / 8” x 8” square baking pan and line with non-stick baking paper. Preheat the oven to 180C (160C fan) / 350F.
Grate the carrots either using a box grater or mini chopper. Roughly chop the walnuts.
Whisk together the soya milk and vinegar in a large mixing bowl using a hand whisk or fork. Add the sugar, syrup and oil. Continue whisking until fully combined.
In a separate bowl, add the flours, baking powder, bicarbonate of soda, salt, mixed spice and cinnamon. Stir through to combine.
Fold the dry ingredients into the wet ingredients. Add the grated carrot and chopped walnuts and stir through until evenly distributed.
Transfer the mixture to the prepared tin. Using a spatula, distribute the mixture evenly in the tin and smooth the top. Place in the centre of the oven and bake for 45 minutes, or until a skewer inserted through the middle comes out clean and the top of the cake is springy to the touch.
Leave the cake in the tin for at least an hour, or until completely cool (it will continue to firm up as it cools), then peel off the baking paper and transfer to a chopping board. Using a bread knife, trim the four edges of the cake to neaten them up.
Meanwhile, place the cream cheese in a bowl. Sieve in the icing sugar, then beat using electric beaters until just combined (do not over-beat, otherwise the cheese may become runny). Taste test and add more sieved sugar, if desired. Beat once more to combine. Store the cream cheese in the fridge until needed.
Preheat a frying pan (skillet) on a medium-high heat. Add the walnuts and dry fry for 2 minutes, stirring continuously. Add the maple syrup and continue stirring for about 3 minutes, until the nuts are fully coated and the syrup has caramelised and become very sticky. Space out the nuts on a piece of non-stick baking paper. As they cool, the nuts will firm up and become shiny. Store in an airtight container in the fridge until ready to use.
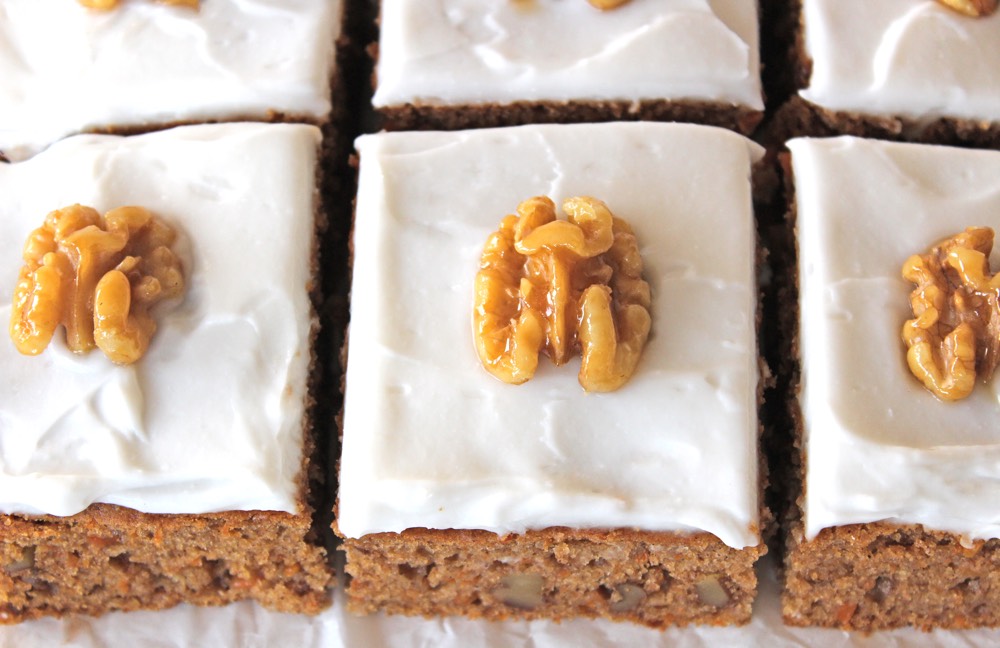
Once the cake is completely cooled, distribute the cream cheese over the top of the cake using a knife. Slice the cake into squares, add the maple-glazed walnuts, then chill the cake in the fridge until ready to serve.
This cake will keep for up to five days in the fridge. It is also freezable (without the frosting). The cream cheese frosting is best added on the day that it is to be served as the lighter coloured cheeses (like Violife, Tofutti) can discolour over time.
This recipe is being submitted to the Suma Blogger’s Network. Big shout out to the lovely people at Suma who supplied the ingredients I used to create this recipe.
Ingredients from Suma (available from independent health food shops in the UK):
If you make this Carrot Cake, I’d love to hear your feedback and any suggestions for adaptations! Tag your photos with #bitofthegoodstuff on social media – I always love to see your creations! You can also connect with me on my social media channels here: Instagram, Facebook, Pinterest.