Easy Vegan ‘Camembert Cheese’

Jump to Recipe

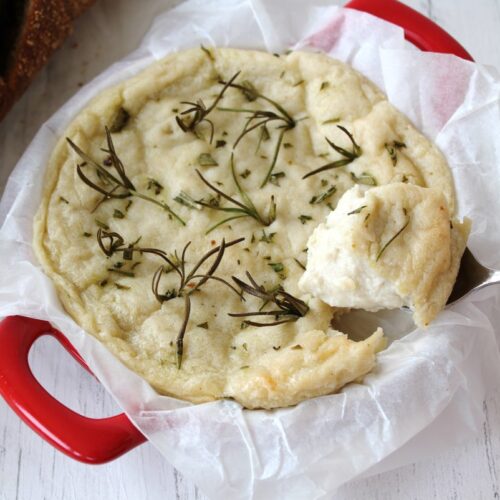
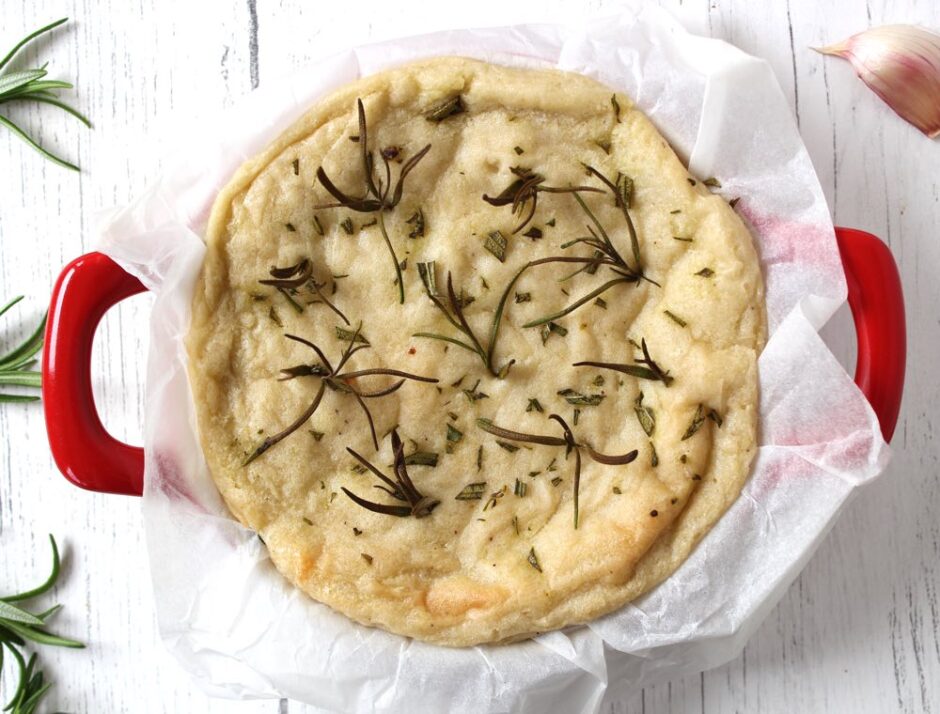
Today, I’m delighted to be sharing a recipe for a delicious vegan camembert-style cheese. When I started food blogging back in 2011, I would never have dreamed that I would be sharing such a recipe but here we are, in 2019, where it’s pretty much possible to veganise anything!! Whether you avoid dairy for ethical, dietary or environmental reasons, this creamy, cashew-based cheese is more than a worthy substitute for traditional camembert. Not only does it taste amazing, but it also has a beautiful texture. As it bakes, it forms a skin on the outside, yet remains soft and gooey in the middle.
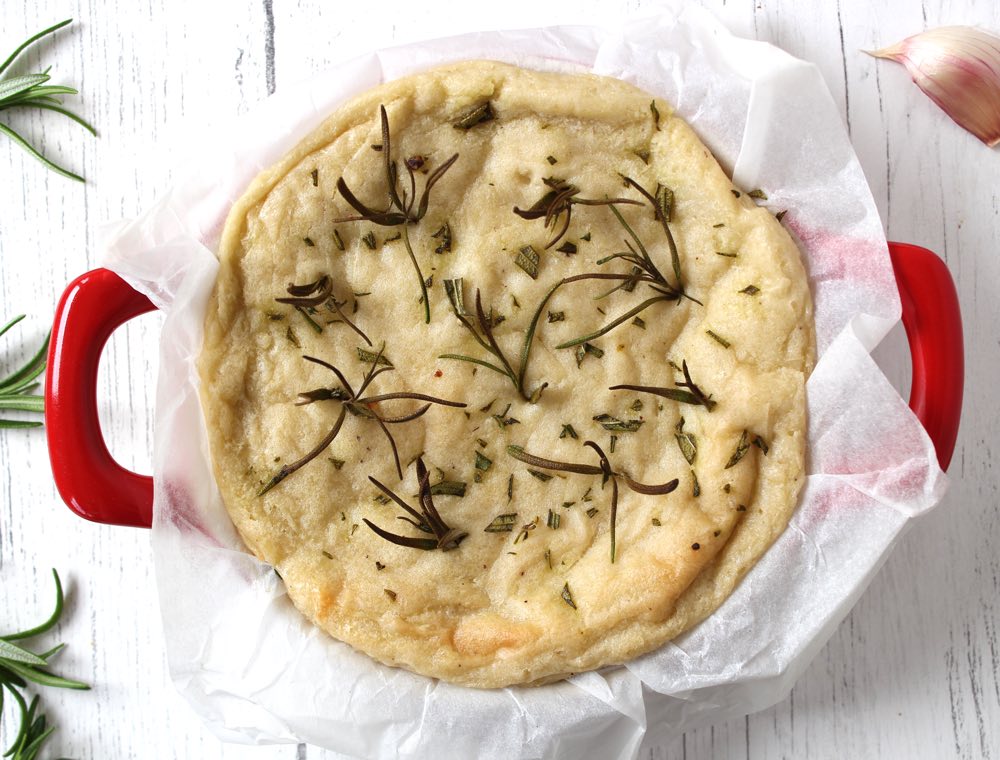
Unlike a lot of hand-made cheeses, this one is incredibly quick and easy to make. It takes just 10 minutes hands-on time and is ready to serve in half an hour. It’s also super cheap. I calculated that this cheese cost me just 65p to make, which is way cheaper than any vegan cheeses you’ll find in the shops. 

And while it feels like an indulgent treat, it’s actually good for you! It’s rich in heart-healthy monounsaturated fats, B vitamins and a whole host of minerals, including zinc, manganese, magnesium and iron. Unlike its dairy counterpart, this plant-based camembert contains zero cholesterol as well as significantly less saturated fat. Oh, and most importantly, it’s cruelty-free… no cows were harmed in the making of this cheese 🐮❤️ It’s a winner all round!
Vegan Camembert

The inspiration for today’s recipe was the infamous ‘Camembosh’ which was featured in this month’s Vegan Life magazine (the one with the lovely Henry and Ian from BOSH! on the front cover). I’d been meaning to try this cheese ever since I’d first heard the rave reviews about it on social media, and seeing it in Vegan Life prompted me to dive into the kitchen and get stuck in.

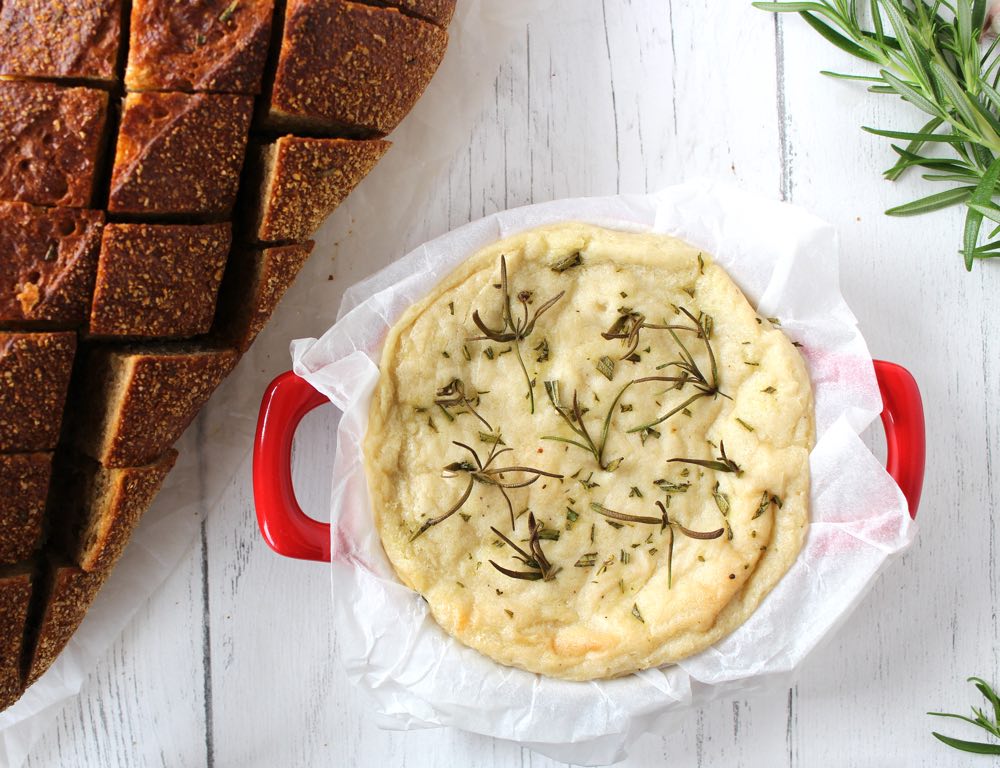
The recipe is actually very similar to the one I use for cashew ‘mozzarella’ which I make for our pizza nights. It is so easy to make! It’s simply a case of blending the ingredients, then heating them in a saucepan and stirring until they become thick and gooey. For the camembert cheese, the mixture gets transferred to a shallow dish and baked in the oven for 20 minutes until it forms a skin. And that’s it! It’s now ready to serve. If you wish, you can warm some bread in the oven at the same time, ready for dipping into the camembert.
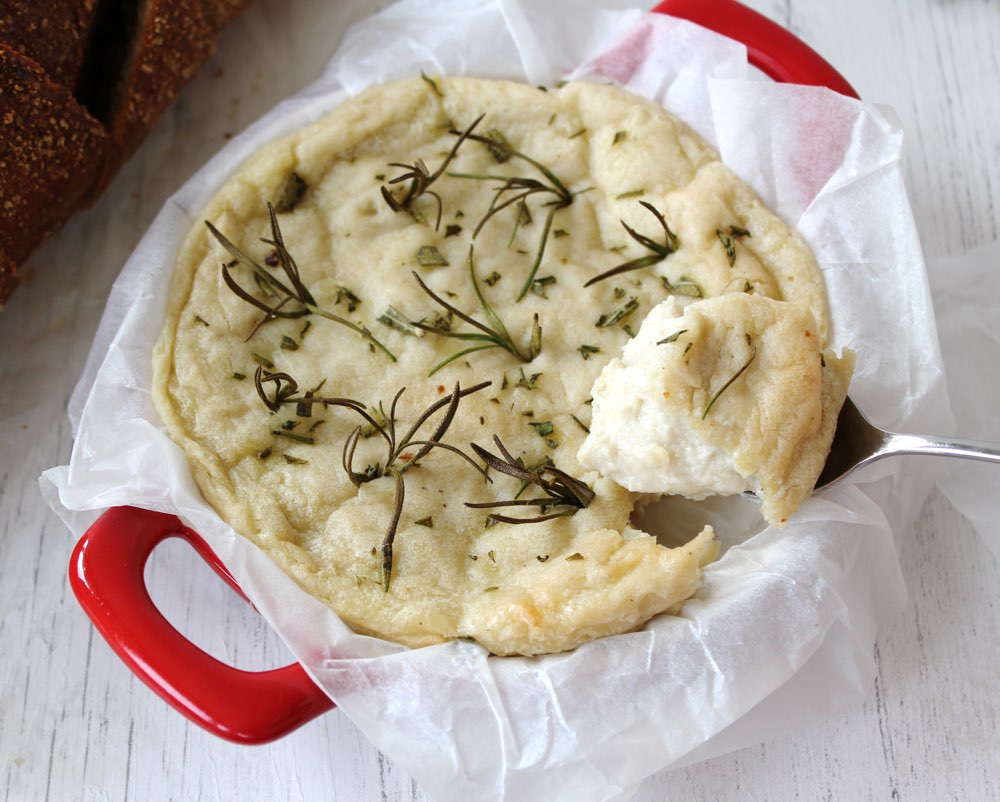
Vegan Camembert

The recipe I’m sharing in this post is an adaptation of the Camembosh. The main tweak I’ve made is to reduce the salt. The BOSH! recipe calls for 1½ tsp salt, plus extra for seasoning. A friend who had already tried the cheese recommended reducing the salt quantity as she’d found it very salty. Heeding her advice, we initially reduced the amount to 1 tsp, but we still found it too salty, so in the second batch, we reduced it to ½ tsp. This amount proved to be perfect for us. In the recipe below, I recommend using ½ tsp salt initially, then taste test while the cheese is on the stove. You can always add extra salt at this point, if needed.

I also reduced the amount of garlic compared to the original recipe as I wanted the ‘cheesy’ aspect of the camembert to shine through. Feel free though to add more garlic if you’d prefer a more garlic-flavoured camembert.
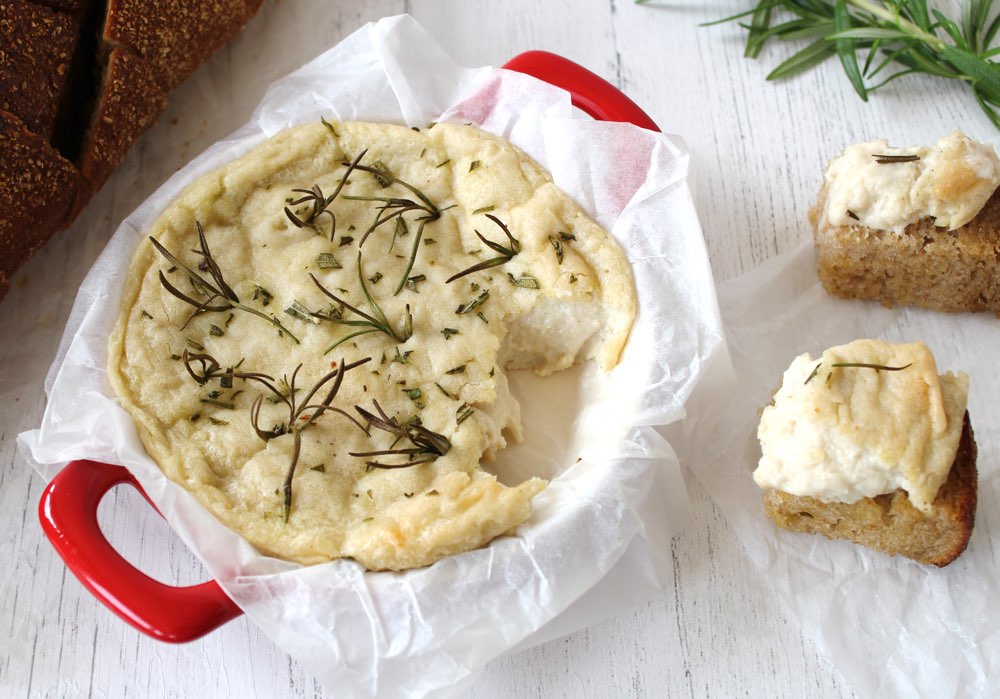
Vegan Camembert

Recipe Card

Vegan Camembert

Easy Vegan ‘Camembert Cheese’

This creamy cashew ‘camembert’ is delicious served with warm crusty bread as a weekend treat or when you’re having friends over for ‘drinks and nibbles’. It’s also perfect for picnics, buffets and parties. Any leftovers make a great sandwich filling. We especially love it with slices of sun-dried tomato and chutney.
4.84 from 6 votes
Cook Time 20 minutes
Hands-on Time 10 minutes
Total Time 30 minutes
Course Appetizer, Lunch, Treat
Cuisine French
Servings 2

Ingredients
 

  • 75 g / ½ cup cashews (If you don’t have a power blender, first soften the cashews by soaking them in freshly boiled water for 30 minutes, then drain)
  • 150 ml / ⅔ cup water
  • 2 TBSP tapioca flour (tapioca starch)
  • 1 garlic clove peeled
  • 1 tsp apple cider vinegar
  • 1 TBSP nutritional yeast flakes with B12
  • ½ tsp salt

For Garnish

  • 1 sprig fresh rosemary (highly recommended as it imparts a wonderful flavour to the cheese)
  • freshly ground black pepper (omit if serving to children)

Instructions
 

  • Preheat the oven to 180C / 350F. Line a small shallow dish with baking paper (the dish I use measures approx 11cm x 3cm).
  • Add all the ingredients (except the rosemary and pepper) to a blender and whizz on high speed until smooth.
  • Transfer to a saucepan and cook on medium heat, stirring continuously until it is smooth and has started to thicken (about 2 minutes). Initially, as it warms up, it will go lumpy but don’t worry this is normal. Keep stirring and it will soon smoothen out. Taste test and add a touch more salt, if needed.
  • Pour into the prepared dish and smooth the top. Garnish with rosemary needles (I push some of the needles in whole and finely chop a few to sprinkle). Add some freshly ground black pepper, if desired.
  • Bake for 20 minutes, or until the cheese has formed a skin and is lightly browned round the edges. (You can also warm some bread in the oven at the same time, if you wish).
  • Serve immediately or leave to cool before transferring to an airtight container. It will keep for up to five days in the fridge. Bring to room temperature or re-heat in the oven for a few minutes before serving.

Notes

This recipe has been adapted from the BOSH! Camembosh in BISH BASH BOSH! by Henry Firth and Ian Theasby, featured in Vegan Life magazine Issue 50 (The BOSH! guys credit Ellie from Kinda Co. for the original recipe).
Keyword Dairy-Free, Gluten-Free, Lunchbox Ideas, Oil-Free, Plant-Based, Sandwiches, Vegan Buffets, Vegan Cheese, Vegan Picnics, Vegan Sandwiches
Tried this recipe?Let us know how it was!

Nutritional Breakdown

N.B. The above values are estimates. The actual nutritional values will vary depending on the brands and ingredients used.

Pin for later ⬇️
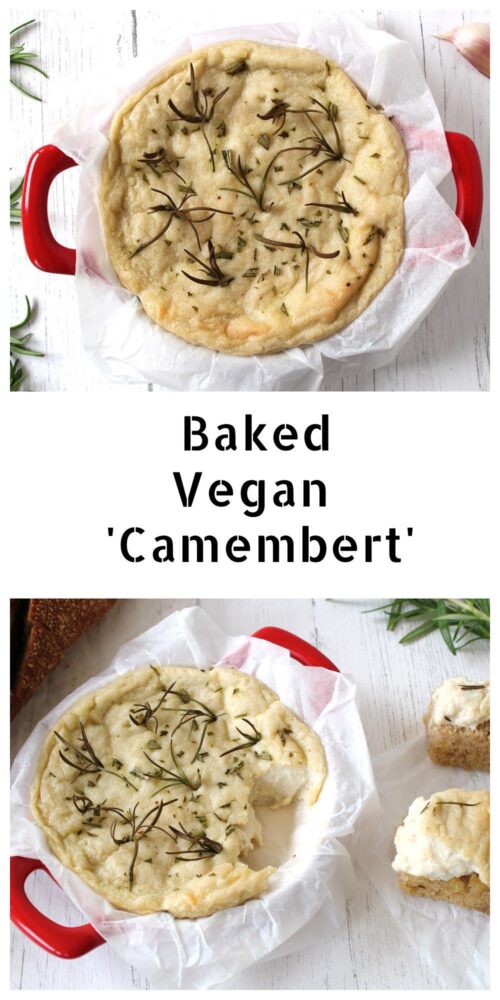
Baked Vegan Camembert

If you make this Cashew ‘Camembert’, I’d love to hear your feedback and any suggestions for adaptations! Tag your photos with #bitofthegoodstuff on social media – I always love to see your creations! You can also connect with me on my social media channels here: Instagram, Facebook, Pinterest.   

With love,

Sharon xx


——————————–
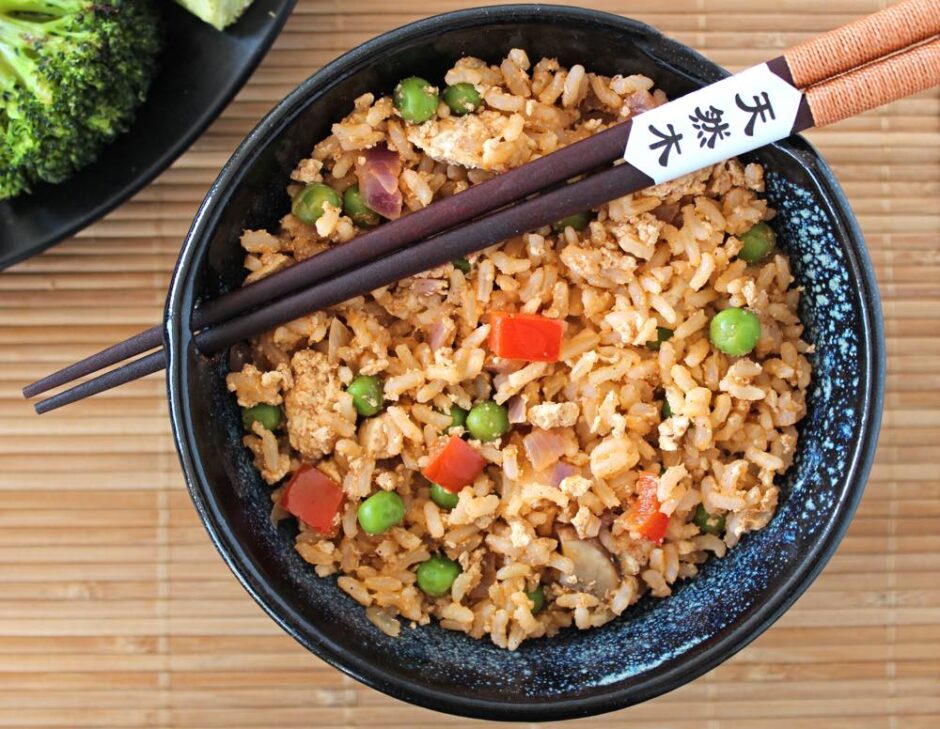
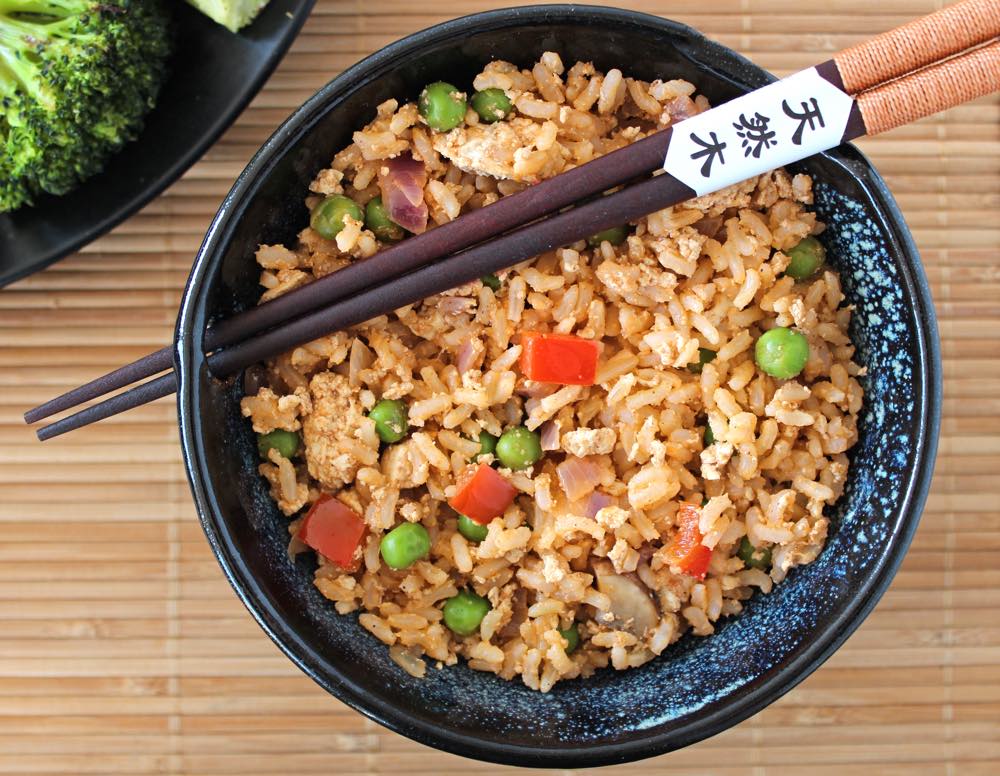
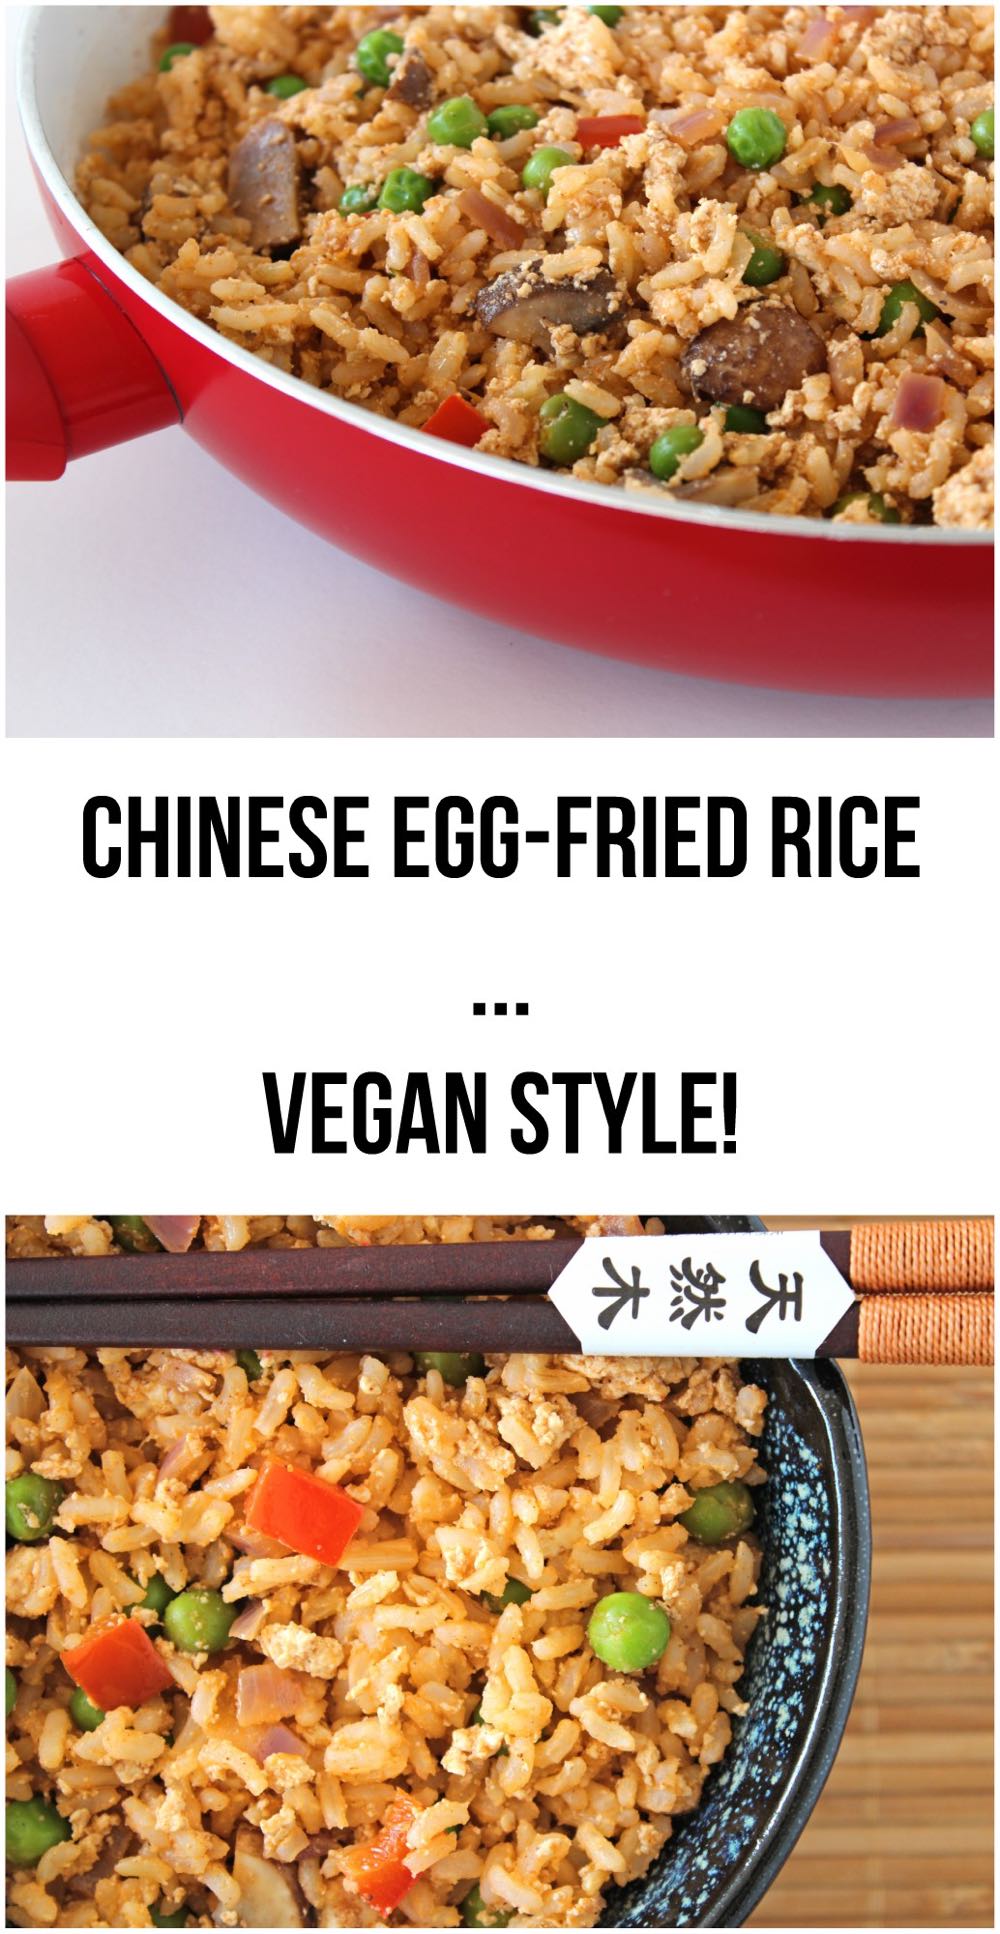
Chinese Egg-Fried Rice … Vegan Style!

Jump to Recipe

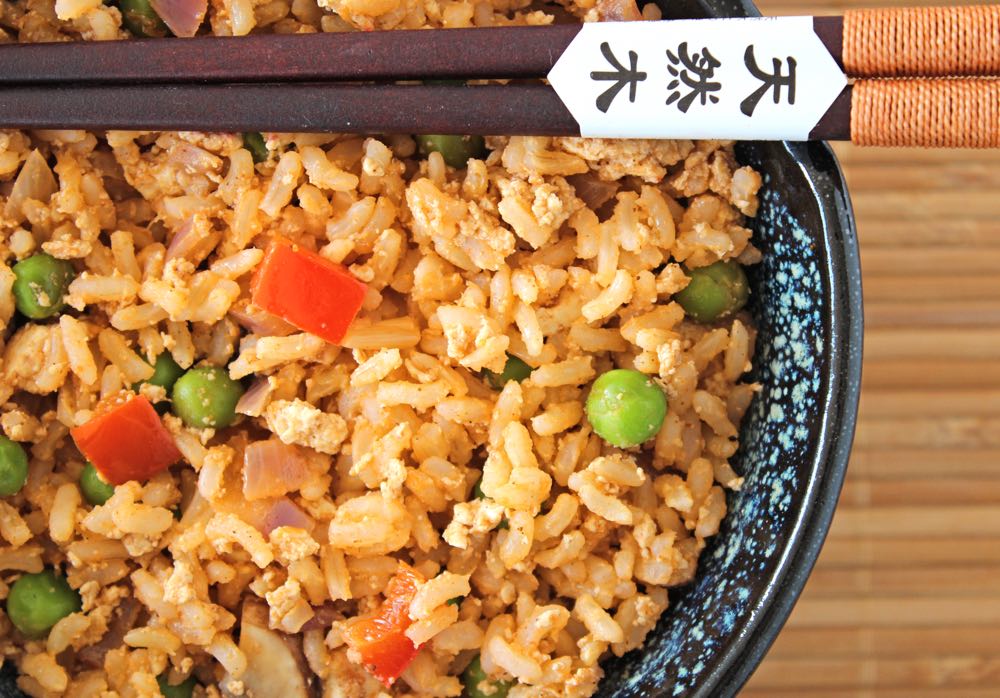
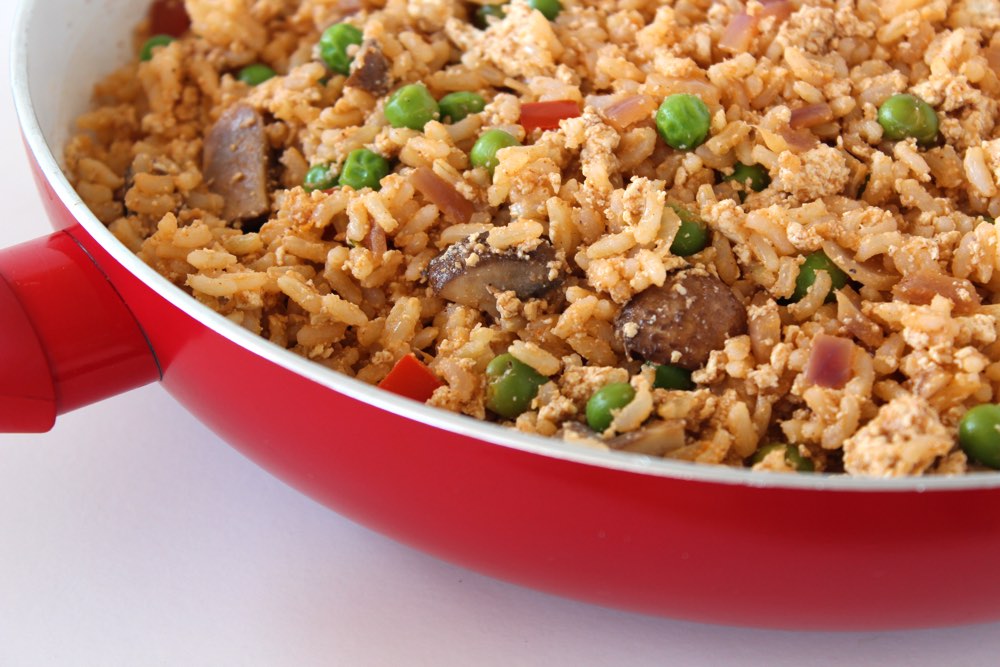
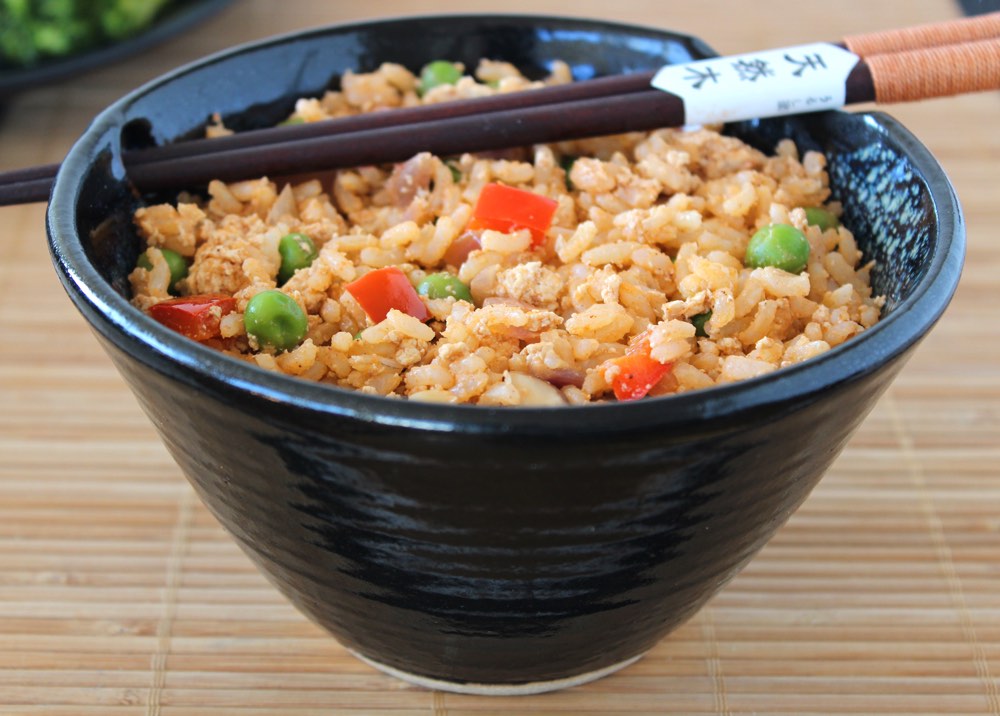
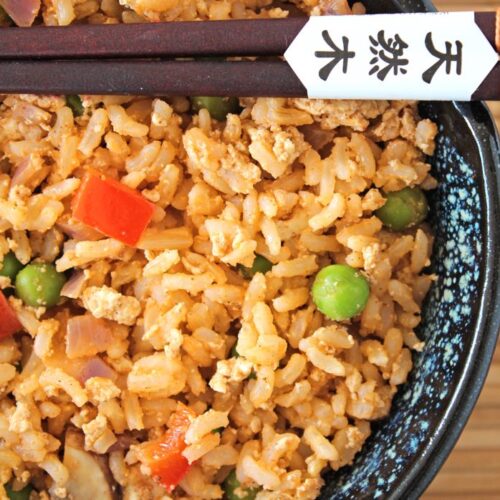
In today’s post, I’m sharing a recipe for a Chinese “Egg-Fried” Rice that’s perfect for serving any night when you need a quick and easy meal on the table. Not only is it tasty, but it’s also packed full of nutritional goodness. It’s especially rich in protein, vitamins A, B and C, and an array of minerals. It’s also much lower in fat than traditional Chinese egg-fried rice and contains zero cholesterol.

And, most importantly, it’s cruelty free! No hens or chicks were harmed in the making of this meal!

Chinese Egg-Fried Rice - Vegan Style

A few years ago, I discovered that tofu makes a fantastic egg replacer for Chinese egg-fried dishes. Crumbled, seasoned and stirred through rice or noodles, its texture and appearance have an uncanny resemblance to egg, which is pretty weird when you consider that tofu is made from beans!

I like to use calcium-set tofu as it’s a quick way to boost the family’s calcium levels. Here in the UK, the one brand of tofu that I’ve found to be calcium-set is Cauldron Foods Organic Tofu. (And fortunately, this is the one that’s widely available in our supermarkets right now!) According to the FAQ page on the Cauldron Foods website, a 100g serving (¼ pack) of their tofu provides around 40% of the recommended daily amount of calcium.

Chinese Egg-Fried Rice - Vegan Style

Back in 2014, I shared a recipe for Vegan Egg-Fried Noodles, but my family’s favourite Chinese Egg-Fried Rice still hadn’t made its way onto the blog. It was high time for me to put that right! Since Thursday is typically ‘Rice Night’ in our house, I made sure to photograph our dinner last night before we devoured it. That way, I would have some pictures to share alongside the recipe today.

Chinese Egg-Fried Rice - Vegan Style

The dish is really simple to make. While the rice is cooking, pan fry some veggies and crumbled tofu, then whisk together the marinade and pour it into the pan. When the rice is cooked, stir it through the veggies then it’s ready to serve.

The choice of veggies to include in the fried rice is entirely yours. I add red pepper and green peas as they’re so colourful. Mushrooms are great for savouriness and some chewy texture. If you wish, you could even add in some vegan meat alternatives like Iceland’s “No Chick” strips or Oumph’s “The Chunk” to make a vegan style “Chicken” Fried Rice.

Recipe Card

Chinese Egg-Fried Rice - Vegan Style

Chinese Egg-Fried Rice… Vegan Style!

This vegan version of Chinese egg-fried rice is packed with plant-based goodness. It makes a great weeknight meal, either served on its own or with a side-dish of green veggies (we love roasted broccoli!)
Hands-on time 20 minutes
Total Time 35 minutes
Course Dinner
Cuisine Chinese
Servings 4

Ingredients
 

  • 290 g / 1½ cups brown rice
  • 1 TBSP toasted sesame oil divided
  • 1 large onion diced
  • 2 tsp minced garlic
  • 1 small red bell pepper deseeded and diced
  • 125 g / 1½ cups mushrooms chopped
  • 400 g / 14 oz firm tofu
  • tsp Chinese Five Spice
  • 190 g / 1½ cups frozen peas*

Marinade

  • 1 TBSP toasted sesame oil
  • 1 TBSP reduced-salt soy sauce use tamari for a GF option
  • 1 TBSP white miso or substitute with another 1 TBSP soy sauce
  • 2 TBSP tomato puree (paste)
  • ½ TBSP maple syrup or to taste
  • ¼ tsp Chinese Five Spice

Instructions
 

  • Cook the brown rice.**
  • When the rice has been cooking for about 10 minutes, gently heat ½ TBSP oil in a large, deep-sided frying pan (skillet). Add the onion and cook on medium heat for a couple of minutes.
  • Add the garlic, bell pepper and mushrooms and continue cooking for a further 2-3 minutes.
  • Drain the tofu and crumble it into the pan. Sprinkle the Chinese Five Spice on top, and stir through.
  • Add all the marinade ingredients to a small bowl and whisk with a fork until fully combined. Set aside about 1 TBSP of the marinade and pour the remainder into the pan. Stir through until the tofu is thoroughly coated.
  • Add the frozen peas and continue cooking for 5-6 minutes, stirring occasionally, until the peas are heated through.
  • When the rice is ready, drizzle in ½ TBSP toasted sesame oil and stir through. Add the 1 TBSP marinade that you set aside and continue stirring until the rice is fully coated.
  • Add the rice to the frying pan, a couple of a scoops at a time, stirring each time to combine.
  • Arrange the rice in warm bowls and serve. Any leftovers can be stored in the fridge for 24 hours. As with any rice dish, make sure that the rice is chilled within an hour of cooking.

Notes

* If you’re planning to re-heat this dish, it’s is best to omit the frozen peas as the instructions on the packet state ‘do not reheat’.
** Here’s how I cook brown rice using the absorption method: First, rinse the rice in a fine mesh sieve under running cold water, agitating the grains with your hand until the water runs clear. Place the rice in a large heavy-bottomed saucepan along with double the volume of water (e.g. 1½ cups rice & 3 cups water). Bring to the boil, then reduce the heat and simmer uncovered for 10 minutes. Reduce the heat to very low, cover with a tight-fitting lid and cook for a further 20 minutes. When air pockets have appeared in the rice, it’s ready.
Keyword Dairy-Free, Easy Vegan Meals, Egg-Free, Plant-Based, Rice, Tofu
Tried this recipe?Let us know how it was!

Nutritional Breakdown

N.B. The above values are estimates. The actual nutritional values will vary depending on the brands and ingredients used.

Products I used in this recipe…
Cauldron Foods Organic Tofu
Meridian Organic Toasted Sesame Oil
Kikkoman Less Salt Soy Sauce
Clarks Original Maple Syrup
Clearspring Sweet White Miso
Suma Chinese Five Spice

Pin for later ⬇️

Chinese Egg-Fried Rice... Vegan Style

If you make this Chinese Fried Rice, I’d love to hear your feedback and any suggestions for adaptations! Tag your photos with #bitofthegoodstuff on social media – I always love to see your creations! You can also connect with me on my social media channels here: Instagram, Facebook, Pinterest.   

With love,

Sharon xx

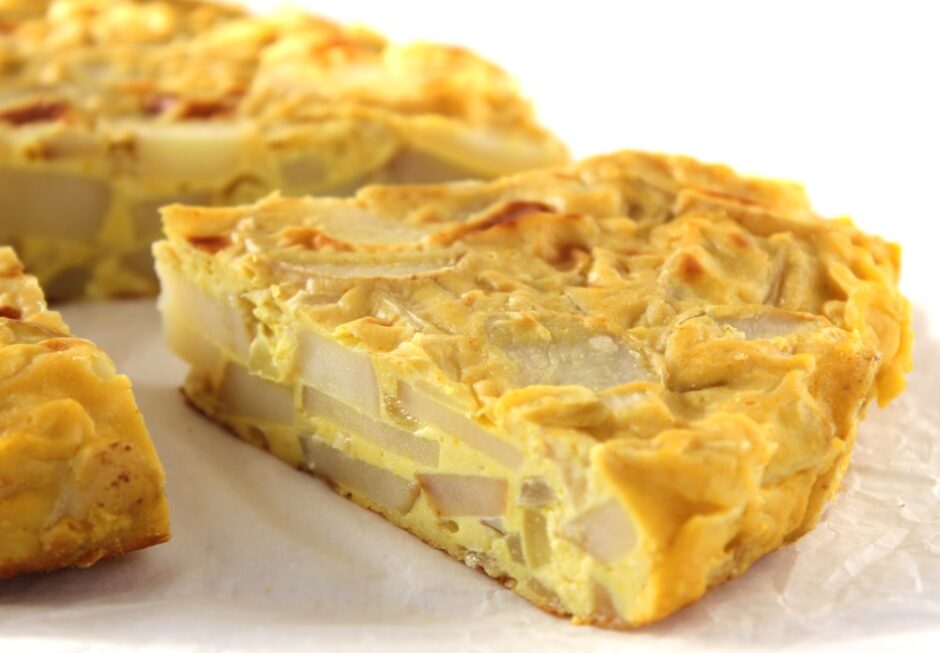
Vegan Spanish Potato Omelette – Tortilla de Patatas

Jump to Recipe

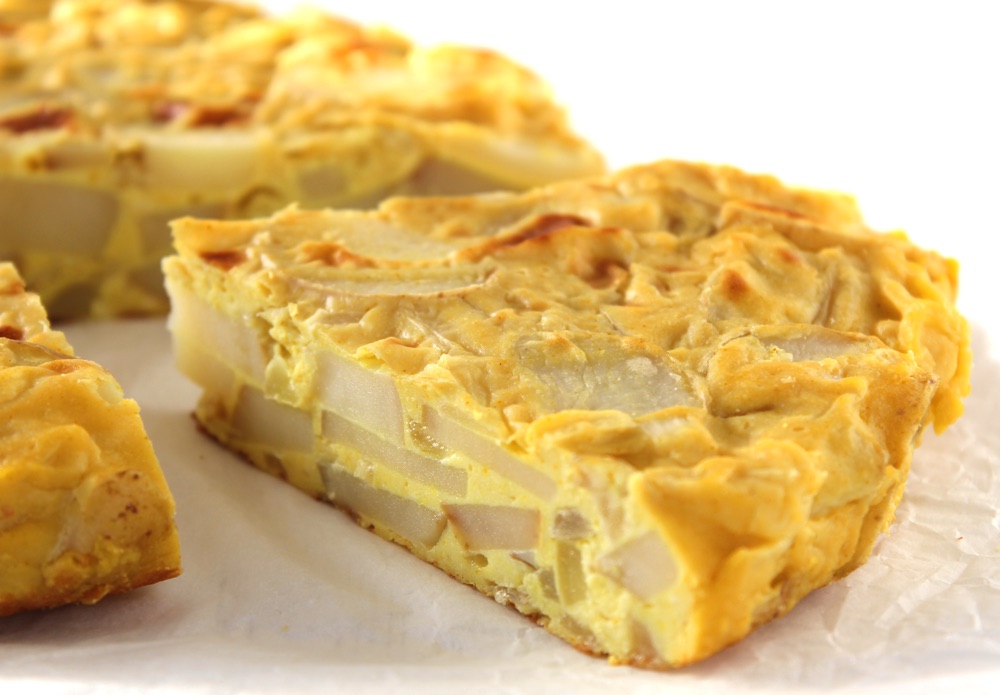
Hey dear friends! Today, I am delighted to be sharing one of personal favourite recipes with you – Spanish Omelette (Tortilla de Patatas). This is no ordinary omelette, however, as it’s 100% plant-based!! Yep, not a single egg in sight. In my pre-vegan days, Spanish Tortilla was a favourite comfort food of mine, but I love this vegan version even more. Not only is it delicious, it’s cruelty-free (no hens or chicks are harmed in the making of this omelette) AND healthier than the traditional version. It’s lower in fat, contains zero cholesterol, and is a rich source of plant proteins, B vitamins, vitamin C, and an array of minerals including potassium, magnesium, zinc and iron.

Healthy, tasty AND cruelty-free. A winner all round!

Vegan Spanish Potato Omelette - Tortilla de Patatas
Continue reading “Vegan Spanish Potato Omelette – Tortilla de Patatas”

Hearty Italian Bean Casserole

Jump to Recipe

The clock’s have gone back, the evenings are drawing in, and the air is fresh and crisp. I love the beauty of the Autumn season; the changing colours of nature’s palate and crunching my way through piles of golden horse chestnut leaves. The cold and extra layers of clothing… I love less so; but I’m working on it. What makes the foray into the cold that much sweeter however, is the return home to a hearty, warming dinner.

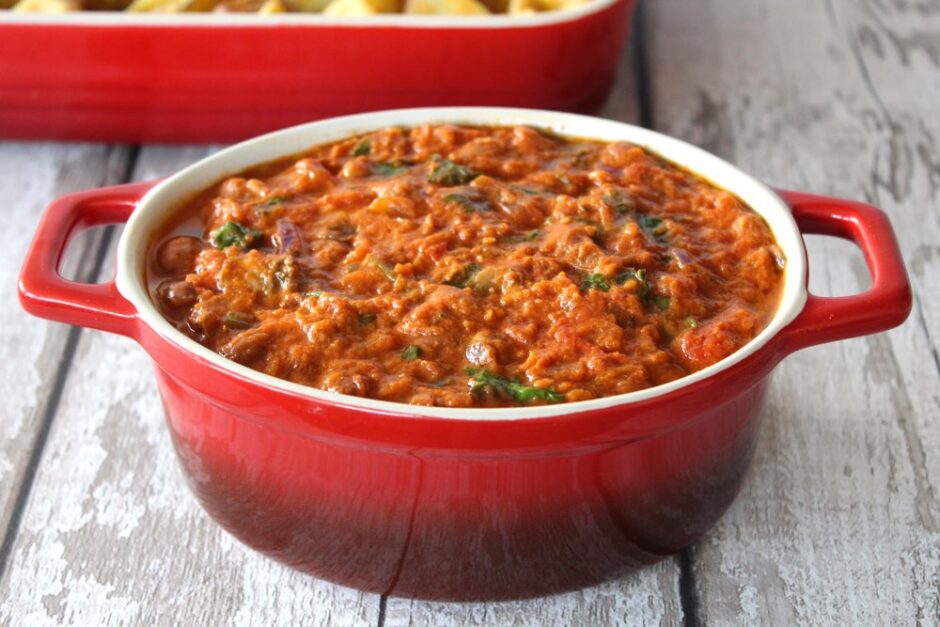
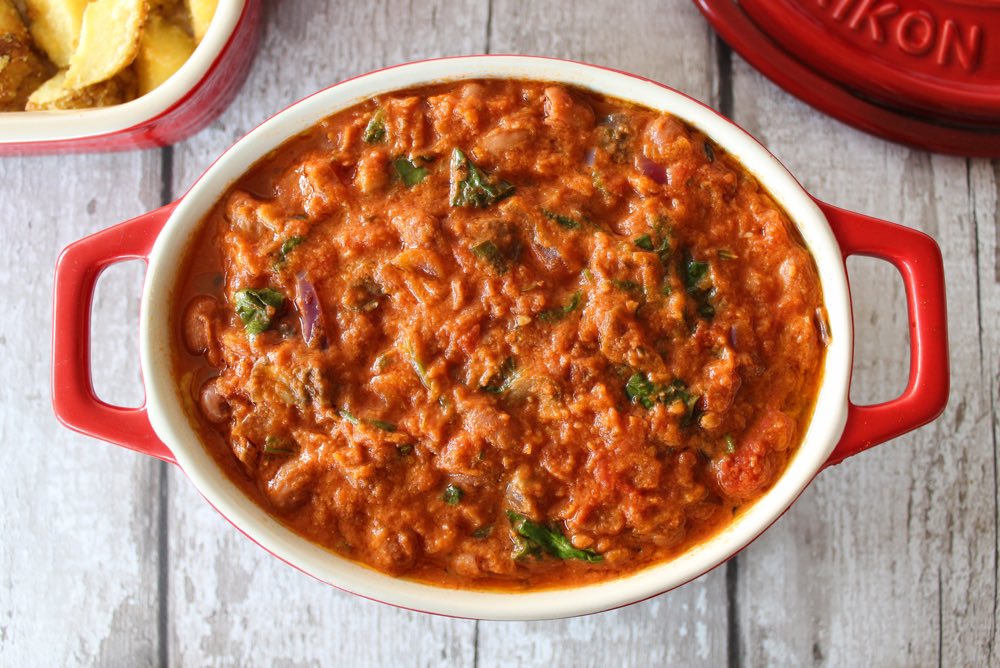
Italian Bean Casserole

In today’s post, I’m sharing a recipe for an Italian bean casserole that’s just perfect for the cold weather seasons. It’s hearty, warming and filling. It’s also packed with lots of immune-boosting nutrients to keep those pesky cold germs at bay.

Continue reading “Hearty Italian Bean Casserole”

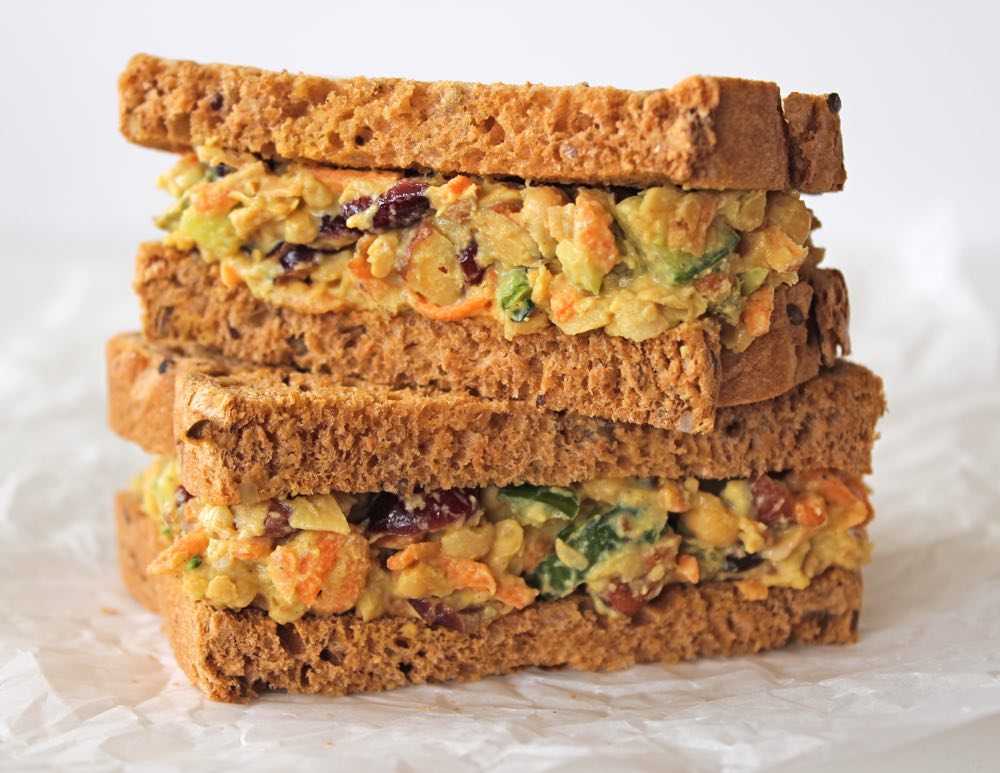
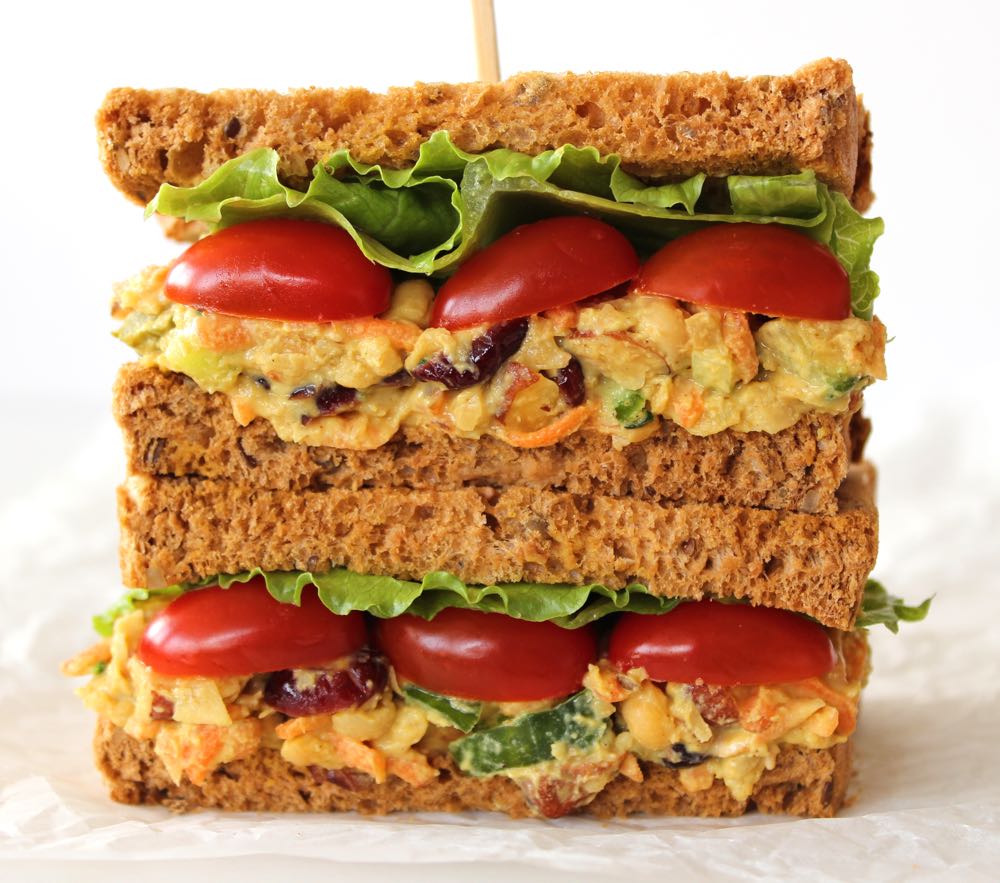
Curried Chickpea Smash Sandwich Filling

Jump to Recipe

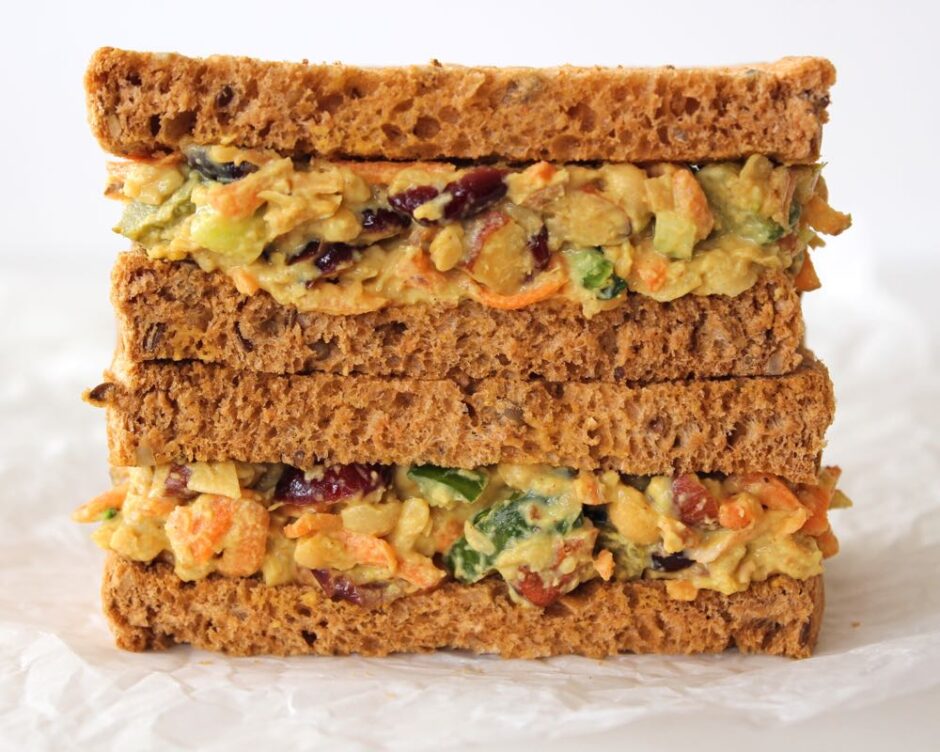
Hey lovely people! Today, I have a new, tasty sandwich filling for you. It’s creamy, crunchy, tangy and gently spiced with the flavours of India. It also happens to be packed full of nutrients. This is a sandwich filling that will leave you feeling full and energised. Just what you need to see you through a busy afternoon at work or school.

For most of his school life, Lucien has chosen to take a packed lunch. In the primary years especially, this encouraged me to get creative and ‘think outside the box’ as I couldn’t rely on traditional sandwich fillings like cheese or peanut butter. In fact, during his entire seven years of primary school, he didn’t take a single traditional sandwich in his lunchbox. Instead, we tended to fill his box with leftovers from the previous night’s dinner – fajita wraps, pizza slices, tofu frittata, roasted vegetable pasta, Moroccan couscous, chunky soups, and even leftover Moroccan tagine and sweet potato curry!

Curried Chickpea Smash Sandwich

These non-traditional lunchboxes continued into secondary school. Since this was our ‘norm’, I didn’t think much of it, but I did chuckle when one of the parents pulled me to one side and said “Did you know, your son’s lunchboxes are creating lunchbox envy?” Apparently his friends were going home and telling their parents all about his lunches and how tasty they looked. The vegan kid giving his friends’ lunchbox envy? That’s pretty cool!

Anyway, this academic year, I’m determined to keep those lunchboxes varied and interesting, not just for Lucien’s sake, but also for all those secondary school kids peering into his box and wondering what vegans eat. You never know, it might just start to sow a few seeds of inspiration.

Lately, I’ve been on the lookout for new ways to incorporate tahini into our meals as it’s so nutrient-dense. It turns out that this curried salad dressing combined with a little mayonnaise is the perfect condiment for an Indian-style ‘chickpea smash’ sandwich filling.

This smash makes a delicious sandwich filling in its own right… or you can fully load it with extra salad, which is how I like it!

Curried Chickpea Smash Sandwich

This ‘Curried Chickpea Smash’ has been a huge hit with the family and it’s become a new favourite lunchbox addition for Lucien. We hope you enjoy it too!

Recipe Card

Curried Chickpea Smash Sandwich

Curried Chickpea Smash Sandwich Filling

This sandwich filling is creamy, crunchy, tangy and gently spiced with the flavours of India. It’s packed full of nutritional goodness, including lots of plant protein, complex carbs, heart-healthy fats, vitamins, minerals and antioxidants which will make you feel full and energised. Just what you need to see you through a busy afternoon at work or school!
Hands on time 20 minutes
Total Time 20 minutes
Course Lunch
Cuisine Indian
Servings 5

Ingredients
 

Salad

  • 400 g / 14 oz can chickpeas drained
  • 130 g / 1 cup cucumber diced
  • 2 medium carrots (150g) grated (or whizzed in a mini chopper)
  • 75 g / ½ cup cornichon gherkins (dill pickles) diced
  • 50 g / ⅓ cup dried cranberries
  • 40 g / ¼ cup roasted almonds roughly chopped (I love to use the Tamari Roasted Almonds from the Bit of the Good Stuff Cookbook p182)

Curried Salad Dressing

  • 4 TBSP light tahini
  • ½ TBSP almond butter
  • 2 TBSP vegan mayonnaise*
  • ½ TBSP ginger paste or grated fresh ginger
  • 2 tsp apple cider vinegar
  • 2 tsp maple syrup or syrup of choice
  • 1 tsp garam masala
  • ¼ tsp ground turmeric
  • ¼ tsp salt
  • 3-4 TBSP water

Instructions
 

  • Prepare the salad dressing: Give the tahini a good stir in its jar so that the solids and oils are combined, then scoop 4 tablespoons into a small bowl. Add all the remaining ingredients and stir vigorously until fully combined and smooth. If the dressing is a little on the thick side, add more water, one tablespoon at a time, until you reach the desired consistency. Taste test and add more nut butter, mayonnaise or spices, if desired.
  • Tip the drained chickpeas into a large mixing bowl and roughly mash using a potato masher. Add the remaining salad ingredients to the bowl, along with the dressing. Stir until thoroughly combined. Transfer to an airtight container and store in the refrigerator, where it will keep for up to five days.

Notes

* You can use shop-bought vegan mayonnaise (such as Hellmans) or easy home-made vegan mayonnaise.
Keyword Dairy-Free, Egg-Free, Gluten-Free, Lunchbox Ideas, Vegan Lunch, Vegan Sandwiches
Tried this recipe?Let us know how it was!

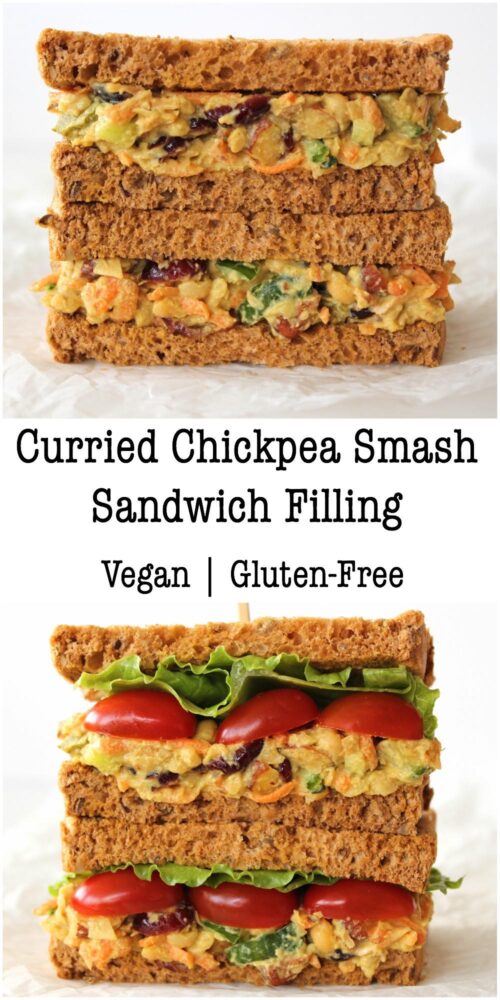
Pin for later ⬇️

Curried Chickpea Smash Collage

If you make this recipe, I’d love to hear your feedback and any suggestions for adaptations. Tag your photos with #bitofthegoodstuff on social media – I always love to see your creations! You can also connect with me on my social media channels here: Instagram, Facebook, Pinterest.   

With love,

Sharon xx

Indian-Spiced Sweet Potato Fritters

Jump to Recipe

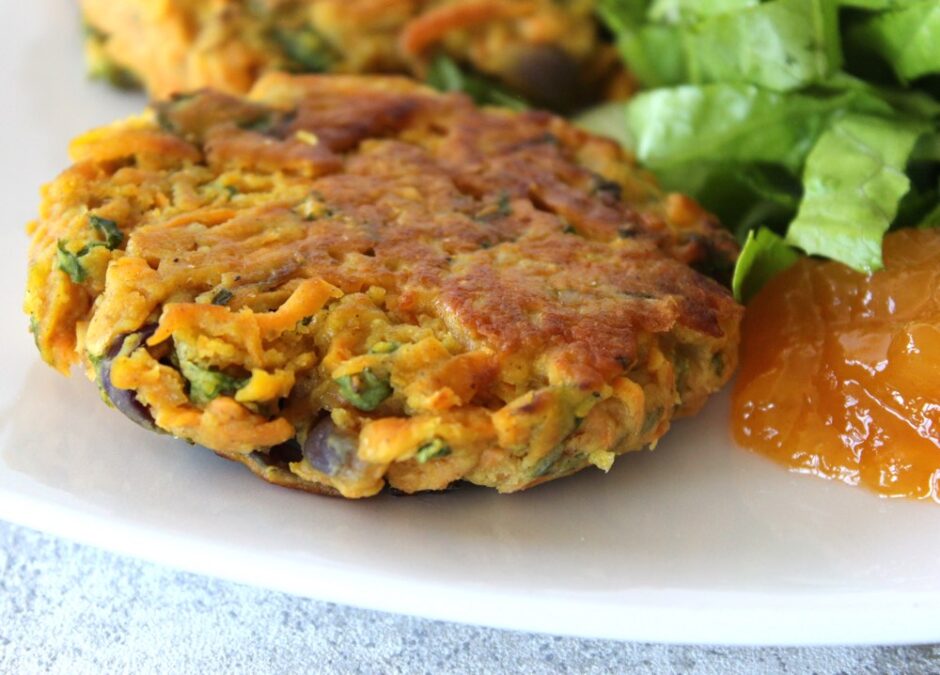
In today’s post, I’m sharing a new plant-based recipe that my family has been loving lately… it’s the Indian-spiced Sweet Potato Fritter. These fritters are filled with simple ingredients – sweet potato, onion, chickpea flour and spinach – which also happen to be nutritional powerhouses, providing an array of vitamins, minerals and antioxidants ✨ The Indian spices used to flavour the fritters – cumin and garam masala – notch up their antioxidant potency even further.

Not only are they quick and easy to make, but they’re super cheap too! According to my calculations, it cost just £1.07 to make six fritters. That’s 18p each. Bargain!

Indian-Spiced Sweet Potato Fritters (Vegan | Dairy-Free)
Continue reading “Indian-Spiced Sweet Potato Fritters”